The Viral ‘Cloud Bread’ Upgrade: A High Protein Loaf That Slices
If you’ve spent any time on social media in the last few years, you’ve likely encountered ‘cloud bread.’ Those light, round, meringue-like discs were a sensation, praised for being a nearly zero-carb, gluten-free bread alternative. But let’s be honest, they had their limitations. They were delicate, a bit eggy, and you certainly couldn’t make a proper, hearty sandwich with them. They were more of a fluffy vehicle for toppings than a true bread substitute.
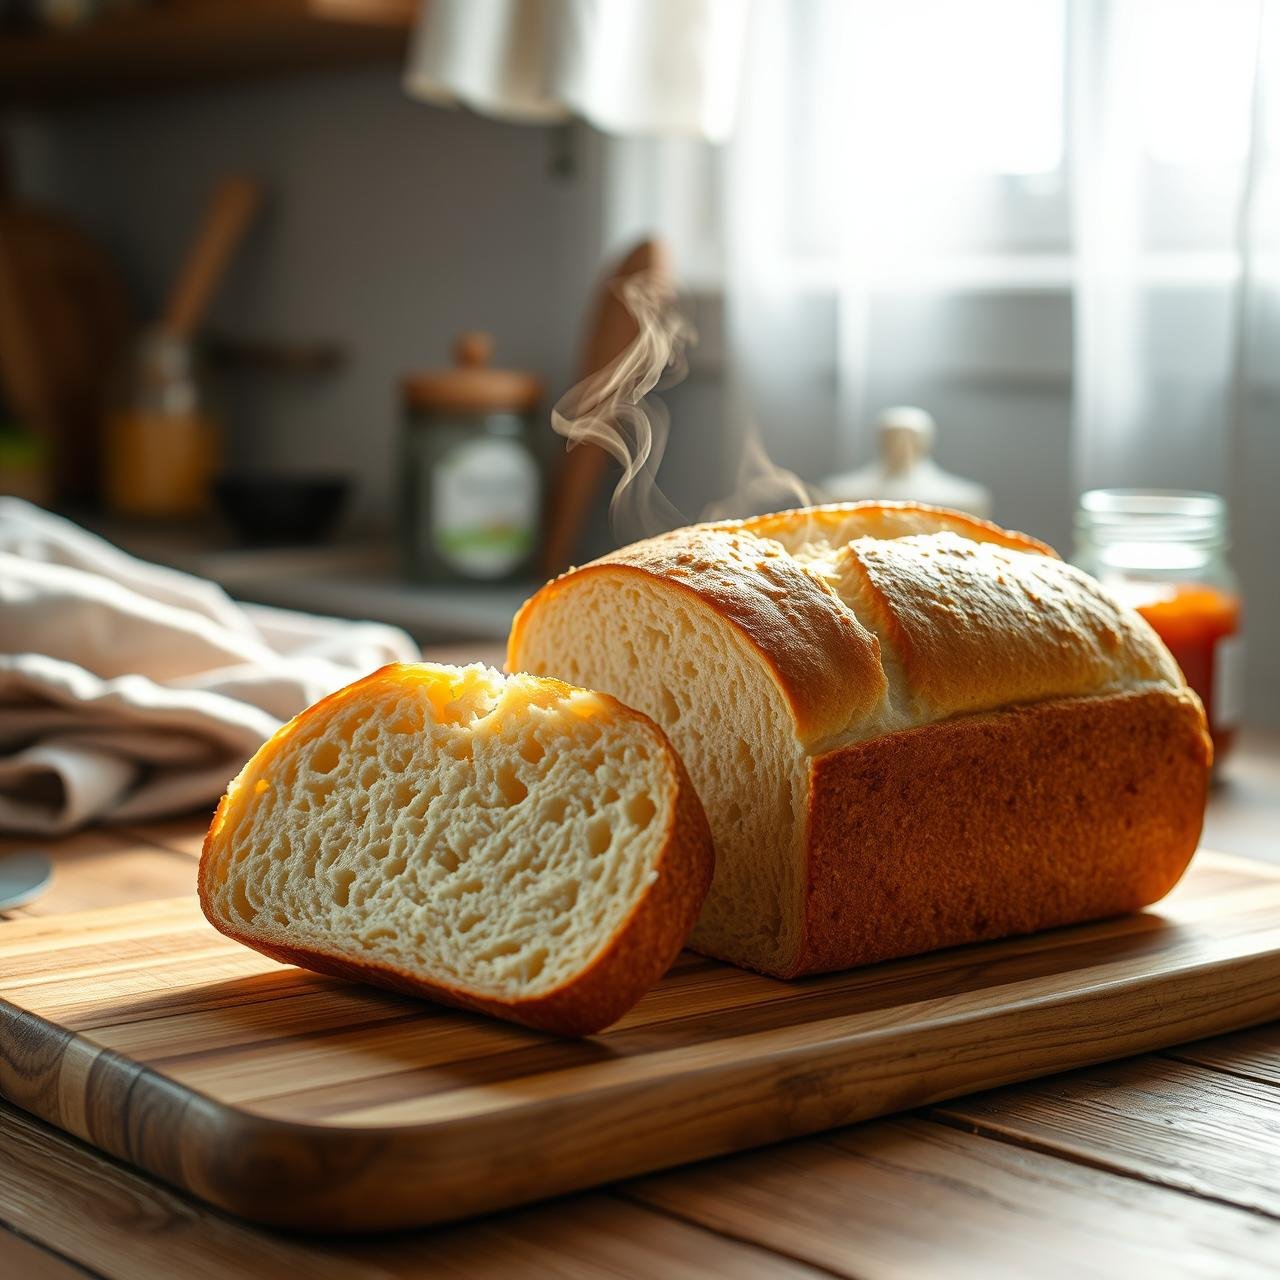
Well, prepare to have your expectations completely redefined. Welcome to the next generation of cloud bread—a revolutionary upgrade that transforms the concept from a flimsy disc into a magnificent, high-protein loaf that you can actually slice, toast, and build a sandwich on. This isn’t just a recipe; it’s a culinary game-changer for anyone on a low-carb, keto, or gluten-free journey, or simply for those looking to pack more protein into their diet without sacrificing the simple joy of a slice of bread.
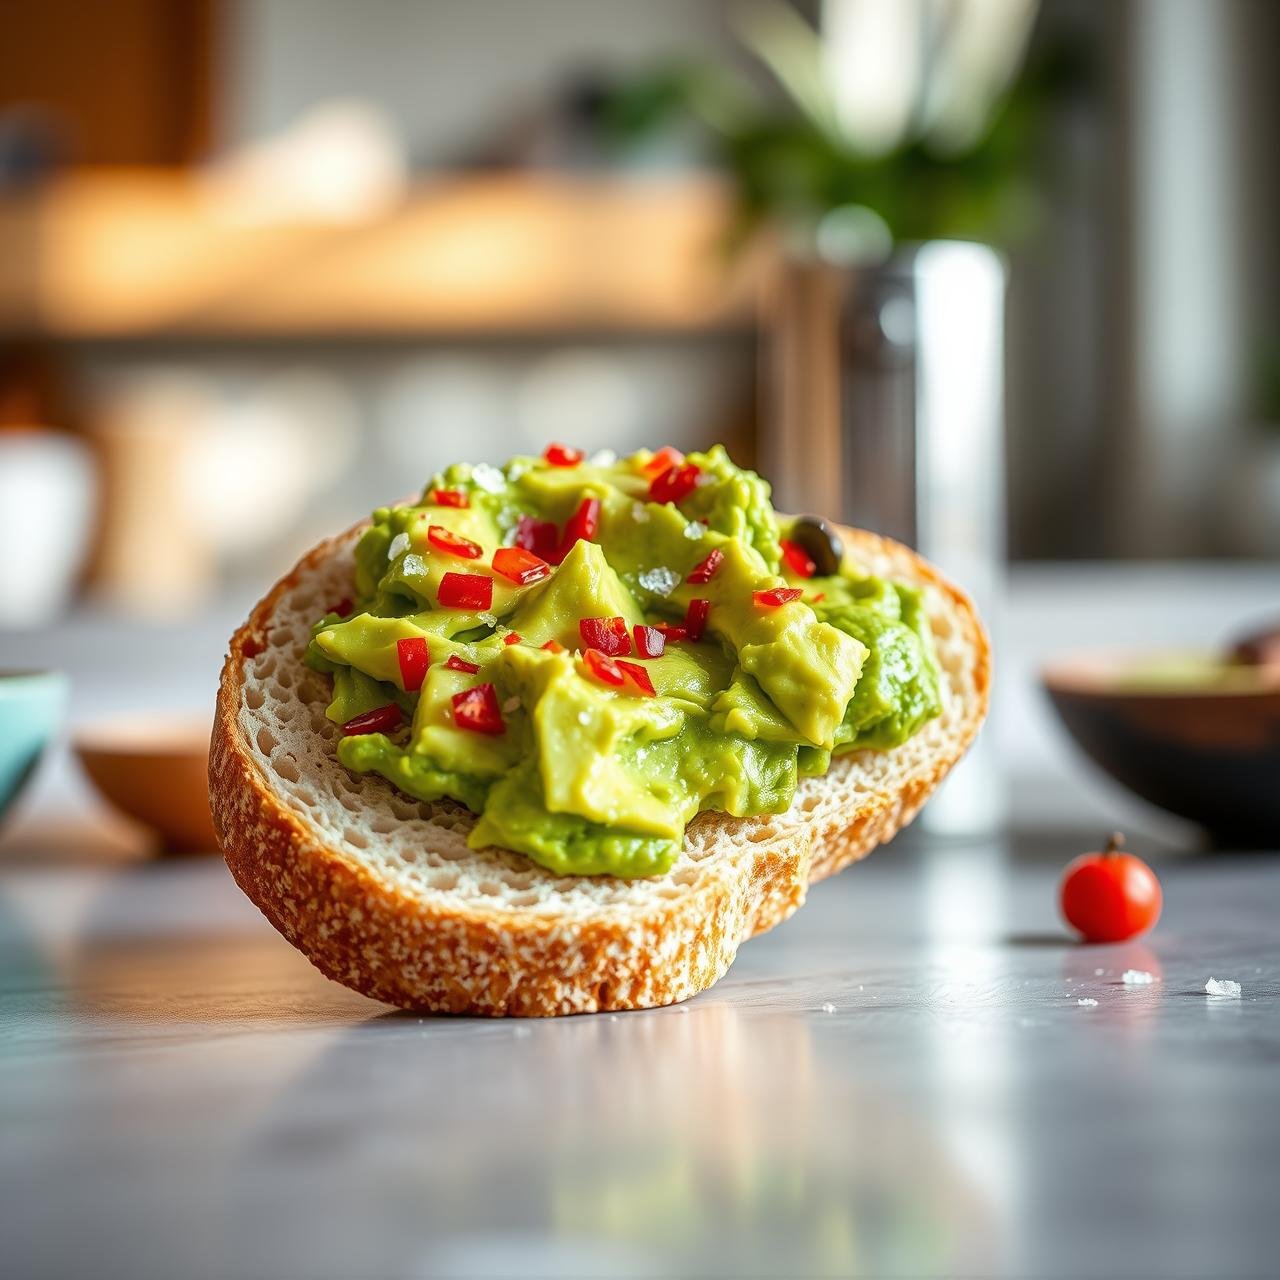
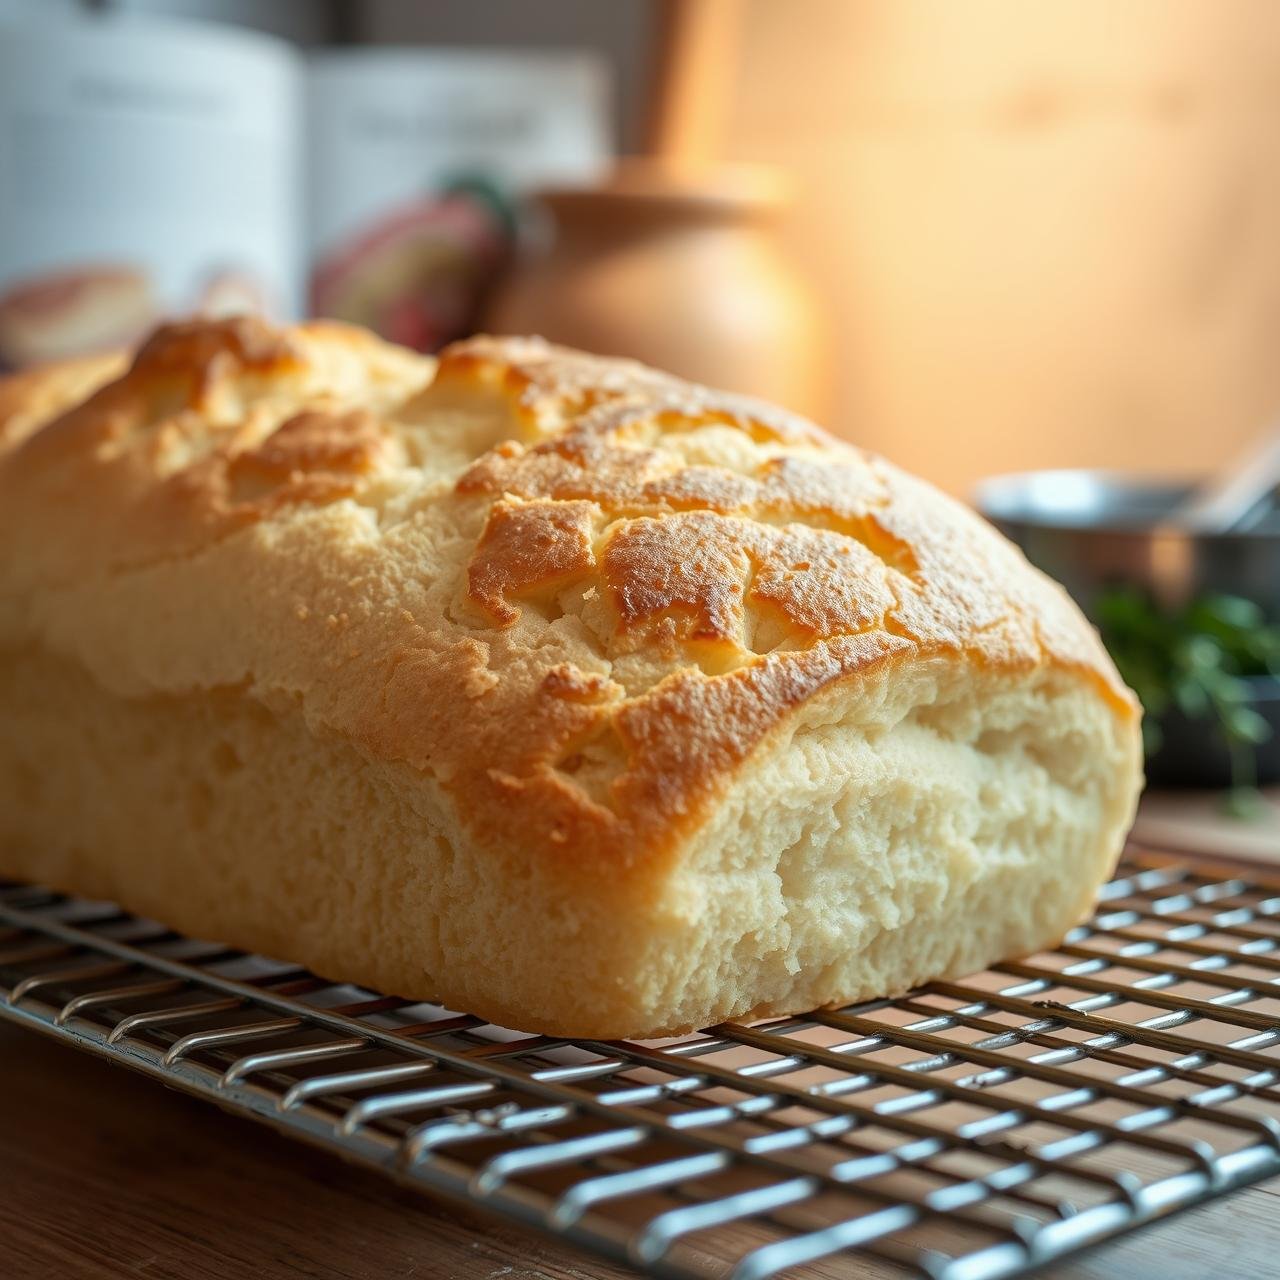
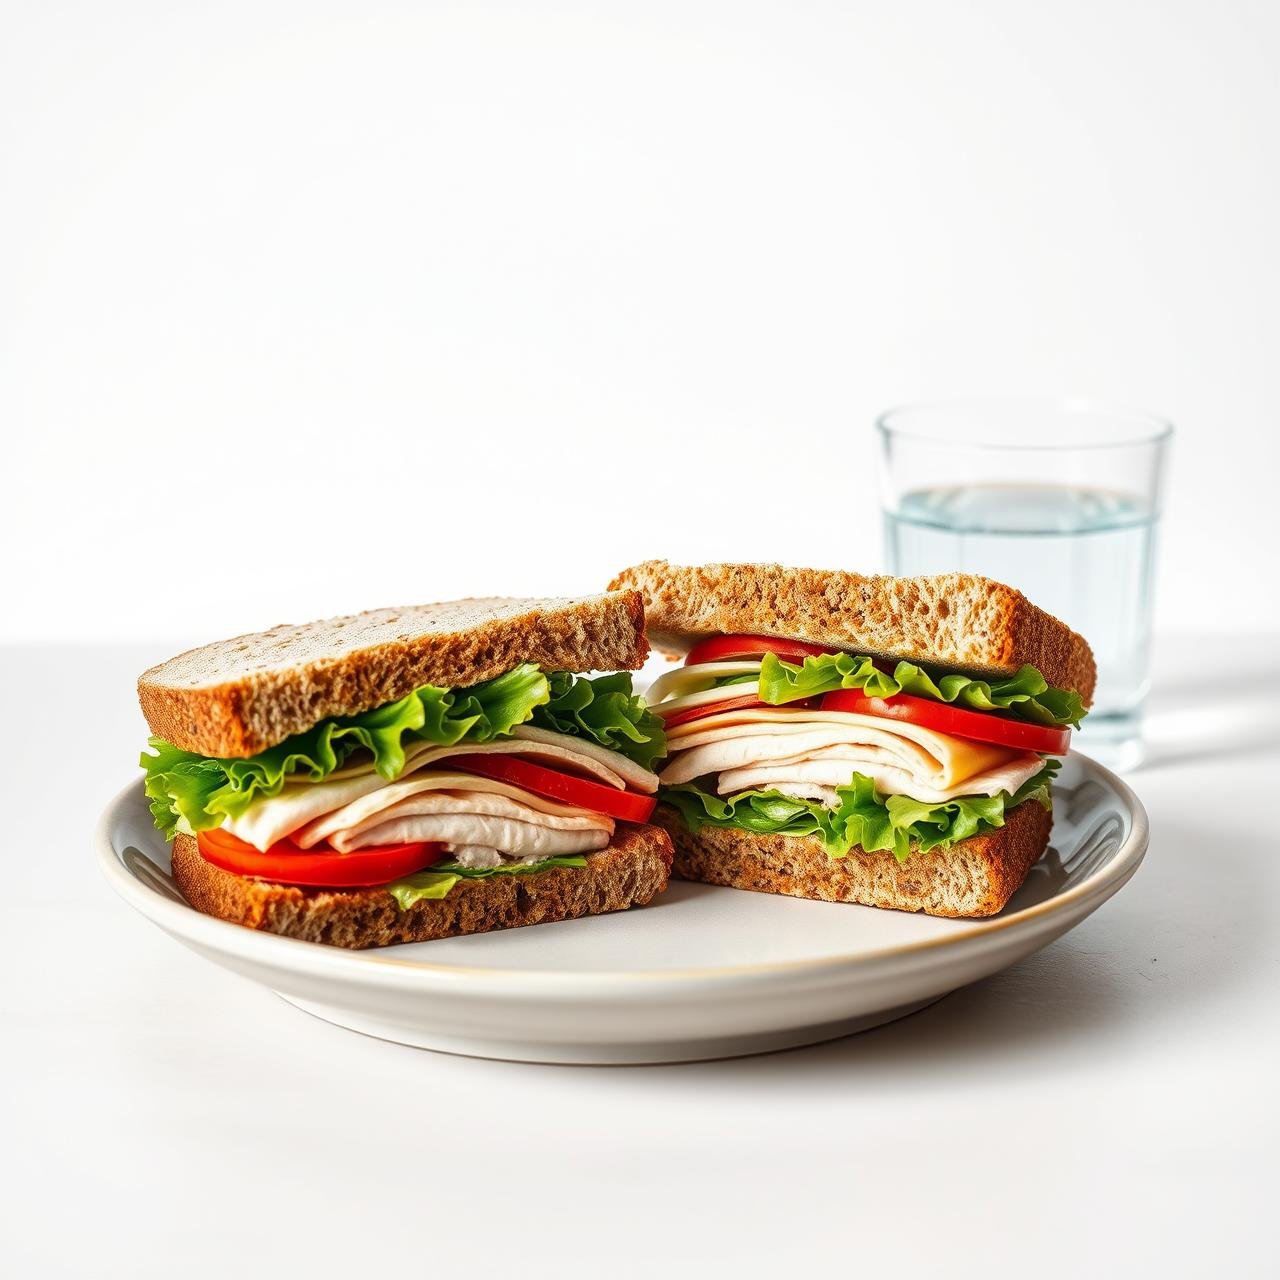
Imagine a loaf with a beautifully golden, tender crust that gives way to an ethereally light, pillowy soft crumb. The texture is a marvel—it’s airy and cloud-like, yet possesses a structural integrity that the original could only dream of. The flavor is clean and subtly savory, a neutral canvas ready for your favorite toppings, from creamy avocado to savory turkey and crisp lettuce. This is the cloud bread you’ve been waiting for, and we’re going to walk you through every step to achieve a perfect loaf in your own home kitchen.
The Science Behind the Structure: Why This Cloud Bread Works
The magic of this loaf lies in a few key ingredient upgrades that provide the structure and stability traditional cloud bread lacks. Understanding their roles is the first step to mastering this recipe and appreciating the beautiful food science at play.
The Foundation: Egg Whites & A Stabilizer
Just like the original, the base of our loaf is whipped egg whites. When whisked, the proteins in the whites unfold and trap air, creating a voluminous foam. To make this foam strong enough to support a loaf structure, we use a crucial stabilizer: cream of tartar. This acid helps the egg white proteins link up more effectively, creating a tighter, more stable meringue that won’t easily collapse in the oven.
The Game-Changer: Protein Powder
This is the hero ingredient that elevates our cloud bread. By adding unflavored protein powder (whey, casein, or egg white powder work best), we’re doing two things. First, we’re significantly boosting the protein content, making each slice more satiating and nutritionally dense. More importantly, the protein powder provides dry structure. It absorbs a tiny bit of moisture and creates a supportive ‘scaffolding’ within the egg foam, allowing the loaf to set into a sliceable, bread-like texture rather than a fragile meringue.
The Binder: Psyllium Husk Powder
To achieve that classic, slightly chewy crumb that we associate with bread, a binder is essential. We use psyllium husk powder, a fantastic source of soluble fiber. It absorbs moisture and forms a gel-like substance that gives the loaf flexibility and a more substantial, less ‘eggy’ mouthfeel. It’s the secret to a crumb that holds together beautifully when you slice it.
Gather Your Tools: Essential Equipment for a Perfect Loaf
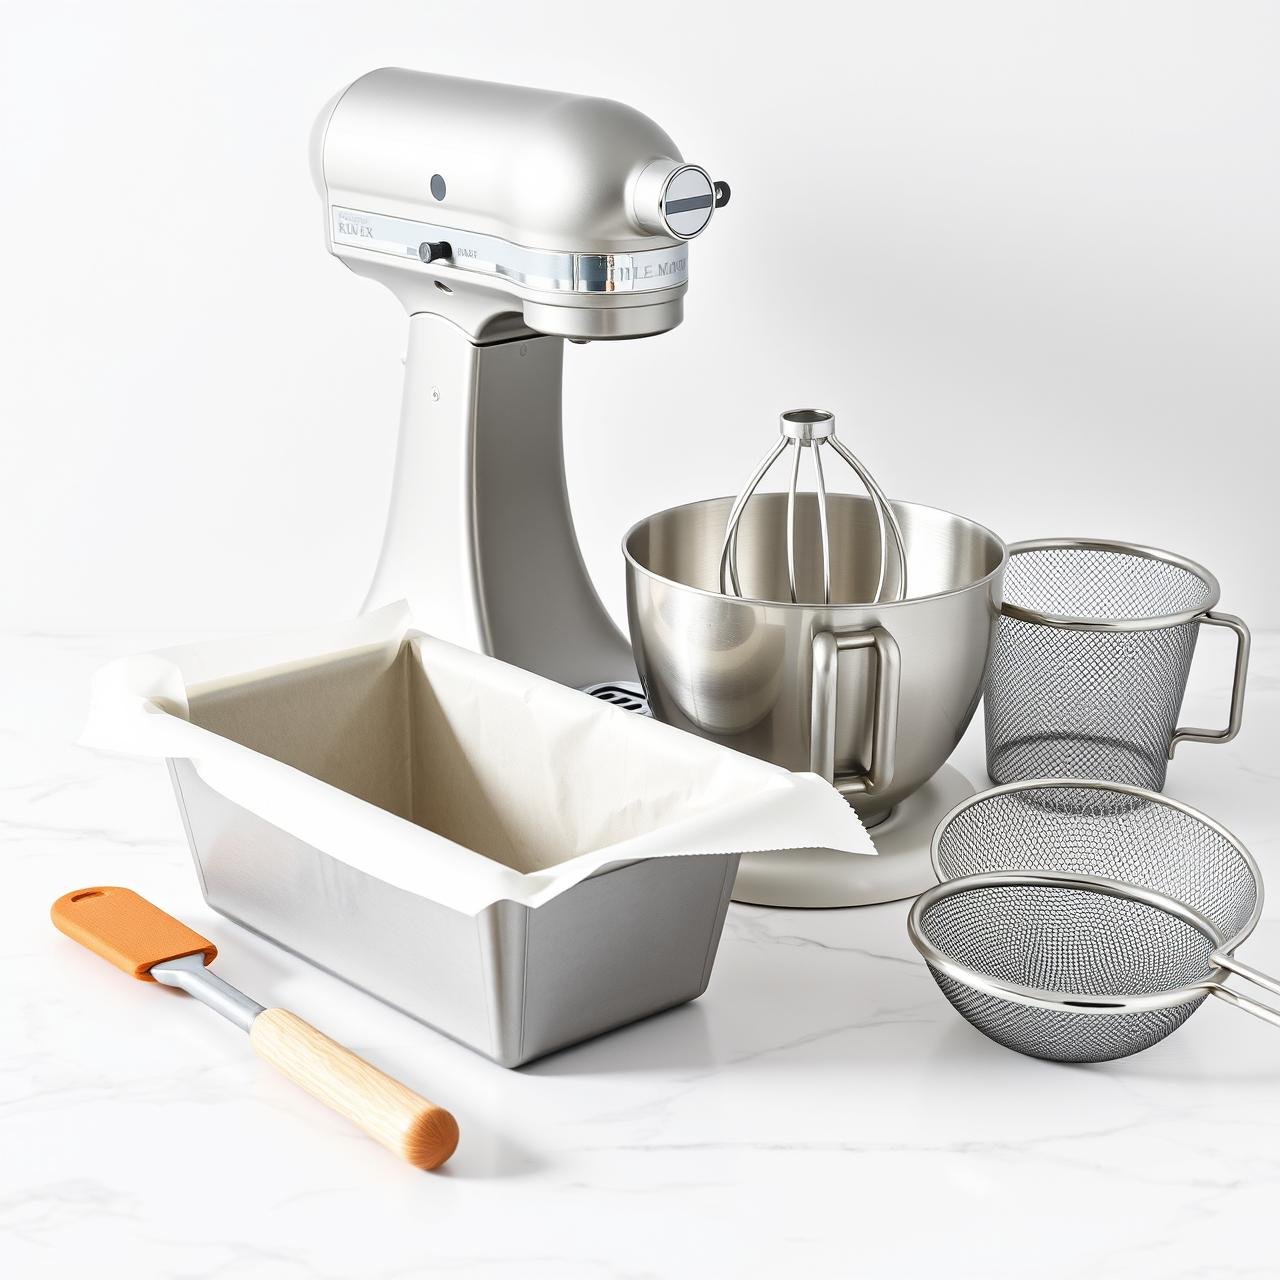
Achieving the perfect airy texture requires the right equipment. Before you begin, ensure you have these kitchen essentials ready to go. The right tools make the process smooth and guarantee a successful, fluffy loaf.
| Tool | Chef’s Note |
|---|---|
| Stand Mixer or Electric Hand Mixer | Absolutely crucial for achieving the stiff, stable egg white peaks required. Attempting this by hand is not recommended as it’s nearly impossible to get the necessary volume and stability. |
| 8.5 x 4.5 inch Loaf Pan | This standard size provides the perfect dimensions for an even bake and the classic loaf shape. A glass or light-colored metal pan is ideal. |
| Parchment Paper | This is non-negotiable for preventing the delicate bread from sticking. We recommend creating a ‘sling’ with overhanging sides for easy lifting after baking. |
| Rubber or Silicone Spatula | Essential for gently folding the dry ingredients into the egg whites. Its flexible edge ensures you can incorporate everything without deflating your precious air-filled batter. |
| Fine-Mesh Sieve | Sifting the dry ingredients is a critical step to prevent clumps of protein powder or psyllium husk, ensuring a perfectly smooth and uniform crumb. |
The Building Blocks: High-Protein Cloud Bread Ingredients
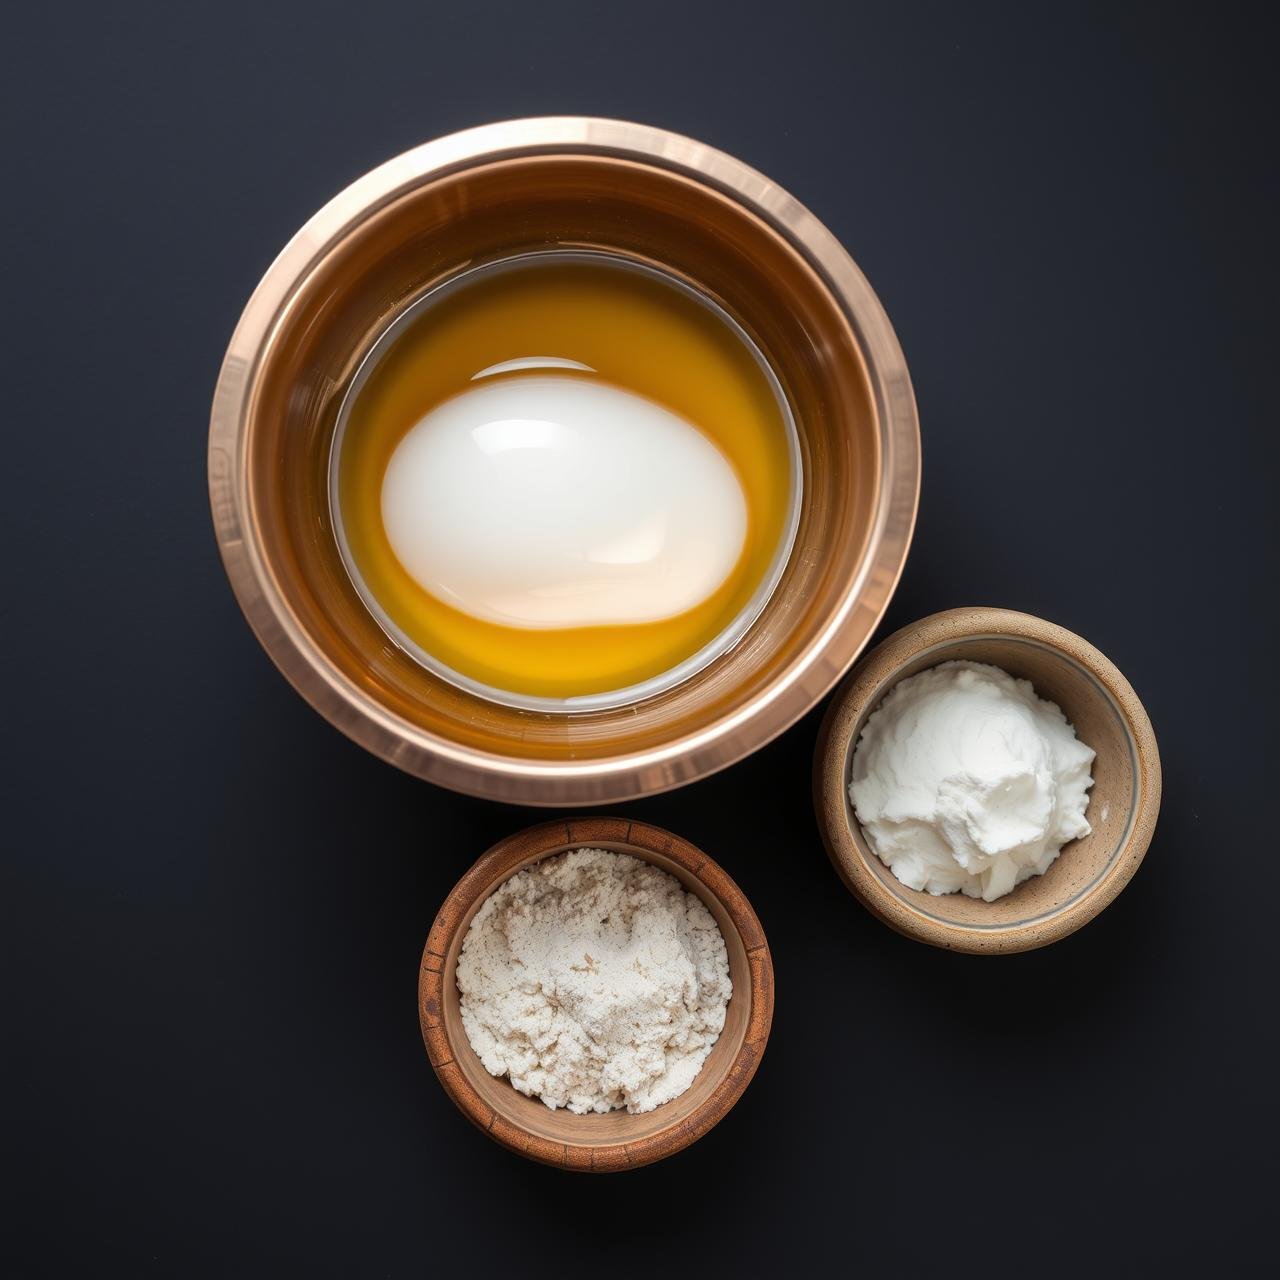
The beauty of this recipe is its simplicity and reliance on a few powerful ingredients. For best results, use a kitchen scale for accuracy, especially for the powders.
- 6 large egg whites (about 180g), at room temperature
- 1/2 teaspoon cream of tartar
- 1/2 cup (50g) unflavored protein powder (whey isolate or egg white powder are recommended)
- 2 tablespoons (18g) whole psyllium husk powder
- 1/4 teaspoon fine sea salt
- Optional: 1/2 teaspoon garlic powder, onion powder, or dried herbs for a savory loaf.
Crafting the Loaf: A Step-by-Step Guide
Follow these instructions carefully, paying close attention to the technique, especially when whipping and folding. The process is straightforward, but precision is key to a light, airy result.
-
Prepare Your Station
Preheat your oven to 325°F (165°C). Line an 8.5 x 4.5 inch loaf pan with parchment paper, allowing some overhang on the two long sides to create a ‘sling’. This will make it much easier to lift the finished loaf out of the pan.
-
Sift the Dry Ingredients
In a small bowl, combine the protein powder, psyllium husk powder, and salt. Whisk them together, then sift the mixture through a fine-mesh sieve into another bowl. This step is vital to break up any clumps and ensure a smooth, uniform batter. Set aside.
-
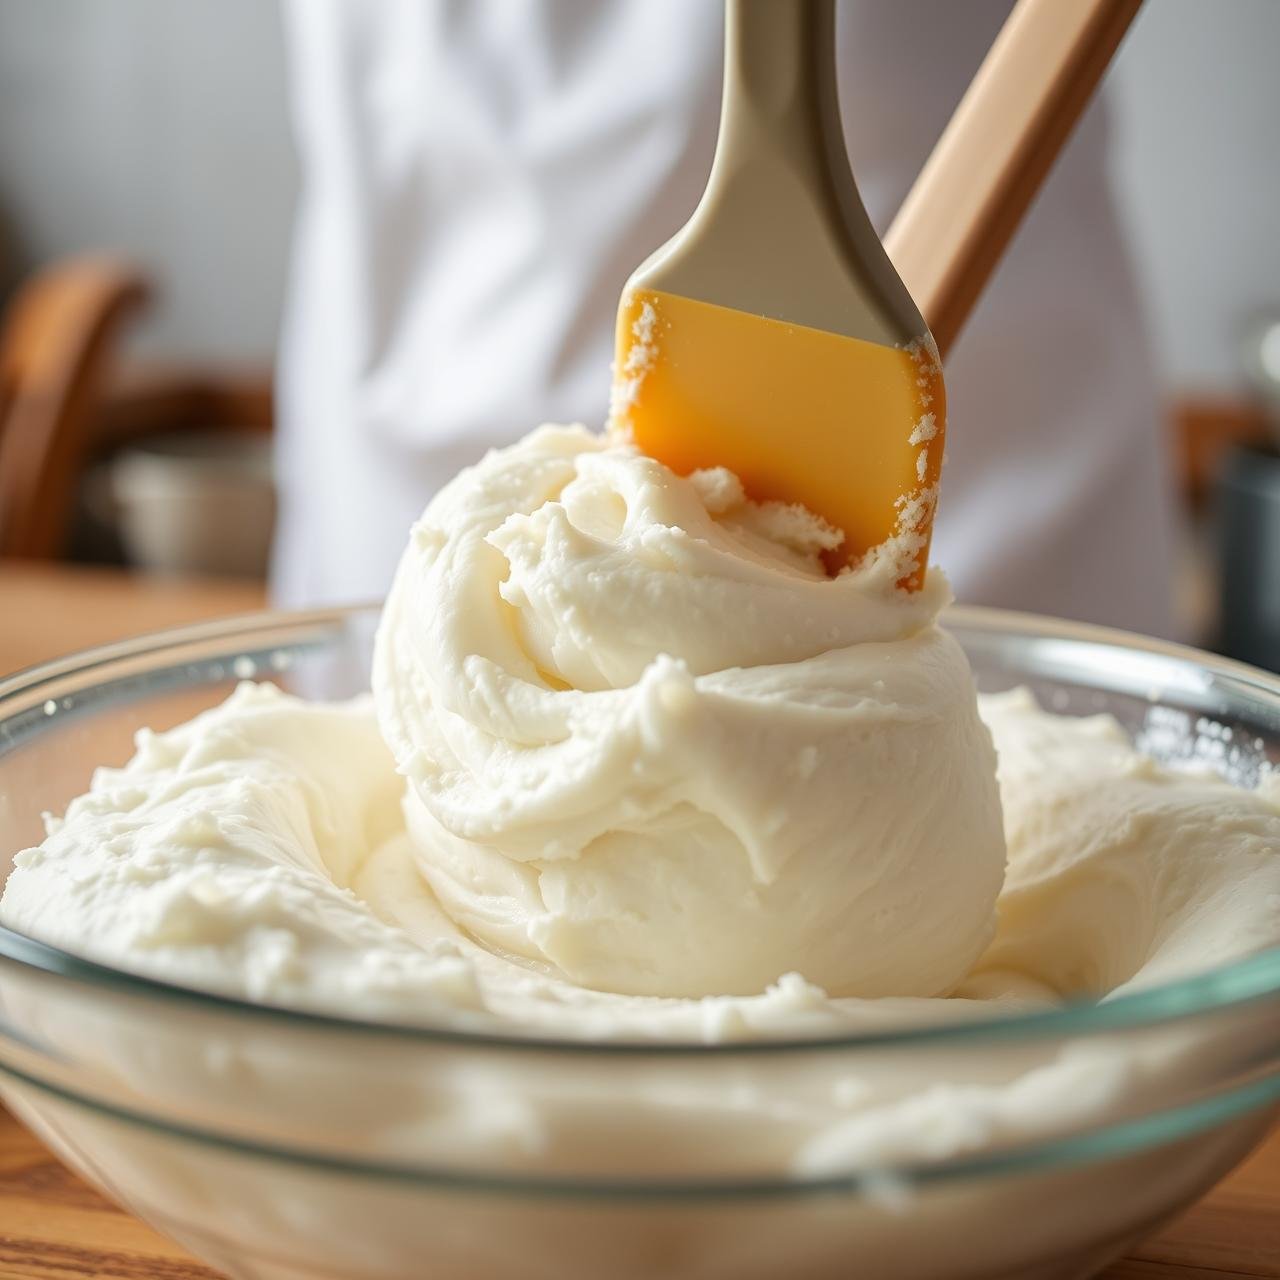
Whip the Egg Whites
In the spotlessly clean bowl of a stand mixer fitted with the whisk attachment (or using a large bowl and an electric hand mixer), add the 6 room-temperature egg whites and the cream of tartar. Start mixing on a low speed until foamy. Gradually increase the speed to medium-high and continue to whip for 5-8 minutes. You are looking for very stiff, glossy peaks. To test, stop the mixer and lift the whisk; the peak should stand straight up without drooping. You should be able to turn the bowl upside down without the mixture sliding out.
-
Gently Fold the Ingredients
Sprinkle about one-third of your sifted dry ingredient mixture over the surface of the whipped egg whites. Using a large rubber spatula, gently fold the dry ingredients into the whites. Use a ‘cut and fold’ motion—slice the spatula down through the middle, scrape along the bottom, and fold the batter over on itself. Rotate the bowl and repeat. Continue this gentle process, adding the dry ingredients in two more additions, until just combined. Be careful not to over-mix; you want to maintain as much air and volume as possible.
-
Fill the Loaf Pan
Carefully spoon the airy batter into your prepared loaf pan. Use your spatula to gently spread it into the corners and smooth the top into an even, slightly domed shape. Work gently to avoid pressing out the air you worked so hard to incorporate.
-
Bake to Golden Perfection
Place the loaf pan on the center rack of your preheated oven. Bake for 30-35 minutes. The loaf is done when it is puffed, a deep golden brown on top, and springs back when you gently press on it. A skewer inserted into the center should come out clean.
-
The Crucial Cooling Period
This step is critical for the bread’s structure. Turn off the oven, but leave the bread inside with the door slightly ajar for 10 minutes. This helps it cool gradually and prevents it from collapsing. Then, remove the pan from the oven and let it cool on a wire rack for another 15-20 minutes. Finally, use the parchment paper sling to lift the loaf out of the pan and let it cool completely on the wire rack before even thinking about slicing. Slicing while warm will result in a gummy texture.
From Our Kitchen to Yours: Chef’s Tips for Cloud Bread Success
A few professional insights can make the difference between a good loaf and a great one. Keep these tips in mind for flawless results every time.
Room Temperature is Non-Negotiable
We can’t stress this enough: your egg whites must be at room temperature. Cold egg whites will not whip up to their full, airy potential. To quickly bring eggs to room temperature, place them in a bowl of warm (not hot) water for 5-10 minutes.
A Spotlessly Clean Bowl
Any trace of fat, oil, or even a speck of egg yolk in your mixing bowl or on your whisk will prevent the egg whites from forming stiff peaks. Make sure your equipment is impeccably clean and dry before you start.
Don’t Under-whip, Don’t Over-fold
The success of the loaf hinges on the egg white structure. Ensure you whip to truly stiff peaks—when in doubt, whip for another minute. Conversely, when folding in the dry ingredients, be as gentle as possible. Stop folding the moment you no longer see dry streaks. Every fold removes a little bit of air.
Patience is a Virtue (Especially When Cooling)
The temptation to slice into a warm, fresh-from-the-oven loaf is strong, but you must resist! The cooling process is when the crumb fully sets and firms up. Slicing it prematurely will cause it to compress and become gummy. Wait until it’s completely cooled to room temperature for the best texture.
Flavor Variations
This recipe is a wonderful canvas. For a savory loaf, fold in 1/2 teaspoon each of garlic powder and dried rosemary with the dry ingredients. For a touch of sweetness, add a tablespoon of your favorite powdered keto-friendly sweetener. Sprinkling everything bagel seasoning on top before baking is also a delicious option.
The Healthy Breakdown: Nutritional Information
Here is an estimated nutritional breakdown per slice, assuming the loaf is cut into 12 even slices. Please note that actual values may vary based on the specific brands of ingredients used.
| Nutrient | Amount Per Slice (Approx.) |
|---|---|
| Calories | 30 kcal |
| Protein | 6g |
| Total Carbohydrates | 1.5g |
| Fiber | 1g |
| Net Carbohydrates | 0.5g |
| Fat | 0.1g |
| Sodium | 110mg |
Keeping it Fresh: Storage and Serving Suggestions
Proper Storage
Once completely cool, your cloud bread loaf should be stored in an airtight container or a sealed bag in the refrigerator. Due to its high egg content, it is not recommended to store it at room temperature. It will stay fresh for up to 5 days. You can also freeze it! Slice the entire loaf, separate the slices with small squares of parchment paper, and store in a freezer-safe bag for up to 3 months. Toast slices directly from frozen.
Serving Ideas
The possibilities are endless now that you have a sturdy, sliceable loaf!
- Classic Toast: Toast slices until golden and top with butter, avocado, or sugar-free jam.
- Hearty Sandwiches: This bread is strong enough to hold up to your favorite fillings, from a classic BLT to a loaded turkey club.
- French Toast: Its absorbent texture makes for incredible low-carb French toast. Dip slices in an egg and cinnamon mixture and pan-fry in butter.
- Croutons: Cube stale slices, toss with olive oil and seasonings, and bake until crispy for a perfect salad or soup topper.
- Alongside Soups & Stews: A perfect, light-as-air slice for dipping into a warm, comforting bowl of soup.
Conclusion
This high-protein, sliceable cloud bread loaf is more than just an internet trend—it’s a true baking revolution. It solves every shortcoming of the original viral recipe, delivering a satisfying, versatile, and incredibly healthy bread alternative that fits seamlessly into any lifestyle. It’s a testament to how a few smart ingredient choices can transform a simple concept into something truly spectacular.
No longer do you have to choose between your health goals and the simple pleasure of a sandwich. This loaf provides the structure, the texture, and the delicious potential you’ve been searching for. So preheat your oven, grab your whisk, and get ready to transform your perception of low-carb baking. This high-protein cloud bread isn’t just a recipe; it’s a delicious, satisfying, and sliceable new staple for your healthy kitchen.