The Lazy Girl’s Sheet Pan Chicken That Preps Lunch for the Whole Week
In the relentless rhythm of a busy week, the midday meal often becomes an afterthought—a hasty decision made out of hunger, not intention. We resort to expensive takeout, lackluster salads, or worse, skipping lunch altogether. But what if you could have a wholesome, delicious, and home-cooked meal every single day, with only about 15 minutes of active effort once a week? Welcome to the ultimate life hack for your lunch routine: The Lazy Girl’s Sheet Pan Chicken. This isn’t just a recipe; it’s a strategy. It’s about investing a small sliver of your time to reap a week’s worth of delicious, stress-free rewards. We’re embracing the rustic simplicity of roasting—a culinary technique that coaxes deep, caramelized flavors from the humblest of ingredients. Imagine tender, juicy chicken seasoned to perfection, nestled alongside sweet, earthy root vegetables and vibrant, crisp-tender greens, all cooked together on a single pan. The cleanup is negligible, the results are spectacular, and your future self will thank you. Let’s transform your weekly meal prep from a chore into a simple, satisfying ritual.
Why This Sheet Pan Recipe is a Game-Changer
Before we dive into the particulars of chopping and seasoning, let’s appreciate the sheer brilliance of this method. This isn’t just another recipe to add to your collection; it’s a foundational technique that simplifies healthy eating and empowers even the most reluctant home cook. It’s a testament to the idea that great food doesn’t have to be complicated.
The Pillars of Sheet Pan Perfection:
- Minimal Cleanup: The undeniable star of the show. By containing the entire cooking process to one vessel (lined with parchment paper for the ultimate easy cleanup), you’re eliminating a sink full of pots and pans. It’s a simple equation: less time cleaning means more time for everything else.
- Time-Saving Efficiency: This recipe is built around efficiency. The prep work is consolidated into one short burst of activity. Once the pan is in the oven, your work is done. The oven handles the heavy lifting, giving you back precious time.
- Nutritionally Balanced by Design: Crafting a balanced meal is effortless here. We’re combining lean protein (chicken), complex carbohydrates for sustained energy (sweet potatoes), and fiber-rich vegetables (broccoli, peppers, onions). It’s a complete, nourishing meal in every portion.
- Incredibly Budget-Friendly: The ingredients are simple, accessible, and affordable. Chicken breasts, seasonal vegetables, and pantry-staple spices are all you need. This method helps reduce food waste and eliminates the daily cost of buying lunch.
- Endlessly Versatile: Think of this recipe as a template, not a strict rule. As we’ll explore later, you can swap out virtually every component to suit your taste, use up what’s in your fridge, or align with seasonal produce. It’s a recipe that grows and adapts with you.
Gather Your Tools: Essential Equipment
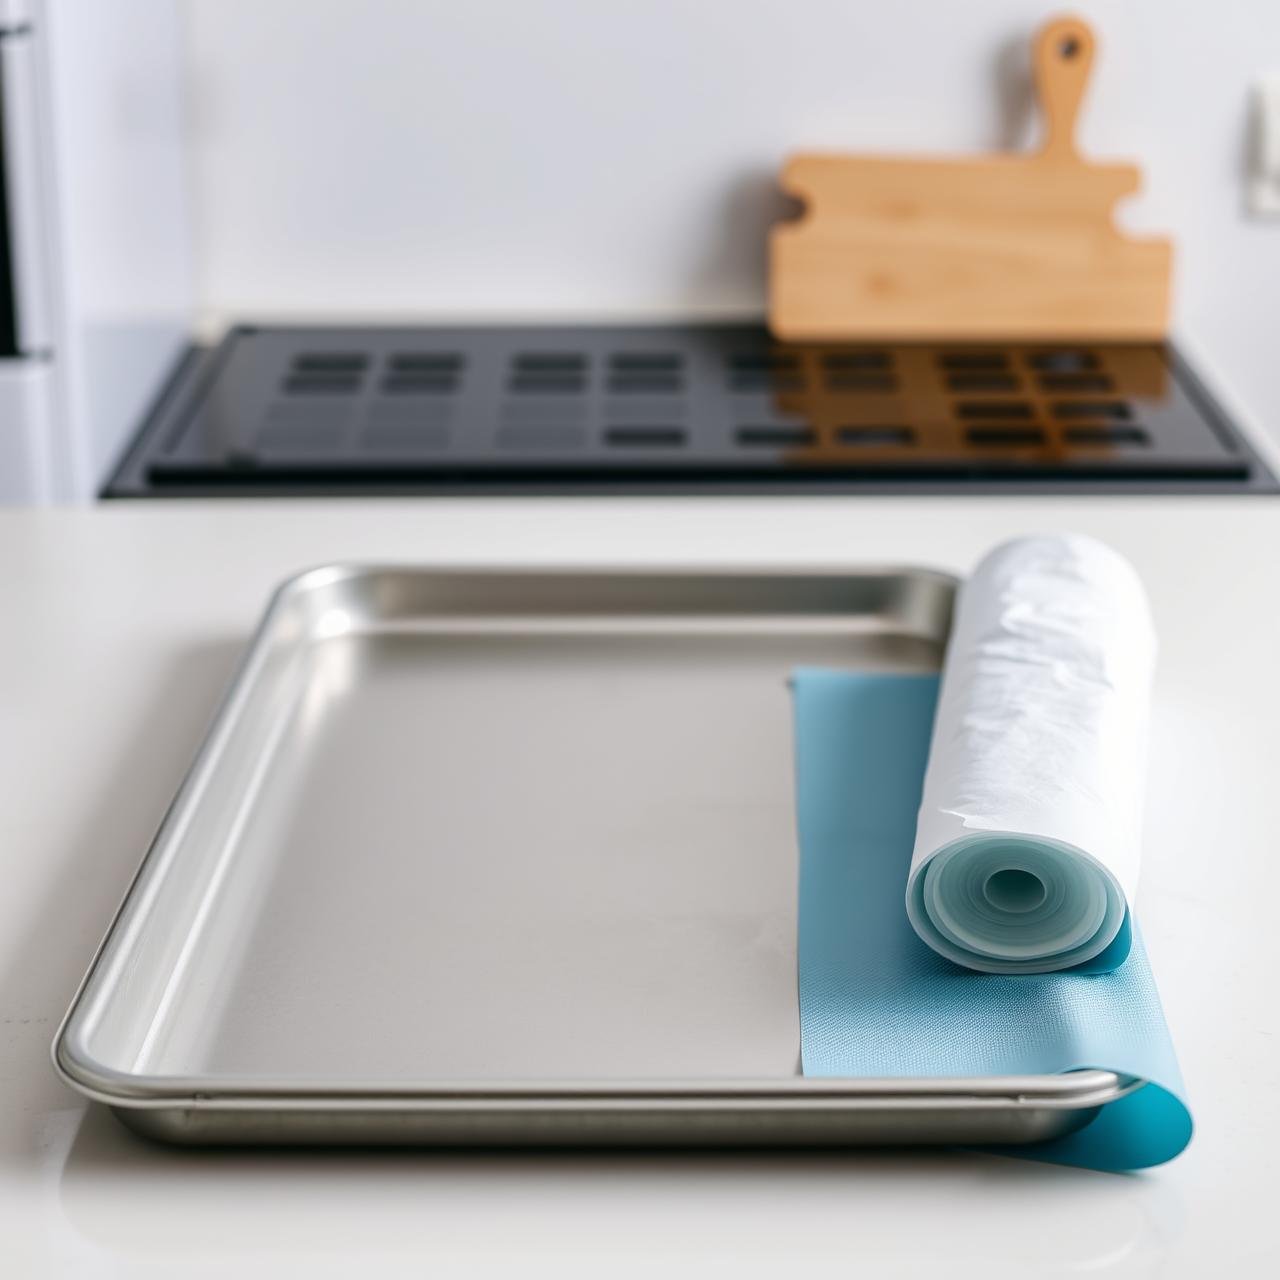
A great recipe is made even better with the right tools. The good news is, you don’t need any fancy or specialized gadgets. The beauty of this meal is its reliance on basic kitchen workhorses. Having these items ready will make the process seamless.
| Tool | Chef’s Note |
|---|---|
| Heavy-Duty Baking Sheet | This is your most important tool. A thick, heavy-gauge aluminum pan (often called a half-sheet pan) will conduct heat evenly, preventing hot spots and promoting uniform browning. Avoid thin, dark-colored pans which can burn the bottoms of your vegetables. |
| Parchment Paper or Silicone Mat | This is non-negotiable for the ‘lazy’ part of the recipe. It prevents sticking and makes cleanup as simple as lifting and tossing the paper. A silicone mat is a reusable, eco-friendly alternative. |
| Large Mixing Bowl | While you can season ingredients directly on the pan, using a large bowl ensures every single piece of chicken and vegetable is evenly coated in oil and spices, which is the secret to maximum flavor. |
| Sharp Chef’s Knife & Cutting Board | Efficient and safe chopping starts with a sharp knife. This will make prepping your vegetables a quick and pleasant task rather than a frustrating chore. |
| Meal Prep Containers | Invest in a set of 4-5 quality airtight containers. Glass containers are great as they can often go from the fridge directly to the microwave. |
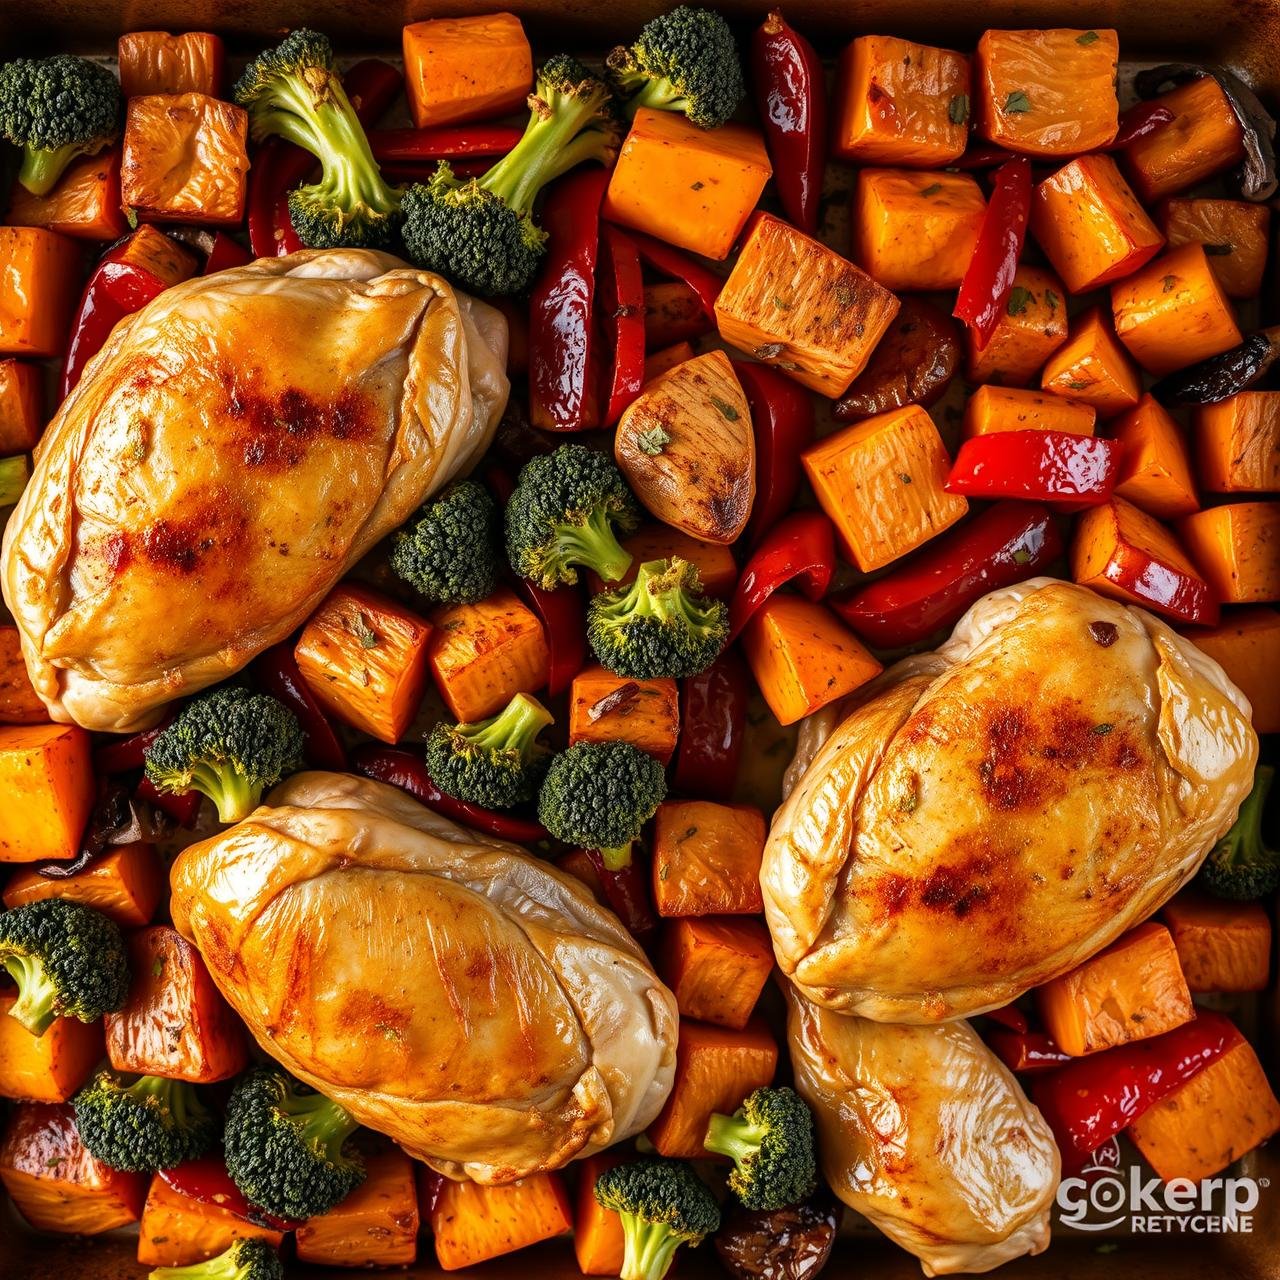
The Perfect Ingredient Lineup
This combination of ingredients is a classic for a reason. It delivers a wonderful balance of savory, sweet, and earthy flavors, along with a satisfying mix of textures. All quantities are designed to yield 4-5 generous lunch portions.
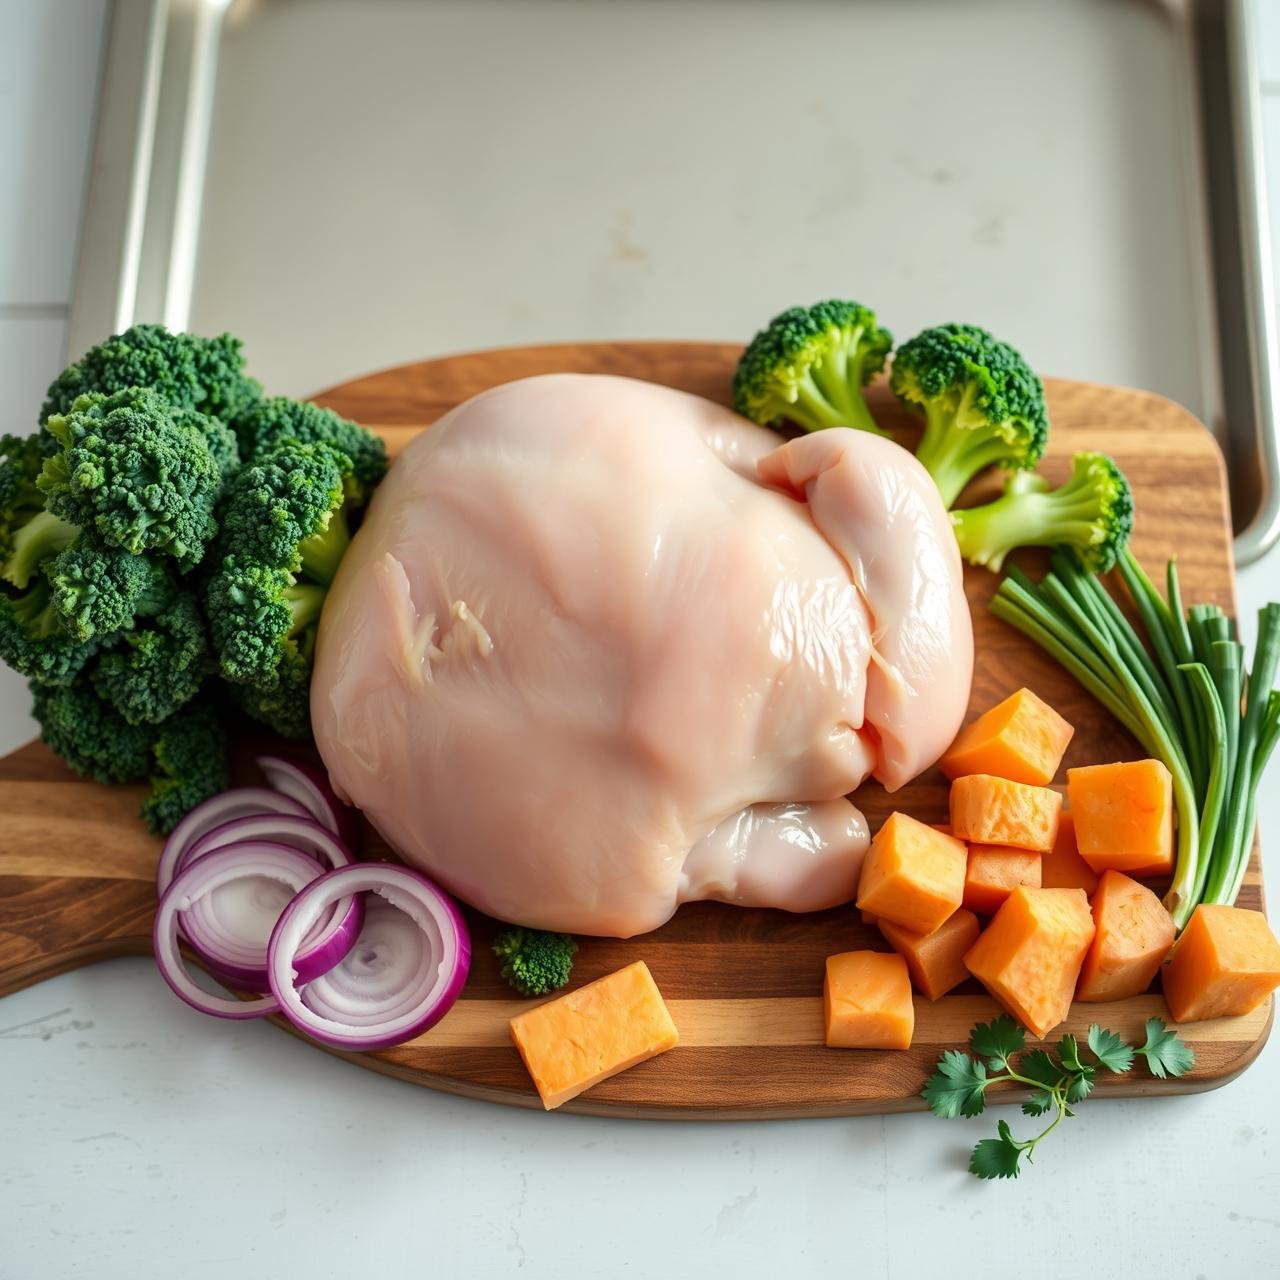
For the Core Components:
- Chicken: 1.5 to 2 pounds of boneless, skinless chicken breasts, cut into 1-inch cubes.
- Sweet Potatoes: 2 medium (about 1.5 pounds), peeled and cut into 3/4-inch cubes.
- Broccoli: 1 large head (about 1 pound), cut into medium-sized florets.
- Red Bell Pepper: 1 large, seeded and sliced into strips.
- Red Onion: 1 medium, cut into thick wedges.
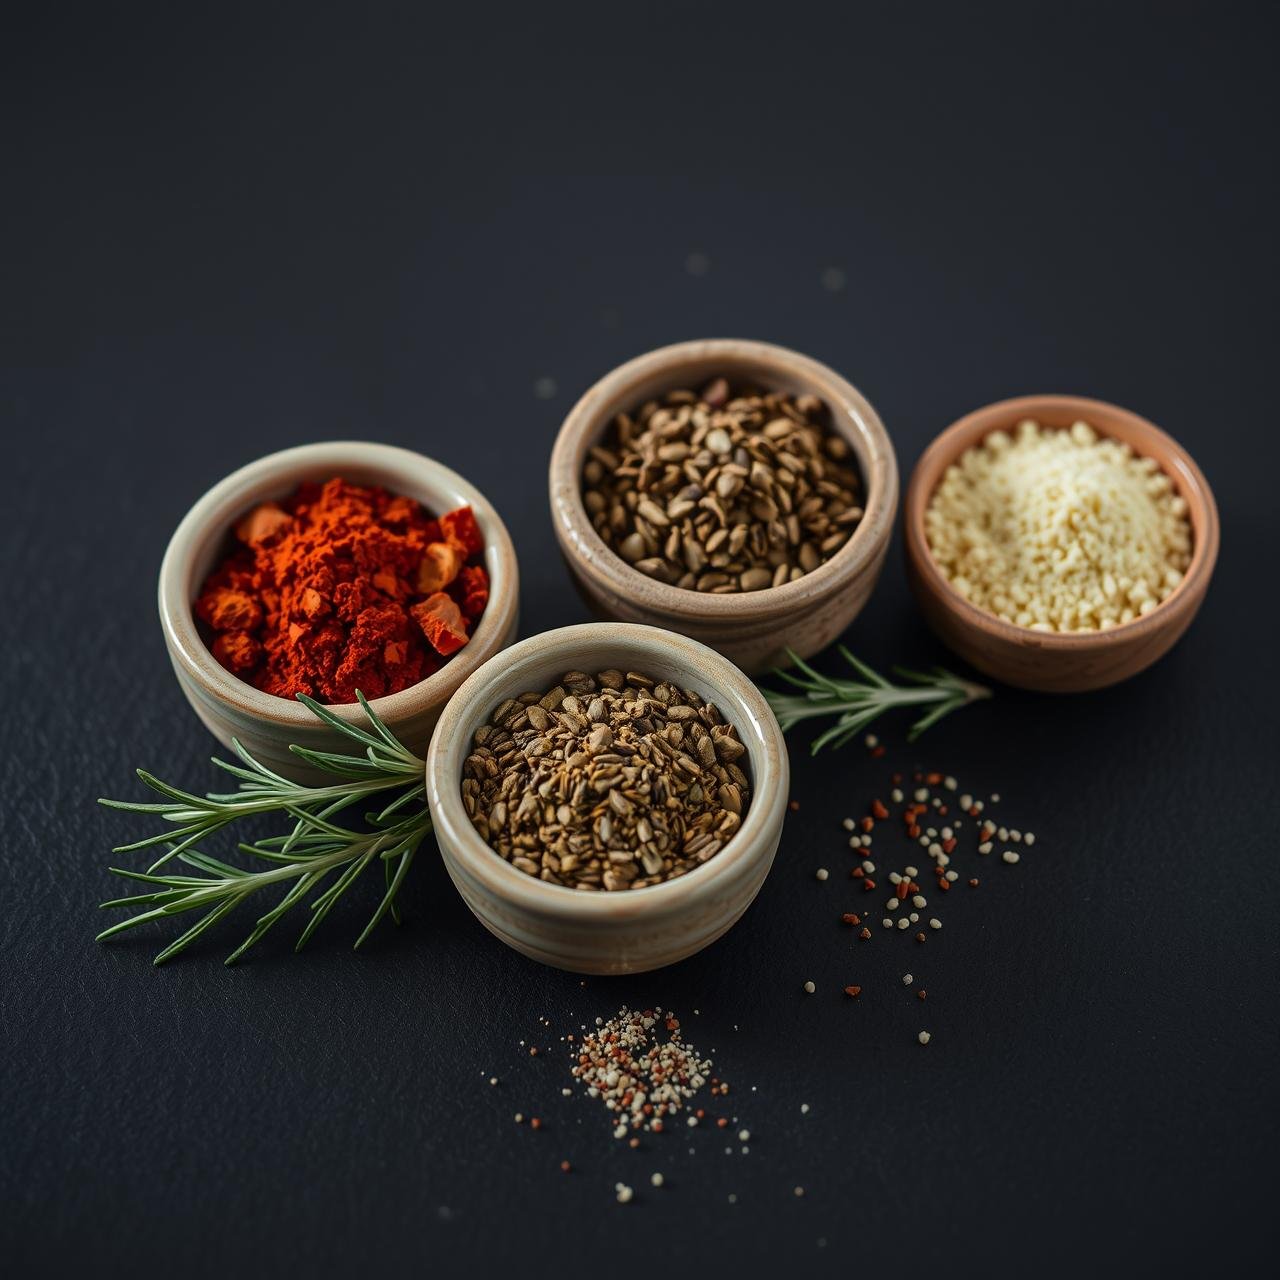
For the Seasoning & Marinade:
- Olive Oil: 1/4 cup of extra-virgin olive oil, divided.
- Dried Oregano: 2 teaspoons.
- Garlic Powder: 2 teaspoons.
- Smoked Paprika: 1 teaspoon (this adds a beautiful color and smoky depth).
- Kosher Salt: 1.5 teaspoons, or to taste.
- Black Pepper: 1 teaspoon of freshly ground black pepper.
The Simple, Foolproof Method: A Step-by-Step Guide
Follow these steps methodically, and you’ll be rewarded with a perfectly cooked, flavor-packed meal. The key is in the layering of tasks and understanding how different ingredients cook.
- Preparation is Key: Preheat your oven to 400°F (200°C). Line a large, rimmed baking sheet with parchment paper. This simple step is your ticket to an easy cleanup.
- Seasoning First: In a small bowl, combine all the spices: dried oregano, garlic powder, smoked paprika, kosher salt, and black pepper. Stir them together until you have a uniform seasoning blend. This ensures even flavor distribution later on.
- Prep the Hearty Vegetables: In a large mixing bowl, add the cubed sweet potatoes and red onion wedges. Drizzle with about half of the olive oil (2 tablespoons) and sprinkle with half of your prepared seasoning blend. Use your hands to toss everything thoroughly until each piece is lightly coated.
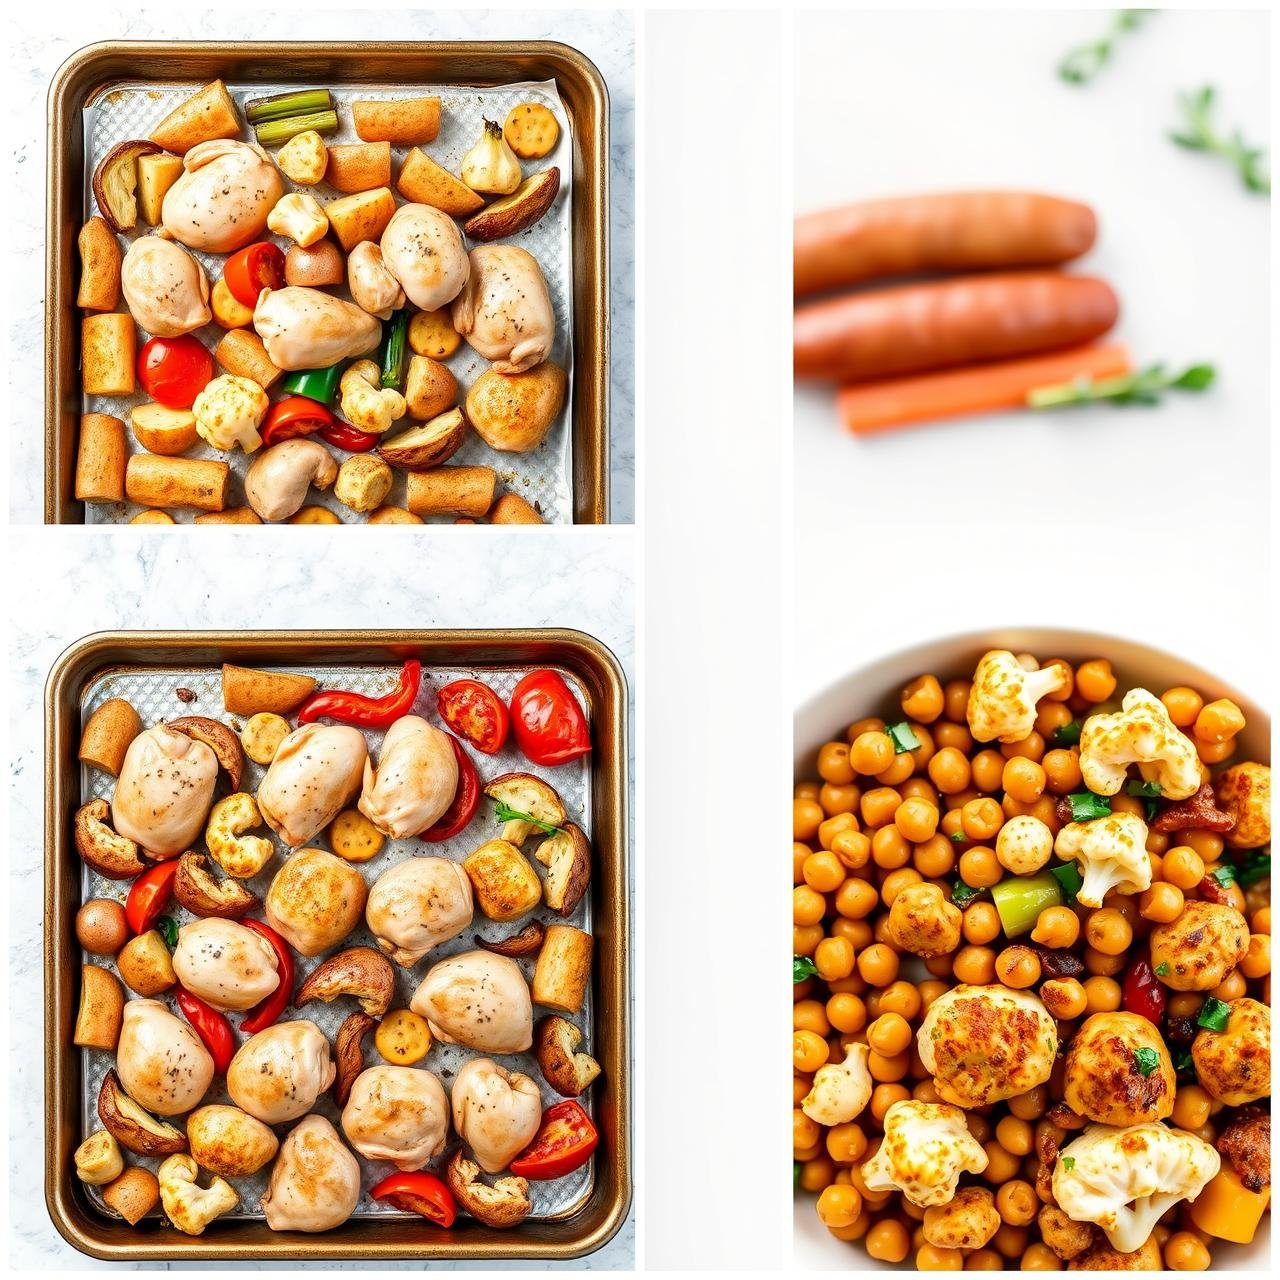
- First Roast: Spread the seasoned sweet potatoes and onions onto your prepared baking sheet in a single, even layer. It’s crucial not to overcrowd the pan. Place the pan in the preheated oven and roast for 15 minutes. This gives the denser vegetables a head start.
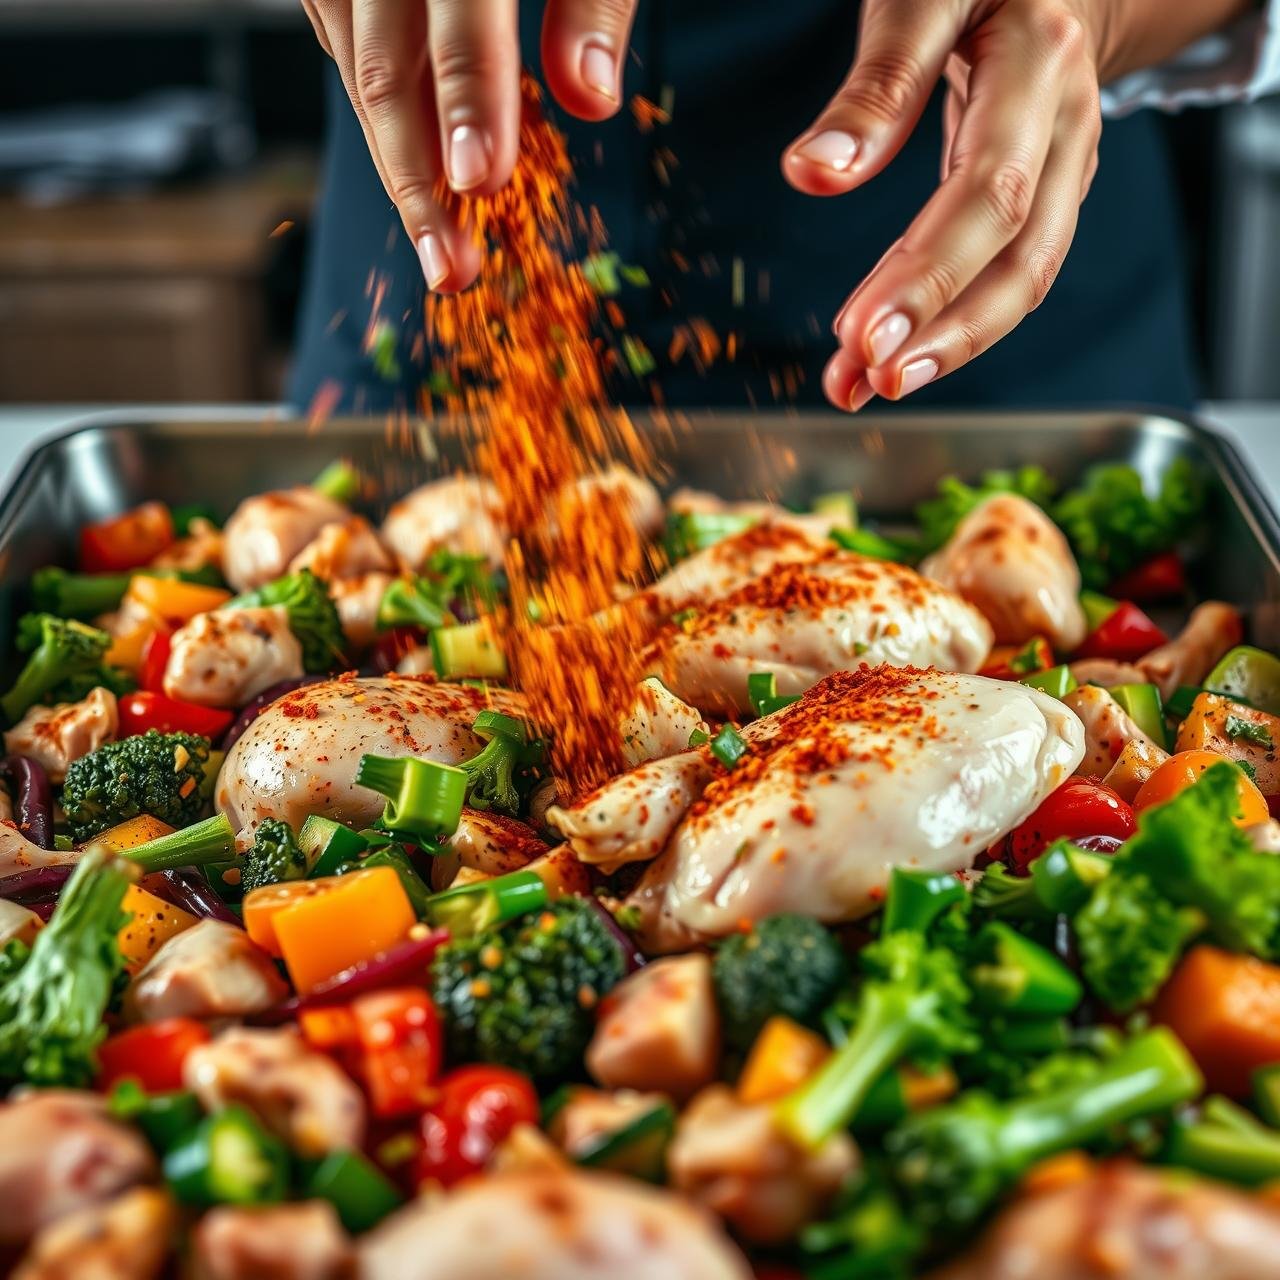
- Prep the Remaining Ingredients: While the root vegetables are roasting, add the cubed chicken, broccoli florets, and sliced red bell pepper to the now-empty mixing bowl (no need to wash it). Add the remaining olive oil (2 tablespoons) and the rest of the seasoning blend. Toss until everything is well-coated.
- Combine and Conquer: After 15 minutes, carefully remove the baking sheet from the oven. Push the partially cooked sweet potatoes and onions to one side and add the chicken and broccoli mixture to the other side of the pan. Spread everything out into a single layer again.
- Final Roast: Return the pan to the oven and roast for another 15-20 minutes. The chicken should be cooked through (reaching an internal temperature of 165°F), the sweet potatoes should be tender, and the broccoli should be bright green and slightly charred at the edges.
- Rest and Serve: Remove the pan from the oven and let it rest for a few minutes before portioning it out for your weekly lunches.
From My Kitchen to Yours: Expert Tips for Success

The difference between a good sheet pan meal and a great one often comes down to a few key techniques. These tips, learned through countless trials in the kitchen, will help you master the art of roasting.
Don’t Crowd the Pan
This is the most important rule of roasting. When ingredients are packed too tightly together, they trap moisture and steam instead of roasting. This results in soggy vegetables and pale chicken. If your ingredients don’t fit in a single layer, it’s far better to use two sheet pans than to crowd one.
The Right Pan Matters
As mentioned in the equipment section, a heavy-gauge, light-colored aluminum pan is your best friend. It distributes heat evenly, which is critical for consistent cooking. Dark, thin pans can create hot spots, leading to some vegetables burning while others remain undercooked.
Cut for Even Cooking
Pay attention to the size of your cuts. Hard, dense vegetables like sweet potatoes or carrots need to be cut smaller so they cook in the same amount of time as softer ingredients like bell peppers or broccoli. Giving them a head start in the oven, as we do in this recipe, is another professional technique to ensure everything is perfectly done at the same time.
High Heat is Your Friend
Roasting requires high heat, typically between 400°F and 425°F. This high temperature is what creates the Maillard reaction and caramelization—the chemical processes responsible for the deep brown color and rich, complex flavors we love in roasted foods.
Pat Your Chicken Dry
Before cubing and seasoning your chicken, take a moment to pat it thoroughly dry with paper towels. Excess moisture on the surface of the chicken will create steam and inhibit browning. A dry surface allows the chicken to sear and develop a beautiful golden crust in the oven’s dry heat.
Make It Your Own: Fun Variations & Swaps
Once you’ve mastered the basic recipe, the real fun begins. Use this framework to create endless combinations based on your preferences or what’s available at the market.
Protein Swaps
- Chicken Thighs: For even juicier, more flavorful meat, use boneless, skinless chicken thighs. They are more forgiving and less prone to drying out.
- Sausage: Try using pre-cooked chicken or turkey sausage, or even slices of spicy Italian sausage for a completely different flavor profile.
- Vegetarian/Vegan: Swap the chicken for a 15-ounce can of chickpeas (rinsed and patted very dry) or 1 block of extra-firm tofu (pressed and cubed). Toss with the same seasonings and roast.
Vegetable Variations
- Root Veggies: Instead of sweet potatoes, try regular potatoes, carrots, or parsnips.
- Cruciferous Veggies: Cauliflower or Brussels sprouts are fantastic substitutes for broccoli.
- Quick-Cooking Veggies: Asparagus, zucchini, or cherry tomatoes can be added for the last 10-12 minutes of cooking.
Flavor Profile Twists
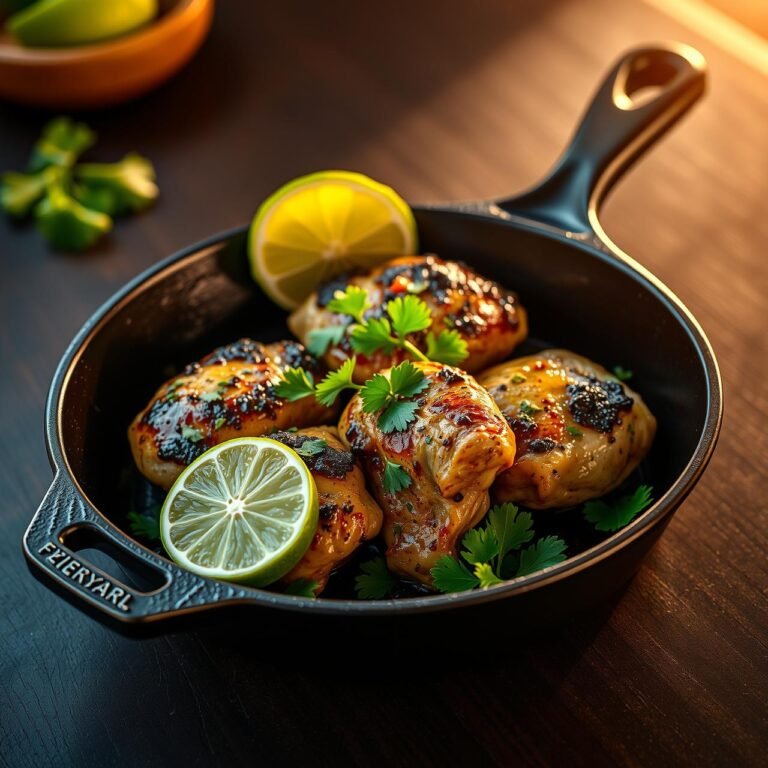
- Mexican-Inspired: Swap the oregano for cumin and chili powder. Add a squeeze of fresh lime juice after roasting and serve with a dollop of Greek yogurt or avocado.
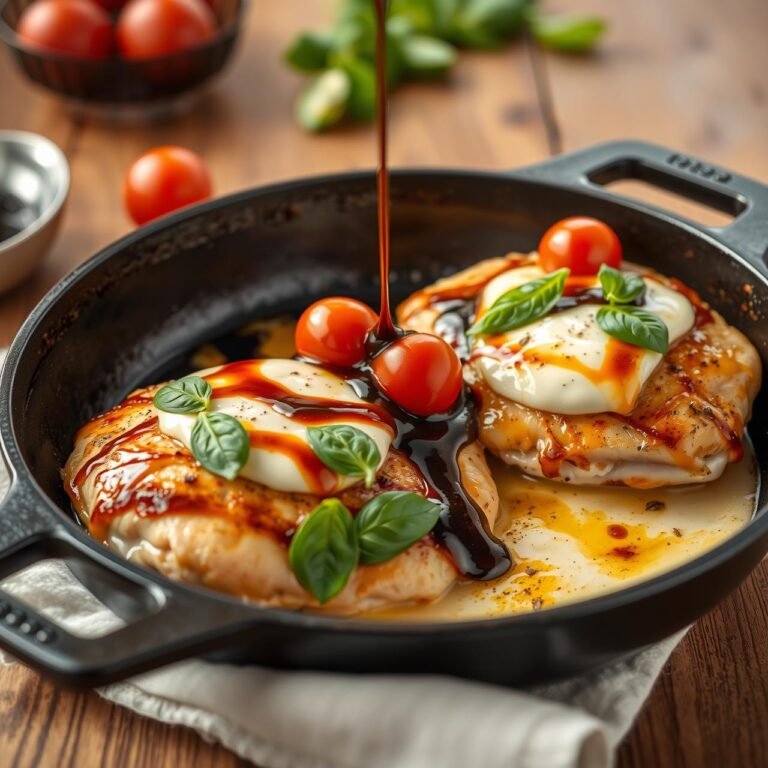
- Italian-Inspired: Use Italian seasoning, add some cherry tomatoes, and finish with a sprinkle of Parmesan cheese and fresh basil.
- Curry-Spiced: Replace the seasonings with a blend of curry powder, turmeric, and a pinch of cayenne for a warm, aromatic twist.
Meal Prep Mastery: Storing and Reheating
The final step is to set yourself up for a week of success. Proper storage and reheating will ensure your last portion tastes nearly as good as the first.
The Crucial Cooling Step
Do not portion and cover the food while it’s still hot. Trapped steam will create condensation, making your beautifully roasted vegetables soggy. Allow the contents of the sheet pan to cool on the counter for at least 20-30 minutes before dividing into containers.
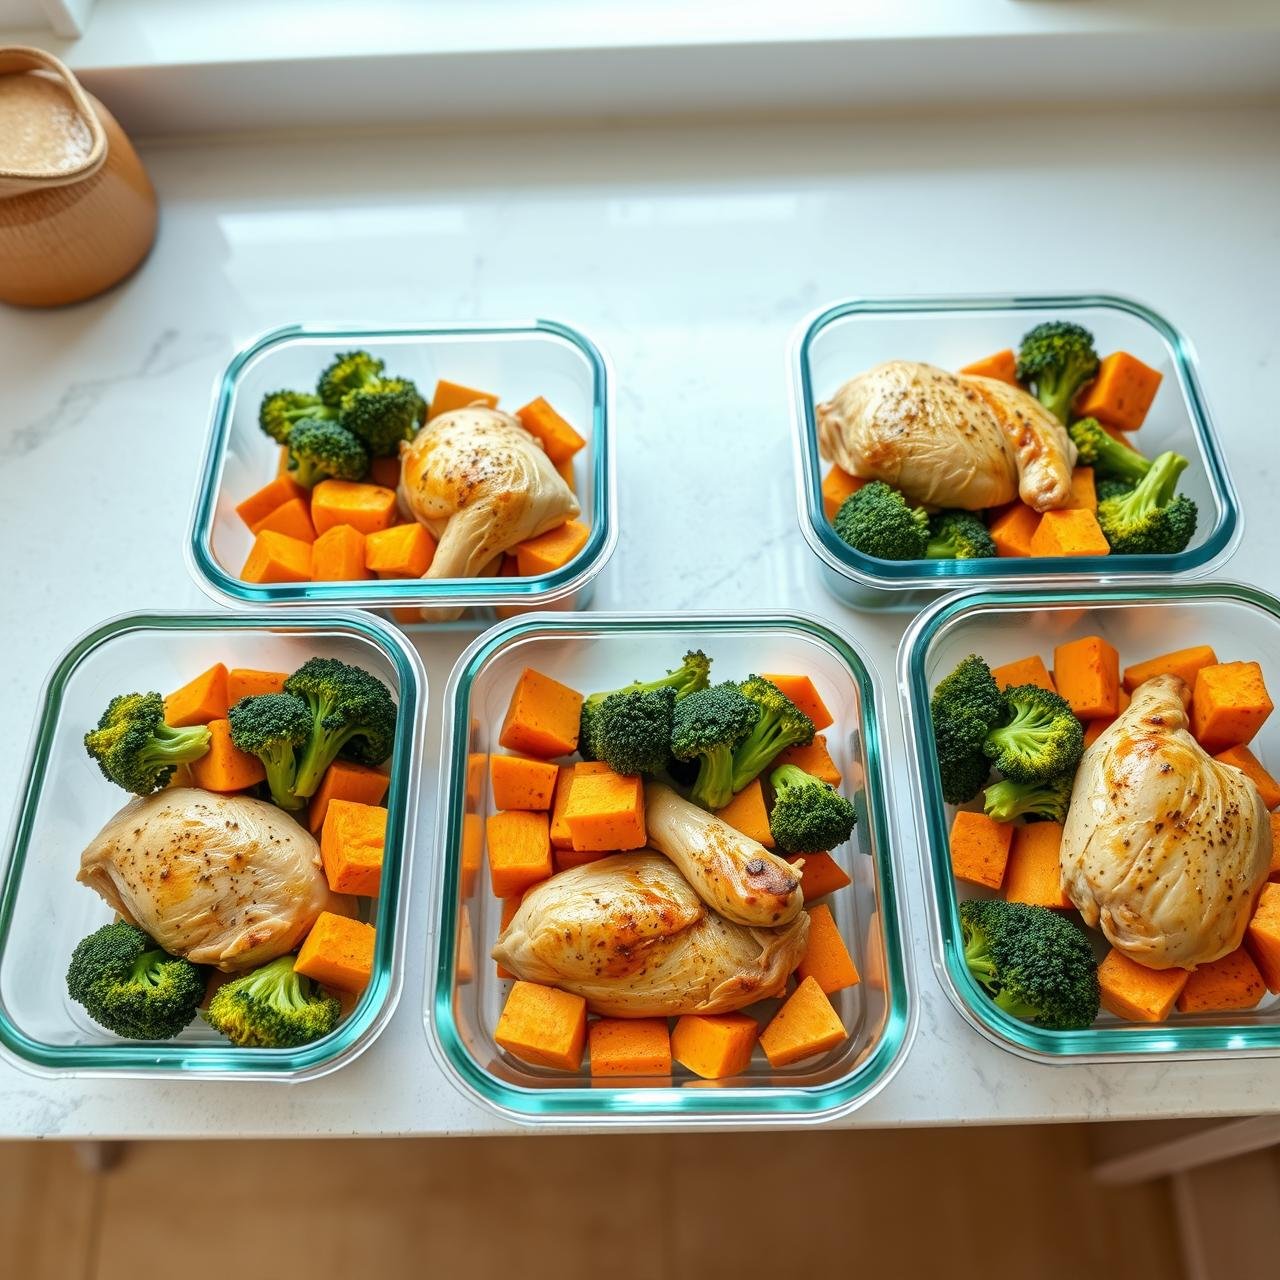
Portioning and Storing
Divide the chicken and vegetables evenly among 4 to 5 airtight meal prep containers. Store them in the refrigerator, where they will stay fresh and delicious for up to 4 days. If you want to add a grain, you can place a scoop of cooked quinoa or brown rice at the bottom of each container before adding the sheet pan mixture.
Reheating for Best Results
- Microwave (The Quickest): Place the meal in a microwave-safe container and cover loosely. Heat for 90 seconds to 2 minutes, stirring halfway through. This is the fastest method, but can sometimes soften the vegetables more.
- Stovetop (Better Texture): Heat a skillet over medium heat with a tiny bit of oil or water. Add the meal and sauté for 3-5 minutes, until warmed through. This helps to revive some of the roasted texture.
- Air Fryer or Toaster Oven (The Best): For the best texture, reheat in an air fryer or toaster oven at 375°F for 5-7 minutes. This will make the vegetables and chicken wonderfully crisp again, almost like they just came out of the oven.
A Healthy Choice: Nutritional Breakdown
This meal is designed to be as nourishing as it is convenient. Here is an estimated nutritional breakdown per serving, assuming the recipe yields 4 servings. Please note that these values are approximate and can vary based on the exact size and type of your ingredients.
| Nutrient | Estimated Amount per Serving |
|---|---|
| Calories | ~450 kcal |
| Protein | ~42g |
| Carbohydrates | ~35g |
| Dietary Fiber | ~8g |
| Sugars | ~12g |
| Fat | ~16g |
| Saturated Fat | ~3g |
| Sodium | ~650mg |
This balanced macronutrient profile provides a high dose of lean protein to keep you full and satisfied, complex carbohydrates from the sweet potato for lasting energy, and a wealth of vitamins, minerals, and fiber from the colorful array of vegetables.
Conclusion
You’ve done it. With one pan, a handful of wholesome ingredients, and less than an hour of your time, you’ve crafted a week’s worth of delicious, healthy lunches. This Sheet Pan Chicken recipe is more than just food; it’s a tool for empowerment in the kitchen. It proves that you don’t need to be a seasoned chef or have hours to spare to eat well. You can conquer your week, one delicious, home-cooked lunch at a time. So, embrace the simplicity, enjoy the flavors, and most importantly, savor the freedom that comes with having your meals beautifully prepped and ready to go. Give this recipe a try, make it your own, and reclaim your lunch break for good.