The Best Cheesy Chaffles With Almond Flour (Detailed Recipe)
There are moments in the culinary world that feel like pure magic—the discovery of a recipe that is not only profoundly delicious but also aligns perfectly with a healthy, clean-eating lifestyle. The chaffle is one such marvel. Born from the creative spirit of the keto community, this simple ‘cheese waffle’ has transformed low-carb eating from a world of compromise to one of indulgence. But not all chaffles are created equal. While the original two-ingredient version is a fantastic quick fix, we’re here to elevate it. By introducing fine blanched almond flour, we transform a simple cheesy bite into something truly special: a savory, bread-like creation with a tender crumb and a spectacularly crispy crust. It’s the perfect canvas for a breakfast sandwich, a rustic base for avocado toast, or simply a warm, cheesy snack to savor on its own. This detailed guide is more than just a recipe; it’s a masterclass in creating the perfect almond flour chaffle, every single time. We’ll walk you through the science of the ingredients, the nuances of the technique, and the secrets to achieving that mouth-watering texture that will make you forget traditional bread ever existed.
What Exactly Is a Chaffle?
For the uninitiated, the name ‘chaffle’ is a portmanteau of ‘cheese’ and ‘waffle.’ At its core, it’s a simple batter of shredded cheese and egg, cooked in a waffle maker until golden and crisp. This ingenious creation provides a sturdy, savory, and incredibly low-carb alternative to bread, buns, and traditional waffles. It was a game-changer for those on ketogenic or low-carb diets, offering a way to enjoy sandwiches, burgers, and breakfast favorites without the carbs and gluten.
However, the classic chaffle can sometimes be a bit dense or eggy. This is where our star ingredient, almond flour, comes in. Adding a carefully measured amount of fine, blanched almond flour fundamentally changes the game. It introduces a subtle, nutty richness and, more importantly, provides structure. The flour absorbs some of the moisture, resulting in a chaffle that is less like a fried cheese crisp and more like a genuine, fluffy bread. The texture becomes lighter, the crumb more tender, and the overall experience far more satisfying. It’s the chaffle, all grown up—sophisticated, delicious, and incredibly versatile.
Essential Equipment for Perfect Chaffles
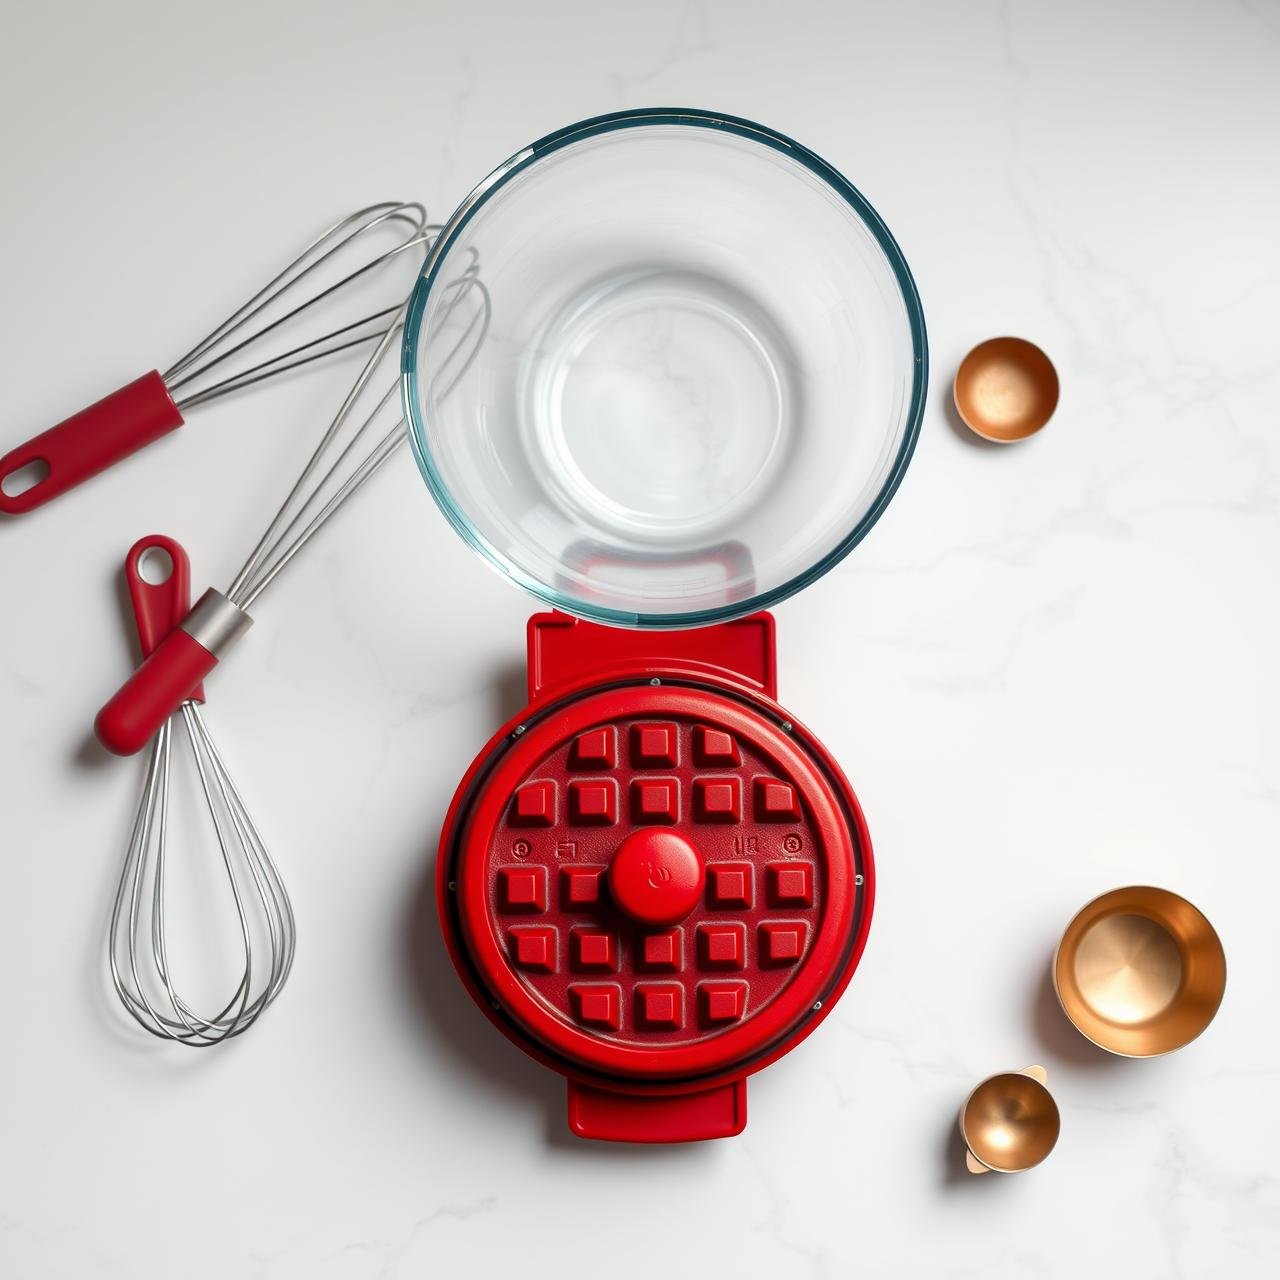
You don’t need a professional kitchen to whip up these delicious chaffles, but having the right tools makes the process seamless and ensures consistent results. Here’s the simple arsenal you’ll need.
| Tool | Chef’s Note |
|---|---|
| Mini Waffle Maker | This is the star of the show. A 4-inch mini waffle maker (like the popular Dash model) is ideal because it creates the perfect single-serving, sandwich-sized chaffle. Its small size ensures the chaffle cooks quickly and evenly, achieving that signature crispy exterior. |
| Mixing Bowl | A medium-sized glass or ceramic bowl is perfect for whisking your ingredients together without making a mess. |
| Whisk or Fork | A small whisk works best to fully incorporate the egg and almond flour, creating a smooth, homogenous batter. A fork will also do the trick in a pinch. |
| Measuring Cups & Spoons | Precision is key for the perfect texture. Use standard dry measuring cups for the flour and cheese, and measuring spoons for the baking powder. |
| Silicone Spatula | Helpful for scraping every last bit of the precious batter from the bowl and for gently lifting the finished chaffle from the hot waffle iron. |
| Wire Cooling Rack | This is a non-negotiable for crispiness! Placing hot chaffles directly on a plate will trap steam and make them soggy. A wire rack allows air to circulate, ensuring they firm up and stay delightfully crisp. |
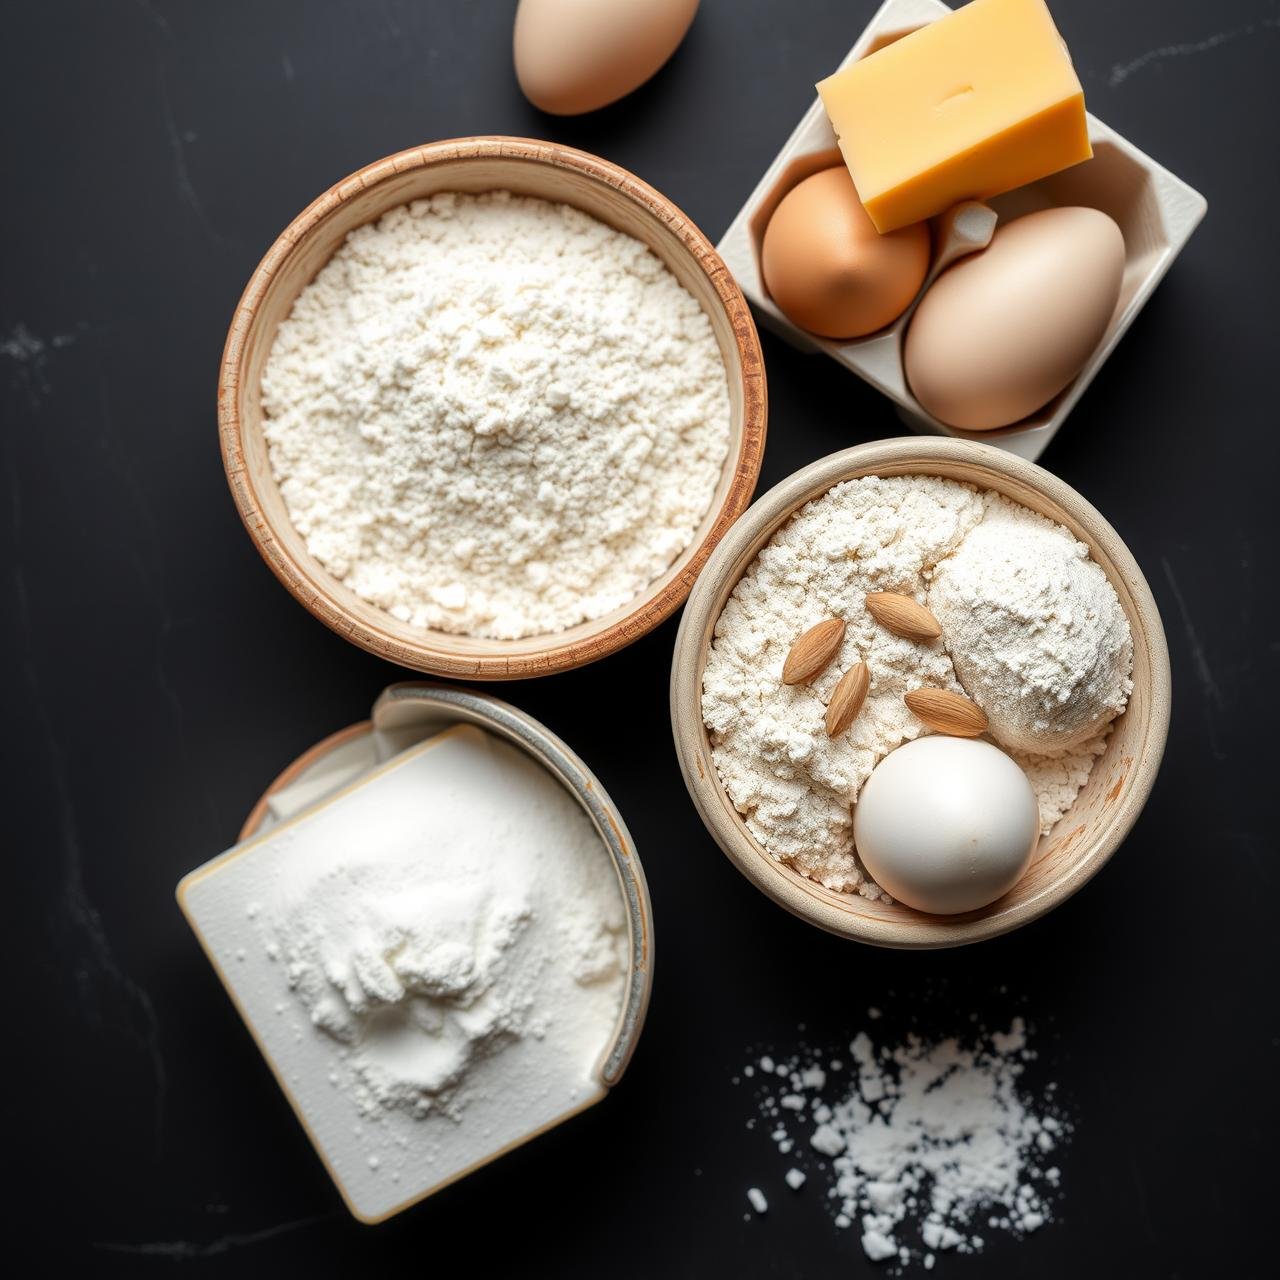
The Building Blocks of Flavor and Texture: Ingredients
The beauty of this recipe lies in its simplicity. Each of the four core ingredients plays a critical role in the final outcome. Understanding their function will make you a true chaffle connoisseur.
-
Fine Blanched Almond Flour
This is the secret to a superior, bread-like texture. Blanched almond flour, made from almonds that have had their skins removed, is lighter in color and finer in texture than almond meal. This fineness creates a tender crumb, not a gritty one. It provides structure and absorbs excess moisture from the egg and cheese, preventing the chaffle from becoming greasy or overly dense. For the best results, use a super-fine grind.
-
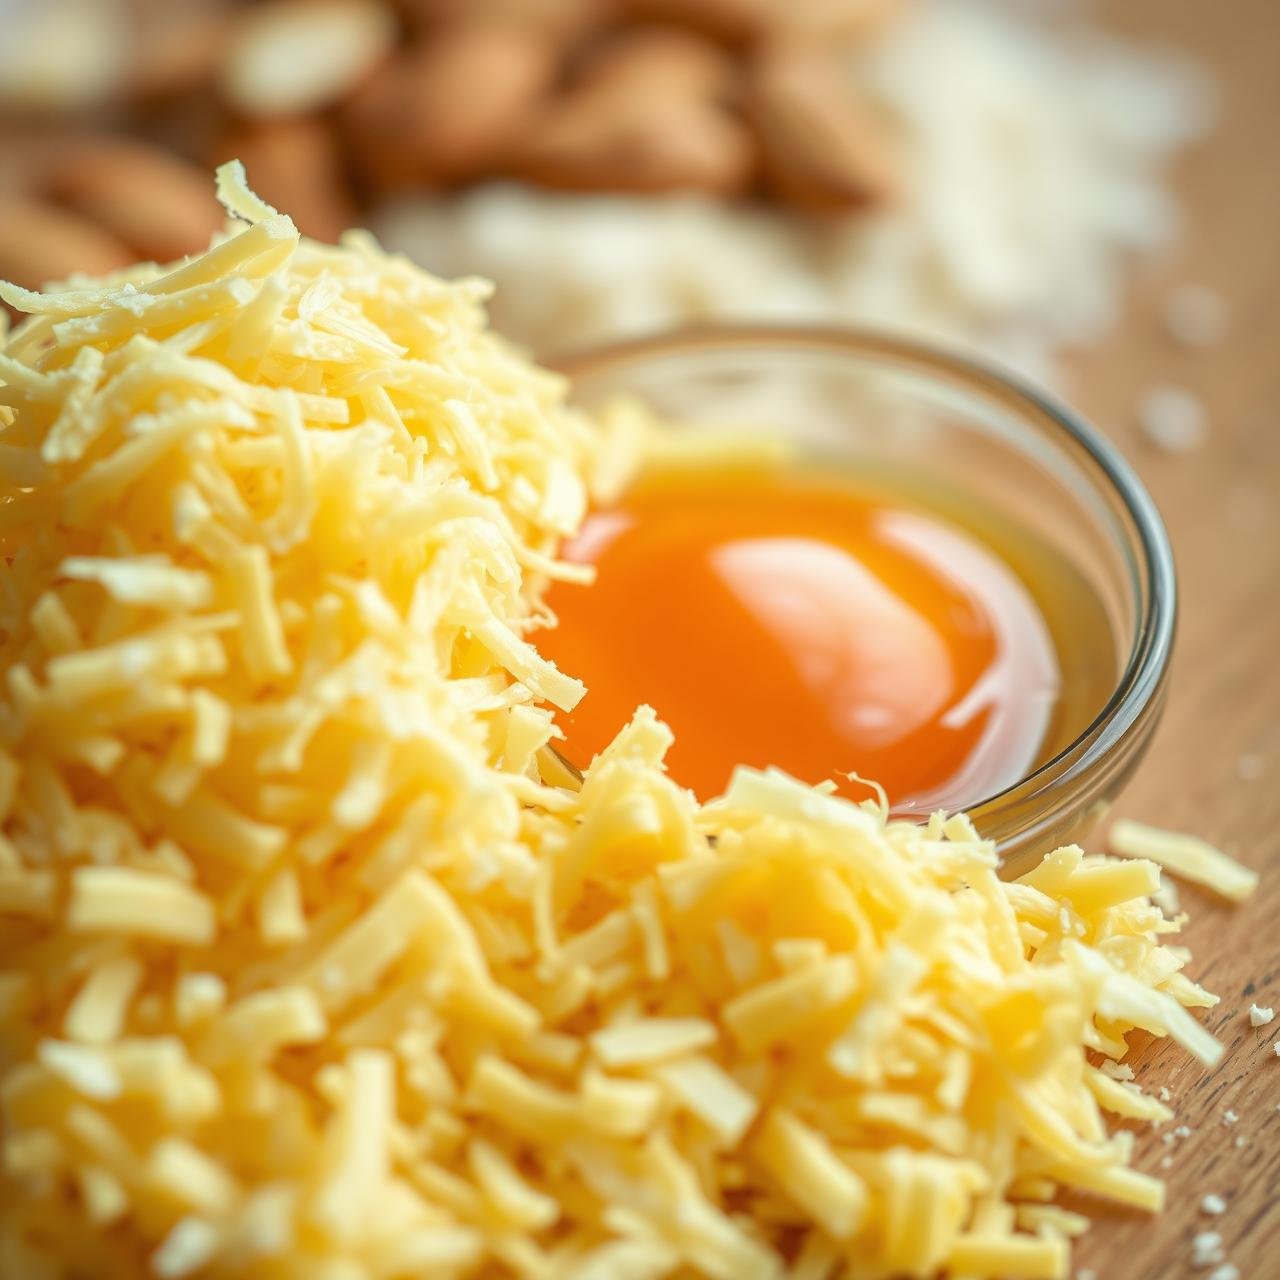
Large, Free-Range Egg
The egg is the primary binder, holding everything together. It also provides protein, richness, and leavening. A large egg (about 50g without the shell) provides the perfect ratio of liquid to dry ingredients. Using a free-range or organic egg often yields a richer, more golden yolk, which adds a beautiful color to the batter.
-
Shredded Cheese
This is where the ‘ch’ in chaffle comes from! The type of cheese you use will dramatically impact the flavor and texture. A pre-shredded bag often contains starches to prevent caking, which can hinder melting and crisping. For the best results, shred your own cheese from a block. Sharp Cheddar is a fantastic choice for its robust, savory flavor and excellent melting properties. Other great options include Colby, Monterey Jack, or a low-moisture mozzarella for a milder flavor and incredible ‘cheese pull’.
-
Baking Powder
While a small amount, baking powder is a mighty ingredient. It’s our leavening agent, reacting with the heat to create tiny air bubbles that give the chaffle a little lift. This makes the interior fluffier and lighter, preventing it from becoming a dense puck of cheese and egg. Ensure your baking powder is fresh for the best rise.
Crafting Your Cheesy Masterpiece: A Detailed Walkthrough

Now, let’s bring it all together. Follow these steps precisely for chaffle perfection. This recipe makes 2 mini chaffles.
-
Preheat and Prepare
Plug in your mini waffle maker to preheat. Most models have an indicator light that turns off when it’s ready. Don’t rush this step; a properly heated iron is crucial for a crispy, non-stick result.
-
Combine Dry Ingredients
In your medium mixing bowl, add 2 tablespoons of fine blanched almond flour and 1/4 teaspoon of baking powder. Use a whisk to combine them thoroughly, breaking up any clumps. This ensures the baking powder is evenly distributed for a consistent rise.
-
Add the Wet Ingredient
Crack 1 large egg directly into the bowl with the dry ingredients. Whisk everything together until you have a smooth, pancake-like batter. Ensure there are no dry pockets of almond flour remaining.
-
Fold in the Cheese
Now, add 1/2 cup of shredded sharp cheddar cheese to the batter. Switch to a spatula and gently fold the cheese in until it’s just combined. Don’t overmix. The batter will be thick and lumpy, which is exactly what you want.
-
Cook the First Chaffle
Once your waffle maker is hot, lightly grease it if it’s not well-seasoned. Spoon half of the batter onto the center of the iron. Spread it slightly, but don’t go all the way to the edges, as it will expand. Close the lid and cook for 3 to 5 minutes. The key is to not open the lid too early! A tell-tale sign that it’s nearly done is when the steam escaping from the sides greatly subsides.
-
Check for Golden-Brown Perfection
After about 3 minutes, you can quickly check for color. The chaffle should be a deep golden-brown and feel firm to the touch. If it looks pale, close the lid and give it another minute or two. The exact time will depend on your specific waffle maker.
-
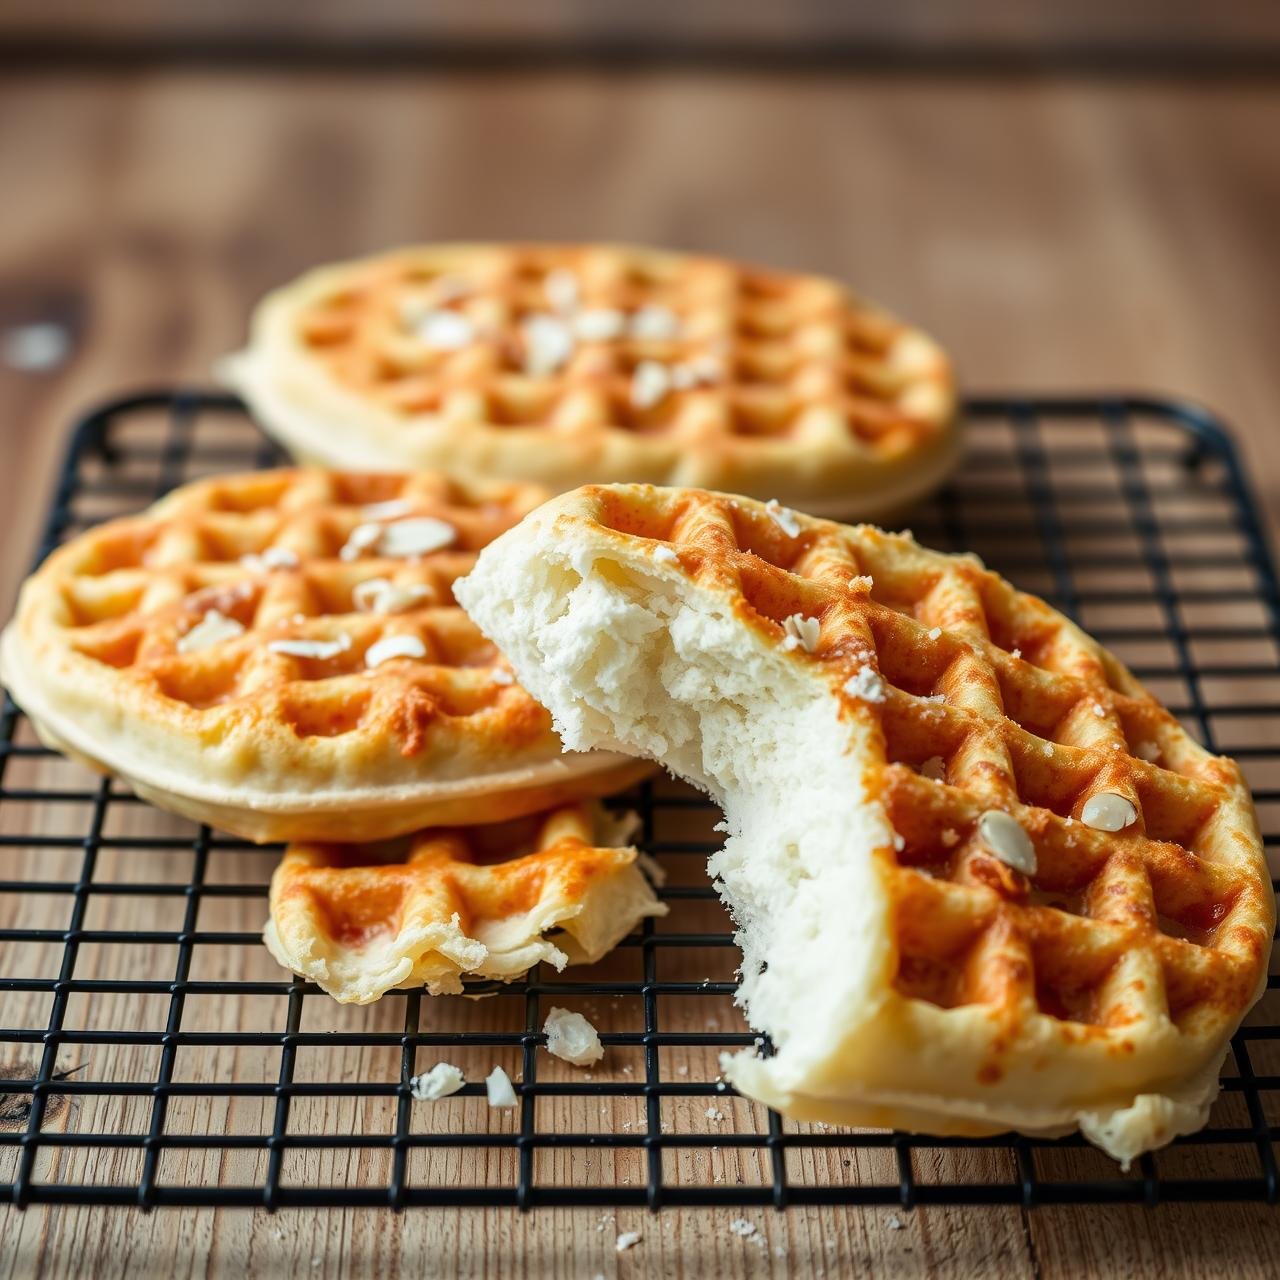
Cool for Crispiness
Carefully remove the finished chaffle using a spatula or fork and place it directly onto a wire cooling rack. Let it rest for a minute or two. This step is vital! It will seem soft at first, but it will crisp up beautifully as it cools and the steam evaporates.
-
Cook the Second Chaffle
Repeat the process with the remaining batter to cook your second chaffle. Enjoy them immediately while they are warm and at their peak crispiness!
Pro Tips for Next-Level Chaffles
Ready to master the art of the chaffle? These chef-approved tips will elevate your creations from great to unforgettable.
- Don’t Overfill: It’s tempting to load up the waffle maker, but this leads to overflow and uneven cooking. For a standard 4-inch mini maker, about 2-3 tablespoons of batter is the sweet spot.
- The Steam Is Your Timer: Your waffle maker is your best guide. When you first close the lid, it will produce a lot of steam. When the chaffle is cooked through and getting crispy, the steam will almost completely stop. Wait for that moment.
- Patience on the Cooling Rack: We can’t stress this enough. Letting the chaffle rest on a wire rack is what transforms it from soft to crispy. Don’t skip this step!
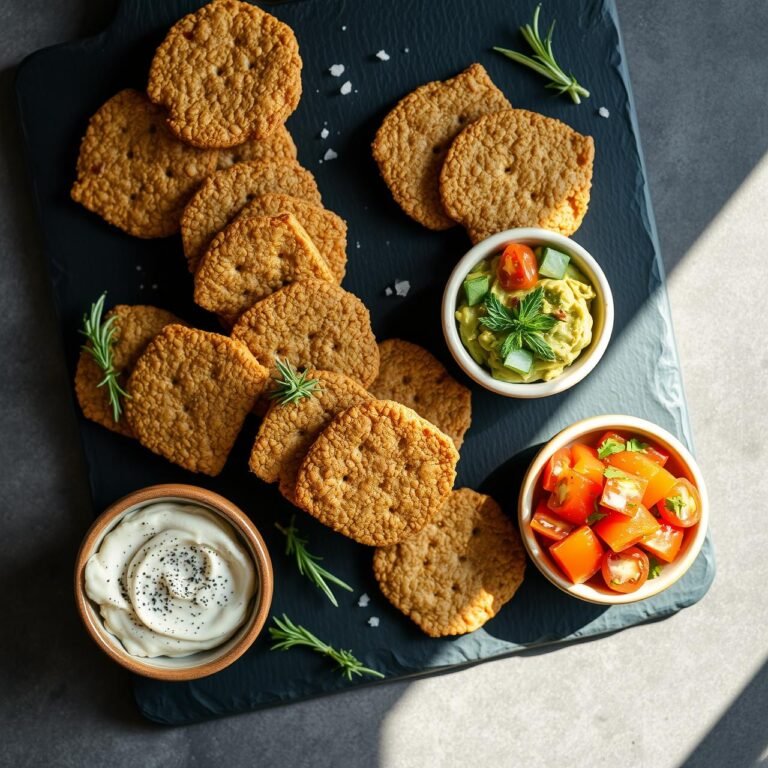
- Embrace Variations: This recipe is a perfect base. Get creative!
Savory Add-ins:
Fold in a tablespoon of crispy bacon bits, finely chopped chives, or diced jalapeños for a kick. A pinch of garlic powder or everything bagel seasoning in the batter is also divine.
Sweet Chaffles:
For a sweet version, swap the cheddar for mozzarella, omit any savory spices, and add a drop of vanilla extract and a teaspoon of your favorite keto-friendly sweetener. Serve with berries and sugar-free whipped cream.
- Double Down on Cheese: For an extra-crispy, cheesy crust, sprinkle a small amount of shredded cheese directly onto the waffle iron before adding the batter, and another sprinkle on top before closing the lid. This creates a frico-like cheese crust that is absolutely irresistible.
A Healthy Indulgence: Nutrition Breakdown
These almond flour chaffles aren’t just a treat for your taste buds; they’re a powerhouse of nutrition that fits seamlessly into a low-carb, high-fat, or gluten-free lifestyle. Here is the approximate nutritional information per chaffle, based on the recipe making two servings.
| Nutrient | Amount per Chaffle |
|---|---|
| Calories | ~215 kcal |
| Total Fat | ~18g |
| Saturated Fat | ~7g |
| Total Carbohydrates | ~3g |
| Dietary Fiber | ~1.5g |
| Net Carbohydrates | ~1.5g |
| Protein | ~12g |
| Sodium | ~320mg |
Disclaimer: Nutritional information is an estimate and can vary based on the specific ingredients used.
With only 1.5g of net carbs per serving, these chaffles are exceptionally keto-friendly. The high protein and fat content make them incredibly satiating, keeping you full and energized for hours. They are also naturally gluten-free, making them a safe and delicious option for individuals with celiac disease or gluten sensitivity.
Making Ahead: Storing and Reheating Your Chaffles
One of the best features of chaffles is their suitability for meal prep. Making a large batch ahead of time means you have a quick and healthy bread substitute ready to go at a moment’s notice. Proper storage and reheating are key to maintaining their delicious texture.
Storing Instructions:
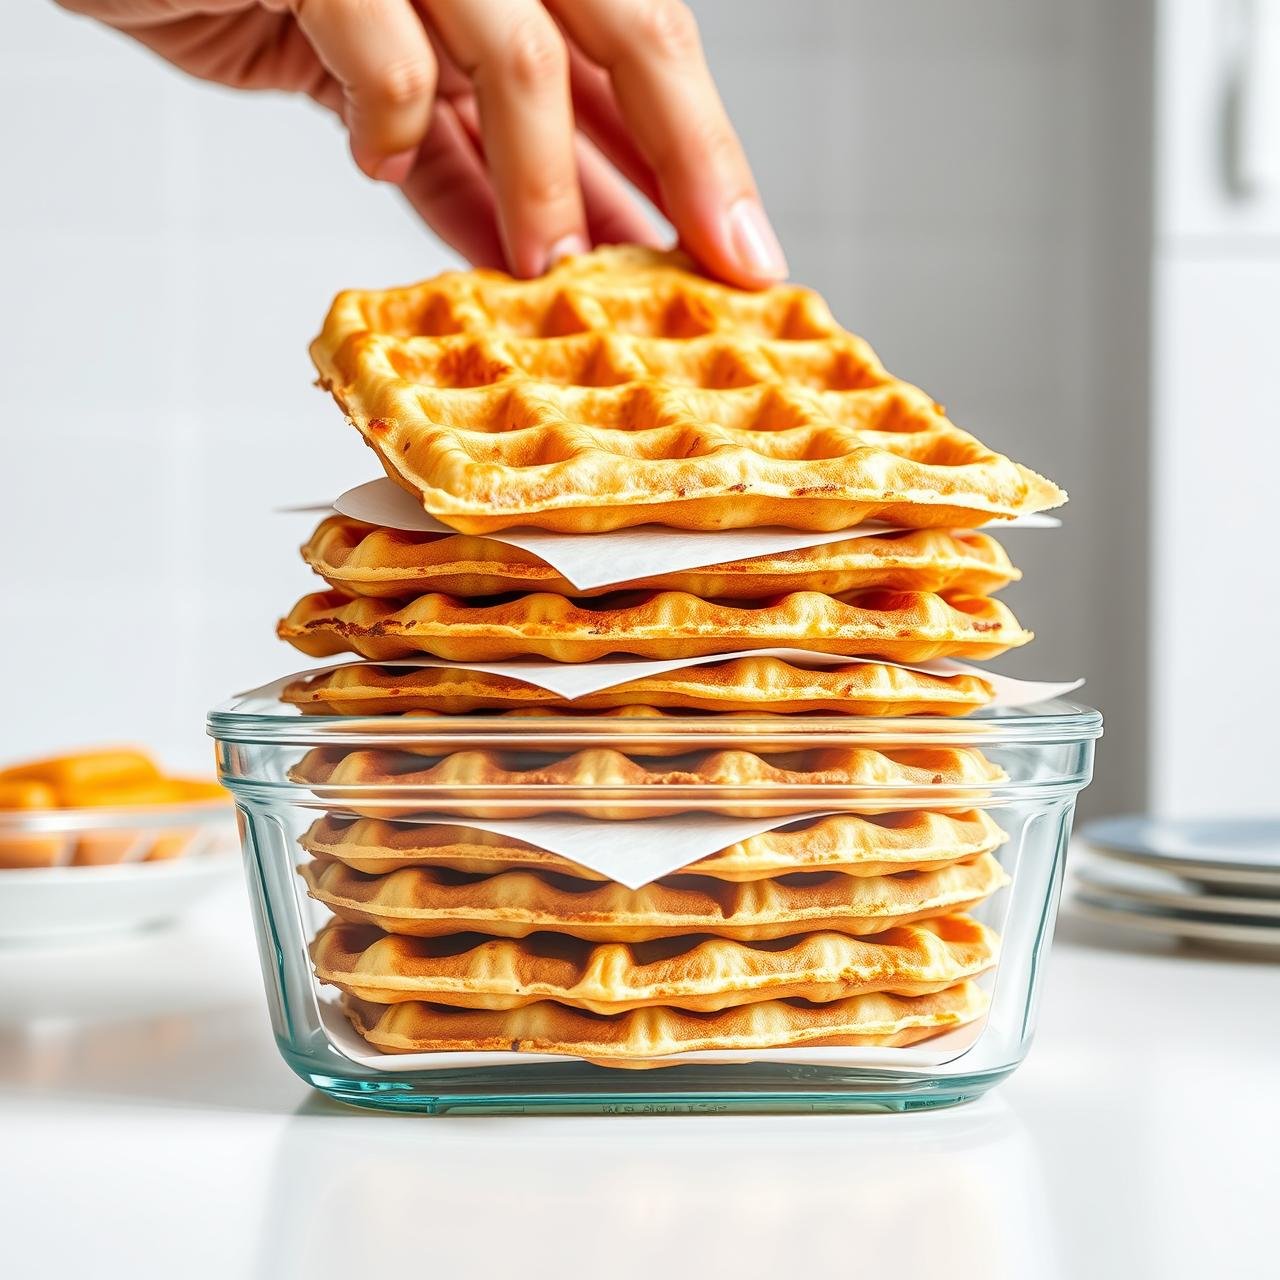
- Refrigeration: Once the chaffles are completely cool, store them in an airtight container or zip-top bag in the refrigerator. It’s a good idea to place a piece of parchment paper between each one to prevent them from sticking together. They will last for up to 5 days in the fridge.
- Freezing: For longer-term storage, chaffles freeze beautifully. Lay the cooled chaffles in a single layer on a baking sheet and place them in the freezer for about an hour, or until firm. Once frozen, transfer them to a freezer-safe bag or container, again separating layers with parchment paper. They can be stored in the freezer for up to 3 months.
Reheating for Maximum Crispiness:
The goal of reheating is to drive out any moisture absorbed during storage and bring back that glorious crisp. Avoid the microwave at all costs, as it will make them soft and rubbery.
- Toaster or Toaster Oven (Best Method): This is the quickest and most effective way. Simply pop a refrigerated or frozen chaffle into your toaster on a low to medium setting until it’s heated through and crispy.
- Air Fryer: Place the chaffles in the air fryer basket in a single layer. Reheat at 350°F (175°C) for 2-4 minutes, flipping halfway through. They will come out incredibly crispy.
- Oven: Preheat your oven to 375°F (190°C). Place the chaffles directly on the oven rack and bake for 5-8 minutes, or until hot and re-crisped.
Conclusion
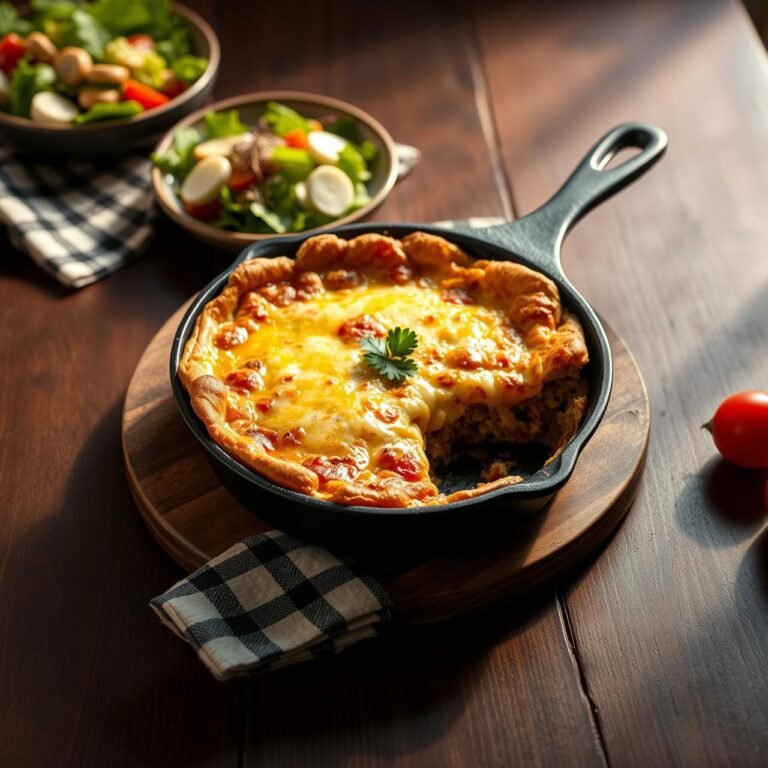
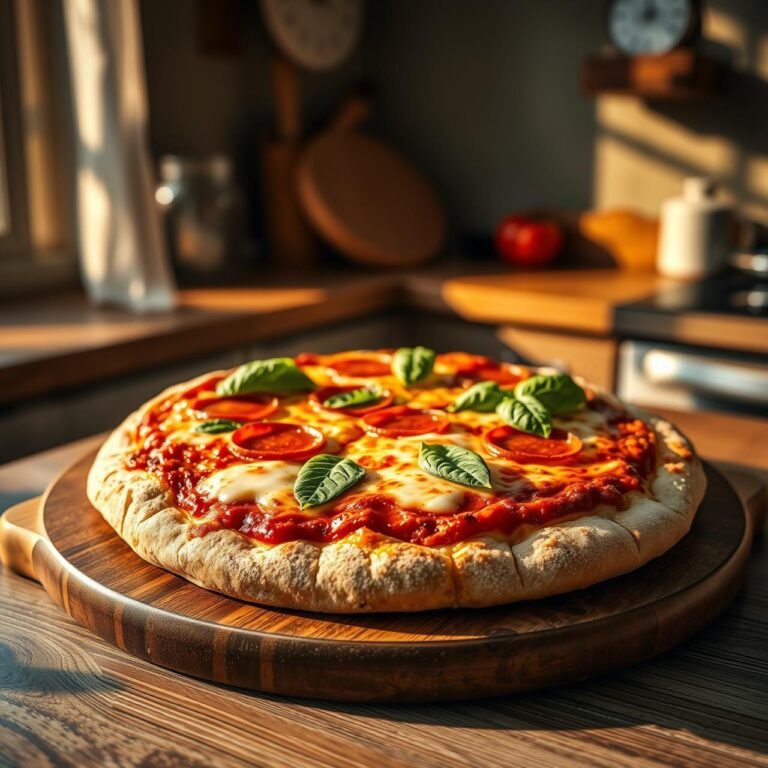
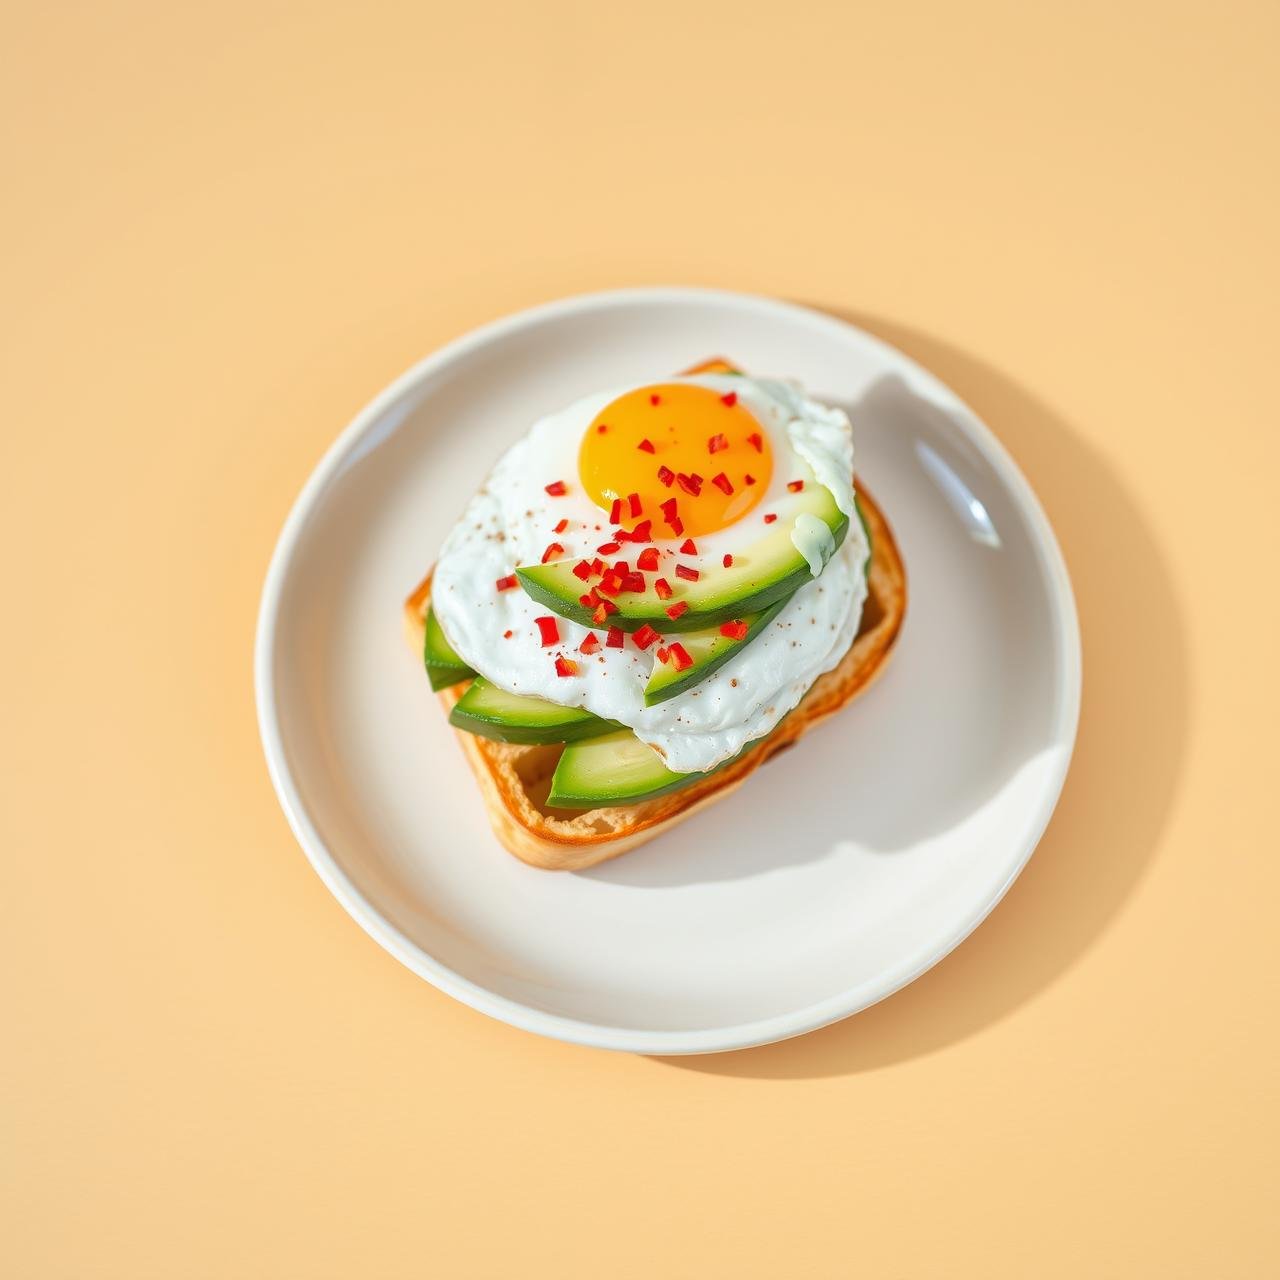
The almond flour cheesy chaffle is more than just a recipe; it’s a culinary revelation. It’s proof that eating healthy doesn’t mean sacrificing flavor, texture, or the comforting joy of a bread-like staple. With its crispy edges, tender interior, and rich, savory flavor, this chaffle stands ready to transform your meals. Use it to build the ultimate breakfast sandwich, as a dipper for hearty soups, or as the base for a mini pizza. The possibilities are as endless as your culinary imagination. We encourage you to take this recipe, make it your own, and discover the simple, rustic pleasure of a perfect homemade chaffle. It’s a foundational technique that will undoubtedly become a beloved staple in your healthy home kitchen.