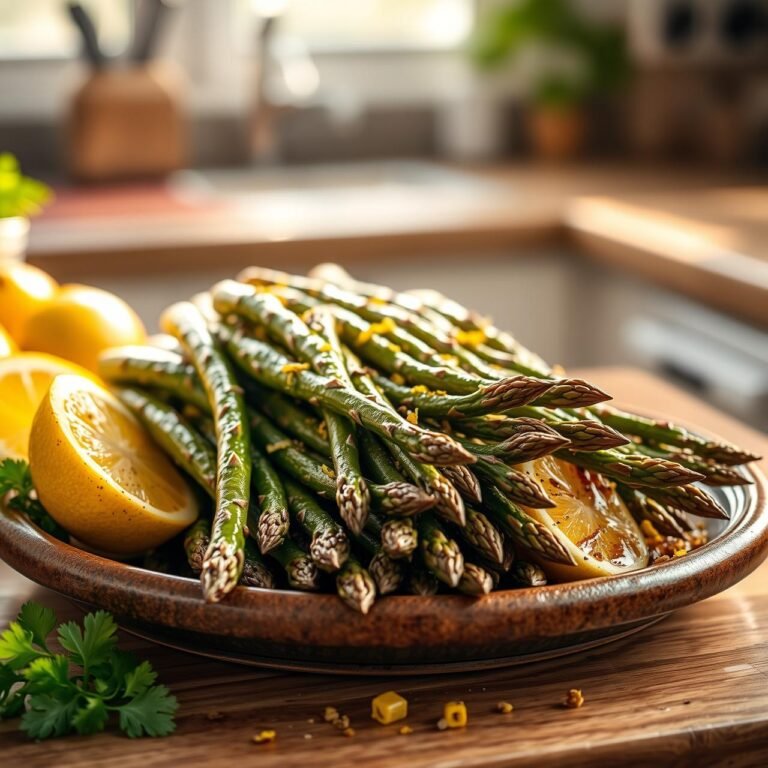
The 3-Ingredient Green Side Dish That’s Ready in 4 Minutes Flat
In the frantic rhythm of modern life, the dinnertime dilemma is a familiar tune. We yearn for meals that are both nourishing and delicious, but the clock is a relentless taskmaster. Often, it’s the humble side dish that gets sacrificed—replaced by something bland from a bag or skipped altogether. What if I told you that you could craft a show-stopping, vibrant, and incredibly flavorful green side dish that hits the table in less time than it takes to choose a show to watch? Welcome to the magic of 4-minute Garlic Butter Green Beans. This isn’t just a recipe; it’s a revolution for your weeknight plate. With just three core ingredients, this dish transforms the humble green bean into a crisp-tender, garlicky, buttery masterpiece. It’s a testament to the rustic homestyle principle that simple, high-quality ingredients, when treated with respect and a touch of technique, can create something truly extraordinary. Prepare to be amazed at how something so simple can taste so profoundly good.
Why This 4-Minute Marvel Works
The genius of this recipe lies in its elegant simplicity and the application of a core culinary principle: high heat and minimal handling. We’re not boiling the life out of these beans or drowning them in a heavy sauce. Instead, we’re using a technique called flash-sautéing. By getting the pan screaming hot, we instantly sear the outside of the green beans, locking in their vibrant color, natural sweetness, and that addictive snappy texture. The butter melts and browns almost instantly, creating a nutty, rich base, while the garlic blooms, releasing its pungent, irresistible aroma without a hint of bitterness. It’s a carefully orchestrated dance that takes a mere 240 seconds from start to finish.
From a health perspective, this method is superior. The quick cooking time helps preserve the green beans’ valuable nutrients, like Vitamin C, Vitamin K, and fiber. For the health enthusiast, it’s a clean, gluten-free, and low-carb side that complements any wholesome protein. For the budget cook, the reliance on just three inexpensive staples is a massive win. And for the home cook and gourmet foodie, it’s a foundational technique you can master and build upon, proving that impressive flavor doesn’t require a long ingredient list or a complicated process.
Gather Your Arsenal: Equipment You’ll Need
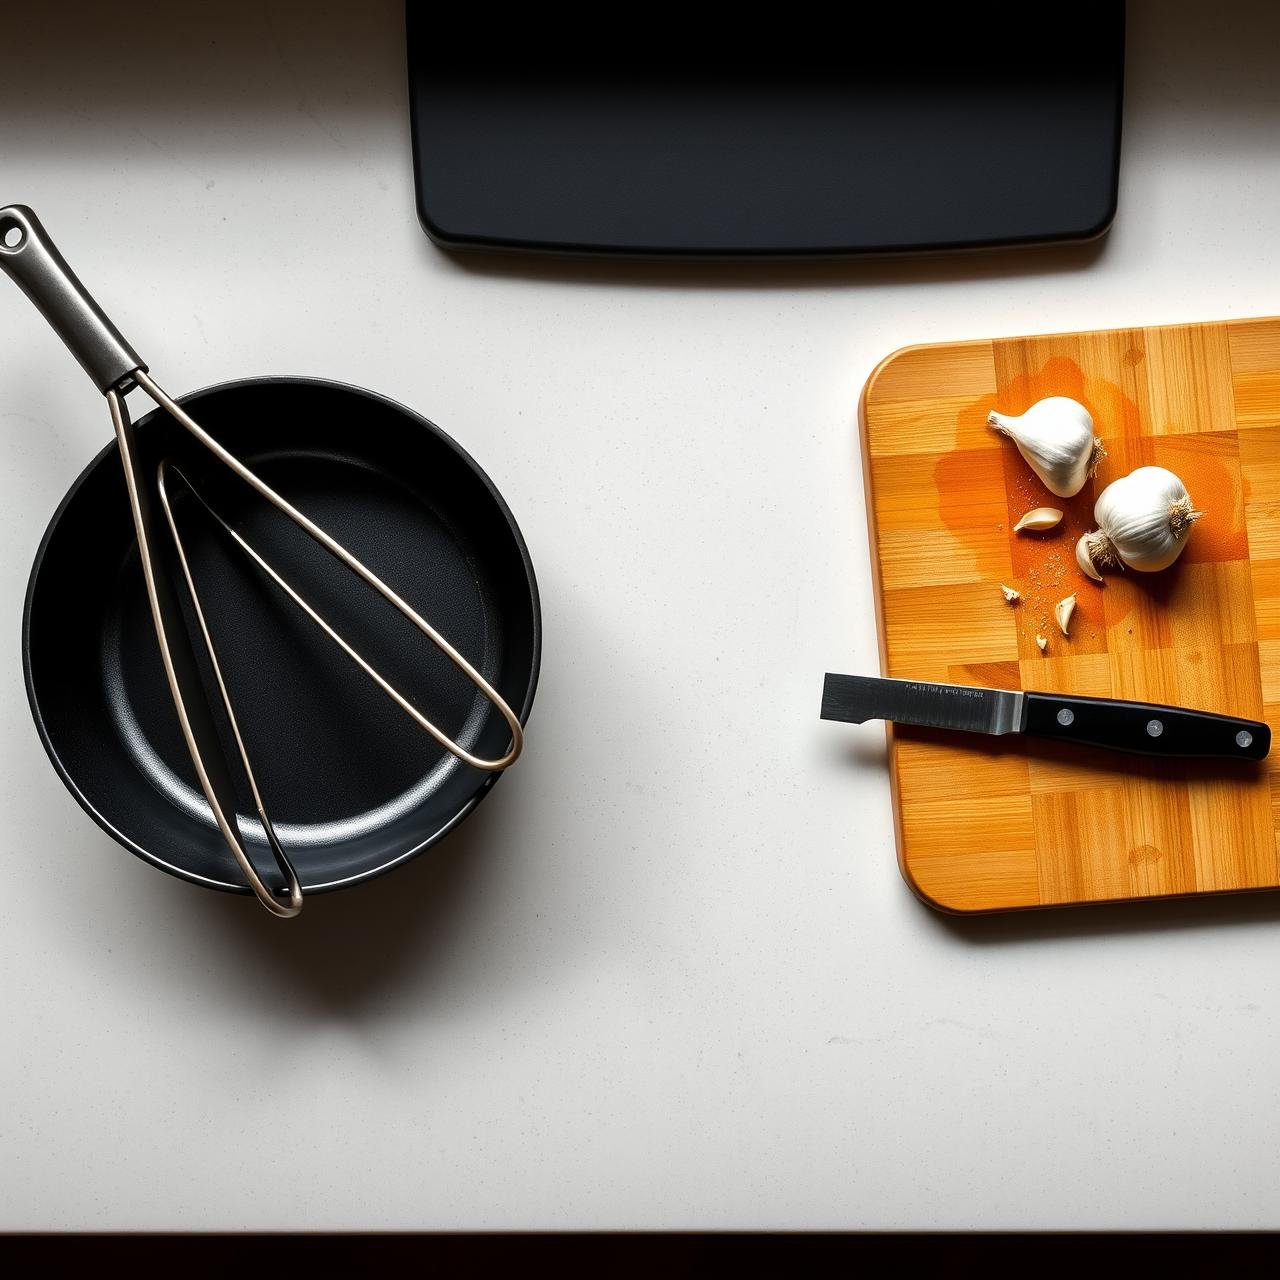
The beauty of a simple recipe is simple equipment. You won’t need any fancy gadgets here, just a few kitchen essentials to execute this dish perfectly.
| Equipment | Chef’s Note |
|---|---|
| Large Skillet or Sauté Pan | The key here is ‘large’. You need enough surface area to allow the beans to make contact with the hot pan without steaming. A 12-inch cast-iron or stainless steel skillet is ideal. |
| Tongs or a Spatula | For quick and efficient tossing. Tongs give you great control to ensure every bean gets coated in that glorious garlic butter. |
| Sharp Knife & Cutting Board | Essential for mincing your garlic. A clean, sharp knife will bruise the garlic less, resulting in a purer, less acrid flavor. |
The Power Trio: Your 3 Ingredients
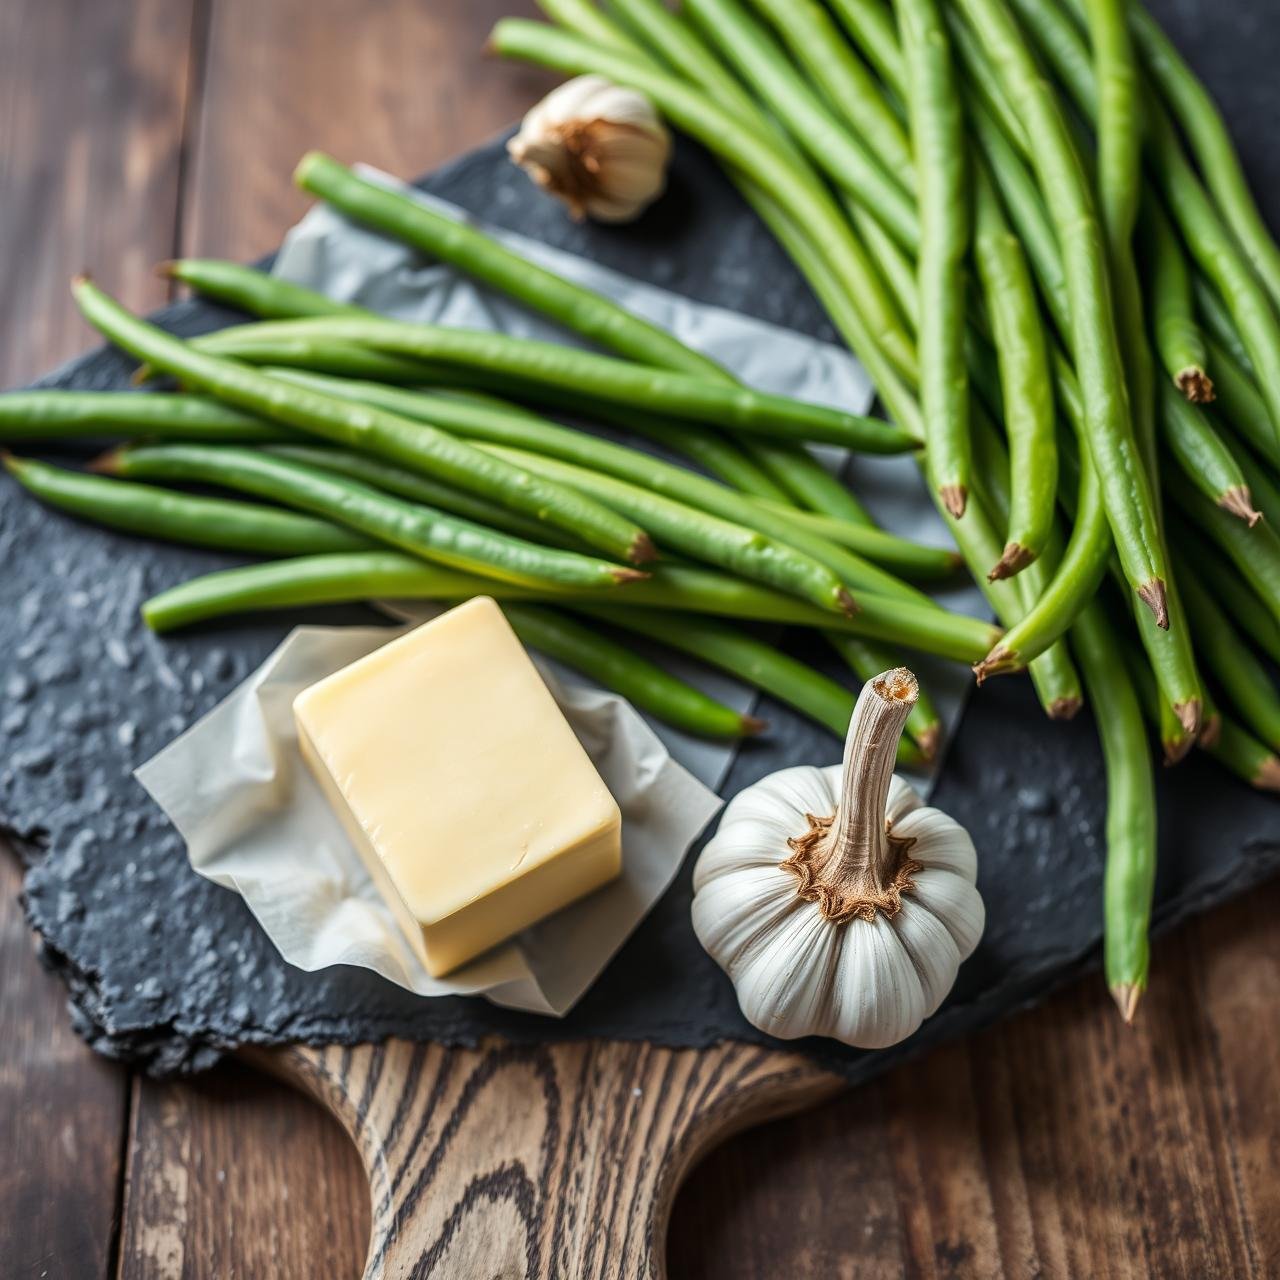
This recipe is a celebration of minimalism. The quality of these three ingredients will directly impact the final flavor, so choose the best you can find. Note that we consider salt and pepper essential pantry staples, not part of the core ingredient count.
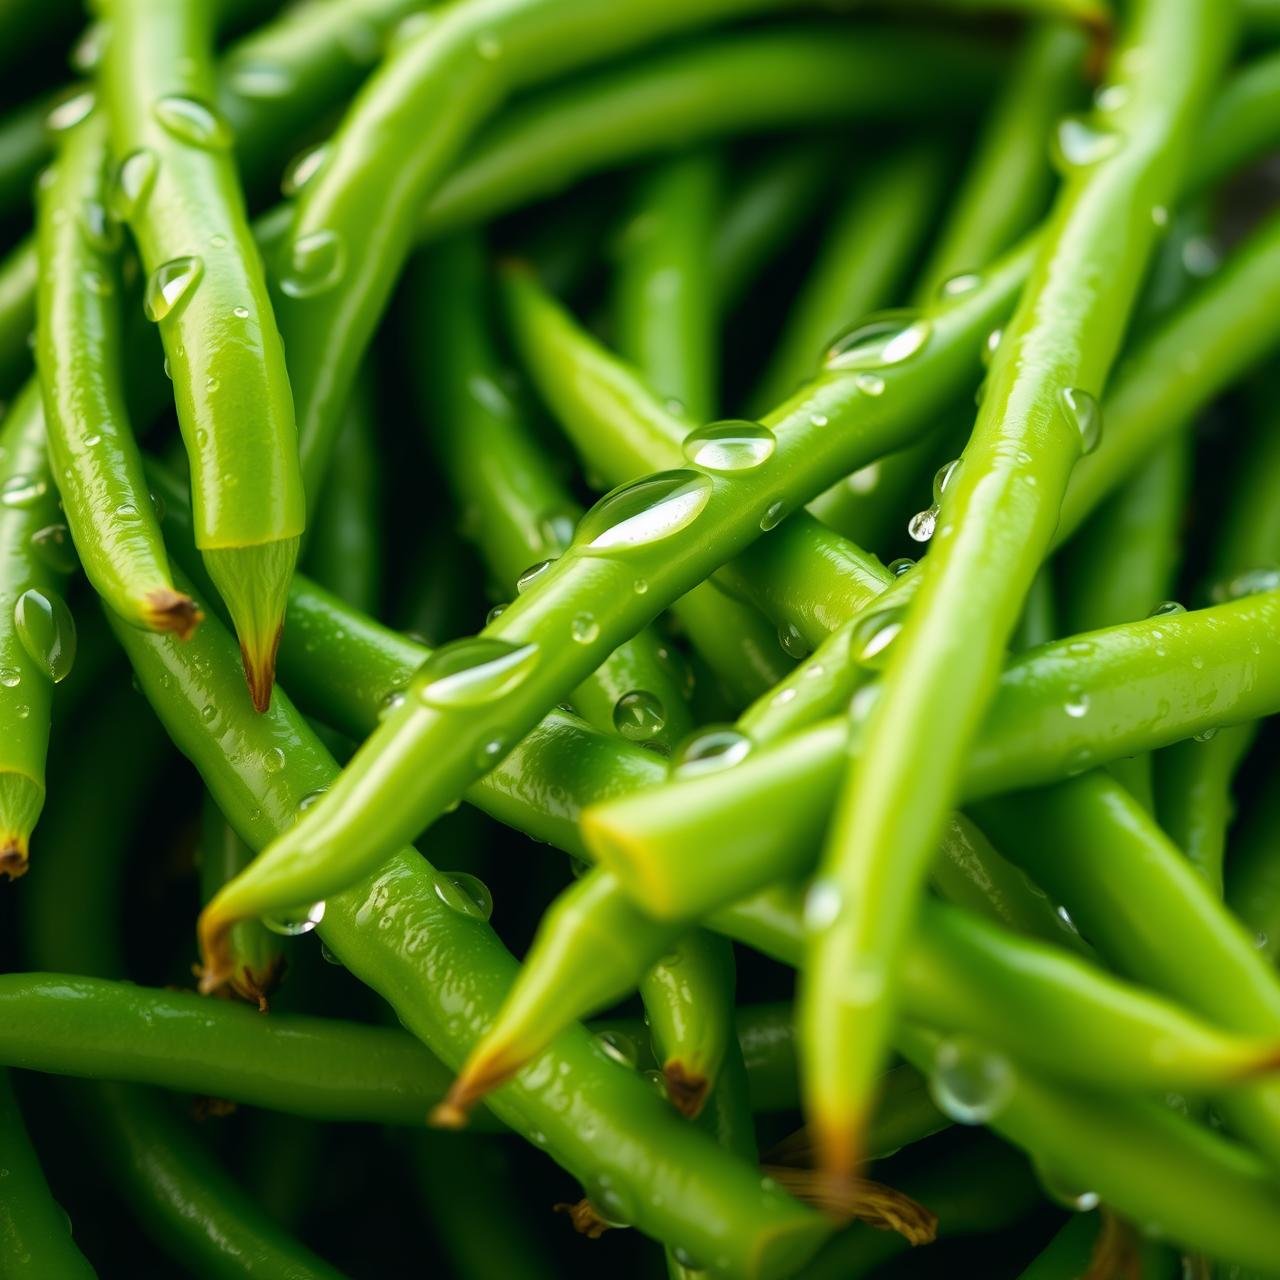
- Fresh Green Beans (1 pound): Look for beans that are bright green, firm, and ‘snap’ when you bend them. Avoid any that are limp, wilted, or have brown spots. We’re using them whole, with just the stem ends trimmed for a rustic, easy-to-eat side.
- High-Quality Butter (2 tablespoons): Unsalted butter is preferred as it gives you complete control over the seasoning. A European-style butter with a higher fat content will provide a richer, more luxurious flavor. For a dairy-free or vegan option, a high-quality olive oil or avocado oil works beautifully.
- Fresh Garlic (2-3 cloves): This is non-negotiable. Please, step away from the pre-minced jarred stuff! Freshly minced garlic provides an aromatic sweetness that is the soul of this dish. The potency of garlic can vary, so start with two cloves and add a third if you’re a true garlic lover.
The 4-Minute Countdown: Step-by-Step Instructions
This is where the magic happens. Read through the steps once before you begin, as things move very quickly. Timing is everything!
-
Minute 1: The Prep & The Heat
Place your large skillet over medium-high heat. While the pan heats up, trim the stem ends off your green beans if you haven’t already. Mince your 2-3 cloves of garlic. Add the 2 tablespoons of butter to the hot pan. Let it melt completely; it should sizzle and foam. This indicates the pan is at the perfect temperature.
-
Minute 2: Bloom the Aromatics
Add the minced garlic to the foaming butter. Stir constantly with your tongs for about 30 seconds. You’re not looking to brown it, just to toast it lightly until it becomes incredibly fragrant. The kitchen should fill with an intoxicating garlic aroma. This step is crucial for infusing the butter with flavor before the beans are added.
-
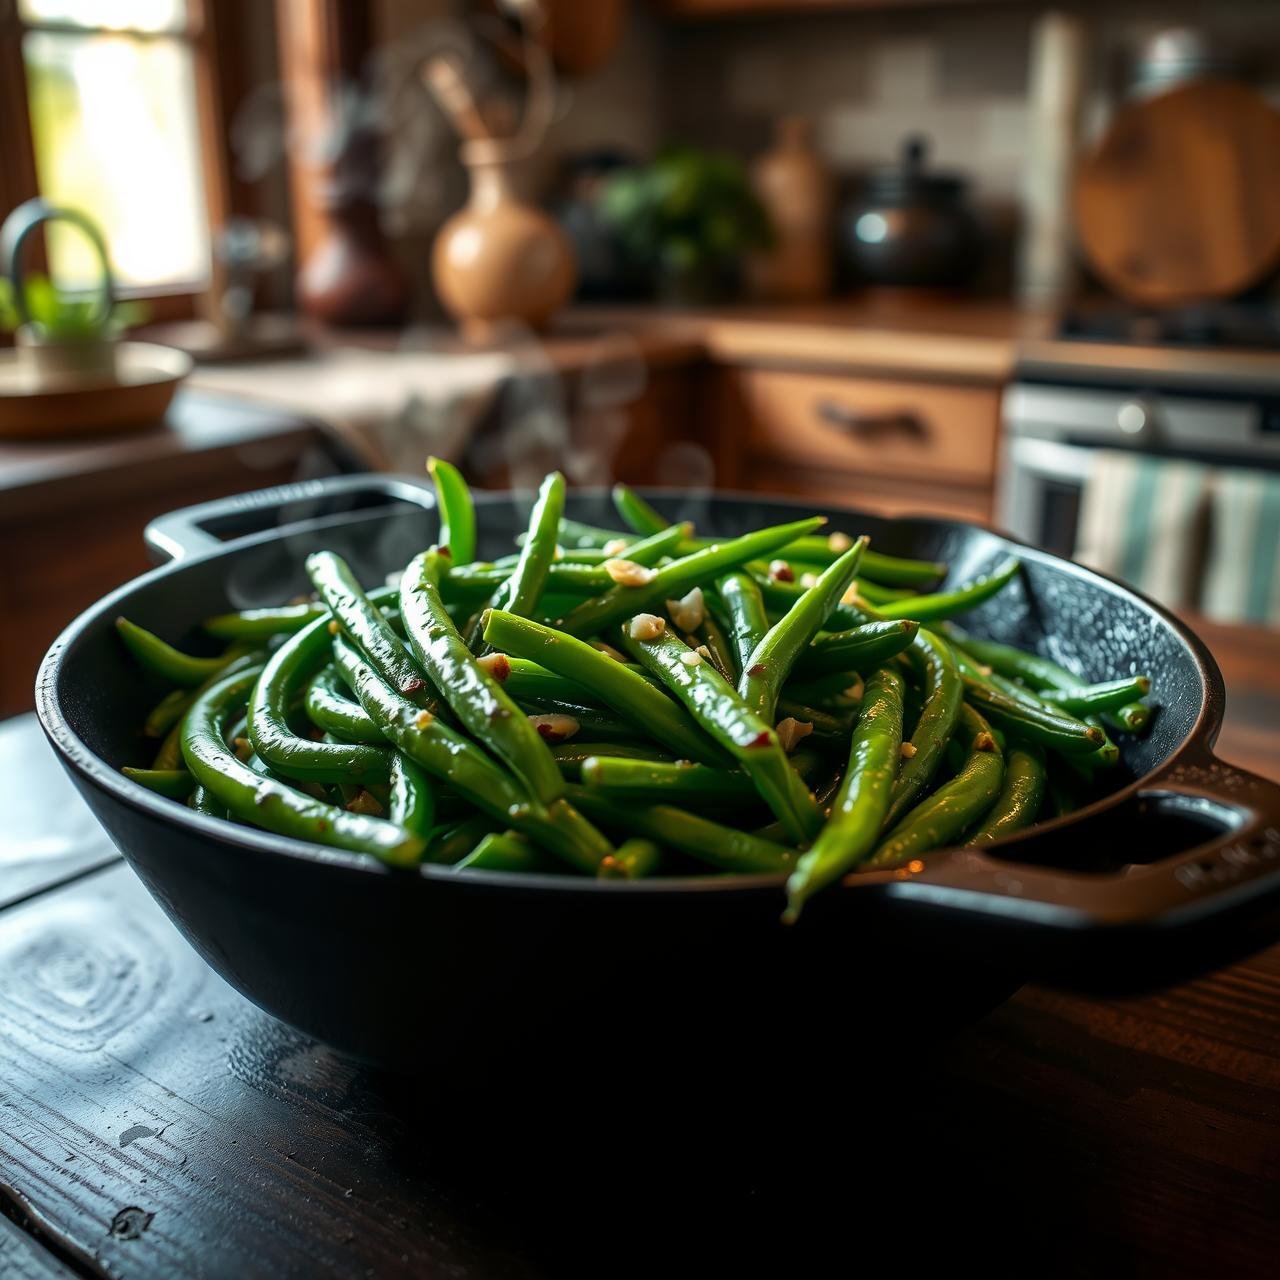
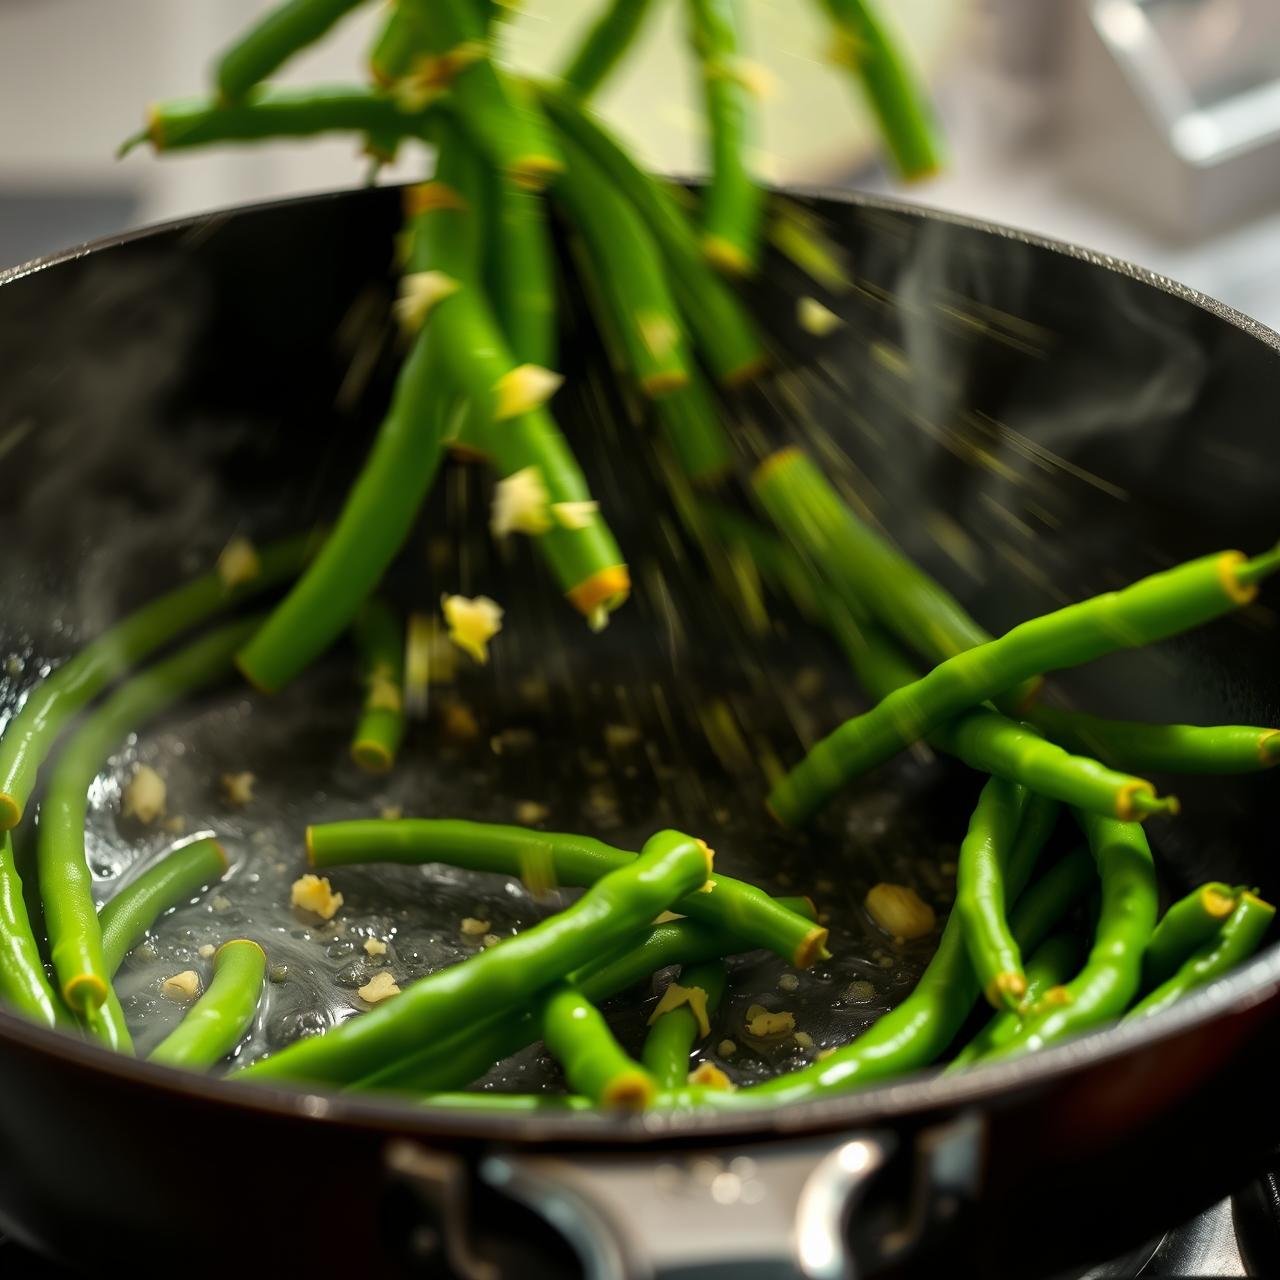
Minutes 3 & 4: The Flash Sauté
Immediately add the 1 pound of fresh green beans to the skillet. Using your tongs, toss them vigorously to coat every single bean in the garlic butter. Let them cook, tossing every 30-45 seconds, for a total of 2 to 3 minutes. You’ll hear a satisfying sizzle and see the beans turn a brilliant, jewel-toned green. They should be ‘al dente’—tender but with a distinct, pleasant snap. Season generously with sea salt and freshly cracked black pepper in the final 30 seconds of cooking. Serve immediately for the best texture and flavor.
Elevate Your Greens: Pro Tips & Creative Twists
While the three-ingredient version is perfection in its own right, this recipe also serves as a fantastic canvas for your culinary creativity. Here are some chef-approved tips and variations to try.
Getting the Perfect ‘Al Dente’ Bite
The biggest mistake is overcooking. You want to celebrate the bean’s natural texture, not boil it into submission. The visual cue is key: the beans should be a brighter, more intense green than when they started. The ultimate test? Snag one from the pan (carefully!) and take a bite. It should have a satisfying crunch. Remember, the beans will continue to cook slightly from residual heat after you plate them.
Flavor Variations to Explore
Once you’ve mastered the basic technique, feel free to experiment. These additions should be tossed in during the last 30 seconds of cooking:
- A Squeeze of Citrus: A splash of fresh lemon juice or a sprinkle of lemon zest at the end brightens up all the flavors.
- A Kick of Heat: A pinch of red pepper flakes adds a gentle warmth that contrasts beautifully with the rich butter.
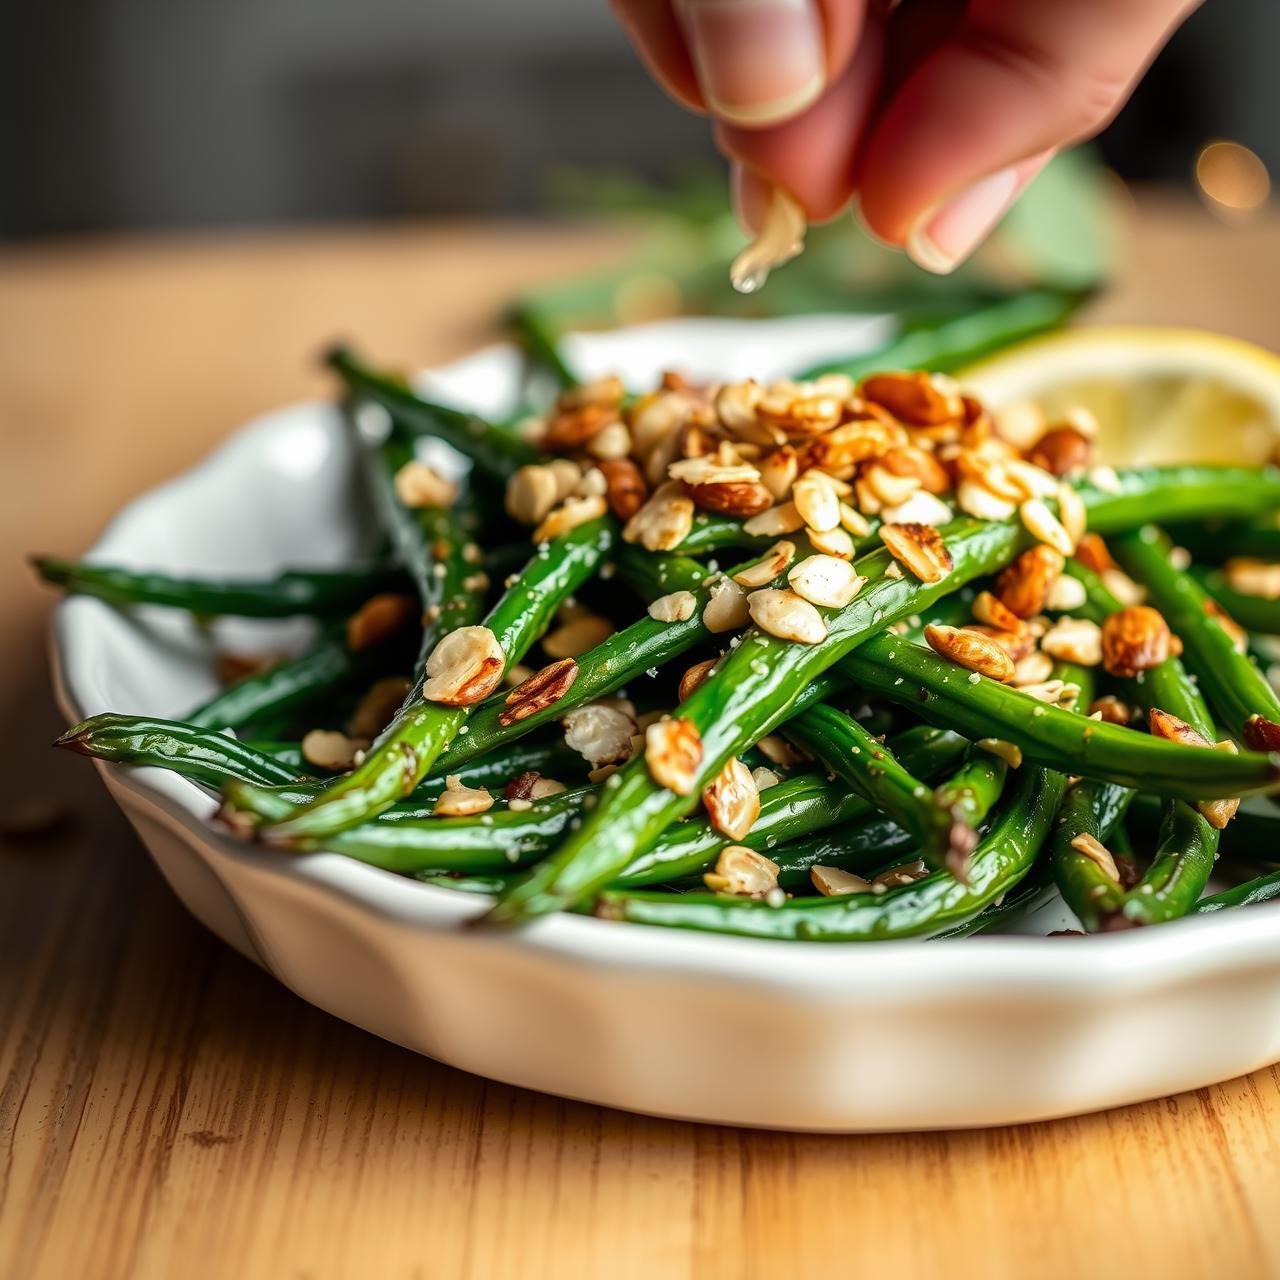
- Nutty & Crunchy: Add a tablespoon of toasted slivered almonds or pine nuts for a delightful textural contrast.
- An Umami Boost: A dash of soy sauce or tamari can add a wonderful savory depth.
- Cheesy Goodness: A sprinkle of freshly grated Parmesan cheese just before serving is always a crowd-pleaser.
Making It a Meal
This side dish can easily be transformed into a light lunch. Toss in a can of drained chickpeas or some leftover shredded chicken during the last minute of cooking to add protein and make it a more substantial, balanced meal.
Nutritional Profile: A Healthy Snapshot
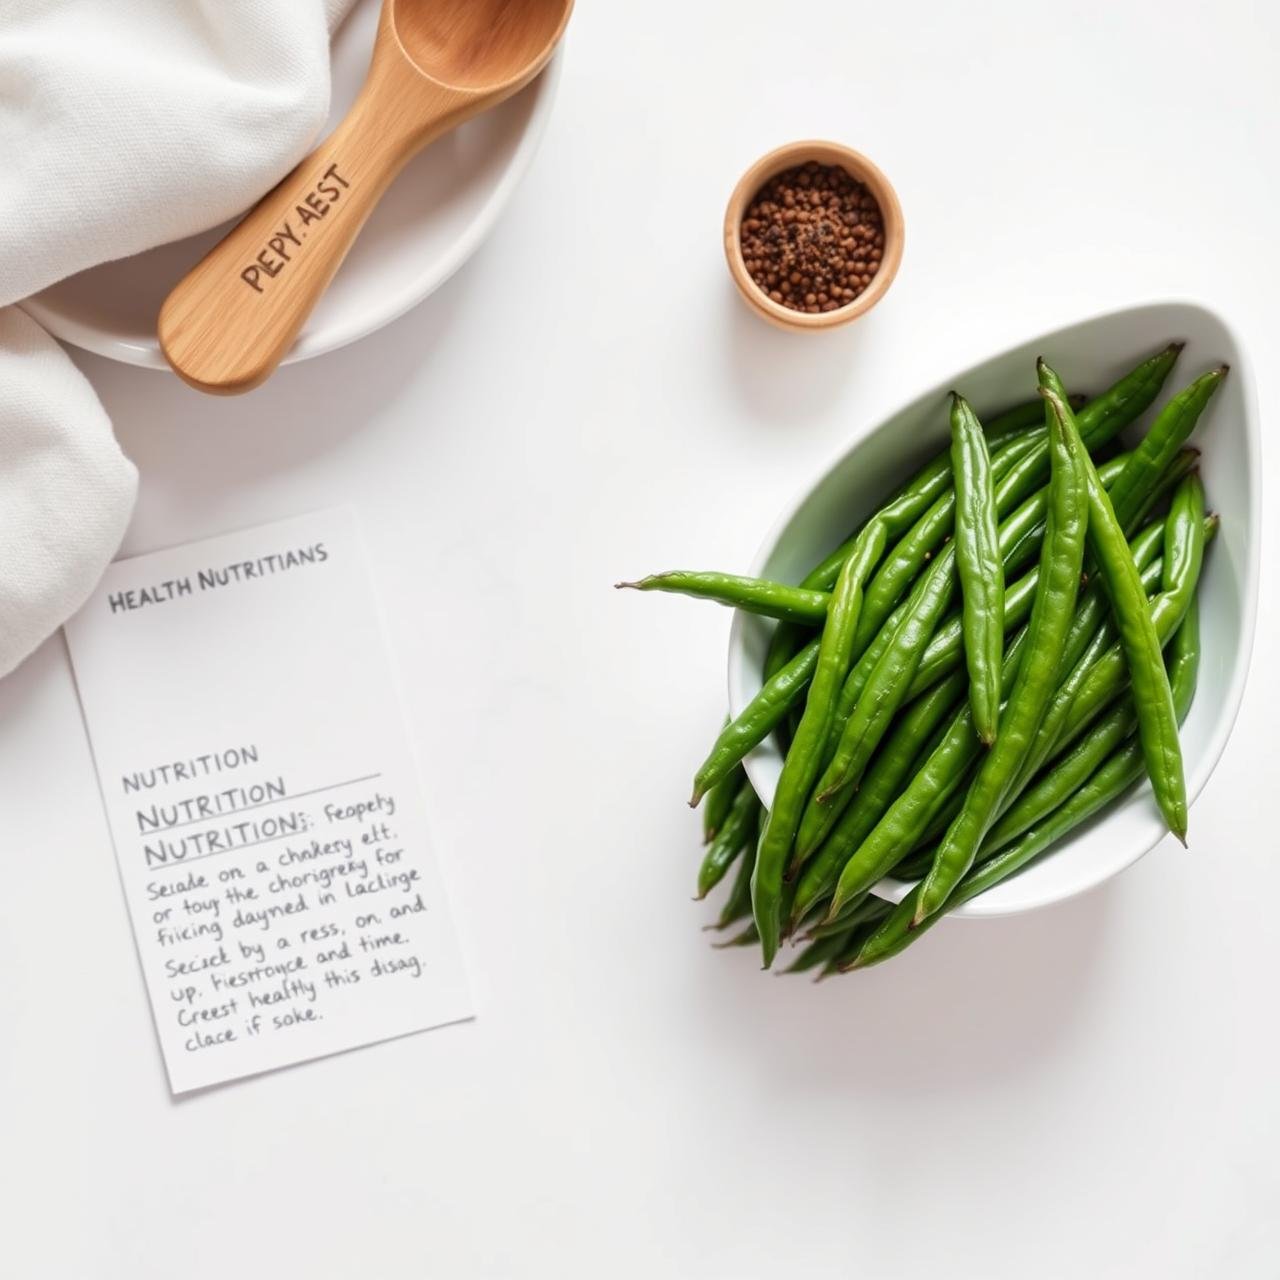
This side dish is as nourishing as it is delicious. Here’s an approximate nutritional breakdown per serving, assuming the recipe serves four.
| Nutrient | Approximate Amount per Serving |
|---|---|
| Calories | 95 kcal |
| Fat | 6g |
| Carbohydrates | 9g |
| Fiber | 4g |
| Sugar | 4g |
| Protein | 2g |
Storing & Reheating Your Greens
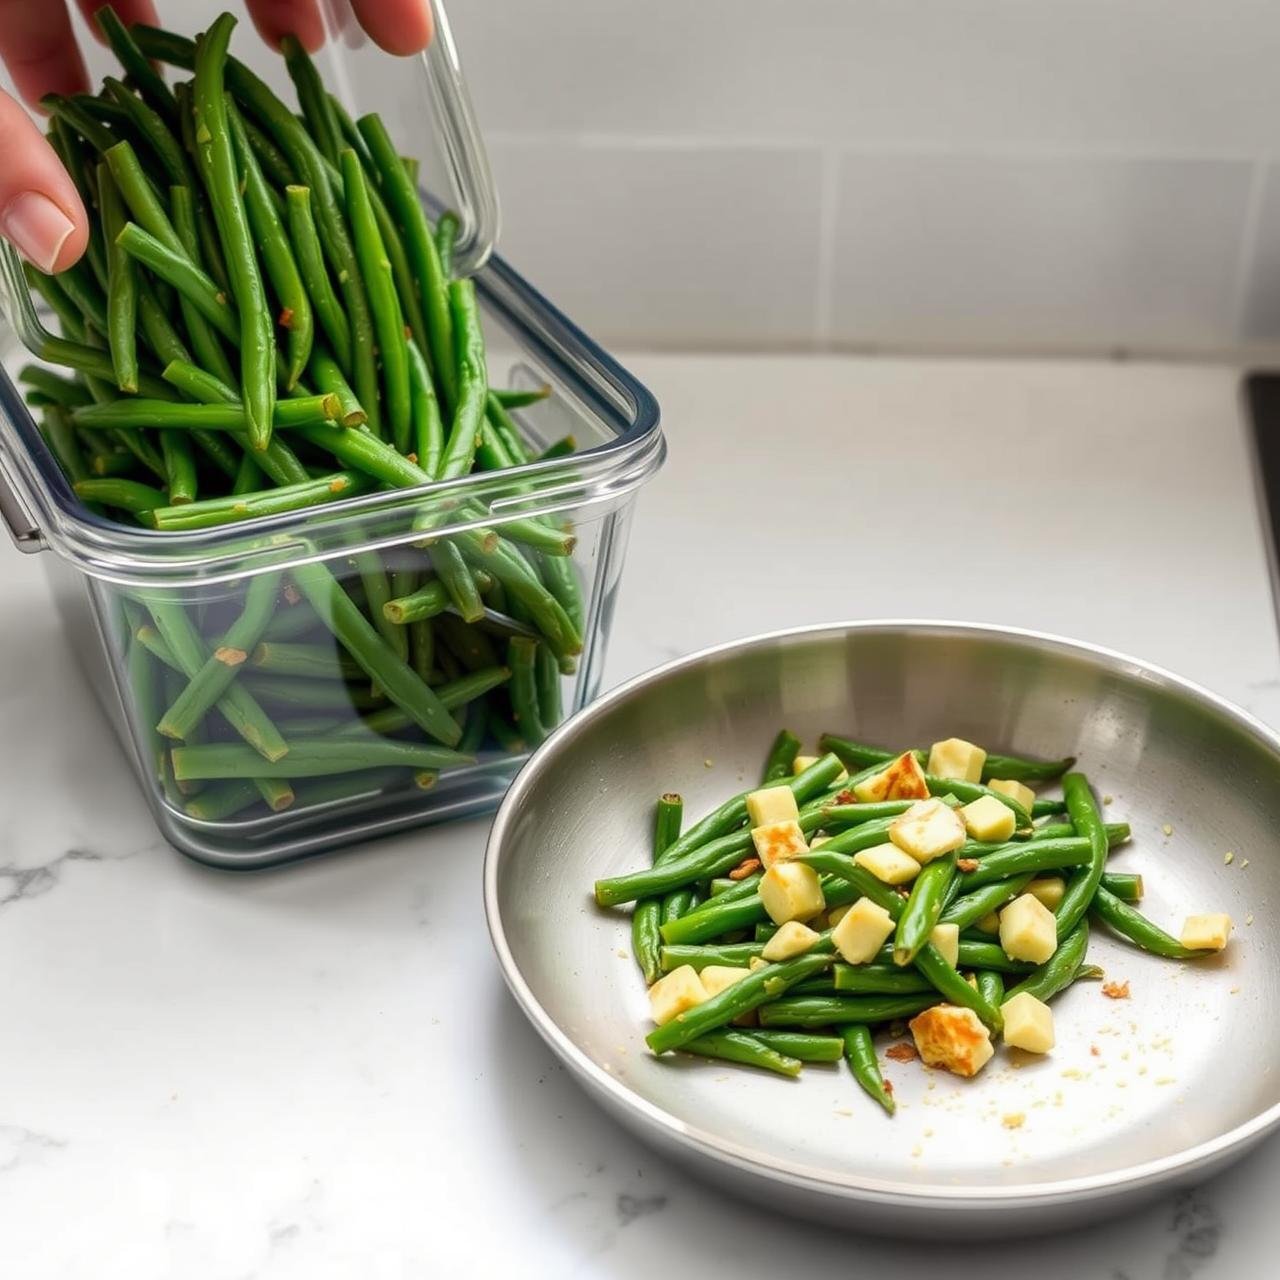
While these green beans are undeniably best when served fresh from the skillet, leftovers are still a treat. To store, allow the beans to cool completely to room temperature, then place them in an airtight container in the refrigerator. They will keep for up to 3 days.
The best way to reheat them and revive their texture is to avoid the microwave, which can make them soggy. Instead, toss them back into a hot, dry skillet for 60-90 seconds, stirring frequently until they are warmed through. This helps to bring back some of their original crispness.
Conclusion
There you have it—a side dish that defies the laws of weeknight cooking. The 3-Ingredient, 4-Minute Garlic Butter Green Beans are more than just a recipe; they are a strategy for bringing joy, health, and flavor back to your dinner table without demanding your precious time. It’s rustic, it’s clean, and it’s proof that a handful of quality ingredients and a simple technique are all you need to create something truly memorable. So, the next time you find yourself staring into the fridge, wondering what to make, remember this simple, elegant solution. It’s a small victory against the evening rush, a delicious step towards healthier eating, and a guaranteed new favorite in your culinary repertoire.