Stop Buying Snacks: Homemade Oven Beef Jerky (Zero Sugar, High Protein)
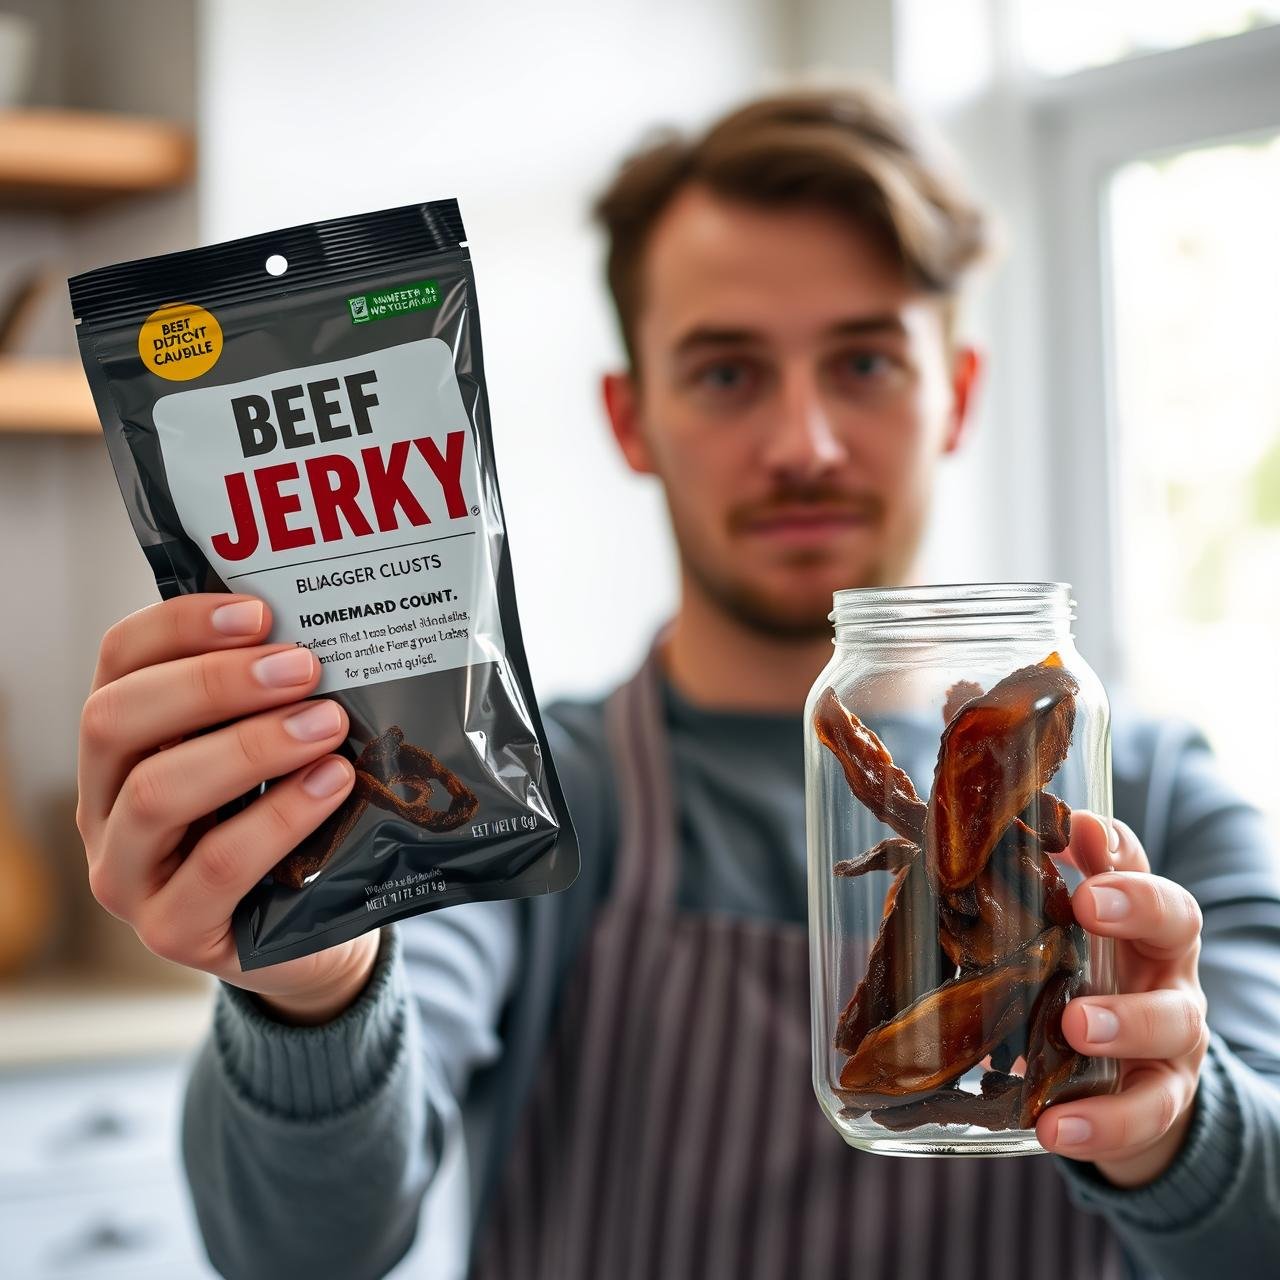
Take a walk down the snack aisle of any grocery store, and you’ll be met with a wall of brightly colored bags, all promising high-protein satisfaction. Among them, beef jerky stands as a titan of savory snacking. But look closer at the label. Often, you’ll find a surprising amount of sugar, a laundry list of unpronounceable preservatives, and a hefty price tag for just a few ounces. It’s a compromise between convenience and quality, and your wallet and wellness often pay the price.
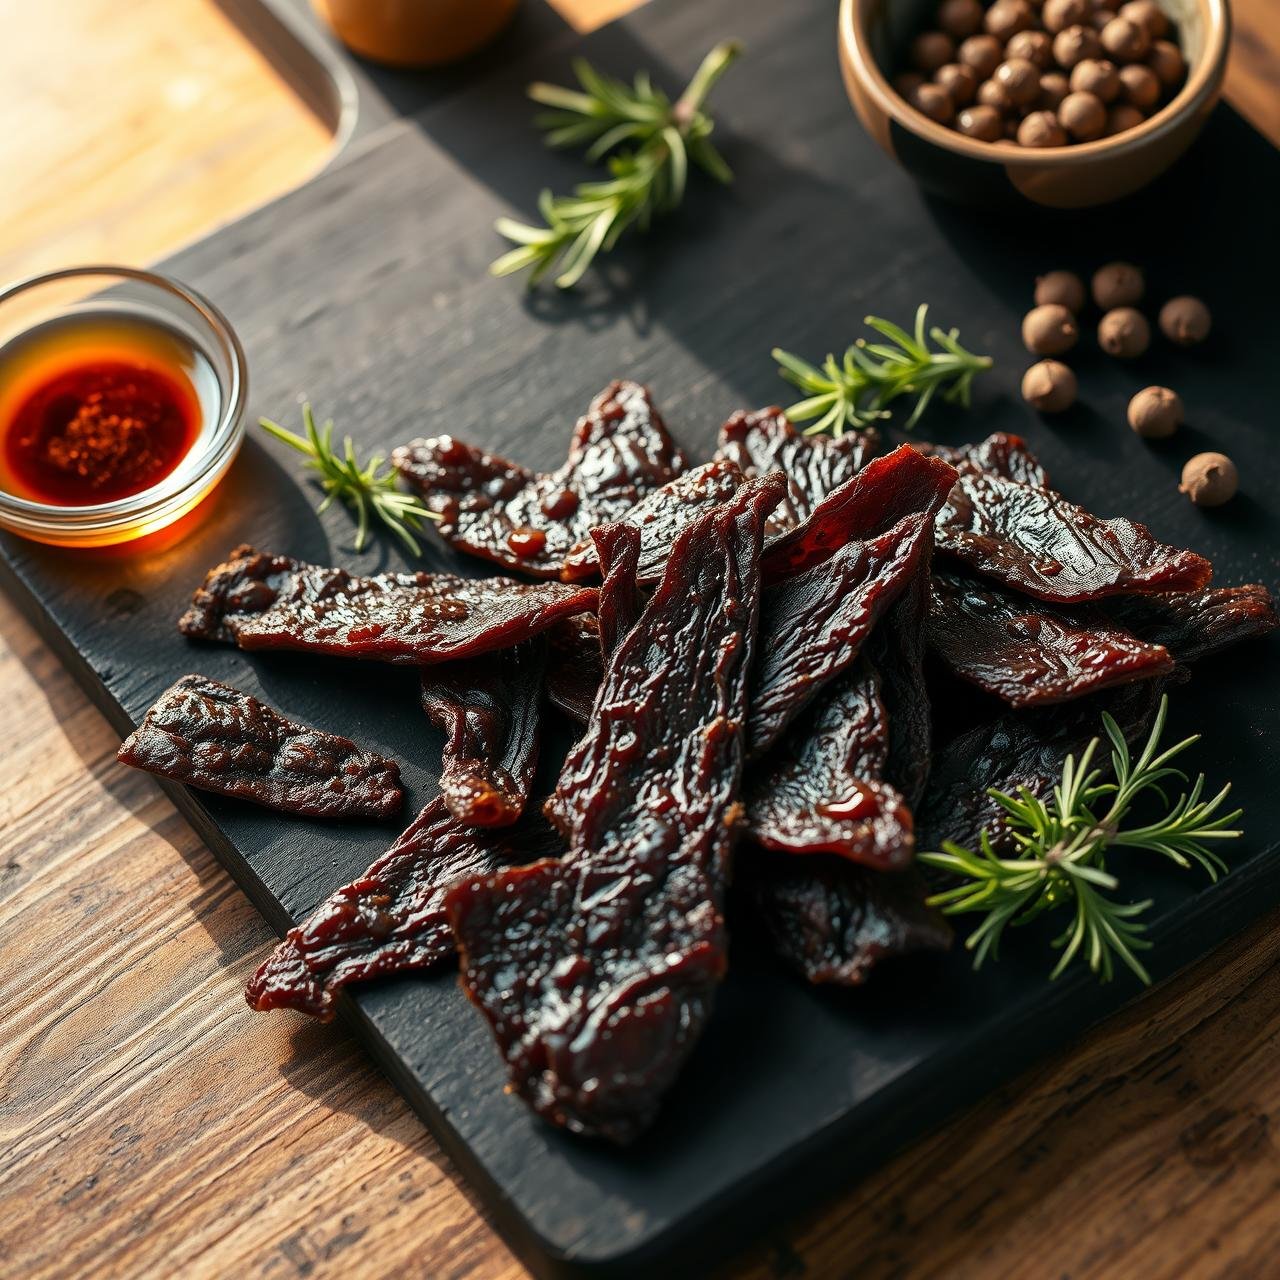
What if I told you that you could create a far superior jerky in your own kitchen? Imagine pulling a batch of perfectly dried, intensely flavorful, and deeply satisfying beef jerky from your oven. The aroma alone—a rustic blend of smoked paprika, garlic, and rich beef—is worth the effort. This isn’t just about making a snack; it’s about reclaiming your food. It’s about crafting a wholesome, high-protein, zero-sugar powerhouse that fuels your body without the hidden junk. This guide is your map to leaving expensive, sugar-laden store-bought snacks behind for good. Let’s get started.
Why Craft Your Own Jerky? The Trifecta of Taste, Health, and Savings
The decision to make your own beef jerky is a rewarding one that pays dividends in three key areas. For the gourmet foodie, it’s an exploration of flavor. For the health enthusiast, it’s about purity and control. And for the budget-conscious cook, it’s a brilliant financial move.
Unparalleled Flavor and Texture
Commercial jerky is often made with lower-quality meat and masked with artificial smoke flavors and sweeteners. When you make it at home, you are the chef. You choose the cut of beef, you control the thickness of the slice, and you create a marinade from fresh, vibrant ingredients. The result is a jerky with a complex, savory depth and a satisfying chew that mass-produced products simply cannot replicate.
Absolute Control Over Your Health
This is where homemade jerky truly shines. Our recipe is proudly zero-sugar, making it perfect for keto, paleo, and low-carb lifestyles. You control the sodium by using tamari or coconut aminos. Most importantly, you eliminate chemical preservatives and nitrates, which are common in shelf-stable meats. It’s clean, simple, high-quality protein you can feel good about eating and serving to your family.
Significant Cost Savings
A small, 3-ounce bag of quality beef jerky can cost upwards of $7 or more. By purchasing a lean roast on sale, you can produce a pound or more of jerky for a fraction of that cost. A single batch can stock your pantry with healthy snacks for weeks, providing a grab-and-go protein source for hikes, post-workout recovery, or busy afternoons. It’s an investment of time that yields a delicious and economical return.
The Butcher’s Block: Selecting the Perfect Cut of Beef

The foundation of exceptional jerky is an exceptional cut of beef. The single most important rule is to choose a lean cut. Fat does not dehydrate well and will turn rancid over time, drastically shortening the shelf life of your jerky. You want a piece of meat with a deep red color and very little marbling or visible fat.
When you’re at the butcher counter, here are the best cuts to ask for:
- Eye of Round: This is the gold standard for jerky. It’s incredibly lean, economical, and has a uniform shape that makes it easy to slice consistently. Its fine grain provides a classic, satisfying chew.
- Top Round: Another excellent and widely available choice. It’s lean and flavorful, though slightly less tender than eye of round. It’s a fantastic, budget-friendly option.
- Bottom Round: Similar to top round, this cut is also very lean and works wonderfully for jerky. It can be slightly tougher, so slicing it thinly against the grain is key.
- Sirloin Tip: This cut is also lean and tender, making for a great jerky, though it can sometimes be a bit more expensive than the round roasts.
What to Avoid
Steer clear of cuts with significant marbling, like Ribeye, Chuck Roast, or Brisket (unless you are making a very specific style of cured brisket and can trim the fat cap meticulously). While delicious for grilling, the high fat content will spoil your jerky.
Pro Tip: Make friends with your butcher! Tell them you’re making beef jerky and ask them to trim any external fat cap off the roast for you. They can be an invaluable resource for selecting the best piece of meat available that day.
Gather Your Arsenal: Essential Kitchen Equipment
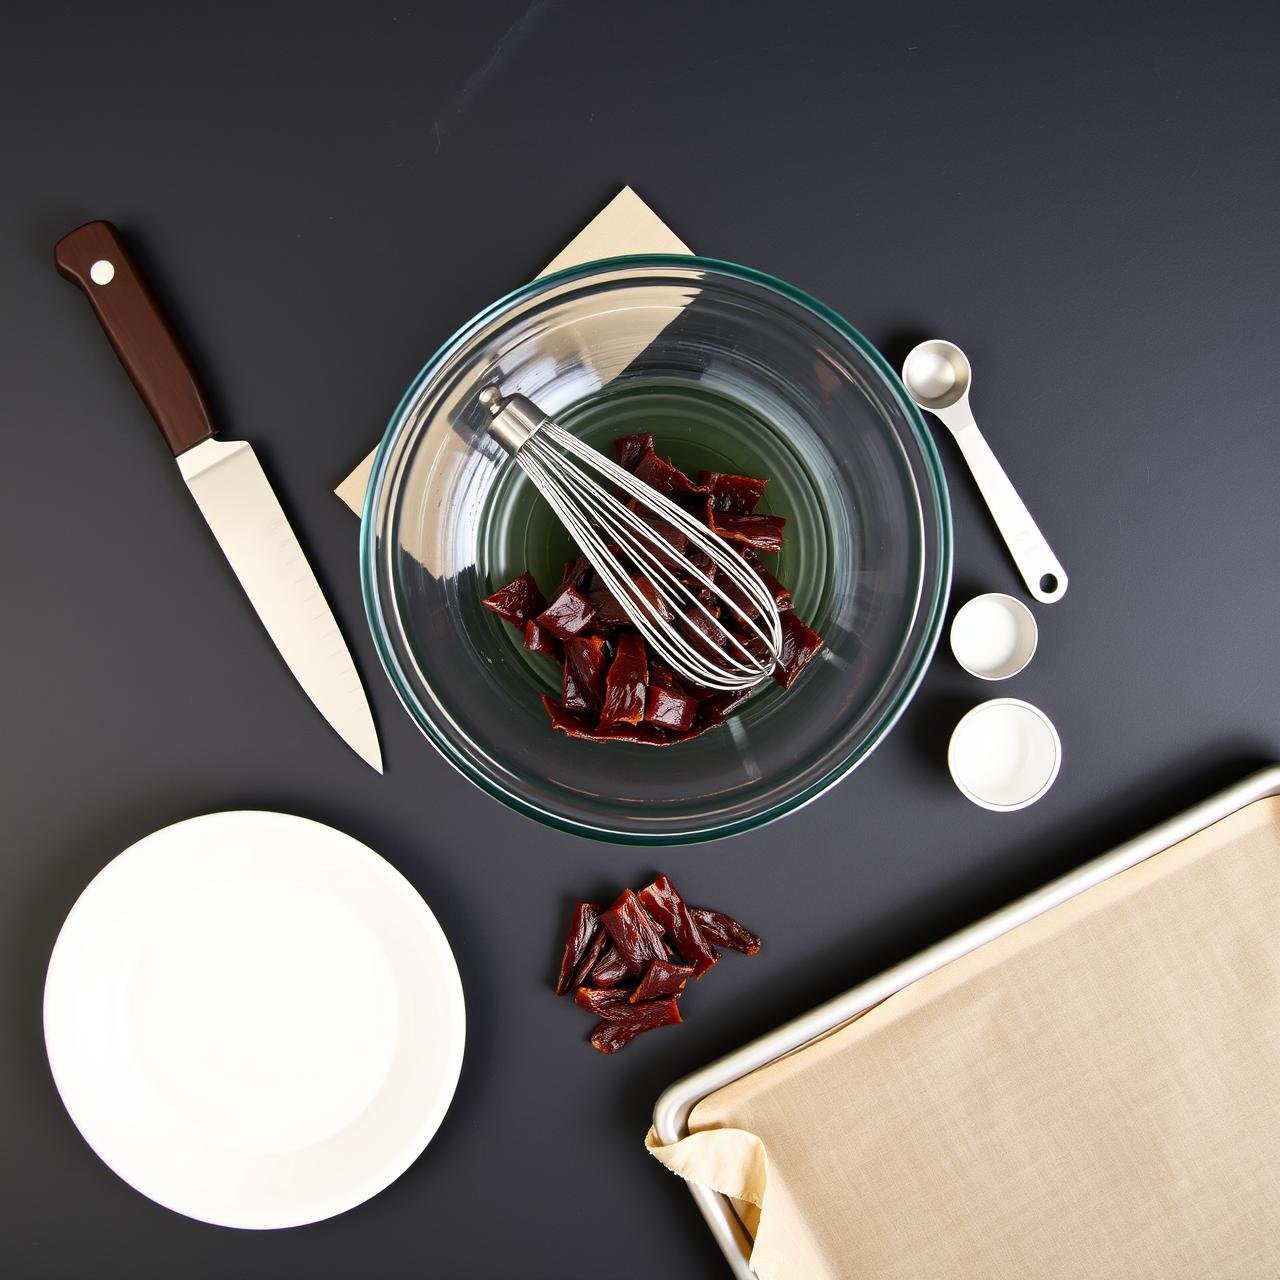
You don’t need a professional dehydrator or any fancy gadgets to create world-class jerky. The beauty of this recipe is its reliance on a standard home oven and basic kitchen tools. Here’s what you’ll need to have ready:
| Tool | Purpose |
|---|---|
| Sharp Chef’s Knife or Slicing Knife | For achieving thin, uniform slices of beef. A sharp knife is non-negotiable for safety and precision. |
| Large Cutting Board | Provides a stable surface for slicing your beef. |
| Large Glass Bowl or Mixing Bowl | For preparing the marinade and tossing the beef strips. |
| Whisk | To thoroughly combine the marinade ingredients. |
| Measuring Cups and Spoons | For accurate measurement of your marinade components. |
| Large Zip-Top Bags (Gallon Size) | The ideal vessel for marinating the beef, as it allows you to remove excess air and ensure all strips are coated. |
| Baking Sheets | To catch any drips during the dehydration process in the oven. |
| Oven-Safe Wire Cooling Racks | This is the most crucial piece of equipment. Placing the beef on wire racks allows hot air to circulate 360 degrees around each strip, ensuring even drying rather than cooking. |
| Paper Towels | For patting the marinated beef strips dry before they go into the oven. |
The Alchemist’s Marinade: A Symphony of Savory Flavors (No Sugar Needed!)
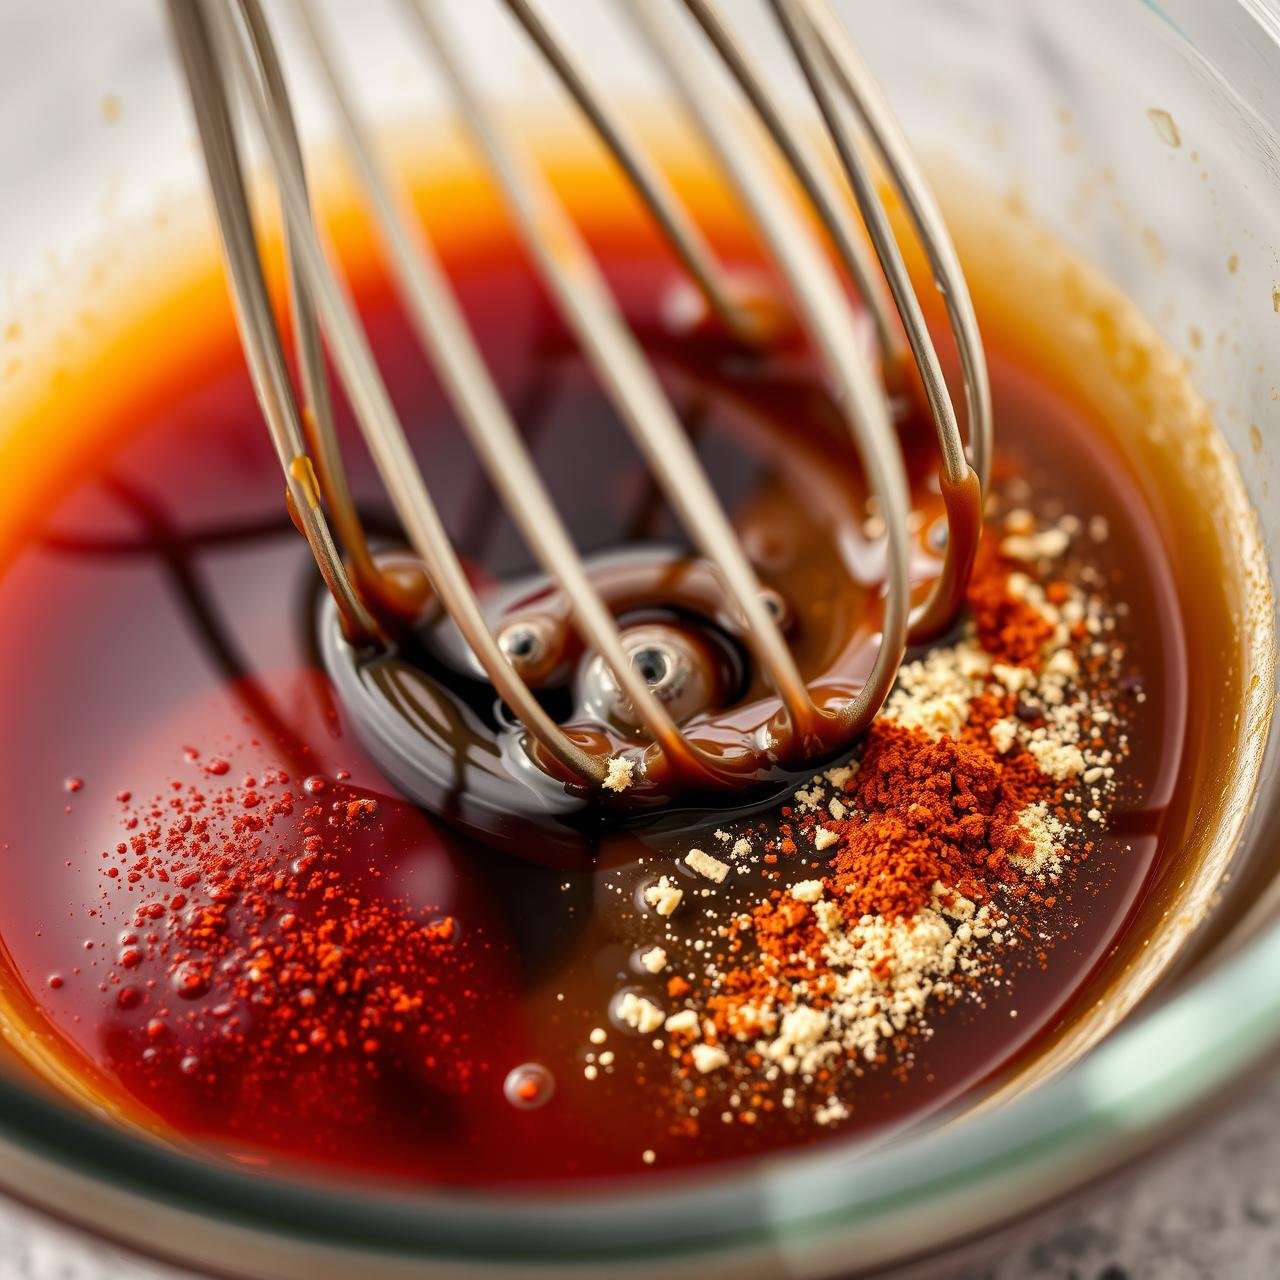
This marinade is the heart of your jerky’s flavor. It’s a carefully balanced blend of savory, smoky, and aromatic notes designed to penetrate the meat and create a mouth-watering final product, all without a single grain of sugar.
Ingredients:
- 2-3 pounds Lean Beef Roast (Eye of Round, Top Round)
- 1/2 cup Tamari or Coconut Aminos (a gluten-free, soy-free alternative)
- 2 tablespoons Apple Cider Vinegar
- 1 tablespoon Smoked Paprika
- 2 teaspoons Onion Powder
- 2 teaspoons Garlic Powder
- 1 teaspoon Freshly Ground Black Pepper
- Optional: 1 teaspoon Red Pepper Flakes for a spicy kick
The Role of Each Ingredient:
Each component plays a specific role in the flavor symphony. The Tamari or Coconut Aminos provide the savory, umami backbone and the necessary salt for preservation. The Apple Cider Vinegar has a subtle tang that brightens the flavor and its acidity helps to tenderize the meat. Smoked Paprika is our secret weapon, imparting a deep, smoky flavor that mimics a traditional smokehouse without any special equipment. Finally, Onion Powder, Garlic Powder, and Black Pepper create the classic, aromatic, and savory profile that makes jerky so irresistible.
The Method: A Step-by-Step Guide to Perfect Oven Jerky

Patience is the key virtue in jerky making. The process is simple, but it relies on low temperatures and long drying times to achieve the perfect texture. Follow these steps meticulously for a flawless result.
- Chill and Slice the Beef: Place your beef roast in the freezer for 1 to 2 hours. You don’t want it frozen solid, but firming it up significantly makes it much easier to slice. Once firm, use your sharpest knife to slice the beef into thin strips, about 1/8 to 1/4-inch thick. Remember the tip about slicing with or against the grain based on your preference.
- Prepare the Marinade: In your large mixing bowl, whisk together the tamari (or coconut aminos), apple cider vinegar, smoked paprika, onion powder, garlic powder, and black pepper until fully combined.
- The Marinade Bath: Add all of your beef strips to the bowl and use your hands (or tongs) to toss them thoroughly, ensuring every surface of every strip is coated in the marinade. Transfer the coated beef to a large zip-top bag, press out as much air as possible, and seal it.
- Marinate: Place the bag in the refrigerator to marinate for at least 8 hours, but for best results, let it marinate for a full 24 hours. This allows the flavors to deeply penetrate the meat.
- Pre-Dry the Strips: Remove the beef from the marinade and discard the excess liquid. Lay the strips out in a single layer on paper towels and pat them dry with more paper towels. This step is crucial; removing surface moisture helps the jerky dehydrate properly instead of steaming.
- Arrange for Dehydration: Preheat your oven to its lowest possible temperature, ideally between 160-175°F (70-80°C). Place your wire racks inside your baking sheets. Arrange the beef strips on the wire racks in a single layer, making sure no pieces are overlapping or touching. This ensures proper air circulation.
- The Low-and-Slow Dehydration: Place the baking sheets in the preheated oven. To allow moisture to escape, prop the oven door open just a crack with the handle of a wooden spoon. Let the jerky dehydrate for 3 to 5 hours.
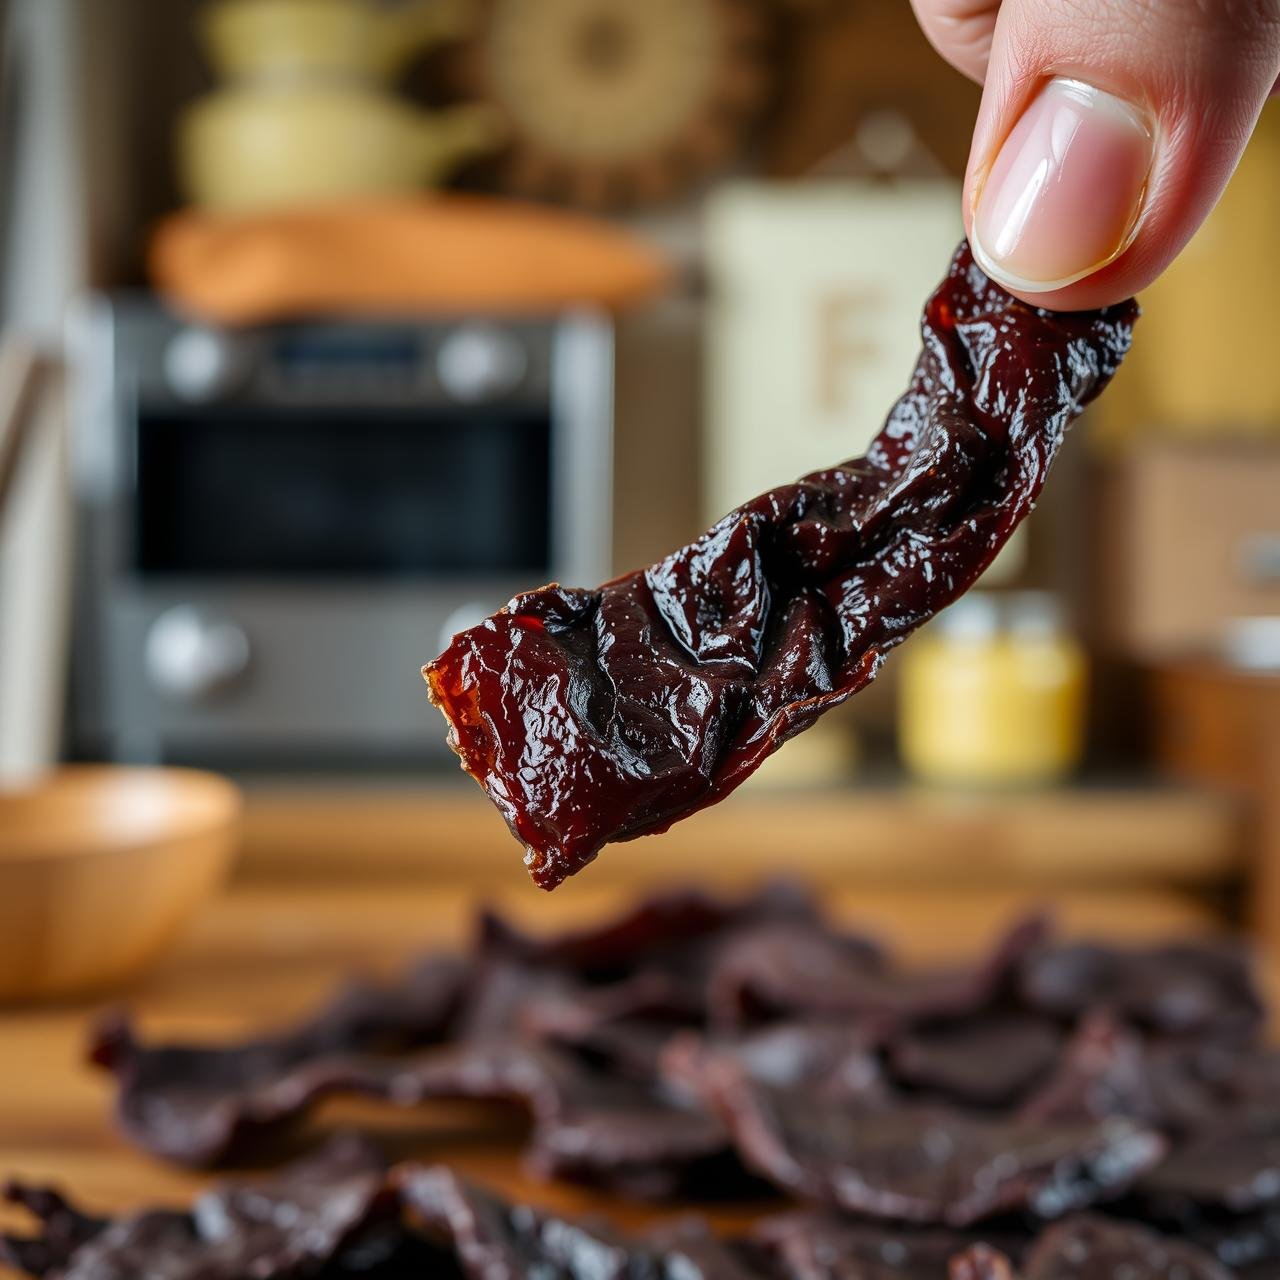
- Check for Doneness: The exact time will depend on your oven and the thickness of your slices. Start checking at the 3-hour mark. A perfect piece of jerky will be dry to the touch and firm. When you bend it, it should bend and crack, but not snap in half like a twig. If it snaps, it’s overcooked. If it’s still soft and squishy, it needs more time.
- Cool Completely: Once done, remove the jerky from the oven and let it cool completely on the wire racks at room temperature. It will become tougher and more jerky-like as it cools.
Chef’s Secrets & Troubleshooting
Even a straightforward process can have its nuances. Here are a few professional tips and solutions to common problems to ensure your jerky is perfect every time.
Slicing Savvy: Grain Direction Matters
The direction you slice your meat will have a major impact on the final texture. For a classic, tougher, and chewier jerky that you have to work at, slice the beef with the grain. For a more tender, easier-to-eat jerky, slice the beef against the grain. Look at the raw meat and identify the direction the muscle fibers are running, then slice either parallel (with) or perpendicular (against) to them.
Flavor Variations
This recipe is a fantastic base. Feel free to experiment!
- For Heat: Add sliced jalapeños or a dash of your favorite hot sauce to the marinade.
- For Herbaceous Notes: Add a sprig of fresh rosemary or thyme to the marinade bag.
- For Deeper Smoke: If you love a heavy smoke flavor, add a teaspoon of liquid smoke to the marinade. Use it sparingly, as it can be potent.
Common Pitfalls & How to Fix Them
- My jerky is too tough/brittle: You likely over-dried it. Next time, start checking for doneness earlier. You can’t reverse this, but it will still be edible, perhaps crumbled over a salad.
- My jerky is too soft/moist: It’s under-dried. Simply put it back in the low-temperature oven and check it every 20-30 minutes until it reaches the right texture.
- I see white stuff on my jerky: If it’s hard and crystalline, it’s likely just salt leaching out, which is harmless. If it’s fuzzy, soft, or green/blue, that’s mold. This means it wasn’t dried enough or was stored improperly while still warm. Unfortunately, moldy jerky must be discarded.
Nutritional Profile: The Power of Protein

This homemade jerky isn’t just delicious; it’s a nutritional powerhouse. By eliminating sugar and using lean beef, you’re left with a clean, high-protein snack that supports muscle growth, keeps you full, and provides sustained energy without a blood sugar crash.
| Nutrient | Amount Per Serving (1 oz / 28g) |
|---|---|
| Calories | ~90-110 kcal |
| Protein | ~15-18 g |
| Fat | ~2-3 g |
| Carbohydrates | <1 g |
| Sugar | 0 g |
| Sodium | ~250-350 mg (varies with Tamari/Aminos) |
Disclaimer: These are estimates. Actual nutritional values will vary based on the specific cut of beef and marinade ingredients used.
Storing Your Homemade Treasure
Proper storage is essential to protect your delicious investment of time and effort. The enemy of jerky is moisture and oxygen. Follow these steps to ensure it stays fresh and safe to eat.
Step 1: Cool Completely
This is the most critical step. Do not, under any circumstances, store jerky that is still warm. Any residual heat will create condensation inside your storage container, which will lead to mold. Allow the jerky to cool on the wire racks at room temperature for at least a few hours until it is completely cool to the touch.
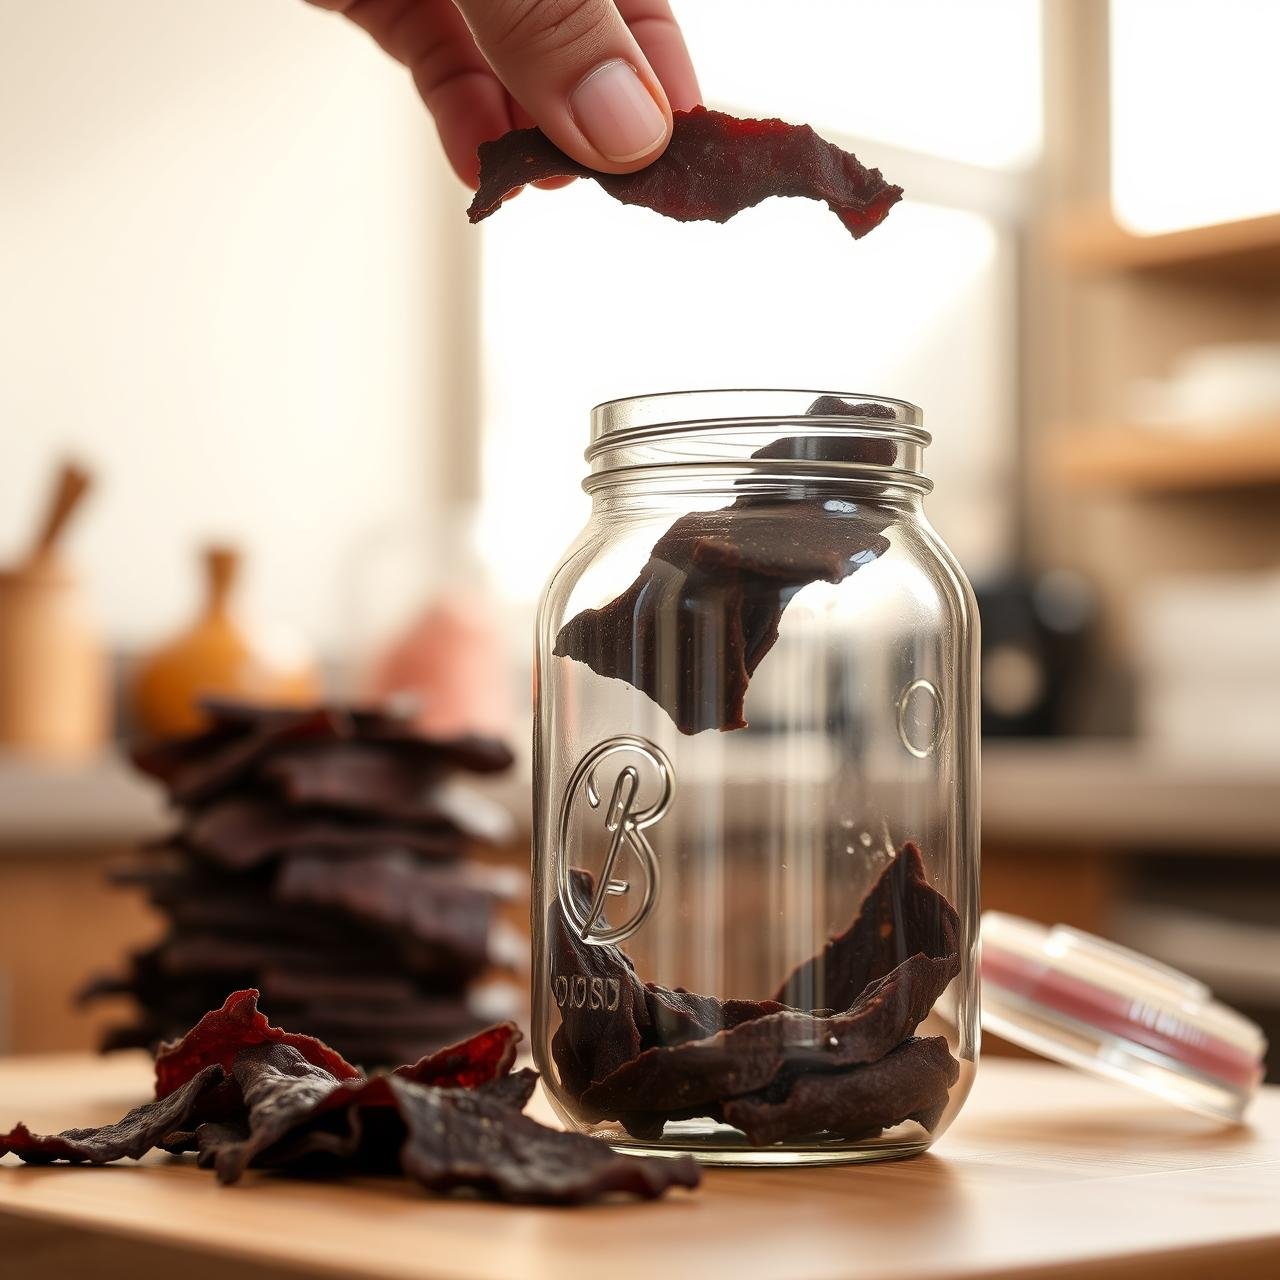
Step 2: Choose Your Container
- Airtight Glass Jars: Mason jars or other glass containers with a tight-fitting lid are an excellent choice. They are non-porous and provide a great seal.
- Zip-Top Bags: If using plastic bags, try to squeeze out as much air as possible before sealing. For longer storage, consider using a vacuum sealer.
- Vacuum Sealing: This is the ultimate method for long-term storage. By removing all the air, you significantly extend the shelf life and prevent freezer burn if you choose to freeze it.
Step 3: Where to Store
- Pantry: If your jerky is perfectly dried, it can be stored in an airtight container in a cool, dark place like a pantry for 1 to 2 months.
- Refrigerator: For extra peace of mind or if you live in a humid climate, storing it in the refrigerator will extend its life to 3 to 6 months.
- Freezer: For long-term storage, vacuum-sealed jerky can last in the freezer for up to a year without significant loss of quality.
Conclusion
You’ve done it. You’ve transformed a simple cut of beef into a batch of artisanal, savory, and incredibly wholesome jerky. The journey from the butcher’s block to the final, perfectly chewy strip is one of culinary empowerment. You’ve sidestepped the high costs and hidden sugars of commercial snacks and created something truly your own. Every bite is a testament to the flavor, health, and satisfaction that comes from homestyle cooking.
So the next time you feel the urge to grab a quick, high-protein snack, you won’t have to reach for an expensive bag from the store. You can reach into your own pantry for a delicious, handcrafted treat that you made with care. Welcome to the world of homemade jerky—your snacking habits will never be the same.