Perfect Air Fryer Hard Boiled Eggs: The No-Water Hack You Need
For generations, the path to a perfect hard boiled egg was paved with boiling water, rattling pots, and the lingering anxiety of a dreaded green-tinged yolk. It was a culinary ritual we accepted, complete with its inconsistencies and frustratingly stubborn shells. But what if I told you there’s a better way? A method that requires no water, no stovetop supervision, and delivers a more consistent, easier-to-peel egg than you’ve ever imagined. Welcome to the future of boiled eggs, powered by your countertop air fryer.
This no-water hack isn’t just a novelty; it’s a fundamental improvement on a classic technique. By circulating hot air evenly around the eggs, the air fryer cooks them gently and uniformly from the outside in, mimicking the conditions of a small, high-powered convection oven. The result is a tender white, a perfectly set yolk cooked precisely to your liking, and—best of all—a shell that practically slides off. Prepare to transform your approach to this humble kitchen staple and elevate your meal prep, salads, and snacks with foolproof perfection.
The Culinary Revolution: Why No-Water Air Fryer Eggs Reign Supreme
Before we dive into the technique, it’s essential to understand why this method is a game-changer. It’s not just about convenience; it’s about culinary science and superior results. Traditional boiling is an aggressive cooking method. The turbulent water can cause eggs to knock against each other, leading to cracks and leaky whites. Furthermore, heat transfer through water can be uneven, making it difficult to nail that perfect yolk consistency every time.
The Science of Convection Cooking
An air fryer operates on the principle of convection. A heating element generates heat, and a powerful fan circulates that hot air at high speed. When you place eggs in the basket, they are enveloped in a consistent, dry heat. This process gently cooks the proteins in both the white and the yolk, giving you more control over the final texture. The dry heat also causes the membrane between the egg white and the shell to separate more effectively, which is the secret to the incredibly easy peel.
Key Advantages Over Boiling:
- Unmatched Consistency: Digital temperature and time controls on an air fryer remove the guesswork. You can dial in the exact settings for a jammy, medium, or hard-set yolk and achieve the same results every single time.
- Water and Energy Efficient: There’s no need to heat a large pot of water, which saves time, water, and energy. It’s a greener, more efficient approach for the modern kitchen.
- Hands-Off Convenience: Forget watching a pot to prevent it from boiling over. Simply set the air fryer and walk away. It’s the ultimate set-it-and-forget-it method for busy home cooks.
- Superior Peeling: This is arguably the most celebrated benefit. The science of air frying, combined with a quick ice bath, causes the egg to contract and pull away from the shell, making the peeling process smooth and satisfying, without taking chunks of the precious egg white with it.
Your Simple Toolkit for Egg Perfection
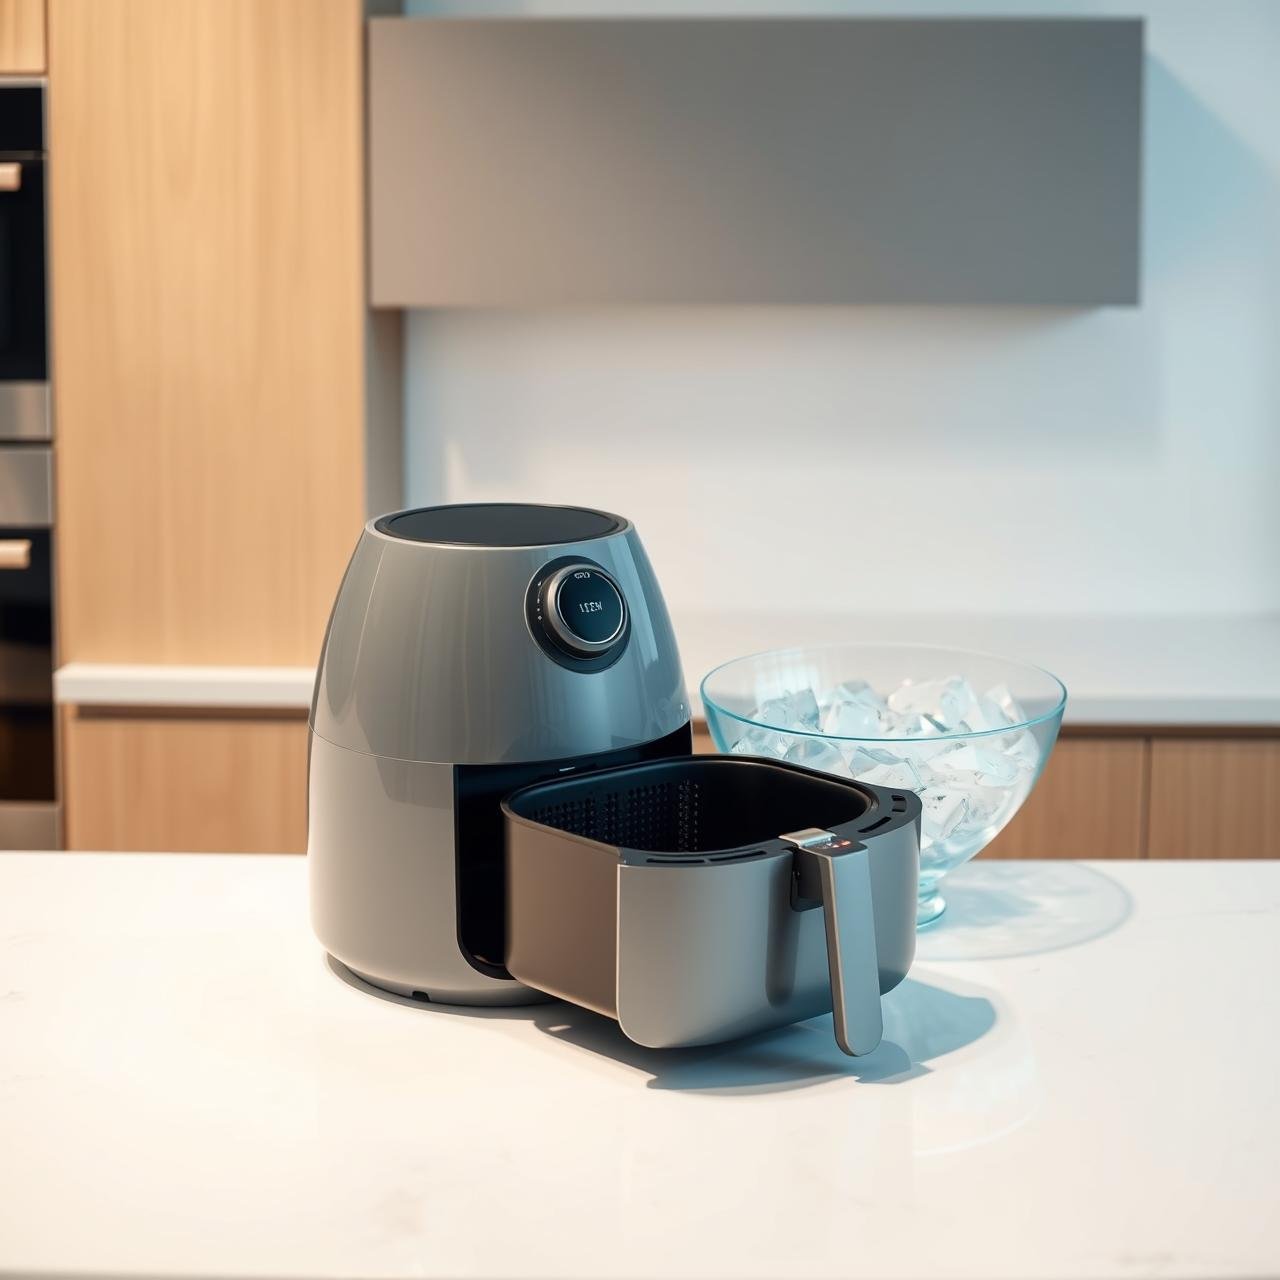
One of the most beautiful aspects of this technique is its sheer simplicity. You don’t need any specialized gadgets or complicated setups. The required equipment is likely already in your kitchen, waiting to be put to use.
Essential Equipment:
- An Air Fryer: Any model, whether it’s a basket-style or oven-style, will work perfectly. The key is that it can hold a steady temperature. There’s no need to adjust the recipe based on the brand.
- A Large Bowl: This will be used for the ice bath, a non-negotiable step for halting the cooking process and ensuring an easy peel.
- Tongs (Optional but Recommended): The eggs will be extremely hot when they come out of the air fryer. A pair of silicone-tipped tongs makes transferring them to the ice bath safe and easy.
That’s it. No pots, no steamer baskets, no trivets. Just the air fryer, a bowl, and the eggs themselves. This minimalist approach is ideal for budget cooks, those with limited kitchen space, and anyone who appreciates an efficient, clutter-free cooking process.
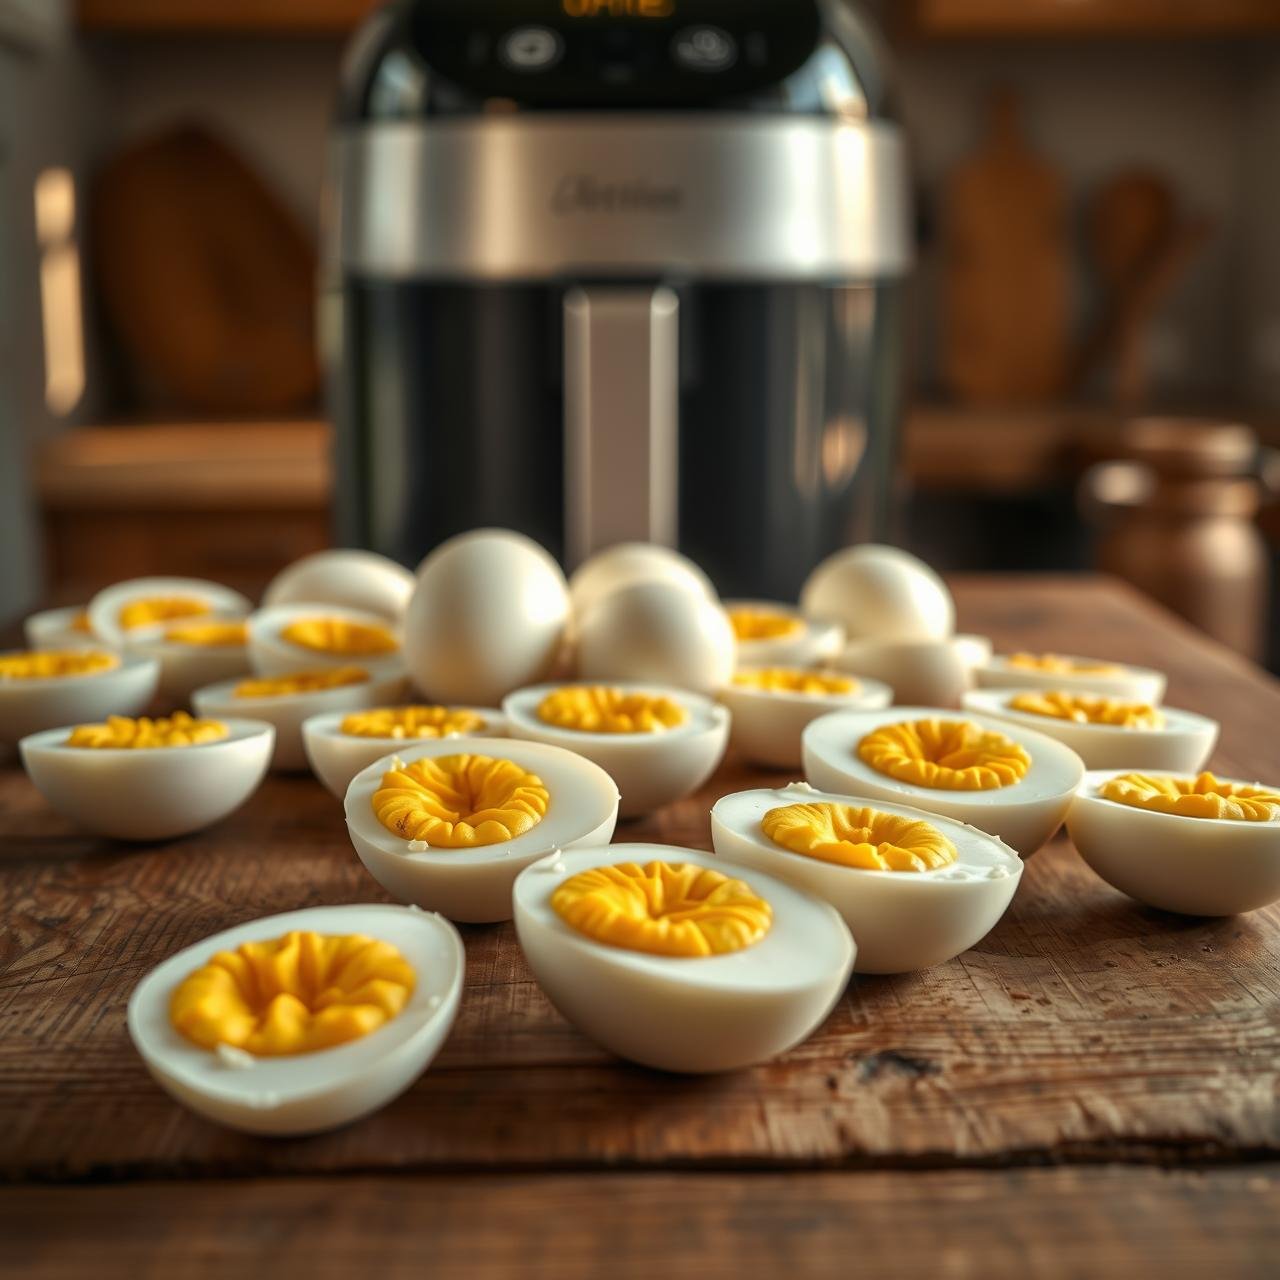
The Foolproof Method: From Carton to Perfection in Minutes
Here is the step-by-step process that will deliver flawless hard boiled eggs. Follow these instructions precisely for the best results. We recommend starting with a small batch of 2-4 eggs the first time to calibrate the exact timing for your specific air fryer model, as they can vary slightly.
-
Prepare Your Station
First, prepare the ice bath. Fill a large bowl halfway with cold water and add a generous amount of ice. You want the water to be frigid. Set this bowl near your air fryer for a quick transfer later. This step is critical and should not be skipped.
-
Preheat the Air Fryer
Set your air fryer to 270°F (132°C). Allow it to preheat for 3 to 5 minutes. While some recipes claim preheating isn’t necessary, I find it provides a more consistent starting point, ensuring the eggs begin cooking immediately in a stable environment. This consistency is the key to repeatable perfection.
-
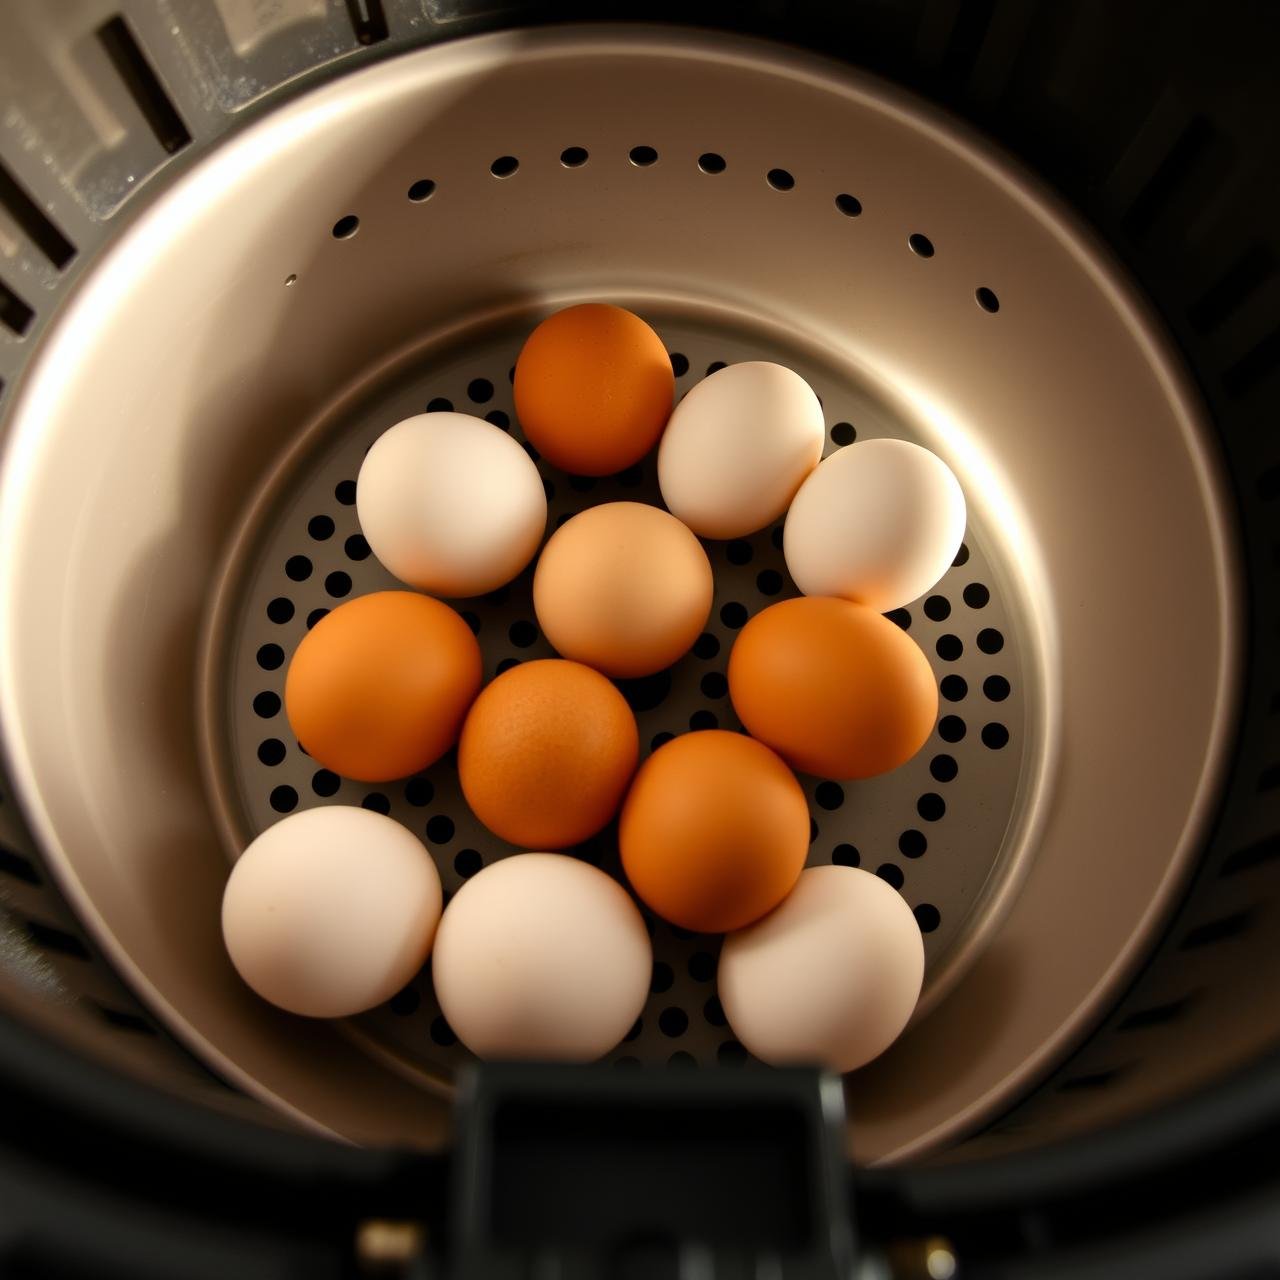
Arrange the Eggs
Carefully place the cold, straight-from-the-refrigerator eggs in the air fryer basket. Arrange them in a single layer, ensuring they are not touching. This allows the hot air to circulate freely around each egg for even cooking. Do not overcrowd the basket; cook in batches if necessary.
-
Cook to Your Desired Doneness
Close the air fryer basket and cook the eggs according to your preference. A good starting point for large eggs is 15 minutes for a fully cooked, firm hard boiled yolk. (See the detailed timing chart below for other levels of doneness).
-
The Critical Ice Bath
As soon as the timer goes off, use tongs to immediately and carefully transfer the hot eggs from the air fryer basket directly into the prepared ice bath. This rapid temperature change, known as ‘shocking,’ does two important things: it instantly stops the cooking process, preventing the yolks from overcooking and developing that unappetizing grey-green ring, and it causes the egg white to contract slightly, pulling away from the shell’s membrane. Submerge the eggs completely and let them sit in the ice water for at least 10 to 15 minutes, or until they are completely cool to the touch.
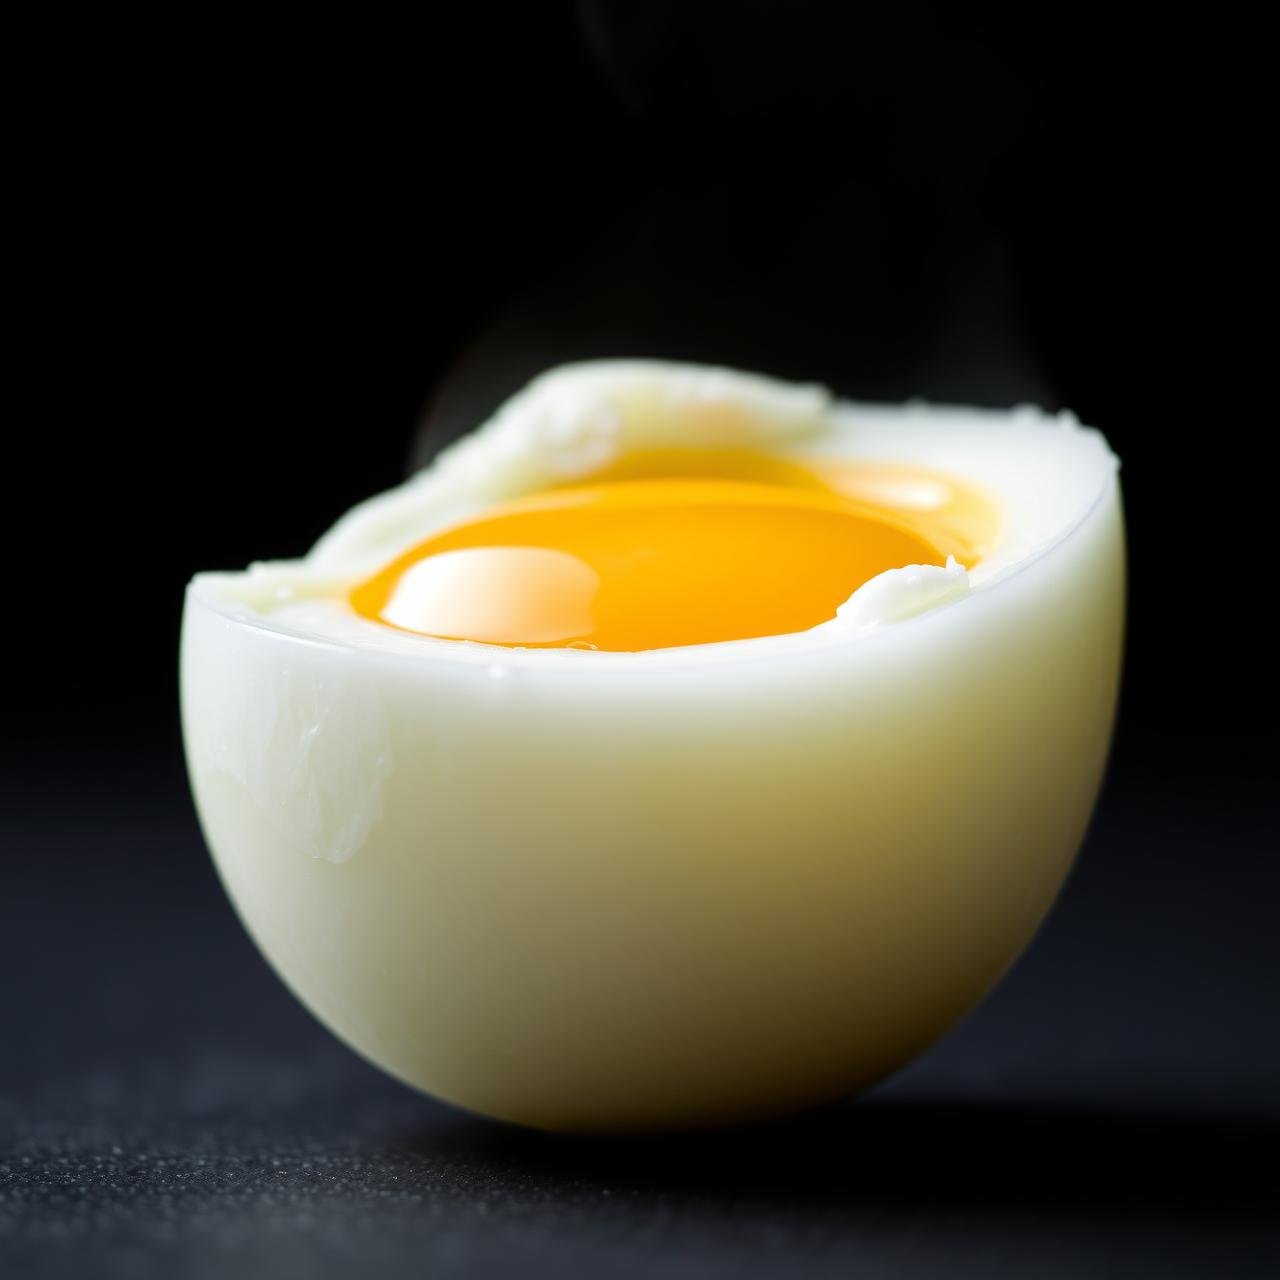
Mastering the Yolk: A Precise Timing and Temperature Guide
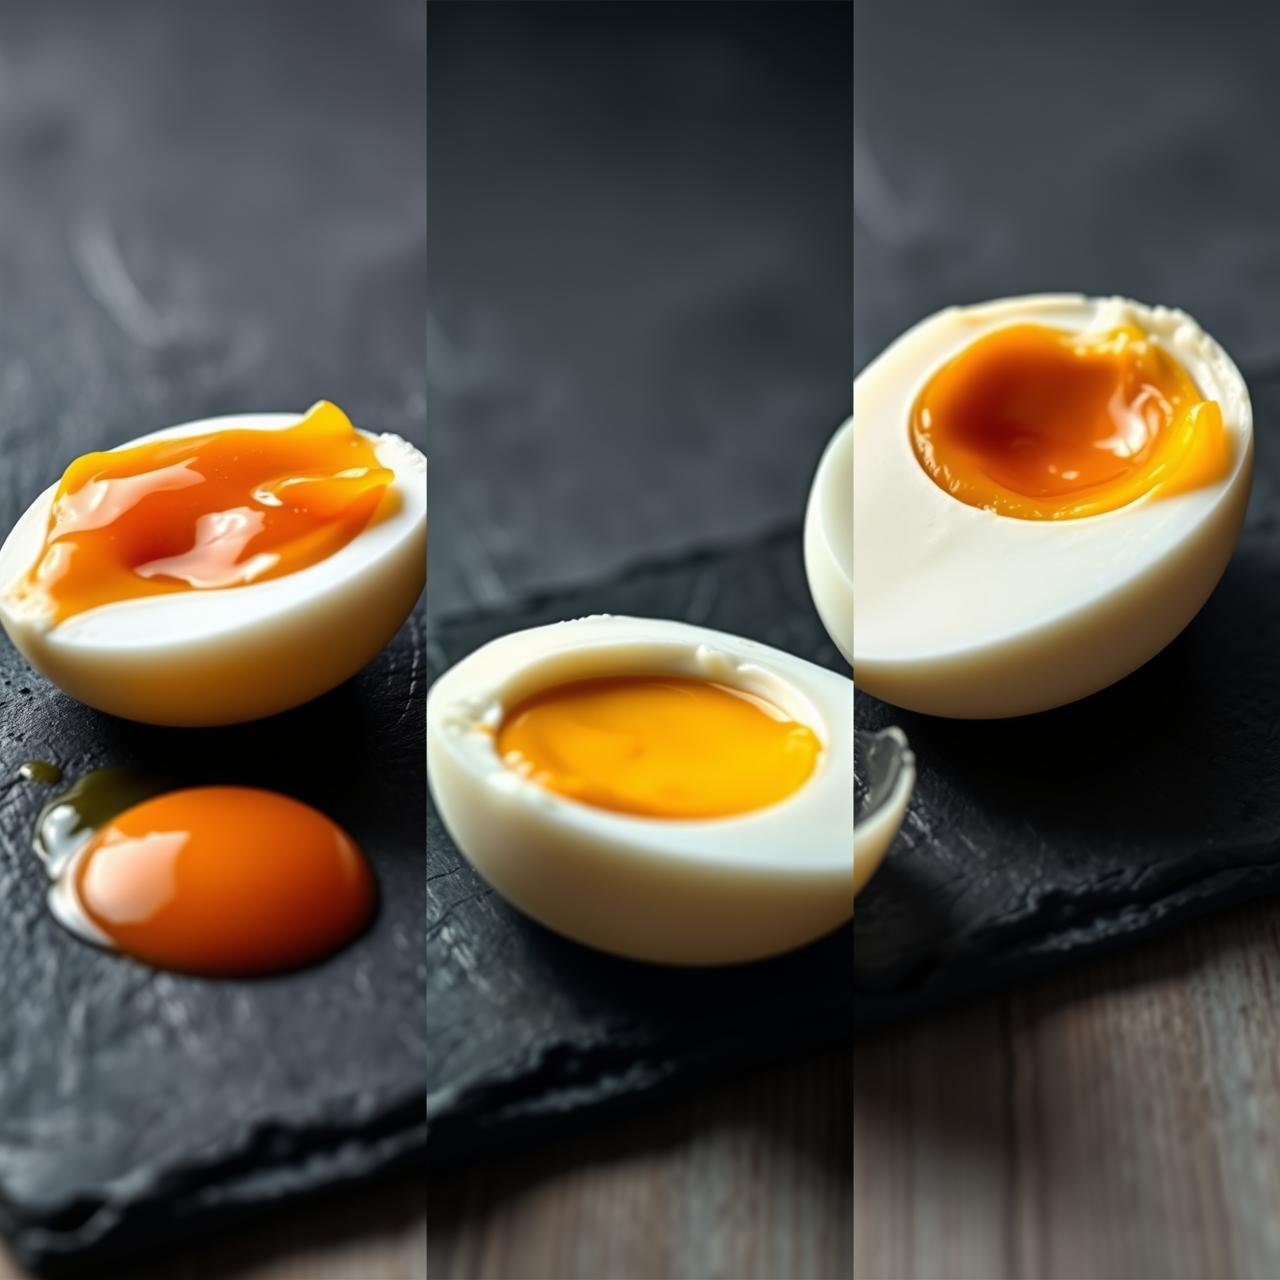
The beauty of the air fryer is precision. While 270°F (132°C) is the ideal temperature, the cooking time determines the final state of the yolk. Use this guide as your trusted reference. Note that these times are based on large eggs taken directly from the refrigerator. You may need to subtract a minute for medium eggs or add a minute for extra-large eggs.
| Doneness | Time | Yolk Description |
|---|---|---|
| Soft Boiled | 9-10 Minutes | The white is fully set, but the yolk is liquid and runny, perfect for dipping toast soldiers. |
| Jammy / Medium | 11-13 Minutes | The outer edge of the yolk is set, but the center is soft, creamy, and gloriously jam-like. Ideal for ramen, salads, or avocado toast. |
| Hard Boiled (Firm) | 14-15 Minutes | The yolk is fully cooked through and firm, but still creamy and vibrant yellow. This is your classic texture for egg salad and deviled eggs. |
| Hard Boiled (Very Firm) | 16-17 Minutes | The yolk is completely set and very firm with a crumbly texture. Best for those who prefer absolutely no softness in their yolk. |
Experiment to find your personal sweet spot. Cooking a test batch and taking notes is a worthy investment for achieving your perfect egg every time thereafter.
The ‘Tap, Roll, and Peel’ Secret to a Flawless Finish
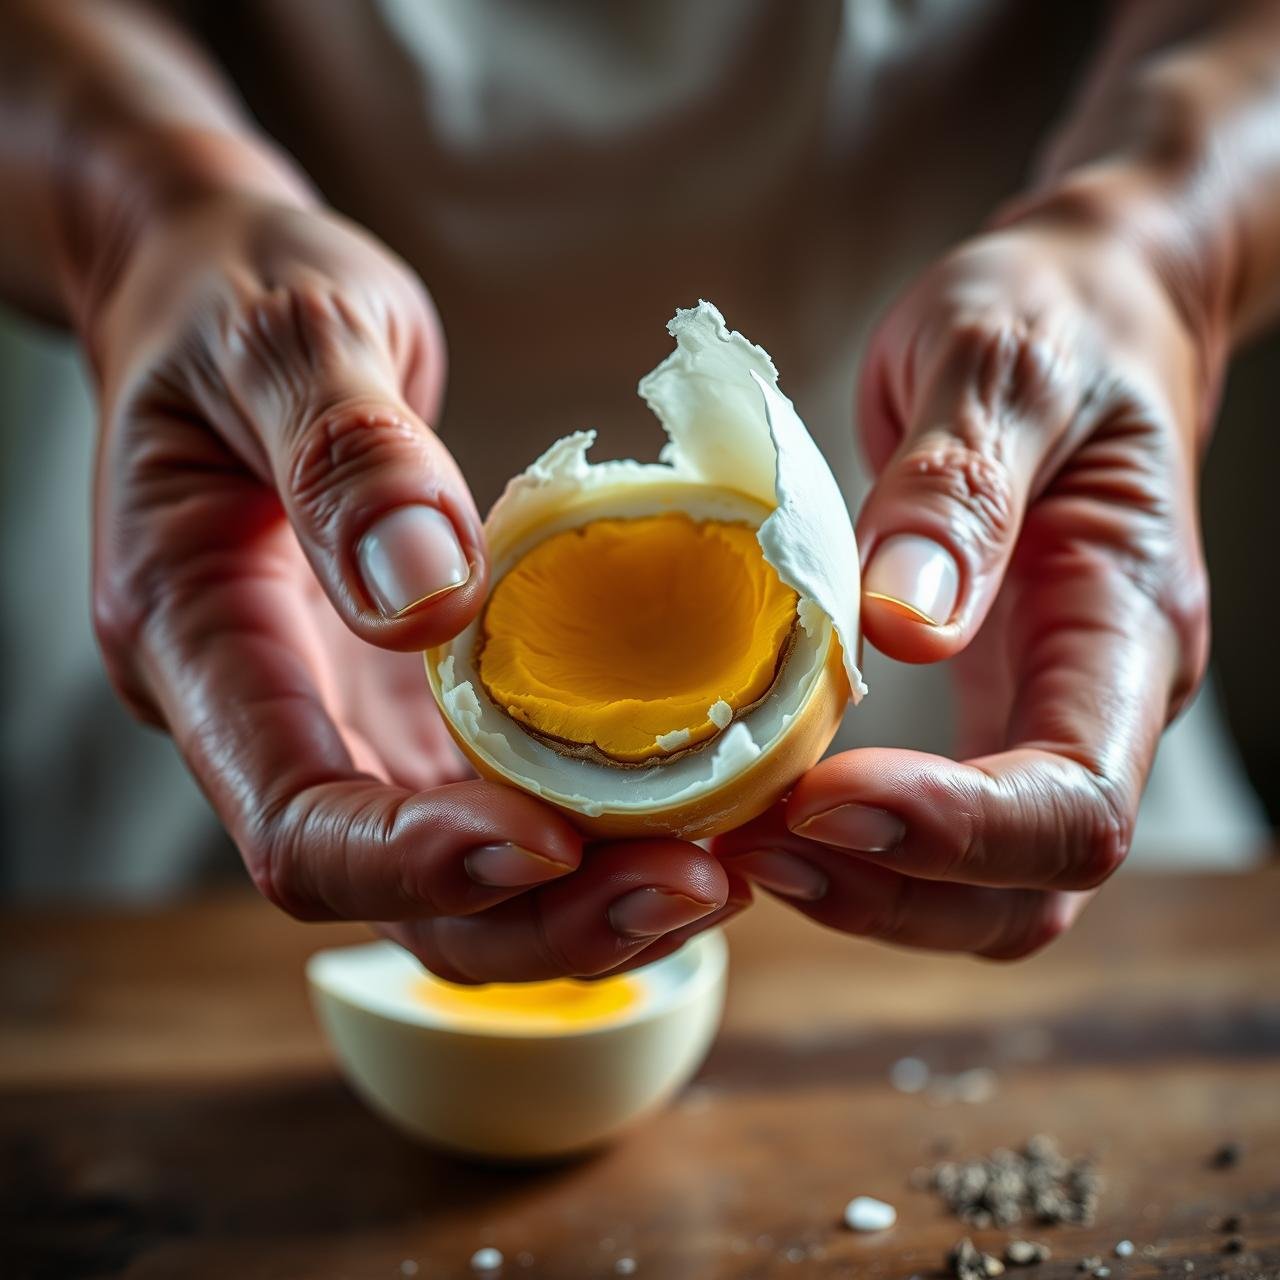
If you’ve ever battled with a stubborn eggshell that took half the white with it, you will find this part of the process almost magical. Thanks to the dry heat and the ice bath shock, these shells are primed to come off cleanly.
Why is it so easy?
During air frying, the air sac at the large end of the egg expands. The subsequent shock in ice water makes the egg protein contract and pull away from the membrane that clings to the inside of the shell. This creates a tiny gap, making the shell significantly easier to remove in large, satisfying pieces.
The Best Peeling Technique:
- After the eggs have fully cooled in the ice bath, take one out and gently tap the wider end on a hard surface to create an initial crack.
- Turn the egg on its side and, with gentle pressure from your palm, roll it on the countertop. This will create a network of fine cracks all over the shell.
- Starting at the wide end where the air pocket is, use your thumb to get under the membrane and shell. It should lift away easily. Continue peeling under a thin stream of cool running water if you find any stubborn spots, as the water can help separate the shell from the white.
You will be left with a smooth, beautiful, perfectly intact egg, ready for any culinary creation.
Common Pitfalls and How to Avoid Them
While this method is incredibly reliable, a few common mistakes can derail your results. Being aware of these potential issues will ensure your success from the very first batch.
Mistake #1: Overcrowding the Basket
The Problem: Placing too many eggs in the basket at once prevents the hot air from circulating evenly. This leads to inconsistent cooking, with some eggs being undercooked while others are overcooked.
The Fix: Always arrange eggs in a single layer with space between them. If you need to cook a large number of eggs, it is far better to cook them in multiple batches than to crowd them into one.
Mistake #2: Skipping the Ice Bath
The Problem: Eggs continue to cook from residual heat even after being removed from the air fryer. Skipping the ice bath will result in overcooked, rubbery whites and potentially that dreaded green ring around the yolk. It also makes them significantly harder to peel.
The Fix: This step is non-negotiable. Prepare your ice bath before you even start cooking, and transfer the eggs immediately once the timer is up. Let them cool completely.
Mistake #3: Inconsistent Egg Sizes
The Problem: Cooking a mix of medium, large, and extra-large eggs in the same batch using the same time will yield inconsistent results. The smaller eggs will be overcooked by the time the larger ones are done.
The Fix: For best results, try to cook eggs of a similar size in each batch. If you must mix sizes, be prepared to remove the smaller eggs a minute or two earlier.
Mistake #4: Peeling Warm Eggs
The Problem: Patience is a virtue in egg peeling. A warm egg has not had enough time for the membrane to fully release from the white, making it cling stubbornly.
The Fix: Ensure the eggs are completely cool to the touch after their ice bath. If they still feel even slightly warm, give them a few more minutes in the cold water. The colder the egg, the cleaner the peel.
Preserving Perfection: How to Store Your Air Fryer Eggs
Proper storage is key to enjoying your perfectly cooked eggs throughout the week. Whether for a quick protein-packed snack or as a component of a larger meal, keeping them fresh is simple.
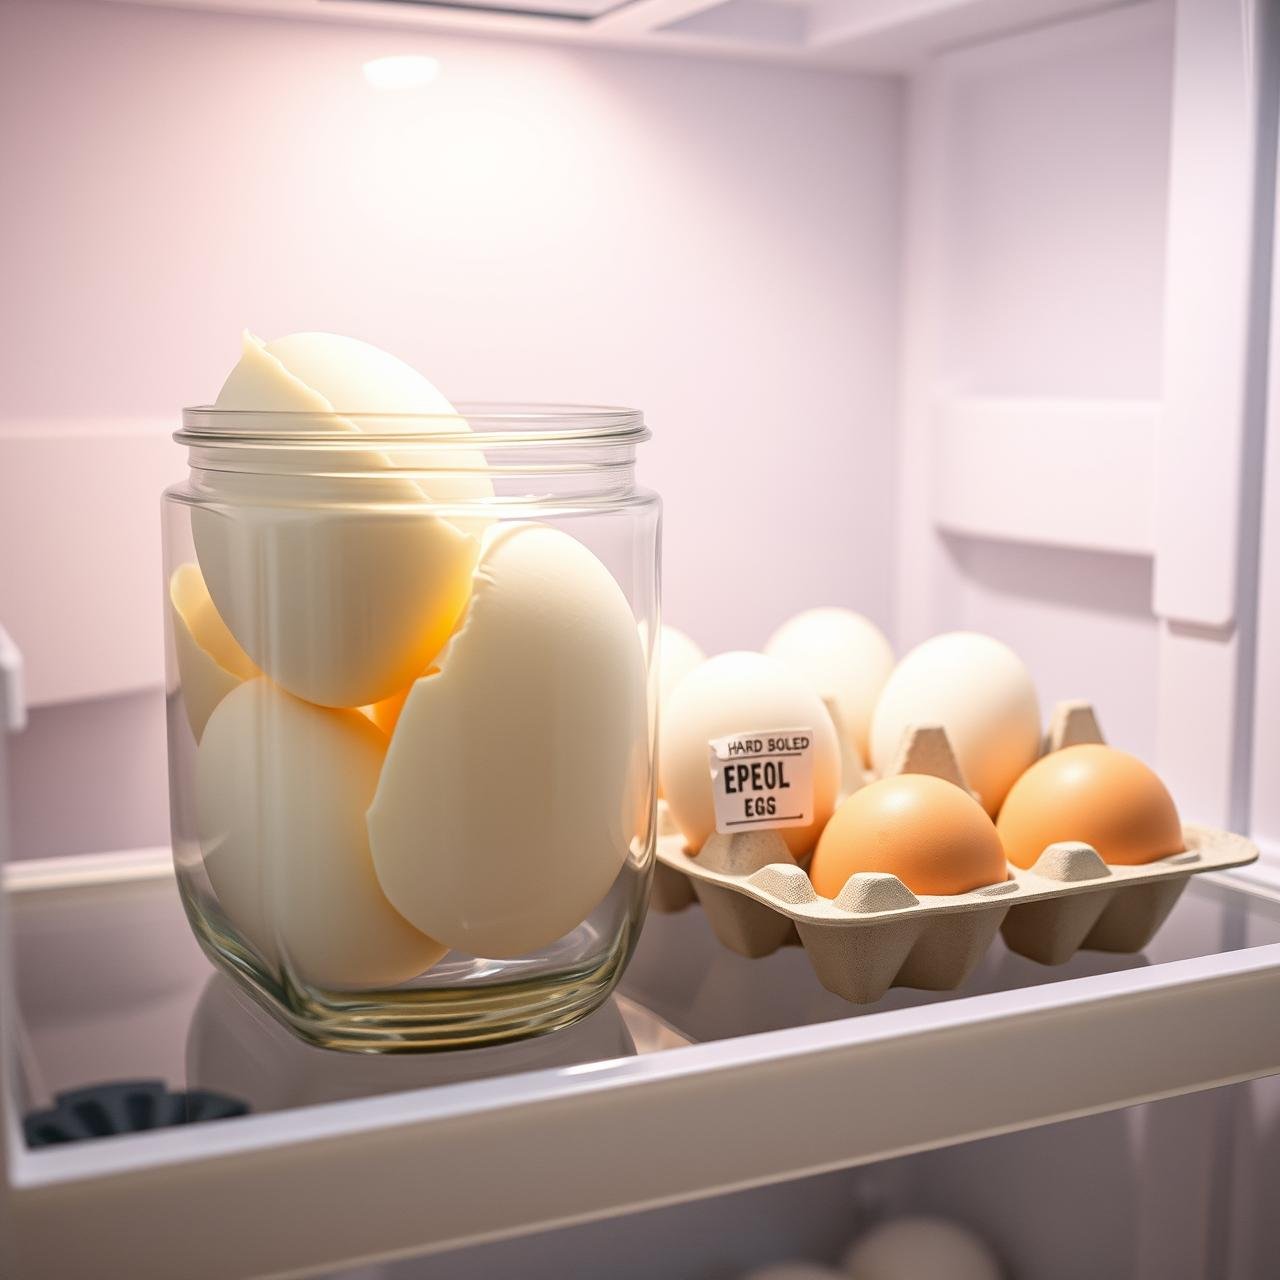
Unpeeled Eggs
The shell is the egg’s natural protective barrier. For the longest shelf life, it’s best to store your hard boiled eggs unpeeled. Place the cooled, dry eggs back in their original carton or in a sealed container in the refrigerator. They will stay fresh for up to one week. You can even label the carton with the date you cooked them so you can keep track.
Peeled Eggs
If you prefer to peel your eggs in advance for ultimate grab-and-go convenience, you can store them peeled. Place the peeled eggs in a bowl of cold water or in an airtight container lined with a damp paper towel. The moisture is crucial to prevent the whites from becoming dry and rubbery. Store them in the refrigerator and consume them within 4 to 5 days for the best taste and texture.
Beyond the Snack: Elevating Meals with Your Perfect Eggs
Now that you’ve mastered the art of the air fryer hard boiled egg, it’s time to put them to delicious use. Their perfect texture and creamy yolks make them a versatile ingredient that can enhance countless dishes.
Classic and Creative Uses:
- The Perfect Egg Salad: Chop the eggs and mix with mayonnaise or Greek yogurt, celery, onions, and a touch of Dijon mustard for a classic sandwich filling.
- Dreamy Deviled Eggs: Halve the eggs, whip the yolks with your favorite creamy and savory ingredients, and pipe the mixture back into the whites for an elegant appetizer.
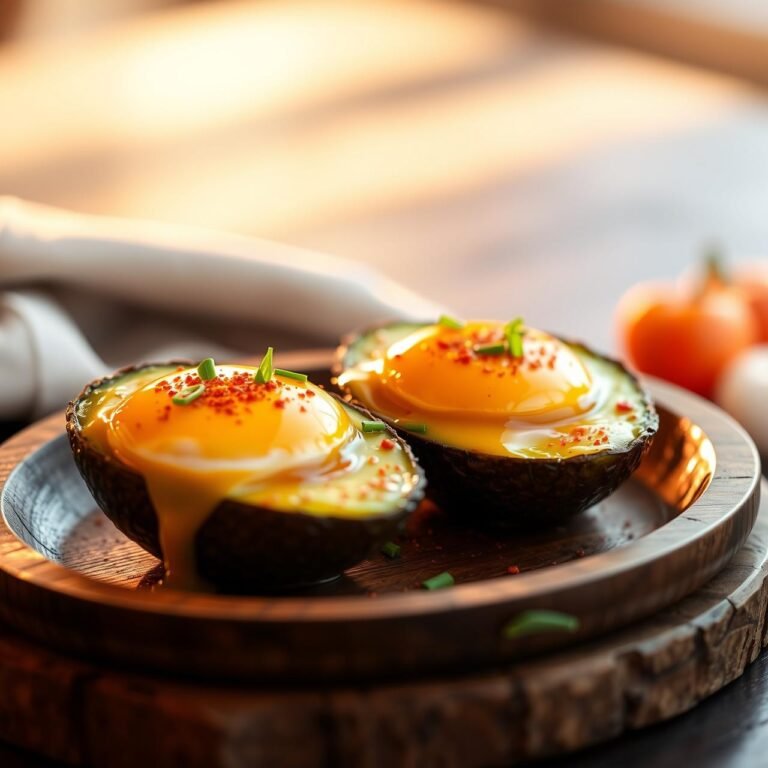
- Elevated Avocado Toast: Top your toast with mashed avocado and slices of a jammy, medium-boiled egg. A sprinkle of flaky salt and chili flakes finishes it perfectly.
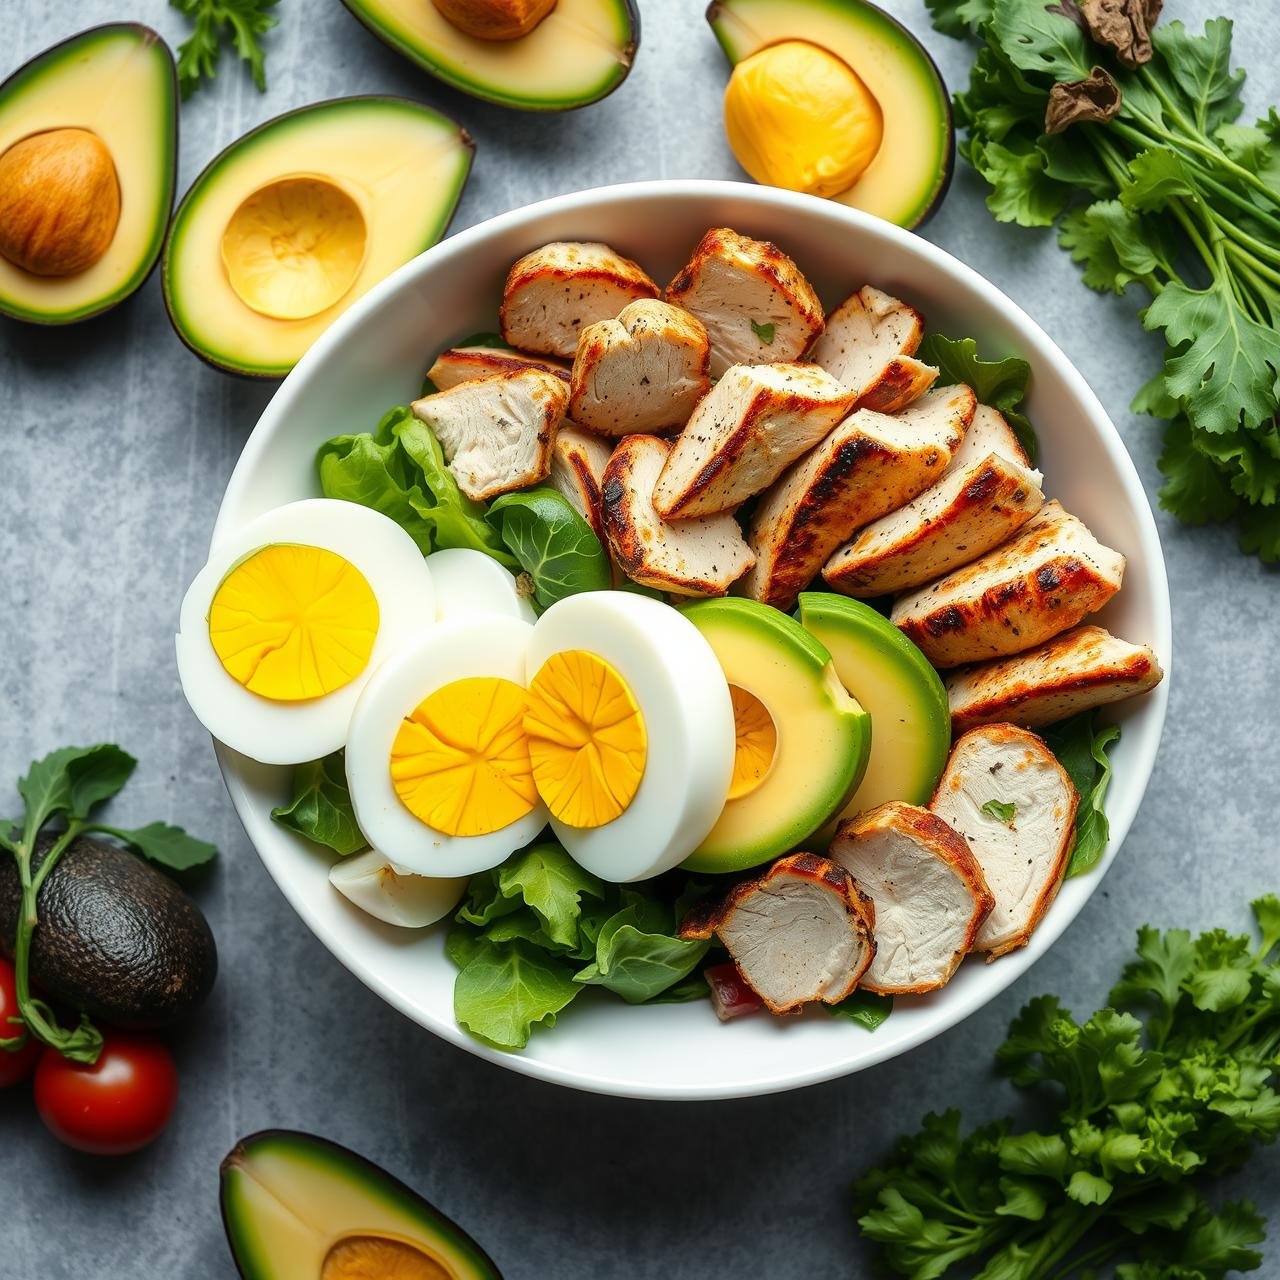
- Hearty Cobb Salad: A classic Cobb isn’t complete without the signature quartered hard boiled eggs alongside chicken, bacon, avocado, and blue cheese.
- Ramen and Noodle Bowls: A soft-boiled or jammy egg, sliced in half, is the traditional and essential topping for a rich bowl of ramen, adding a creamy, luxurious element.
- Simple Protein Snack: The easiest way to enjoy them is on their own, perhaps with a dash of everything bagel seasoning, flaky sea salt, or a drizzle of hot sauce.
Conclusion
The era of the boiling pot is over. By embracing the simple, efficient power of your air fryer, you’ve unlocked a method for making hard boiled eggs that is not only easier but produces a demonstrably better result. No more watery mess, no more inconsistent yolks, and no more frustrating battles with stubborn shells. You are now equipped with the knowledge to create perfectly cooked eggs, tailored exactly to your liking, every single time.
This no-water hack is more than just a recipe; it’s a foundational kitchen technique that will streamline your meal prep, simplify your mornings, and empower you to cook with greater confidence and consistency. So go ahead, grab a carton of eggs, and rediscover just how perfect this humble food can be.