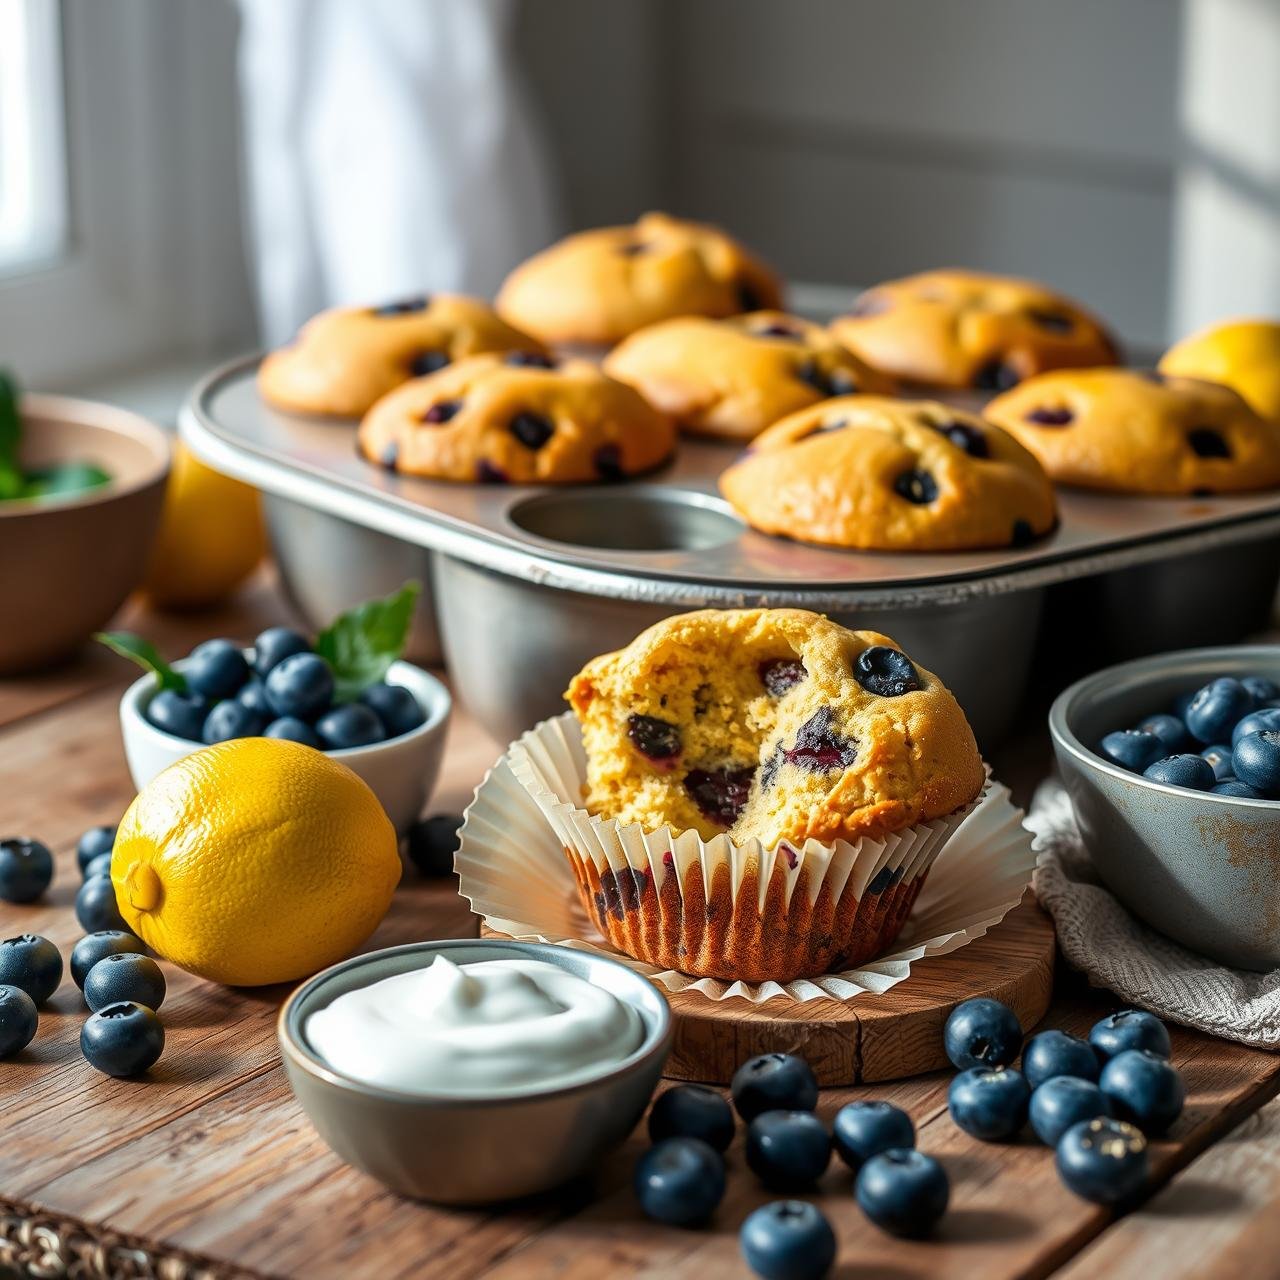
Moist Healthy Lemon Blueberry Muffins With Greek Yogurt (No Fluff)
In the world of baking, the humble muffin often walks a fine line between a wholesome breakfast and a glorified cupcake. Many recipes promise health but deliver a dry, bland experience, while others are simply dessert in disguise. This recipe is the definitive answer to that dilemma. We are crafting Moist, Healthy Lemon Blueberry Muffins with Greek Yogurt that are unequivocally delicious and genuinely nourishing. The title says it all: ‘No Fluff.’ This isn’t about airy, sugar-laden pastry. It’s about a substantial, satisfying baked good that respects its ingredients and honors the craft of simple, rustic baking. The secret lies in a powerhouse ingredient: full-fat Greek yogurt. It provides unparalleled moisture, a subtle tang that complements the lemon, and a welcome boost of protein. Paired with the classic, sun-kissed combination of bright lemon and sweet, jammy blueberries, these muffins are a testament to the fact that ‘healthy’ and ‘decadent’ can coexist beautifully in your kitchen.
The Philosophy: Why These Muffins Are Superior

More Than Just a Muffin
Before we gather our bowls and whisks, it’s essential to understand the principles that elevate this recipe. Our goal is to create a muffin with integrity. This means focusing on three core pillars: texture, flavor, and nutrition.
- Texture: The primary agent for a moist, tender crumb here is full-fat Greek yogurt. Unlike butter or oil alone, yogurt contributes moisture without excessive grease, while its acidity works to tenderize the gluten in the flour. We also employ a technique of combining melted coconut oil with the yogurt, creating a stable emulsion that results in a consistently soft, never-dry texture.
- Flavor: We build layers of flavor. It starts with the zest and juice of fresh lemons—never bottled juice, which lacks the aromatic oils found in the zest. This provides a bright, acidic counterpoint to the sweetness of the blueberries and the subtle richness of honey or maple syrup. We use whole blueberries, which burst during baking, creating pockets of natural jammy sweetness throughout the muffin.
- Nutrition: We mindfully select our ingredients. Using white whole wheat flour or a blend offers more fiber and nutrients than all-purpose flour without creating a heavy, dense product. The Greek yogurt adds a significant protein boost, making these muffins more satiating. By using natural sweeteners like honey or maple syrup, we control the sugar content while adding nuanced flavor.
This ‘no fluff’ approach means every ingredient serves a purpose, contributing to a final product that is both a joy to eat and a sensible choice for a nourishing start to the day.
Essential Equipment for Muffin Mastery
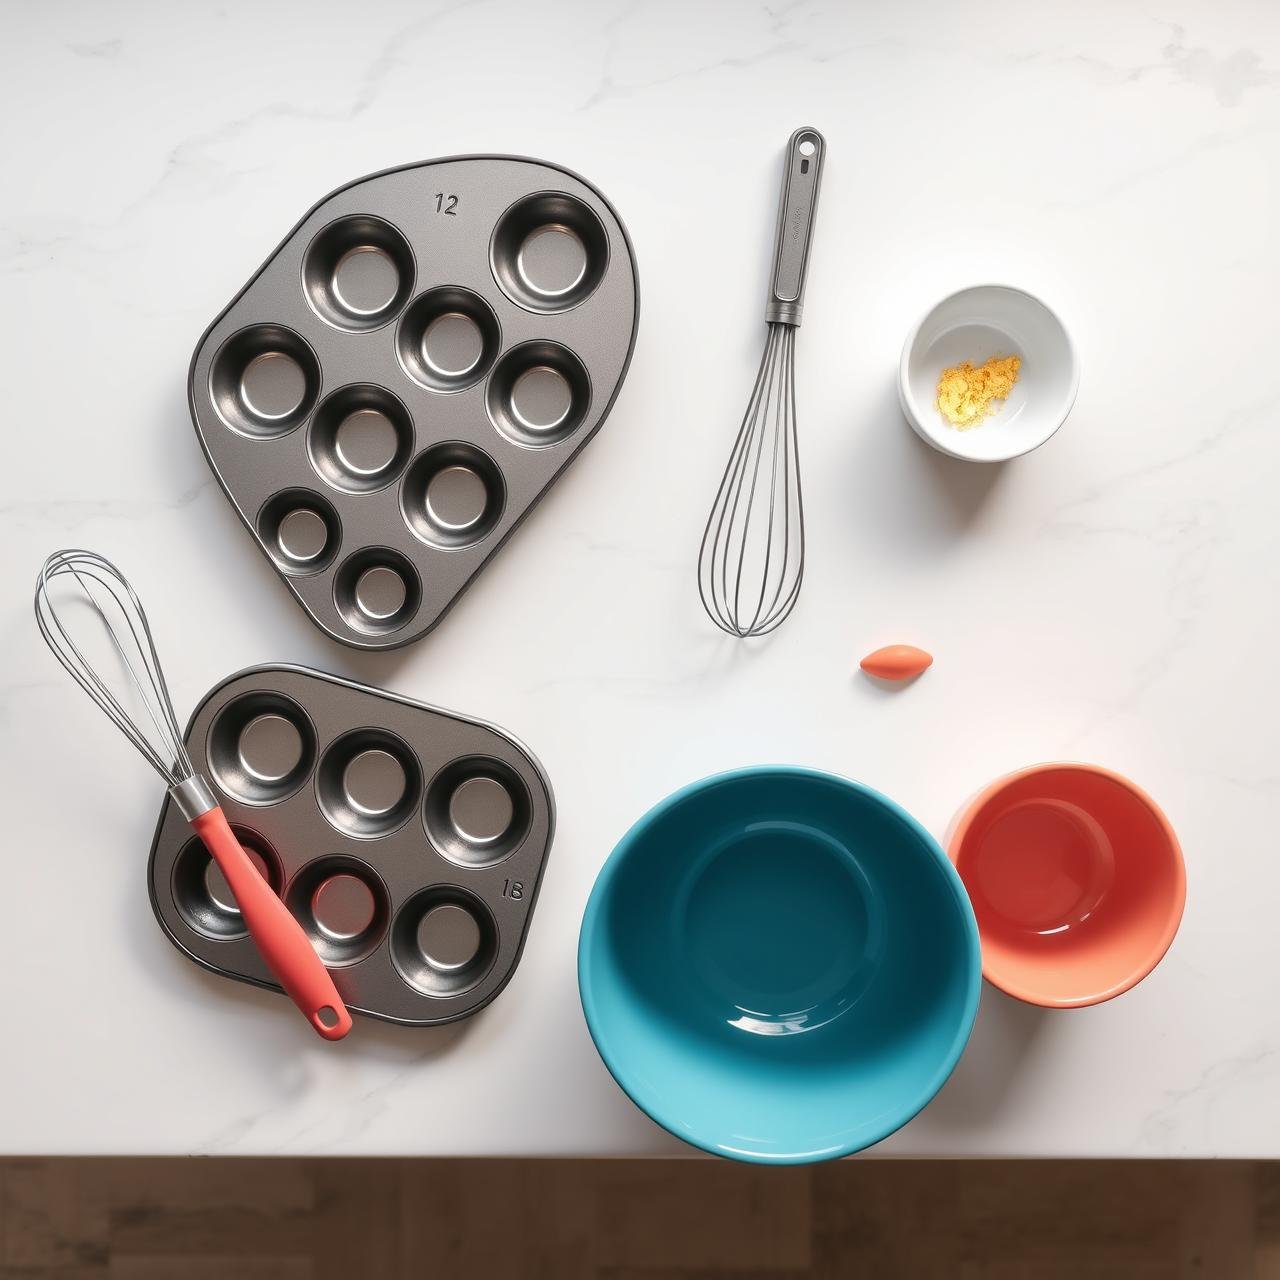
Great baking starts with the right tools. While you don’t need a professional kitchen, having these essentials on hand will ensure a smooth process and perfect results every time. Precision and proper equipment are hallmarks of a skilled baker.
| Equipment | Purpose & Chef’s Note |
|---|---|
| Standard 12-Cup Muffin Tin | The foundation of our recipe. A light-colored metal pan is preferred as it conducts heat more evenly than dark pans, preventing overly browned bottoms. |
| Paper or Silicone Liners | Essential for easy removal and cleanup. Silicone liners are a reusable, eco-friendly option. If not using liners, be sure to grease and flour the tin thoroughly. |
| Large Mixing Bowl | For combining the dry ingredients. Ensure it’s large enough to allow for thorough whisking. |
| Medium Mixing Bowl | For combining the wet ingredients. Using a separate bowl is a critical step in the muffin method to prevent overmixing. |
| Whisk | Used to aerate and combine the dry ingredients, breaking up any clumps in the flour. |
| Silicone Spatula | The best tool for gently folding the wet and dry ingredients together. Its flexibility allows you to scrape the sides of the bowl, ensuring everything is incorporated. |
| Microplane or Zester | Crucial for removing the zest from the lemon. A microplane finely grates the zest, releasing maximum aromatic oils without any bitter white pith. |
| Ice Cream Scoop (with trigger release) | A chef’s secret for perfectly uniform muffins. A standard-size scoop ensures each muffin cup is filled with the same amount of batter, leading to even baking. |
| Wire Cooling Rack | Absolutely necessary for proper cooling. Placing hot muffins on a solid surface traps steam, resulting in soggy bottoms. A wire rack allows air to circulate freely. |
A Symphony of Wholesome Ingredients

The quality of your muffins is directly tied to the quality of your ingredients. Here is a detailed breakdown of what you’ll need and why each component is chosen.
For the Muffins:
- White Whole Wheat Flour: 1 and 3/4 cups (approx. 210g). This flour provides the nutritional benefits of whole grains with a lighter taste and texture than traditional red whole wheat, making it perfect for tender baked goods. You can also use a 50/50 blend of all-purpose and whole wheat flour.
- Baking Powder: 2 teaspoons. The primary leavening agent, responsible for the muffins’ rise.
- Baking Soda: 1/2 teaspoon. Reacts with the acidic Greek yogurt and lemon juice to provide additional lift and a tender crumb.
- Fine Sea Salt: 1/2 teaspoon. Balances sweetness and enhances all the other flavors.
- Full-Fat Plain Greek Yogurt: 1 cup (approx. 227g), at room temperature. The star ingredient. Full-fat is non-negotiable for the best texture and moisture. Room temperature ensures it mixes smoothly into the batter.
- Honey or Pure Maple Syrup: 1/2 cup (approx. 170g honey or 120ml maple). Our natural sweetener. Choose a high-quality, flavorful option.
- Large Eggs: 2, at room temperature. They act as a binder and provide structure and richness. Room temperature eggs incorporate more easily and create a lighter texture.
- Melted Coconut Oil or Avocado Oil: 1/4 cup (60ml). A healthy fat source that contributes to the moistness of the muffins.
- Vanilla Extract: 1 teaspoon. Adds warmth and depth of flavor.
- Fresh Lemon: 1 large, providing approximately 1 tablespoon of zest and 2 tablespoons of juice. The zest holds the aromatic oils and is key for a bright lemon flavor.
- Fresh or Frozen Blueberries: 1 and 1/2 cups. If using frozen, do not thaw them first to prevent the batter from turning purple. Gently toss them with a tablespoon of flour to prevent sinking.
Optional Lemon Glaze:
- Powdered Sugar: 1/2 cup.
- Fresh Lemon Juice: 1-2 tablespoons.
Step-by-Step Baking Instructions
Follow this precise method for guaranteed success. The key is the ‘muffin method’—mixing wet and dry ingredients separately and then combining them with minimal stirring.
- Preparation: Preheat your oven to 400°F (200°C). Line a 12-cup muffin tin with paper liners or grease it well. This initial high heat helps the muffins rise quickly, creating that coveted dome.
- Combine Dry Ingredients: In a large mixing bowl, whisk together the white whole wheat flour, baking powder, baking soda, and fine sea salt. Whisking is not just for mixing; it aerates the flour, making for a lighter muffin.
- Combine Wet Ingredients: In a separate medium bowl, whisk the room temperature Greek yogurt and honey or maple syrup until smooth. Add the room temperature eggs one at a time, whisking well after each addition. Whisk in the melted (and slightly cooled) coconut oil, vanilla extract, lemon zest, and lemon juice until fully combined.
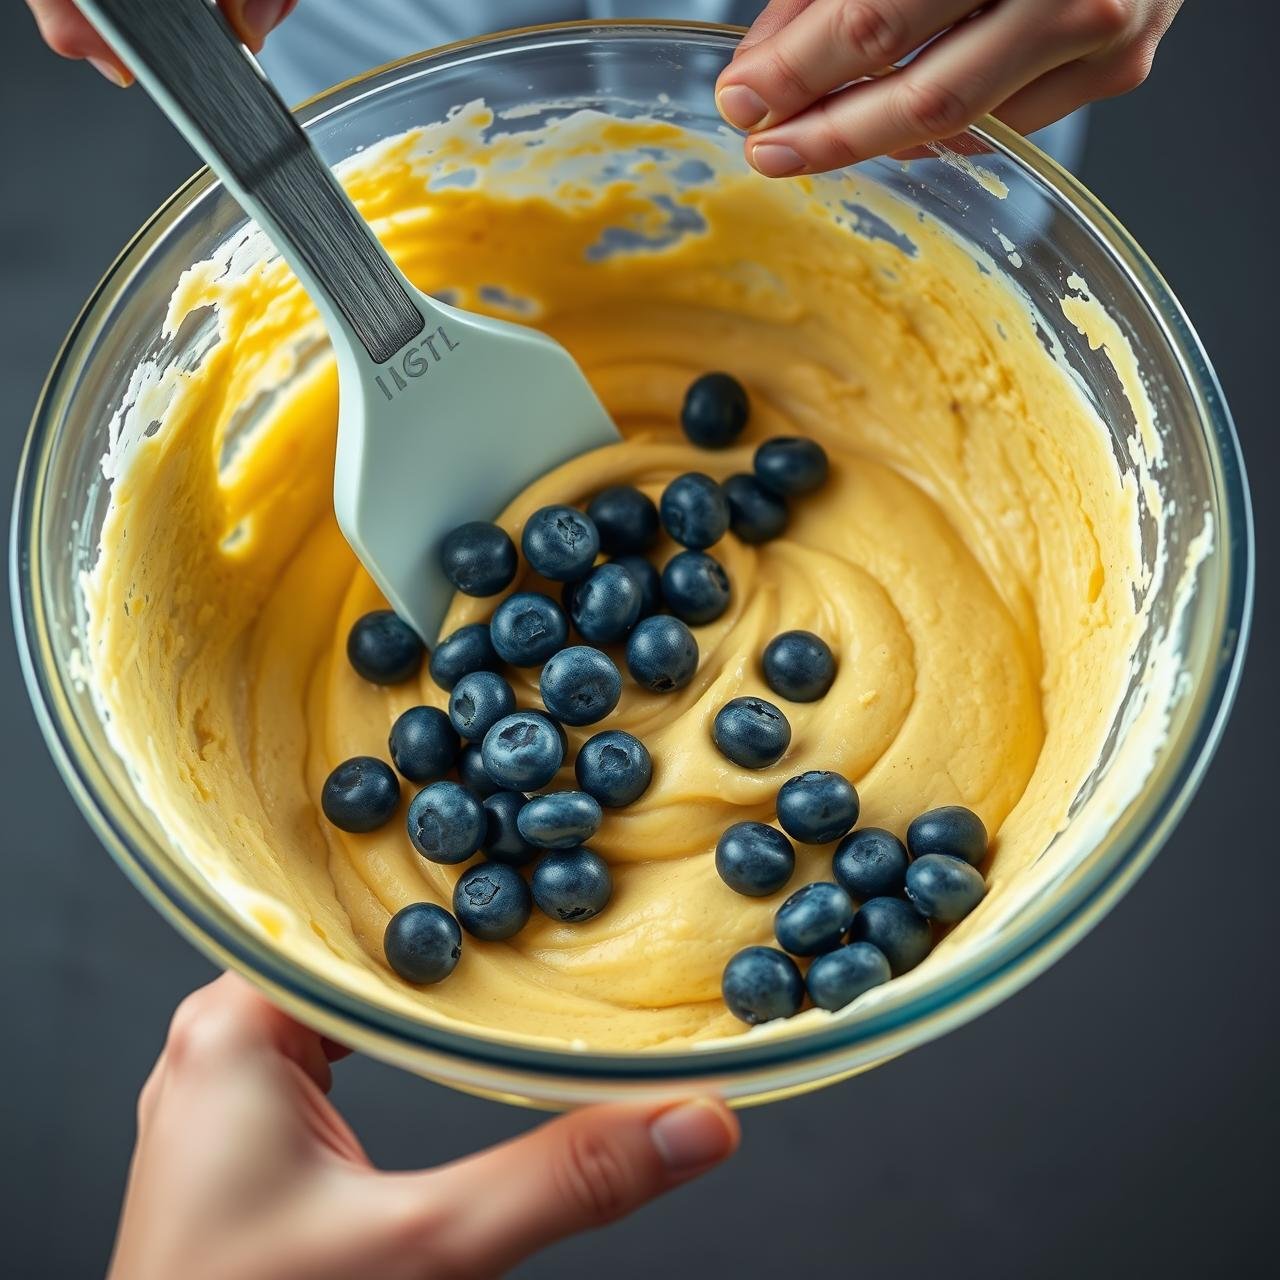
- The Gentle Fold: Pour the wet ingredients into the bowl of dry ingredients. Using a silicone spatula, fold the ingredients together until just combined. It is crucial not to overmix. A few streaks of flour remaining are perfectly fine. Overmixing develops gluten and results in tough, dense muffins.
- Incorporate Blueberries: Gently fold in the blueberries. If you tossed them in flour, this will help suspend them in the batter. Be gentle to avoid crushing them and staining the batter.
- Fill the Muffin Tin: Using an ice cream scoop for uniformity, divide the batter evenly among the 12 muffin cups. The batter will be thick. Fill each cup nearly to the top. For a bakery-style finish, sprinkle a little coarse sugar over the tops before baking.
- Baking: Place the muffin tin in the preheated oven. Bake at 400°F (200°C) for 5 minutes. Then, without opening the oven door, reduce the temperature to 350°F (175°C) and continue to bake for another 15-18 minutes. The muffins are done when a wooden skewer inserted into the center comes out clean or with a few moist crumbs attached.
- Cooling: Let the muffins cool in the tin for 5 minutes before carefully transferring them to a wire rack to cool completely. This prevents them from steaming in the pan and becoming soggy.
- Glazing (Optional): Once the muffins are completely cool, whisk together the powdered sugar and 1 tablespoon of lemon juice. Add more juice as needed to reach a drizzling consistency. Drizzle the glaze over the muffins.
A Chef’s Secrets for Muffin Perfection

Even a simple recipe can be perfected with a few professional techniques. Heed this advice to elevate your muffins from good to unforgettable.
The Enemy of Tenderness: Overmixing
This is the cardinal sin of muffin making. When you mix flour with liquid, you begin to develop gluten. A little gluten is good for structure, but too much makes muffins tough and rubbery. The moment you see no more dry streaks of flour, stop mixing. Lumps are not only okay; they are a sign of a well-made, tender muffin batter.
Temperature is Everything
Using room temperature ingredients (especially eggs and Greek yogurt) is not a suggestion; it’s a rule for superior texture. Cold ingredients do not emulsify properly, which can lead to a dense, heavy crumb and even a greasy texture. Take them out of the fridge 30-60 minutes before you begin.
The High-Heat Trick for Domed Tops
The initial 5-minute blast of high heat at 400°F is a technique used by professional bakeries. This intense heat causes the leavening agents to react rapidly, forcing the batter to spring upwards quickly and creating a beautiful, high dome before the rest of the muffin sets.
Don’t Drown the Batter
When using frozen blueberries, do not thaw them. Add them to the batter straight from the freezer. Thawing releases their juices, which will bleed into the batter and can make it too wet, altering the texture and color. Tossing them in a tablespoon of the dry flour mixture helps absorb any surface moisture and prevents them from sinking to the bottom.
Resting the Batter
If you have an extra 15-20 minutes, consider letting the batter rest after mixing and before scooping. This allows the flour to fully hydrate, which can result in a more tender muffin and a slightly more pronounced dome.
Nutritional Information (Estimated)

This is an approximation per muffin, assuming the recipe yields 12 muffins and does not include the optional glaze. Actual values may vary based on specific ingredients used.
| Nutrient | Amount per Muffin |
|---|---|
| Calories | ~195 kcal |
| Protein | ~6 g |
| Carbohydrates | ~28 g |
| Fiber | ~3 g |
| Sugars | ~14 g (from honey/maple & fruit) |
| Fat | ~7 g |
| Saturated Fat | ~4 g (from coconut oil & yogurt) |
| Sodium | ~240 mg |
Storing Your Homemade Muffins for Lasting Freshness
Proper storage is key to enjoying your muffins for days after baking. Follow these guidelines to maintain their wonderful moisture and texture.
At Room Temperature
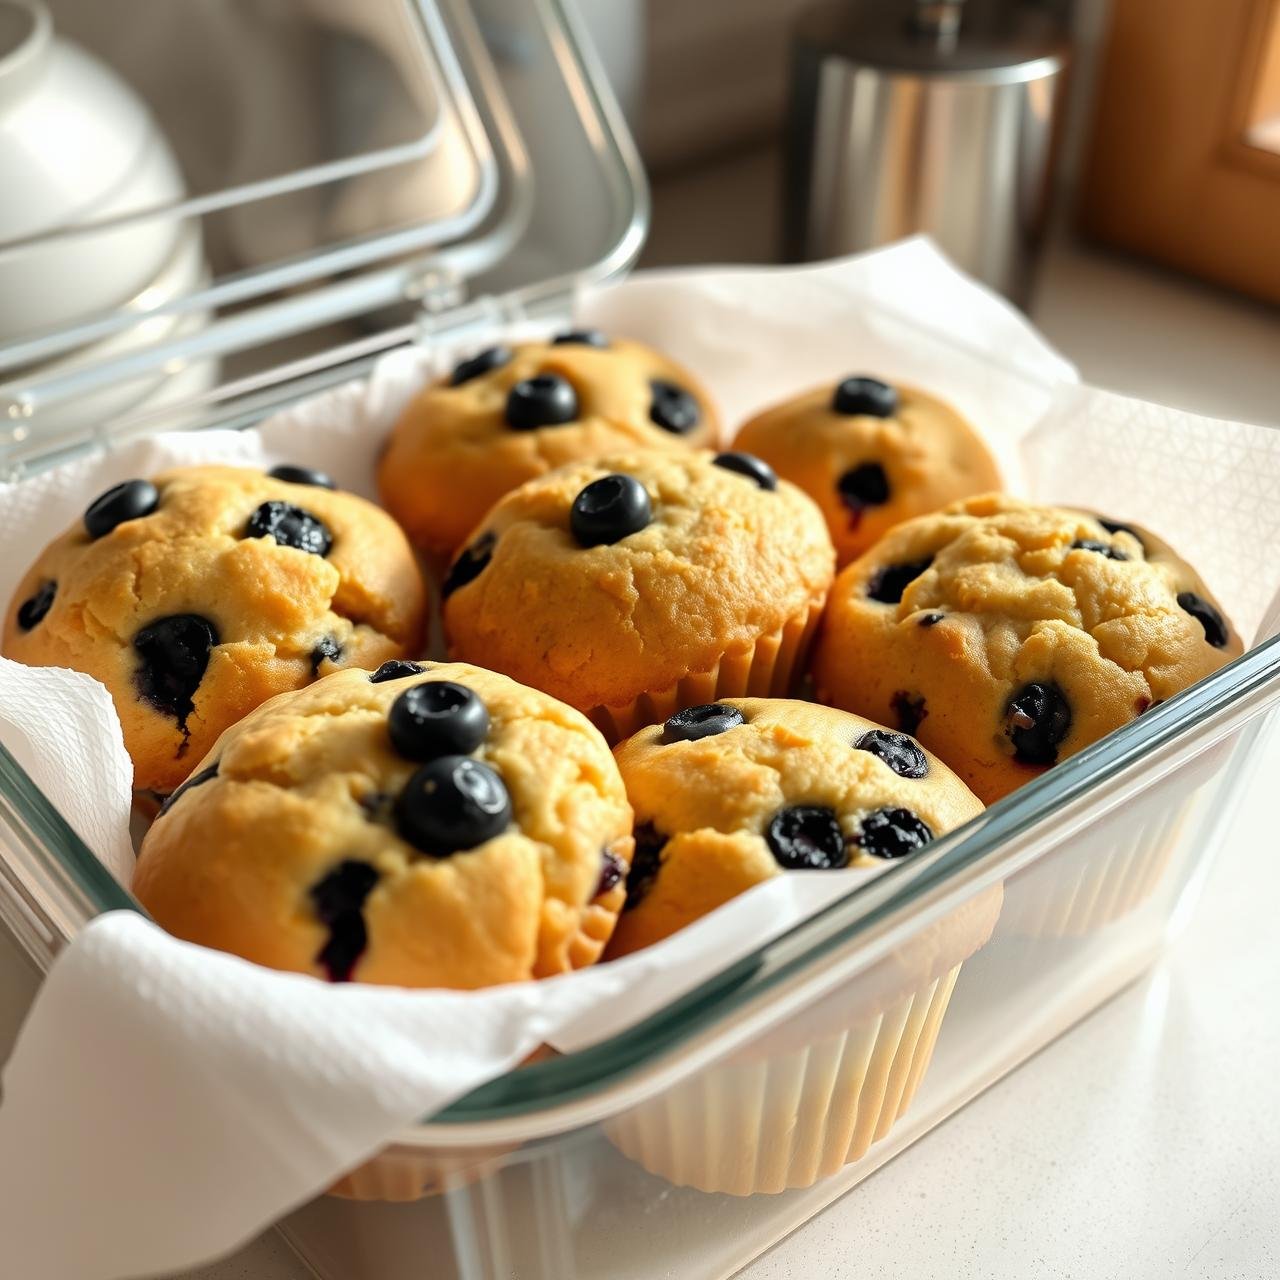
For short-term storage (up to 2 days), the best method is to line an airtight container with a paper towel. Place the muffins in a single layer on the paper towel, then lay another paper towel on top before sealing the container. The paper towel absorbs excess moisture, preventing the muffin tops from becoming sticky.
Refrigeration
While refrigeration can extend the life of muffins to about a week, it can also dry them out. If you choose to refrigerate, ensure they are in a well-sealed airtight container. Before eating, it’s best to warm them for 10-15 seconds in the microwave or for a few minutes in a toaster oven to restore their soft texture.
Freezing for Long-Term Storage
These muffins freeze exceptionally well. For best results, allow them to cool completely. Wrap each muffin individually in plastic wrap, then place them all in a large freezer-safe zip-top bag or airtight container. They will keep for up to 3 months. To enjoy, you can thaw them at room temperature for an hour, or unwrap and microwave one for 30-45 seconds for a quick, warm treat.
Conclusion
There is a profound satisfaction that comes from baking from scratch, from transforming simple, wholesome ingredients into something truly special. These Moist, Healthy Lemon Blueberry Muffins are more than just a recipe; they are a reliable, delicious, and nourishing staple for any home cook. They are proof that you don’t need to compromise on flavor or texture to create a healthy baked good. The bright zest of lemon, the burst of sweet blueberries, and the tender, moist crumb from the Greek yogurt create a perfect harmony in every bite. Whether enjoyed as a quick breakfast on the go, a welcome addition to a brunch spread, or a sensible afternoon snack, these muffins are sure to become a favorite in your household. We invite you to embrace this ‘no fluff’ philosophy and discover the joy of baking with purpose.