Impossible Creamy Keto Burnt Basque Cheesecake (No Flour, No Sugar)
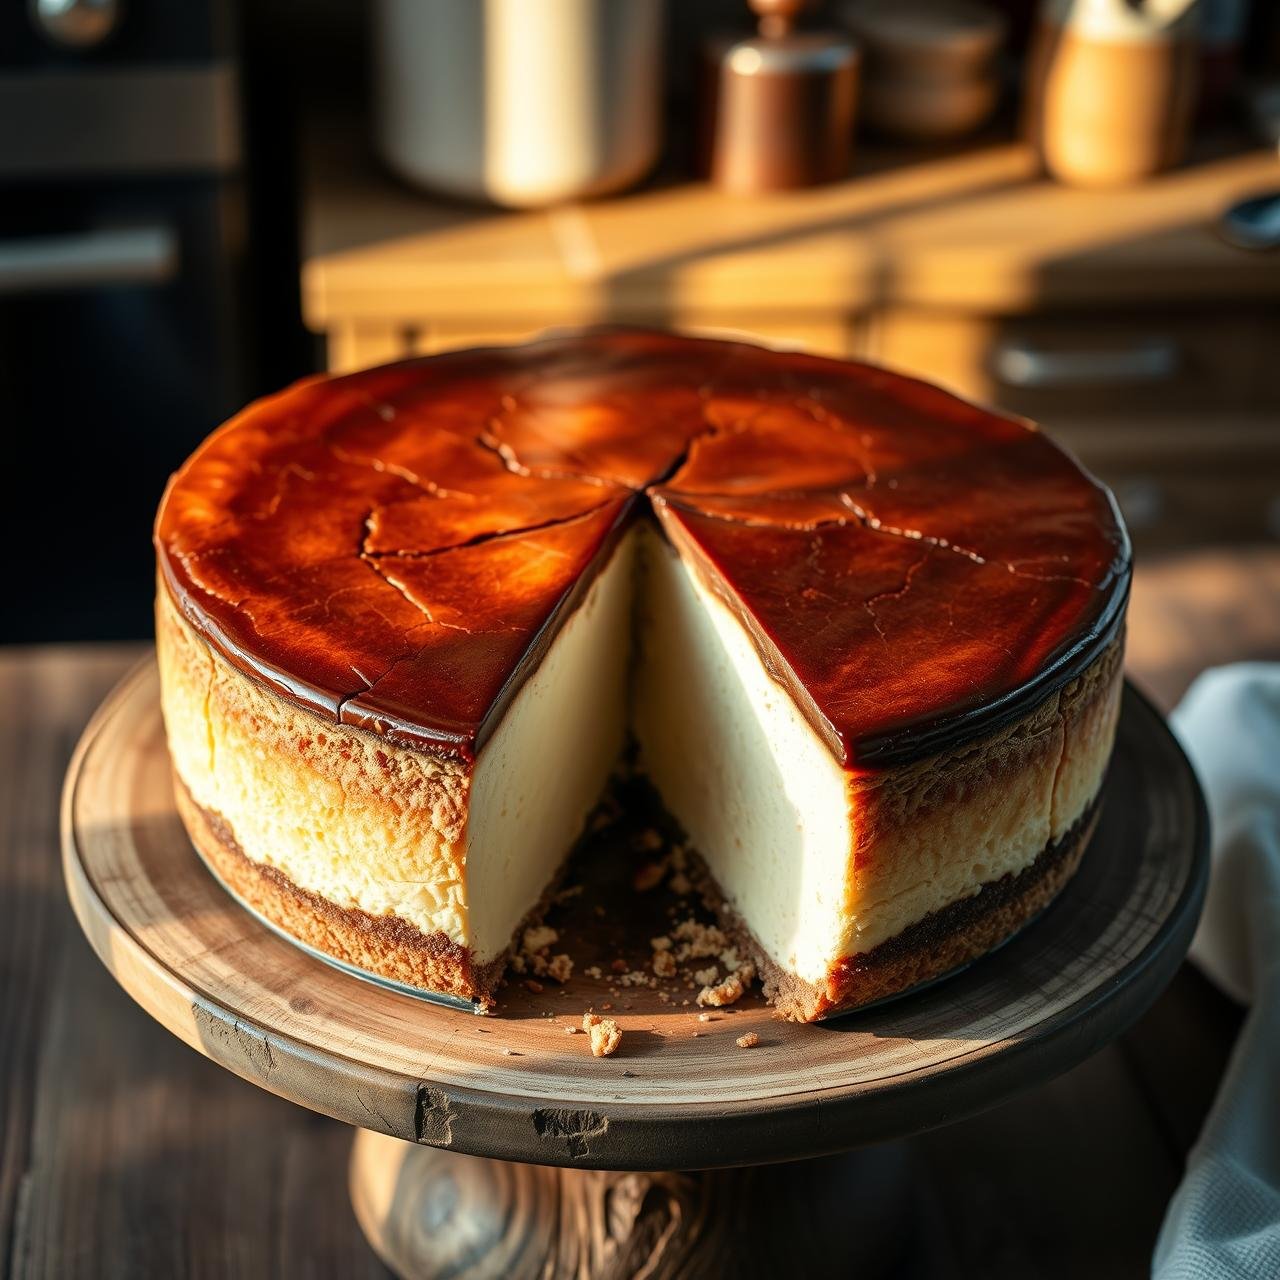
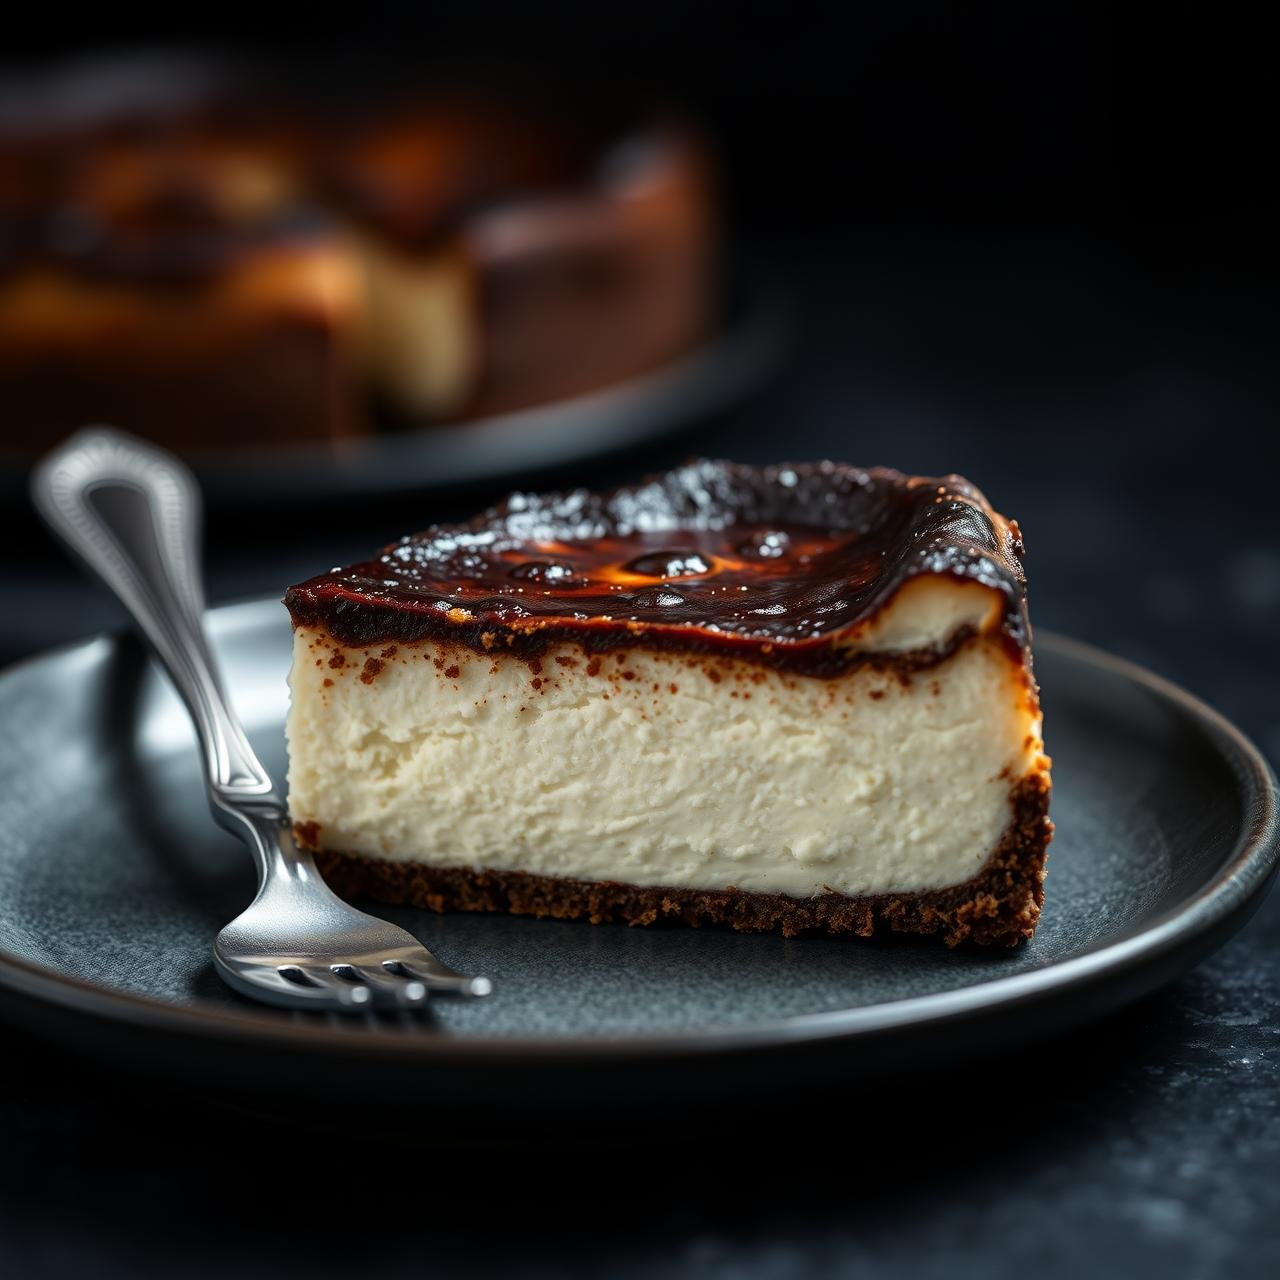
Imagine a cheesecake so decadent, so velvety smooth, it melts in your mouth. Now, imagine it has a deeply caramelized, almost-burnt top that offers a stunning contrast of bittersweet notes against the rich, tangy filling. This isn’t just any cheesecake; it’s the legendary Burnt Basque Cheesecake. And today, we’re achieving the impossible: crafting this masterpiece without a single grain of flour or sugar, making it a dream come true for anyone following a keto or low-carb lifestyle.
Originating from the Basque region of Spain, this dessert defies all traditional cheesecake rules. It’s crustless, baked at a blistering high heat, and embraces its rustic, cracked, and deeply browned appearance. The result is a texture that’s lighter than a dense New York cheesecake yet richer than a Japanese souffle version—a unique culinary experience. Our recipe honors this tradition while meticulously swapping ingredients to create a guilt-free indulgence that sacrifices nothing in flavor or texture. Prepare to be amazed by how simple ingredients can transform into something so profoundly delicious.
Essential Equipment for Cheesecake Perfection
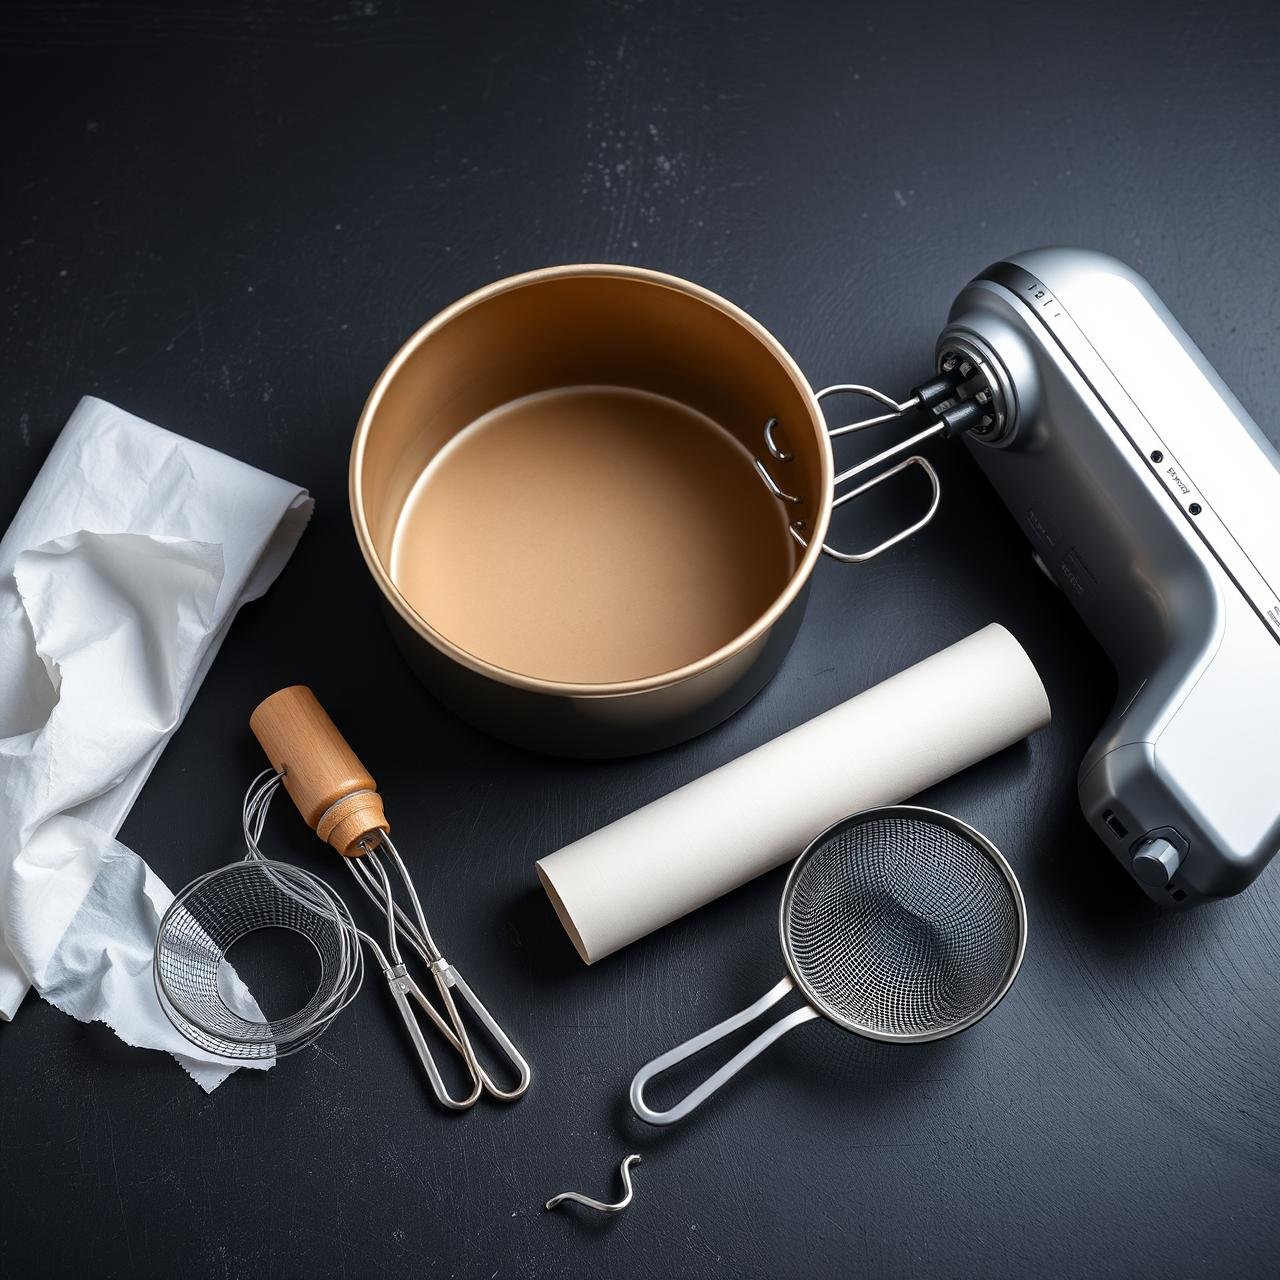
To achieve the signature look and texture of a Burnt Basque Cheesecake, having the right tools is key. This isn’t a recipe that requires obscure gadgets, but a few specific items will ensure your success. The high-heat baking method demands equipment that can handle the temperature, and the right pan is crucial for both the rustic form and easy removal.
| Equipment | Purpose & Notes |
|---|---|
| 8 or 9-inch Springform Pan | Absolutely essential. The removable sides allow you to release the delicate cheesecake without flipping or damaging it. A taller pan (at least 3 inches high) is recommended as the cheesecake will puff up significantly during baking. |
| Parchment Paper | You’ll need two large sheets to create the signature rustic, crinkled collar. This prevents sticking and makes lifting the cheesecake from the pan base effortless. Don’t trim it neatly; the rugged overhang is part of the charm. |
| Electric Mixer (Stand or Handheld) | Crucial for achieving a silky-smooth, lump-free batter. While you can mix by hand, an electric mixer ensures the cream cheese is thoroughly aerated and combined with the other ingredients, which is vital for the creamy texture. |
| Fine-Mesh Sieve | A chef’s secret for an ultra-smooth consistency. Passing the final batter through a sieve will catch any tiny, stubborn lumps of cream cheese or unincorporated egg, guaranteeing a flawless, velvety mouthfeel. |
| Kitchen Scale | For baking, precision is paramount. A kitchen scale ensures you’re using the exact amounts of ingredients, especially the cream cheese and sweetener, which directly impacts the final texture and sweetness. |
The Keto-Friendly Ingredients
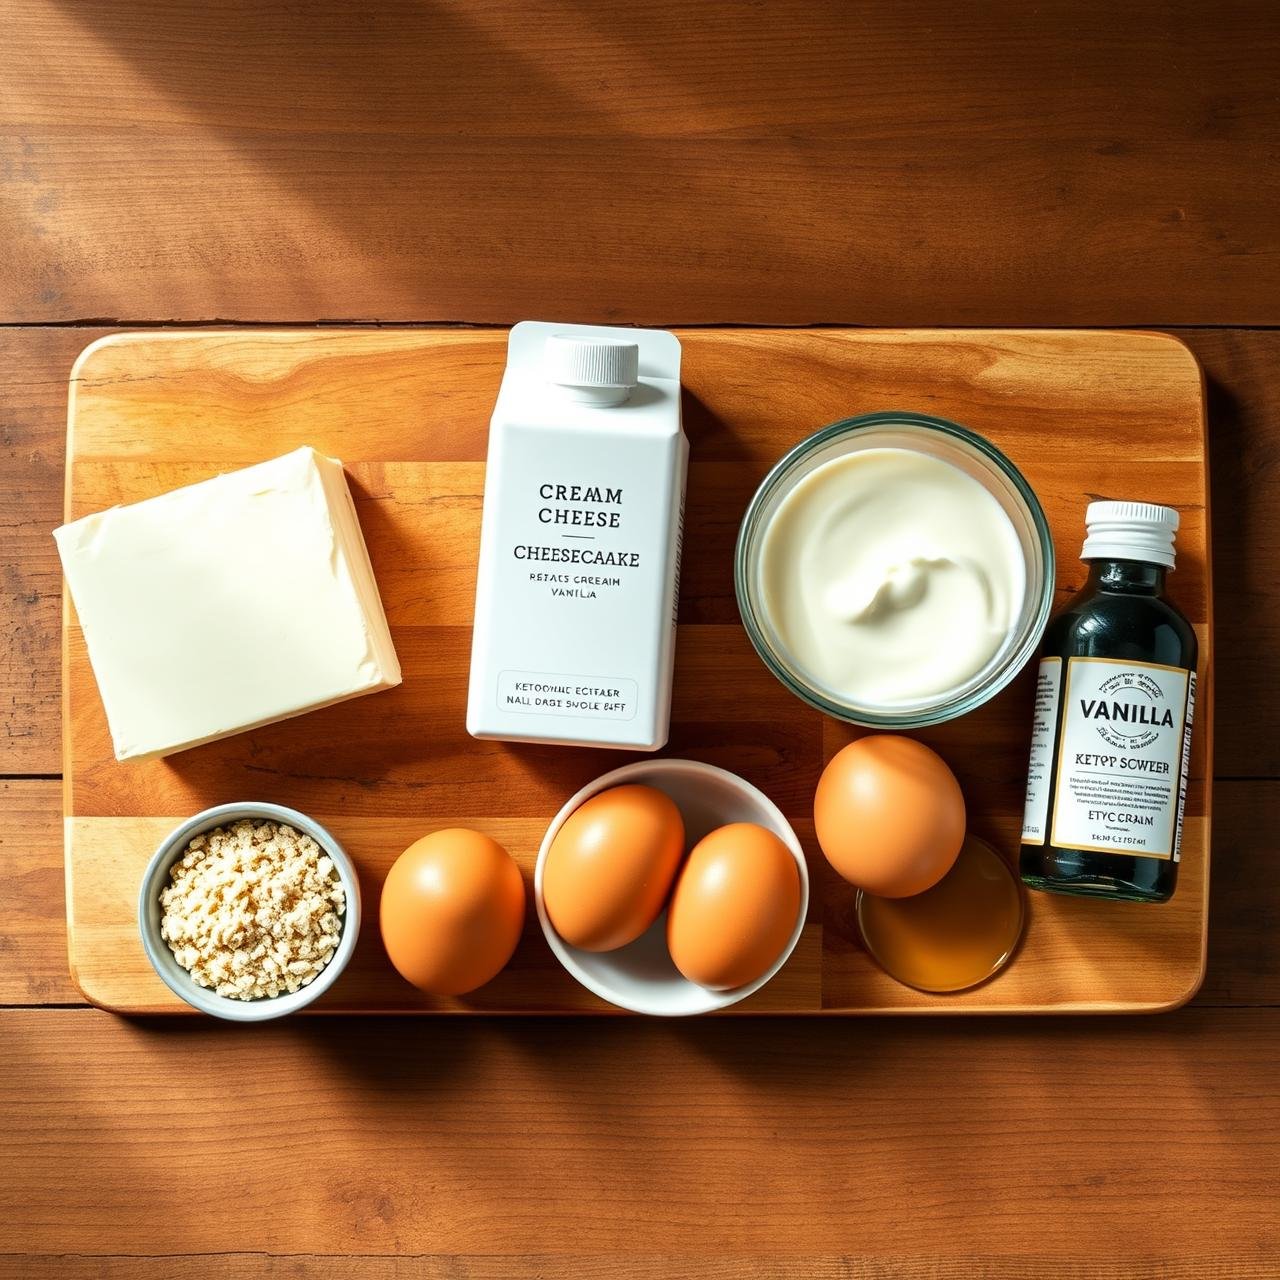
The beauty of this recipe lies in its simplicity. We’re using a handful of high-quality, full-fat ingredients to create that signature rich flavor and texture, all while keeping it perfectly keto. Ensure your dairy ingredients are at room temperature for at least an hour before you begin—this is the most important step for a smooth, un-curdled batter.
For the Cheesecake:
- 32 ounces (900g) Full-Fat Cream Cheese: This is the star of the show. Use block-style cream cheese, not the whipped kind in a tub. It must be at room temperature to prevent lumps.
- 1 1/2 cups (300g) Granular Keto Sweetener: A 1:1 sugar substitute like erythritol or a monk fruit/erythritol blend works best. This provides sweetness without the sugar and helps with the caramelization.
- 6 Large Eggs: Also at room temperature. Eggs provide structure and richness. We’ll add them one at a time to ensure they emulsify properly into the batter.
- 2 cups (480ml) Heavy Whipping Cream: This adds moisture and a luscious, creamy texture. Don’t substitute with a lower-fat alternative.
- 1 teaspoon Pure Vanilla Extract: Enhances the other flavors and adds a warm, aromatic depth. A high-quality extract makes a noticeable difference.
- 1/4 teaspoon Fine Sea Salt: A small amount of salt is crucial for balancing the sweetness and richness of the cheesecake.
Step-by-Step Instructions for Your Basque Cheesecake
Follow these steps carefully to create a flawless, impossibly creamy keto cheesecake. The process is straightforward, but the technique—especially the mixing and baking—is what makes it perfect.
-
Prepare the Oven and Pan:
Preheat your oven to a high 400°F (200°C). Position a rack in the middle of the oven. Take your springform pan and generously butter the bottom and sides. Take two large sheets of parchment paper, crinkle them up, then un-crinkle them slightly. Press one sheet into the pan, ensuring it covers the bottom and comes up the sides. Press the second sheet in, rotating it 90 degrees to cover any gaps. The parchment should extend at least 2 inches above the rim of the pan in a rustic, uneven fashion.
-
Cream the Cheese and Sweetener:
In the bowl of a stand mixer fitted with the paddle attachment, or in a large bowl with a hand mixer, beat the room temperature cream cheese on medium speed for about 2-3 minutes. Scrape down the sides of the bowl. The goal is to get it completely smooth and free of lumps before adding anything else. Add the granular keto sweetener and salt, and continue to beat on medium speed for another 3-4 minutes until the mixture is light, fluffy, and completely smooth. Scrape the bowl again.
-
Incorporate the Eggs:
With the mixer on low speed, add the room temperature eggs one at a time. Wait until each egg is fully incorporated before adding the next. This slow process prevents the batter from splitting and helps create a stable emulsion. After the last egg is mixed in, scrape down the sides and bottom of the bowl thoroughly.
-
Finish the Batter:
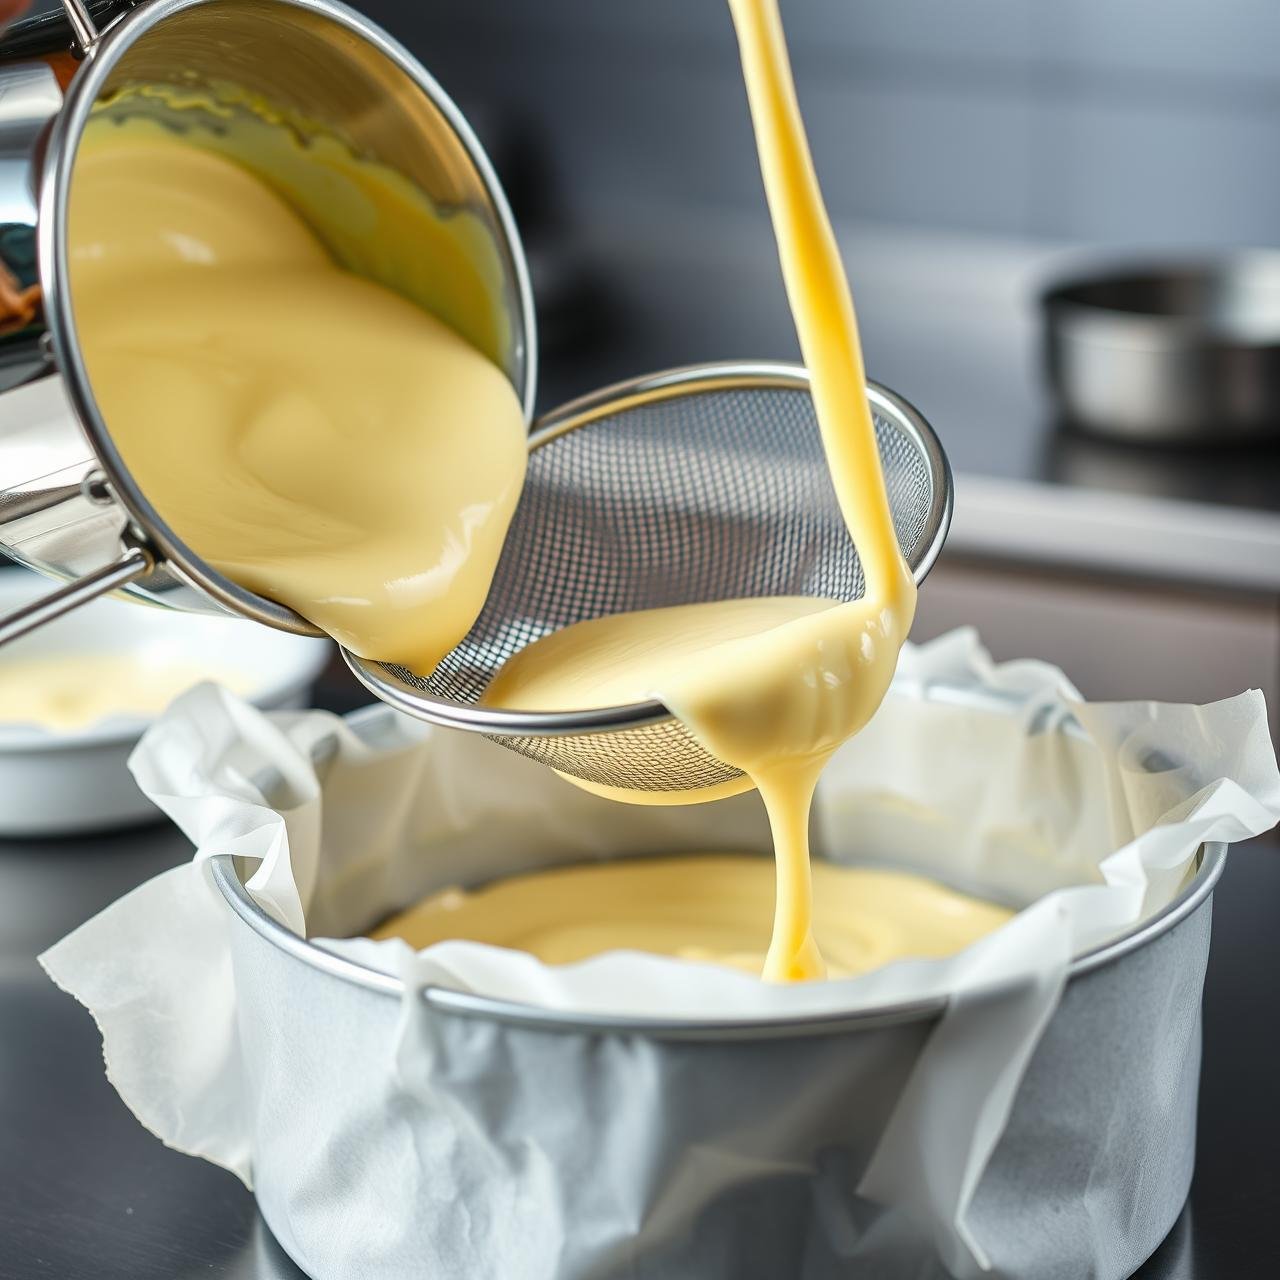
With the mixer still on low, slowly stream in the heavy whipping cream and vanilla extract. Mix just until the cream is combined and the batter is smooth and homogenous. Be careful not to overmix at this stage; we want to avoid incorporating too much air. For an extra-velvety finish, pour the finished batter through a fine-mesh sieve into another bowl to catch any potential lumps.
-
Bake to Burnt Perfection:
Pour the sieved batter into your prepared springform pan. The pan will be very full. Place it on a baking sheet to catch any potential drips. Bake at 400°F (200°C) for 50-60 minutes. The cheesecake will puff up dramatically, crack, and the top will turn a very deep dark brown—almost black in spots. This is what you want! The center should still have a significant jiggle when you gently shake the pan. Don’t be afraid of the color; that’s where the flavor is.
-
Cool and Set Completely:
Remove the cheesecake from the oven and let it cool completely on a wire rack at room temperature. It will deflate and sink in the middle as it cools; this is normal. Once it has reached room temperature (about 2-3 hours), carefully transfer it, still in its pan, to the refrigerator to chill for at least 6 hours, but preferably overnight. This step is non-negotiable, as it allows the cheesecake to set into its signature dense yet creamy texture.
Chef’s Tips for a Flawless Cheesecake
Why Room Temperature Ingredients Are a Must
I cannot stress this enough: cold cream cheese is the number one enemy of a smooth cheesecake. When cold, it doesn’t blend properly and creates small, stubborn lumps that no amount of mixing can fix. Cold eggs can cause the fat in the cream cheese to seize and curdle. Letting everything sit on the counter for at least an hour is the simplest way to guarantee a perfect texture.
Don’t Fear the ‘Burnt’ Top
The name of the cake is a directive! That dark, mahogany, almost-black surface is not a mistake—it’s the goal. This high-heat caramelization of the proteins and fats creates a complex, slightly bitter flavor that is the perfect counterpoint to the sweet, tangy, and creamy interior. Trust the process and let it get dark.
Understanding the ‘Jiggle’
Knowing when to pull the cheesecake from the oven can be intimidating. Unlike traditional cheesecakes, this one will look underdone in the center. When you gently nudge the pan, the outer 2-3 inches should be set, but the center will wobble significantly, like Jell-O. It sets up fully during the long cooling and chilling process. Over-baking will result in a dry, crumbly texture instead of a creamy one.
Delicious Variations to Try
- Citrus Zest: Add the zest of one lemon or orange to the batter along with the sweetener for a bright, fresh note that cuts through the richness.
- Espresso Powder: A teaspoon of instant espresso powder dissolved in the vanilla extract will deepen the caramelized notes and add a subtle coffee flavor.
- Spiced Notes: A pinch of cinnamon or cardamom can add a lovely warmth, especially for a holiday dessert.
Nutritional Information
Here is an estimated nutritional breakdown per serving. This recipe makes approximately 12 generous servings. Please note that these values are an estimate and can vary based on the specific brands of ingredients used, especially the keto sweetener.
| Nutrient | Amount per Serving |
|---|---|
| Calories | ~450 kcal |
| Total Fat | 44g |
| Saturated Fat | 26g |
| Protein | 9g |
| Total Carbohydrates | 6g |
| Dietary Fiber | 0g |
| Sugar Alcohols (Erythritol) | ~2g |
| Net Carbohydrates | ~4g |
Proper Storage for Lasting Freshness
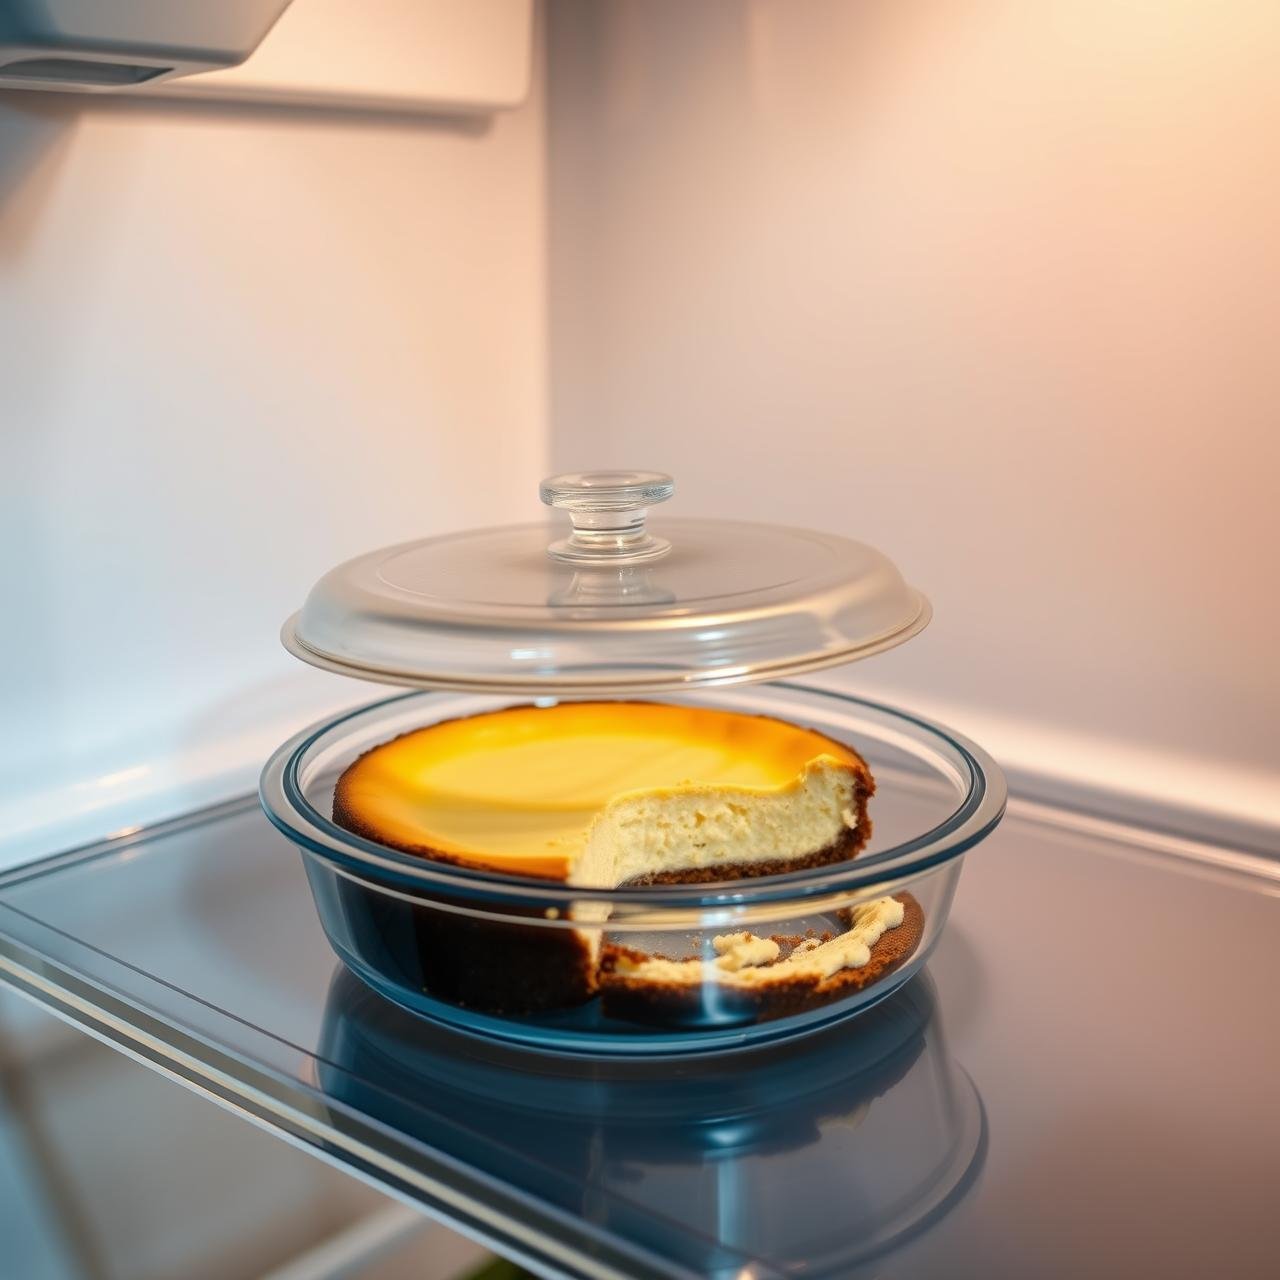
This cheesecake stores beautifully, and some even argue the flavor and texture improve after a day or two in the fridge. To store, cover the cheesecake tightly with plastic wrap or place it in an airtight container. It will keep well in the refrigerator for up to 5 days.
For longer storage, you can freeze it. Let the cheesecake chill completely in the refrigerator first. You can freeze it whole or in individual slices. Wrap each slice (or the whole cake) tightly in plastic wrap, then a layer of aluminum foil. It can be frozen for up to 2 months. To thaw, place it in the refrigerator overnight. Do not thaw at room temperature, as this can affect the creamy texture.
Conclusion
There you have it—a dessert that feels both rustic and elegant, sinfully rich yet perfectly healthy for a keto lifestyle. This Impossible Creamy Keto Burnt Basque Cheesecake proves that you don’t need flour or sugar to create a truly show-stopping treat. The contrast of the bittersweet, caramelized crust with the tangy, melt-in-your-mouth custard interior is a culinary experience you won’t soon forget. It’s a testament to the magic of simple, high-quality ingredients and the beauty of imperfection in baking. We encourage you to embrace the cracks, welcome the dark color, and share this incredible creation with friends and family—they’ll never believe it’s keto!