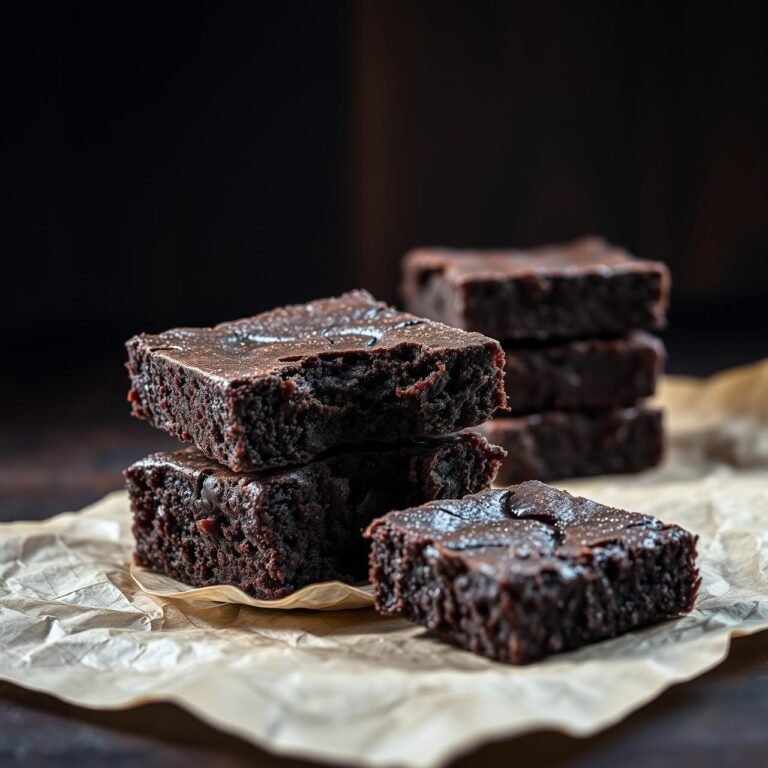
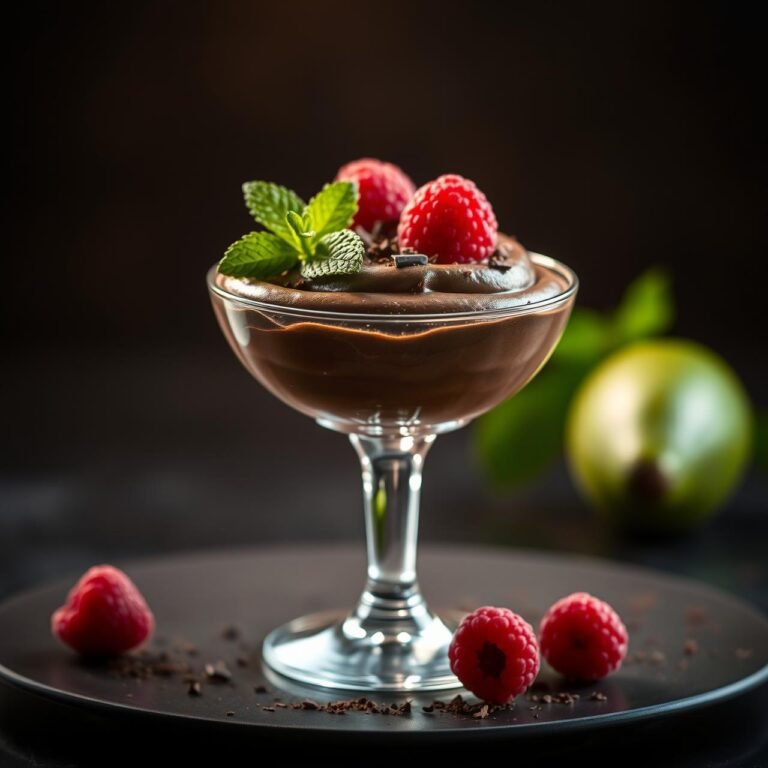
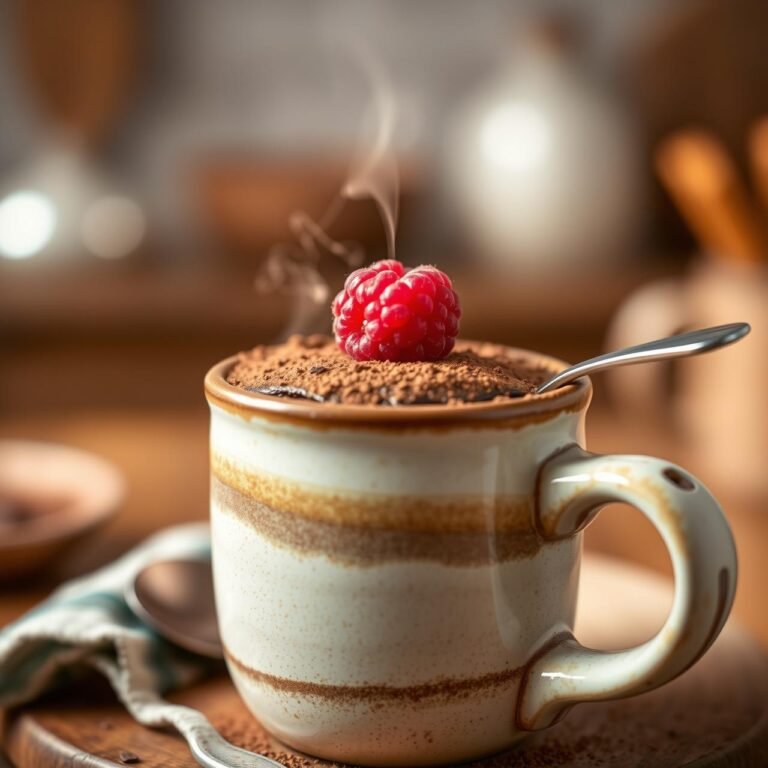
Giant Bowl of Anabolic Protein Ice Cream for Under 200 Calories
Imagine a world where you can end your day with a colossal, overflowing bowl of thick, creamy, soul-satisfying ice cream without an ounce of guilt. A dessert that not only crushes your sweet cravings but actively works with your fitness goals, packing a powerful protein punch to help build and repair muscle. This isn’t a fantasy; it’s the magic of Anabolic Protein Ice Cream, and today, I’m going to teach you how to master this game-changing recipe for a mind-bogglingly low under 200 calories.
For too long, dessert has been the enemy of a clean diet. It’s the forbidden fruit, the cheat meal, the dietary deviation we feel we must ‘earn.’ But what if we could flip the script? What if dessert could be an integral part of a healthy, high-protein lifestyle? This recipe is the answer. It leverages a bit of food science to transform a few simple, wholesome ingredients into a mountain of frosty delight. The texture is pure perfection—somewhere between a luxurious soft-serve and a decadent, thick mousse. Every spoonful is a testament to the fact that you don’t have to choose between flavor and fitness. So, grab your blender, and let’s create a dessert that will change the way you think about healthy eating forever.
The Magic Behind the Mountain: What is Anabolic Ice Cream?

Before we dive into the ‘how,’ let’s understand the ‘why.’ What makes this ice cream ‘anabolic’? The term ‘anabolic’ refers to the metabolic process of building molecules from smaller units—in this case, building muscle tissue. This ice cream is engineered to be incredibly high in protein and low in calories, creating an environment that supports muscle growth and recovery, especially when you’re managing your calorie intake.
The secret lies in two key principles: protein choice and volume creation.
The Power of Casein Protein
Not all protein powders are created equal for this task. While whey is fantastic for a post-workout shake, micellar casein is the undisputed champion for protein ice cream. Casein proteins are digested slowly and have a unique ability to absorb a significant amount of liquid, forming a thick, gel-like consistency. This is what gives our ice cream its incredible thickness and mousse-like texture, preventing it from becoming an icy, thin smoothie.
The Science of Volume
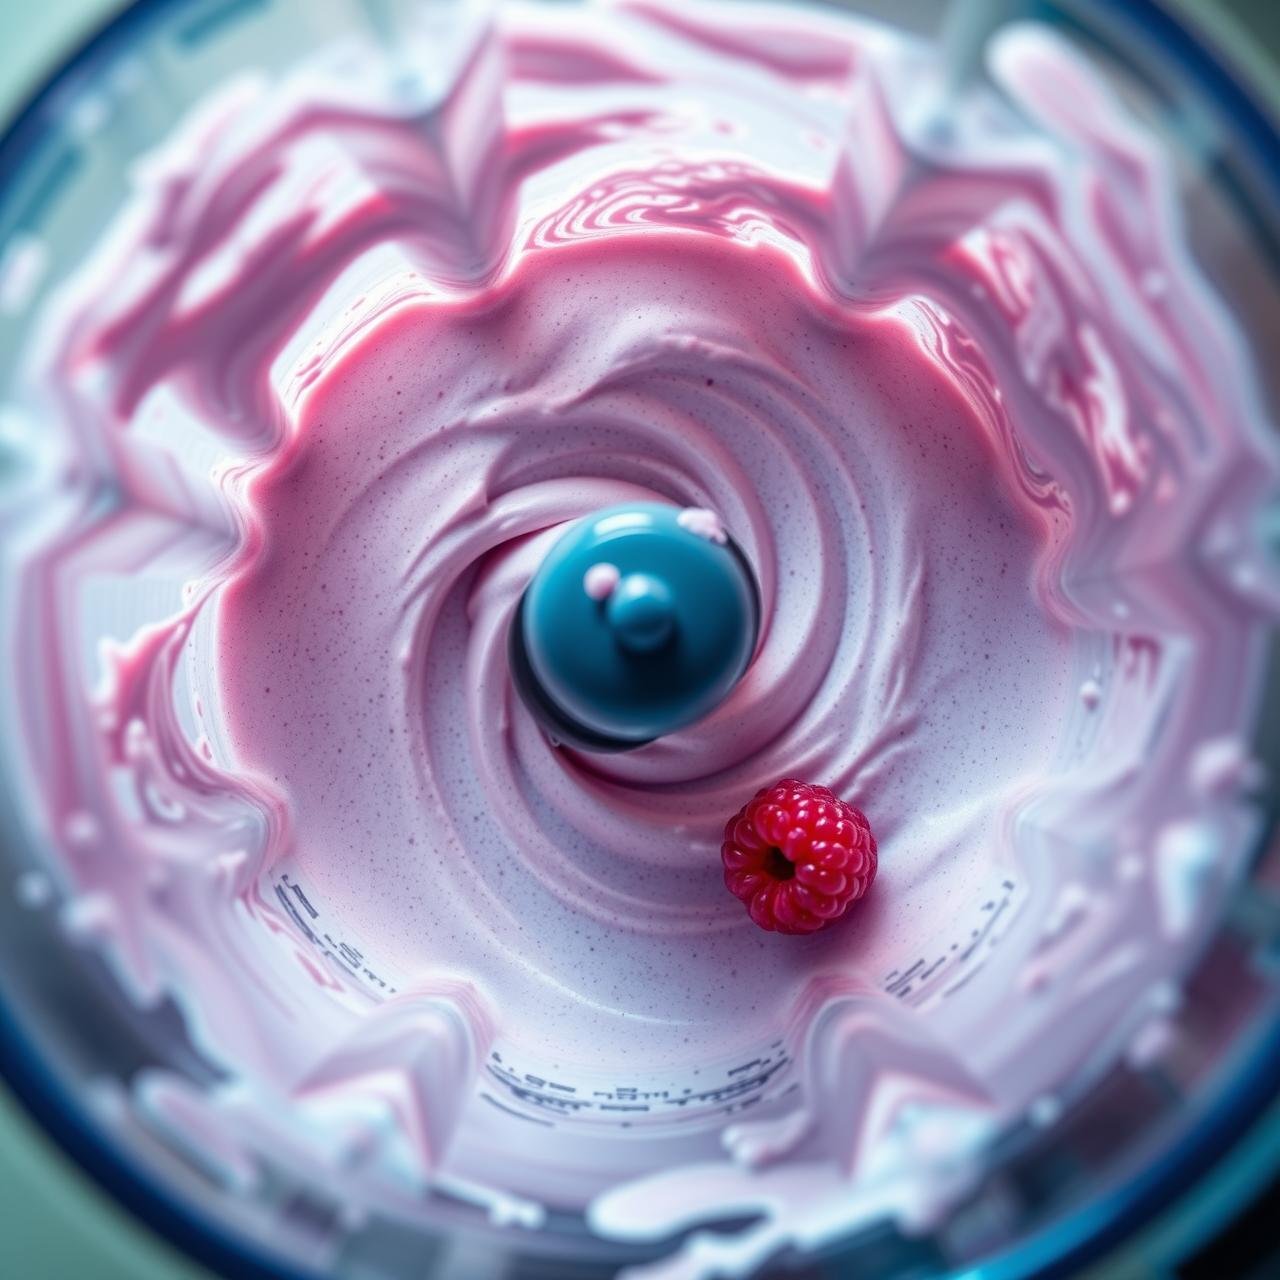
The second piece of the puzzle is our ‘secret weapon’: a thickener like xanthan gum or guar gum. These are tasteless, soluble fibers that act as powerful emulsifiers and thickeners. When blended at high speed with the casein and ice, they trap countless tiny air bubbles, dramatically increasing the volume of the mixture. This process, called aeration, is how a mere cup of ingredients can whip up into a bowl that seems impossibly large. You get to enjoy a massive, satisfying portion that fills you up, tricking your brain into feeling like you’ve had a huge, decadent treat, all while keeping calories at a bare minimum. It’s the ultimate tool for ‘volume eating’—a strategy for staying full and satisfied on a low-calorie diet.
Your Culinary Toolkit: Essential Equipment
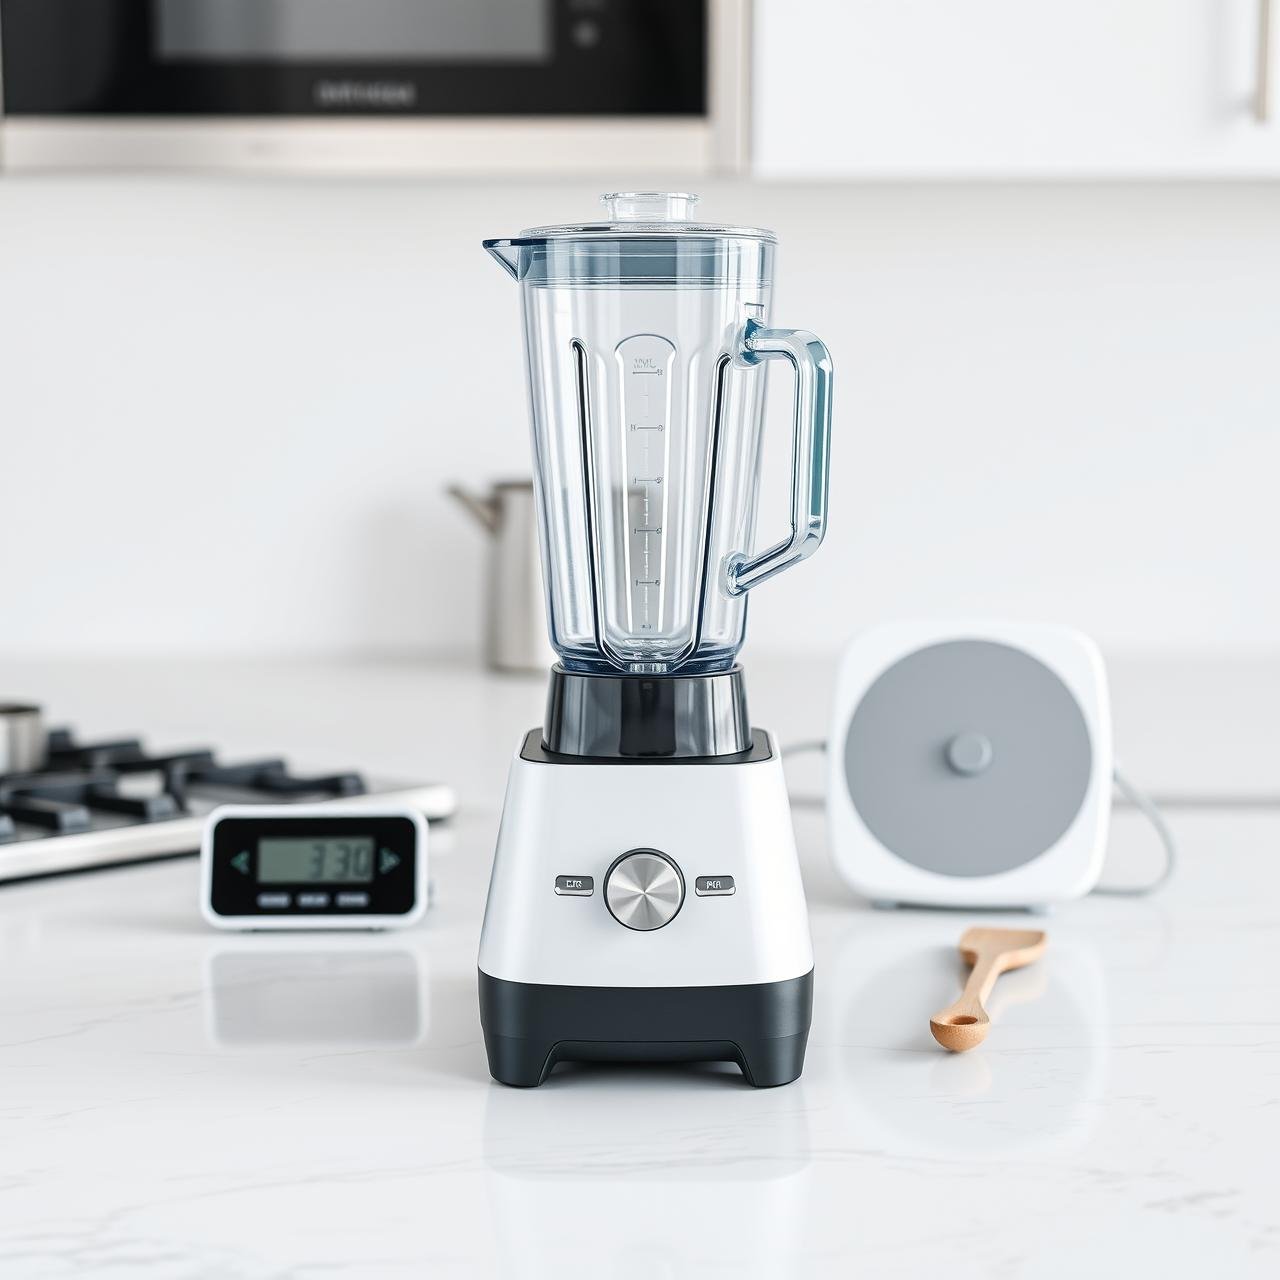
You don’t need a professional kitchen, but a few key pieces of equipment are non-negotiable for achieving that perfect, voluminous texture. The right tools will make the difference between a soupy smoothie and a mountain of creamy bliss.
| Equipment | Why It’s Essential |
|---|---|
| High-Speed Blender or Powerful Food Processor | This is the most critical tool. A standard blender will struggle to break down the frozen fruit and properly aerate the mixture. A powerful motor (like those in a Vitamix, Blendtec, or Ninja) is needed to create the vortex that whips air into the base, creating that signature volume and smooth texture. |
| Digital Kitchen Scale | Precision is key. Measuring ingredients like protein powder and xanthan gum by weight (grams) instead of volume (scoops/spoons) ensures consistent, perfect results every time. It’s the secret to avoiding a gummy or icy texture. |
| Rubber or Silicone Spatula | During the blending process, the mixture will climb the walls of the blender jar. A good spatula is essential for scraping down the sides to ensure everything is evenly incorporated and blended to a uniform, smooth consistency. |
| Large Serving Bowl | Don’t underestimate this! You’ll need a genuinely large bowl to contain your creation. The volume expansion is significant, and you’ll want to give your masterpiece the presentation it deserves. |
The Building Blocks of Creamy Perfection: Core Ingredients

The beauty of this recipe is its simplicity. You only need a handful of core ingredients, each playing a vital role in the final product. Let’s break them down.
The Base Recipe
- Casein Protein Powder: 30-40g (1 scoop) of your favorite flavor. Chocolate or Vanilla work as excellent bases.
- Frozen Fruit or Ice: 150-250g. More fruit yields more flavor, while more ice yields more volume for fewer calories.
- Xanthan or Guar Gum: 3-5g (about 1 teaspoon). Start small; too much can make it gummy.
- Unsweetened Almond Milk (or liquid of choice): 200-250ml (about 1 cup).
- Zero-Calorie Sweetener: 1-2 tablespoons (e.g., erythritol, stevia), or to taste.
- A Pinch of Salt: Optional, but it enhances the flavor, especially in chocolate or caramel recipes.
Ingredient Deep Dive
Protein Powder: The Star of the Show
As mentioned, a casein or a casein-whey blend is your best bet. Pure whey protein will not work well, resulting in a thin, icy liquid. The slow-digesting nature of casein makes it perfect for a pre-bedtime snack, providing a steady stream of amino acids to your muscles as you sleep.
Frozen Fruit: The Flavor and Frost
Using frozen fruit is non-negotiable. It’s what makes the ice cream cold and thick from the start. Frozen berries (strawberries, raspberries, blueberries) are fantastic low-calorie options packed with antioxidants. For a creamier, richer texture, a small amount of frozen banana (around 50g) works wonders, but be mindful of the added calories and sugar.
The Thickener: Your Secret Weapon
Xanthan gum is the magic dust. It’s a powerful thickener, so a little goes a long way. Start with 3g (about 3/4 tsp) and see how your blender and protein powder react. Adding too much will result in an overly thick, gummy texture. If you don’t have it, guar gum is a suitable substitute, used in similar amounts.
The Liquid Base: Choosing Wisely
Unsweetened almond milk is the go-to for its incredibly low calorie count (around 30 calories per cup). However, you can use water to save even more calories, though you might sacrifice a little creaminess. Cashew milk can provide a slightly richer texture, while regular milk or oat milk will add more calories but also more creaminess.
Crafting Your Masterpiece: The Step-by-Step Method
Follow these steps with precision, and you’ll be rewarded with a perfect bowl of anabolic ice cream every single time. The process is more about technique than just combining ingredients.
- Measure with Precision: Using your digital kitchen scale, weigh out all your ingredients. Place your blender jar on the scale and tare it to zero before adding each ingredient. This ensures accuracy and repeatability.
- Combine Ingredients: Add the ingredients to your blender in this order for best results: liquid first (almond milk), then protein powder, sweetener, salt, and xanthan gum. Finally, add your frozen fruit and/or ice on top. Placing the liquid at the bottom helps the blades get going without struggling.
- The Initial Blend: Secure the lid and start blending on a low speed for about 30 seconds. The goal here is just to break down the large frozen chunks and incorporate the powders.
- The Magic Scrape-Down: Stop the blender. You’ll notice powder and frozen bits stuck to the sides. Use your spatula to scrape everything down towards the blades. This step is CRUCIAL for a smooth, homogenous final product. Do not skip it!
- The Long Blend for Volume: Place the lid back on and turn the blender on high. Now, let it run. This is where the magic happens. You need to blend for a continuous 3 to 5 minutes. You will hear the sound of the blender change, and you will visibly see the mixture start to climb the walls of the jar as it incorporates air and expands. If your blender has a tamper, use it to push the mixture down into the blades.
- Achieving Peak Perfection: You’ll know it’s done when the mixture has at least tripled in volume and has the consistency of extremely thick soft-serve ice cream. It should hold its shape on a spoon and form stiff peaks. If it seems too thin, you can add a few more ice cubes and blend again. If it’s too thick for your blender to handle, add a tiny splash of liquid.
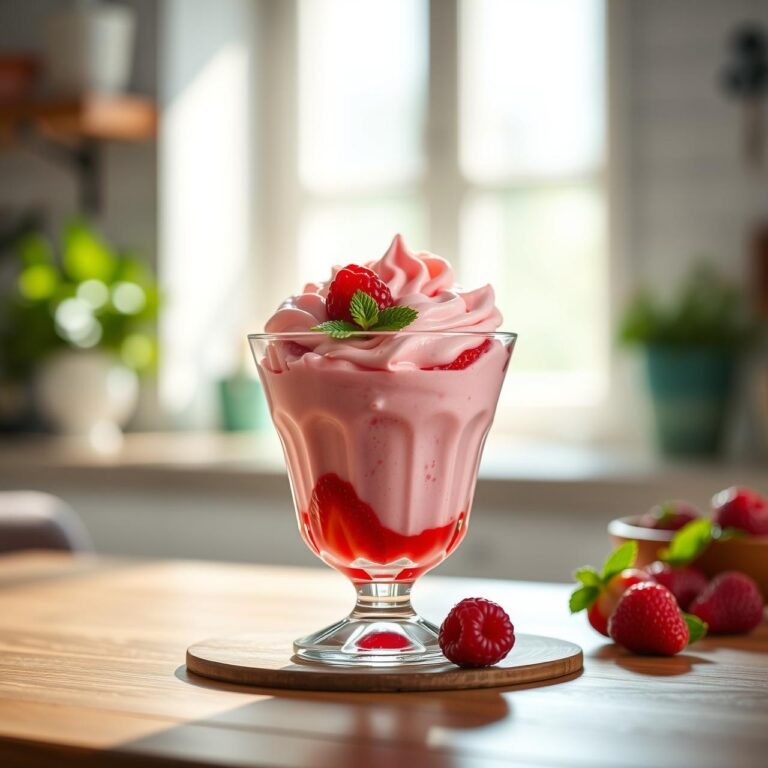
- Serve Immediately: Scrape out every last bit from the blender into your largest bowl. Marvel at the sheer volume you’ve created from such humble beginnings. Garnish with your favorite low-calorie toppings and enjoy immediately for the best texture.
From Great to Gourmet: Chef’s Tips and Flavor Variations
Once you’ve mastered the basic technique, it’s time to get creative. This recipe is a blank canvas for endless flavor combinations. But first, let’s address some common issues.
Troubleshooting Common Issues
- My ice cream is icy: You may have used too much liquid or not enough thickener. Try reducing the liquid by 20-30ml next time or adding an extra gram of xanthan gum. Using a bit of frozen banana can also improve creaminess.
- My ice cream is gummy: You used too much xanthan gum. Scale it back to 2-3g on your next attempt. Remember, it’s powerful stuff!
- It won’t get thick: This usually points to one of three culprits: your blender isn’t powerful enough, you didn’t blend for long enough, or you used whey protein instead of casein. Ensure you’re blending for at least 3-5 minutes on high.
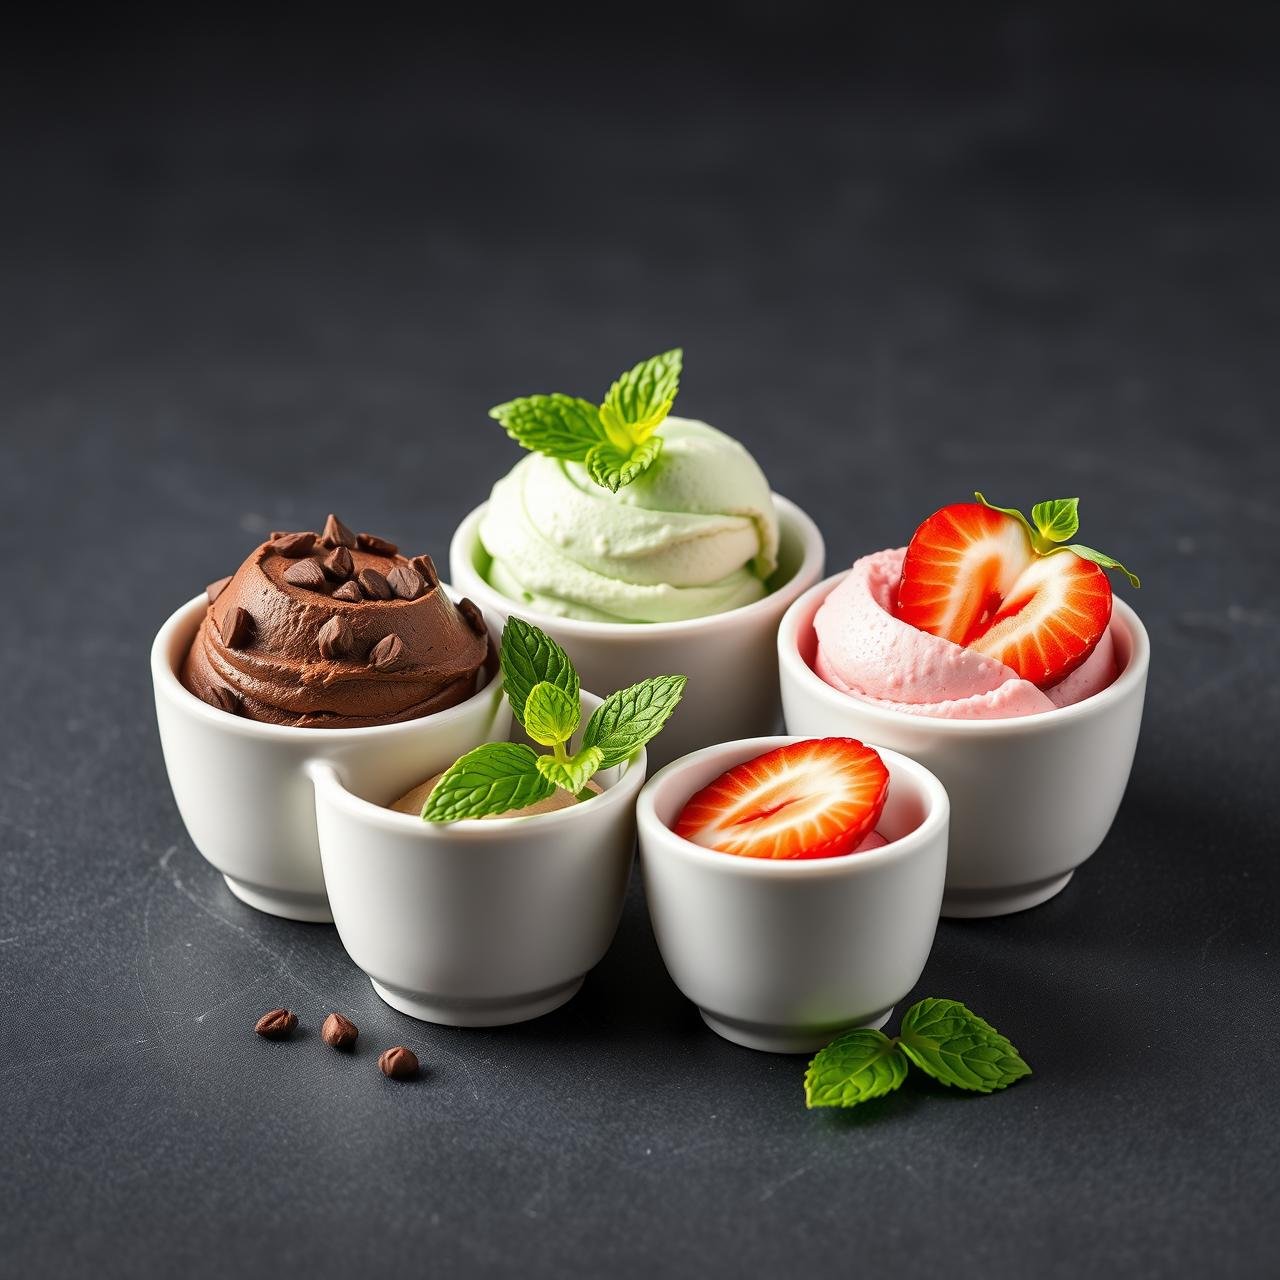
Flavor Alchemy: Beyond the Basics
Use a vanilla or chocolate casein base and customize it with these additions:
- Decadent Chocolate Peanut Butter: Use chocolate casein, 15g of powdered peanut butter (like PBfit), and a pinch of salt. Top with a sugar-free chocolate drizzle.
- Mint Chocolate Chip: Use vanilla casein, 1/4 tsp of peppermint extract, and a handful of cacao nibs or a chopped sugar-free dark chocolate square stirred in after blending. A drop of green food coloring is optional.
- Strawberry Cheesecake: Use vanilla casein, frozen strawberries, and blend in 2 tablespoons of fat-free Greek yogurt or cream cheese for a tangy, authentic flavor. Top with a crushed digestive biscuit.
- Cafe Mocha Fudge: Use chocolate casein and add 1 tsp of instant espresso powder to the blender. Top with a swirl of sugar-free chocolate syrup.
- Pumpkin Spice: Use vanilla casein, 50g of pure pumpkin puree (canned), and 1 tsp of pumpkin pie spice. A true autumnal treat!
The Nutrition Facts: Power in Every Spoonful
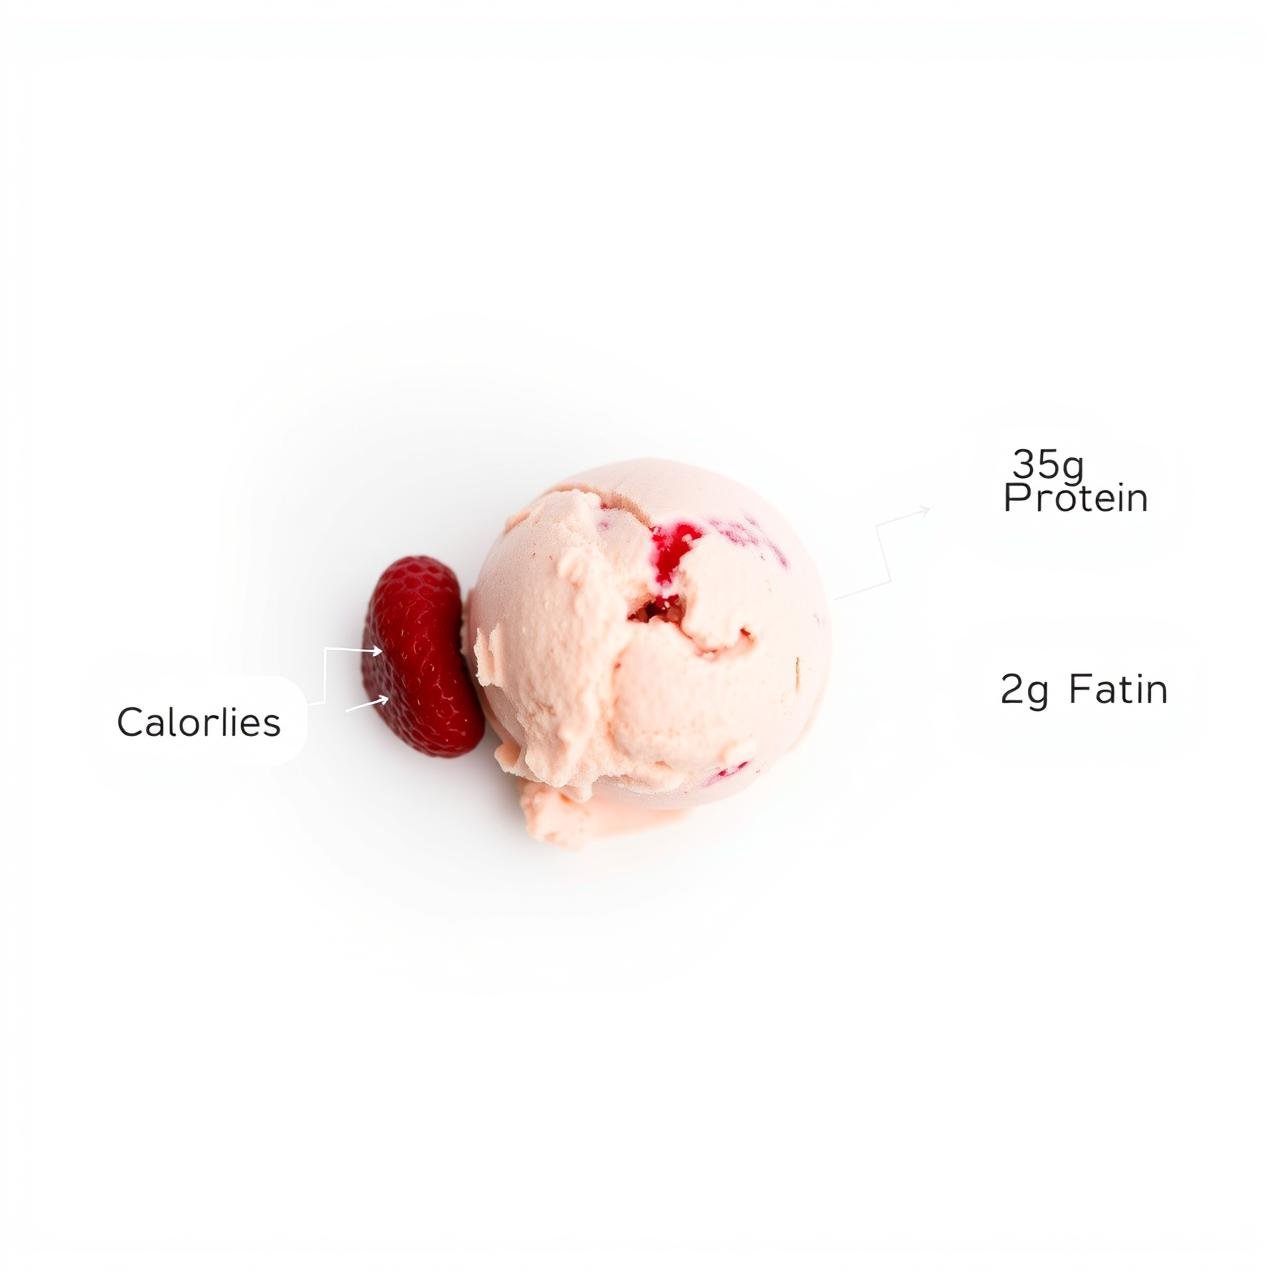
Here is a sample nutritional breakdown based on our core recipe using vanilla casein, frozen mixed berries, and unsweetened almond milk. Please note that these values are approximate and will vary based on the specific brands and ingredients you use.
| Nutrient | Amount per Giant Bowl |
|---|---|
| Calories | ~195 kcal |
| Protein | ~35g |
| Carbohydrates | ~12g |
| – Fiber | ~5g |
| – Sugars | ~6g |
| Fat | ~2g |
The macroeconomic profile is simply outstanding. With a staggering 35 grams of protein, this dessert provides more muscle-building power than a typical chicken breast. The carbohydrates are low and come primarily from the fiber and natural sugars in the fruit, which are beneficial for digestion and energy. The fat content is negligible, making this an incredibly lean and clean treat that can fit into even the strictest of diet plans.
Savoring Later: Storage and Re-Enjoyment
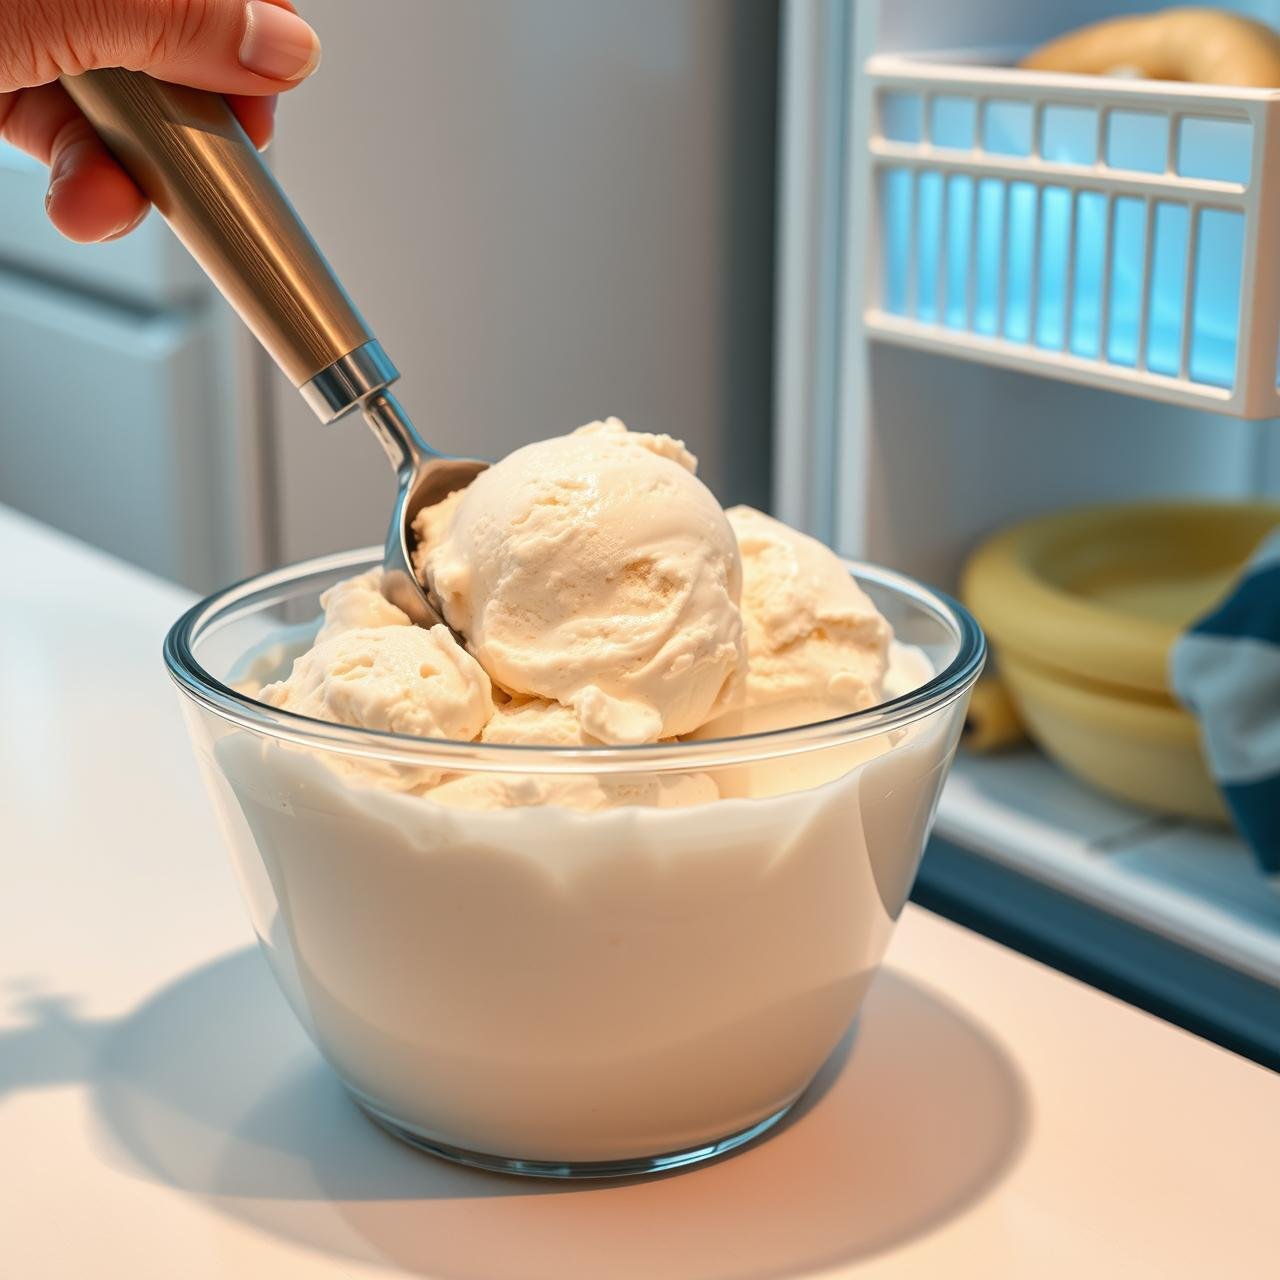
Anabolic protein ice cream is truly at its textural peak the moment it comes out of the blender—light, airy, and voluminous. It is highly recommended that you prepare it and enjoy it immediately.
However, if you can’t finish the entire bowl (a rare but possible occurrence!) or want to prep ahead, you can store it. Scoop the leftovers into an airtight, freezer-safe container. Be warned: it will freeze into a solid, dense block. It will not retain its soft-serve texture.
To enjoy it later, you have two options:
- Thaw and Stir: Let the container sit on the counter for 15-20 minutes to soften slightly. As it thaws, you can scrape and stir it with a fork to break it up and make it more scoopable. The texture will be more like a dense, icy sorbet.
- The Re-Blend (Best Method): For the best results, break the frozen block into chunks, place them back in your blender with a small splash of almond milk (1-2 tablespoons), and re-blend for a minute or two. This will re-incorporate air and bring it much closer to its original creamy, voluminous state.
Conclusion
You now hold the key to one of the greatest secrets in the world of healthy eating. This Giant Bowl of Anabolic Protein Ice Cream is more than just a recipe; it’s a revolution in your kitchen. It’s proof that you can indulge your cravings, feel completely satisfied, and nourish your body all at the same time. No more battling late-night sugar cravings or feeling deprived on your diet. You have a delicious, macro-friendly, and completely customizable tool at your disposal.
We encourage you to take this base recipe and make it your own. Experiment with different protein flavors, try new fruit combinations, and play with extracts and spices. The possibilities are truly endless. Welcome to the world of guilt-free dessert, where every spoonful is a step towards your goals. Now go ahead, you’ve earned it!