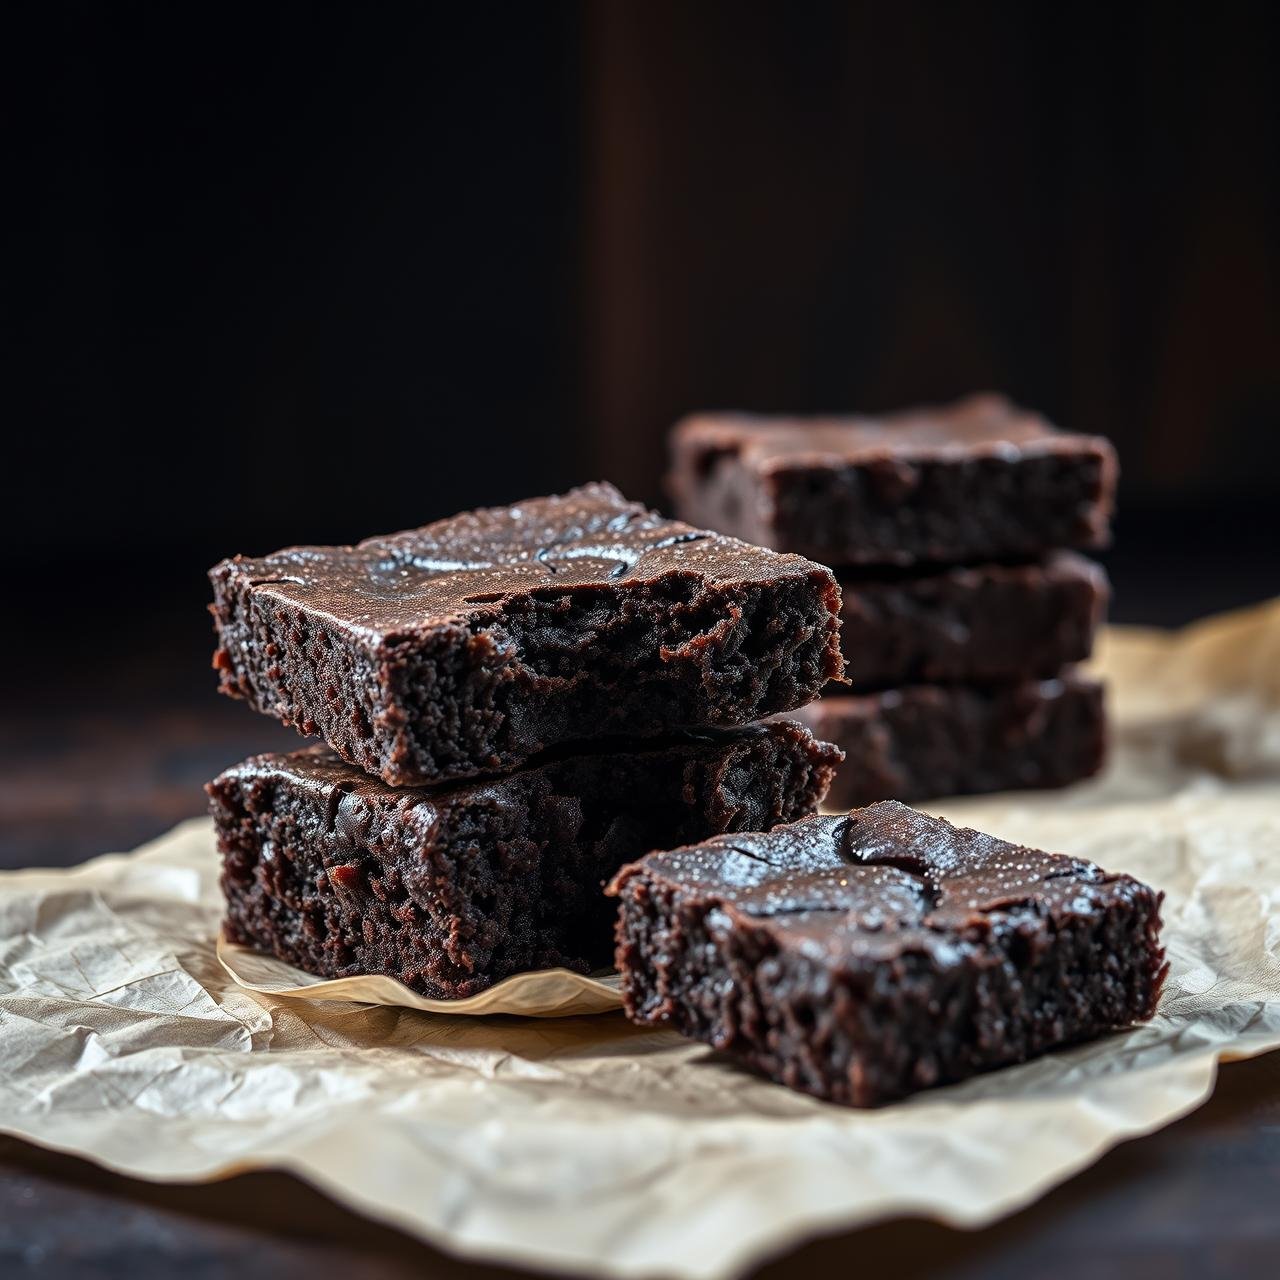
Fudgy Sugar Free Coconut Flour Brownies: No Fluff, Just Chocolate
Let’s be honest. The quest for a truly decadent, yet genuinely healthy, brownie often ends in disappointment. We’ve all been there: biting into a dry, crumbly square that tastes more of compromise than chocolate. It’s the ghost of dessert past, promising richness but delivering a texture akin to sweetened cardboard. That culinary heartbreak ends today. This recipe is the culmination of a relentless pursuit for a brownie that doesn’t just ‘pass’ for a healthy treat, but stands on its own as a superior, deeply satisfying chocolate experience.
Forget everything you think you know about ‘alternative’ baking. These are not cakey, airy, or apologetic. These are Fudgy Sugar-Free Coconut Flour Brownies, and they are here to change the game. We are stripping away the unnecessary – the gluten, the grains, the refined sugar – and focusing on what truly matters: a profound, dark chocolate flavor and a texture so dense and moist it borders on sinful. This is a recipe for the purists, the chocolate lovers, the health-conscious foodies who refuse to settle. Prepare for a brownie that is all substance, no fluff, just pure, unadulterated chocolate bliss.
The Science of a Superior Sugar-Free Brownie
What elevates this brownie from a simple treat to a feat of baking alchemy? It’s all in the thoughtful selection of ingredients and understanding how they work in harmony. This isn’t just about swapping flour and sugar; it’s about building a perfect dessert from the ground up, with health and flavor as our twin pillars.
Why Coconut Flour is a Game-Changer
Coconut flour is the unsung hero of the grain-free world. It’s incredibly absorbent, which means a little goes a long way. This high absorbency is the secret to our brownie’s dense, fudgy crumb. Unlike traditional flours that can create a cakey texture, coconut flour, when balanced with the right amount of liquid and fat, creates a uniquely moist and rich foundation. It’s also packed with fiber, making these brownies surprisingly satisfying and gentler on blood sugar.
The Role of Healthy Fats in Creating Fudginess
Fudge is fat. There’s no way around it. The key is using the right fats. In this recipe, we embrace high-quality fats like melted coconut oil or grass-fed butter. These fats do more than just add moisture; they coat the cocoa particles and coconut flour, inhibiting gluten-like structures and ensuring every bite is tender and melts in your mouth. This is the structural secret to preventing a dry outcome and achieving that coveted, ultra-fudgy core.
Embracing Sweetness Without Sugar
We achieve a beautiful, clean sweetness without a single grain of sugar by using a high-quality sugar substitute like allulose, monk fruit, or erythritol. These sweeteners provide the necessary sweetness to balance the bitterness of dark cocoa without the blood sugar spike or the chemical aftertaste of lesser substitutes. When properly dissolved into the wet ingredients, they integrate seamlessly, letting the pure chocolate flavor shine through as the undisputed star of the show.
Essential Equipment for Brownie Perfection
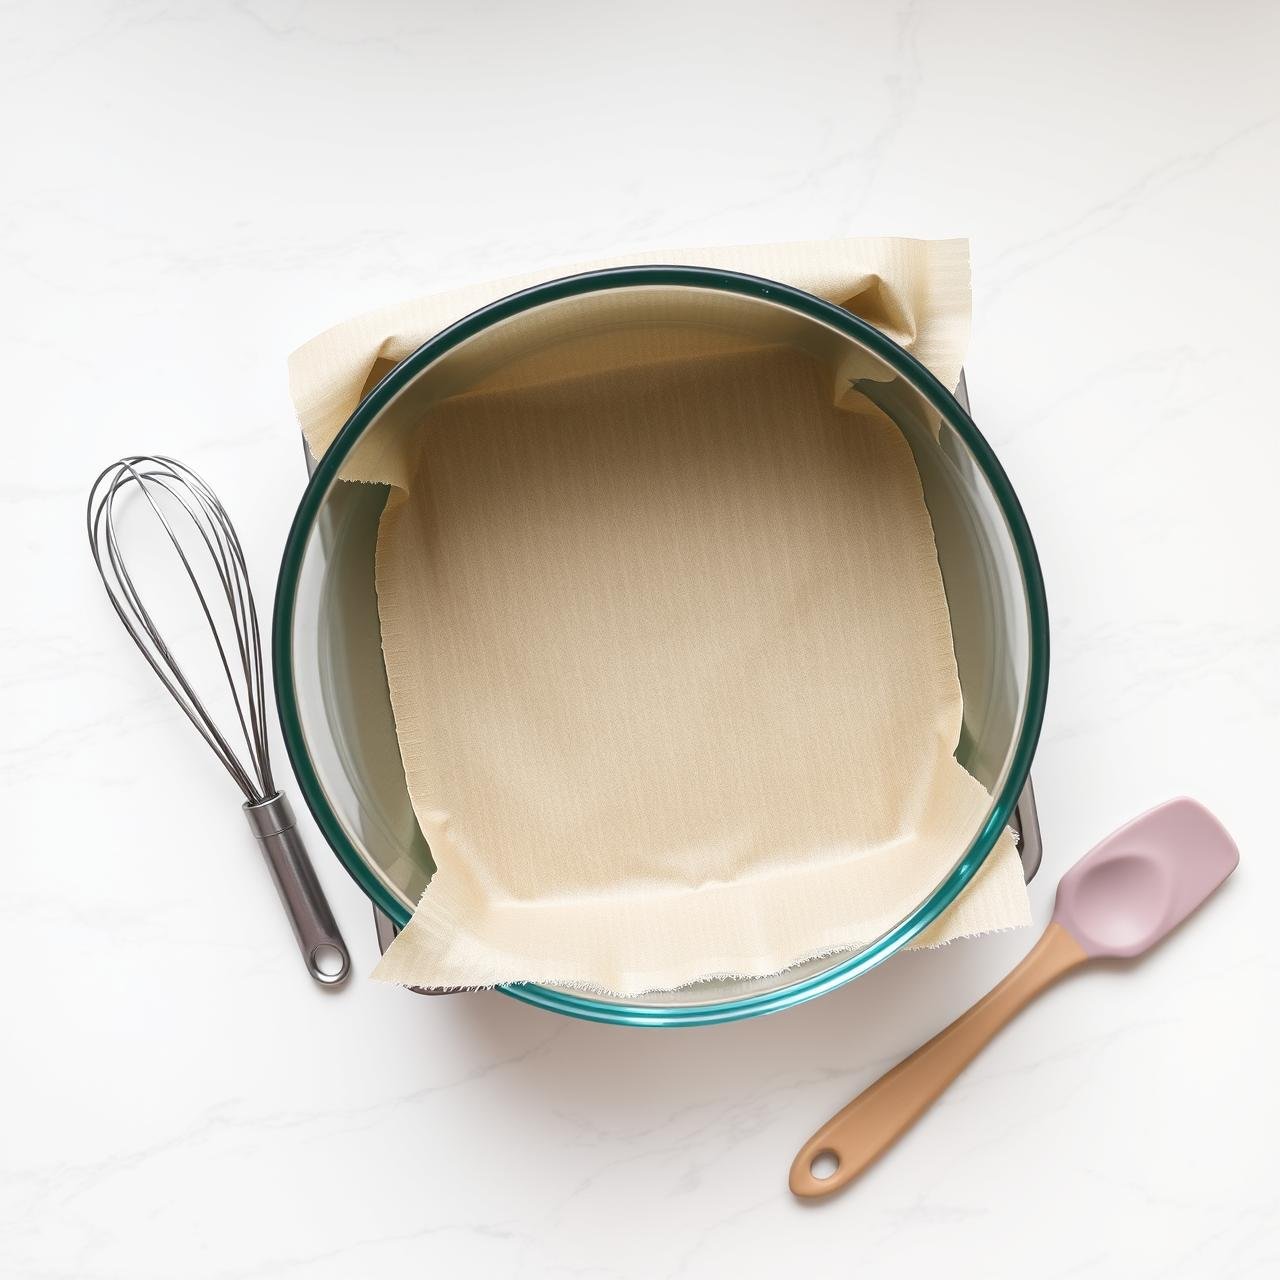
You don’t need a professional kitchen to achieve bakery-quality results. This recipe relies on a few simple, essential tools that most home cooks already have on hand. The right equipment ensures proper mixing, even baking, and a flawless final product.
- 8×8 inch (20×20 cm) Baking Pan: This size is crucial for achieving the perfect thickness. A metal pan will conduct heat more efficiently for better edges, while a glass or ceramic pan may require a slightly longer baking time.
- Parchment Paper: This is non-negotiable! Creating a parchment paper ‘sling’ allows you to lift the entire batch of brownies out of the pan at once for easy, clean cutting. It also guarantees they will never stick.
- Two Mixing Bowls: One for the dry ingredients and one for the wet. This classic baking technique, known as the ‘muffin method’, prevents over-mixing and ensures a tender crumb.
- Whisk and a Spatula: A whisk is perfect for combining the dry ingredients and aerating them, as well as for emulsifying the wet ingredients. A flexible silicone spatula is essential for folding the two together and scraping every last bit of precious batter into the pan.
- Measuring Cups and Spoons: Precision is key in baking, especially with a unique ingredient like coconut flour. Accurate measurements are a must.
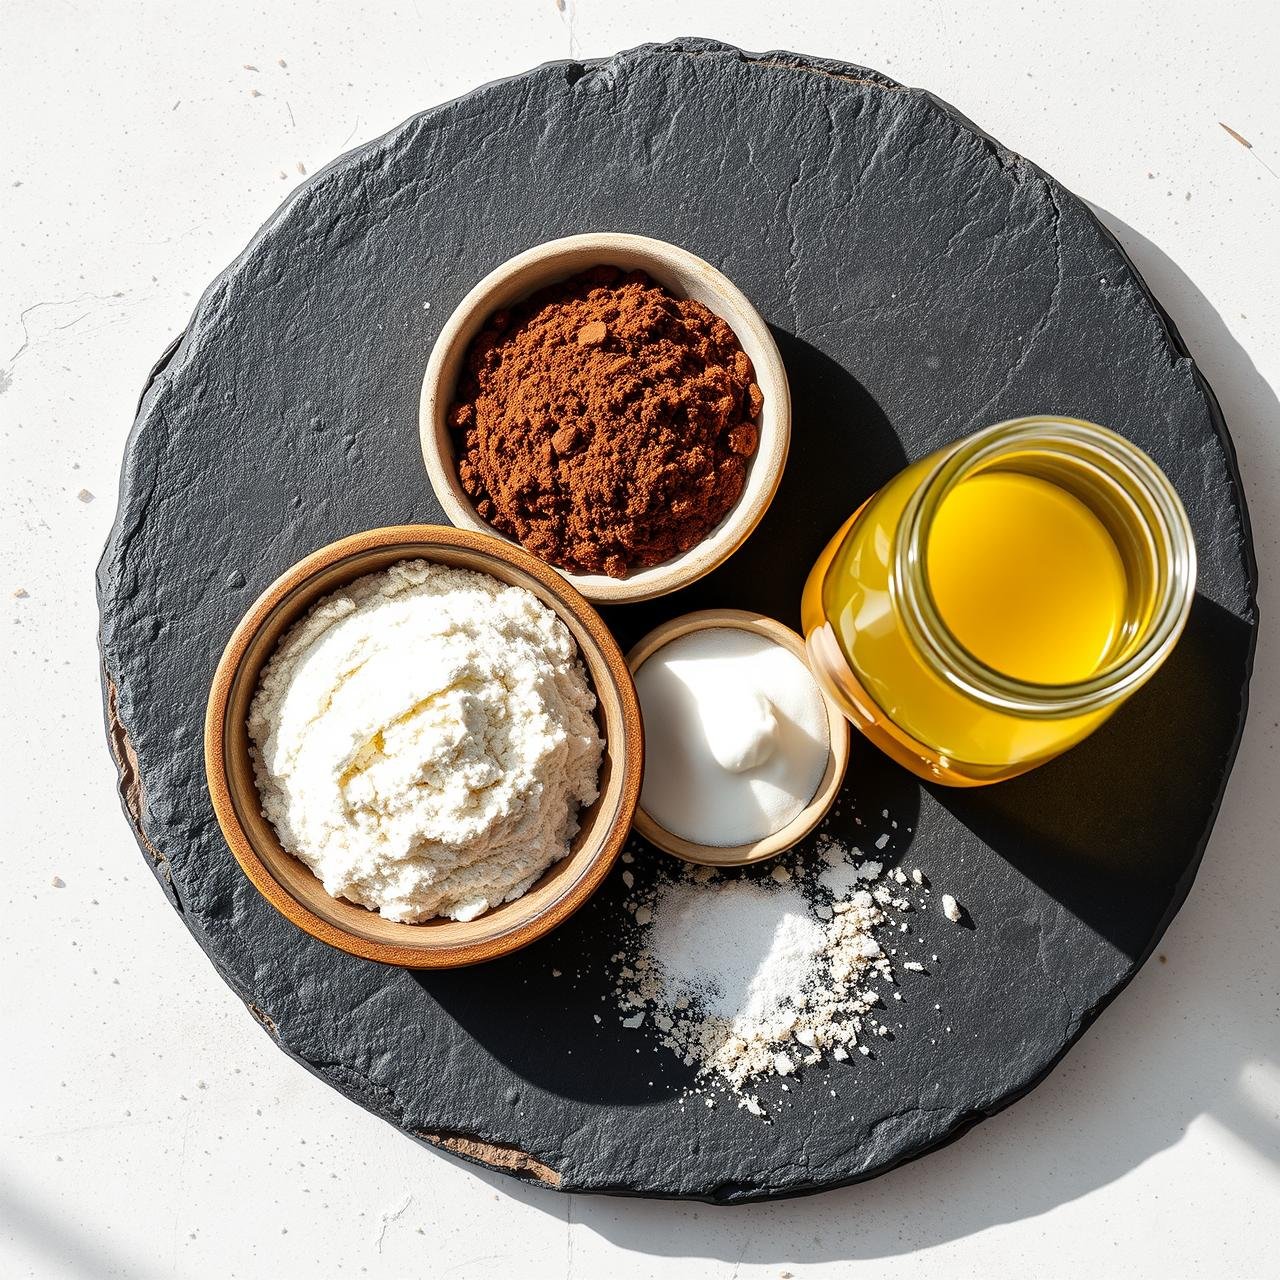
The All-Star Ingredients: A Symphony of Flavor and Texture
The quality of your brownies is a direct reflection of the quality of your ingredients. Here’s a breakdown of what you’ll need and why each component is so important.
- Coconut Flour: 1/2 cup (60g). The structural base. Ensure it’s finely sifted to avoid clumps. Remember, it’s super absorbent, so don’t be tempted to add more!
- Unsweetened Cocoa Powder: 1/2 cup (50g). This is where the deep chocolate flavor comes from. Use a high-quality Dutch-processed cocoa for a darker color and smoother, less acidic flavor.
- Granulated Sugar-Free Sweetener: 3/4 cup (144g) of an allulose, erythritol, or monk fruit blend. This provides the sweetness. Allulose is fantastic for a moist texture, as it doesn’t recrystallize upon cooling.
- Baking Powder: 1/2 teaspoon. Provides just a tiny bit of lift to keep the brownies from being overly dense.
- Fine Sea Salt: 1/4 teaspoon. Salt doesn’t just add saltiness; it enhances the flavor of chocolate, making it taste richer and more complex.
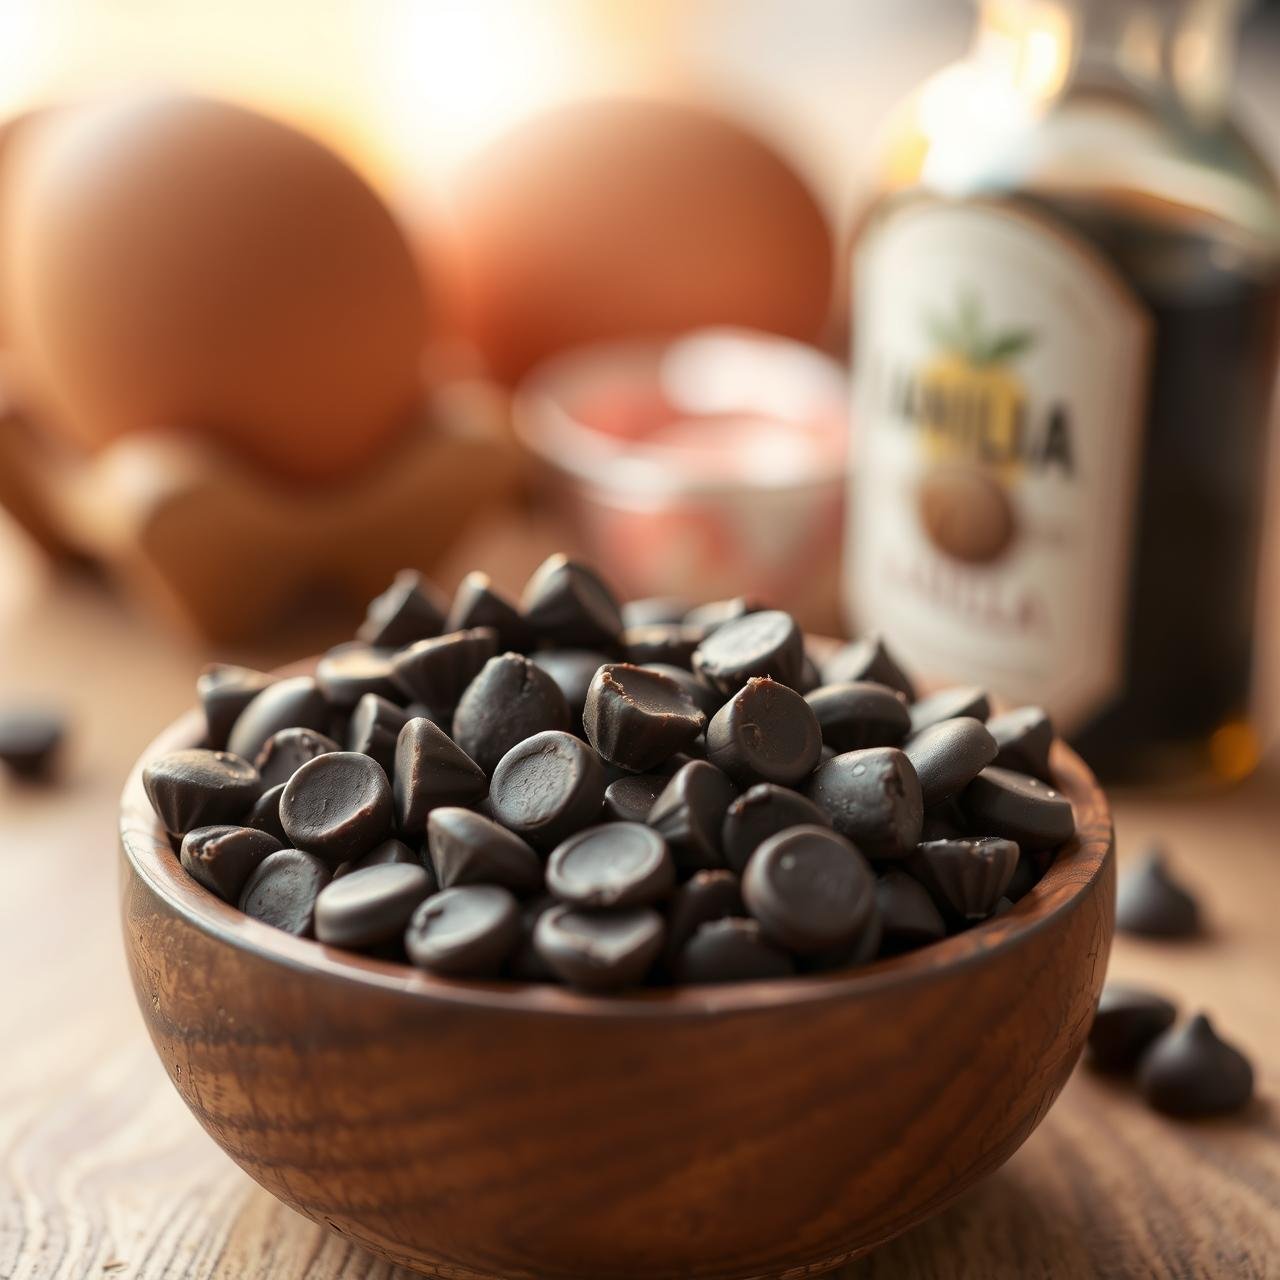
- Large Eggs: 3 large eggs, at room temperature. Eggs are the primary binder and provide essential moisture and richness. Room temperature eggs incorporate much more smoothly into the batter.
- Melted Coconut Oil or Butter: 1/2 cup (120ml). Your source of fat and fudginess. Grass-fed butter will lend a classic, rich flavor, while coconut oil keeps it dairy-free and adds a subtle background note.
- Vanilla Extract: 2 teaspoons. Use pure vanilla extract, not imitation. It rounds out the flavors and adds a layer of aromatic warmth.
- Unsweetened Chocolate or Sugar-Free Chocolate Chips: 1/2 cup (85g), chopped or in chip form. This is optional but highly recommended for creating decadent, melty pockets of pure chocolate throughout the brownies.
Step-by-Step Instructions to Fudgy Nirvana

Follow these steps carefully, and you’ll be rewarded with the most incredible sugar-free brownies you’ve ever tasted. The process is straightforward, but the magic is in the details.
-
Preparation is Paramount
Preheat your oven to 350°F (175°C). Line your 8×8 inch baking pan with parchment paper, leaving some overhang on two sides to act as handles. This ‘sling’ is your ticket to easily removing the brownies later. Lightly grease the parchment paper.
-
Combine the Dry Ingredients
In a medium-sized mixing bowl, whisk together the 1/2 cup coconut flour, 1/2 cup cocoa powder, 1/2 teaspoon baking powder, and 1/4 teaspoon sea salt. Whisking is important as it breaks up any clumps and aerates the mixture, much like sifting.
-
Mix the Wet Ingredients
In a separate, larger bowl, whisk the 3 large, room-temperature eggs until they are frothy and light in color. Then, slowly whisk in the 3/4 cup granulated sweetener until it’s fully dissolved. This step is key to a smooth texture. Pour in the 1/2 cup melted coconut oil (or butter) and 2 teaspoons vanilla extract and whisk until the mixture is smooth, glossy, and well-emulsified.
-
Marry the Wet and Dry
Pour the dry ingredients into the bowl with the wet ingredients. Switch from a whisk to a silicone spatula. Gently fold the ingredients together until just combined. The batter will be very thick, almost like a paste – this is exactly what you want! Do not overmix. Overmixing can lead to tough brownies. Finally, gently fold in the 1/2 cup sugar-free chocolate chips or chopped chocolate, if using.
-
Bake to Perfection
Scrape the thick batter into your prepared pan. Use the back of your spatula (you can lightly wet it to prevent sticking) to spread the batter evenly to all corners. Bake for 22-25 minutes. This is the crucial part: you want the edges to be set and the center to be slightly soft. A toothpick inserted into the center should come out with moist, fudgy crumbs attached, not wet batter. Do NOT overbake, as coconut flour can dry out quickly.
-
The Agony of Waiting (The Cooling Process)
Remove the pan from the oven and place it on a wire rack. This is the hardest step: you must let the brownies cool in the pan completely. We’re talking a minimum of 1-2 hours, but longer is even better. They will continue to set as they cool, developing their signature dense, fudgy texture. Attempting to cut them while warm will result in a delicious, but messy, pile of chocolate.
-
Slice and Serve
Once completely cooled, use the parchment paper handles to lift the entire brownie slab out of the pan. Place it on a cutting board and use a large, sharp knife to slice into 9 or 16 squares. For ultra-clean cuts, run the knife under hot water and wipe it dry between each slice.
A Chef’s Secrets for Ultimate Fudginess

Ready to take your brownie game from great to absolutely unforgettable? Here are a few professional tips and tricks that make all the difference.
Bloom Your Cocoa Powder
For an even deeper, more intense chocolate flavor, ‘bloom’ your cocoa powder. Before mixing your wet ingredients, combine the 1/2 cup cocoa powder with the 1/2 cup melted (and hot) coconut oil or butter in a small bowl. Whisk until it forms a smooth, dark paste and let it sit for a couple of minutes. This process releases the cocoa’s flavor compounds, resulting in a much richer chocolate taste in the final product. Then, add this bloomed cocoa paste to your other wet ingredients and proceed with the recipe.
The Chill Factor
Patience is a virtue, especially with fudgy brownies. After they have cooled to room temperature, try chilling the entire slab in the refrigerator for at least 30 minutes before slicing. This not only makes for exceptionally clean, neat squares but also enhances the dense, chewy, fudgy texture. A chilled brownie is a truly transcendent experience.
Don’t Fear the Underbake
The line between fudgy and dry is a fine one, and it’s always better to err on the side of caution. The residual heat from the pan will continue to cook the brownies after you take them out of the oven. This is called carryover cooking. Pulling them when a toothpick still has moist crumbs attached is the secret to avoiding a dry, cakey texture. Trust the process!
A Pinch of Espresso
Coffee and chocolate are a classic pairing for a reason. Add 1/2 to 1 teaspoon of instant espresso powder to your dry ingredients. You won’t taste the coffee, but it will work in the background to amplify and deepen the chocolate flavor, making it taste more complex and robust.
Nutritional Information

Here is an estimated nutritional breakdown per brownie, assuming the batch is cut into 16 squares. Please note that these values can vary slightly based on the specific brands of ingredients you use (especially sweeteners and chocolate chips).
| Nutrient | Amount Per Serving |
|---|---|
| Calories | ~110 kcal |
| Total Fat | ~9g |
| Saturated Fat | ~7g |
| Total Carbohydrates | ~5g |
| Dietary Fiber | ~3g |
| Net Carbohydrates | ~2g |
| Protein | ~3g |
| Sugar | <1g |
This information is provided as a courtesy and should be considered an estimate.
Storing Your Brownie Masterpieces
Proper storage is essential to maintain the perfect texture of these coconut flour brownies. Because of their high moisture and fat content, they keep exceptionally well.
At Room Temperature
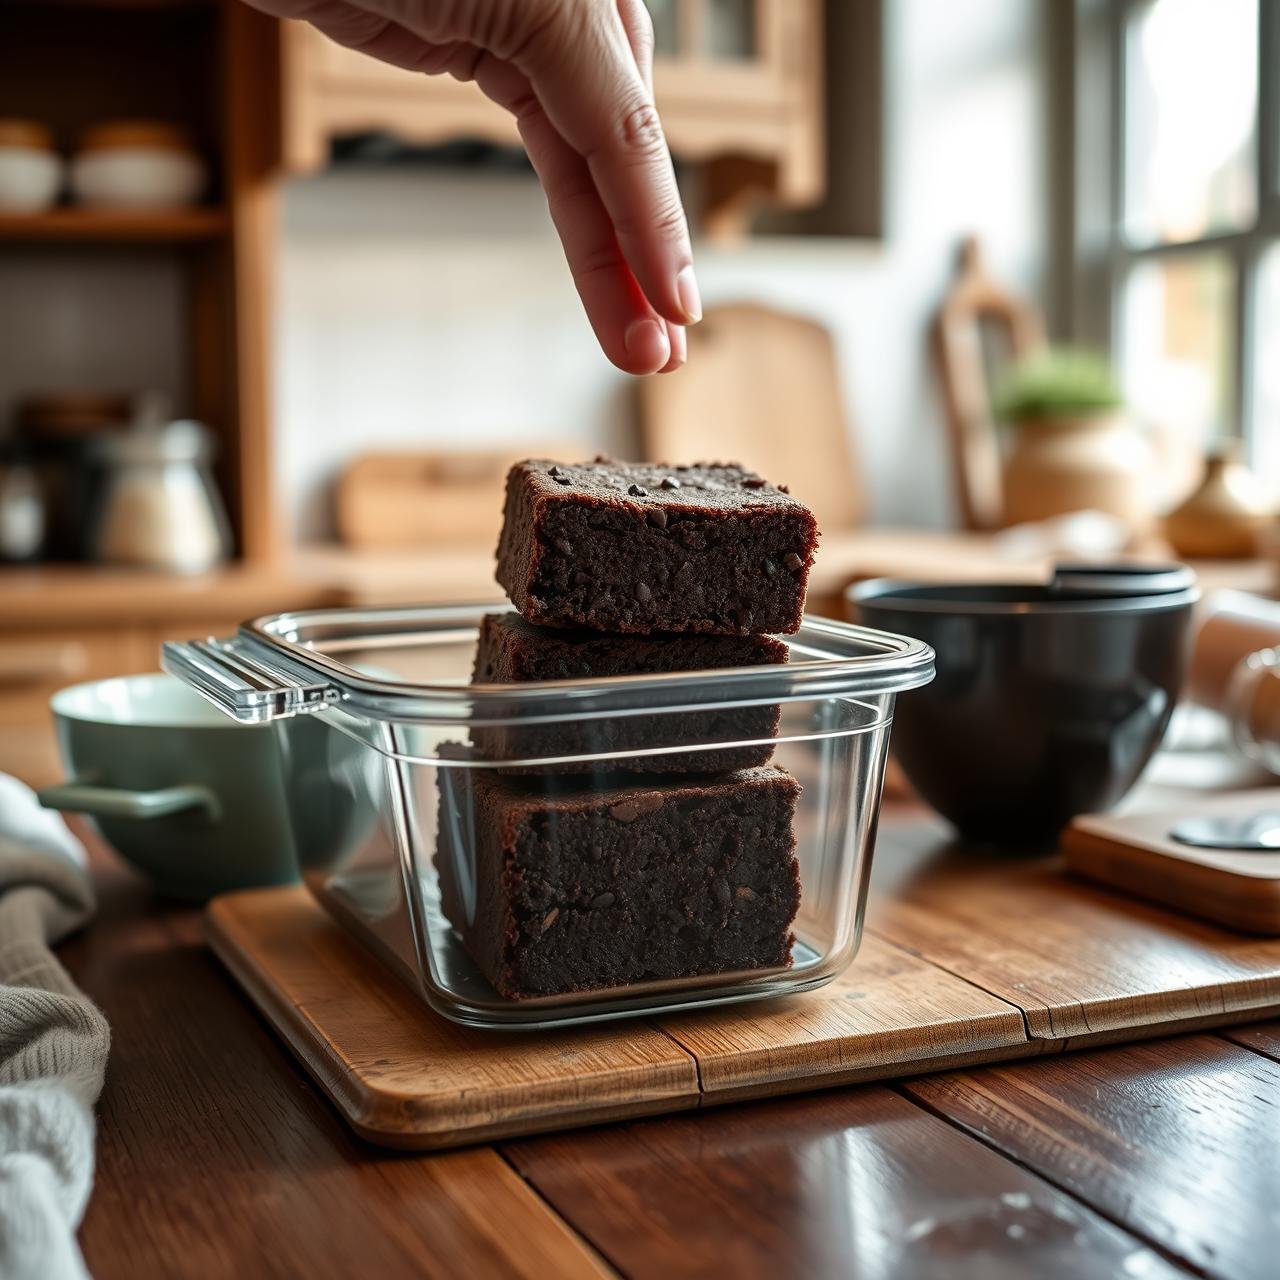
You can store the brownies in an airtight container at room temperature for up to 3 days. Place a piece of parchment paper between layers if you need to stack them to prevent sticking. They will remain moist and delicious.
In the Refrigerator
For a longer shelf life and an even fudgier, denser texture, store them in an airtight container in the refrigerator for up to 1 week. Chilling them solidifies the healthy fats, creating an incredible chew. You can enjoy them straight from the fridge or let them sit at room temperature for 10-15 minutes to soften slightly.
Freezing for Future Cravings
These brownies freeze beautifully! For best results, slice them into individual squares first. Wrap each square tightly in plastic wrap, then place them all in a freezer-safe zip-top bag or container. They will keep in the freezer for up to 3 months. To enjoy, simply thaw a square at room temperature for about an hour or gently warm it in the microwave for 10-15 seconds for that fresh-baked experience.
Conclusion
There you have it – a brownie that defies expectations. A dessert that is intensely chocolatey, impossibly fudgy, and crafted with wholesome, nourishing ingredients. This recipe is more than just a sweet treat; it’s proof that you never have to choose between indulgence and well-being. It’s a celebration of pure, unadulterated flavor, designed for the discerning palate and the health-conscious kitchen. Whether you’re following a keto, gluten-free, or low-sugar lifestyle, or simply a home cook in search of a truly superior brownie, this recipe delivers on its promise. No fluff, no compromise, just the rich, satisfying, chocolatey perfection you deserve. So go ahead, preheat your oven, and prepare to fall in love with a brownie that loves you back.