DIY Turmeric Coconut Wraps: Save Money With This Detailed Recipe
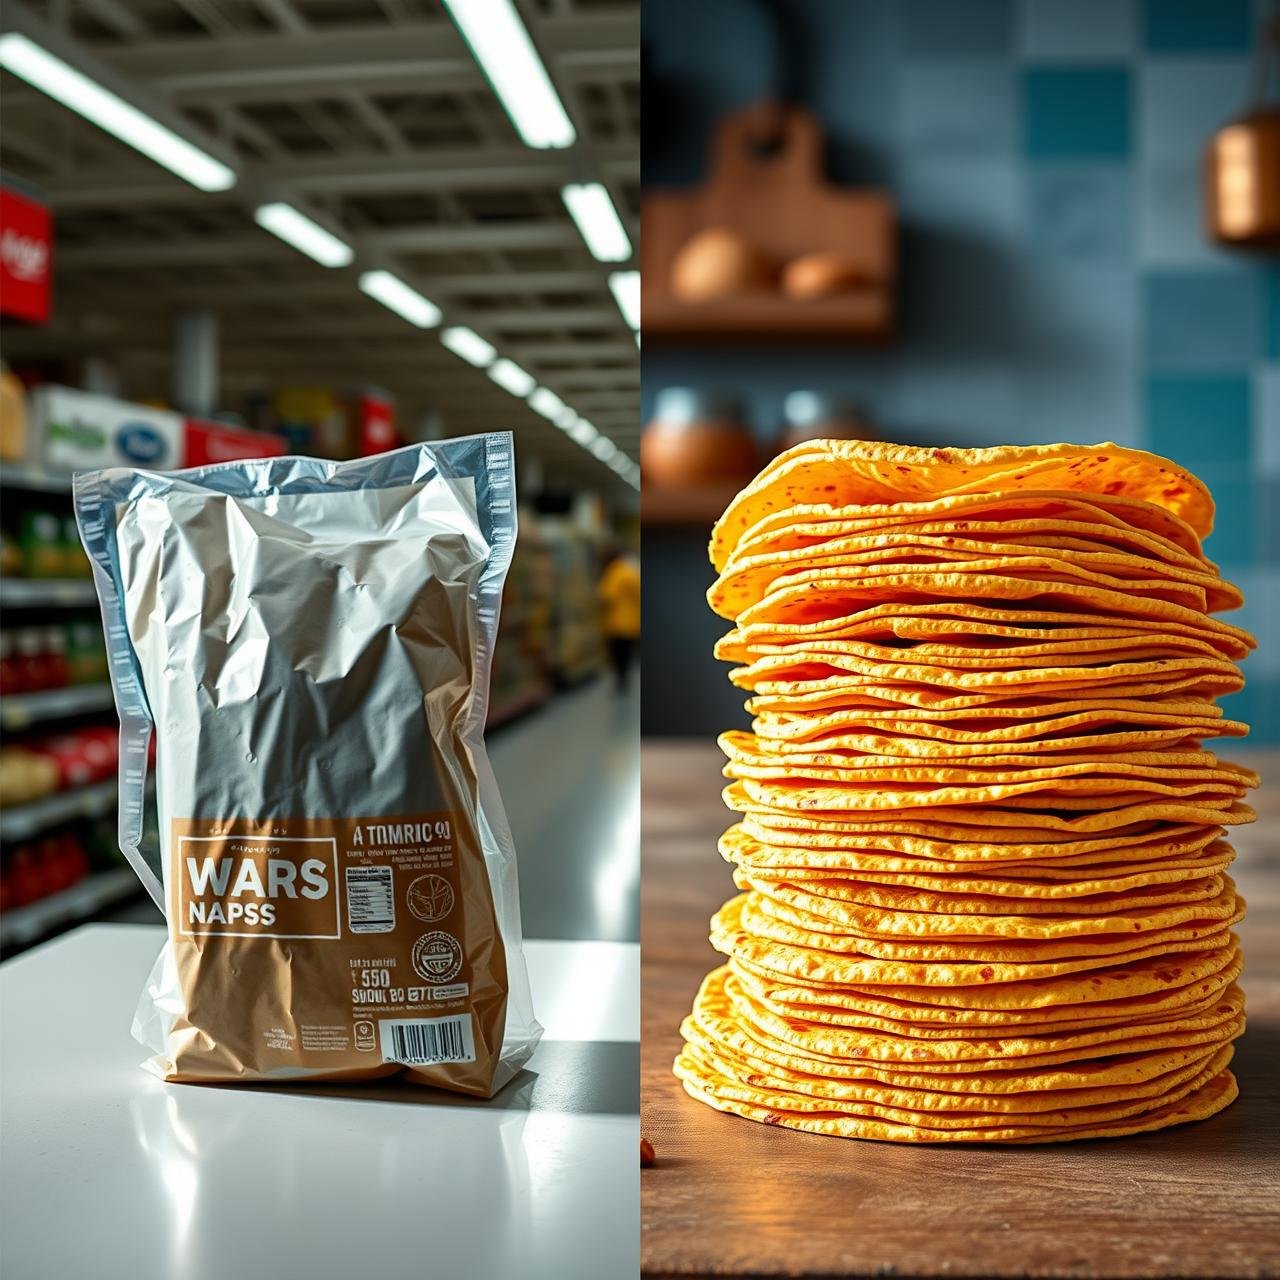
Wandering through the health food aisle, it’s easy to be captivated by the array of specialty wraps. Among them, the golden-hued turmeric coconut wraps often stand out, promising a delicious, gluten-free vessel for your favorite fillings. But a quick glance at the price tag can be enough to make you reconsider. What if you could recreate that same pliable texture, earthy flavor, and vibrant color at home for a fraction of the cost? You absolutely can.
This detailed guide is more than just a recipe; it’s an invitation to take control of your food, to infuse your meals with wholesome ingredients, and to discover the deep satisfaction of creating something beautiful and nourishing from scratch. We’ll walk you through every step, from selecting the right ingredients to mastering the perfect swirl in the pan. Forget the preservatives and mystery additives found in many packaged options. These homemade turmeric coconut wraps are made with a handful of simple, clean ingredients, delivering a product that is not only healthier and more affordable but also bursting with a freshness that money simply can’t buy. Get ready to transform your lunch game and wrap your favorite foods in pure, golden goodness.
Why Make Your Own Turmeric Coconut Wraps?
The decision to move from store-bought to homemade is a rewarding one, especially with a recipe as simple and impactful as this. Beyond the obvious joy of cooking, crafting your own turmeric coconut wraps offers a host of tangible benefits that will appeal to your health, your wallet, and your palate.
Control Over Ingredients
The number one reason to DIY is quality control. Packaged foods, even the ‘healthy’ ones, often contain preservatives, stabilizers, or added sugars to extend shelf life. When you make them yourself, you know exactly what’s going into your body. You can choose organic coconut milk, high-quality cassava flour, and fresh, potent turmeric. There are no hidden ingredients, no gums, and no fillers—just pure, wholesome food.
Significant Cost Savings
Specialty diet products come with a premium price tag. A single package of pre-made coconut wraps can be surprisingly expensive. By investing in the base ingredients, which have a long shelf life and can be used for many other recipes, you can produce several batches of wraps for the cost of one or two store-bought packages. For budget-conscious cooks and families, this is a game-changer.
Superior Flavor and Texture
There’s simply no comparison between a freshly made wrap, still warm from the pan, and one that has been sitting on a shelf. Homemade wraps have a tender, pliable texture and a vibrant, fresh flavor that is subtly sweet from the coconut and warmly earthy from the turmeric. You can also customize the flavor profile, adding a pinch of black pepper to enhance the turmeric’s bioavailability, a dash of garlic powder for a savory note, or a sprinkle of herbs.
Harnessing Health Benefits
This recipe is a powerhouse of nutrition. Turmeric is celebrated for its anti-inflammatory properties, thanks to its active compound, curcumin. Coconut milk provides healthy fats (MCTs) that are a great source of energy. By using cassava flour, these wraps are naturally gluten-free, grain-free, and paleo-friendly, making them an excellent choice for those with dietary sensitivities or preferences. Making them at home ensures you get the maximum benefit from these incredible ingredients.
Essential Equipment for Perfect Wraps
You don’t need a professional kitchen to whip up these beautiful wraps. The required equipment is simple and likely already part of your culinary arsenal. Having the right tools ready will make the process smooth and enjoyable.
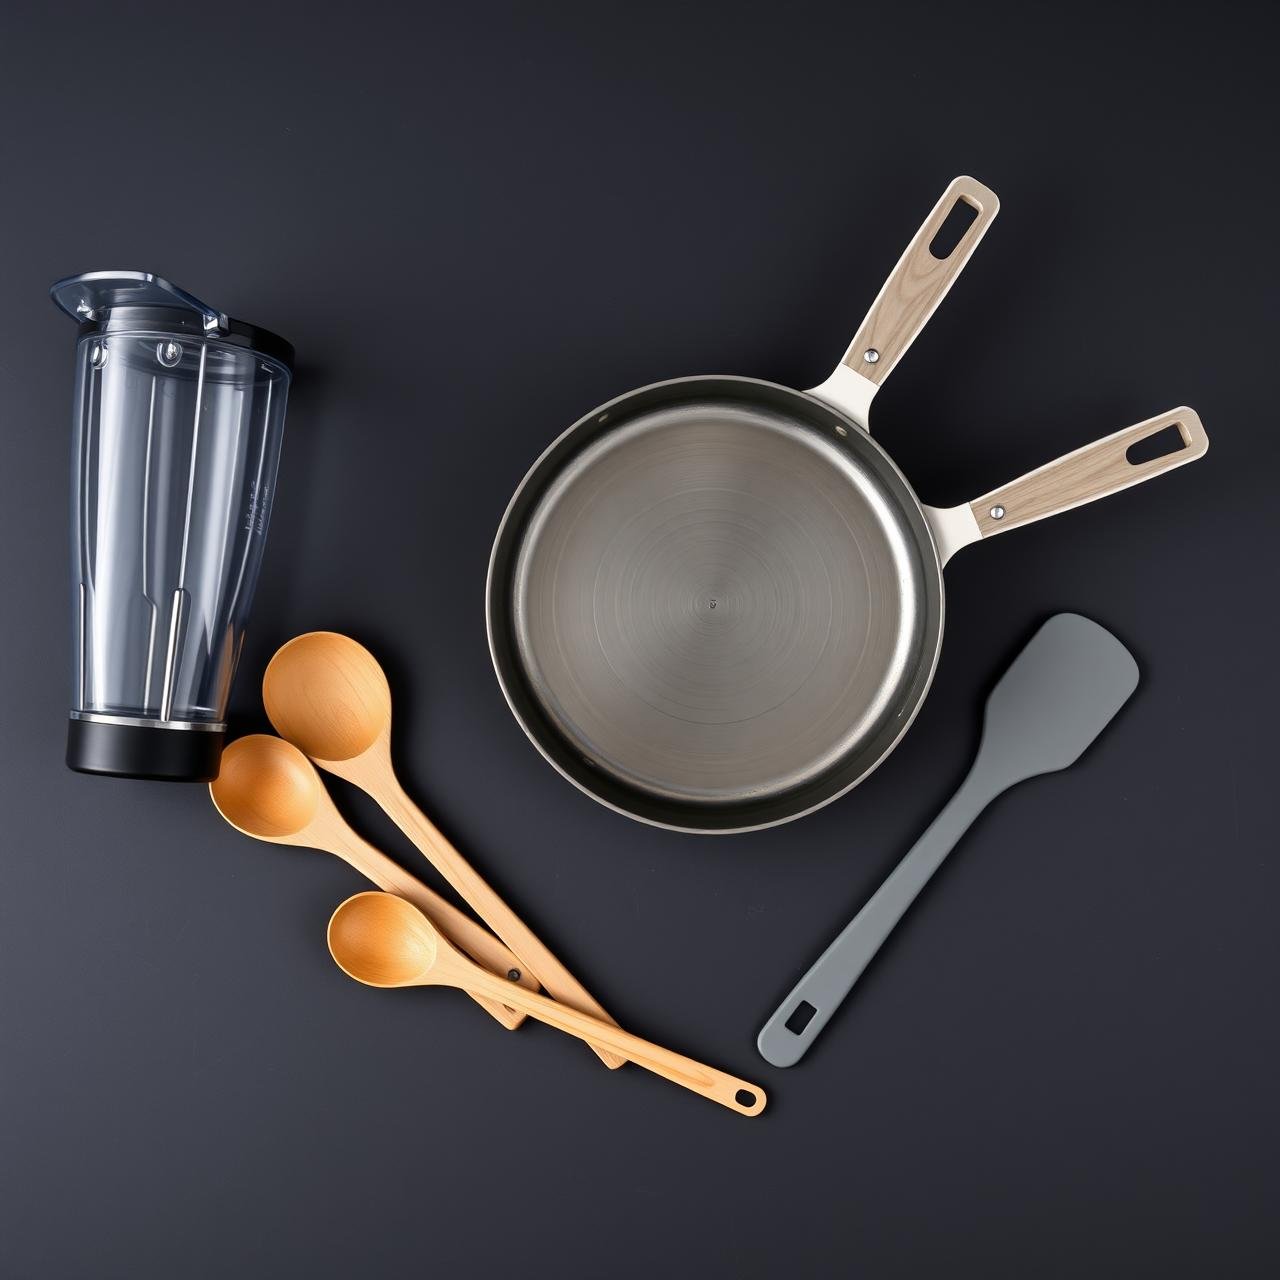
Gather Your Tools:
- High-Speed Blender or Whisk: A blender is ideal for achieving a perfectly smooth, lump-free batter in seconds. If you don’t have one, a bowl and a good whisk will work just fine with a bit of elbow grease.
- Non-Stick Skillet or Crêpe Pan: A quality 8 to 10-inch non-stick skillet is crucial. This prevents the delicate batter from sticking and allows for an easy flip. A well-seasoned cast iron skillet can also work if you’re comfortable with it.
- Measuring Cups and Spoons: Precision is key for the right batter consistency.
- Flexible Spatula: A thin, flexible spatula (like a fish spatula or crêpe spatula) is your best friend for getting under the wrap without tearing it.
- Ladle or 1/4 Cup Measure: This helps you pour a consistent amount of batter for each wrap, ensuring they are all a uniform size and thickness.
- Wire Cooling Rack: Placing the cooked wraps on a wire rack allows air to circulate, preventing them from becoming gummy as they cool.
The Golden Ingredients: A Closer Look
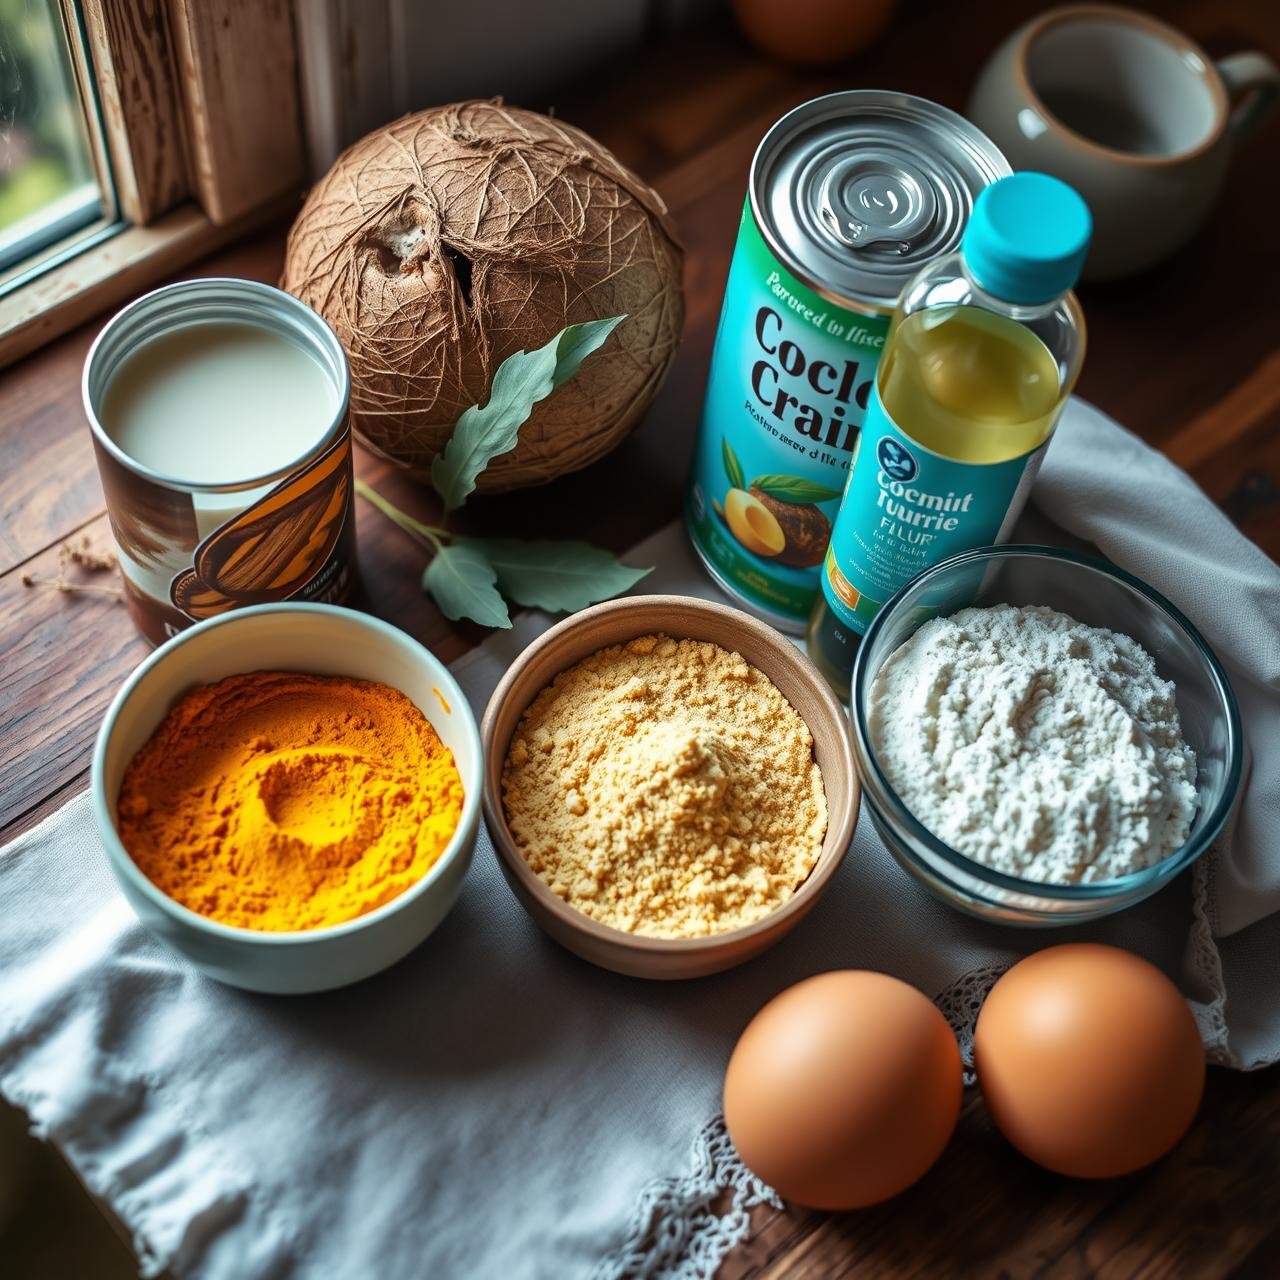
The beauty of this recipe lies in its simplicity. Each ingredient is chosen for its specific role in creating the perfect balance of flavor, texture, and nutrition. Here’s what you’ll need and why:
- 1 cup Full-Fat Canned Coconut Milk: This is the heart of the wrap. Full-fat coconut milk provides the necessary fat content to keep the wraps pliable and tender. Do not use light coconut milk or coconut beverage from a carton, as the results will be brittle. Shake the can well before measuring.
- 1/2 cup Water: This thins the batter to the perfect crêpe-like consistency.
- 3/4 cup Cassava Flour: A game-changing gluten-free flour made from the yuca root. It’s known for its fine texture and ability to create a soft, dough-like result that’s very similar to wheat flour. It’s the key to making these wraps flexible.
- 1/4 cup Tapioca Starch (or Arrowroot Starch): This adds a little bit of chewiness and helps bind the wraps, preventing them from tearing easily.
- 2 large Pasture-Raised Eggs: Eggs provide structure, protein, and richness. They are essential binders that hold everything together.
- 1 tbsp Melted Coconut Oil or Avocado Oil: Adds extra fat for flexibility and helps prevent sticking.
- 1 1/2 tsp Ground Turmeric: The star spice that gives the wraps their gorgeous color and a host of anti-inflammatory benefits. Choose a high-quality, vibrant powder.
- 1/2 tsp Sea Salt: Enhances all the flavors.
- 1/4 tsp Black Pepper (Optional but Recommended): Piperine in black pepper significantly increases the absorption of curcumin from turmeric. Plus, it adds a subtle warmth.
The Art of the Wrap: Step-by-Step Instructions
Follow these steps closely, and you’ll be rewarded with a stack of perfect, pliable wraps. The process is similar to making crêpes—once you get the rhythm, it’s quick and easy.
-
Step 1: Blend the Batter
Combine all ingredients—coconut milk, water, cassava flour, tapioca starch, eggs, melted oil, turmeric, salt, and optional black pepper—into a high-speed blender. Blend on high for 30-60 seconds, or until the batter is completely smooth and uniform in color. Scrape down the sides of the blender and give it one final pulse. If mixing by hand, whisk the dry ingredients together first in a large bowl, then whisk in the wet ingredients until no lumps remain.
-
Step 2: Rest the Batter
This is a crucial, often-skipped step. Let the batter rest at room temperature for at least 10 minutes. This allows the cassava flour to fully hydrate, which results in a much better texture and a more durable wrap. The batter should have the consistency of thin pancake batter or heavy cream.
-
Step 3: Heat the Pan
Place your 8 or 10-inch non-stick skillet over medium-low heat. The temperature is key. If the pan is too hot, the batter will set too quickly and won’t spread evenly. If it’s too cool, the wrap will take too long to cook and can become tough. A drop of water should sizzle gently, not dance aggressively.
-
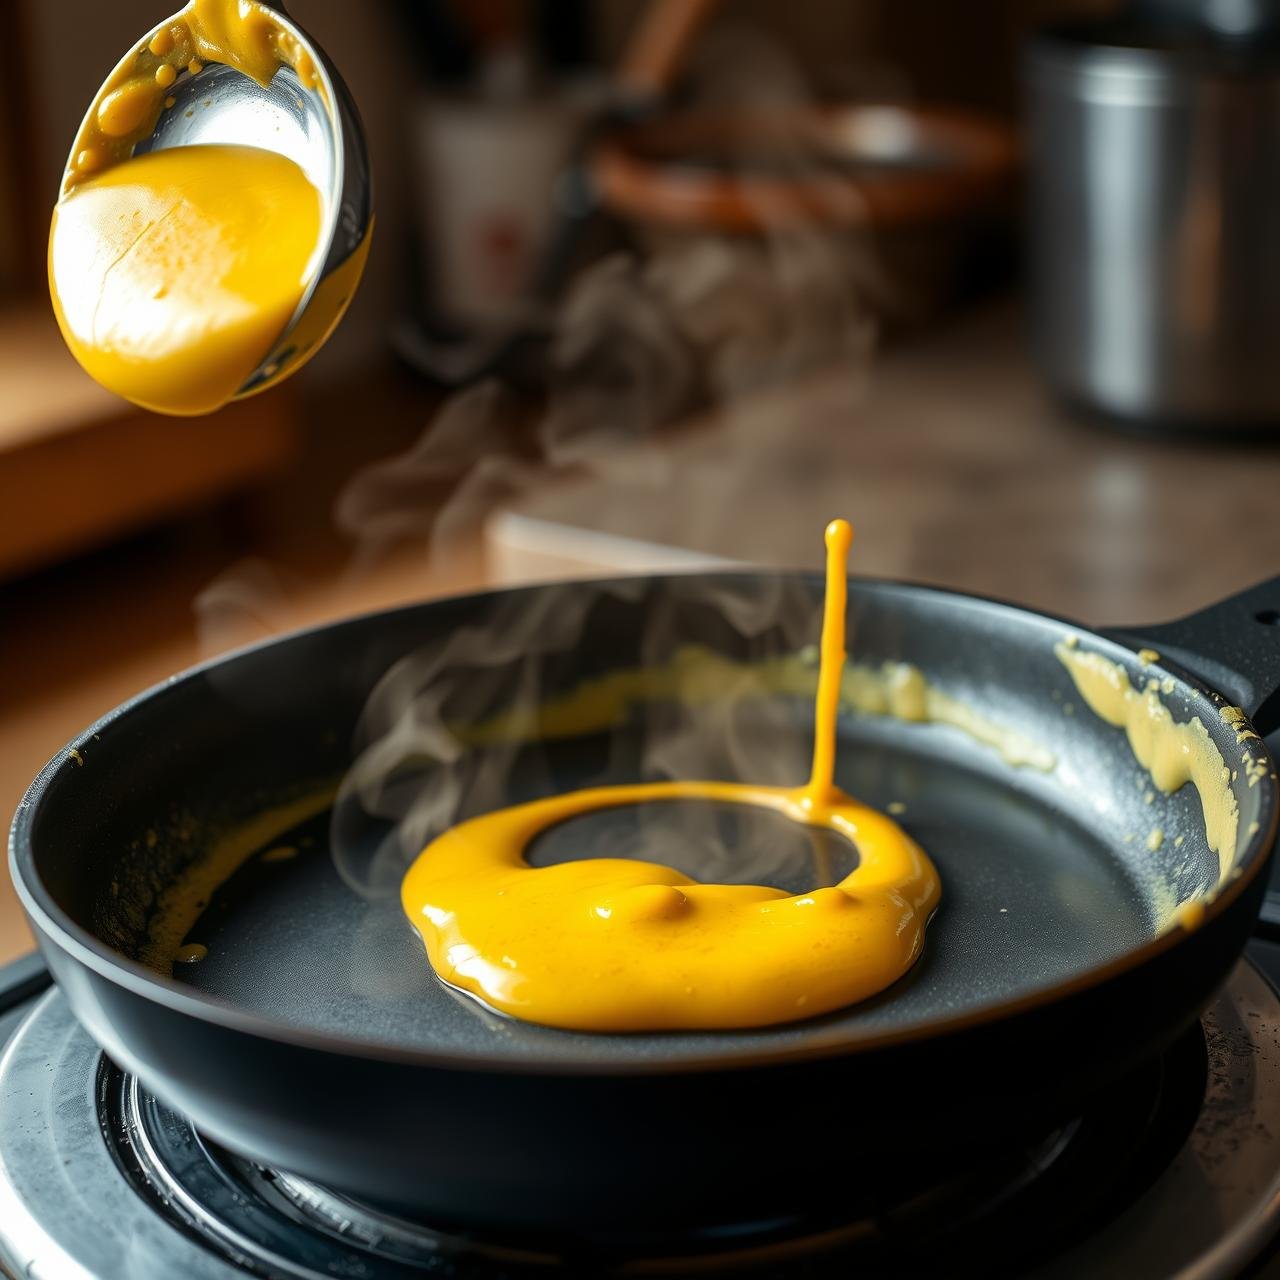
Step 4: Cook the First Side
Lightly grease the pan with a little coconut oil for the first wrap (you may not need it for subsequent ones if your pan is truly non-stick). Pour about 1/4 cup of batter into the center of the warm pan. Immediately lift the pan and swirl it in a circular motion to spread the batter into a thin, even circle. Cook for 2-3 minutes, or until the edges begin to lift away from the pan and the surface appears dry and set. You’ll see little bubbles form and pop.
-
Step 5: Flip and Finish
Gently slide your flexible spatula under the wrap. Once you’re about halfway under, lift and quickly flip it over. Cook on the second side for another 60-90 seconds. It doesn’t need to brown much, just cook through.
-
Step 6: Cool and Repeat
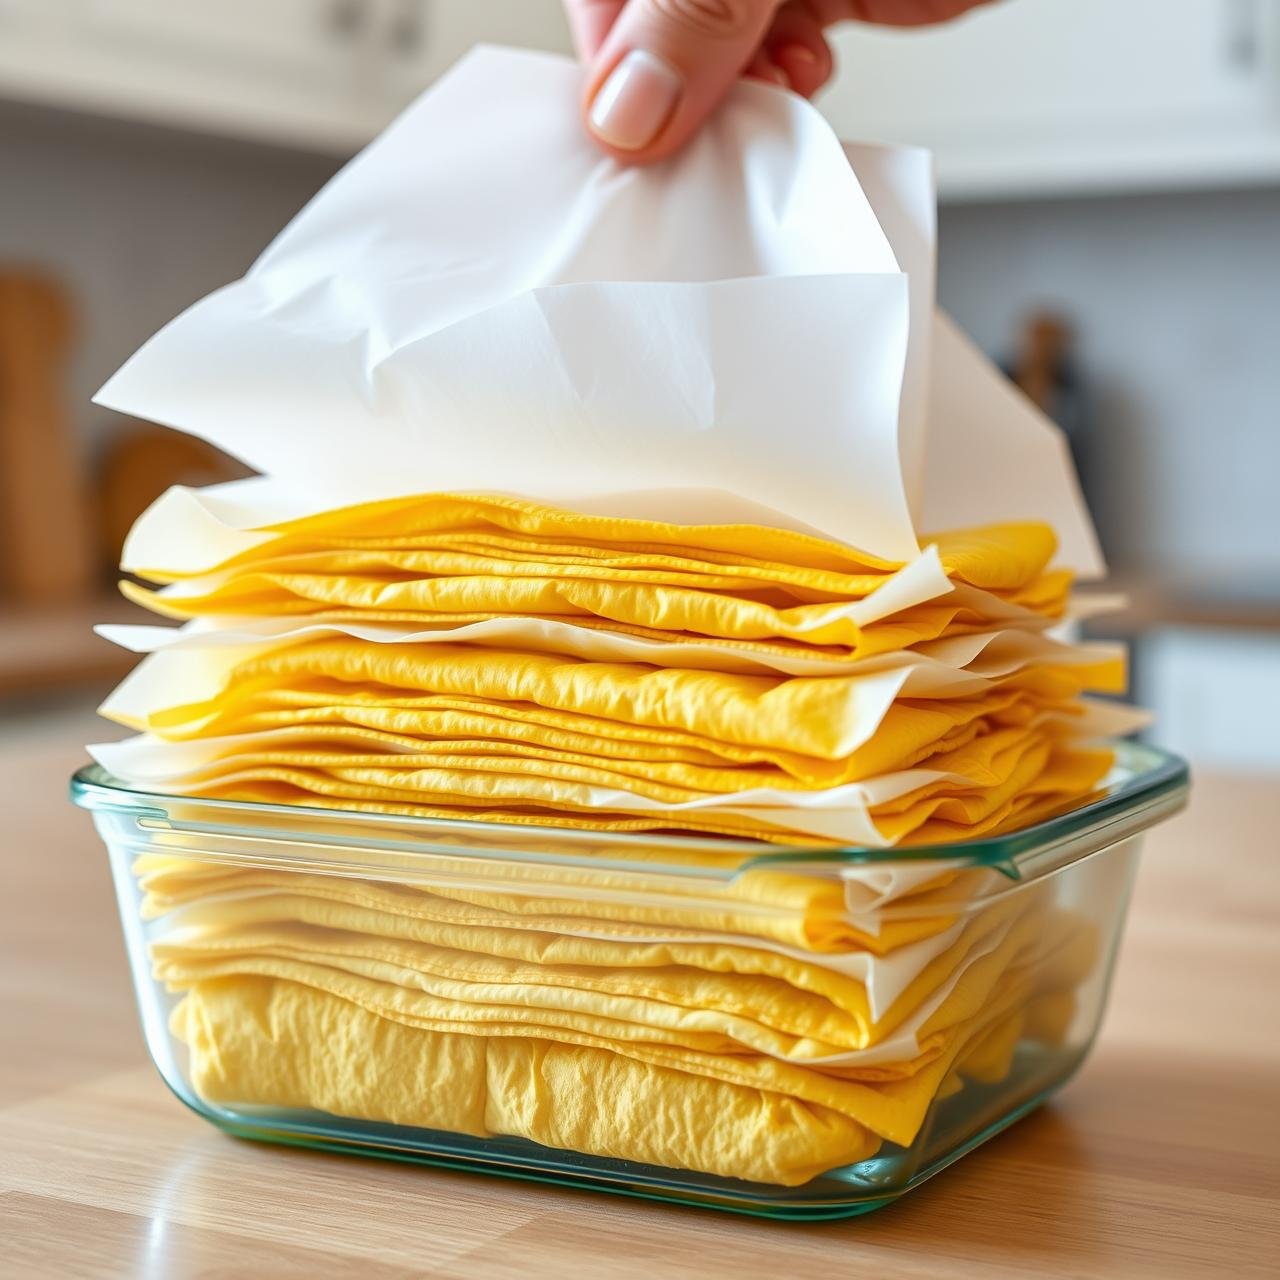
Slide the finished wrap onto a wire cooling rack. Continue the process with the remaining batter, stacking the cooled wraps on a plate. You can place a small piece of parchment paper between each wrap if you’re worried about sticking, though they usually don’t once fully cool.
Chef’s Secrets for Flawless Wraps

Even the simplest recipes have nuances that can elevate the final product from good to great. Here are some professional tips to ensure your turmeric coconut wraps are perfect every single time.
Mastering Batter Consistency
The ideal consistency is like that of a classic French crêpe. If your batter seems too thick (this can happen as cassava flours vary in absorbency), whisk in another tablespoon of water at a time until it’s just right. Conversely, if it’s too thin and creating holes, add a teaspoon more of cassava flour. A test wrap is always a good idea!
The Pan Temperature Tango
Medium-low is your sweet spot. A pan that’s too hot will create a lacy, brittle wrap with holes. A pan that’s too cool will result in a rubbery, pale wrap. Find the right temperature on your stovetop where the batter spreads easily with a swirl but sets within a few seconds.
The Art of the Swirl
Don’t just pour and wait. As soon as the batter hits the pan, pick it up and use your wrist to perform a smooth, circular tilting motion. This is what creates a uniformly thin wrap. It might take one or two tries to get the hang of it, but this technique is fundamental.
Patience is a Virtue (Especially Before the Flip)
The most common mistake is trying to flip the wrap too early. Wait for the visual cues: the entire surface should look matte and dry, and the edges will be visibly pulling away from the sides of the skillet. If you try to force it, it will tear. A properly cooked wrap will release easily.
Don’t Overcook
These wraps are delicate. The goal is to cook them until they are set and flexible, not crispy or browned. Overcooking, especially on the second side, will dry them out and make them prone to cracking when you try to roll them.
Filling Inspiration: Dress Your Wraps for Success
Now for the best part: filling your beautiful homemade wraps! Their subtle flavor profile makes them an incredibly versatile canvas for a wide range of ingredients. Here are a few ideas to get you started:
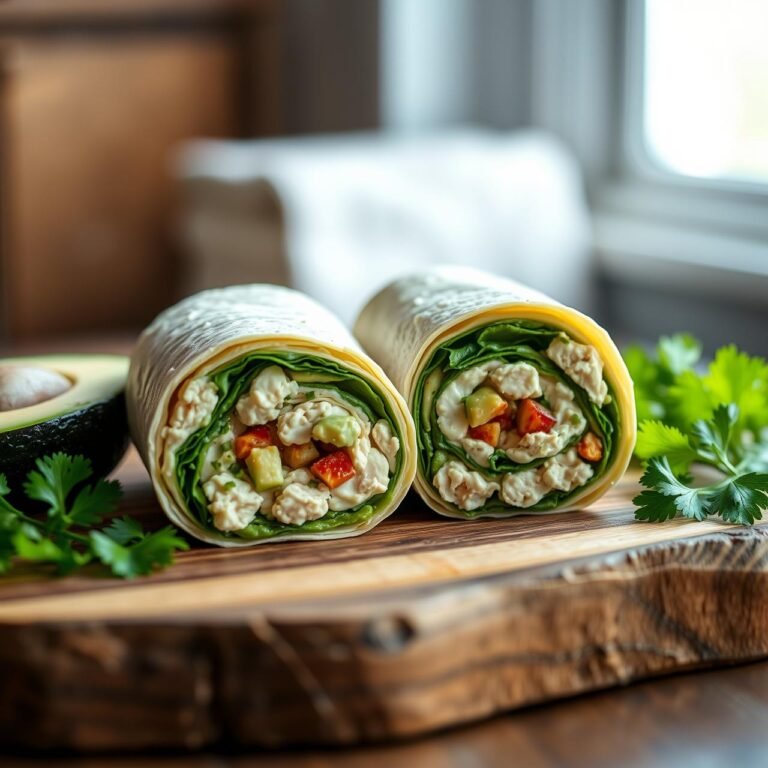
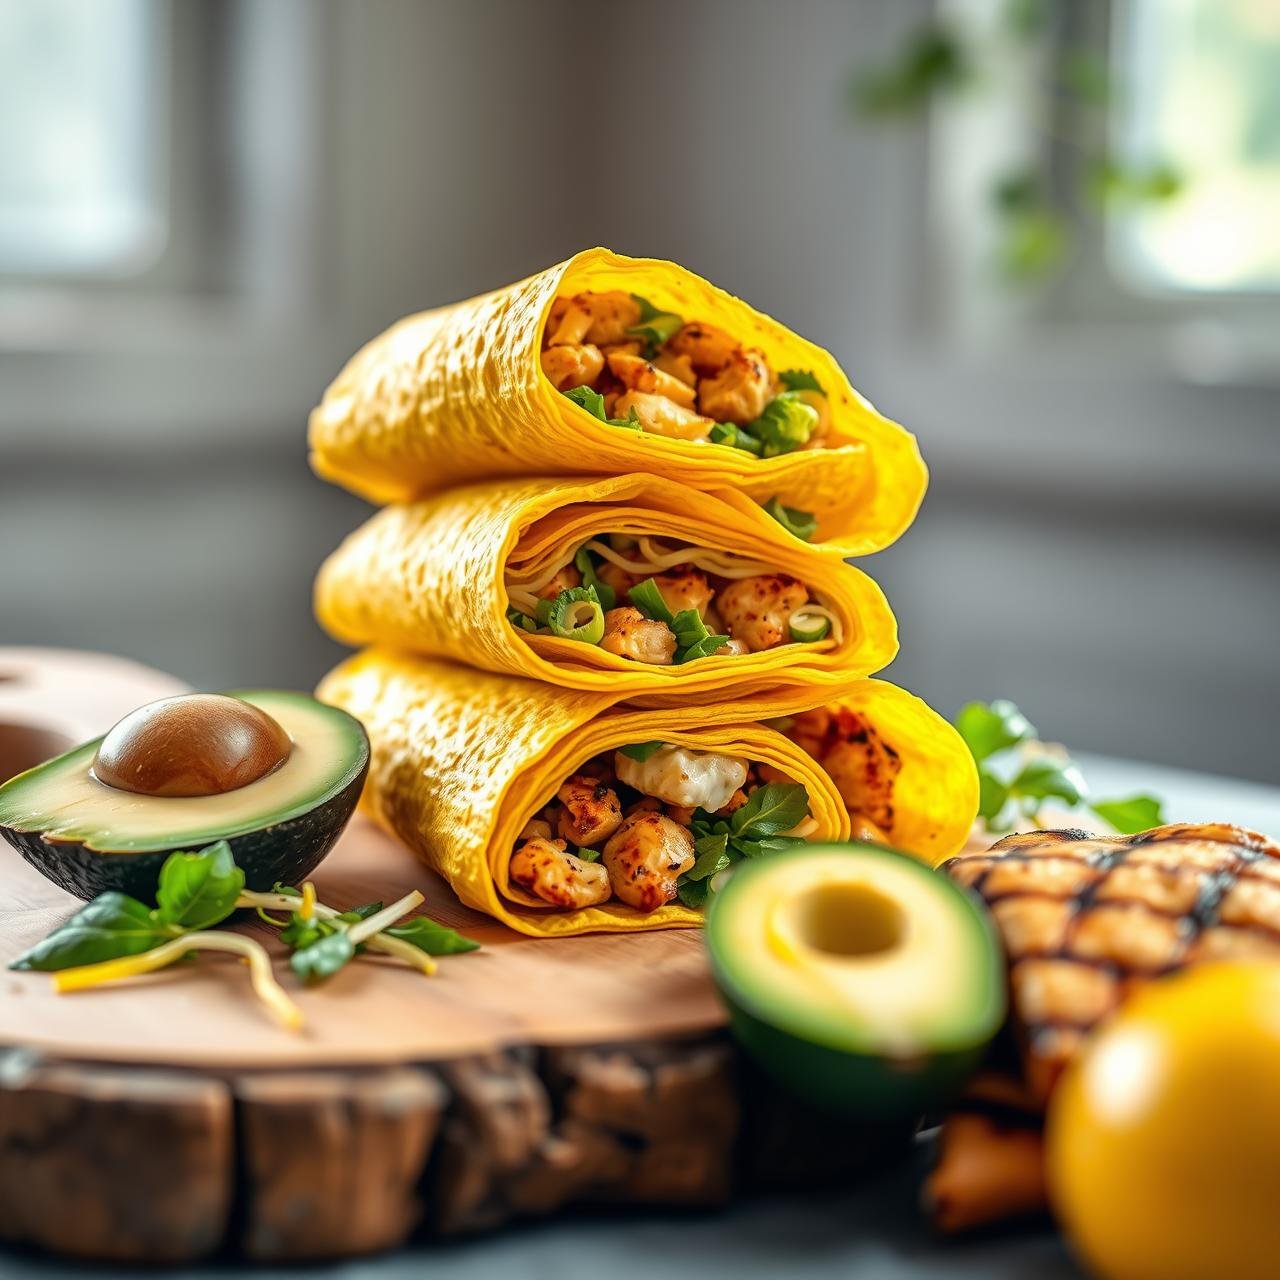
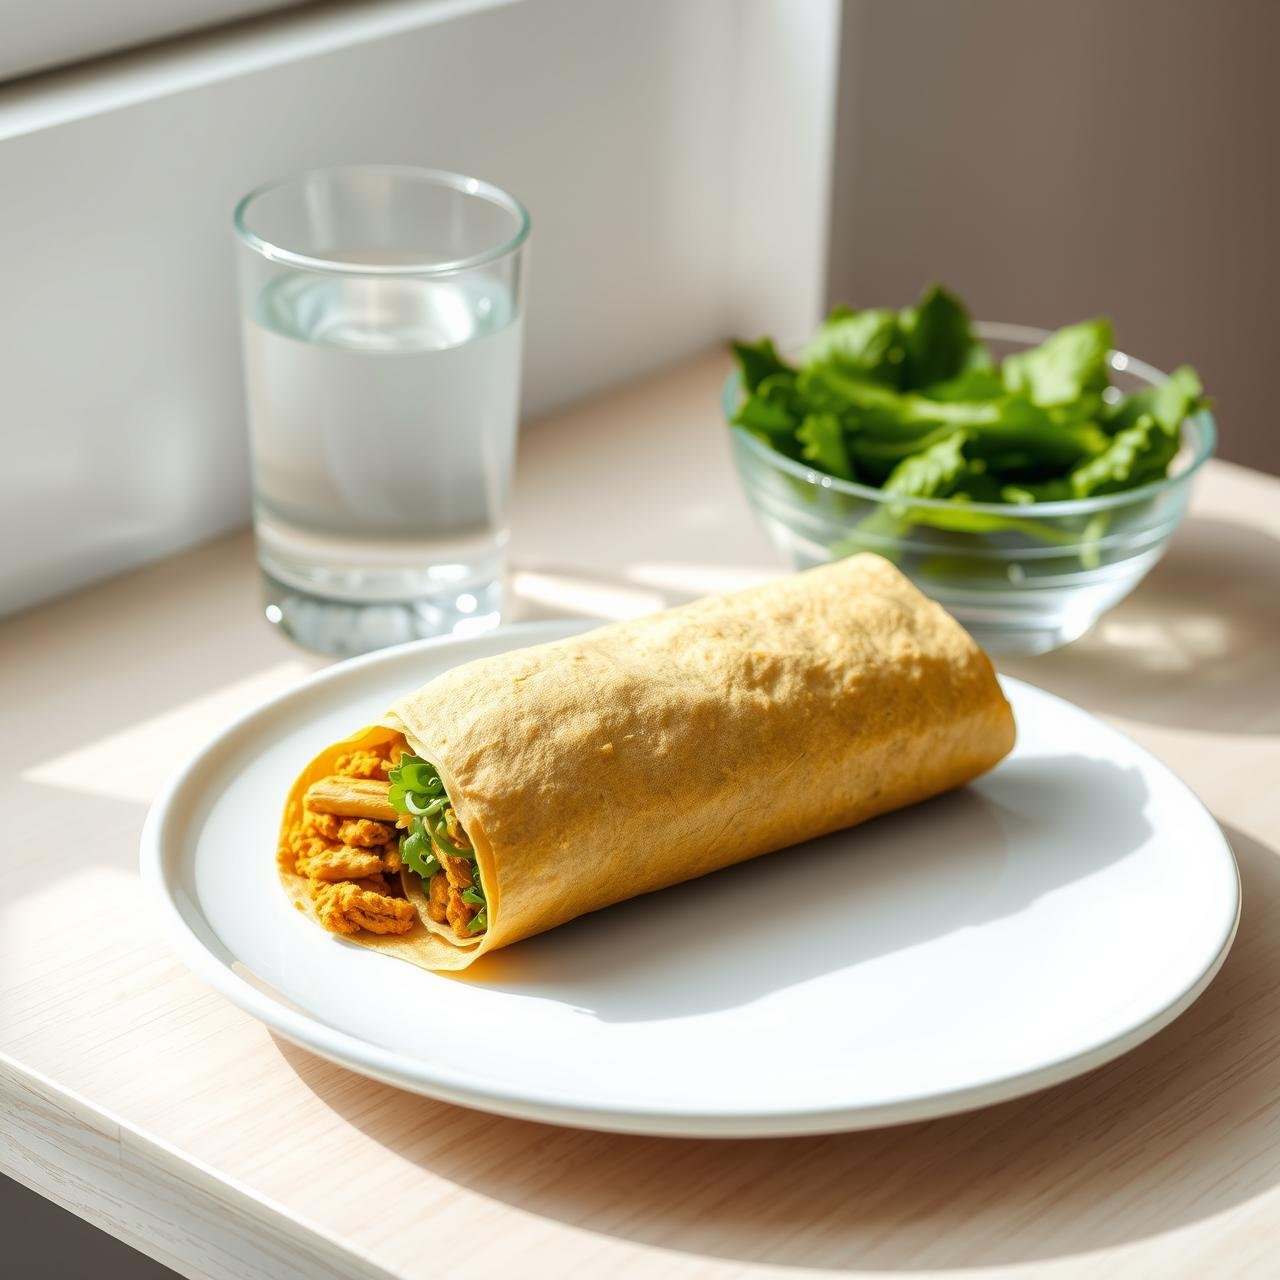
The Classic Healthy Lunch
- Filling: Grilled chicken strips, sliced avocado, crisp romaine lettuce, and a drizzle of Caesar dressing or a simple vinaigrette.
- Why it works: A timeless combination that hits all the right notes of savory, creamy, and fresh.
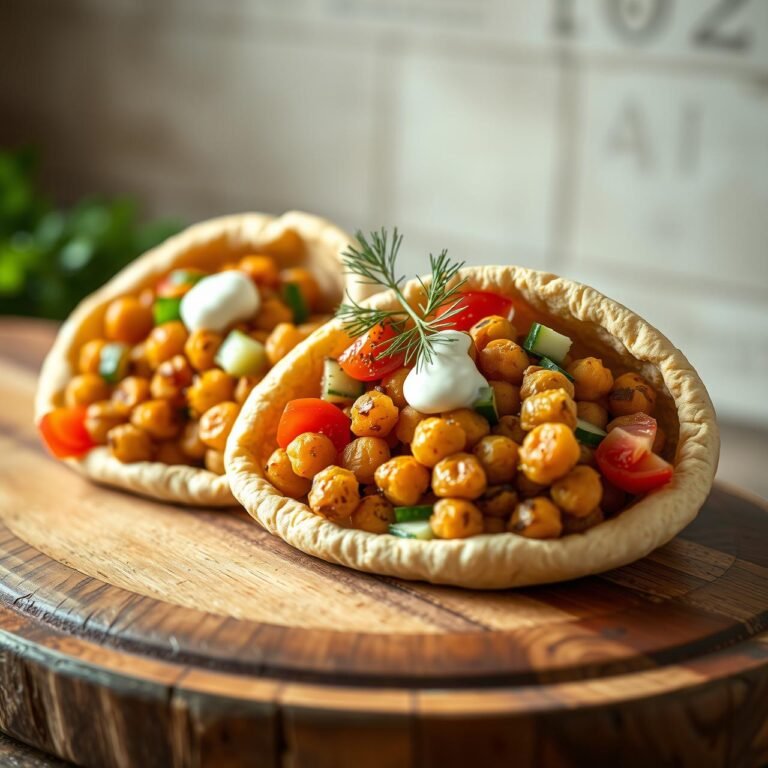
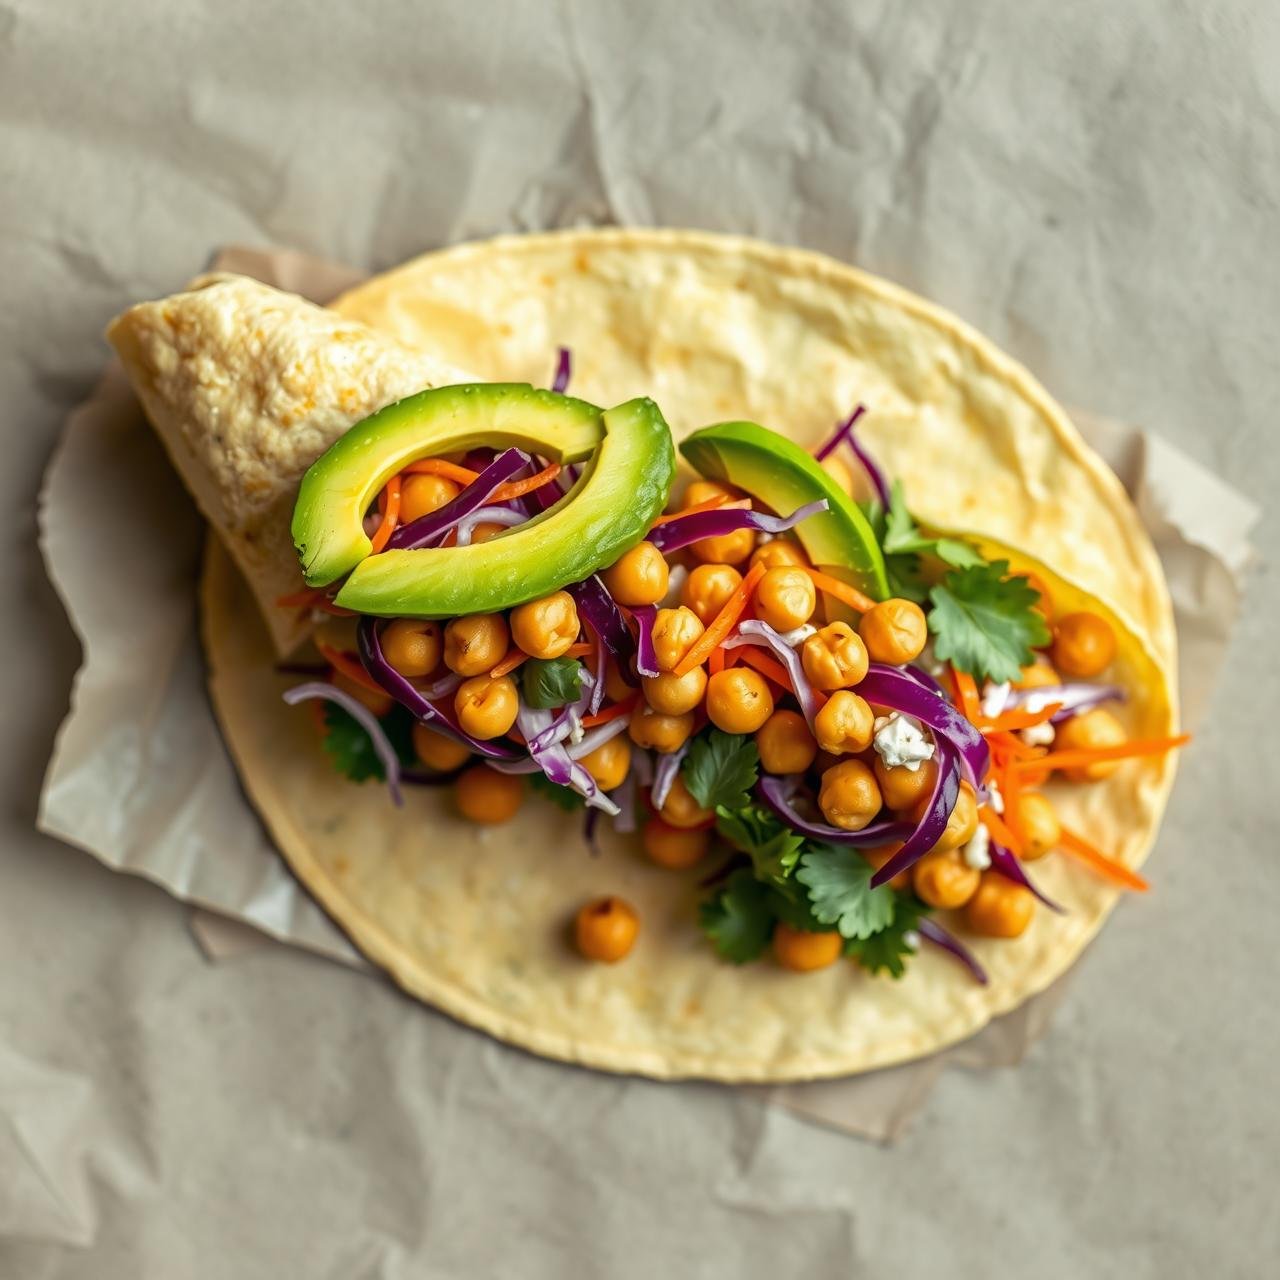
Vegan Powerhouse
- Filling: Hummus, spiced chickpeas, shredded carrots, cucumber ribbons, and a handful of fresh spinach and parsley.
- Why it works: A hearty, plant-based meal packed with protein, fiber, and vibrant Mediterranean flavors.
Breakfast Scramble Wrap
- Filling: Fluffy scrambled eggs, a sprinkle of cheddar cheese, sautéed bell peppers and onions, and a dash of your favorite hot sauce.
- Why it works: A fantastic and portable grain-free alternative to a breakfast burrito.
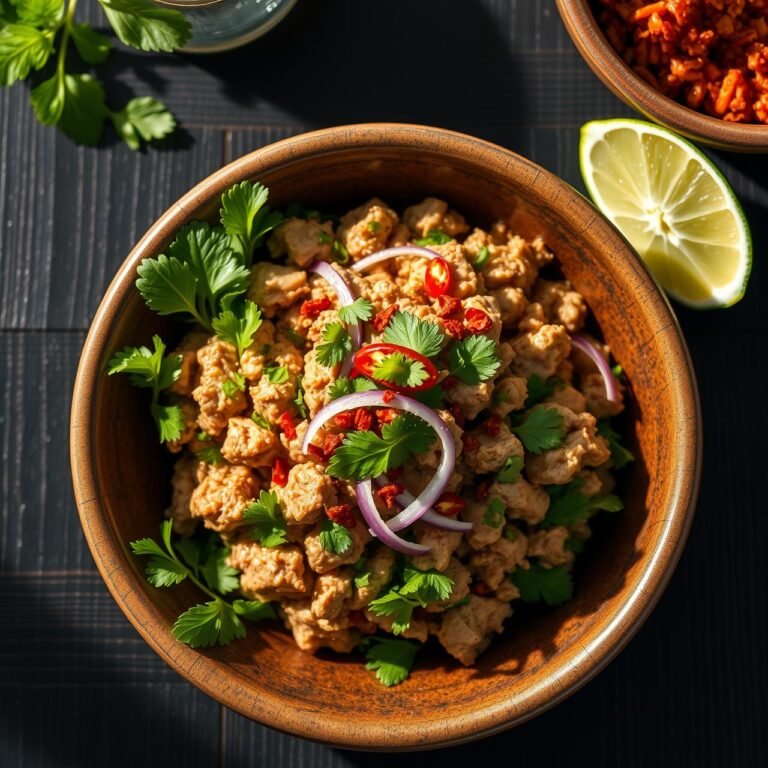
Thai-Inspired Tuna Salad
- Filling: A mix of canned tuna, Greek yogurt or mayo, finely chopped celery, red onion, cilantro, and a squeeze of lime juice.
- Why it works: A refreshing and zesty twist on a lunch staple that pairs wonderfully with the wrap’s subtle coconut notes.
Sweet Treat Crêpe-Style
- Filling: A spread of almond butter, sliced bananas, and a sprinkle of cinnamon or a drizzle of melted dark chocolate.
- Why it works: Don’t forget dessert! The slight sweetness of the wrap makes it perfect for a healthier sweet application.
Storing Your Homemade Wraps for Lasting Freshness
One of the best parts of this recipe is that you can make a batch ahead of time for quick and easy meals throughout the week. Proper storage is essential to maintain their signature pliability and fresh taste.
Short-Term Storage (Refrigerator)
Once the wraps are completely cool, stack them with a small square of parchment paper between each one. This is key to preventing them from sticking together. Place the entire stack in an airtight container or a zip-top bag. They will keep well in the refrigerator for up to 5-7 days.
Long-Term Storage (Freezer)
These wraps freeze exceptionally well! Prepare the stack as you would for refrigeration, with parchment paper between each layer. Place the stack in a freezer-safe zip-top bag, pressing out as much air as possible before sealing. They can be frozen for up to 3 months.
Reheating and Thawing
To thaw, simply move the wraps from the freezer to the refrigerator overnight. To reheat and soften them up before use, you have a few options:
- Skillet: Briefly warm each wrap in a dry, non-stick skillet over low heat for about 15-20 seconds per side.
- Microwave: Place a wrap on a plate and cover it with a slightly damp paper towel. Microwave in 10-second intervals until it’s warm and pliable.
Proper storage ensures that your future self will thank you for having these delicious, healthy wraps ready to go at a moment’s notice.
Nutritional Snapshot
Here is an estimated nutritional breakdown per wrap. Please note that these values are approximate and can vary based on the specific brands of ingredients used.
| Nutrient | Amount per Wrap |
|---|---|
| Calories | ~125 kcal |
| Total Fat | ~8g |
| Saturated Fat | ~6g |
| Carbohydrates | ~12g |
| Fiber | ~2g |
| Sugars | ~1g |
| Protein | ~3g |
| Sodium | ~150mg |
This estimation is based on a recipe yield of 8 wraps.
Conclusion
Embracing the art of homemade staples like these turmeric coconut wraps is a truly empowering step in any home cook’s journey. You’ve seen how a few simple, wholesome ingredients can be transformed into something both incredibly delicious and profoundly nourishing. By investing a little time in your kitchen, you unlock a world of benefits: you save money, you eliminate unwanted additives, and you create a product that is fresher and more flavorful than any store-bought alternative.
We hope this detailed guide has inspired you and given you the confidence to get in the kitchen and start swirling. Enjoy the process, experiment with your own flavor additions, and delight in packing your wraps with vibrant, healthy fillings. Happy cooking!