DIY Sugar Free Fruit Juice Gummies: Gut Healing (Detailed Recipe)
There’s something delightfully nostalgic about a chewy, fruity gummy snack. It brings back memories of childhood lunchboxes and afternoon treats. But a quick glance at the ingredients list of most store-bought fruit snacks can be disheartening—a long list of corn syrup, artificial colors, and unpronounceable additives. What if you could capture that same joyful experience with a treat that was not only free from refined sugar but actively worked to heal and nourish your body from the inside out?
Welcome to the world of homemade, gut-healing fruit juice gummies. This recipe is more than just a healthy alternative; it’s a simple, rustic ritual that transforms your kitchen into a wellness apothecary. We’ll be using the powerhouse of grass-fed gelatin, celebrated for its ability to soothe and repair the gut lining, combined with the pure, unadulterated sweetness of 100% fruit juice. These aren’t just snacks; they are morsels of functional food, designed to be as delicious as they are beneficial. Prepare to create vibrant, jiggly gems that satisfy your sweet tooth while giving your digestive system the love and support it deserves.
Why You’ll Fall in Love with These Gut-Healing Gummies

Before we dive into the simple art of crafting these gummies, let’s talk about why this recipe will become a staple in your healthy-living toolkit. These little bites pack a punch far beyond their humble size, offering benefits that cater to health enthusiasts, busy parents, and discerning foodies alike.
- A Treat for Your Tummy: The star ingredient, grass-fed gelatin, is rich in amino acids like glycine and proline. These are the building blocks that help strengthen the intestinal lining, potentially aiding in the repair of a ‘leaky gut’ and reducing inflammation. It’s a gentle, delicious way to support digestive health.
- Absolutely No Refined Sugar: We let the natural sweetness of fruit shine through. This recipe is completely free of cane sugar, high-fructose corn syrup, and artificial sweeteners. It’s a perfect snack for those managing blood sugar, following a low-carb lifestyle, or simply reducing their sugar intake.
- Incredibly Simple & Budget-Friendly: With just a handful of wholesome ingredients and a few minutes of active time, you can whip up a batch. Making snacks at home is not only healthier but also far more economical than buying pre-packaged ‘health food’ alternatives.
- Endlessly Customizable: This recipe is a beautiful canvas for your culinary creativity. You can mix and match juices, add in superfood powders, or even incorporate herbal teas. The possibilities are limitless, allowing you to tailor each batch to your specific tastes and nutritional needs.
- Kid-Approved, Parent-Adored: Children adore the fun shapes and chewy texture, and you’ll love knowing you’re giving them a snack packed with protein and gut-friendly goodness, not empty calories and sugar.
The Science Behind the Snack: Ingredients that Truly Nourish

A great recipe is built on great ingredients. Understanding the ‘why’ behind each component empowers you to cook with intention and appreciate the nourishment you’re providing. Let’s break down the key players in our gut-healing gummies.
Grass-Fed Gelatin: The Gut’s Best Friend
Not all gelatin is created equal. We specifically call for grass-fed (or pasture-raised) gelatin because it comes from healthier animals, resulting in a cleaner, more nutrient-dense product. Gelatin is essentially cooked collagen. When it enters your digestive system, it coats the small intestine, helping to soothe and protect the mucosal lining. Its unique amino acid profile supports the body’s natural ability to repair connective tissue, which is exactly what the lining of your gut is. It also aids digestion by helping to draw fluid into the intestine, improving gut motility.
100% Pure Fruit Juice: Nature’s Sweetness
The key here is to use 100% fruit juice with no added sugar. Look for labels that say ‘not from concentrate’ for the best flavor and nutritional profile. Using pure juice ensures you’re getting vitamins and antioxidants directly from the fruit. Tart cherry juice is fantastic for its anti-inflammatory properties, while a simple apple or white grape juice provides a classic, kid-friendly flavor. For a Vitamin C boost, try orange or pineapple juice!
Optional Sweeteners: A Touch of Nature
While the fruit juice provides a lovely, subtle sweetness, you might prefer a more candy-like treat. If so, it’s best to stick with natural, sugar-free options. A few drops of liquid stevia or a teaspoon of monk fruit sweetener can be whisked in while the mixture is warm. These won’t spike your blood sugar and integrate seamlessly. If you aren’t strictly sugar-free, a touch of raw honey or maple syrup can also be used, adding their own unique flavors and trace minerals.
Gather Your Equipment

You don’t need any fancy gadgets to create these wholesome treats. Simplicity is part of their rustic charm. Here’s the basic equipment you’ll want to have on hand:
- Small Saucepan: For gently warming the juice and dissolving the gelatin.
- Whisk: Essential for preventing clumps and ensuring the gelatin is perfectly smooth.
- Measuring Cups and Spoons: For accurate ingredient ratios.
- Silicone Molds: Gummy bear, worm, or simple square molds work wonderfully. Silicone makes it incredibly easy to pop the finished gummies out without any sticking. If you don’t have molds, a small glass baking dish will also work; you can simply cut the set gelatin into cubes.
- Dropper (Optional but Recommended): A small liquid dropper or pipette makes filling small gummy molds a clean and simple process.
Crafting Your Sugar-Free Fruit Juice Gummies: A Step-by-Step Guide
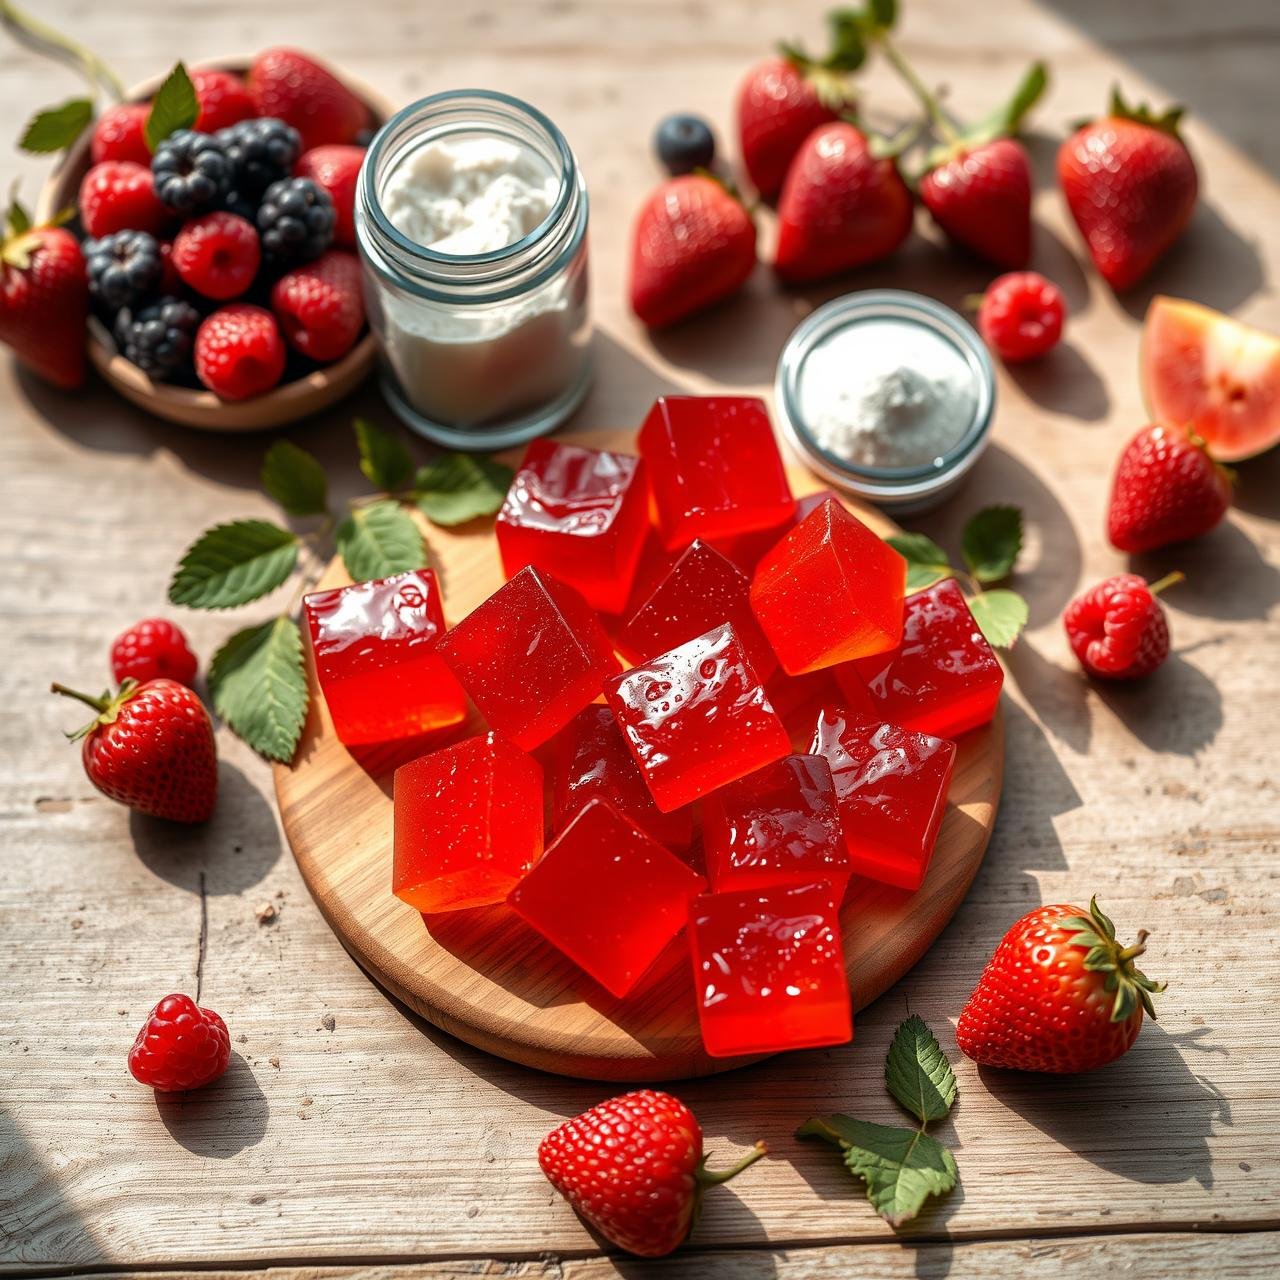
Ingredients
- 1 cup 100% fruit juice, no sugar added (tart cherry, grape, or apple work well)
- 3 tablespoons grass-fed beef gelatin
- 1-2 tablespoons fresh lemon juice (optional, brightens the flavor)
- Liquid stevia or monk fruit sweetener to taste (optional)
Instructions
-
Bloom the Gelatin:
Pour 1/2 cup of the cold fruit juice into your small saucepan. Gently sprinkle the 3 tablespoons of gelatin powder evenly over the surface of the juice. Do not stir yet. Let it sit for 3-5 minutes. You will see the gelatin absorb the liquid and ‘bloom,’ becoming wrinkly and apple-sauce-like in texture. This step is crucial for a smooth, clump-free final product.
-
Gently Warm and Dissolve:
Place the saucepan over low heat. Do not let it boil, as high heat can weaken the gelatin’s setting power. Whisk the mixture gently and constantly as it warms. The bloomed gelatin will melt and dissolve completely into the juice. This should only take a couple of minutes. The liquid will be smooth and transparent.
-
Combine and Flavor:
Once the gelatin is fully dissolved, remove the saucepan from the heat. Stir in the remaining 1/2 cup of cold juice and the optional lemon juice. Adding the cold juice helps cool the mixture down slightly. Now is the time to taste and add your optional sweetener. Add a few drops of stevia, stir, and taste again, adjusting until it reaches your desired sweetness.
-
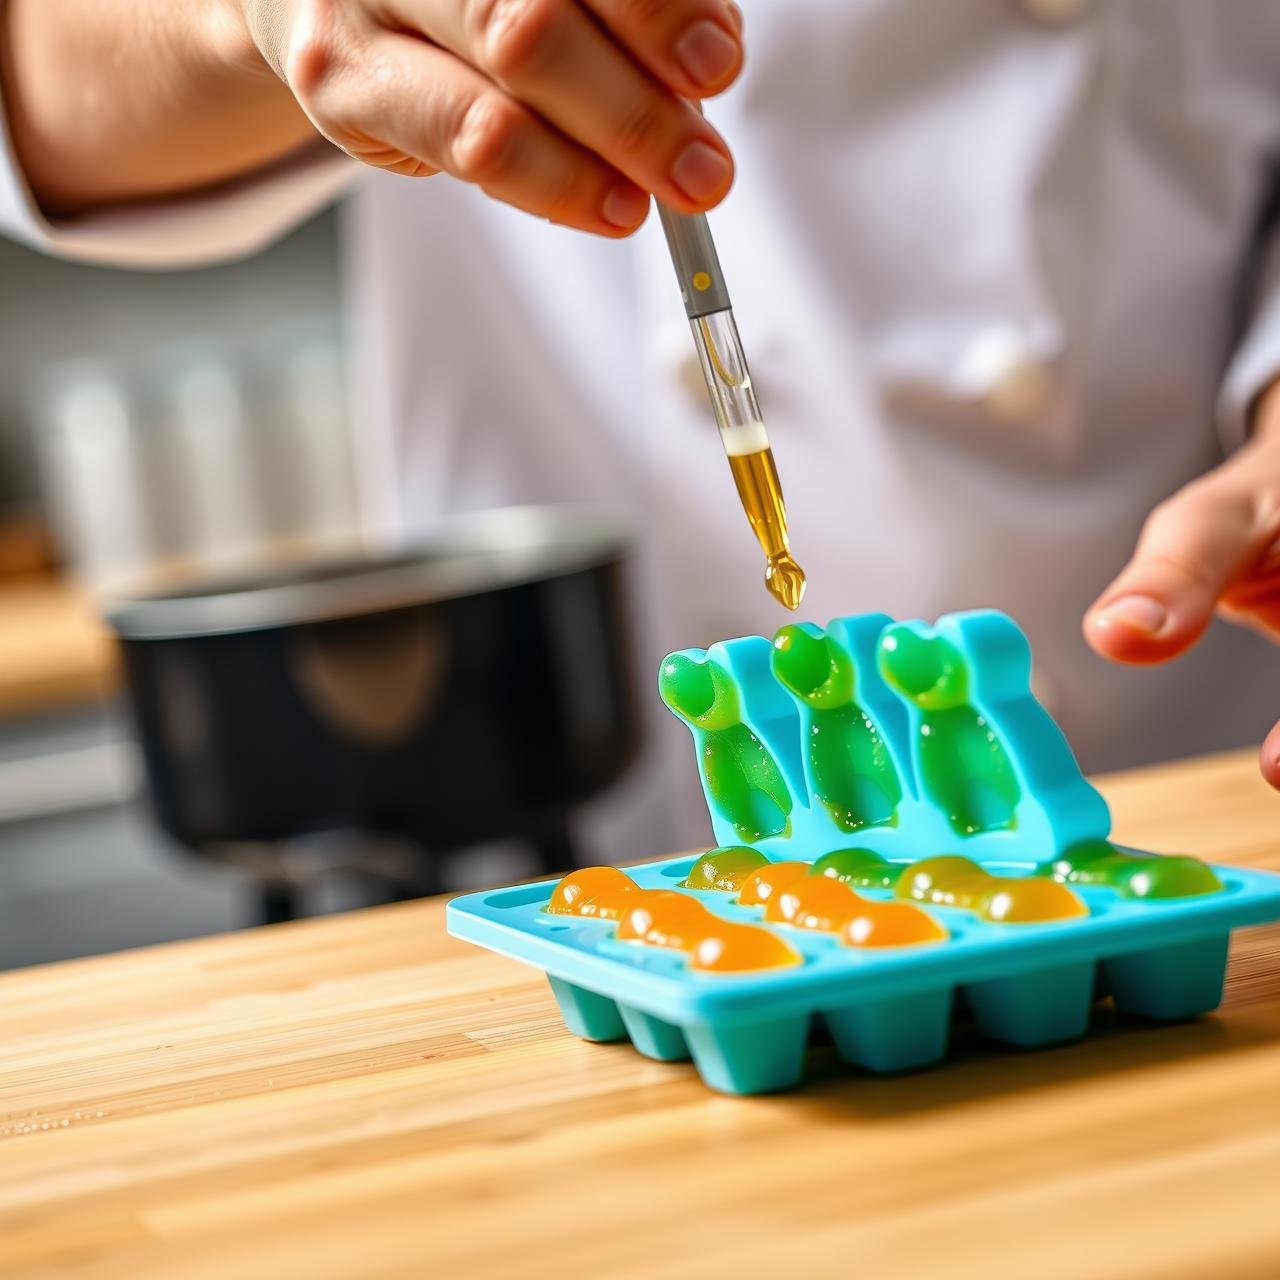
Fill the Molds:
Working quickly before the mixture begins to set, use a dropper or carefully pour the liquid into your silicone molds. If you’re using a glass dish, simply pour the entire mixture in. Place the filled molds or dish on a small baking sheet to keep them stable and level.
-
Chill and Set:
Carefully transfer the baking sheet to the refrigerator. Let the gummies chill until they are completely firm. This typically takes about 30-60 minutes, depending on the size of your molds. You’ll know they’re ready when they are firm to the touch and no longer sticky.
-
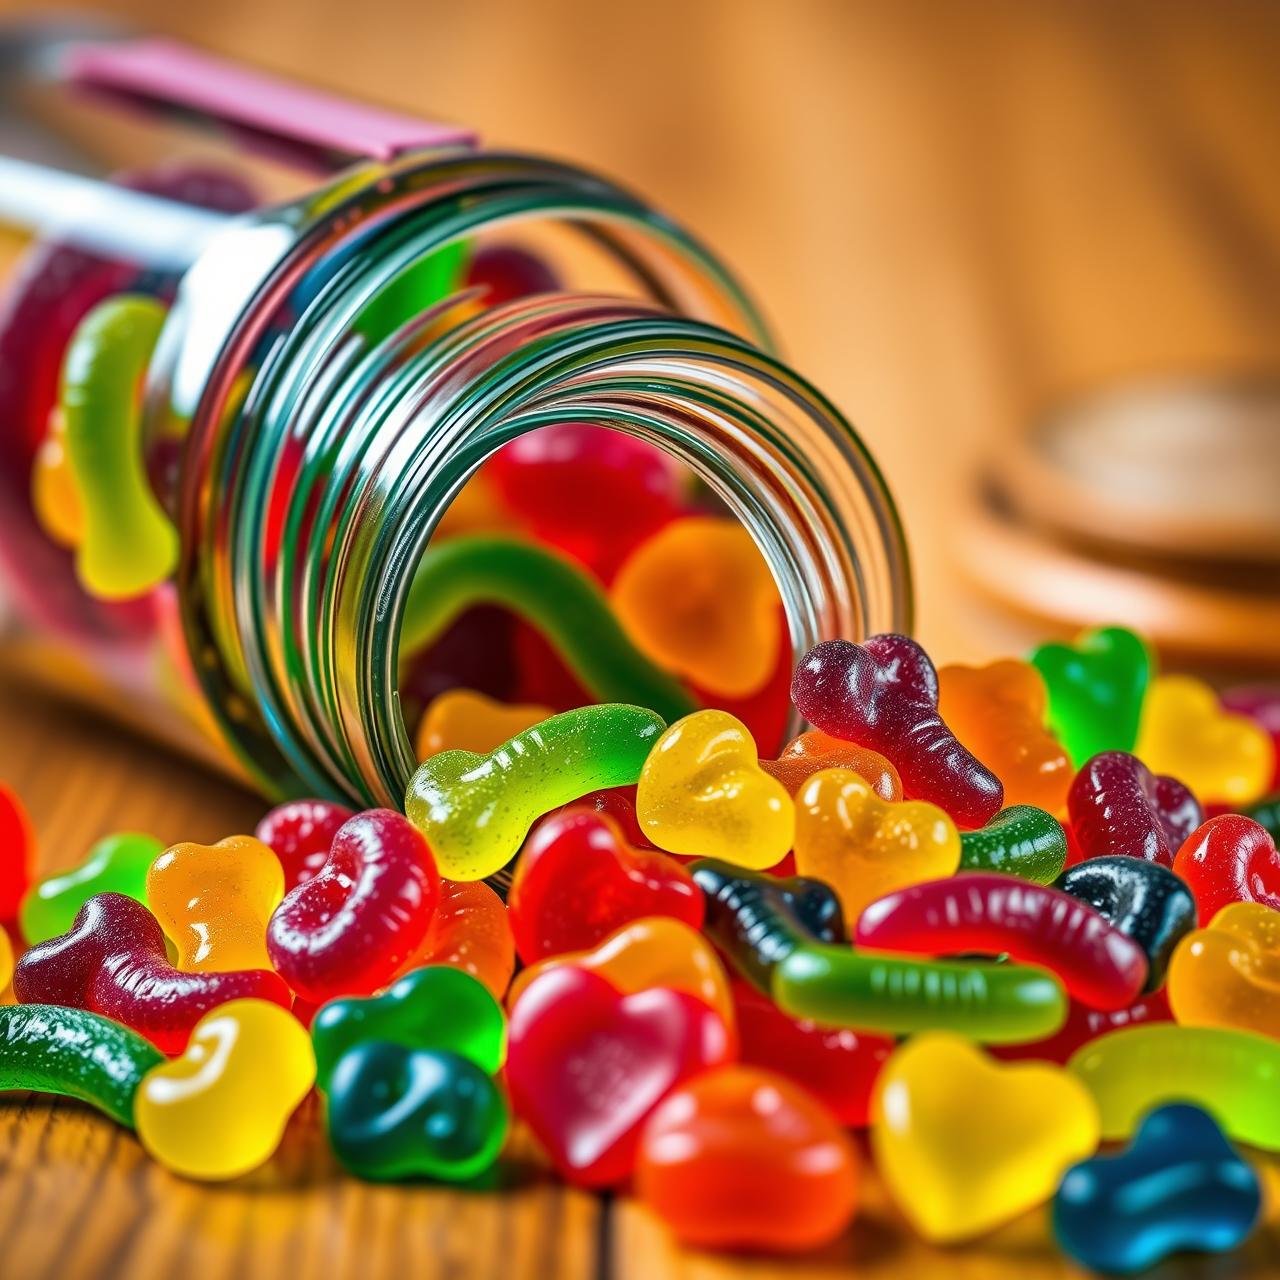
Demold and Enjoy:
Once firm, gently pop the gummies out of the silicone molds. If you used a glass dish, run a knife around the edge and cut the gelatin into small, bite-sized squares. Your delicious, gut-healing gummies are now ready to be enjoyed!
Flavor Variations & Creative Twists
This base recipe is your playground. Once you’ve mastered the technique, feel free to experiment with different flavors and nutritional boosts. Here are a few ideas to get your creative juices flowing:
- Creamy Dreamsicles: Use orange juice and replace 1/4 cup of the juice with full-fat coconut milk for a creamy, dreamy texture.
- Berry Blast: Use a blend of blueberry and pomegranate juice. For extra fiber and texture, you can even blend in a few fresh berries with the juice before you begin (strain if you prefer a smooth gummy).
- Soothing Herbal Infusions: Replace the juice with a strongly brewed herbal tea like chamomile (for calm) or ginger-turmeric (for anti-inflammatory benefits). You’ll likely need to add a sweetener with this variation.
- Probiotic Power: To add a probiotic boost, allow the gummy mixture to cool to lukewarm (not hot, which would kill the beneficial bacteria) before whisking in a scoop of a high-quality, powdered probiotic.
- Superfood Colors: Add a pinch of natural superfood powders for a vibrant color and nutrient boost. Try spirulina for green, beetroot powder for a deep red, or turmeric for a sunny yellow.
Expert Tips for Gummy Perfection

Achieving the perfect gummy texture is easy with a few chef-like tips. Keep these in mind to ensure your gummies come out perfectly jiggly and delicious every single time.
- Don’t Skip the Bloom: I can’t stress this enough. Sprinkling the gelatin over cold liquid and letting it sit is the number one secret to avoiding stubborn clumps. Be patient and let it do its magic.
- Low and Slow is the Way to Go: Never boil your gelatin mixture. High heat can denature the proteins and result in gummies that don’t set properly. Gentle, low heat is all you need to dissolve the bloomed gelatin.
- Control the Foam: As you whisk, some foam or bubbles may form on the surface. You can easily skim this off with a spoon before pouring into the molds for a clearer, more jewel-like gummy.
- For a Chewier Gummy: If you prefer a firmer, more store-bought texture, simply add an extra tablespoon of gelatin to the recipe. If you prefer a softer, more jello-like texture, use slightly less.
- Easy Mold Release: While silicone molds are naturally non-stick, if you have any trouble, you can place the molds in the freezer for 10-15 minutes before demolding. This will make them pop out effortlessly.
Storing Your Homemade Treasures & Nutritional Insights

Storage Instructions
Your homemade gummies are free from preservatives, so they need to be stored properly. Place them in an airtight container in the refrigerator. They will stay fresh and delicious for up to 7-10 days. They may become slightly sticky over time as they release a bit of moisture; you can toss them with a tiny amount of arrowroot starch to prevent this, but it’s not necessary.
Nutritional Information
The following is an estimated nutritional breakdown for this recipe. Actual values may vary based on the specific juice and any optional ingredients you use.
| Nutrient | Amount Per Serving (approx. 5 gummies) |
|---|---|
| Calories | 15 kcal |
| Protein | 3 g |
| Carbohydrates | 1 g |
| Sugar | 1 g (from fruit juice) |
| Fat | 0 g |
| Sodium | 5 mg |
Disclaimer: This nutritional information is an estimate and is for informational purposes only. It is not intended to be a substitute for professional medical advice.
Conclusion
You’ve done it! You’ve transformed simple, wholesome ingredients into a delightful, functional snack that nourishes from within. By taking a few moments in your kitchen, you’ve created a treat that is miles ahead of any store-bought alternative in both flavor and health benefits. These DIY Sugar-Free Fruit Juice Gummies are more than just a recipe; they are an invitation to reconnect with your food, to cook with purpose, and to embrace the simple joy of creating something both delicious and deeply healing. Enjoy every chewy, fruity, gut-loving bite, and take pride in the wonderful act of self-care you’ve just performed.