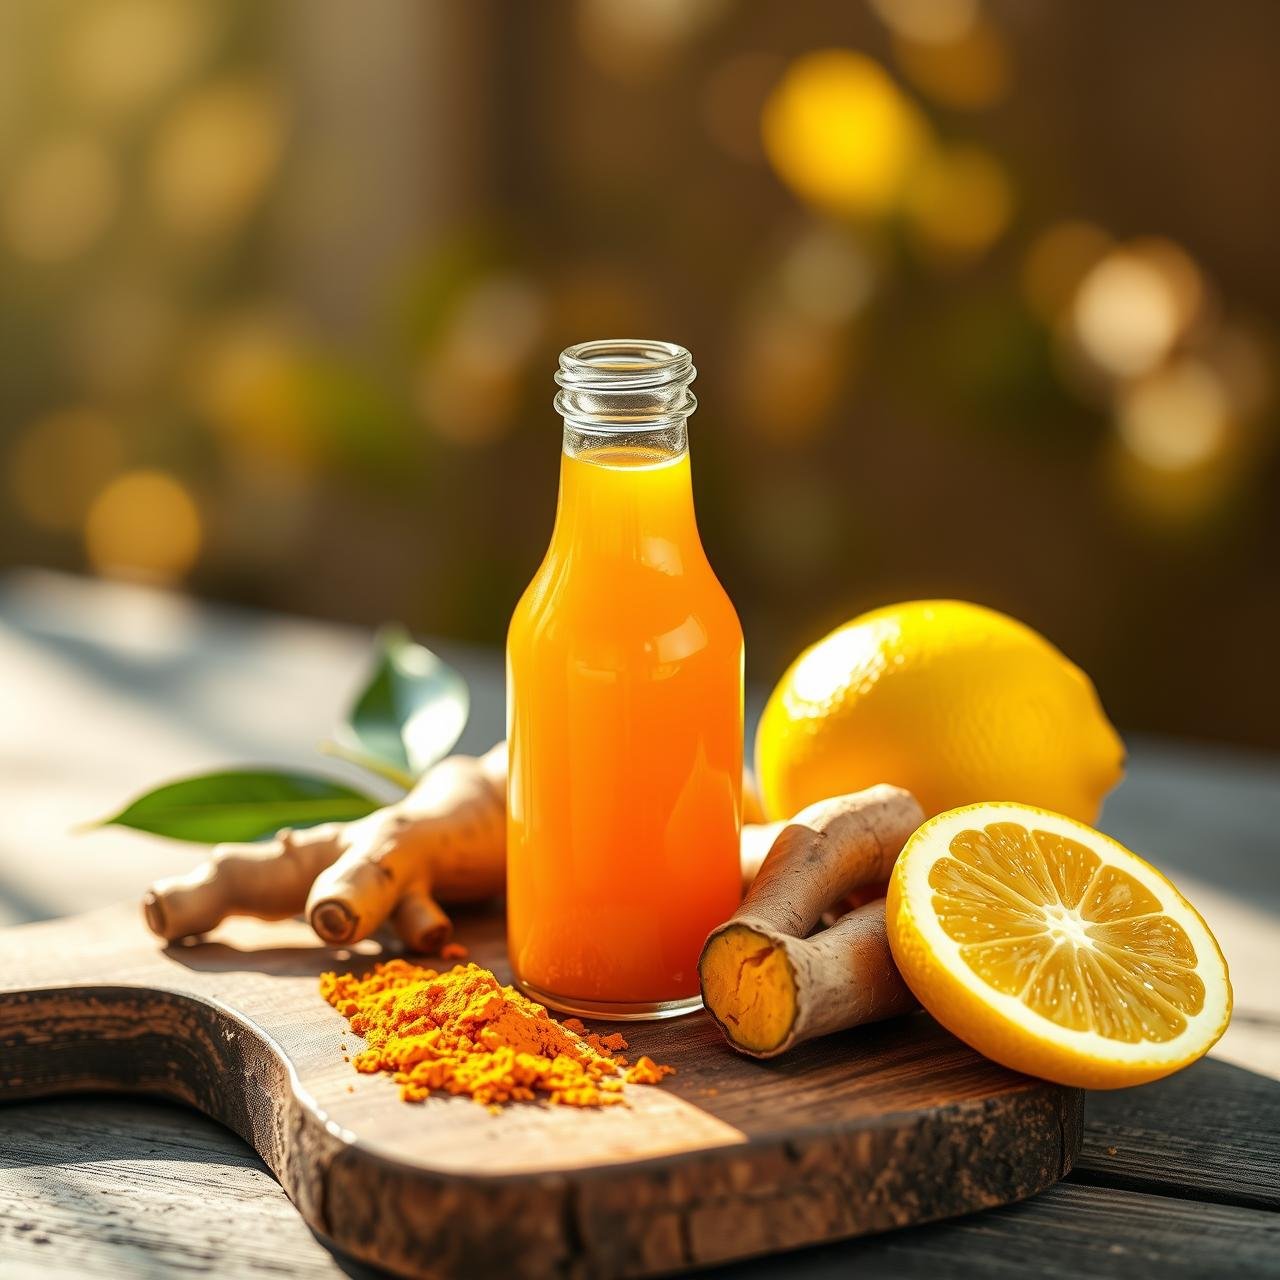
DIY Ginger Turmeric Shots: Boost Metabolism Instantly (Detailed Guide)
There’s a certain magic in starting your day with something purely, powerfully good for you. In the world of wellness, few things have garnered as much acclaim as the humble yet mighty ginger turmeric shot. This small, fiery elixir is a concentrated blast of nature’s best, designed to awaken your senses, stoke your metabolic fire, and arm your body with potent anti-inflammatory compounds. While boutique juice shops charge a premium for these little bottles of liquid gold, the secret is out: creating them in your own kitchen is not only incredibly simple but also profoundly more rewarding and budget-friendly.
This guide is your invitation to become your own wellness alchemist. We’ll move beyond just a simple recipe and delve into the science behind the key ingredients, explore different preparation methods (with or without a juicer!), and share chef-inspired tips to customize each batch to your liking. Prepare to transform simple, gnarled roots into a smooth, vibrant elixir that will become an indispensable part of your daily ritual.
The Golden Elixir: Unpacking the Power of Ginger, Turmeric, and Lemon
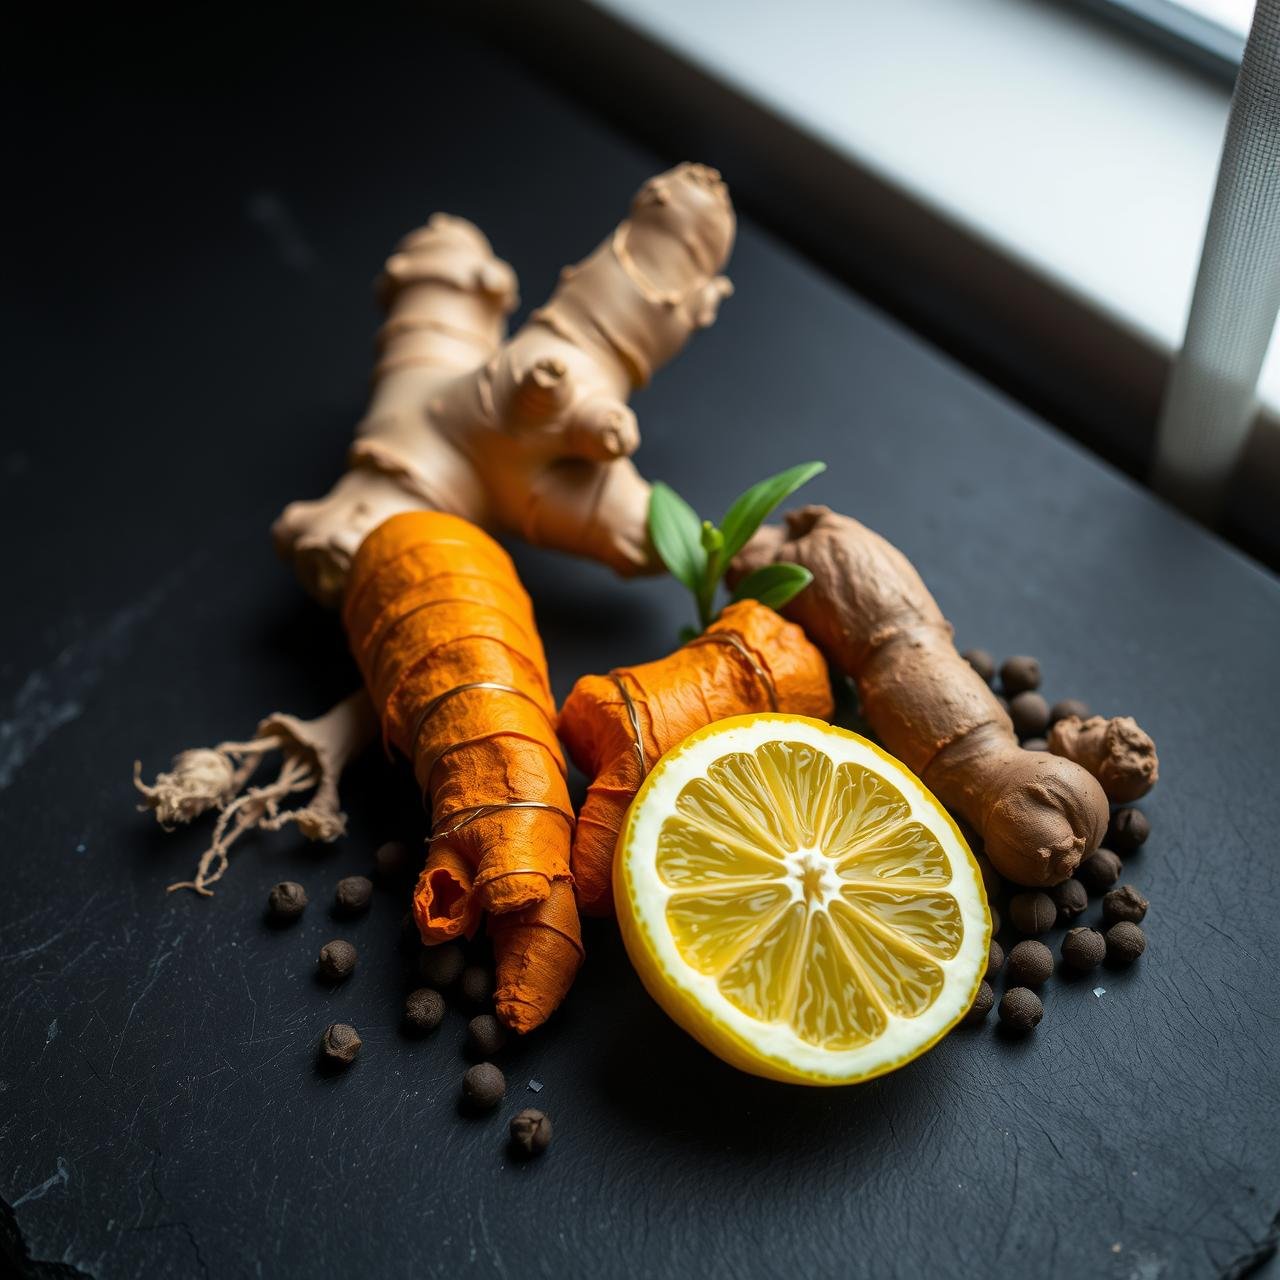
Before we start chopping and blending, let’s appreciate the powerhouse ingredients that make these shots so effective. Understanding the ‘why’ behind the recipe elevates the process from a simple task to a mindful practice in self-care.
The Fiery Activator: Ginger (Zingiber officinale)
That spicy, warming kick you feel from ginger is thanks to its primary bioactive compound, gingerol. This substance is a well-studied digestive aid, known to help quell nausea and soothe an upset stomach. More importantly for our purposes, ginger is a thermogenic agent, which means it can slightly increase the body’s temperature and, in turn, give your metabolism a gentle nudge. It helps kickstart your digestive system for the day, preparing it to work more efficiently.
The Golden Healer: Turmeric (Curcuma longa)
Turmeric’s brilliant, sun-yellow hue comes from compounds called curcuminoids, the most important of which is curcumin. Curcumin is one of the most potent natural anti-inflammatories ever discovered. Chronic inflammation is linked to a host of modern ailments, and incorporating curcumin into your diet is a powerful, proactive way to combat it at a cellular level. It supports joint health, brain function, and overall systemic balance.
The Zesty Catalyst: Lemon & Black Pepper
Lemon does more than just balance the earthy, spicy flavors. It’s packed with Vitamin C, a crucial antioxidant that supports immune function. It also has an alkalizing effect on the body once metabolized. But the true unsung hero here is black pepper. It contains piperine, a compound that has been shown to increase the bioavailability of curcumin by up to 2,000%. Without it, most of the curcumin you ingest would simply pass through your body. A tiny pinch of pepper makes all the difference, ensuring you absorb the maximum benefit from every drop.
Your Wellness Workshop: Essential Equipment
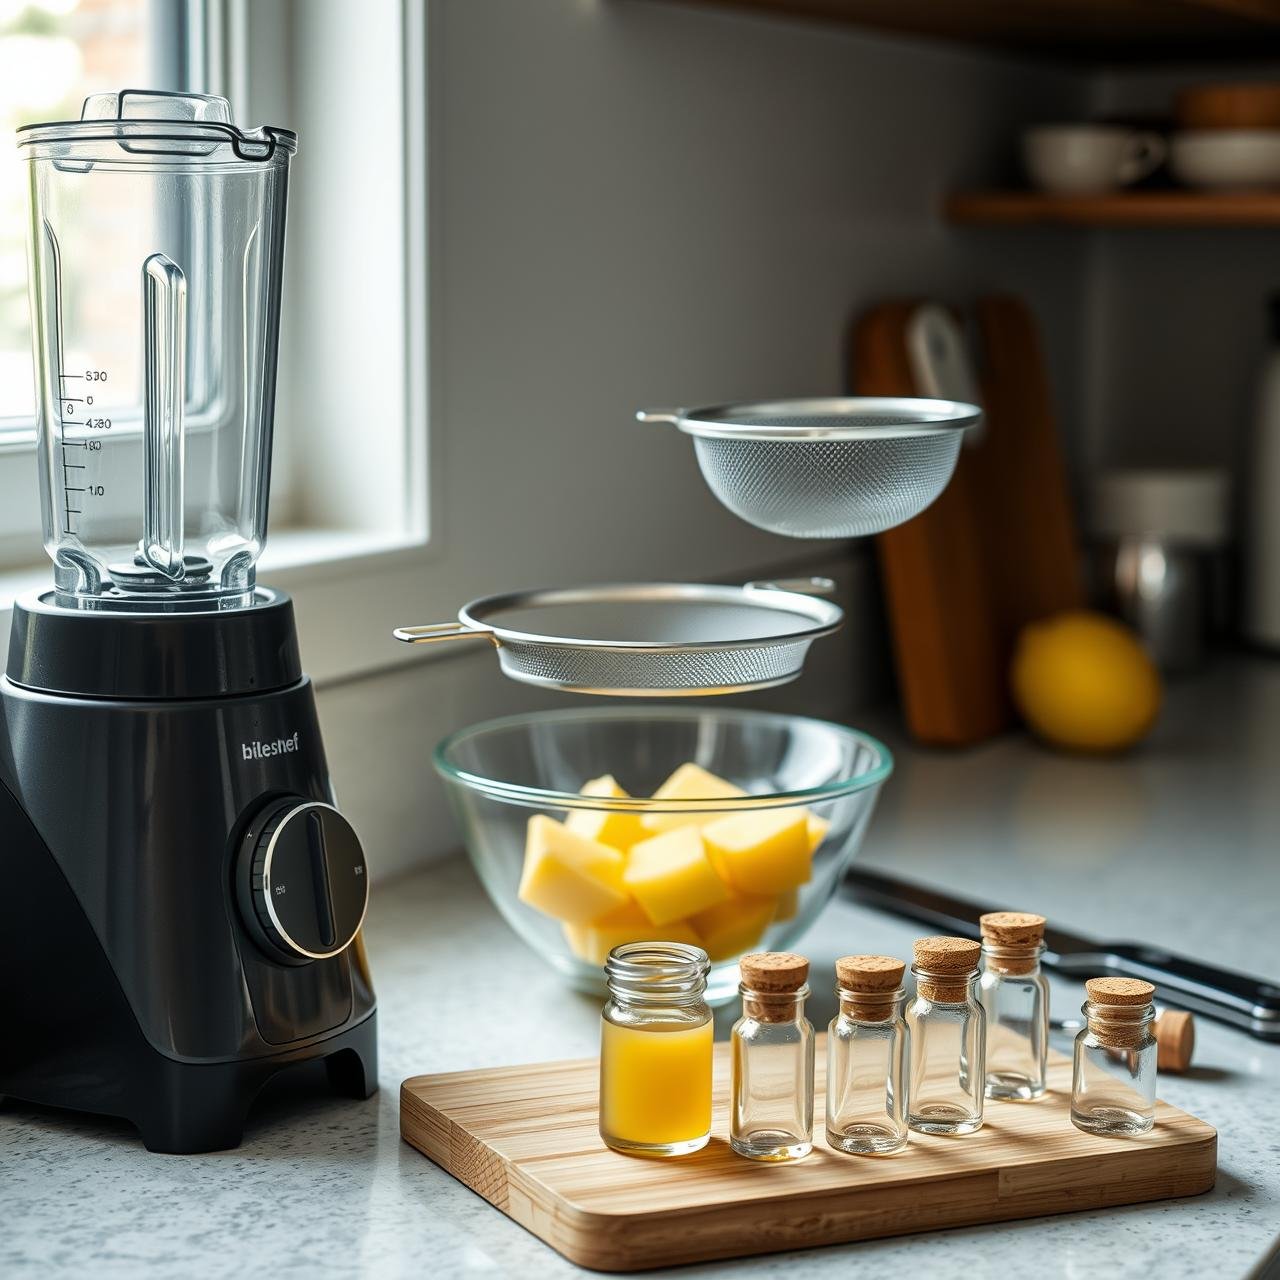
You don’t need a commercial kitchen to make top-tier wellness shots. In fact, you likely have most of what you need already. We’ll cover two methods, so don’t worry if you don’t own a juicer.
| Equipment | Purpose | Chef’s Note |
|---|---|---|
| High-Speed Blender | For the no-juicer method | A powerful blender (like a Vitamix or Ninja) works best to pulverize the tough fibers of the roots, maximizing nutrient extraction. |
| Juicer (Masticating or Centrifugal) | For the juicer method | A slow-masticating juicer yields more juice and preserves more nutrients, but a centrifugal juicer is faster and still very effective. |
| Fine-Mesh Sieve or Nut Milk Bag | Essential for the blender method | This is crucial for separating the pulp from the liquid to achieve a smooth, palatable shot. A nut milk bag is the most efficient option. |
| Sharp Knife & Cutting Board | Preparation | Fresh ginger and turmeric can be tough. A sharp knife makes prep safe and easy. |
| Glass Bottles or Jars with Lids | Storage | Small, 2-ounce glass bottles are perfect for portioning. Using glass prevents any flavors from leaching into your shots. |
| Measuring Cups & Spoons | Accuracy | For consistent results, especially when you start creating your own flavor variations. |
The Core Recipe: Sourcing Your Fiery, Golden Ingredients
Quality is paramount. Since we are concentrating these ingredients, using fresh, organic produce will yield the most potent and best-tasting results. This recipe makes approximately 12-14 shots (about 24-28 ounces).
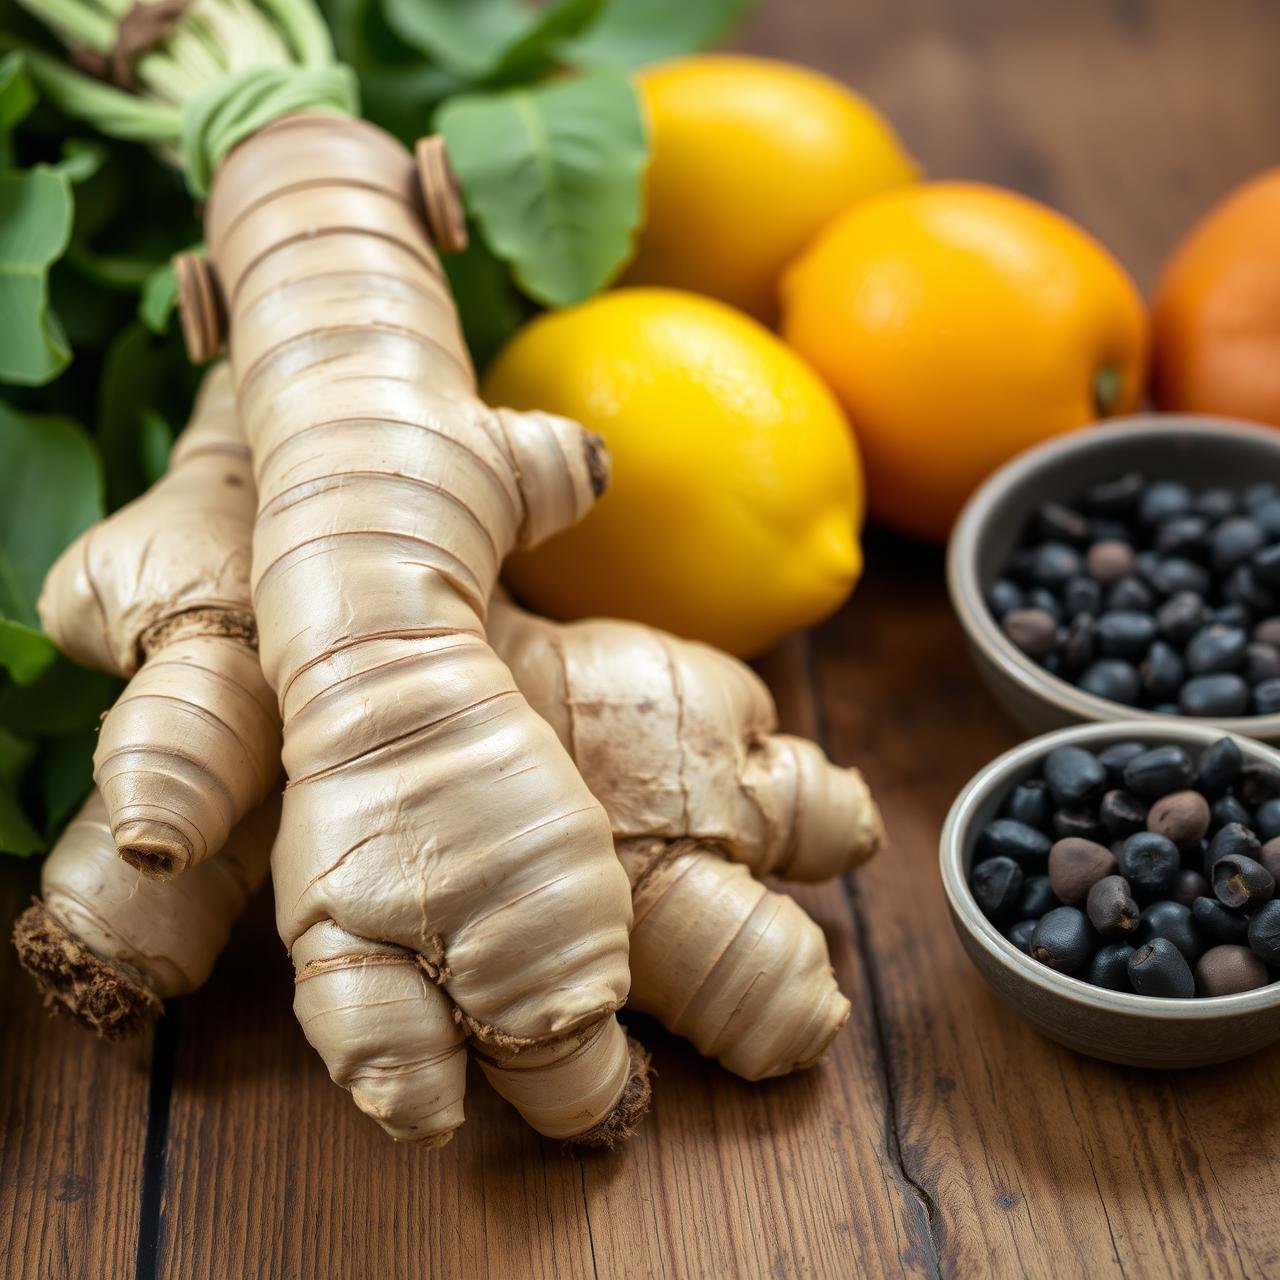
- Fresh Ginger Root: 1 cup, roughly chopped (about a 6-inch piece). Look for firm, smooth skin. No need to peel if it’s organic; just scrub it well.
- Fresh Turmeric Root: 1/2 cup, roughly chopped (about a 4-inch piece). Be mindful! Turmeric stains everything—hands, cutting boards, countertops. Consider wearing gloves.
- Lemons: 2 large, juicy lemons. You’ll use the juice, which should be about 1/2 cup.
- Black Peppercorns: 1/4 teaspoon of whole peppercorns, or a generous 8-10 grinds of fresh black pepper.
- Filtered Water or Coconut Water: 2 cups. Filtered water creates a pure, spicy shot. Coconut water adds natural sweetness and electrolytes.
- Optional Sweetener: 1 tablespoon of raw honey or maple syrup (add after blending/juicing and cooling).
- Optional Spice: A pinch of cayenne pepper for an extra metabolic kick.
Crafting Your Daily Dose: The Blender Method (No Juicer Needed!)
This is the most accessible method and yields a fantastic, potent shot. The key to a great texture is a thorough straining process.
-
Preparation First
Thoroughly wash the ginger and turmeric roots under running water, using a vegetable brush to scrub away any dirt. There’s no need to peel them if they are organic, as many nutrients are in or just below the skin. Roughly chop the roots into 1/2-inch pieces to help your blender work more efficiently.
-
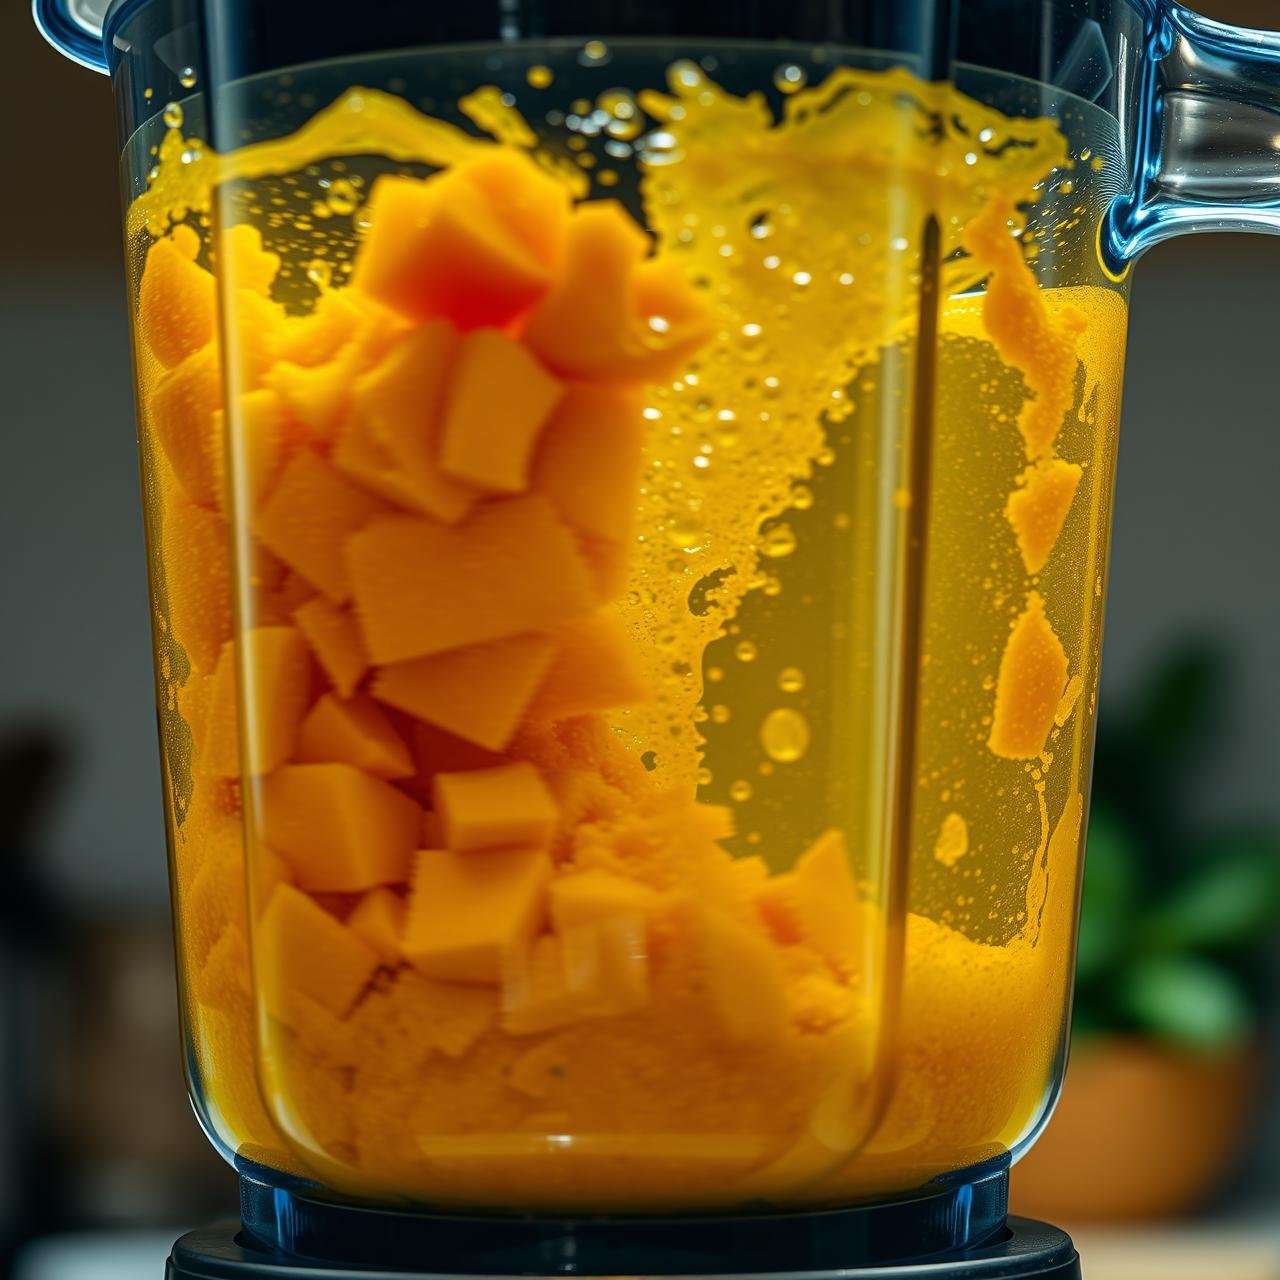
Blend to Perfection
Place the chopped ginger, turmeric, black peppercorns, and 2 cups of filtered water (or coconut water) into your high-speed blender. Squeeze the juice from your two lemons directly into the blender. Secure the lid and start blending on low, gradually increasing to the highest speed. Blend for 60-90 seconds, or until the mixture is as smooth as possible and no large chunks remain. The liquid should be opaque and vibrant orange.
-
The Crucial Strain
Position a fine-mesh sieve or a nut milk bag over a large bowl or pitcher. Pour the blended mixture slowly into your strainer. If using a sieve, use the back of a spoon to press down firmly on the pulp, extracting every last drop of liquid. If using a nut milk bag, gather the top and squeeze firmly and consistently until the pulp inside is dry and fibrous.
-
Flavor and Bottle
Once strained, your elixir is ready. If you prefer a touch of sweetness, now is the time to stir in your raw honey or maple syrup. Ensure the liquid has cooled slightly if you’re using raw honey to preserve its beneficial enzymes. Pour the finished shots into your clean, airtight glass bottles.
The Pro-Level Elixir: The Juicer Method
If you own a juicer, the process is more streamlined and results in a slightly smoother, more concentrated juice with less pulp from the start.
-
Prep the Produce
Wash your ginger and turmeric roots thoroughly. Cut them into pieces that are appropriately sized for your juicer’s feed chute. You can typically leave them larger than you would for a blender.
-
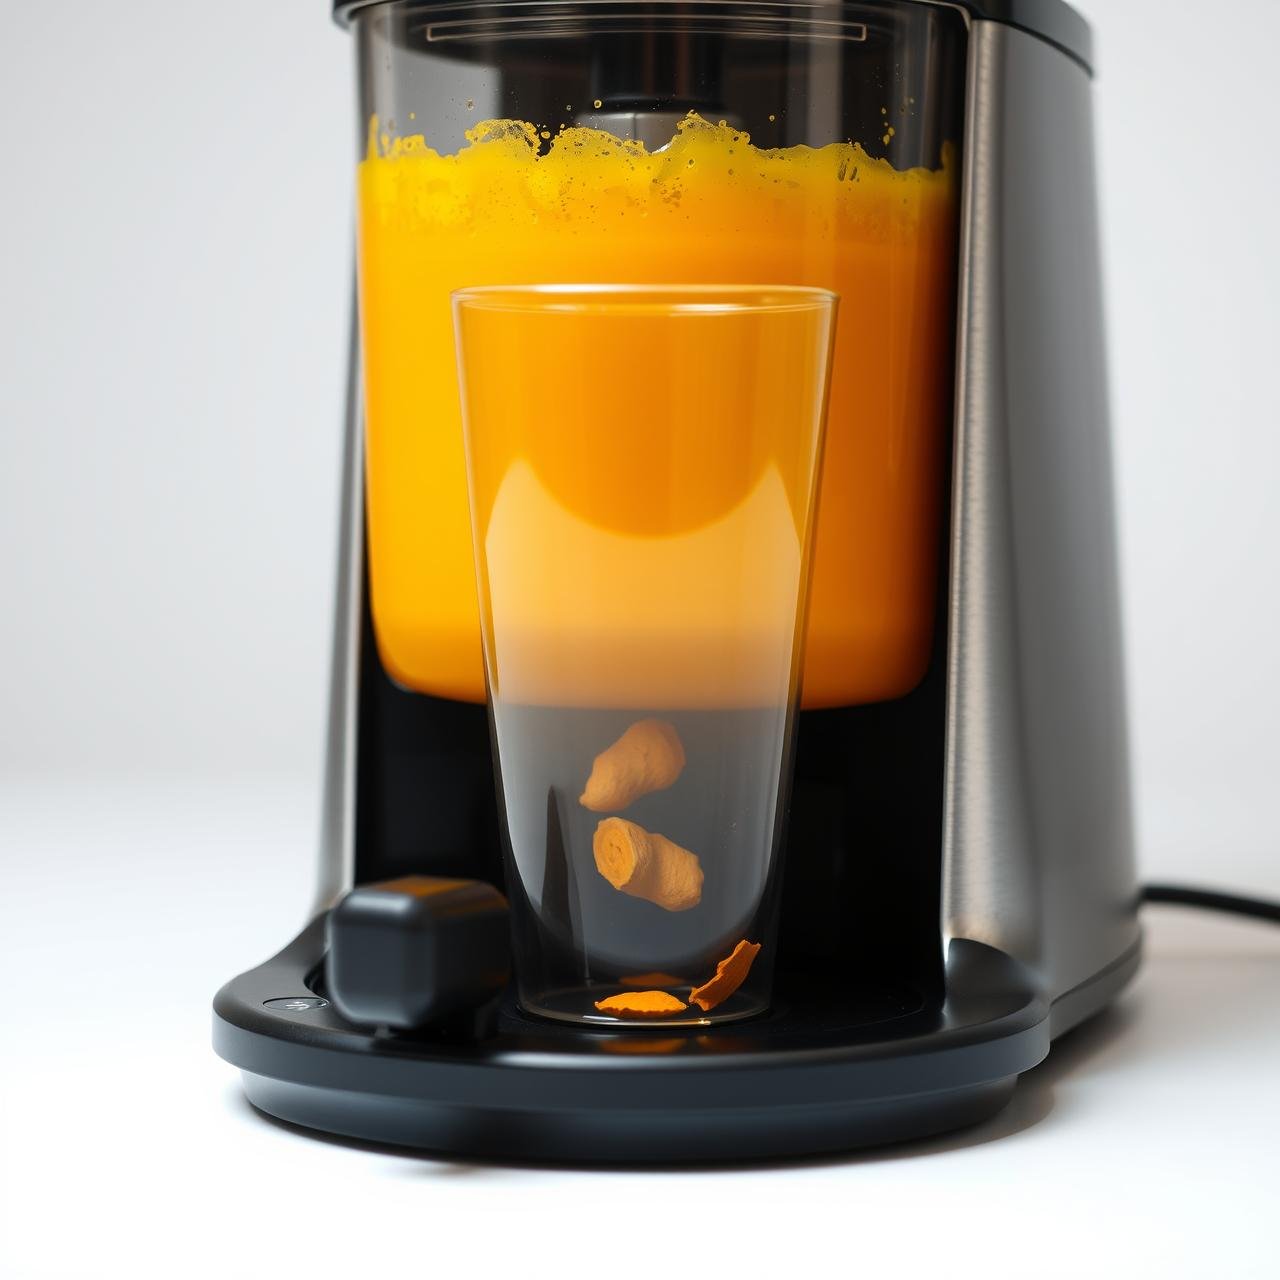
Juice the Roots
Following your manufacturer’s instructions, feed the ginger and turmeric pieces through the juicer. It’s often best to alternate between ingredients to help everything move through smoothly. A beautiful, concentrated, bright orange juice will be extracted.
-
Add Citrus and Spice
Juice the lemons separately or squeeze the juice by hand into the collected ginger-turmeric juice. Stir in the freshly ground black pepper. Because this method doesn’t use water, the resulting shot will be extremely potent. You can drink it as is or dilute it with a little water or coconut water if you prefer.
-
Bottle and Store
Pour the finished juice into your glass bottles for storage. You’ll notice less sediment with this method compared to the blender version.
Customize Your Kick: Expert Tips and Flavor Variations

The base recipe is fantastic, but don’t be afraid to experiment! Here are some ways to elevate your shots.
For an Extra Metabolic Boost
Add a pinch of cayenne pepper to the final mix. Cayenne contains capsaicin, another thermogenic compound that can help fire up your metabolism and circulation.
For a Sweeter, Softer Shot
Blend in half of a cored apple or a handful of pineapple chunks. These fruits add natural sweetness and enzymes that further aid digestion. A splash of fresh orange juice is also a delicious addition.
For Extra Green Power
Add a small handful of fresh spinach or parsley when blending. It will change the color to a deep green-orange but adds a dose of chlorophyll and iron without significantly altering the flavor.
Common Mistakes to Avoid
- Forgetting the Pepper: Don’t skip the black pepper! It’s the key that unlocks the full anti-inflammatory power of turmeric.
- Over-sweetening: The goal is a potent wellness shot, not a sugary juice. Use sweeteners sparingly to balance the flavor, not dominate it.
- Using Old Ingredients: Use the freshest, firmest roots you can find. Shrivelled, soft ginger or turmeric will lack both potency and flavor.
Storing Your Liquid Gold & Daily Rituals
Proper storage is essential to maintain the freshness and potency of your homemade shots.
Refrigeration
Store your shots in airtight glass bottles in the refrigerator. They will stay fresh and potent for up to 7 days. You may notice some separation or sediment at the bottom; this is completely normal. Just give the bottle a good shake before you drink it.
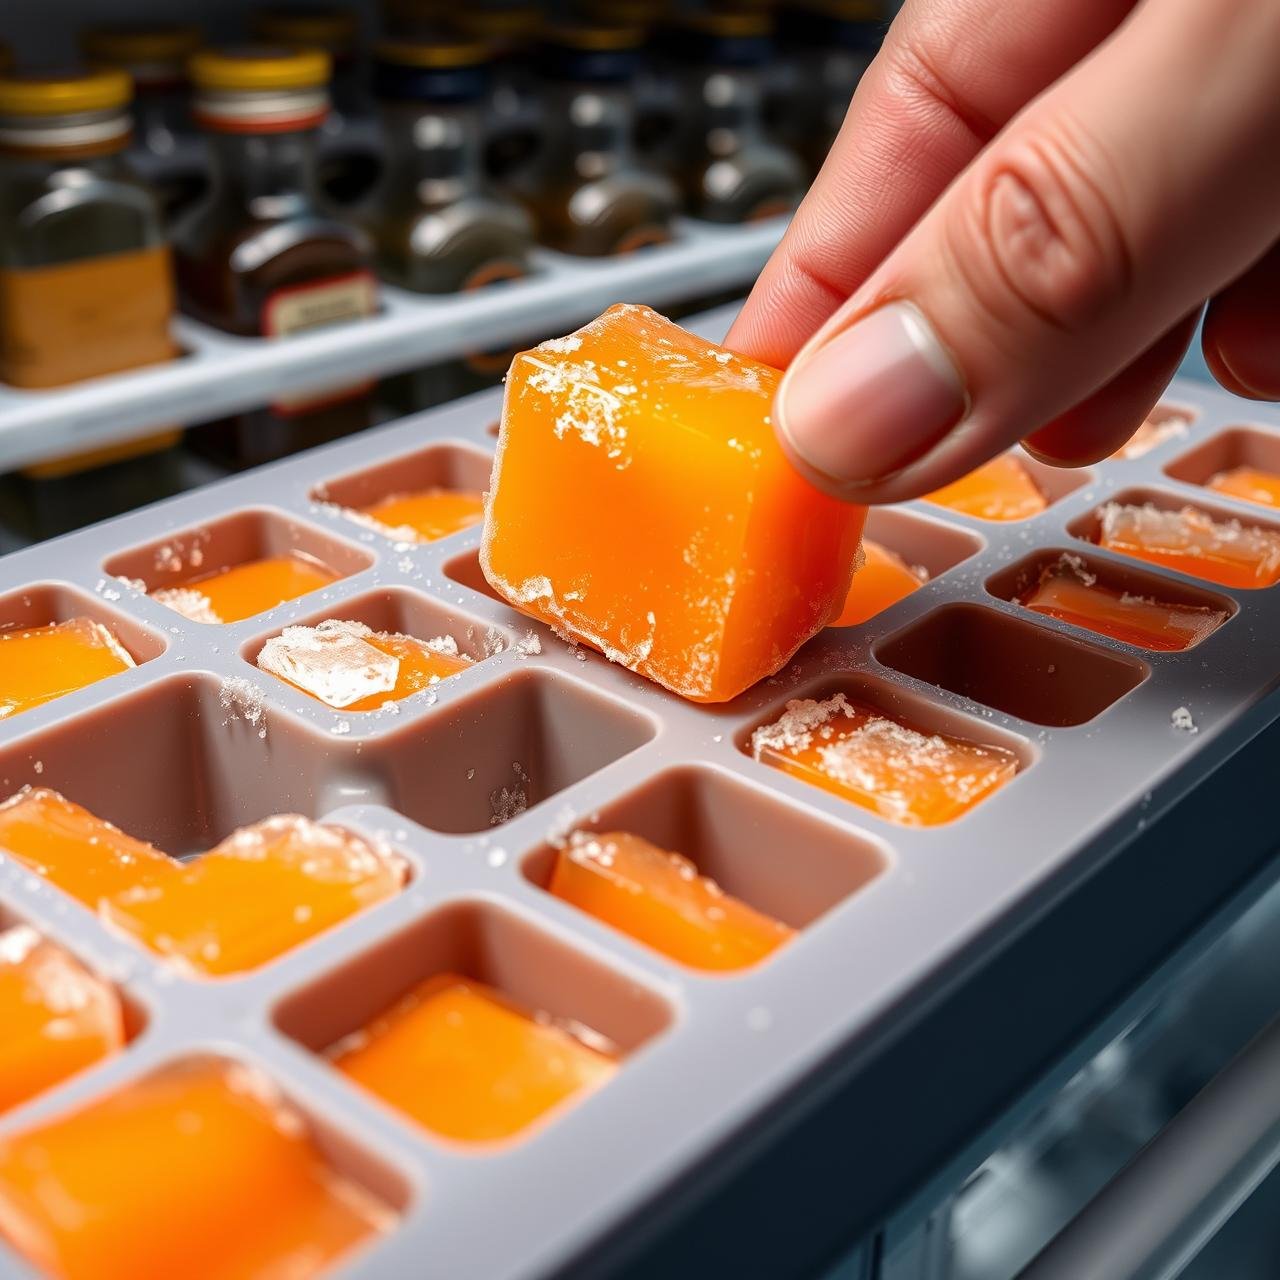
Freezing for Longevity
If you make a large batch, freezing is an excellent option. Pour the liquid into a silicone ice cube tray. Once frozen solid, transfer the cubes to a freezer-safe bag or container. They will last for up to 3 months. To consume, simply take out a cube or two and let them thaw in a small glass in the fridge overnight or on the counter for about an hour.
How to Drink Your Shots
For maximum metabolic and digestive benefits, the best time to take your shot is in the morning on an empty stomach, about 15-30 minutes before breakfast. This allows your body to absorb the nutrients efficiently without anything else in the way. Prepare for a warm, spicy kick that will wake you up better than coffee!
Nutrition at a Glance
Here is an estimated nutritional breakdown per 2-ounce shot. Please note that these values are approximate and can vary based on the exact size and freshness of your ingredients.
| Nutrient | Amount per 2-oz Shot |
|---|---|
| Calories | ~10-15 kcal |
| Carbohydrates | ~2-3 g |
| Sugars | ~1 g (natural) |
| Vitamin C | ~15% of RDI |
| Iron | ~2% of RDI |
| Potassium | ~2% of RDI |
Disclaimer: This nutritional information is an estimate and should not be considered medical advice.
Conclusion
Embracing the ritual of making your own ginger turmeric shots is an act of empowerment. It’s a declaration that you are in charge of your own well-being, one delicious, fiery sip at a time. You’ve learned the science, mastered the techniques, and now possess the knowledge to craft this potent elixir perfectly suited to your taste. Beyond the significant cost savings, you gain unparalleled freshness and the satisfaction of knowing exactly what you’re putting into your body.
So, clear a little space on your counter, gather your roots, and start your journey. Make a batch this week. Feel the vibrant, warming energy it brings to your morning. This simple, rustic practice is more than just a health trend; it’s a delicious and powerful way to honor your body and invest in your long-term vitality.