Crispy Roasted Chickpea Gyros With Tzatziki (Detailed Meatless Recipe)
There’s something deeply satisfying about a great gyro—the warm, pillowy pita, the savory filling, the cool, creamy sauce that ties it all together. Traditionally a meat-centric dish, we’ve embarked on a culinary journey to reimagine this Mediterranean classic for the modern, health-conscious kitchen. The result? These Crispy Roasted Chickpea Gyros with a vibrant, homemade Tzatziki sauce. This isn’t just a substitute; it’s a star in its own right.
The magic lies in the texture. We take humble chickpeas and, with a bit of heat and a perfect blend of spices, transform them into shatteringly crisp, savory morsels that mimic the satisfying bite of traditional gyro meat. Each chickpea becomes a tiny flavor bomb, seasoned with smoked paprika, cumin, and oregano. Paired with the cool, refreshing tang of a classic tzatziki—made with grated cucumber, garlic, dill, and rich Greek yogurt—the contrast is simply divine. It’s a symphony of textures and temperatures in every single bite. This recipe is designed for everyone, from the gourmet foodie seeking a new flavor profile to the home cook looking for a reliable, delicious weeknight meal that’s both light on the budget and packed with wholesome, plant-based goodness.
The Anatomy of a Perfect Meatless Gyro

Before we dive into the process, let’s break down the essential components that make this dish sing. A truly exceptional gyro is all about balance. Each element plays a crucial role in creating the final, harmonious bite.
The Four Pillars of Flavor:
- The Crispy Chickpeas: This is our protein powerhouse and the heart of the gyro. The key is achieving a genuinely crispy exterior while keeping the inside tender. We’ll walk you through the technique to avoid mushy chickpeas forever. The spice blend is crucial—it’s what gives them that savory, slightly smoky, gyro-inspired flavor.
- The Creamy Tzatziki: This is more than just a sauce; it’s the cooling, tangy counterpoint to the warm, spiced chickpeas. Using full-fat Greek yogurt provides the best texture, and the combination of fresh dill, garlic, and lemon juice makes it bright and authentic. The secret step of salting and squeezing the cucumber is non-negotiable for a thick, luscious sauce.
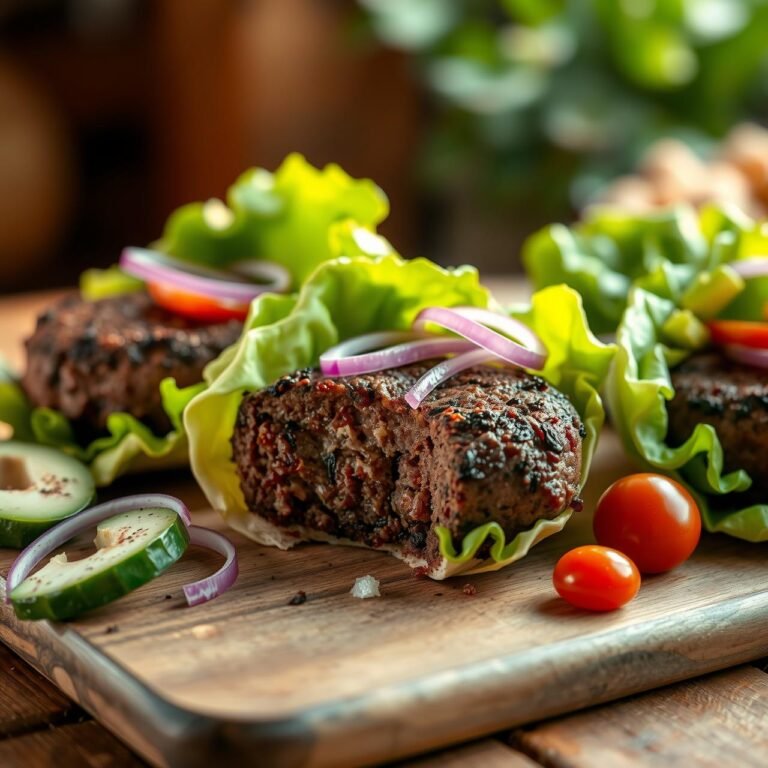
- The Fresh Fillings: Simple, fresh vegetables are what elevate the gyro from good to great. Crisp lettuce, juicy tomatoes, sharp red onion, and cool cucumber slices add moisture, crunch, and a burst of garden-fresh flavor.
- The Warm Pita: The vessel that holds it all together. Using soft, fluffy, high-quality pita bread is essential. We recommend warming it just before assembly to make it pliable and even more delicious.
Essential Kitchen Equipment
You don’t need any highly specialized gadgets for this recipe, just a few kitchen staples. Having your tools ready, or your ‘mise en place’ as chefs say, makes the entire cooking process smoother and more enjoyable.
| Equipment | Purpose |
|---|---|
| Rimmed Baking Sheet | For roasting the chickpeas to crispy perfection. The rim prevents them from rolling off. |
| Large Mixing Bowl | For tossing the chickpeas with oil and spices. |
| Medium Mixing Bowl | For preparing the tzatziki sauce. |
| Box Grater or Food Processor | To grate the cucumber for the tzatziki. |
| Fine-Mesh Sieve or Cheesecloth | Crucial for straining excess water from the grated cucumber. |
| Chef’s Knife and Cutting Board | For chopping all the fresh vegetables. |
| Measuring Cups and Spoons | For accurate ingredient portions. |
| Whisk or Spoon | For mixing the tzatziki sauce until smooth. |
Ingredients for Crispy Chickpea Gyros
Quality ingredients are the foundation of any great dish. This recipe uses simple, accessible, and budget-friendly items that combine to create something truly special. Here’s what you’ll need, broken down by component.
For the Crispy Roasted Chickpeas:
- 2 (15-ounce) cans of chickpeas (garbanzo beans), rinsed, drained, and patted very dry
- 2 tablespoons olive oil
- 1 teaspoon smoked paprika
- 1 teaspoon ground cumin
- 1 teaspoon dried oregano
- 1/2 teaspoon garlic powder
- 1/2 teaspoon onion powder
- 1/2 teaspoon fine sea salt
- 1/4 teaspoon black pepper
For the Homemade Tzatziki Sauce:
- 1 cup plain full-fat Greek yogurt
- 1/2 large English cucumber, unpeeled
- 2 cloves garlic, finely minced
- 1 tablespoon fresh lemon juice
- 1 tablespoon chopped fresh dill
- 1/2 teaspoon fine sea salt, plus more for the cucumber
- A drizzle of extra virgin olive oil for serving
For Assembly:
- 4-6 large, fluffy pita breads
- 1 cup shredded romaine lettuce
- 1 large tomato, diced
- 1/2 red onion, thinly sliced
- 1/2 English cucumber, thinly sliced
- Optional: Crumbled feta cheese for topping
Step-by-Step Instructions: Crafting Your Gyros
Follow these detailed steps carefully, and you’ll be rewarded with restaurant-quality gyros made in your own kitchen. We’ll start with the tzatziki to allow its flavors to meld, then roast the chickpeas, and finally, bring it all together.
Part 1: Prepare the Tzatziki Sauce
- Grate and Salt the Cucumber: Using the large holes of a box grater, grate the half cucumber. Place the grated cucumber in a fine-mesh sieve or on a piece of cheesecloth. Sprinkle with a pinch of salt and toss to combine. Let it sit for 15-20 minutes over a bowl to draw out the excess water.
- Squeeze Dry: After it has rested, gather the cucumber in the cheesecloth or press it firmly against the sieve with the back of a spoon to squeeze out as much liquid as humanly possible. This is the most critical step for a thick, non-watery tzatziki. You should be left with a surprisingly small, dryish ball of cucumber.
- Combine Ingredients: In a medium bowl, combine the strained cucumber, Greek yogurt, minced garlic, fresh lemon juice, chopped dill, and 1/2 teaspoon of salt. Stir until everything is well incorporated.
- Chill and Meld: Cover the bowl and refrigerate for at least 30 minutes (or up to 2 days) to allow the flavors to meld and develop. Before serving, give it a final stir and drizzle with a little extra virgin olive oil.
Part 2: Roast the Chickpeas to Crispy Perfection
- Preheat and Prep: Preheat your oven to 400°F (200°C). Line a large, rimmed baking sheet with parchment paper for easy cleanup.
- Dry the Chickpeas: This is another crucial step for crispiness. After rinsing and draining the chickpeas, spread them on a clean kitchen towel or paper towels and gently pat them until they are very dry. You can even let them air-dry for 10-15 minutes. Some of the skins may fall off; you can discard them.
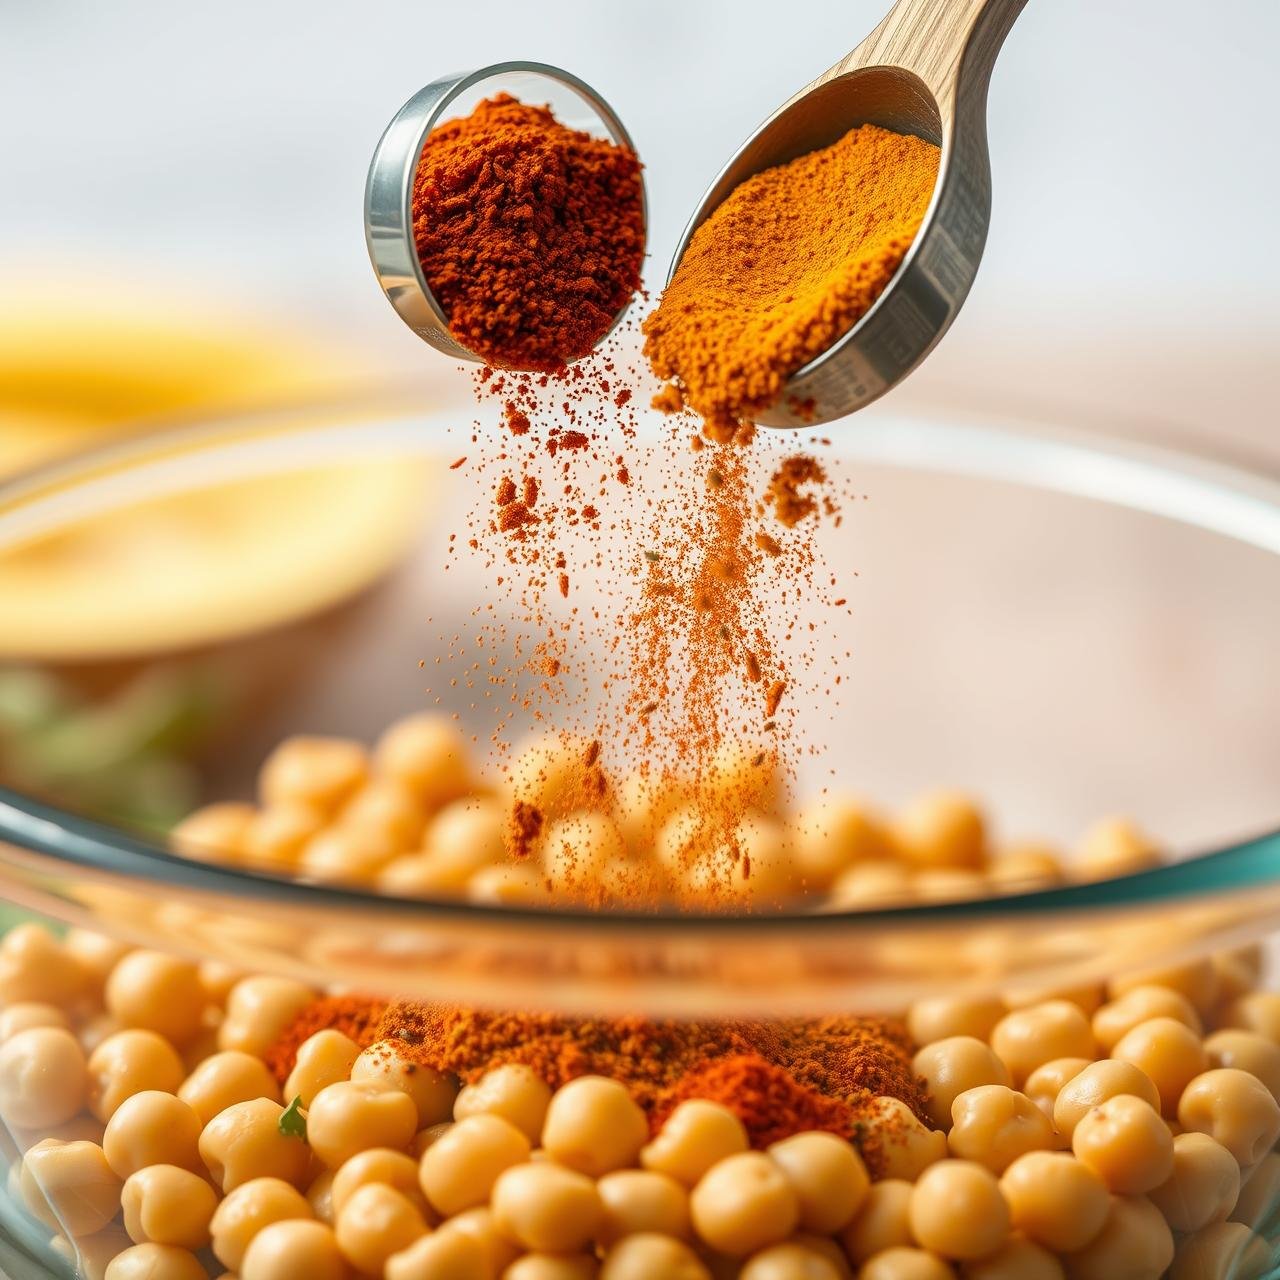
- Season Generously: Place the dry chickpeas in a large bowl. Drizzle with the 2 tablespoons of olive oil and toss to coat evenly. In a small bowl, whisk together the smoked paprika, cumin, oregano, garlic powder, onion powder, salt, and pepper. Sprinkle this spice mixture over the chickpeas and toss again until every single chickpea is well-coated.
- Roast: Spread the seasoned chickpeas in a single layer on the prepared baking sheet. It’s important not to overcrowd the pan, as this will cause them to steam rather than roast. Use two pans if necessary.
- Bake to Golden Brown: Roast for 25-30 minutes, shaking the pan halfway through, until the chickpeas are deeply golden brown, firm, and crispy. They will crisp up even more as they cool slightly. Listen for a ‘tink’ sound as you shake the pan—that’s the sound of success!
Part 3: Assemble Your Masterpiece
- Warm the Pitas: While the chickpeas are finishing, warm your pita bread. You can do this by wrapping them in a damp paper towel and microwaving for 20-30 seconds, or by placing them directly on the oven rack for the last 2 minutes of the chickpea roasting time.
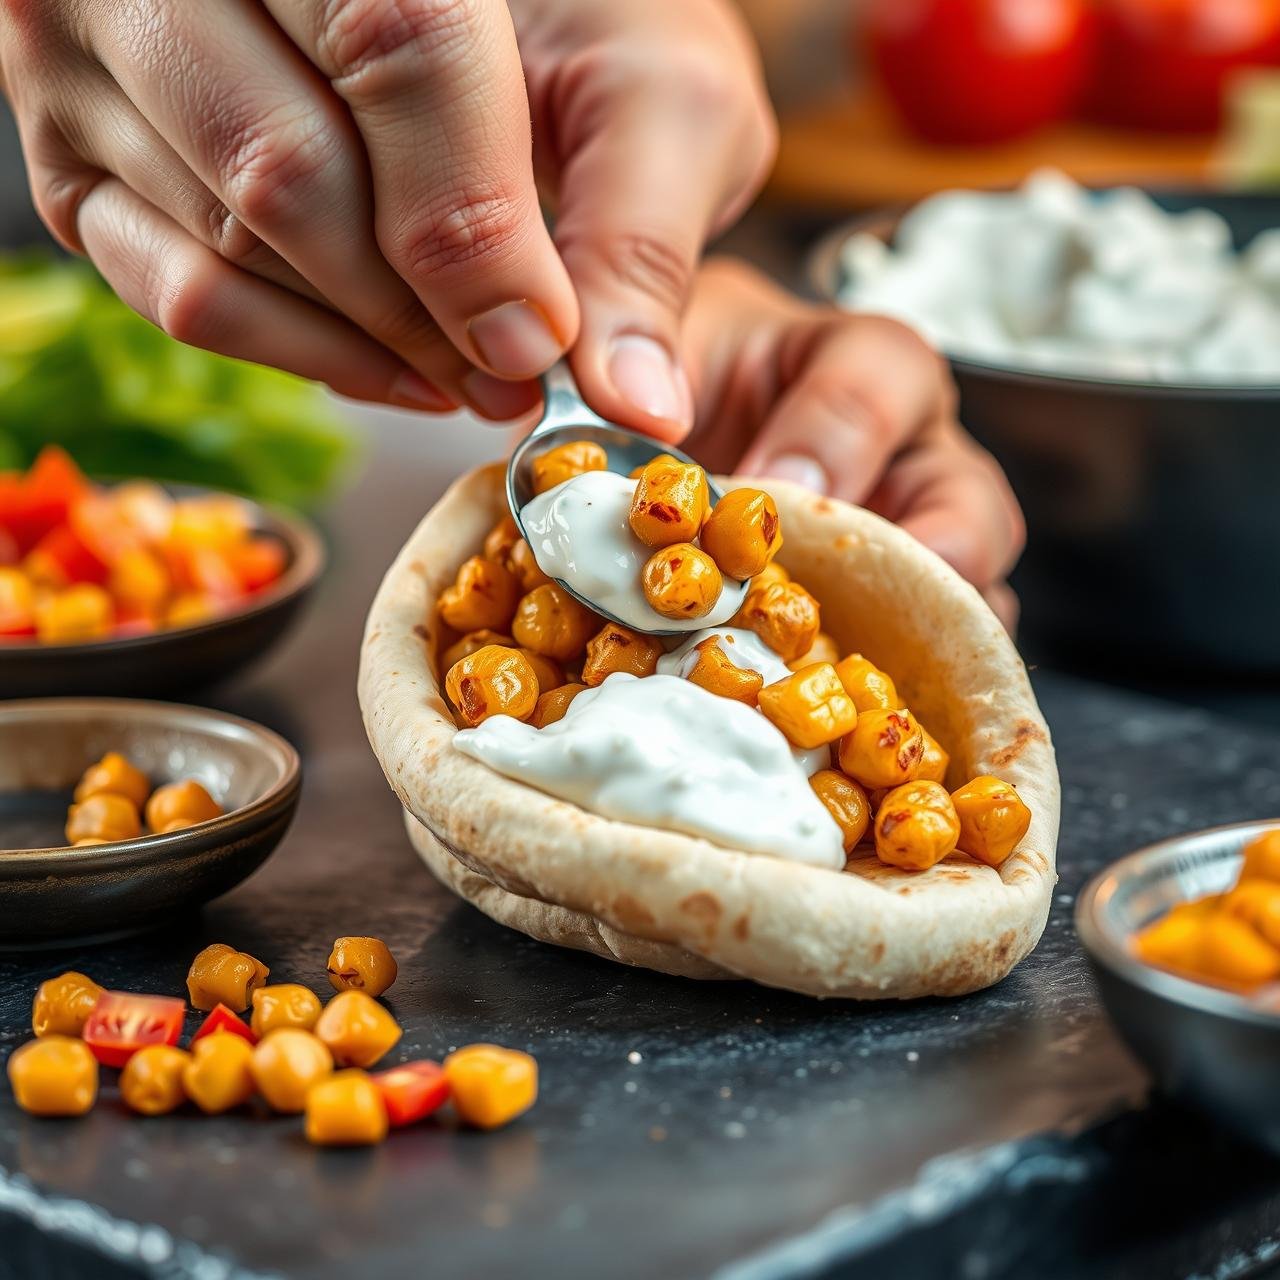
- Layer the Flavors: Lay a warm pita flat. Spread a generous layer of the chilled tzatziki sauce down the center.
- Add Fillings: Top the sauce with a handful of shredded lettuce, followed by a generous scoop of the hot, crispy roasted chickpeas.
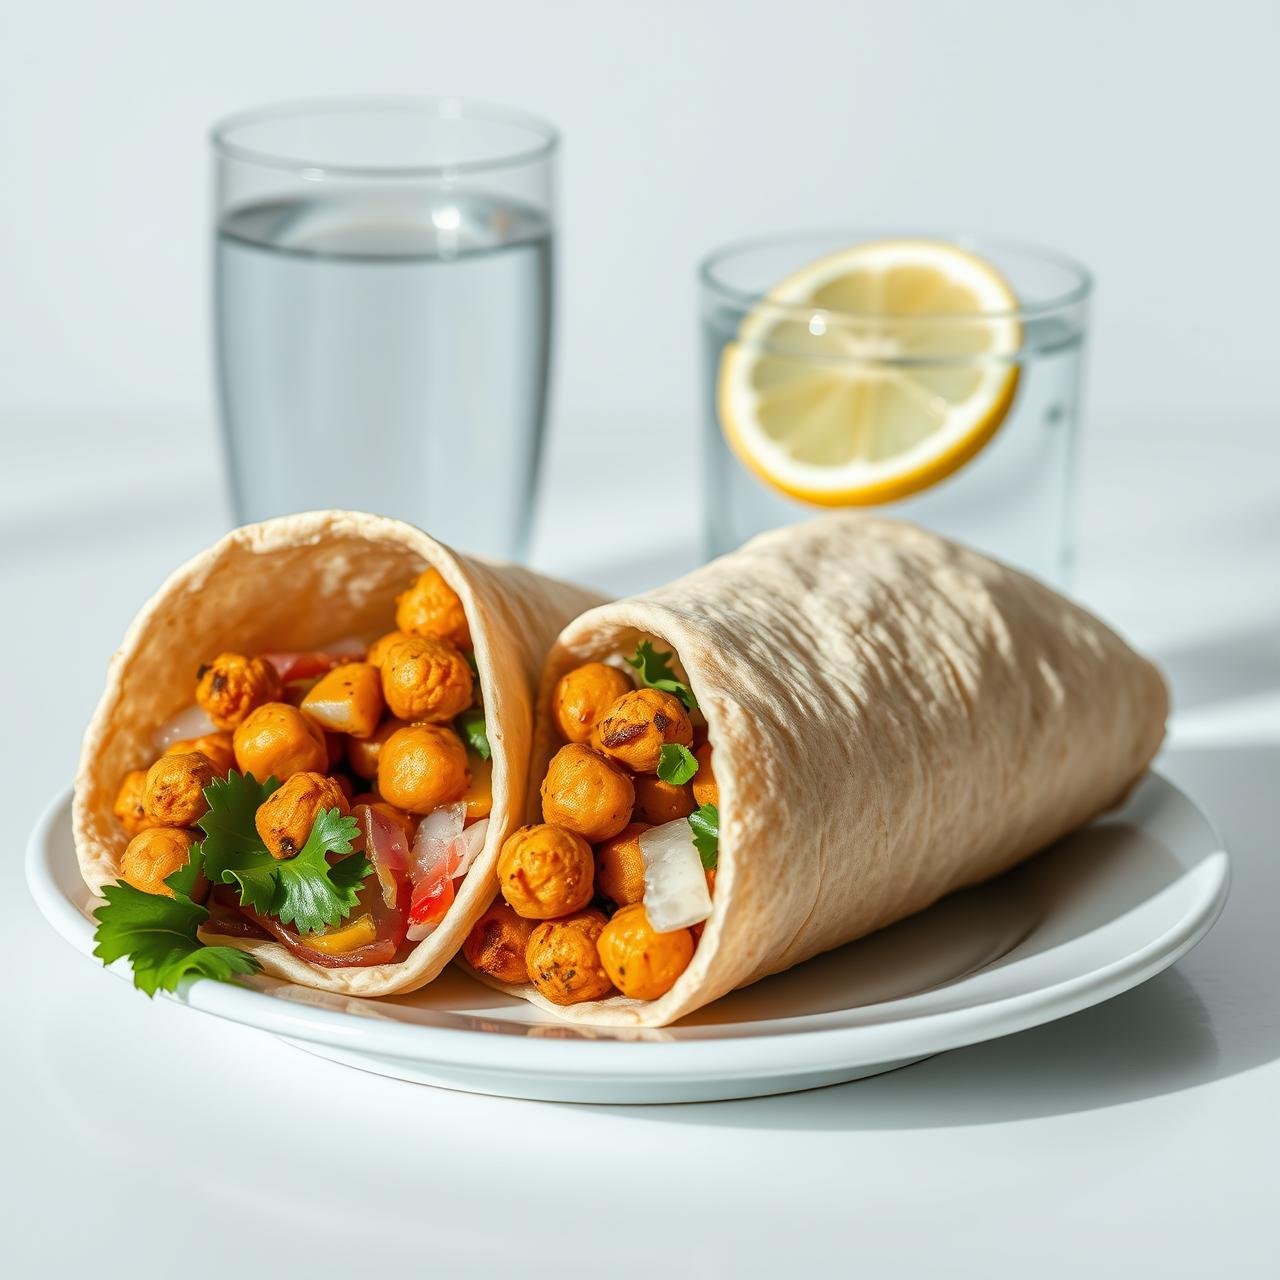
- Garnish and Serve: Finish with diced tomatoes, sliced red onion, and sliced cucumber. Add a sprinkle of feta cheese if desired. Fold the pita over, wrap the bottom in a small piece of parchment paper or foil to catch any drips, and serve immediately while the chickpeas are at their crispiest.
Chef’s Secrets for Ultimate Flavor and Texture

Even simple recipes have small details that can elevate them from good to unforgettable. Here are a few professional tips to ensure your chickpea gyros are the best they can be.
- The Ultra-Crispy Chickpea Trick: For maximum crispiness, after patting the chickpeas dry, let them sit out on the baking sheet for 20-30 minutes to air dry even further before adding oil and spices. The drier they are going into the oven, the crispier they will emerge.
- Make the Tzatziki Ahead: The flavor of tzatziki deepens and improves significantly over time. For the best taste, make it a day in advance. The garlic will mellow, and the dill will infuse the yogurt more thoroughly.
- Don’t Skip the Squeeze: We mentioned it before, but it bears repeating. Squeezing every last drop of water from the grated cucumber is the single most important step for a rich, creamy tzatziki. Watery tzatziki will make your gyro soggy.
- Toast Your Spices: For an even deeper flavor profile, toast your whole cumin seeds in a dry skillet over medium heat for a minute until fragrant before grinding them. This small step adds a world of complexity.
- Pita Perfection: Don’t just warm your pitas—give them a light char. You can do this by placing them directly over a gas burner for a few seconds per side (using tongs!) or in a very hot cast-iron skillet. This adds a subtle smoky flavor and a delightful texture.
- Customization is Key: Feel free to add other fillings! Kalamata olives, pepperoncini peppers, or even a few french fries tucked inside (a traditional Greek street food move) can be delicious additions.
Nutritional Information
This recipe is not only delicious but also packed with plant-based protein, fiber, and fresh vegetables, making it a well-rounded and satisfying meal. The following is an estimated nutritional breakdown per gyro, assuming the recipe makes 4 large gyros.
| Nutrient | Amount per Serving (Approx.) |
|---|---|
| Calories | 485 kcal |
| Protein | 18 g |
| Fat | 20 g |
| Saturated Fat | 6 g |
| Carbohydrates | 60 g |
| Fiber | 12 g |
| Sugar | 8 g |
| Sodium | 850 mg |
Disclaimer: The nutritional information provided is an estimate and can vary based on the specific ingredients and brands used.
Storage and Reheating Instructions
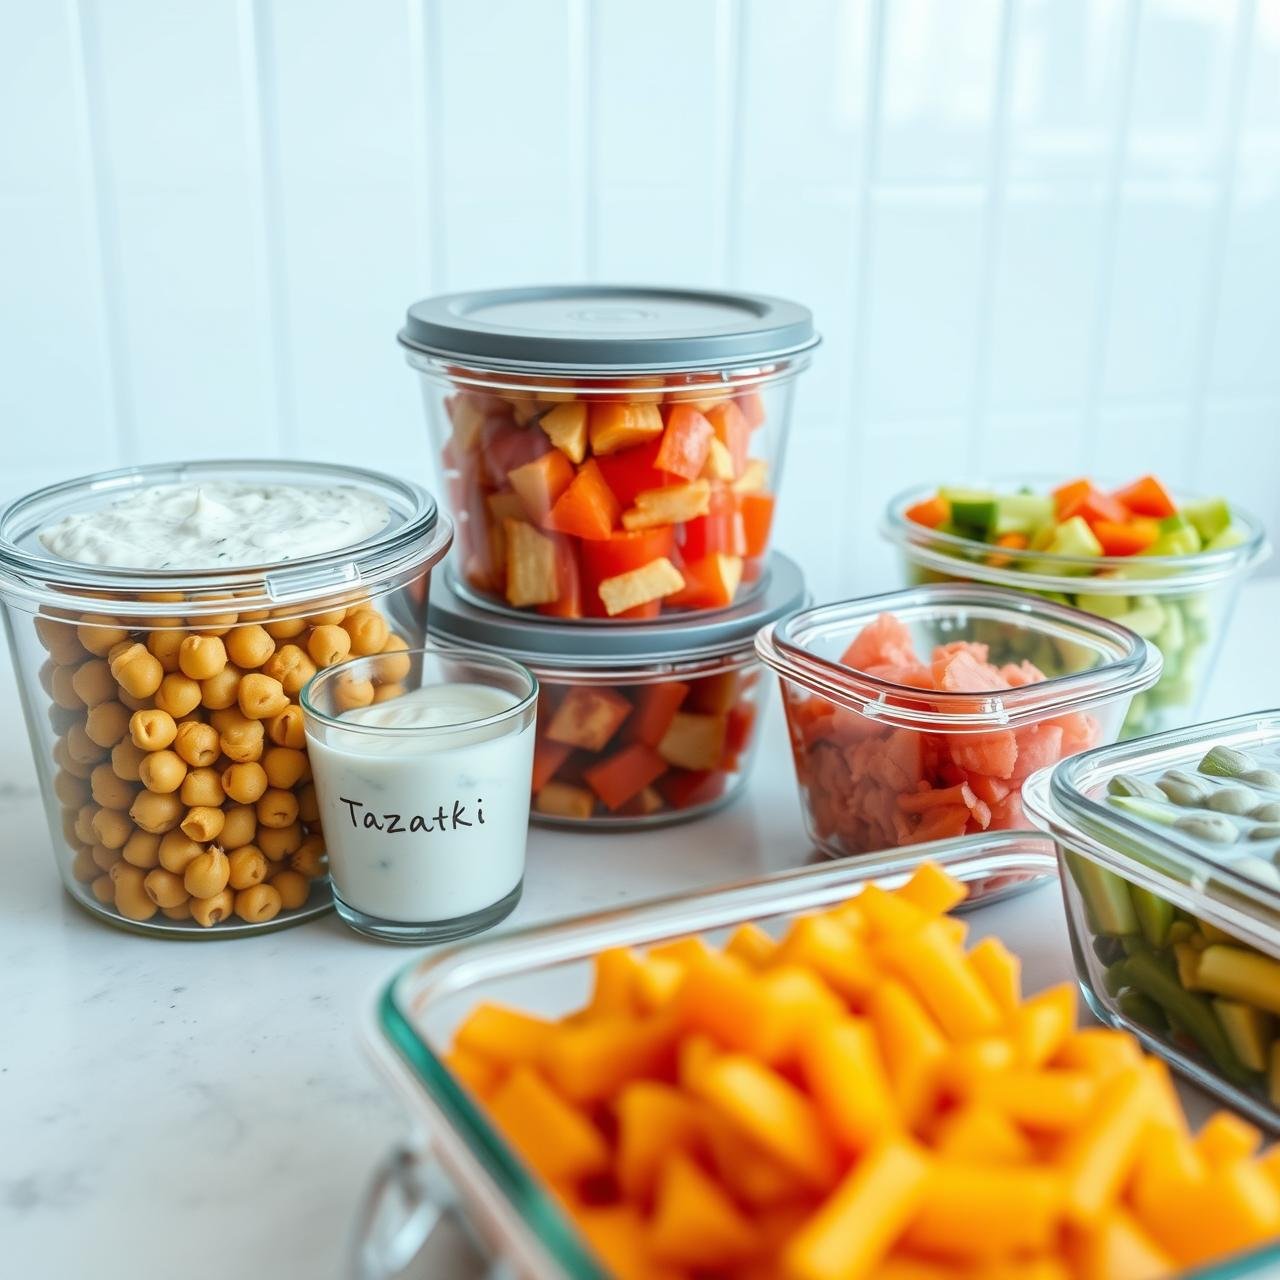
While these gyros are best enjoyed immediately to experience the ultimate textural contrast, leftovers can still be delicious if stored properly. The key is to store the components separately.
Storage:
- Chickpeas: Allow the roasted chickpeas to cool completely to room temperature. Store them in an airtight container that is not completely sealed (or a paper bag) at room temperature for up to 2-3 days. Storing them in a sealed container in the fridge will cause them to lose their crispiness due to moisture.
- Tzatziki Sauce: Store the tzatziki in an airtight container in the refrigerator for up to 4 days. Some separation may occur; simply give it a good stir before using.
- Vegetables: Store any leftover chopped vegetables in a separate airtight container in the refrigerator.
Reheating:
To bring back the crispiness of the chickpeas, do not use a microwave. Instead, spread them on a baking sheet and reheat in an oven or toaster oven at 375°F (190°C) for 5-7 minutes, or until they are hot and crispy again. You can also reheat them in an air fryer for 3-4 minutes. Once the chickpeas are hot, warm your pitas and assemble the gyros as if you were making them fresh.
Conclusion
Embracing a meatless meal doesn’t mean sacrificing flavor or satisfaction, and these Crispy Roasted Chickpea Gyros are delicious proof. They deliver on every level: the crunch of the perfectly spiced chickpeas, the cool creaminess of the fresh tzatziki, the fresh bite of the vegetables, and the comforting embrace of a warm pita. It’s a rustic, wholesome, and incredibly gratifying dish that feels both indulgent and nourishing at the same time. Whether you’re a seasoned vegetarian or simply looking to incorporate more plant-based meals into your routine, this recipe is a guaranteed winner. We encourage you to get into the kitchen, have fun with it, and discover just how amazing a chickpea can be. Enjoy every single bite!