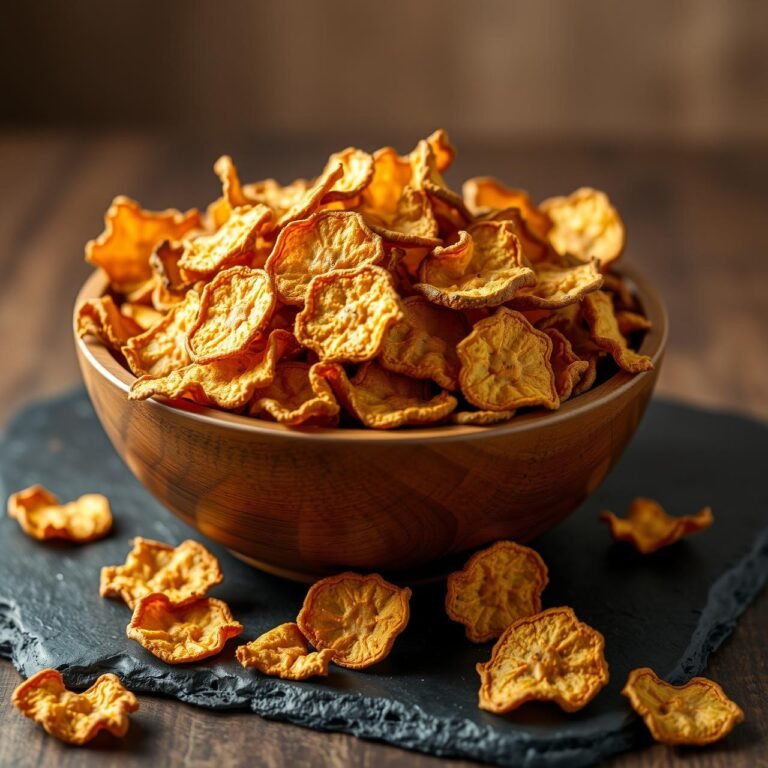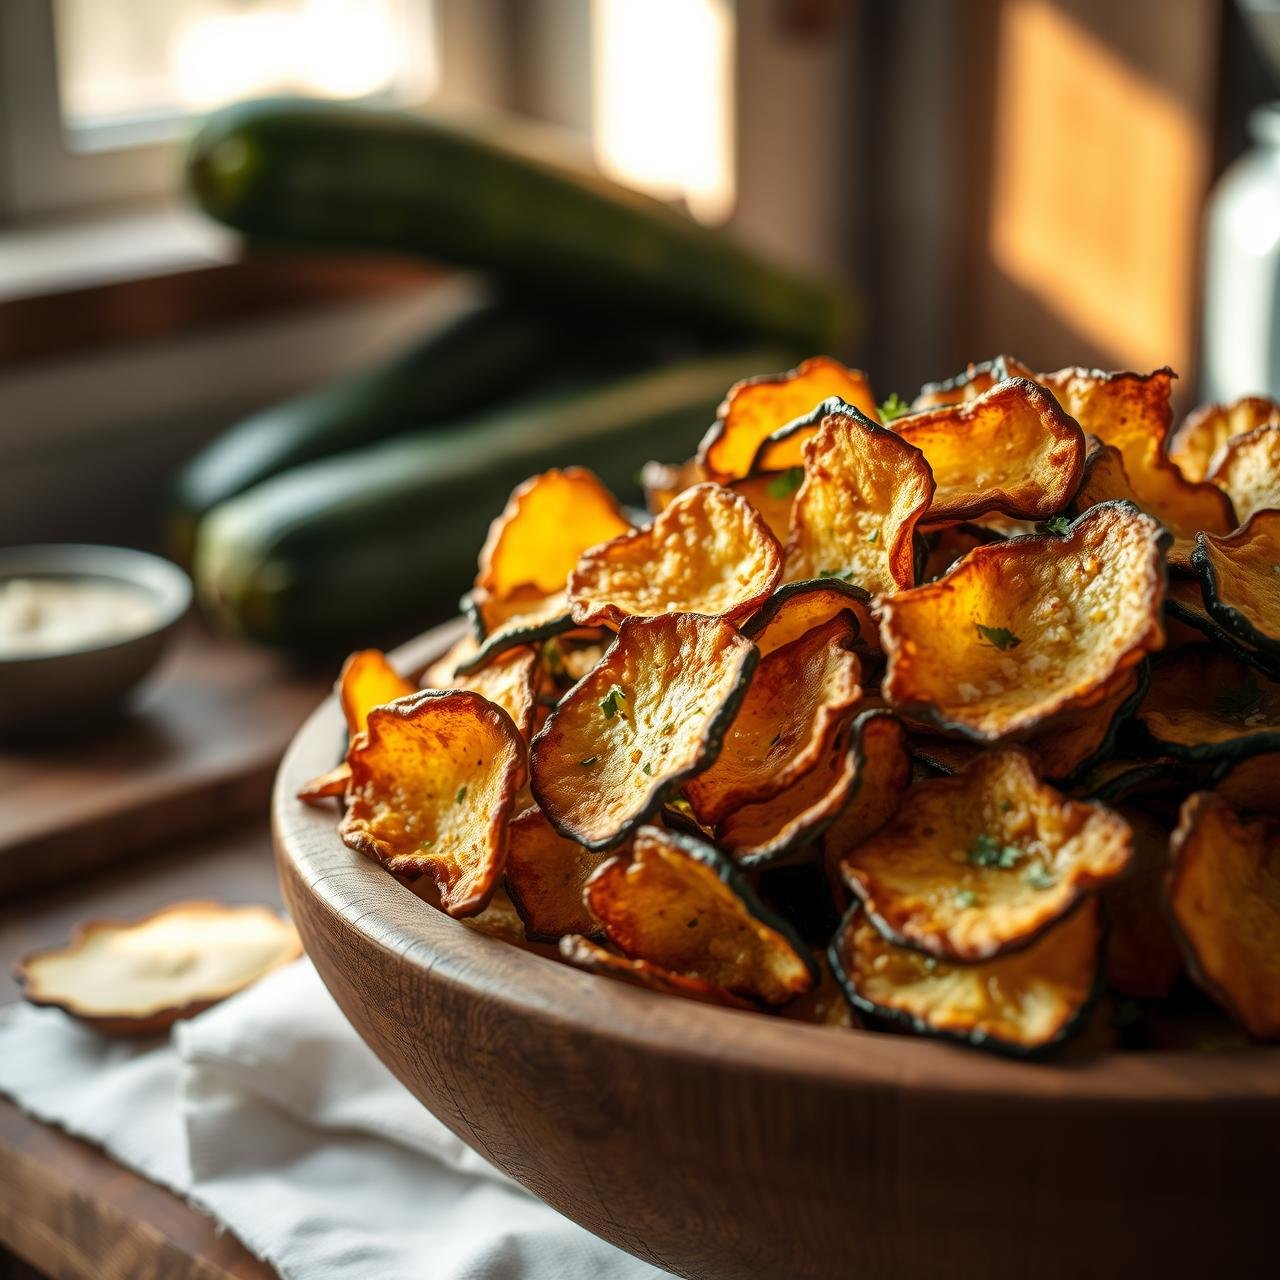
Crispy Oven Baked Zucchini Chips: Better Than Potato Chips
Close your eyes and imagine the perfect chip. It’s light as air, yet delivers a deeply satisfying, audible crunch with every bite. It’s savory, a little salty, and utterly addictive. Now, what if I told you this dream chip wasn’t born from a potato or a bag, but from a humble, vibrant green zucchini? It’s true. Forget any sad, soggy vegetable chips you’ve tried in the past. We’re about to embark on a culinary journey to create the most shatteringly crispy, flavor-packed oven-baked zucchini chips you’ve ever tasted. This isn’t just a recipe; it’s a technique, a revelation that will transform the way you see healthy snacking. These golden-brown discs of deliciousness are so good, they don’t just rival their potato-based counterparts—they surpass them. Get ready to turn your oven into a magic box and your zucchini into the most coveted snack in the house.
Why You’ll Ditch Potato Chips for These Zucchini Crisps
Before we dive into the ‘how,’ let’s talk about the ‘why.’ What makes these baked zucchini chips so revolutionary? It’s more than just being a ‘healthy alternative’; it’s about upgrading your entire snacking experience. Here’s why this recipe will become a staple in your kitchen:
- Incredible Health Benefits: Zucchini is naturally low in calories, carbohydrates, and sugar, while being rich in vitamins, minerals, and antioxidants. By baking instead of frying, we eliminate unhealthy fats, making these chips a guilt-free pleasure you can enjoy anytime. They are a perfect fit for low-carb, keto, paleo, and gluten-free lifestyles.
- Unbeatable Crunch Factor: Our method focuses on one critical goal: removing moisture. This is the key that unlocks a light, airy, and genuinely crispy texture that rivals any deep-fried chip on the market. No more limp, chewy veggie imposters!
- Endless Flavor Customization: While a simple sprinkle of sea salt is divine, zucchini is a brilliant canvas for flavor. From smoky paprika and garlic powder to zesty Italian herbs and spicy cayenne, you can tailor each batch to your specific craving. We’ll explore some incredible flavor combinations later.
- Budget-Friendly & Simple: Zucchini is an abundant and affordable vegetable, especially during its peak season. This recipe uses common pantry staples, meaning you can whip up a gourmet-quality snack for a fraction of the cost of store-bought specialty chips.
- Deeply Satisfying: There’s a rustic, wholesome satisfaction that comes from turning a fresh vegetable into a crave-worthy snack with your own hands. It’s clean eating that doesn’t sacrifice an ounce of flavor or enjoyment.
The Science of Crisp: Unlocking the Secret

The number one enemy of a crispy vegetable chip is water. Zucchini is over 90% water, and if we don’t deal with it properly, we end up with steamed, soggy discs. The secret to that sought-after crunch lies in a simple, two-part process of dehydration.
Part 1: The Salt Sweat
Salt is hygroscopic, meaning it attracts water molecules. By lightly salting the raw zucchini slices and letting them rest, we use osmosis to draw a significant amount of water out to the surface. You’ll be amazed at how much moisture beads up on the slices. This initial ‘sweating’ step is non-negotiable for achieving a truly crispy result. It’s a bit of kitchen science that pays off handsomely.
Part 2: The Low-and-Slow Bake
Blasting the chips with high heat will cause them to burn before they have a chance to dry out completely. The key is a low and slow baking process. We use a moderately low temperature (around 225°F / 110°C) to gently dehydrate the chips over a longer period. This allows the remaining water to evaporate slowly and evenly, leaving behind a light, brittle structure that snaps and crackles with every bite. Patience here is the ultimate ingredient.
Essential Equipment for Perfect Zucchini Chips
You don’t need any fancy gadgets to achieve chip perfection. Most of what you need is likely already in your kitchen. Having the right tools simply makes the process smoother and the results more consistent.
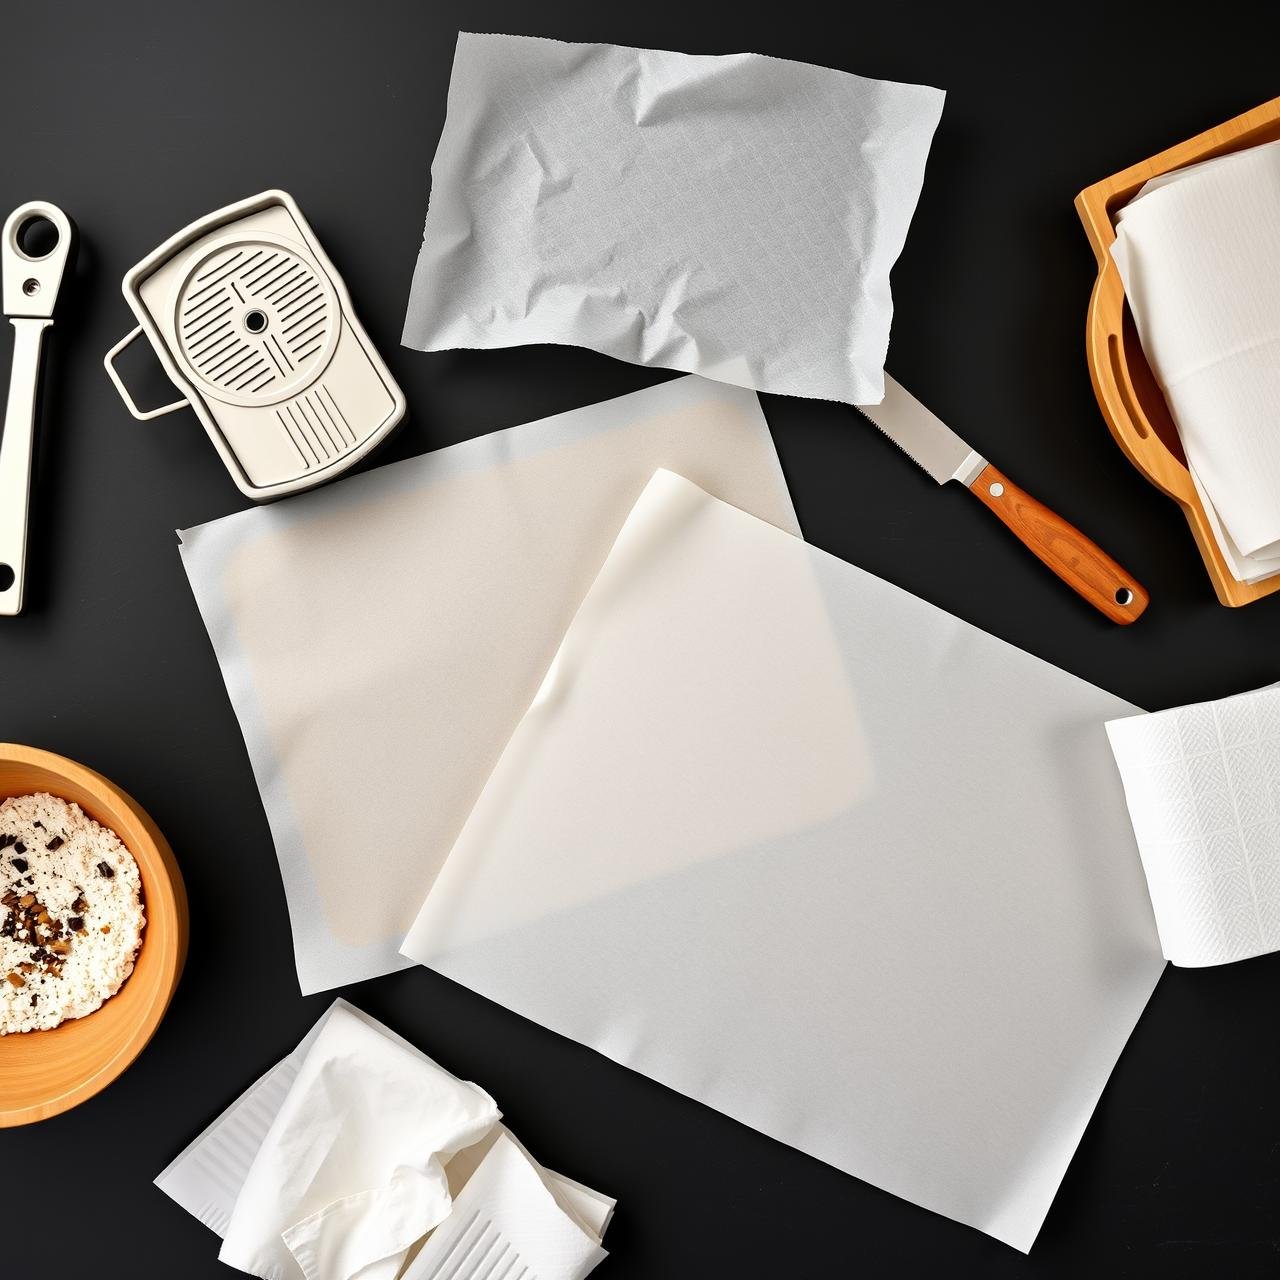
- Mandoline Slicer or Sharp Knife: For uniform thinness, a mandoline is your best friend. Every chip will be the same thickness, ensuring they all bake evenly. If you don’t have one, a very sharp chef’s knife and a steady hand will work just fine. Aim for slices about 1/8-inch (3mm) thick.
- Large Baking Sheets: You’ll need at least two. The key to crispiness is not overcrowding the pan. The zucchini slices should be in a single layer with space between them for air to circulate.
- Parchment Paper or Silicone Mats: This is essential to prevent sticking and makes cleanup an absolute breeze.
- Large Bowl: For tossing the zucchini slices with oil and seasonings.
- Paper Towels or a Clean Kitchen Towel: Crucial for patting the zucchini slices completely dry after they’ve been salted.
Gathering Your Simple, Flavorful Ingredients
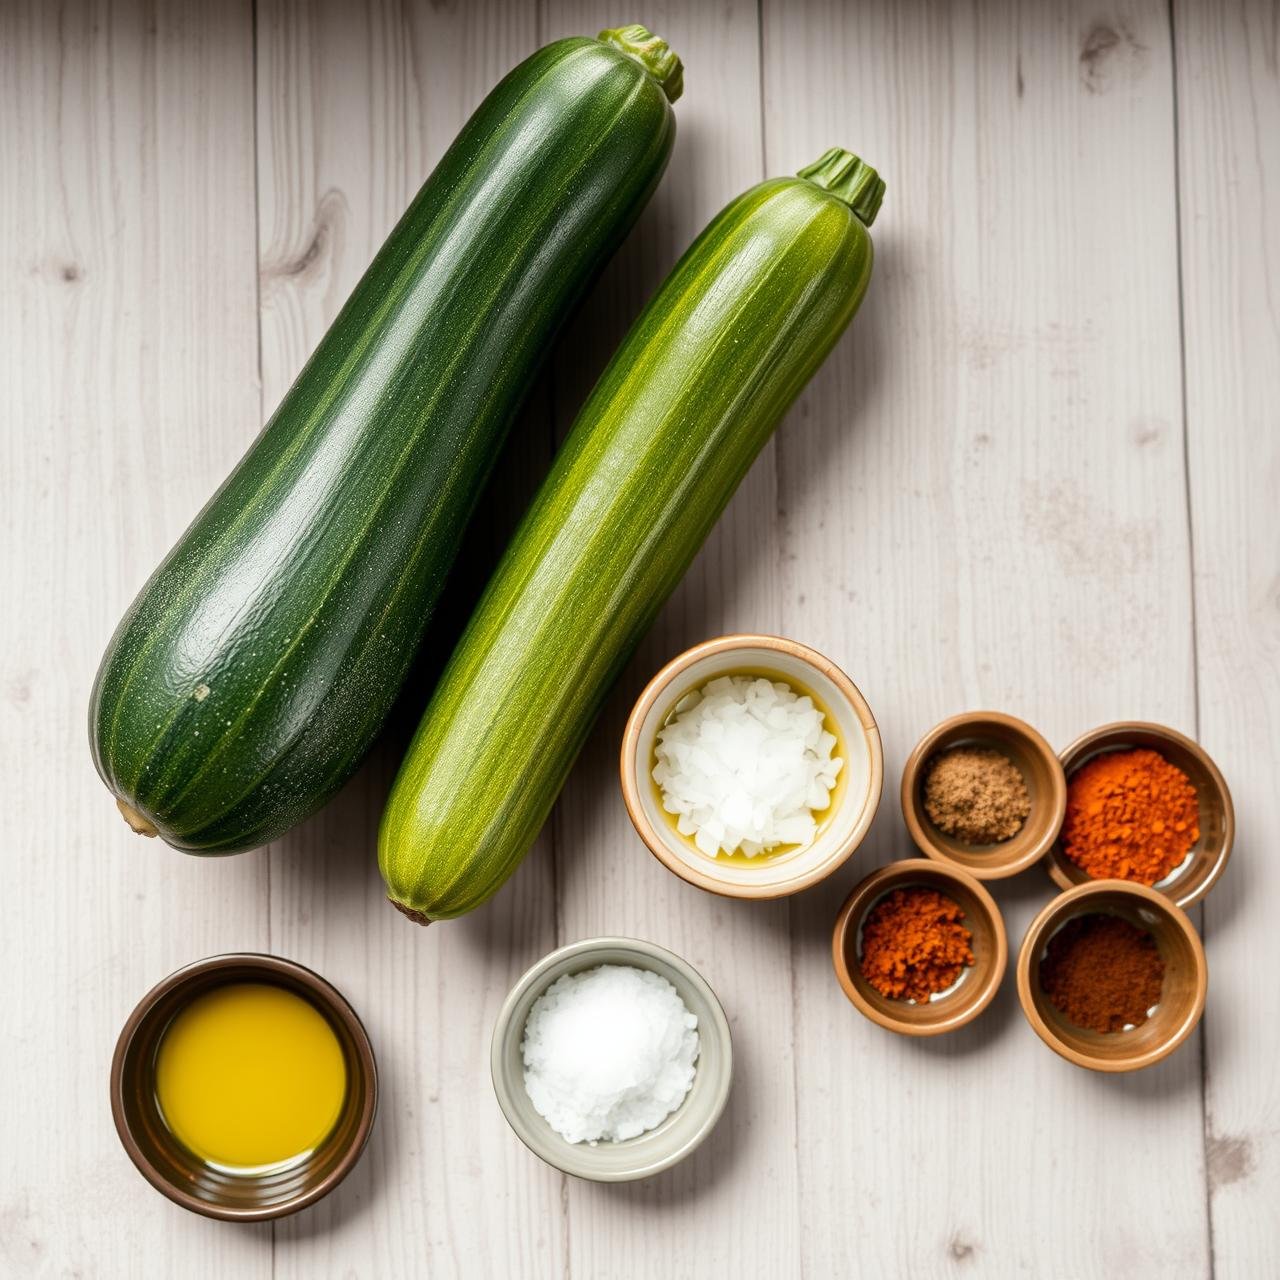
The beauty of this recipe is in its simplicity. We’re using just a handful of quality ingredients to let the natural, subtly sweet flavor of the zucchini shine through.
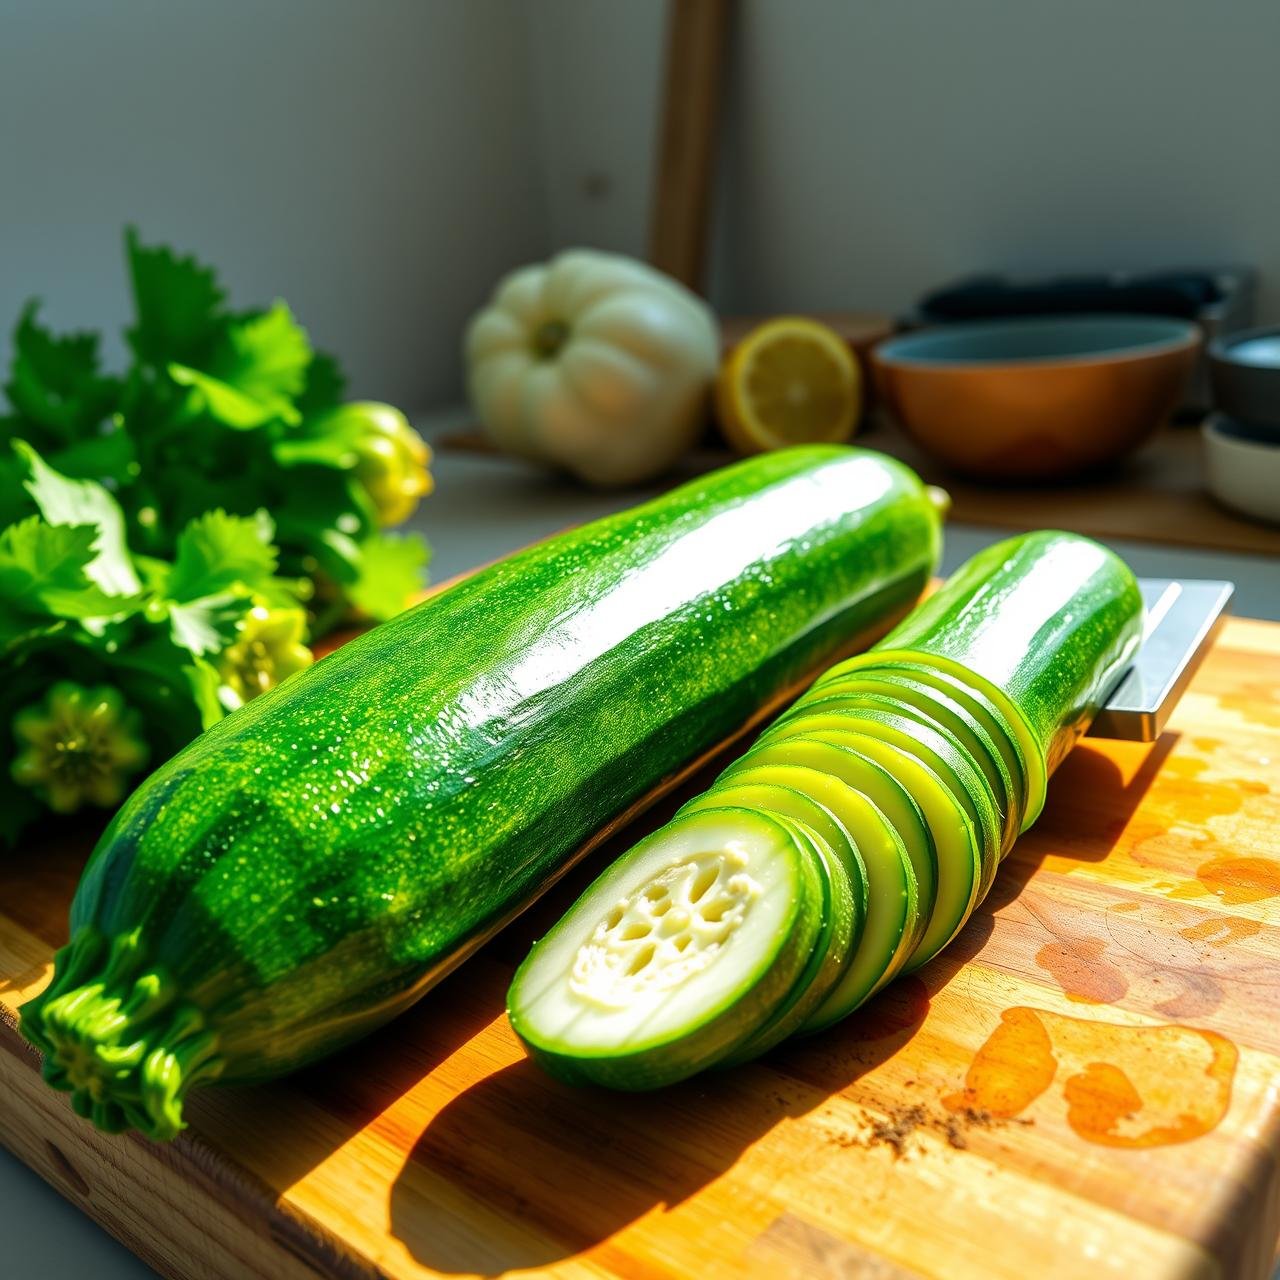
- Zucchini: 2 medium-sized (about 1 lb or 450g). Look for firm zucchini with smooth, unblemished dark green skin. Smaller to medium-sized ones tend to have fewer seeds and less water content.
- Olive Oil: 1 tablespoon of good quality extra virgin olive oil. This helps the seasonings adhere and promotes even browning.
- Fine Sea Salt: 1/2 teaspoon for sweating the zucchini, plus more for seasoning to taste.
- Seasoning of Choice: This is where you can get creative! We’ll start with a classic blend.
- 1/4 teaspoon garlic powder
- 1/4 teaspoon onion powder
- A pinch of smoked paprika
- Freshly ground black pepper, to taste
Step-by-Step to Crispy Perfection
Follow these steps meticulously, and you’ll be rewarded with the crispiest, most delicious zucchini chips imaginable. The process is simple but requires a little patience.
- Preheat and Prep: Preheat your oven to 225°F (110°C). Line two large baking sheets with parchment paper.
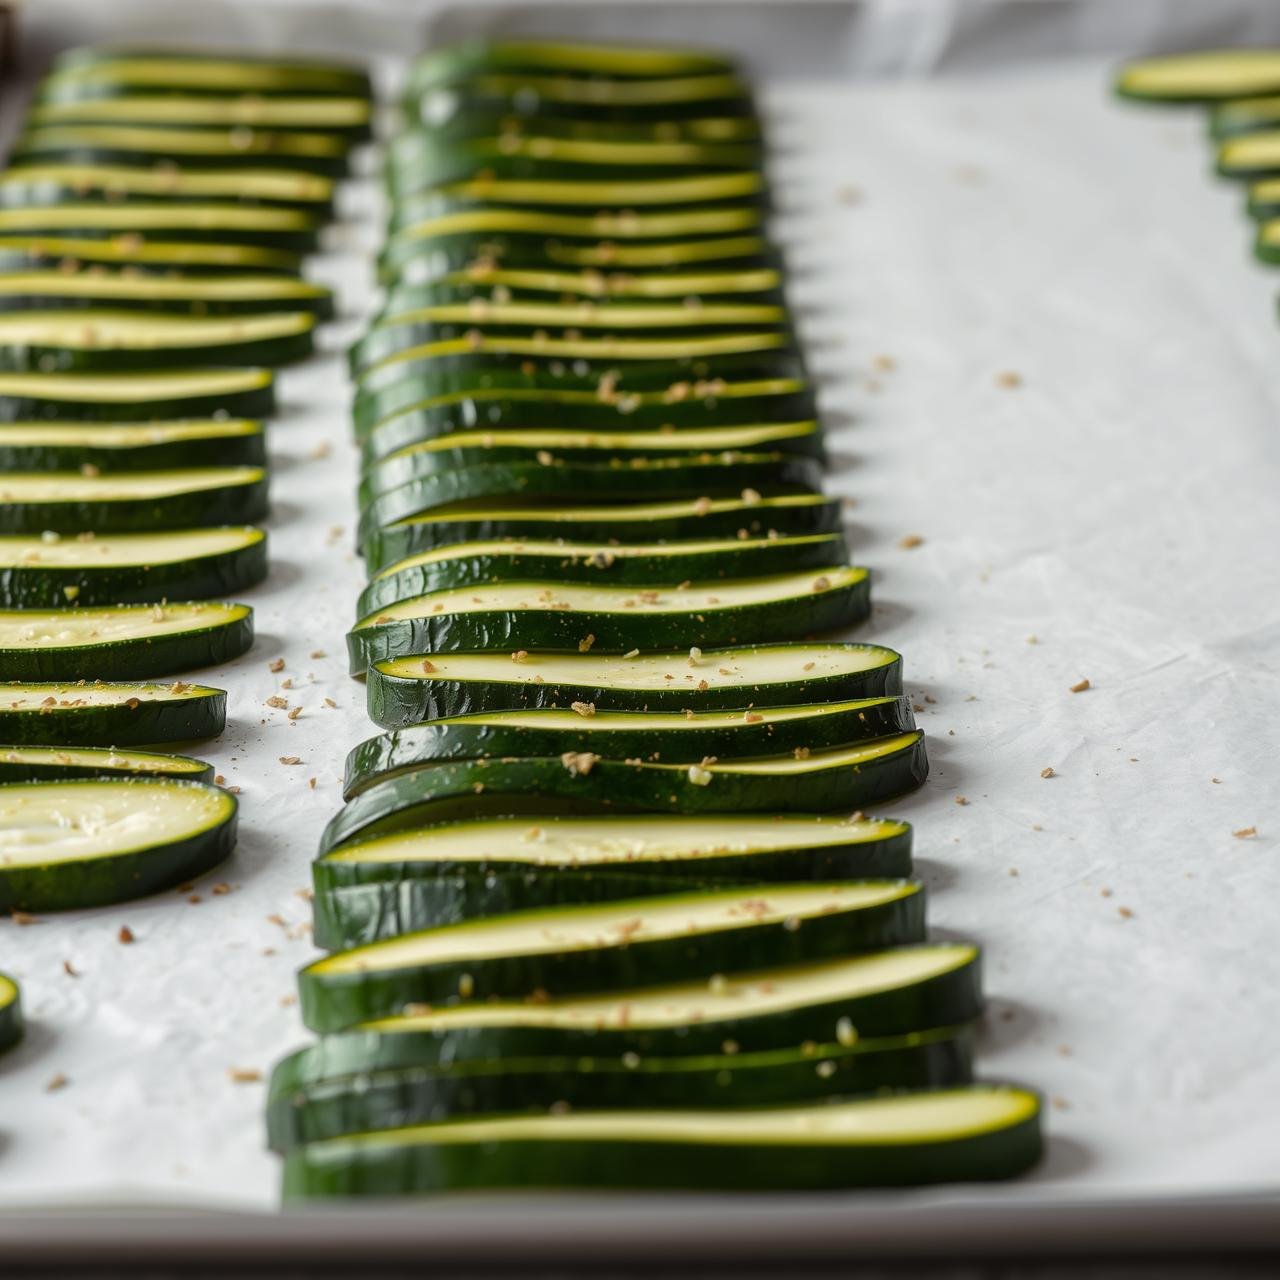
- Slice the Zucchini: Wash and dry your zucchini thoroughly. Trim off the ends. Using a mandoline slicer or a very sharp knife, slice the zucchini into uniform 1/8-inch (3mm) rounds. Consistency is key for even baking.
- The Crucial ‘Sweating’ Step: Arrange the zucchini slices in a single layer on paper towels or a clean kitchen towel. Sprinkle them evenly with about 1/2 teaspoon of fine sea salt. Let them sit for 20-30 minutes. You will see beads of water forming on the surface. This is exactly what we want!
- Pat Thoroughly Dry: Using another layer of paper towels, press down firmly on the zucchini slices to blot away all the moisture you just drew out. The slices should feel significantly drier to the touch. Do not skip this step!
- Season the Chips: Place the dried zucchini slices into a large, dry bowl. Drizzle with the 1 tablespoon of olive oil and toss gently with your hands to coat each slice lightly. In a small bowl, mix together your garlic powder, onion powder, smoked paprika, and black pepper. Sprinkle the seasoning mix over the zucchini and toss again until every slice is evenly coated.
- Arrange on Baking Sheets: Carefully place the seasoned zucchini slices in a single layer on your prepared baking sheets. Make sure none of the slices are overlapping. Leave a little space between each one to allow for optimal air circulation, which is vital for dehydration.
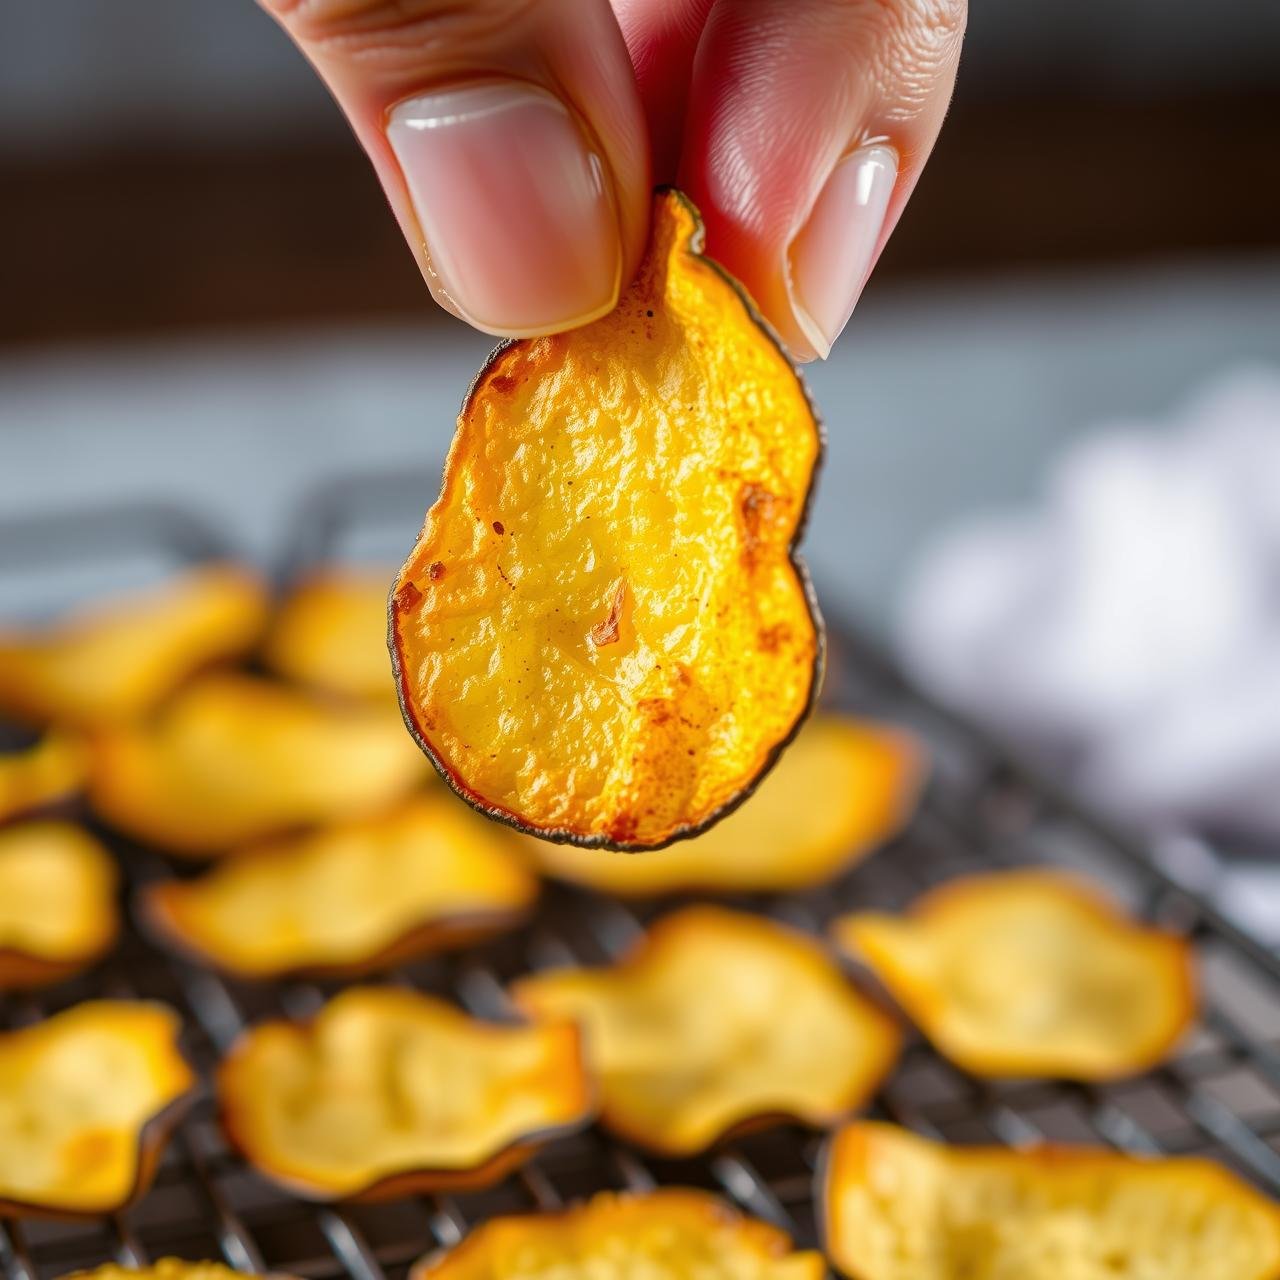
- Bake Low and Slow: Place the baking sheets in the preheated oven. Bake for 1.5 to 2 hours. To ensure even baking, rotate the pans and flip the chips halfway through the cooking time. The chips are done when they are golden brown, shrunken, and feel dry and crispy to the touch. Keep a close eye on them during the last 30 minutes, as they can go from perfectly crisp to burnt quite quickly.
- Cool Completely: Remove the baking sheets from the oven. Let the chips cool on the pans for about 10 minutes before transferring them to a wire rack to cool completely. They will continue to crisp up as they cool. The final crunch is achieved once they are at room temperature.
Chef’s Tips for Next-Level Zucchini Chips
Ready to elevate your chip game? These professional tips will help you troubleshoot common issues and guarantee flawless results every single time.
Mastering the Slice
If your chips are partly burnt and partly soggy, inconsistent slicing is the culprit. If you’re using a knife, take your time. A mandoline is a worthy investment for any serious home cook and is the best tool for this job. Uniformity is not just for looks; it’s for function.
Don’t Crowd the Pan
This is the cardinal rule of roasting and baking. Giving each chip its own personal space allows hot air to circulate freely around it, wicking away moisture. If you pile them on top of each other, you’re essentially steaming them, which is the opposite of what we want. Use multiple pans if necessary; it’s better than a soggy outcome.
Know Your Oven
Every oven has its own quirks and hot spots. The suggested time of 1.5-2 hours is a guideline. Start checking your chips around the 75-minute mark. Some may be done before others. Don’t be afraid to pull off the crispy ones as they finish and let the others continue to bake.
Cooling is Part of the Cooking
Don’t judge the final crispiness straight out of the oven. The chips undergo a final transformation as they cool. The residual heat dissipates, and the structure sets, resulting in that signature snap. Transferring them to a wire rack allows air to circulate underneath, preventing them from getting steamy and soft on the bottom.
Flavor Variations & Dipping Sauces
Once you’ve mastered the basic recipe, the fun truly begins. Here are some tested and approved flavor profiles and dipping sauces to try:
Spice Blend Ideas
- Spicy Southwest: Mix 1/4 tsp chili powder, 1/4 tsp cumin, and a pinch of cayenne pepper.
- Herby Italian: Use 1/2 tsp of a dried Italian herb blend (oregano, basil, thyme) and a sprinkle of parmesan cheese in the last 10 minutes of baking.
- Ranch Style: A sprinkle of your favorite dry ranch seasoning mix is an instant crowd-pleaser.
- Salt & Vinegar: After patting the chips dry, toss them in a bowl with 1-2 tablespoons of white vinegar before adding the oil and salt. Bake as directed.
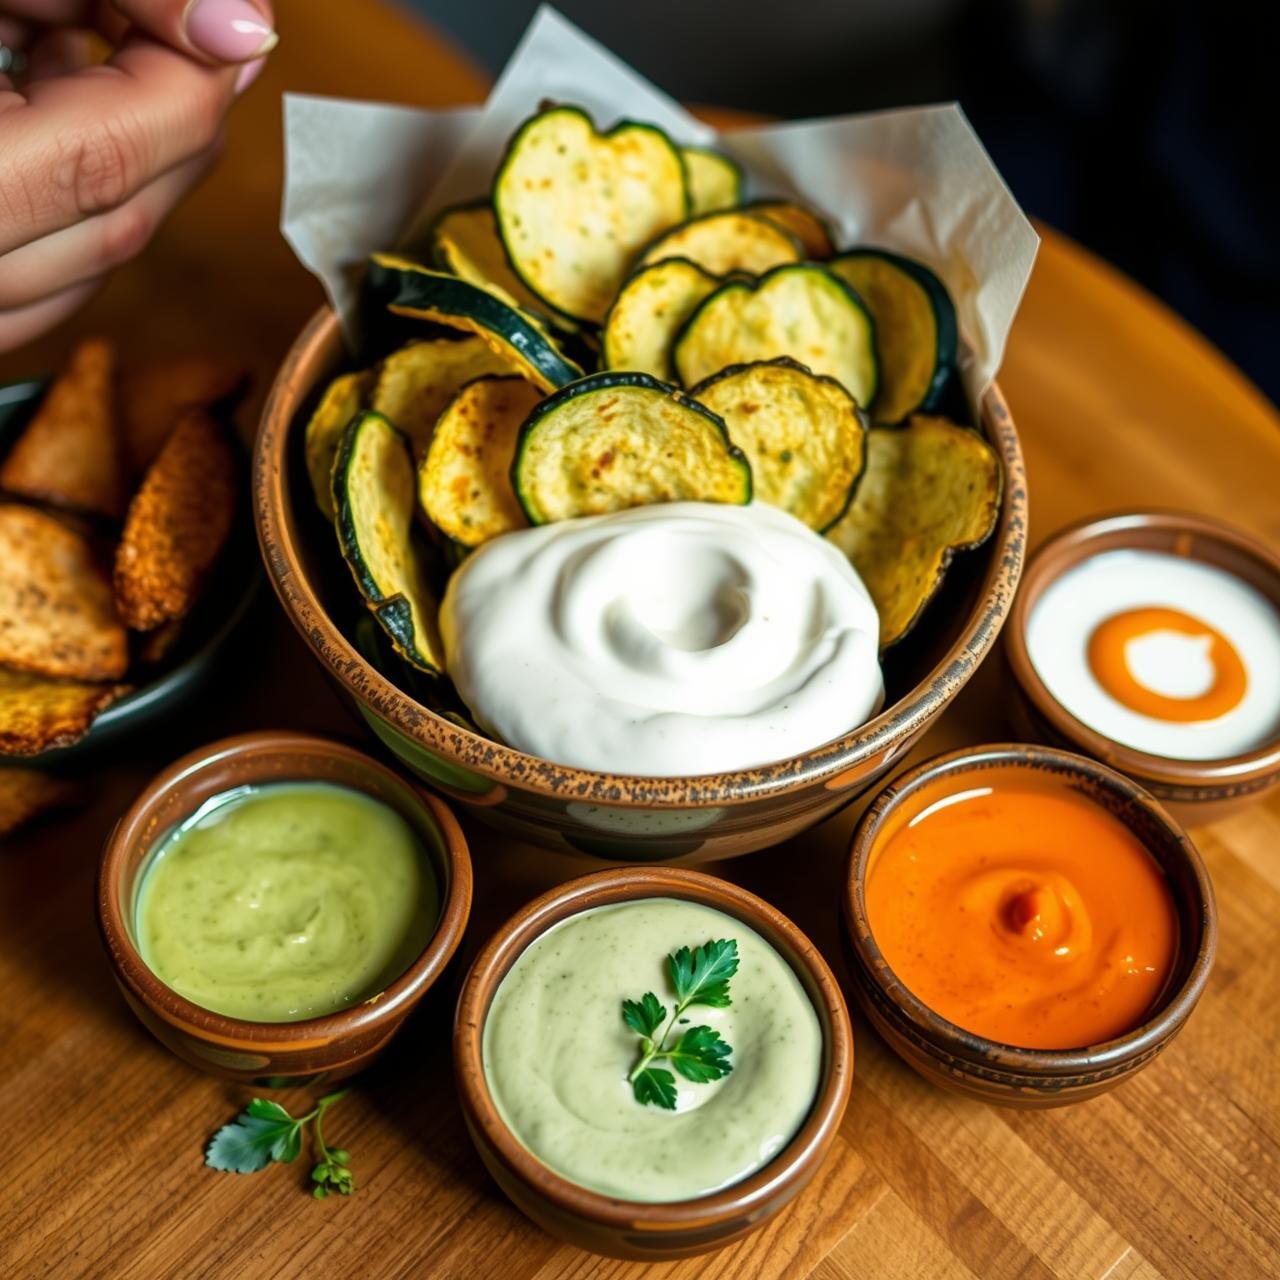
Perfect Dipping Sauces
- Creamy Garlic Aioli: Whisk together 1/2 cup mayonnaise, 1-2 cloves of minced garlic, a squeeze of lemon juice, and salt to taste.
- Spicy Yogurt Dip: Combine 1/2 cup of plain Greek yogurt, 1 tbsp of sriracha or your favorite hot sauce, and a dash of lime juice.
- Avocado Crema: Blend half an avocado, 1/4 cup sour cream or yogurt, a handful of cilantro, lime juice, and a pinch of salt until smooth.
Storing Your Crispy Creations
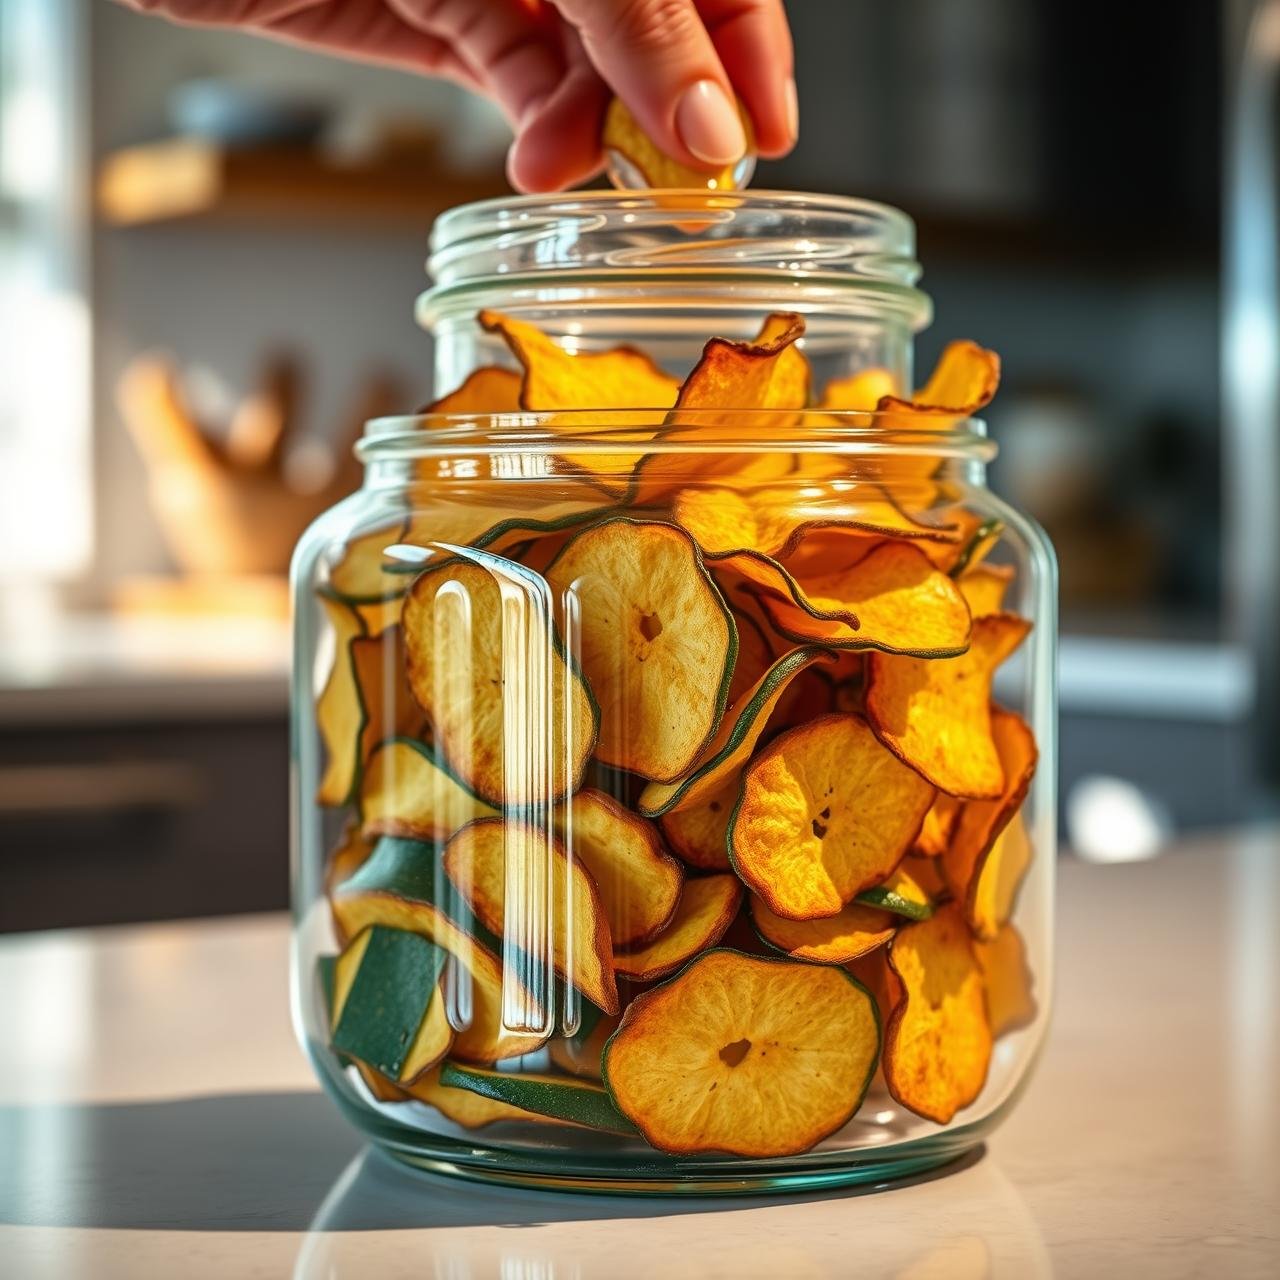
The biggest challenge with homemade chips is keeping them crispy. Moisture in the air is the enemy. To best preserve their crunch, you must store them correctly.
First and foremost, ensure the chips are 100% cooled to room temperature before storing. Any residual warmth will create steam and condensation inside the container, leading to sogginess.
The best storage method is an airtight container, such as a glass jar with a tight-fitting lid or a zip-top bag with as much air pressed out as possible. For extra protection, you can place a paper towel at the bottom of the container to absorb any potential ambient moisture.
Store them in a cool, dry place like a pantry. Stored this way, your zucchini chips should remain wonderfully crispy for up to 3-4 days. Though, if your household is anything like mine, they won’t last that long!
Nutritional Information
This is an estimated nutritional breakdown for a single serving, assuming the recipe makes 4 servings. Actual values may vary based on ingredient size and specific products used.
| Nutrient | Amount Per Serving |
|---|---|
| Calories | ~ 55 kcal |
| Total Fat | ~ 3.5g |
| Saturated Fat | ~ 0.5g |
| Sodium | ~ 310mg |
| Total Carbohydrates | ~ 4.5g |
| Dietary Fiber | ~ 1.5g |
| Sugars | ~ 2g |
| Protein | ~ 1.5g |
Conclusion
There you have it—the definitive guide to creating truly crispy, intensely flavorful, and incredibly healthy oven-baked zucchini chips. By understanding the simple science of moisture removal and embracing the patient, low-and-slow baking method, you’ve unlocked a snack that nourishes the body and delights the senses. No longer do you have to choose between healthy and delicious. So the next time a craving for something crunchy strikes, step away from the bag and reach for a fresh zucchini. You’re not just making a snack; you’re creating a small piece of culinary magic right in your own kitchen. We can’t wait to hear about the flavor combinations you create!