Crispy Fries With Zero Guilt: The No Fluff Guide to Jicama
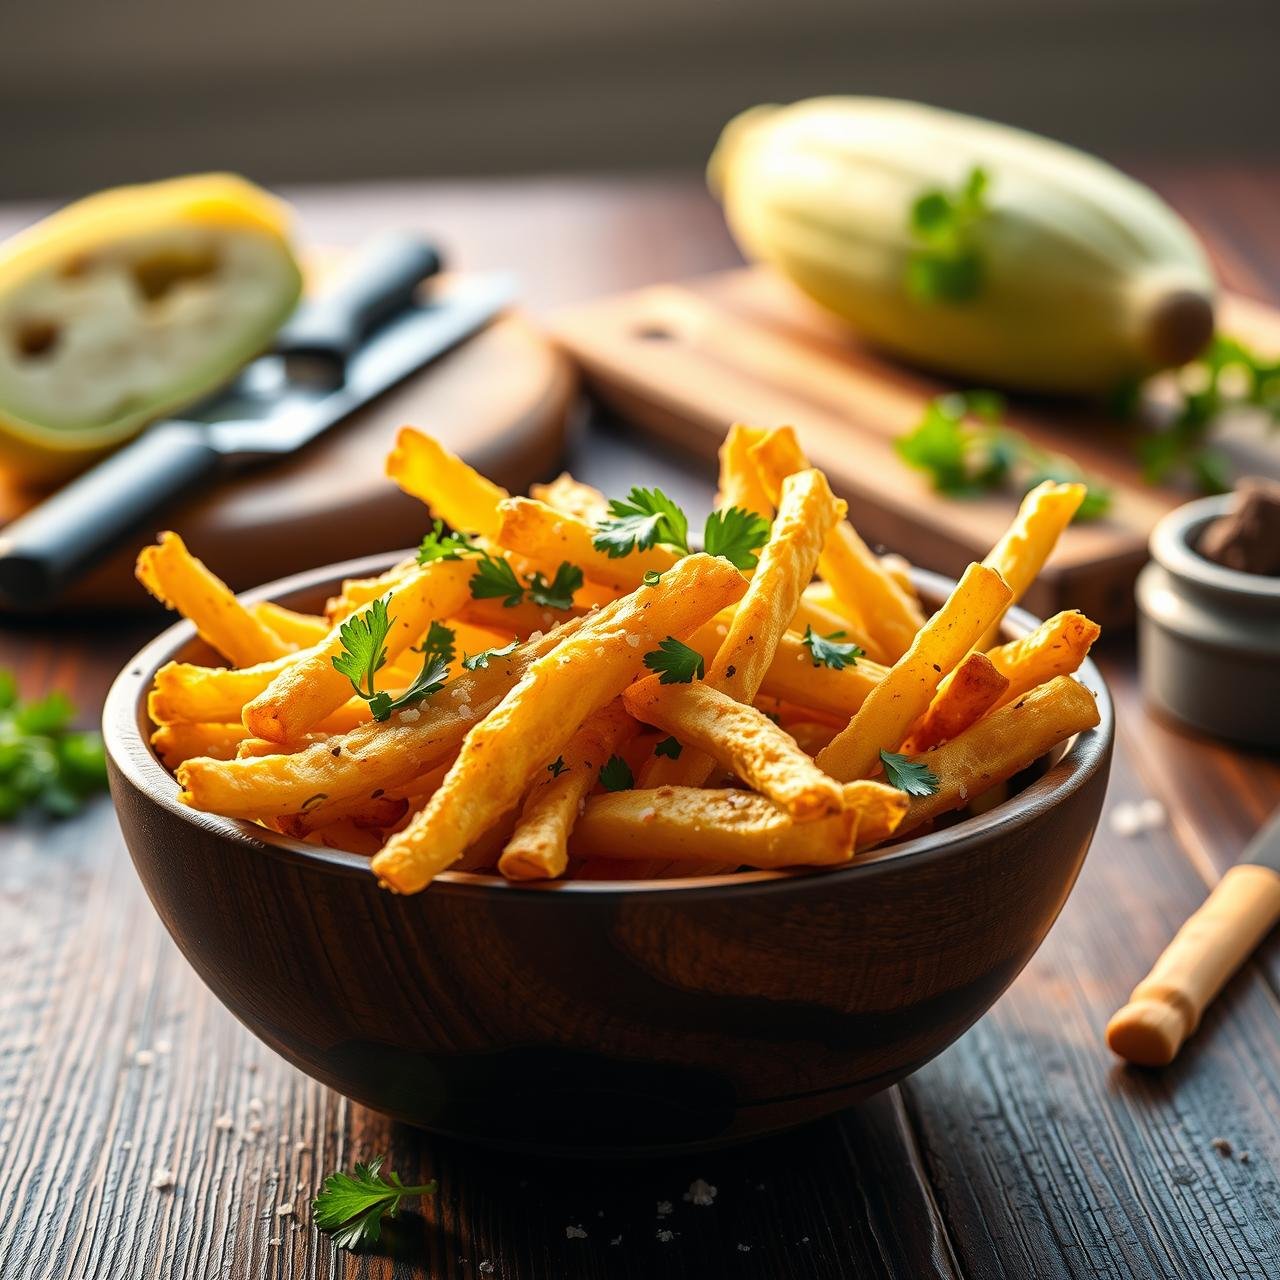
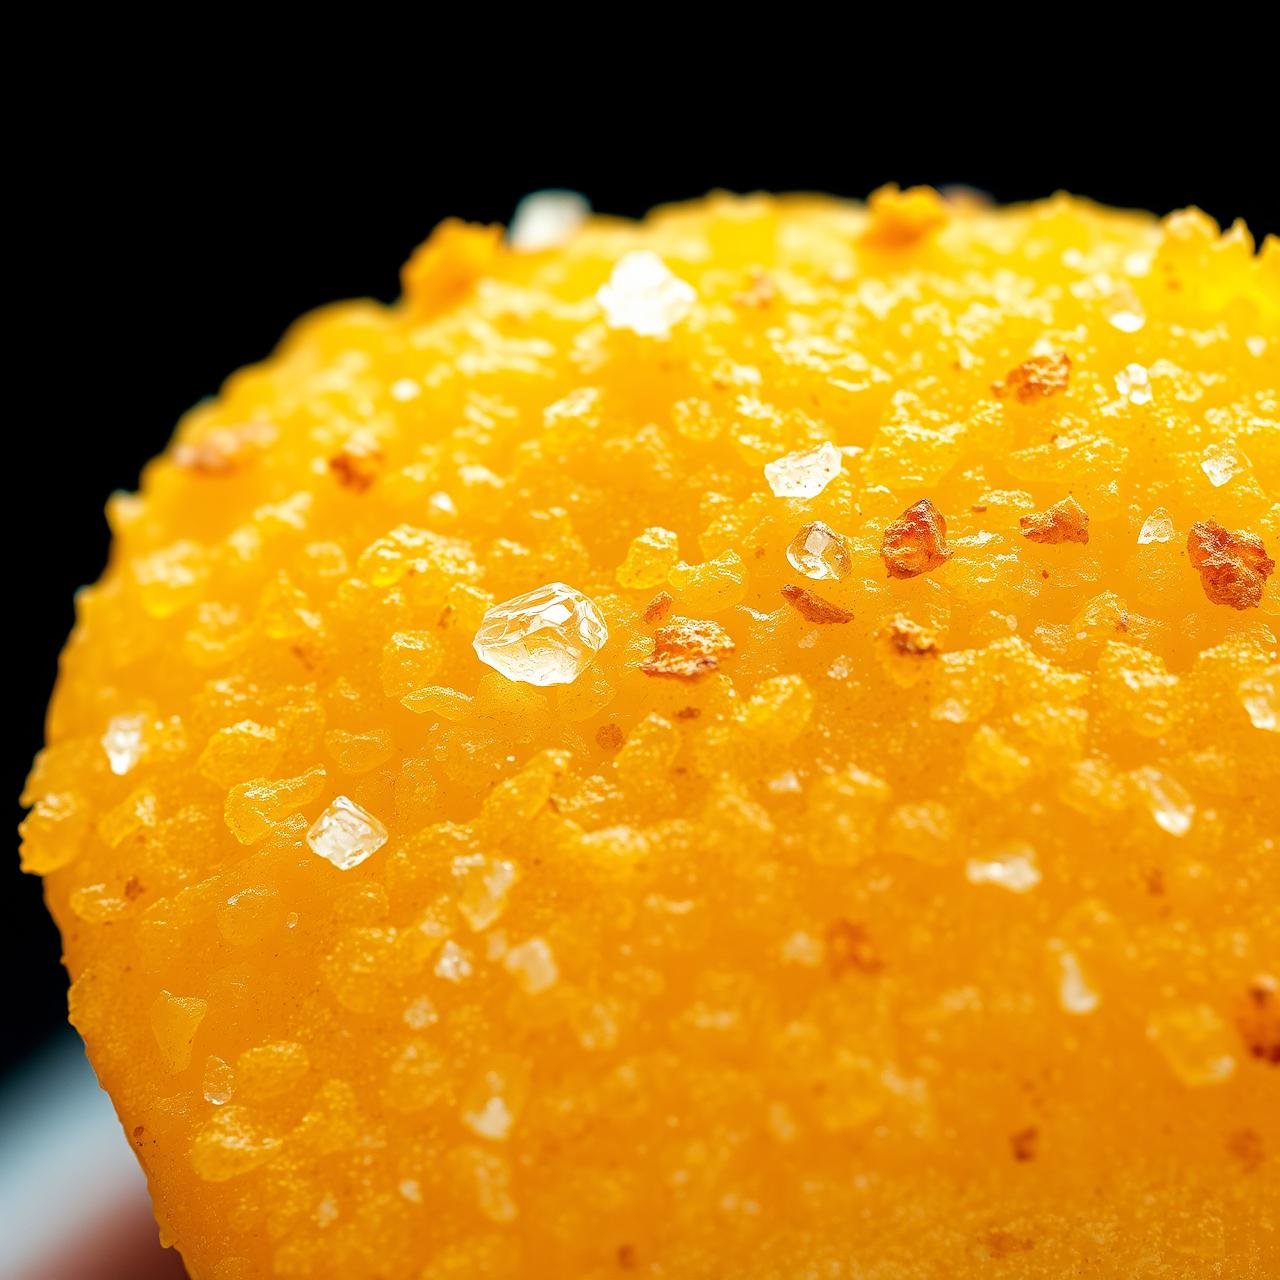
Imagine the perfect french fry: a crispy, golden exterior that gives way to a tender, satisfying interior, lightly dusted with salt, begging to be dipped. Now, imagine that same perfect fry, but stripped of the guilt, the heavy carbs, and the post-snack slump. It sounds like a foodie fantasy, but it’s deliciously real. Welcome to the world of jicama fries.
For too long, jicama (pronounced HEE-kah-mah) has been an unsung hero of the produce aisle. This humble, crisp, and subtly sweet root vegetable is a nutritional powerhouse, and with the right technique, it transforms into the guilt-free fries you’ve been dreaming of. This is not just another recipe; this is your no-fluff, comprehensive guide to mastering the art of the jicama fry. We’ll cover everything from selection and prep to the chef’s secrets for achieving that elusive, potato-like crispiness. Prepare to change the way you see fries forever.
What Exactly is Jicama? The Humble Root Vegetable Revealed
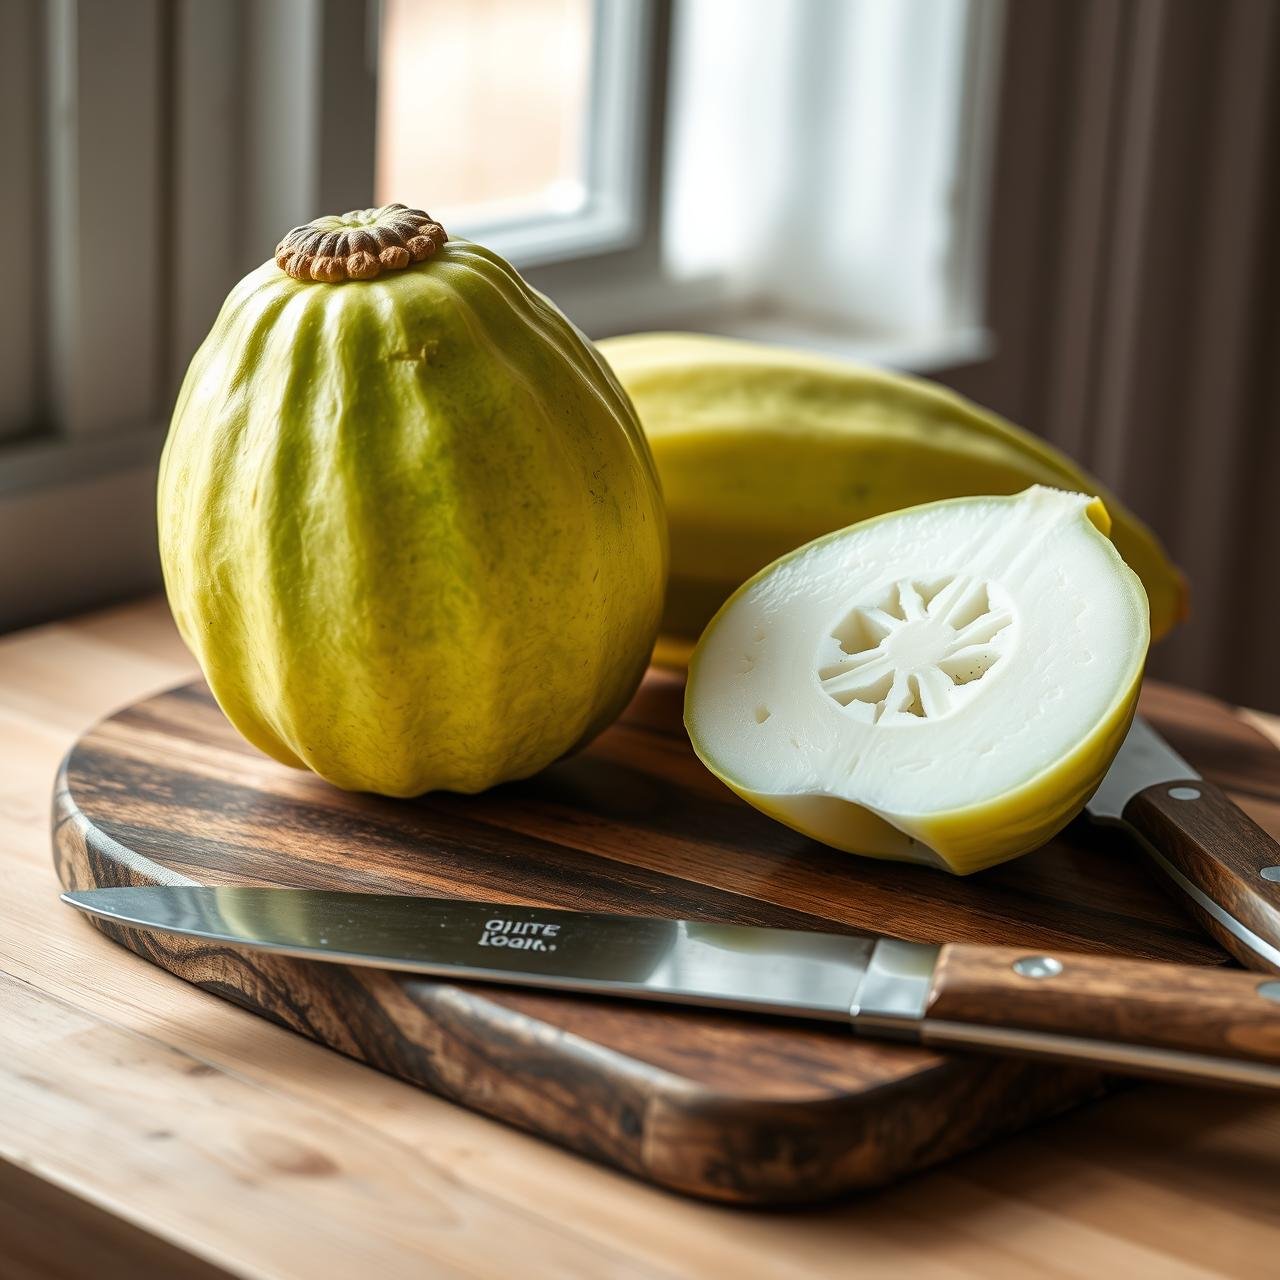
Before we turn this unassuming orb into golden sticks of goodness, let’s get properly acquainted. Jicama is a globe-shaped root vegetable native to Mexico, with a thin brown skin and a starchy, crisp white flesh. If you’ve never tried it, think of its texture as a delightful cross between a crisp apple and a water chestnut, with a mildly sweet, nutty, and savory flavor profile.
But the real magic of jicama lies in its nutritional profile, making it a darling for health enthusiasts, keto dieters, and anyone looking to eat cleaner:
- Low in Calories & Carbs: A full cup of jicama contains only about 49 calories and 6 grams of net carbs, a stark contrast to the potato’s 116 calories and 26 grams of carbs.
- High in Fiber: It’s packed with prebiotic fiber, which is fantastic for gut health and helps keep you feeling full and satisfied.
- Rich in Vitamin C: Jicama is an excellent source of this powerful antioxidant, supporting your immune system.
Its sturdy texture holds up beautifully to high heat, making it the ideal candidate for our crispy fry experiment. It won’t turn to mush, and its neutral flavor is a perfect canvas for your favorite seasonings.
Gathering Your Arsenal: Equipment & Ingredients
The beauty of this recipe is its simplicity. You don’t need a pantry full of exotic ingredients or a chef’s kitchen to achieve spectacular results. Here’s what you’ll need to have on hand.
Essential Equipment
| Item | Purpose |
|---|---|
| Sharp Chef’s Knife | For safely and uniformly cutting the jicama into fry shapes. |
| Vegetable Peeler or Paring Knife | To remove the tough, fibrous outer skin. |
| Large Pot | For the crucial parboiling step. |
| Large Mixing Bowl | For evenly tossing and seasoning the fries. |
| Air Fryer or Baking Sheets | Your chosen vessel for the crisping process. |
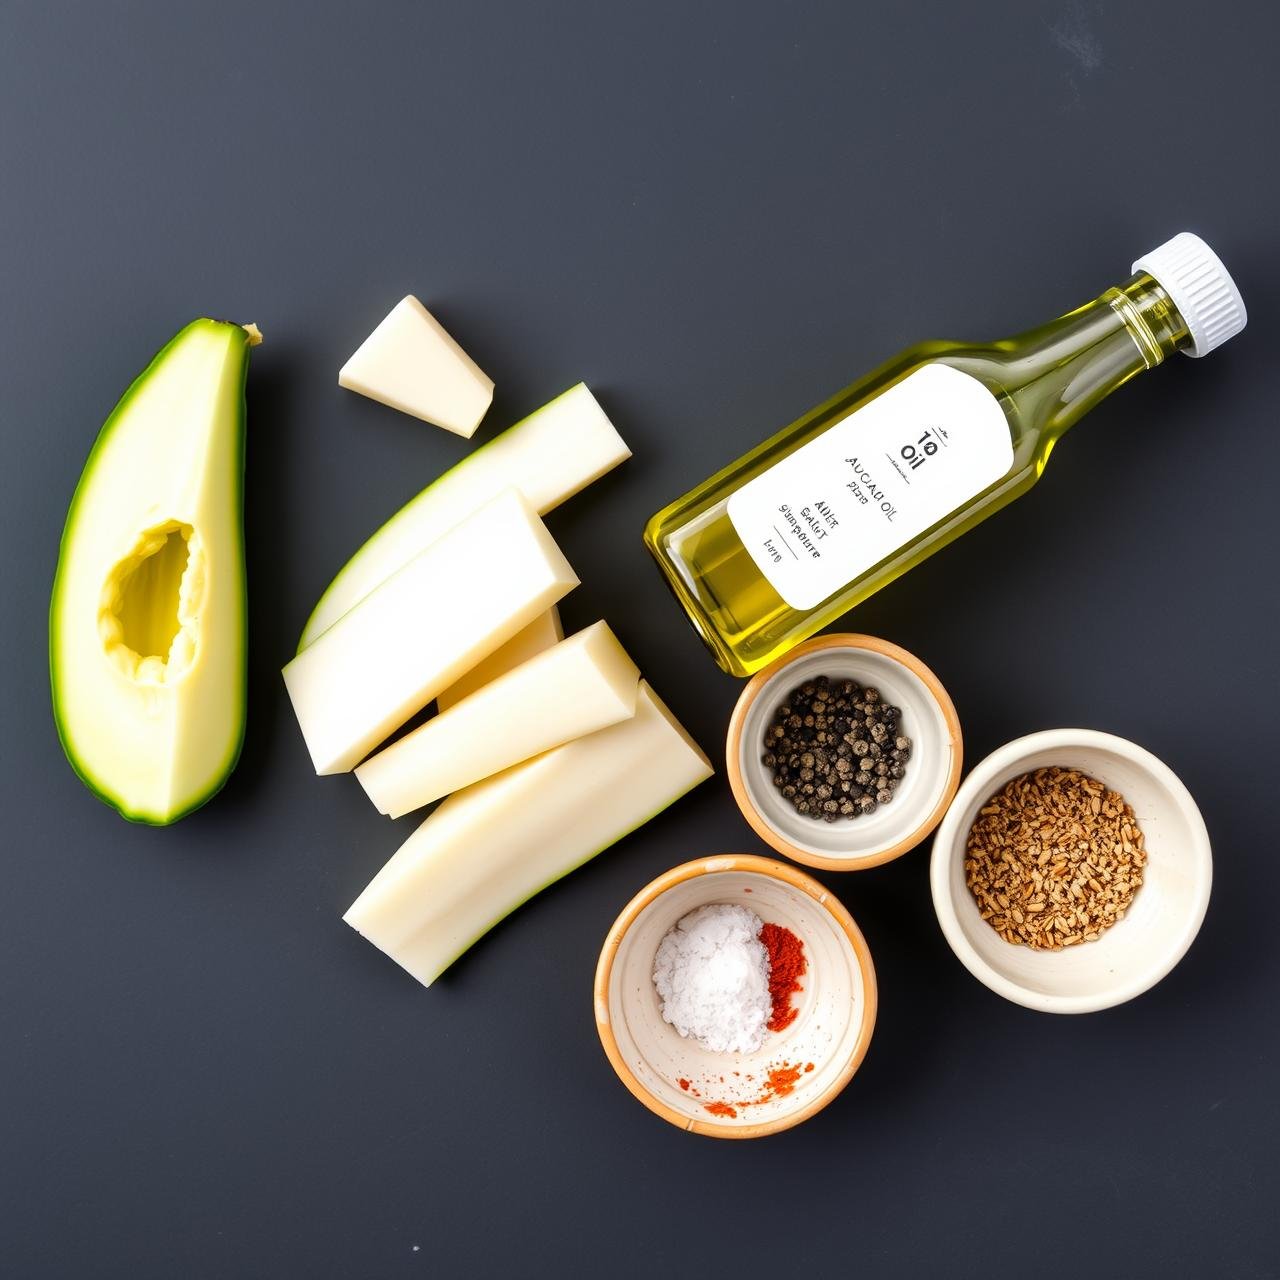
Core Ingredients
- 1 large jicama (about 2 pounds), peeled and cut into 1/4 to 1/2-inch thick sticks
- 1 tablespoon of avocado oil or other high-heat cooking oil
- 1 teaspoon of fine sea salt
- 1/2 teaspoon of black pepper
- 1 teaspoon of garlic powder
- 1 teaspoon of smoked paprika (for color and flavor)
The Art of the Jicama Fry: A Step-by-Step Guide

This is where the magic happens. The secret to transforming dense, raw jicama into a tender-on-the-inside, crispy-on-the-outside fry lies in a simple, but non-negotiable, two-step cooking process. Don’t skip the boil!
-
Peel and Chop
Jicama skin is tough and fibrous, so a simple vegetable peeler might struggle. The best method is to top and tail the jicama, set it flat on your cutting board, and use a sharp knife to cut away the peel from top to bottom, rotating as you go. Once peeled, slice the jicama into planks, then cut those planks into uniform fry-shaped sticks, about 1/4 to 1/2-inch thick. Uniformity is key for even cooking!
-
The Crucial Parboil
Bring a large pot of salted water to a rolling boil. Add the jicama sticks and boil for 10-15 minutes. They should be slightly softened and tender when pierced with a fork, but not mushy. This step is essential; it breaks down the starches and removes excess moisture, allowing the exterior to crisp up beautifully later.
-
Drain and Dry Thoroughly
Drain the boiled jicama sticks in a colander and let them steam dry for a few minutes. Then, spread them out on a clean kitchen towel or paper towels and pat them until they are as dry as possible. Moisture is the enemy of crispiness! This is the most important step for achieving a crunchy exterior.
-
Season Generously
Transfer the dry jicama sticks to your large mixing bowl. Drizzle with the avocado oil and toss to coat every single fry. Then, sprinkle over the salt, pepper, garlic powder, and smoked paprika. Toss again until the fries are evenly and beautifully seasoned.
The Crisping Crucible: Choosing Your Cooking Method
Now that your fries are prepped and seasoned, it’s time for the final transformation. Both air frying and oven baking yield delicious results, but each has its own nuances.
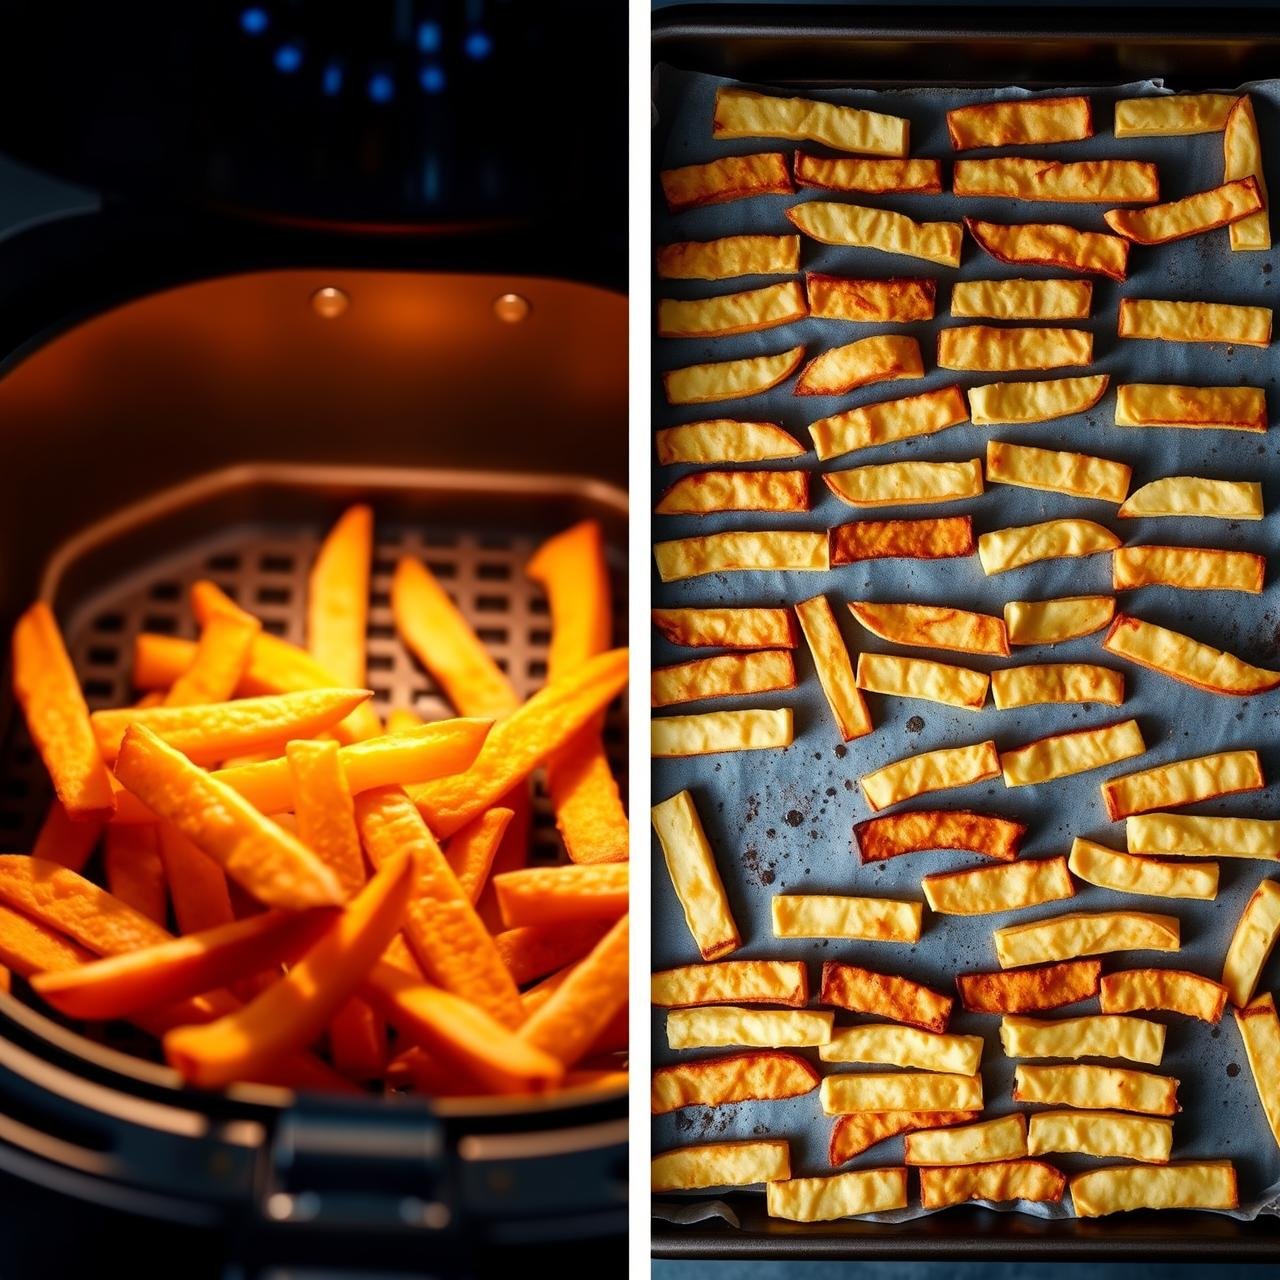
Method 1: The Air Fryer (Maximum Crisp)
The air fryer is, without a doubt, the champion for achieving the crispiest jicama fries. The circulating hot air wicks away moisture rapidly, creating an unbeatable crunch.
- Preheat your air fryer to 400°F (200°C).
- Place the seasoned jicama fries in the air fryer basket in a single layer. Do not overcrowd the basket; cook in batches if necessary. Overcrowding will steam the fries instead of crisping them.
- Air fry for 15-20 minutes, shaking the basket vigorously every 5-7 minutes to ensure they cook evenly and get crispy on all sides.
- The fries are done when they are deeply golden brown and crispy to the touch.
Method 2: The Oven-Baked Classic (Easy & Reliable)
If you don’t have an air fryer, your oven can still produce wonderfully crispy and delicious fries. The key is high heat and ample space.
- Preheat your oven to 425°F (220°C). Line one or two large baking sheets with parchment paper for easy cleanup and to prevent sticking.
- Spread the seasoned jicama fries in a single layer on the prepared baking sheets. Ensure there is space between each fry to allow air to circulate. Use two sheets if you have to!
- Bake for 25-35 minutes, flipping the fries halfway through the cooking time.
- They are ready when the edges are browned and the fries are sizzling and crisp.
Flavor Alchemy: Seasoning Blends & Dipping Sauces
The classic salt, pepper, and paprika combination is a winner, but jicama’s neutral base is an invitation to get creative. Elevate your fries with these flavor profiles and homemade dips.
Spice It Up: Custom Seasoning Blends
- Spicy Chili-Lime: Add 1/2 tsp of chili powder and the zest of one lime to the base seasoning mix. Serve with a lime wedge.
- Herbaceous Italian: Mix in 1 tsp of dried oregano and 1/2 tsp of dried basil. Sprinkle with fresh parsley and grated parmesan (if not dairy-free) after cooking.
- Smoky & Sweet BBQ: Use your favorite BBQ rub in place of the paprika and garlic powder for a smoky, tangy kick.
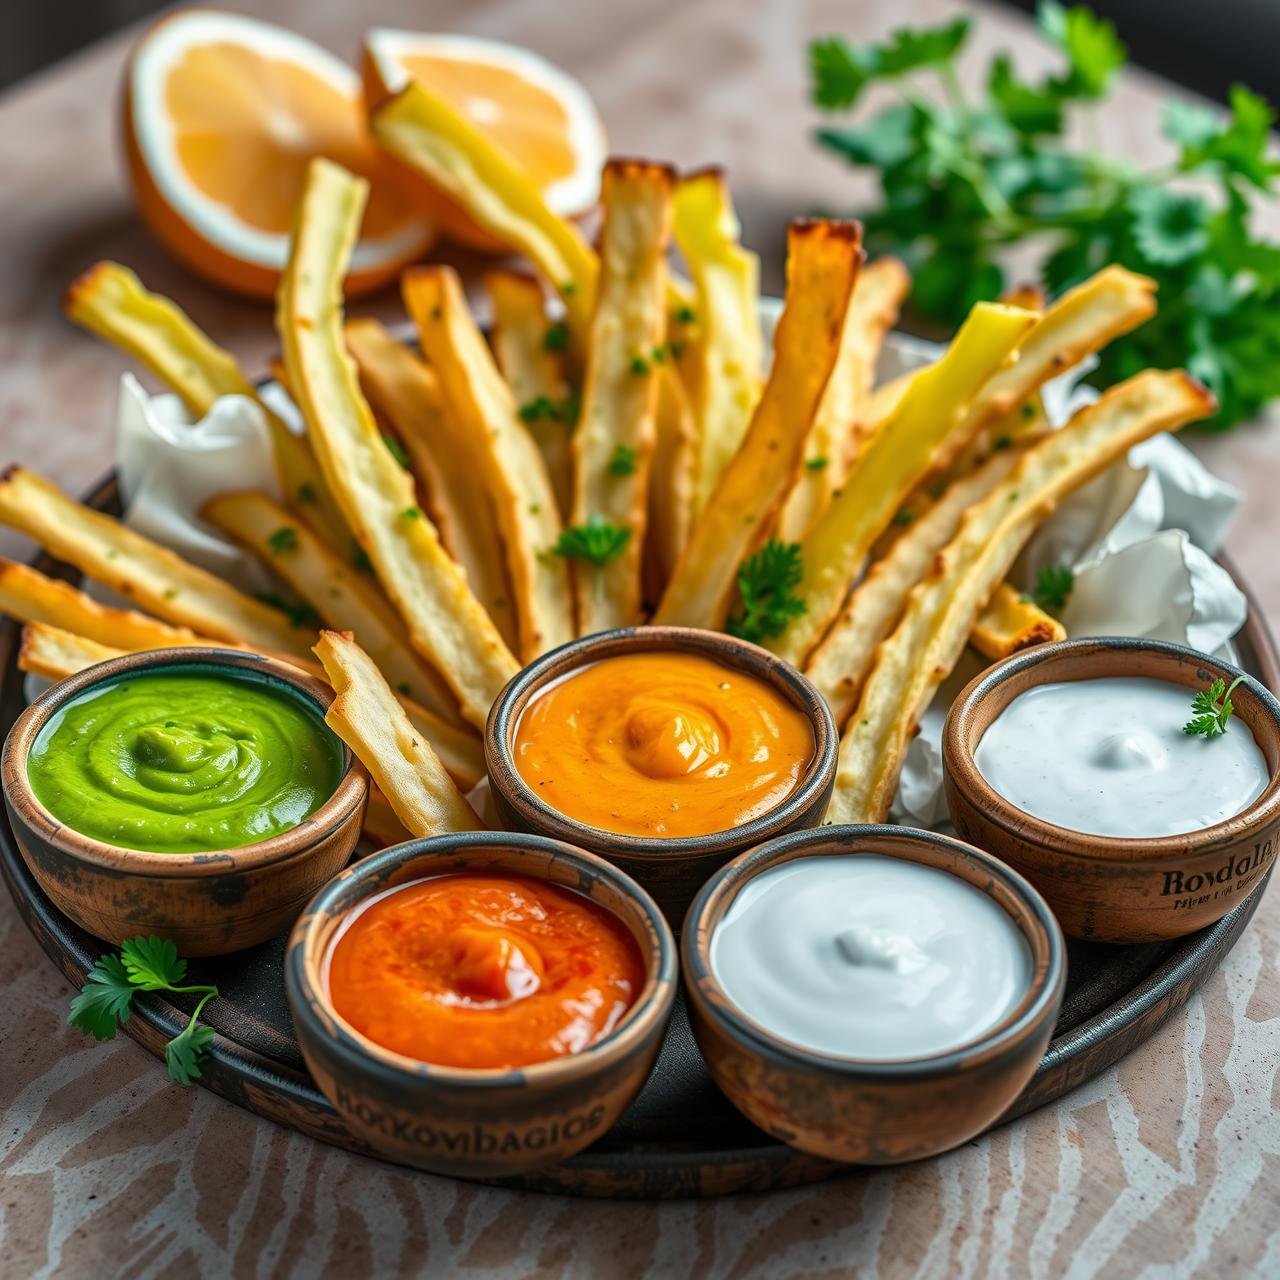
Take a Dip: Perfect Pairings
- Creamy Avocado-Cilantro Sauce: Blend one avocado, a handful of cilantro, the juice of one lime, a clove of garlic, and a splash of water until smooth.
- Spicy Chipotle Aioli: Mix 1/2 cup of mayonnaise (or vegan mayo) with 1-2 teaspoons of adobo sauce from a can of chipotles in adobo, and a squeeze of lime juice.
- Simple Greek Yogurt Ranch: Combine 1/2 cup of plain Greek yogurt with 1 tsp of dried dill, 1/2 tsp each of onion powder and garlic powder, and a pinch of salt.
Chef’s Secrets: Troubleshooting for Ultimate Crispiness
Chasing that perfect crunch? If your fries aren’t living up to their crispy potential, one of these common culprits is likely to blame. Here are the pro tips to guarantee success every time.
- Problem: My fries are soggy, not crispy.
Solution: You likely skipped or shortened the parboiling step, or you didn’t dry the fries well enough. Boiling helps release moisture, and a dry surface is essential for crisping. Don’t overcrowd your pan or air fryer basket, as this will cause them to steam. - Problem: My fries cooked unevenly.
Solution: Your fry sticks were not cut to a uniform size. Take a few extra minutes during prep to ensure they are all roughly the same thickness for consistent cooking. - Problem: The seasoning burned.
Solution: Your oven or air fryer temperature might be too high, or you used spices with a low smoke point (like certain delicate herbs). Stick to powdered spices for the cooking process and add fresh herbs at the end. - Pro-Tip for Extra Crisp: For an even crunchier coating, try adding 1 tablespoon of arrowroot starch or cornstarch to your seasoning mix before tossing the fries. This creates a light, starchy coating that crisps up beautifully in high heat.
Storing and Reheating Your Crispy Creations
While jicama fries are undeniably best when served fresh and hot, leftovers can still be delicious if handled correctly. The goal is to bring back the crispness without drying them out.
Storage
Allow the fries to cool completely to room temperature. This prevents condensation from forming in the storage container, which leads to sogginess. Store them in an airtight container in the refrigerator for up to 3-4 days.
Reheating
Avoid the microwave at all costs! It will turn your beautiful fries into a limp, sad mess. For best results:
- Air Fryer (Best Method): Preheat your air fryer to 375°F (190°C). Place the leftover fries in the basket in a single layer and heat for 3-5 minutes, or until they are heated through and have regained their crispiness.
- Oven: Preheat your oven to 400°F (200°C). Spread the fries on a baking sheet and bake for 5-8 minutes, flipping once, until crisp.
Conclusion
You now hold the key to unlocking one of the healthiest and most satisfying comfort foods imaginable. By embracing the humble jicama and following these simple but crucial techniques, you’ve proven that you don’t have to sacrifice flavor, texture, or that soul-soothing crunch to eat well. These crispy jicama fries are more than just a recipe; they are a delicious declaration that healthy food can be, and should be, incredibly joyful.
So go ahead, preheat that oven or air fryer, and get ready to fall in love with fries all over again—this time, with zero guilt and a whole lot of goodness. Happy cooking!