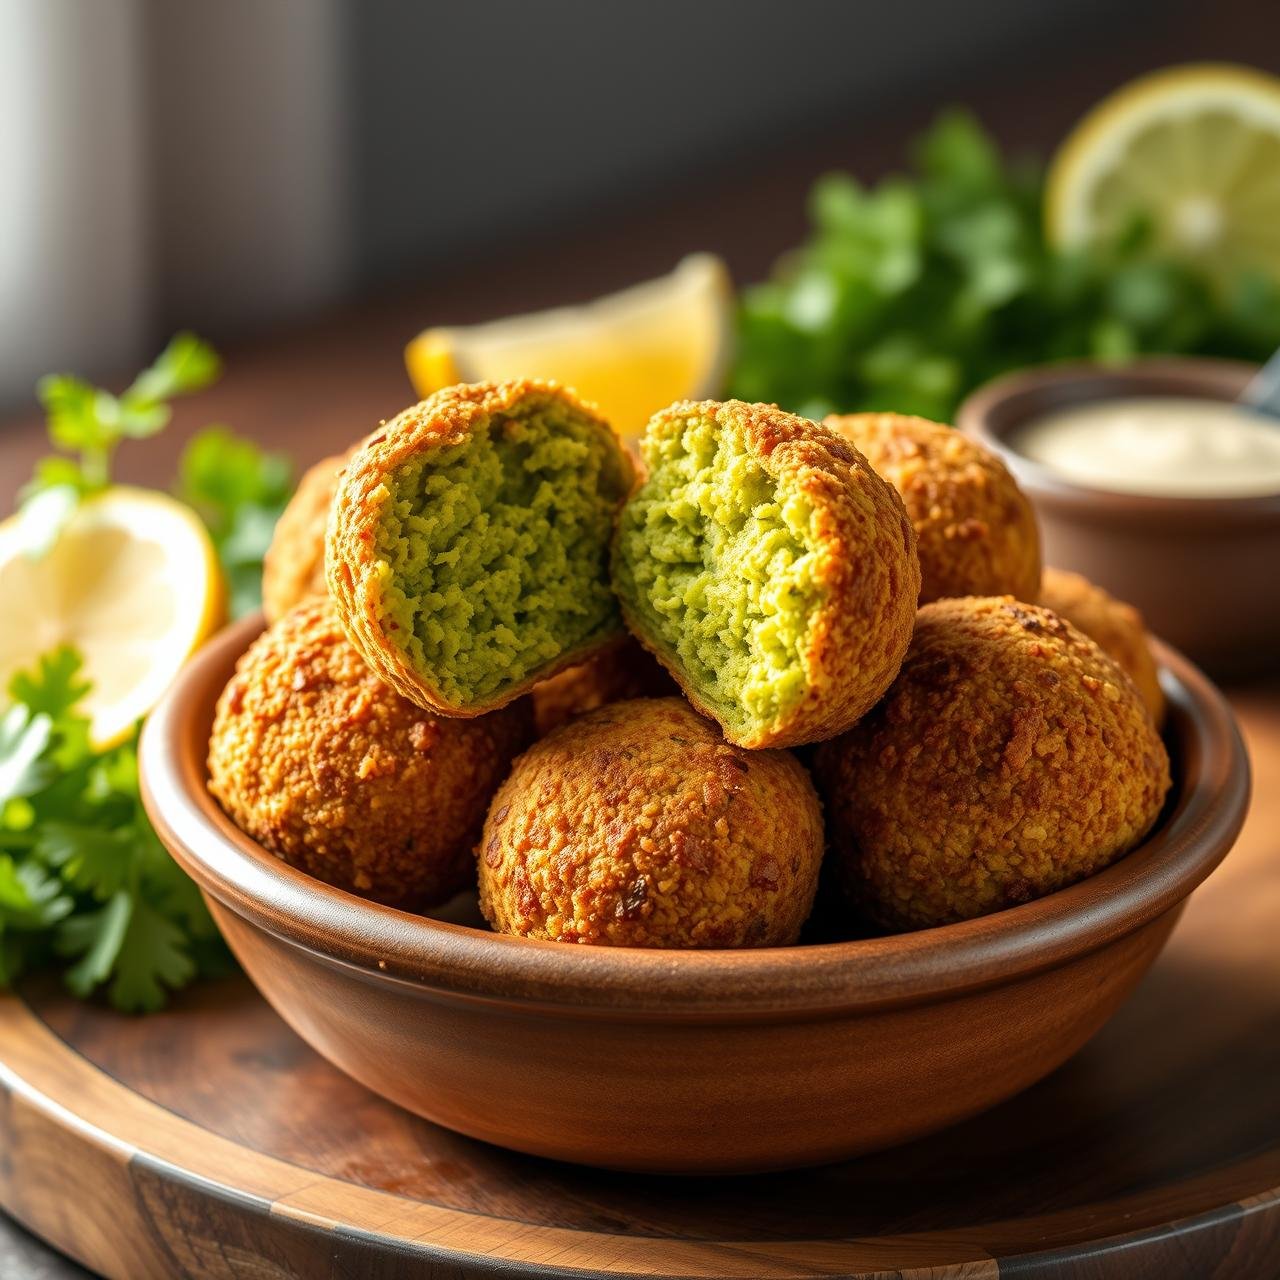
Crispy Baked Falafel That Tastes Fried (Without The Calories)
Imagine biting into a falafel: the shatteringly crisp, golden exterior gives way to a tender, steaming, and herb-flecked interior. It’s a flavor explosion of earthy chickpeas, bright parsley, warm cumin, and zesty coriander. Now, imagine achieving that same textural perfection not in a deep fryer, but in your very own oven. It sounds like magic, but I assure you, it’s entirely possible. For years, I chased the ghost of authentic, street-cart falafel, but I was always hesitant about the vat of oil required. The soggy, dense results of most ‘healthy’ baked versions left me disappointed. They were falafel in name, but not in spirit.
This recipe is the culmination of that quest. It’s a carefully crafted method designed to trick your senses, delivering a falafel so convincingly crispy and flavorful, you’ll swear it was fried. We’re unlocking the secrets—from the crucial first step of using dried, not canned, chickpeas to a special technique that creates that coveted crunchy crust. Get ready to transform humble ingredients into a wholesome, rustic, and utterly irresistible meal that satisfies gourmands and health-conscious cooks alike.
The Foundation: Why Dried Chickpeas Are Non-Negotiable
Before we even touch a spice, we must address the single most important element for falafel success: the chickpeas. If you take away only one thing from this recipe, let it be this: you must start with dried chickpeas. Canned chickpeas are the nemesis of crispy falafel. They are cooked and waterlogged, which results in a mushy, pasty texture that will never hold its shape or crisp up properly. It leads to the dreaded dense, gummy pucks that give baked falafel a bad name.
Starting with dried chickpeas, soaked overnight in cold water, is a non-negotiable step rooted in tradition and food science. The soaking process rehydrates the beans perfectly, leaving them tender enough to grind but still raw and starchy. This raw starch is the magic ingredient. When baked at high heat, it gelatinizes and then dehydrates, forming a complex, sturdy structure. This is what creates that light, fluffy interior and provides the foundation for an unbelievably crunchy exterior. The process requires a little forethought, but the payoff in texture and authentic flavor is immeasurable.
Essential Equipment for Falafel Perfection

You don’t need a professional kitchen to make exceptional falafel, but a few key pieces of equipment will make the process smooth and guarantee the best results. This is about working smarter, not harder.
| Equipment | Chef’s Note |
|---|---|
| Food Processor | This is the workhorse of the recipe. A good food processor will break down the soaked chickpeas and herbs into the perfect coarse, crumbly texture without turning it into hummus. A blender is not a suitable substitute as it will likely create a paste that’s too wet. |
| Large Baking Sheets | You’ll need at least one, preferably two, heavy-duty baking sheets. A sturdy sheet will conduct heat evenly, which is critical for getting a uniform golden-brown crust on all sides of the falafel. |
| Parchment Paper | Lining your baking sheets with parchment paper is essential for two reasons: it prevents the falafel from sticking (a tragedy!) and it promotes even browning on the bottom. Plus, it makes cleanup a breeze. |
| Ice Cream Scoop or Cookie Scoop | For uniformly sized and shaped falafel, a spring-loaded scoop is your best friend. This ensures they all bake at the same rate and look beautifully consistent. A 1.5 tablespoon scoop is the ideal size. |
| Silicone Basting Brush | We’ll be brushing the falafel with a small amount of oil to encourage crisping. A silicone brush is perfect for applying a thin, even layer without damaging the delicate patties. |
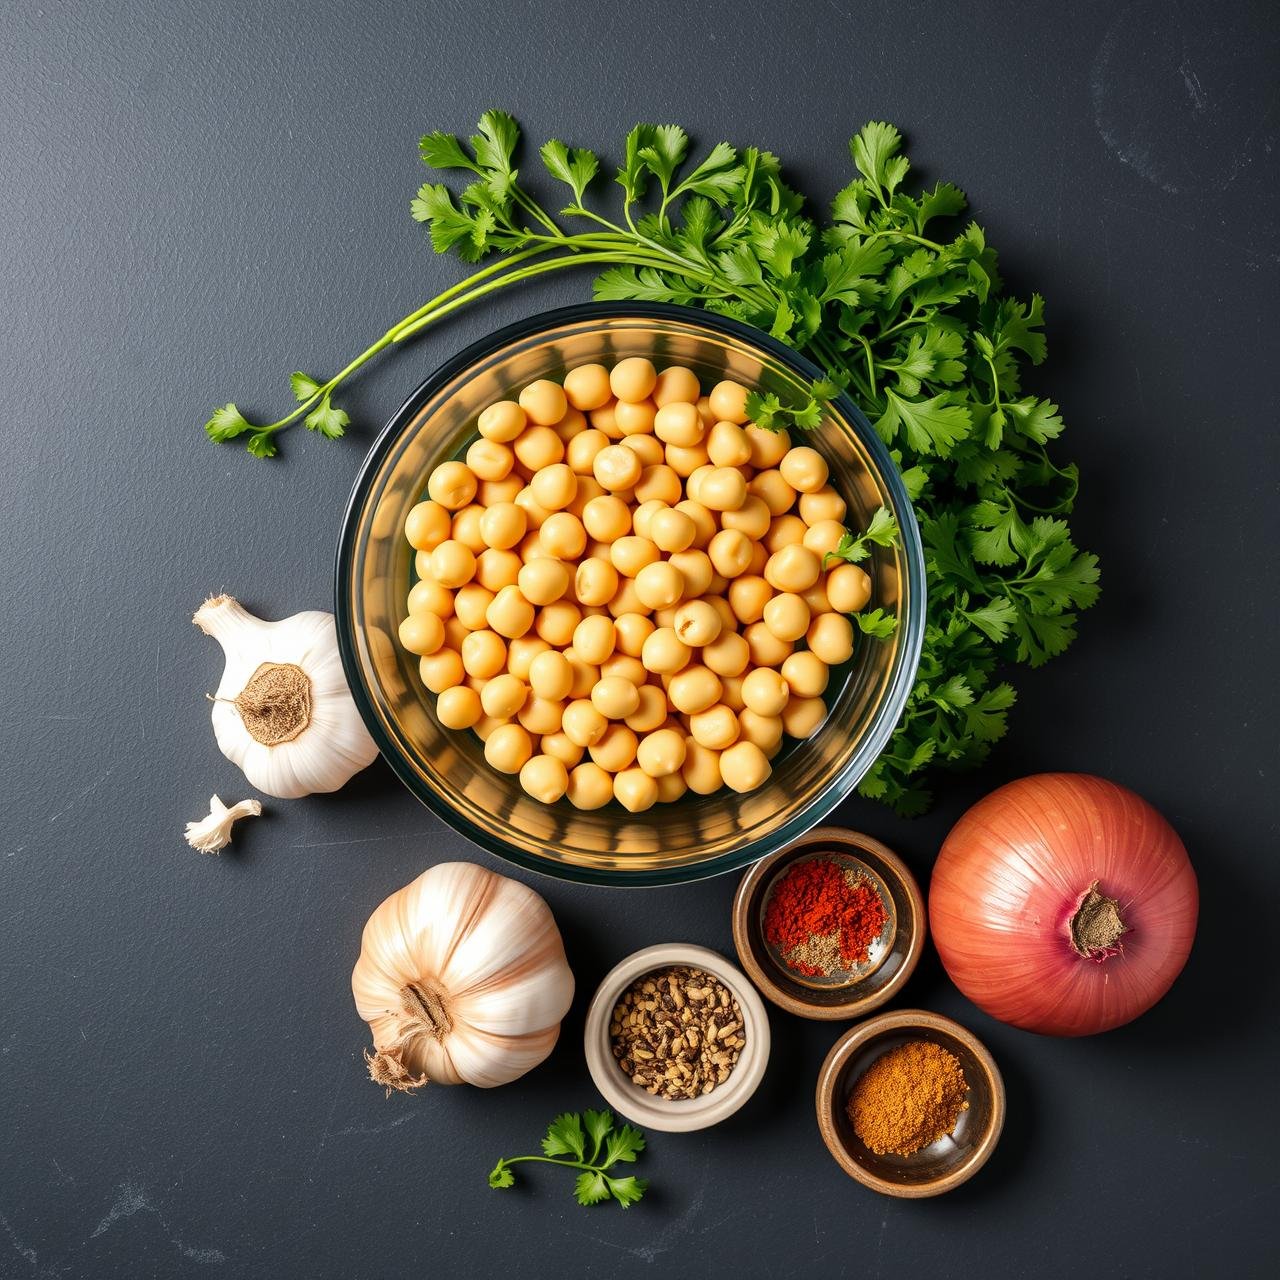
The Anatomy of Flavor: Ingredients
The beauty of falafel lies in its simple, wholesome ingredients. Each one plays a crucial role in building the complex, aromatic flavor profile. Quality matters here!
For the Falafel:
- Dried Chickpeas: 1 cup (about 200g), which will yield about 2.5 cups after soaking.
- Fresh Parsley: 1 large bunch (about 2 cups, loosely packed). Use flat-leaf parsley for the best flavor. This is the source of the falafel’s vibrant green interior and fresh taste.
- Fresh Cilantro: 1 large bunch (about 2 cups, loosely packed). Complements the parsley with its bright, citrusy notes. Use both leaves and tender stems.
- Red Onion: 1/2 of a large one, roughly chopped. Provides a pungent, sweet backbone of flavor. Shallots or yellow onion can be substituted.
- Garlic: 4-6 cloves, peeled. Don’t be shy! Garlic is key to the authentic, savory flavor.
- Ground Cumin: 1.5 teaspoons. Adds a warm, earthy, and slightly smoky depth.
- Ground Coriander: 1 teaspoon. Provides a floral, citrusy note that brightens the entire mix.
- Baking Powder: 1 teaspoon. This is our secret weapon! It reacts with the heat to create tiny air pockets, making the interior incredibly light and fluffy.
- Fine Sea Salt: 1.5 teaspoons, or to taste. Essential for bringing all the flavors together.
- Black Pepper: 1/2 teaspoon, freshly ground.
- High-Heat Oil: 2-3 tablespoons of avocado oil, grapeseed oil, or a light olive oil for brushing. This is what helps create that fried-like crust.
Step-by-Step Guide to Baked Falafel Mastery
Follow these steps with care, and you will be rewarded with falafel that exceeds all expectations. The process is straightforward, but the details are what make the difference.
- Soak the Chickpeas: Place the 1 cup of dried chickpeas in a large bowl and cover them with at least 4 inches of cold water. They will triple in size. Let them soak on the counter for a minimum of 18 hours, and up to 24 hours. This extended soak is crucial for the perfect texture. Once soaked, drain them thoroughly and pat them dry with a clean kitchen towel. They should feel firm, not mushy.
- Prepare the Herb Base: In the bowl of your food processor, add the parsley, cilantro, red onion, and garlic. Pulse several times until the mixture is finely chopped and resembles a coarse pesto. Scrape down the sides of the bowl as needed.
- Combine and Process: Add the drained, dried chickpeas, cumin, coriander, salt, and pepper to the food processor with the herb mixture. Now, pulse—don’t just turn it on and walk away! Pulse in 1-second bursts for about 45-60 seconds total. The goal is a texture that resembles coarse sand or couscous. It should hold together when you squeeze a small amount in your hand, but you should still be able to see individual bits of chickpea and herbs. Do not over-process into a paste.
- Chill the Mixture: Transfer the falafel mixture to a bowl, cover it, and refrigerate for at least 1 hour, or up to 24 hours. This step is vital. It allows the flavors to meld and the mixture to firm up, making it much easier to shape.
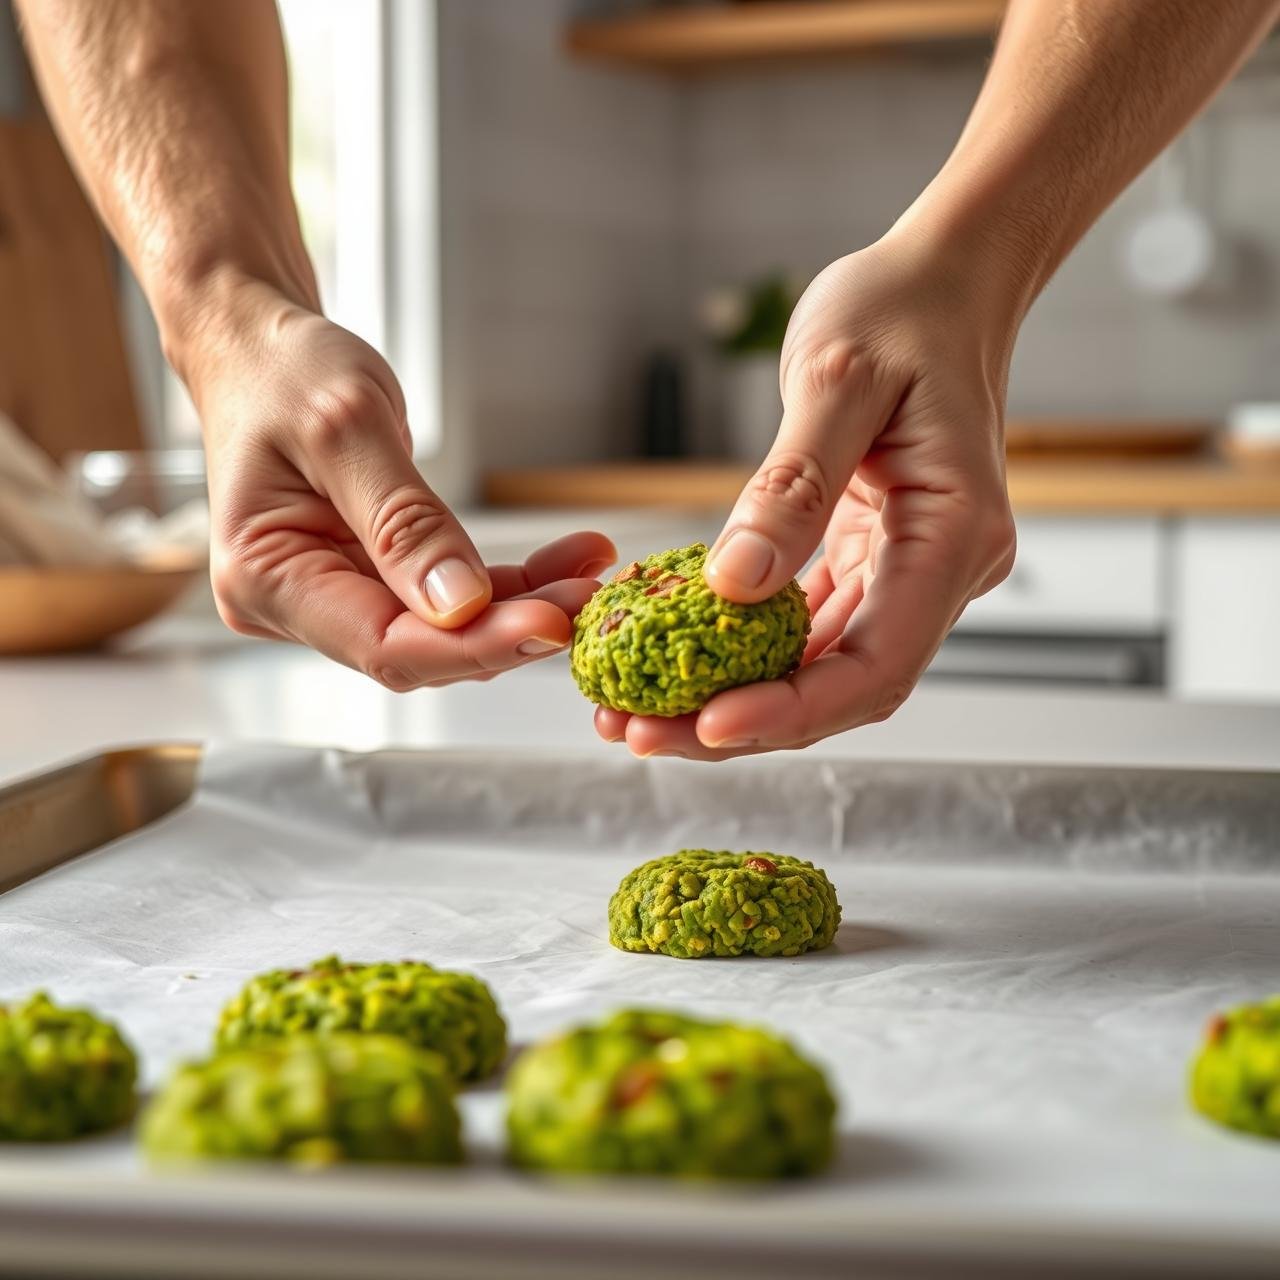
- Final Touches and Shaping: Preheat your oven to 425°F (220°C). Line a large baking sheet with parchment paper. Remove the falafel mixture from the fridge and gently stir in the 1 teaspoon of baking powder. Using a 1.5-tablespoon cookie scoop, portion the mixture and gently form it into small, thick patties, about 1/2-inch thick. Don’t compact them too tightly. Place the patties on the prepared baking sheet, leaving a little space between each one.
- The ‘Frying’ Technique: Pour your high-heat oil into a small bowl. Using a pastry brush, gently brush the top and sides of each falafel patty with a thin layer of oil. This coating is what will sizzle and crisp in the hot oven, mimicking the effect of a fryer.
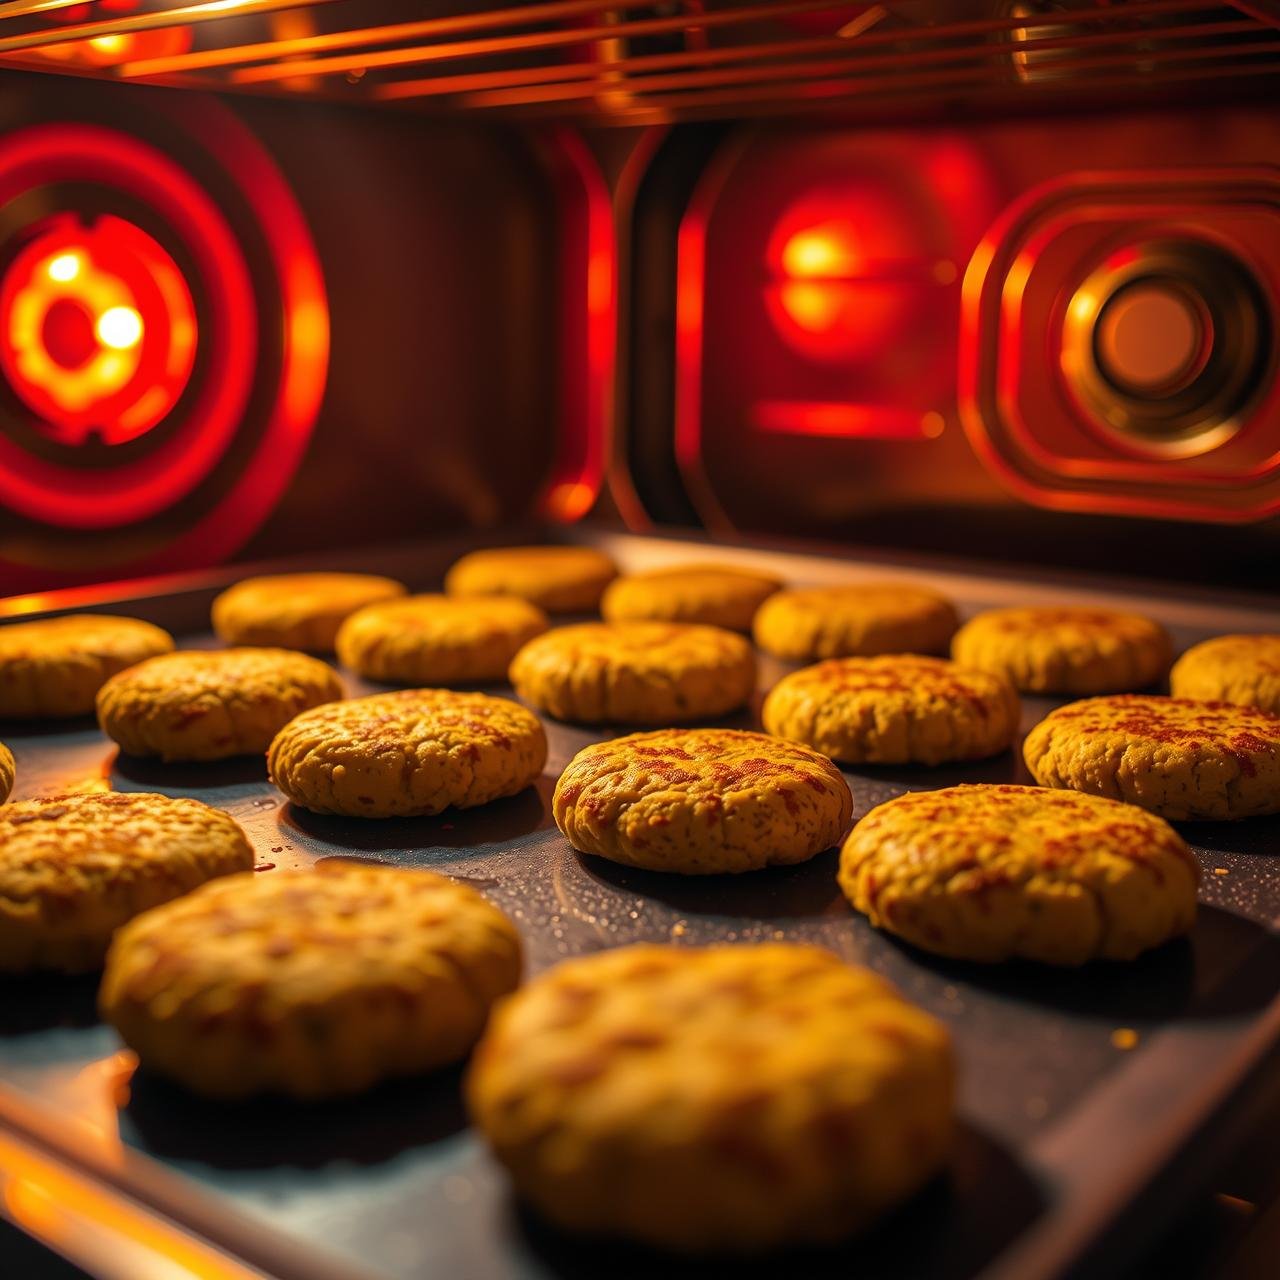
- Bake to Golden Perfection: Bake for 15-18 minutes. Then, carefully remove the baking sheet from the oven, flip each falafel over, and brush the new top side with a little more oil. Return to the oven and bake for another 10-15 minutes, or until the falafel are deeply golden brown, firm to the touch, and wonderfully crisp on the outside. Let them cool on the pan for a few minutes before serving; they will crisp up even more as they cool.
Serving Suggestions: The Perfect Falafel Feast
Freshly baked falafel is a canvas for a myriad of delicious possibilities. While they are spectacular on their own, here are some classic and creative ways to serve them:
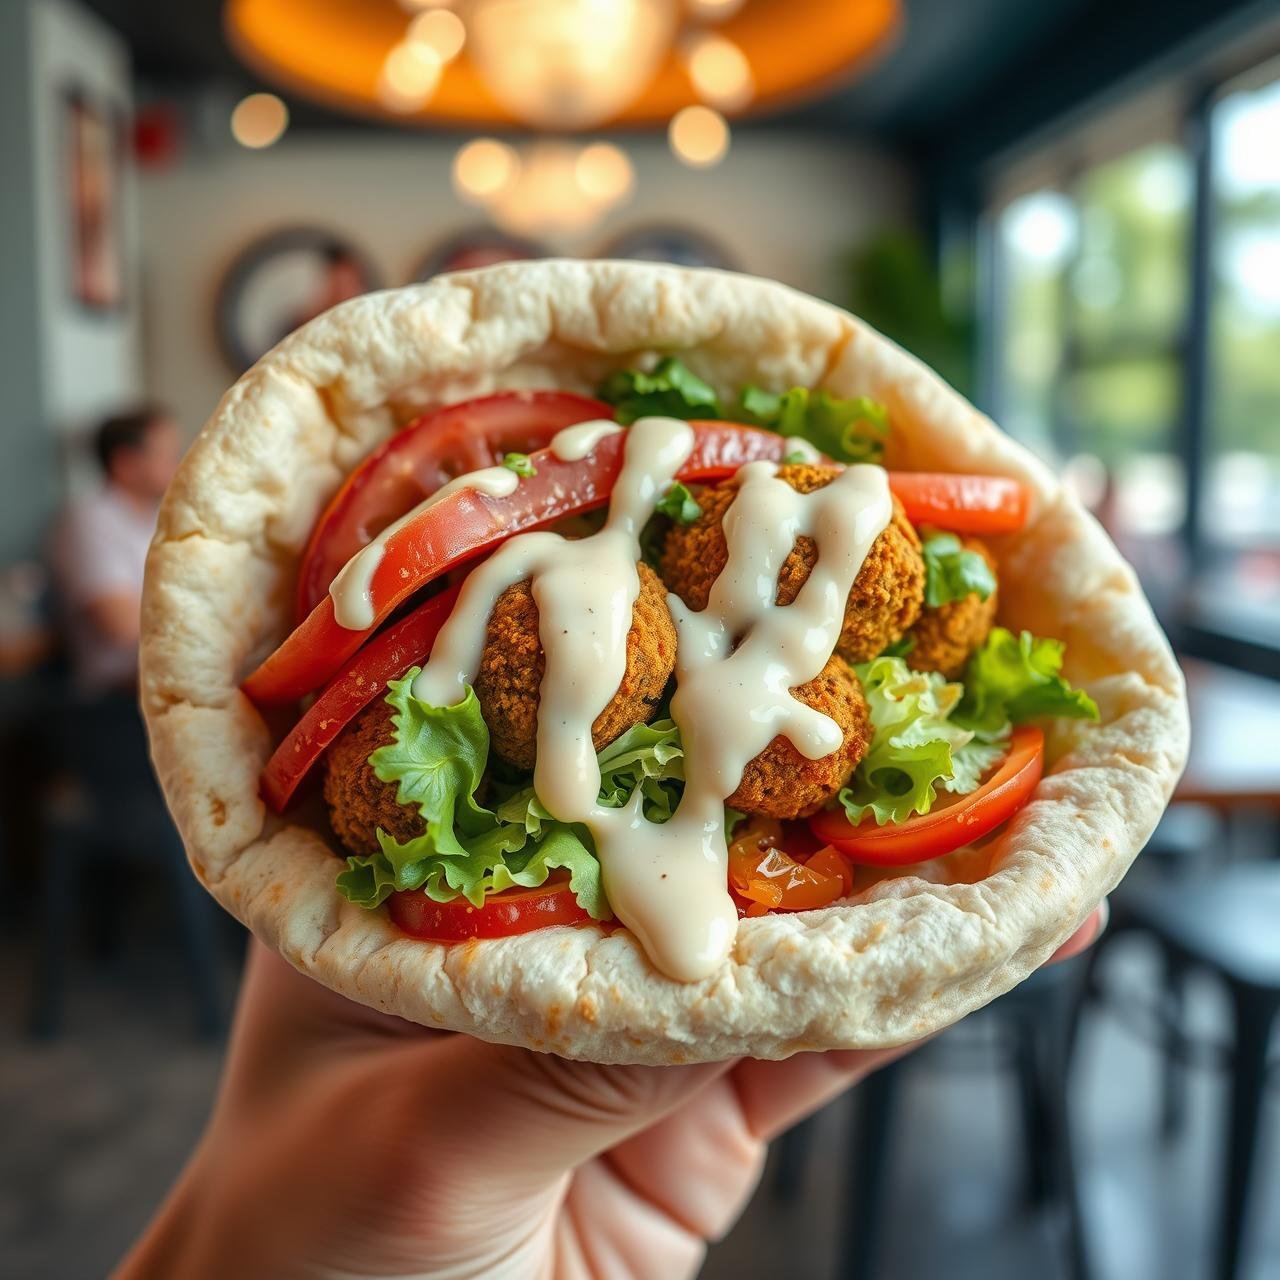
Classic Falafel Pita Sandwich
Tuck 3-4 warm falafel into a soft, fluffy pita bread. Add a generous dollop of creamy tahini sauce, some crisp shredded lettuce, chopped tomatoes, cucumbers, and a few slices of pickled turnip for a tangy crunch. It’s a handheld meal that’s both satisfying and fresh.
Bountiful Falafel Bowl
For a gluten-free and vibrant meal, create a falafel bowl. Start with a base of quinoa or mixed greens. Top with the crispy falafel, a scoop of hummus, a fresh Israeli salad (diced cucumber, tomato, and onion), some Kalamata olives, and a sprinkle of feta cheese. Drizzle everything with tahini or a lemon-herb vinaigrette.
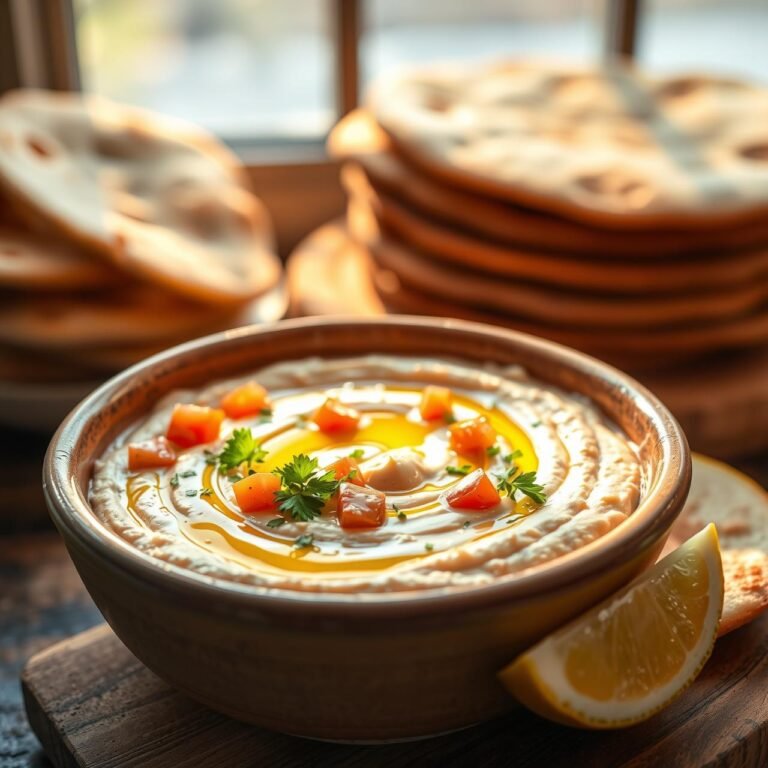
Mezze Platter Centerpiece
Make your falafel the star of a beautiful mezze platter. Arrange them on a large board surrounded by bowls of hummus, baba ghanoush, tzatziki, warm pita triangles, stuffed grape leaves, and an assortment of fresh vegetables like bell pepper strips and carrot sticks for dipping.
Storage, Reheating, and Meal Prep

One of the best things about this recipe is how well it lends itself to meal prep. Here’s how to store and reheat your falafel to maintain that coveted crispiness.
Storage:
Allow the baked falafel to cool completely to room temperature. Store them in an airtight container in the refrigerator for up to 5 days. The texture will soften upon refrigeration, but fear not—we can bring the crisp back.
Reheating for Maximum Crispiness:
- Oven or Air Fryer (Best Method): This is the superior way to restore the falafel’s crunch. Preheat your oven or air fryer to 375°F (190°C). Arrange the falafel in a single layer on a baking sheet or in the air fryer basket. Bake for 6-10 minutes, flipping halfway through, until they are heated through and crispy again.
- Skillet Method: Heat a teaspoon of oil in a non-stick skillet over medium heat. Add the falafel and pan-fry for 2-3 minutes per side until golden and crisp.
- Avoid the Microwave: Microwaving falafel will make them hot, but it will also make them irredeemably soft and steamy. Avoid this method if you care about texture.
Freezing Instructions:
You can freeze falafel both uncooked and cooked.
- To Freeze Uncooked: Shape the falafel mixture into patties and place them in a single layer on a parchment-lined baking sheet. Freeze until solid, about 1-2 hours. Transfer the frozen patties to a zip-top bag or freezer-safe container. They can be baked directly from frozen; just add about 10-12 minutes to the total baking time.
- To Freeze Cooked: Let the baked falafel cool completely. Freeze them using the same single-layer method on a baking sheet before transferring them to a container. They will last for up to 3 months. Reheat directly from frozen using the oven or air fryer method.
Nutritional Information
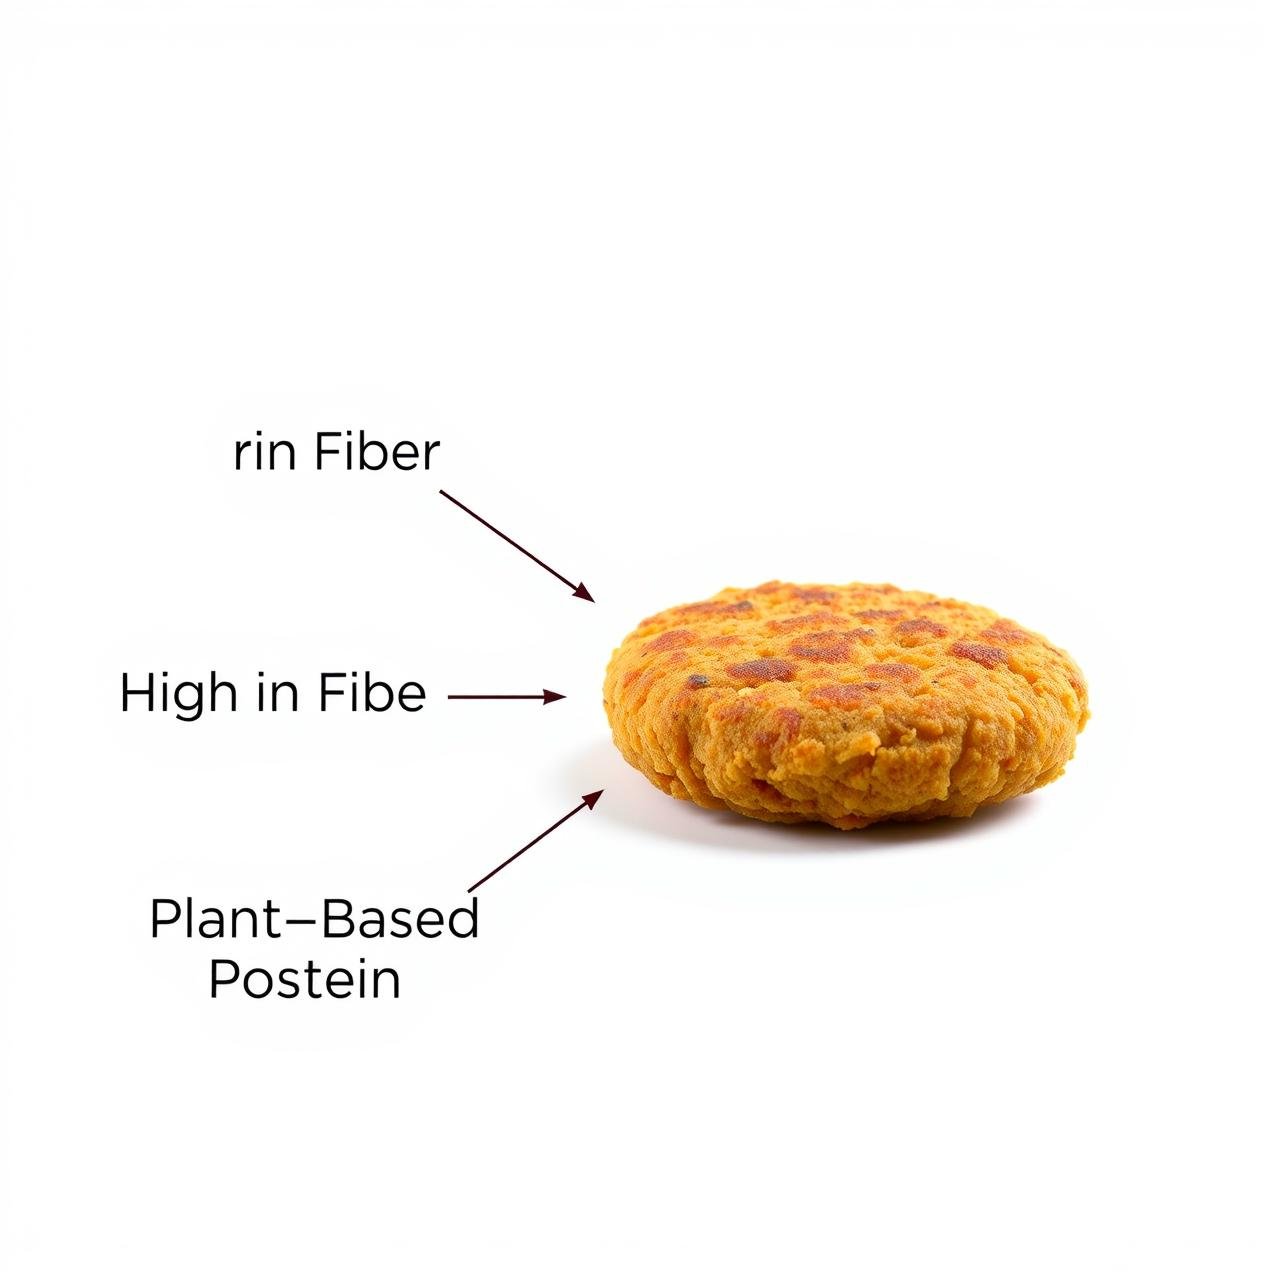
This recipe offers a fantastic nutritional profile, rich in plant-based protein, fiber, and essential nutrients. The following is an estimate and can vary based on exact ingredients and portion sizes.
| Nutrient | Amount Per Serving (Approx. 4 Falafel) |
|---|---|
| Calories | ~180 kcal |
| Protein | ~7 g |
| Fat | ~8 g |
| Saturated Fat | ~1 g |
| Carbohydrates | ~22 g |
| Fiber | ~6 g |
| Sugar | ~2 g |
| Sodium | ~350 mg |
This baked version significantly reduces the fat and calorie content compared to traditional deep-fried falafel, which can often contain double the calories and triple the fat per serving.
Conclusion
There you have it—the path to truly crispy, deeply flavorful, and wonderfully light baked falafel. By respecting the ingredients and embracing a few key techniques, we’ve created a wholesome dish that sacrifices nothing in taste or texture. This recipe proves that you don’t need a deep fryer to experience falafel in all its glory. It’s a testament to the power of rustic, from-scratch cooking and a celebration of vibrant, healthy food. Whether you pile it into a pita, scatter it over a salad, or serve it as the centerpiece of a feast, this falafel is sure to become a beloved staple in your kitchen. Enjoy the crunch, savor the flavor, and delight in the knowledge that you’ve created something truly special.