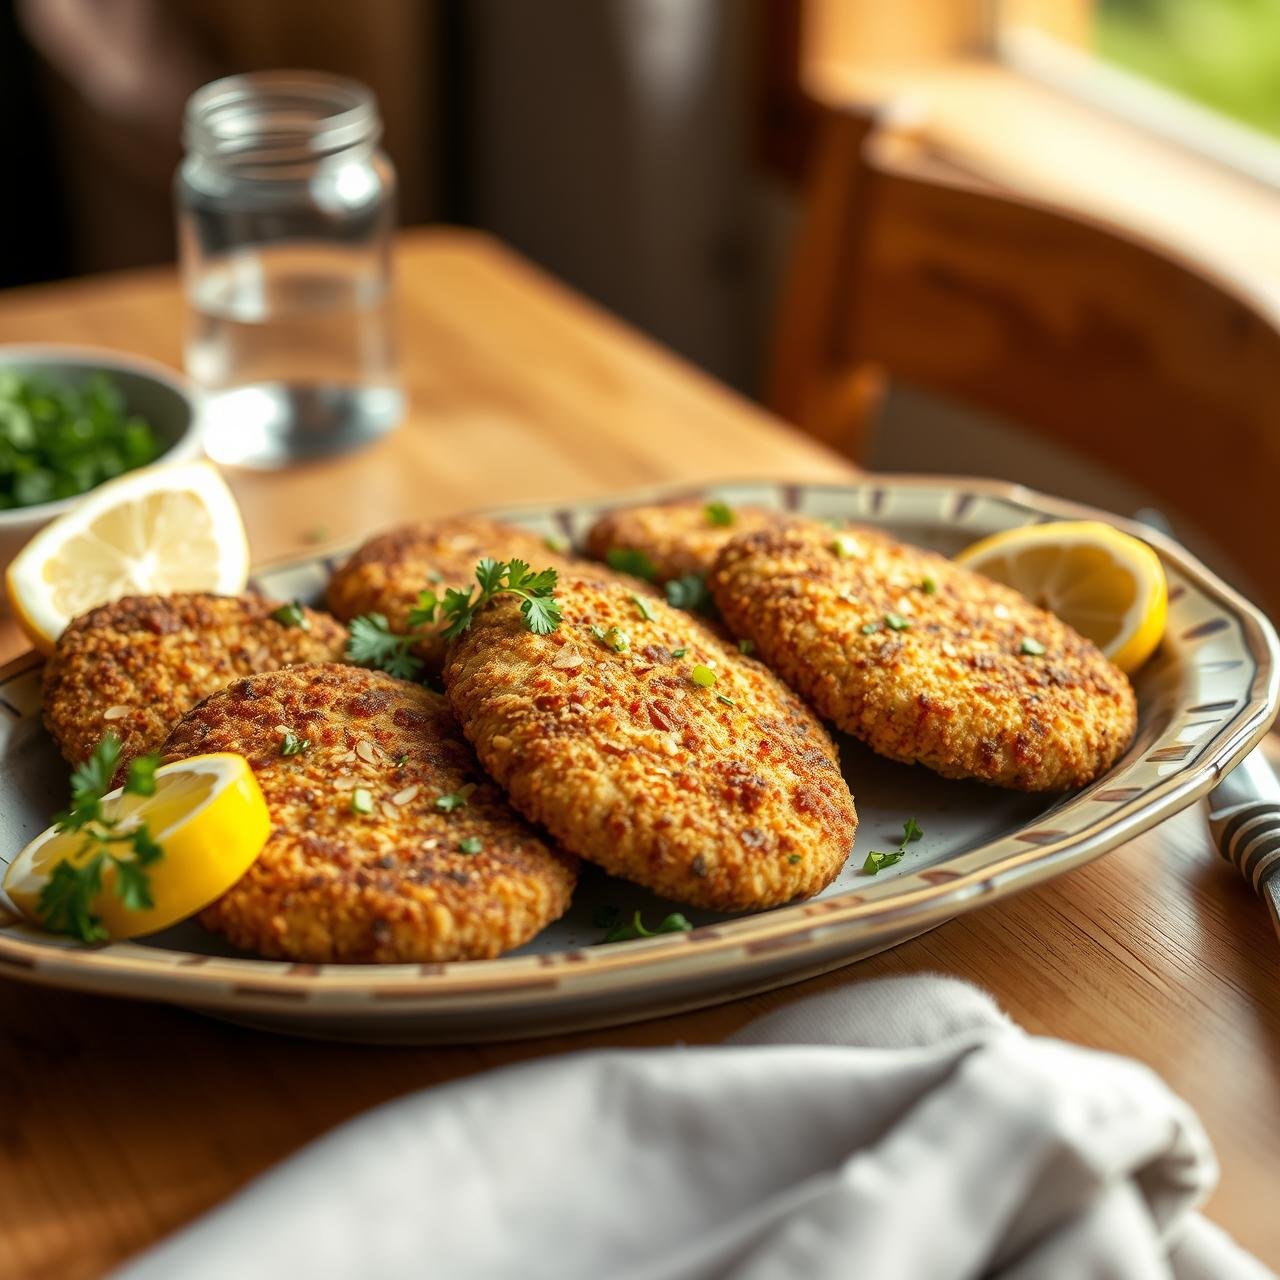
Crispy Almond Flour Breaded Turkey Cutlets (Kid Friendly & Healthy)
There’s a special kind of magic in a meal that pleases everyone at the table, from the most discerning foodie to the pickiest little eater. It’s the holy grail of home cooking, and today, we’ve captured it. Introducing our Crispy Almond Flour Breaded Turkey Cutlets—a dish that masterfully balances wholesome, clean ingredients with the crave-worthy crunch and savory flavor of classic comfort food. Forget the dry, bland turkey of yesteryear; these cutlets are juicy, tender, and wrapped in a spectacular, golden-brown crust that shatters with every bite.
The secret? We’re ditching the heavy, carb-laden breadcrumbs and embracing the rustic charm and nutritional powerhouse that is almond flour. This simple swap not only makes the recipe entirely gluten-free and low-carb but also imparts a subtly nutty, rich flavor that plain breadcrumbs simply can’t match. It’s a game-changer for health-conscious families and anyone looking to elevate a simple weeknight dinner into something truly special. Get ready to watch these disappear from the plate—this is one healthy meal your family will beg for again and again.
The Rustic Elegance of Almond Flour Breading
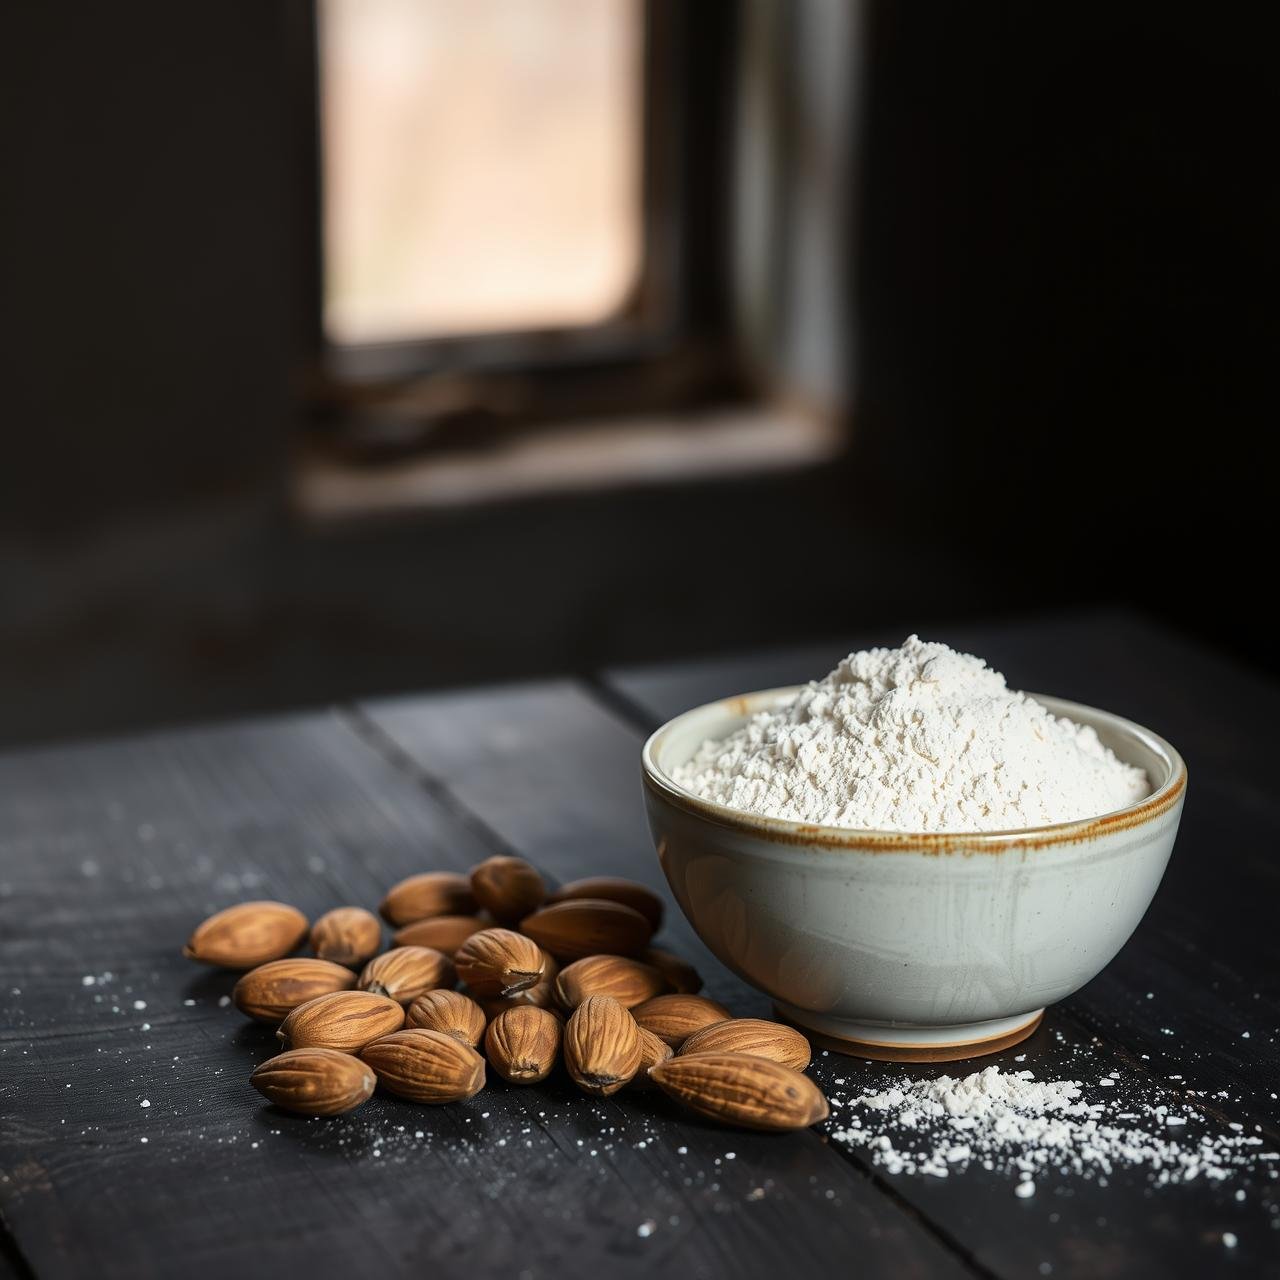
Before we dive into the method, let’s talk about our star ingredient: almond flour. For too long, breaded dishes have been synonymous with refined white flour and processed breadcrumbs. Almond flour offers a wholesome, rustic alternative that transforms this dish from a simple schnitzel into a nutrient-dense masterpiece.
Why Almond Flour is Superior:
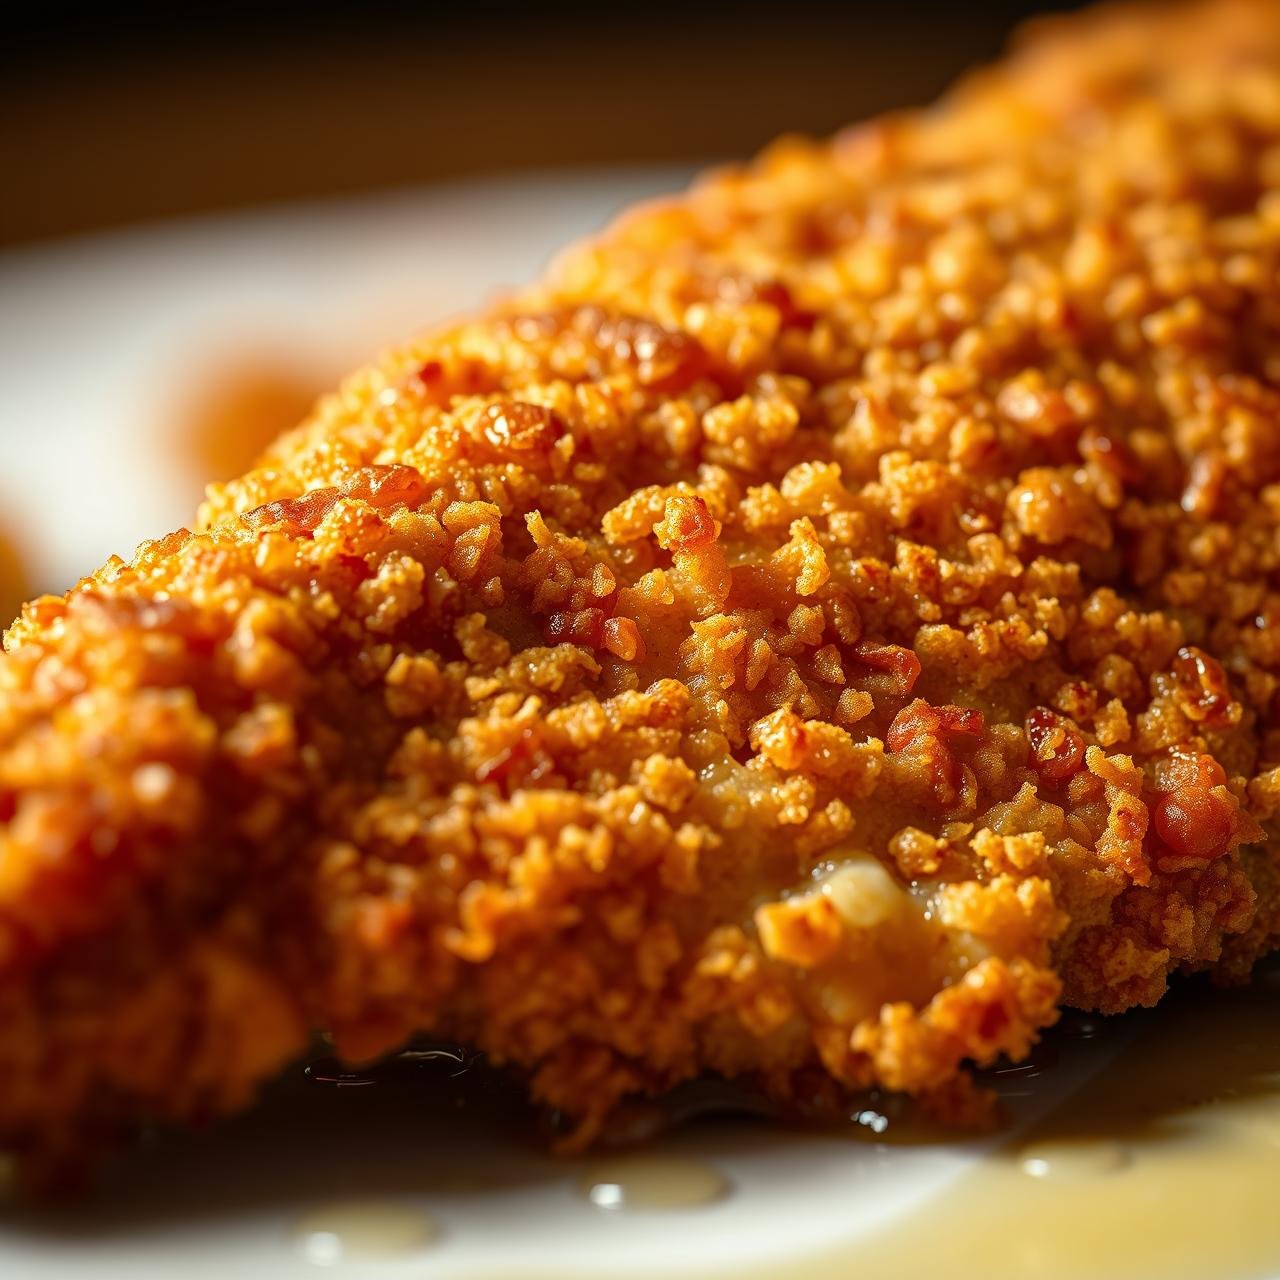
- Unbeatable Crunch: Unlike regular flour, which can become soggy, blanched almond flour fries up to an incredibly light, airy, and durable crispness. The higher fat content (healthy monounsaturated fats, of course) helps it brown beautifully, creating that deep golden hue we all crave.
- Nutrient Density: Every bite is packed with protein, vitamin E, magnesium, and fiber. You’re not just adding a coating; you’re adding genuine nutritional value to your meal.
- Naturally Gluten-Free & Low-Carb: This recipe is a perfect fit for those following gluten-free, paleo, or low-carb lifestyles without feeling like a compromise. It’s simply delicious, full stop.
- Subtle, Nutty Flavor: Almond flour adds a delicate, slightly sweet and nutty background note that complements the savory turkey and spices perfectly. It adds a layer of culinary complexity that you just don’t get from bland breadcrumbs.
By making this one simple switch, you elevate the entire dish, making it a meal you can feel genuinely good about serving to your loved ones.
Essential Equipment for Perfect Cutlets
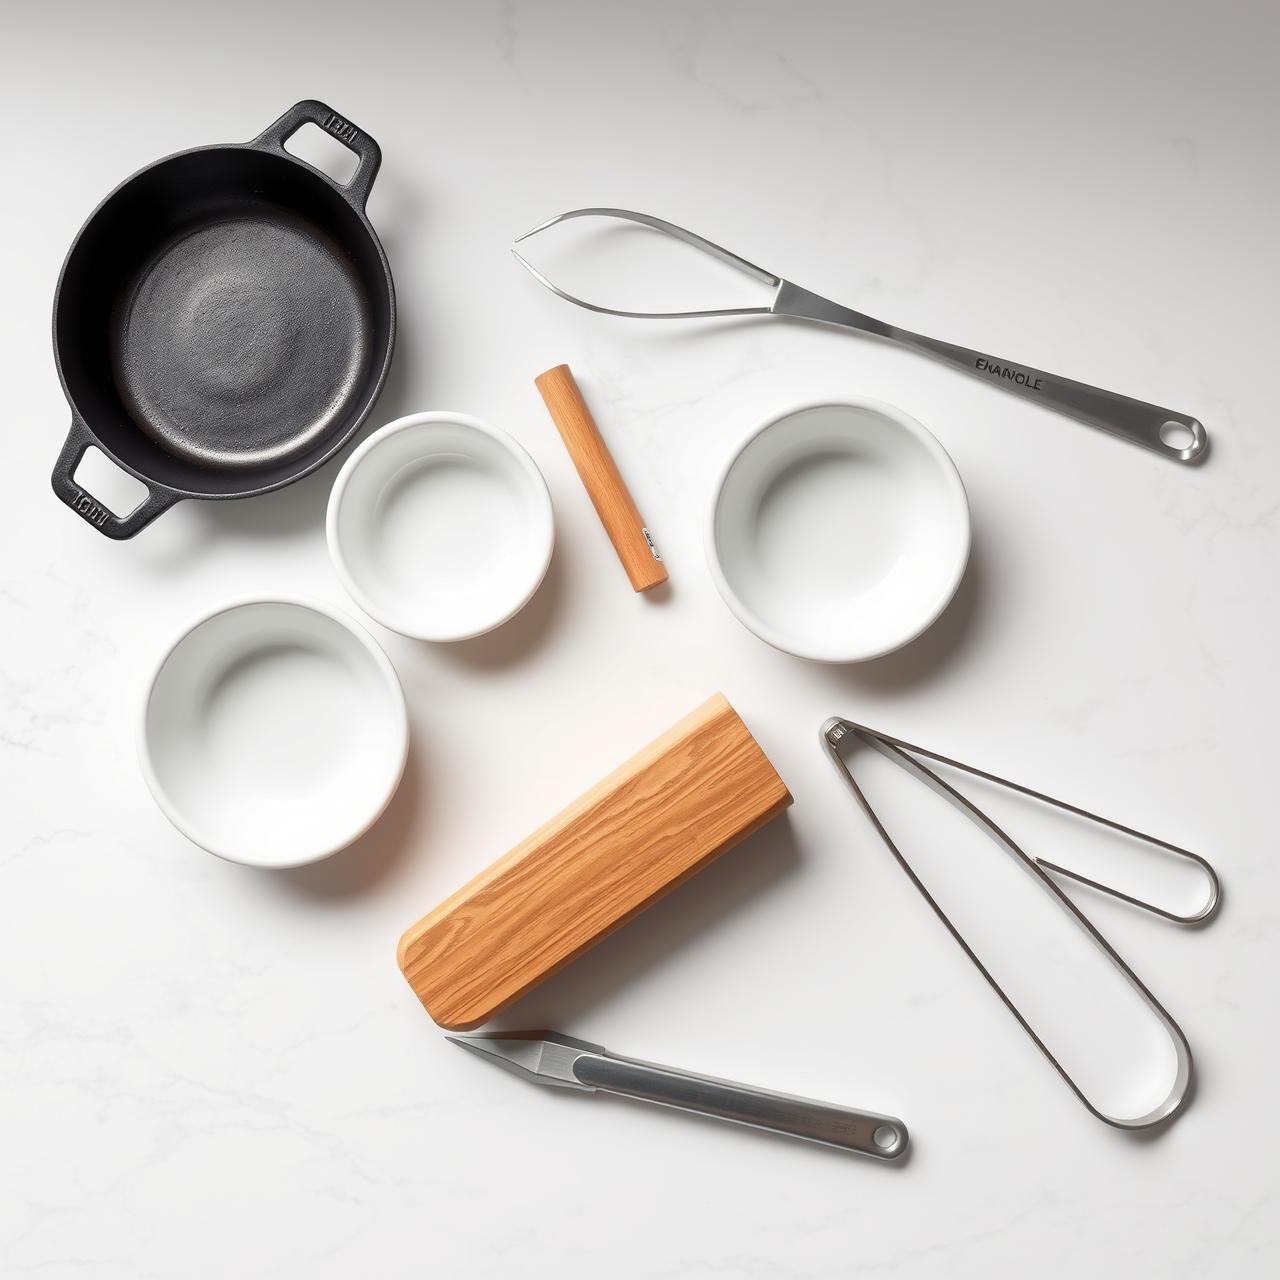
A great chef is only as good as their tools. Fortunately, this recipe doesn’t require any fancy gadgets. Here is the simple equipment you’ll need to achieve flawlessly crispy cutlets every time.
| Tool | Purpose |
|---|---|
| Large Cast-Iron or Non-Stick Skillet | Provides even heat distribution for a perfect, uniform golden-brown crust. A 12-inch skillet is ideal. |
| Meat Mallet or Rolling Pin | Crucial for pounding the turkey cutlets to an even thickness, ensuring they cook quickly and evenly. |
| Three Shallow Dishes or Pie Plates | For setting up your three-step breading station (flour, egg, breading). This keeps the process clean and organized. |
| Tongs | Essential for safely flipping the cutlets in the hot oil without piercing the meat or disturbing the crust. |
| Wire Cooling Rack | The secret to maintaining crispiness! Placing cooked cutlets here allows air to circulate, preventing the bottom from getting soggy. |
| Instant-Read Thermometer | Takes the guesswork out of cooking, guaranteeing your turkey is cooked to a safe and juicy 165°F (74°C). |
Gathering Your Wholesome Ingredients
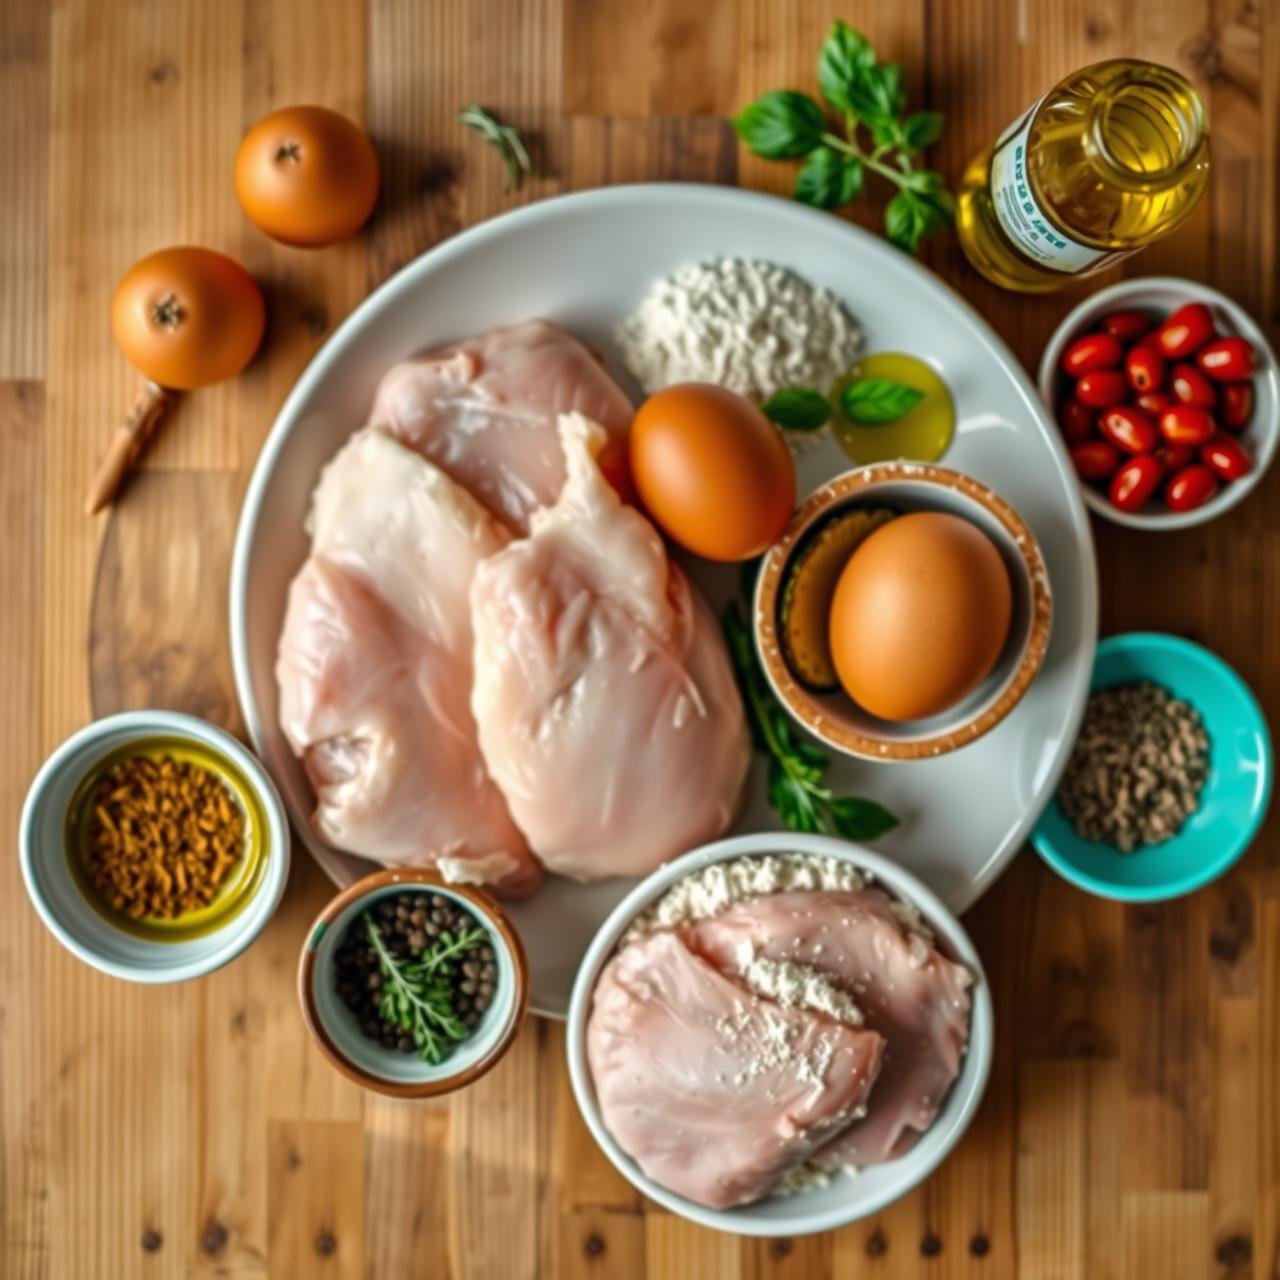
The beauty of this recipe lies in its simplicity and the quality of its components. Fresh, wholesome ingredients are key to achieving that mouth-watering, restaurant-quality result at home.
- Turkey Cutlets: 1.5 pounds of thin-sliced turkey breast cutlets. Look for pieces that are about 1/4-inch thick. If you can only find thicker breasts, you can slice and pound them yourself.
- Almond Flour: 1 ½ cups of super-fine, blanched almond flour. Avoid almond meal, which is coarser and will result in a heavier crust.
- Eggs: 2 large, preferably pasture-raised eggs. These will act as the binder that helps the delicious crust adhere to the turkey.
- Seasoning Blend: A symphony of spices is crucial. You’ll need 1 teaspoon of garlic powder, 1 teaspoon of onion powder, 1 teaspoon of paprika (use smoked for a deeper flavor), ½ teaspoon of dried oregano, 1 teaspoon of fine sea salt, and ½ teaspoon of freshly ground black pepper.
- Healthy Cooking Oil: ¼ cup of avocado oil or light olive oil. These oils have a high smoke point, making them perfect for pan-frying without burning.
- For Garnish (Optional): Freshly chopped parsley and fresh lemon wedges for a burst of brightness and acidity to cut through the richness.
Step-by-Step Guide to Crispy Perfection
Follow these steps closely, and you’ll be rewarded with turkey cutlets that are tender and juicy on the inside with an audibly crunchy crust on the outside.
-
Prepare the Turkey:
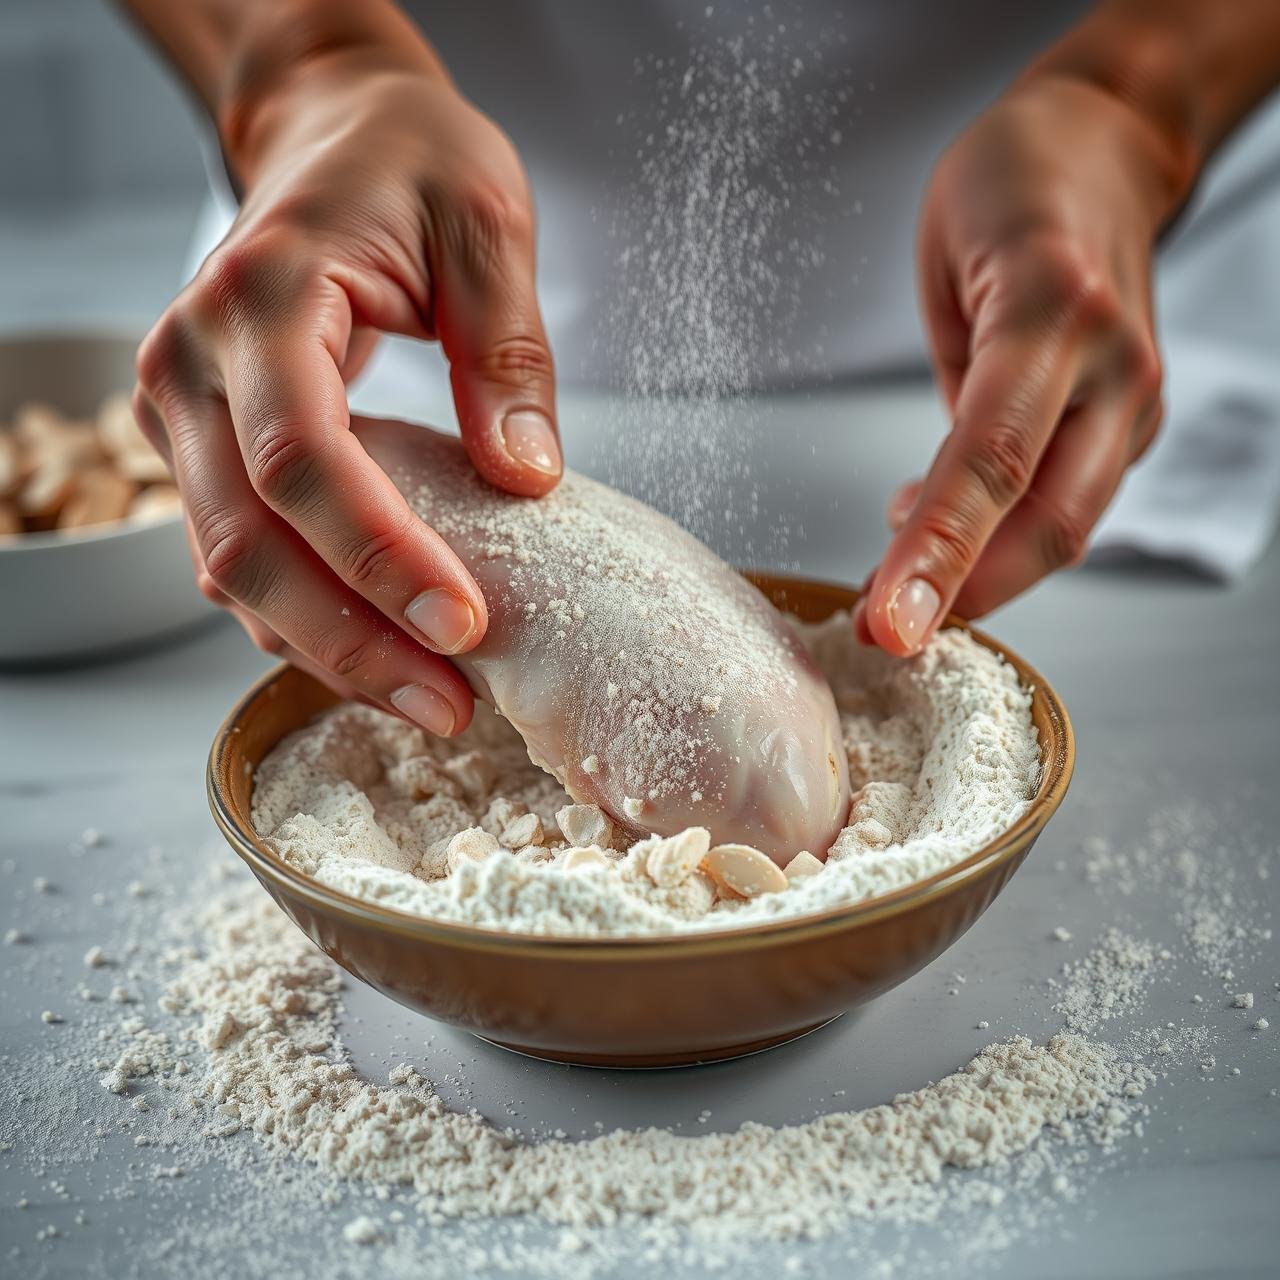
Place the turkey cutlets between two sheets of parchment paper or plastic wrap. Using a meat mallet or the side of a heavy rolling pin, gently pound the cutlets until they are an even ¼-inch thickness. This is the most important step for ensuring they cook evenly and remain tender. Pat each cutlet completely dry with a paper towel; a dry surface helps the breading stick.
-
Set Up the Breading Station:
Arrange your three shallow dishes in an assembly line. In the first dish, whisk together the almond flour and all the seasonings (garlic powder, onion powder, paprika, oregano, salt, and pepper) until thoroughly combined. In the second dish, whisk the two eggs until they are frothy and uniform. The third dish can remain empty for now to place the breaded cutlets.
-
Dredge and Coat:
Working with one cutlet at a time, first dredge it in the seasoned almond flour mixture, shaking off any excess. Next, dip it into the egg wash, ensuring the entire surface is coated. Finally, return it to the almond flour mixture, pressing down gently to create a thick, even coating. Place the fully breaded cutlet on the empty plate or a sheet of parchment paper. Repeat with all remaining cutlets.
-
Pan-Fry to Golden Brown:
Place your large skillet over medium-high heat and add the ¼ cup of cooking oil. Allow the oil to heat up until it shimmers—this should take about 2-3 minutes. A hot pan is essential for a crispy, non-greasy crust. Carefully place 2-3 breaded cutlets in the skillet, being sure not to overcrowd the pan. Fry for 3-4 minutes per side, until the crust is a deep golden brown and the turkey is cooked through. The internal temperature should read 165°F (74°C).
-
Rest and Serve:
Once cooked, immediately transfer the cutlets to a wire cooling rack. Do not place them on a paper towel-lined plate, as this will trap steam and make the bottom soggy. Let them rest for a few minutes before serving. Garnish with fresh parsley and a generous squeeze of lemon juice.
Chef’s Tips for Unbeatable Turkey Cutlets
These little details can take your dish from great to absolutely unforgettable. Here are some professional tips to ensure success.
- Don’t Skip the Pounding: Even if your cutlets look thin, a quick pounding ensures uniform thickness. This prevents one part from overcooking while another part is still raw. It’s the key to juicy results.
- The ‘Dry Hand, Wet Hand’ Technique: To avoid clumpy fingers (and a messy station), use one hand exclusively for the dry flour mixture and the other hand for the wet egg mixture. It’s a simple trick that makes the breading process much cleaner.
- Press the Breading Firmly: After the final dip in the almond flour, use your palm to gently but firmly press the coating onto the turkey. This helps it create a solid, adherent crust that won’t fall off in the pan.
- Control Your Heat: If you notice the crust is browning too quickly before the turkey is cooked, reduce the heat to medium. Conversely, if it’s not browning, your oil isn’t hot enough. A consistent, shimmering oil is what you’re looking for.
- Cook in Batches: Overcrowding the pan will drop the oil temperature, leading to greasy, soggy cutlets. Give each cutlet enough space to fry properly. Keep the first batch warm in a 200°F (95°C) oven on a wire rack while you cook the second.
Perfect Pairings & Serving Suggestions
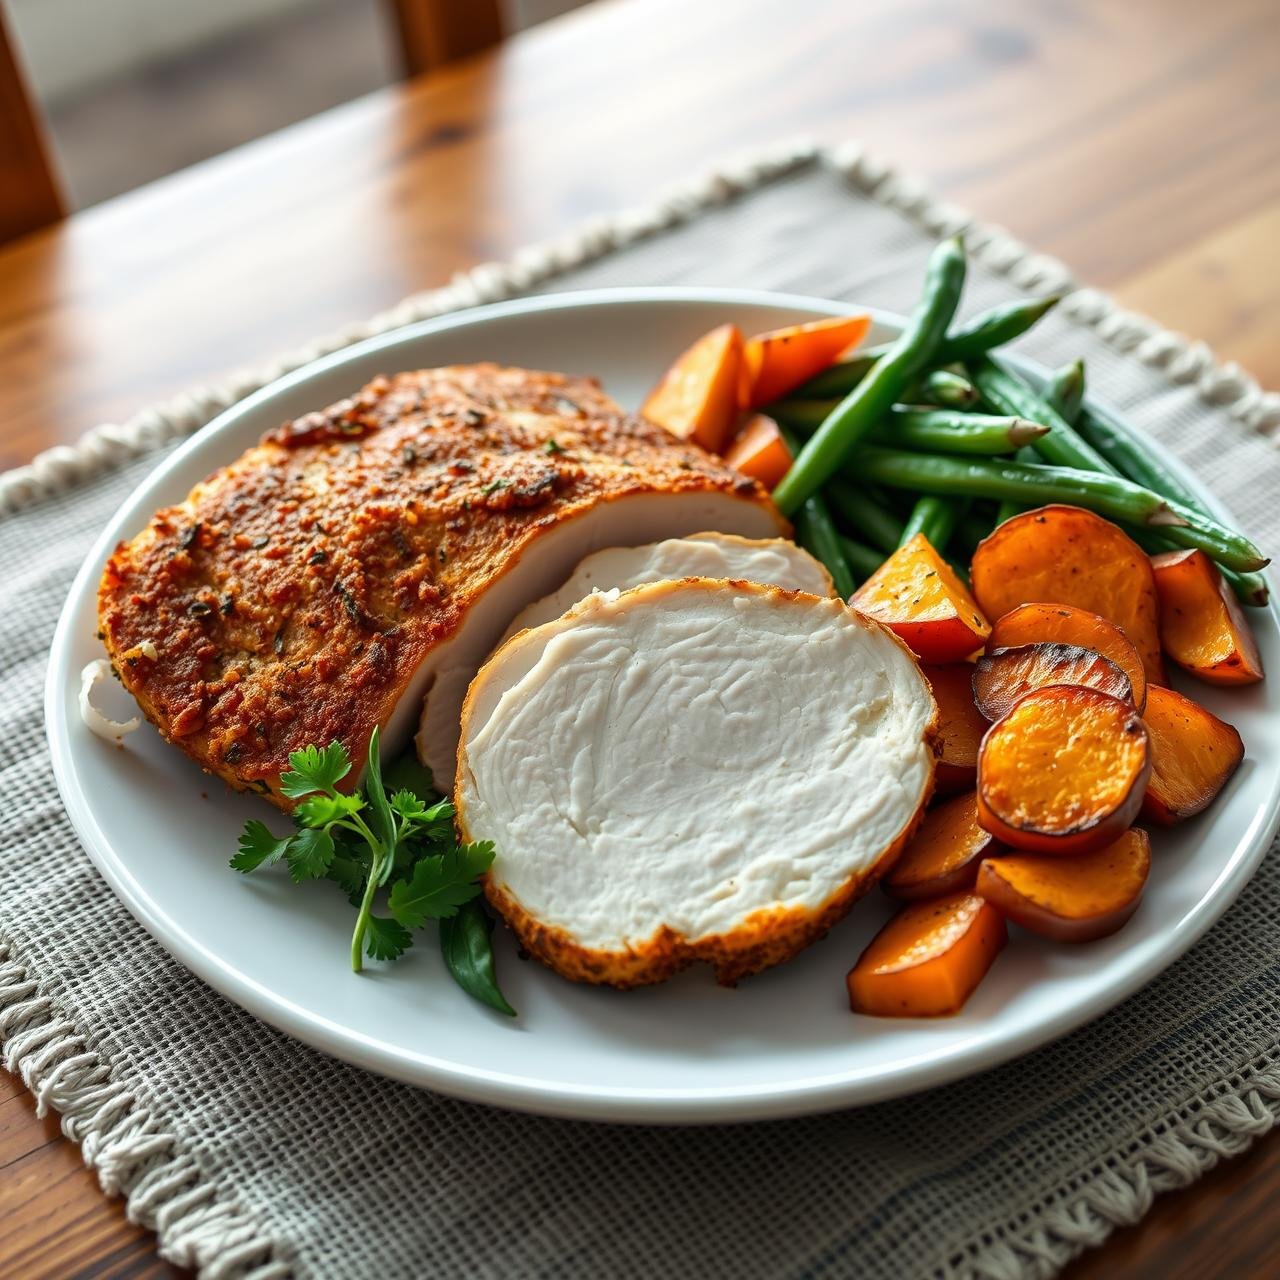
These versatile turkey cutlets pair beautifully with a wide range of sides. You can lean into a classic comfort meal or keep it light and fresh for a healthier plate.
Kid-Friendly Favorites:
- Roasted Sweet Potato Wedges: A naturally sweet and colorful side that kids love. Toss them with a little paprika and roast until tender.
- Simple Steamed Green Beans: A quick, healthy, and vibrant green vegetable. A little butter or a squeeze of lemon is all they need.
- Creamy Mashed Cauliflower: A fantastic low-carb alternative to mashed potatoes that is surprisingly rich and satisfying.
Gourmet & Health-Enthusiast Options:
- Arugula Salad with Lemon Vinaigrette: The peppery bite of arugula and the bright acidity of a simple lemon vinaigrette cut through the richness of the fried cutlet perfectly.
- Quinoa Pilaf with Roasted Vegetables: A hearty, protein-packed side dish that makes the meal incredibly satisfying.
- Sautéed Zucchini and Summer Squash: A light, fresh side seasoned with garlic and herbs that complements the savory turkey.
Storing and Reheating for Maximum Crispiness
While these cutlets are undoubtedly best when served fresh from the skillet, leftovers can still be delicious and crispy if handled correctly.
Storage:
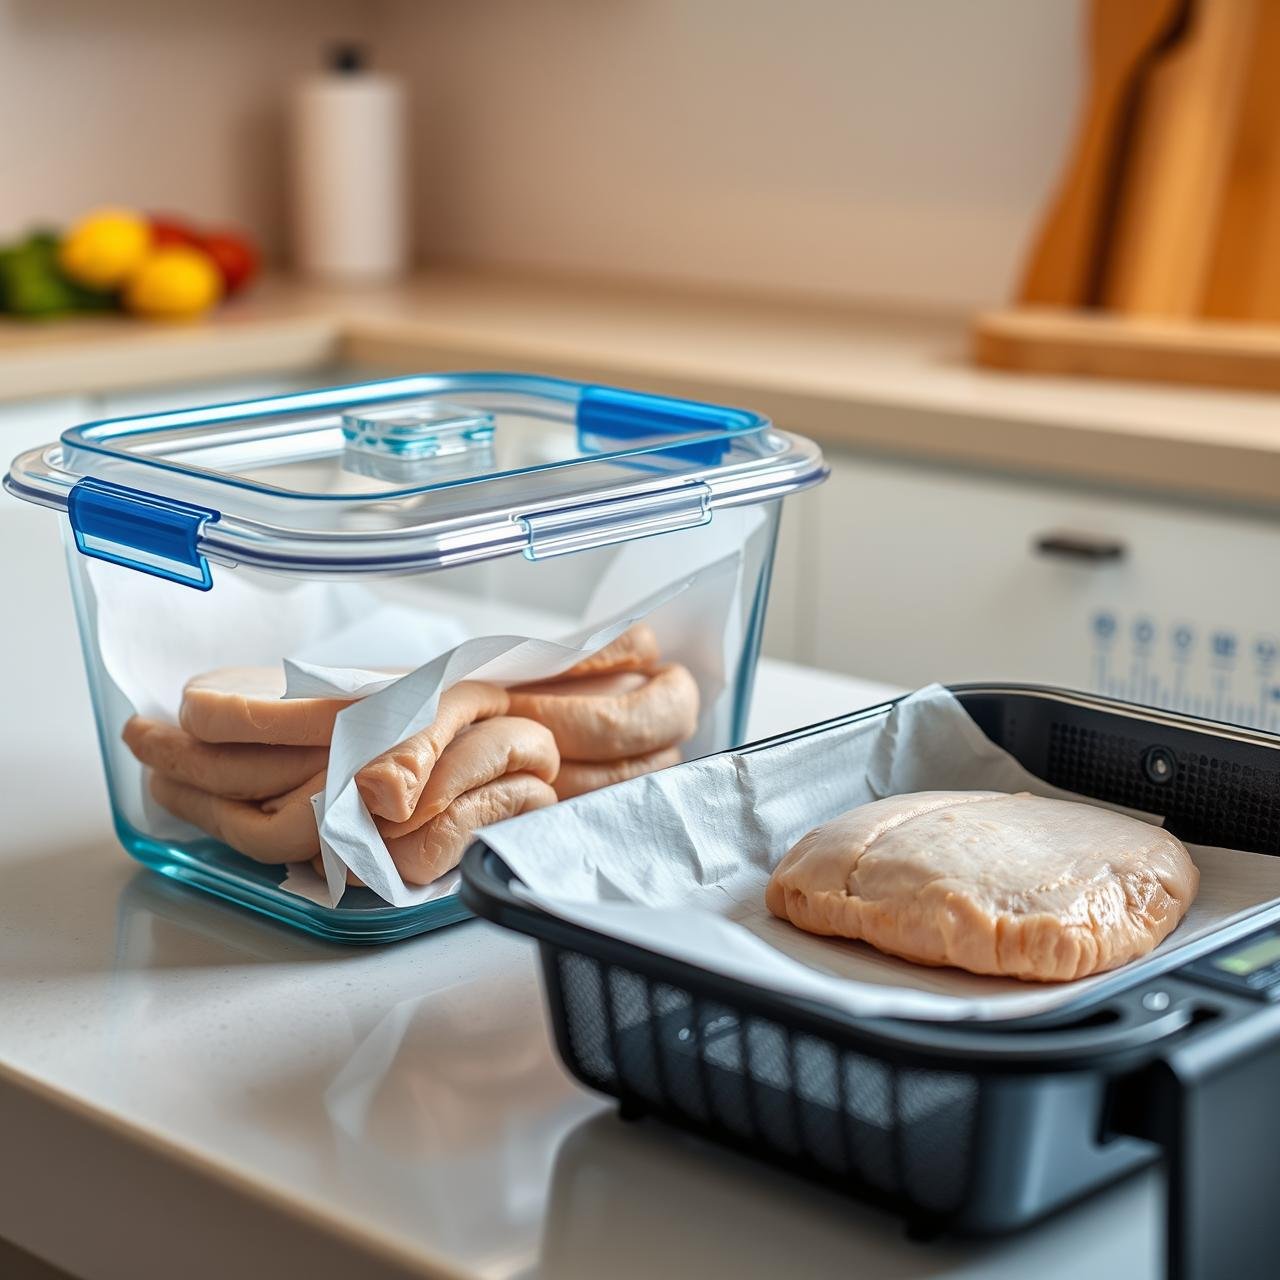
Allow the cutlets to cool completely to room temperature. This prevents condensation from forming in the storage container. Store them in an airtight container in the refrigerator for up to 3 days. You can place a piece of parchment paper between layers to prevent them from sticking.
Reheating Methods (From Best to Worst):
- Air Fryer (Best Method): The air fryer is your best friend for reviving that crispy crust. Preheat your air fryer to 375°F (190°C) and heat the cutlets for 4-6 minutes, flipping halfway through. They will be almost as crispy as when they were first made.
- Oven/Toaster Oven (Good Method): Preheat your oven to 400°F (200°C). Place the cutlets on a wire rack set on a baking sheet. Bake for 8-10 minutes, or until heated through and crispy. The wire rack is crucial for allowing air to circulate.
- Skillet (Acceptable Method): Heat a small amount of oil in a skillet over medium heat. Add the cutlets and heat for 2-3 minutes per side until warm and re-crisped.
- Microwave (Avoid if Possible): We strongly advise against using the microwave. It will heat the turkey but will turn the beautiful, crispy crust into a soft, soggy coating.
Nutritional Information
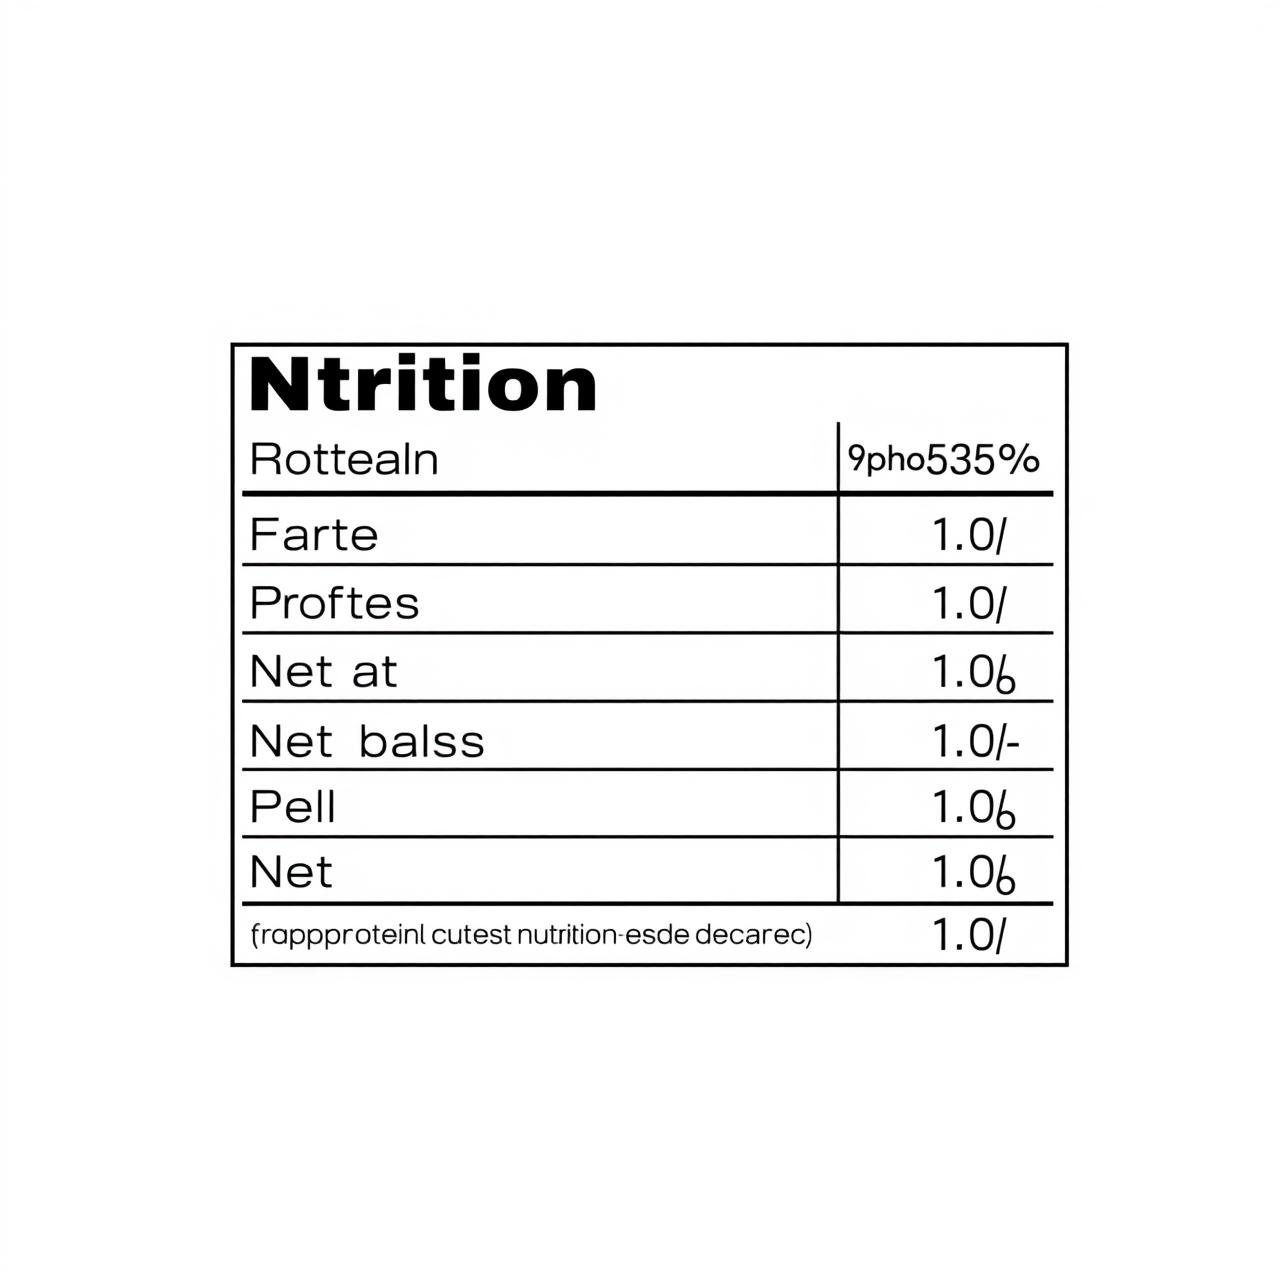
Here is an estimated nutritional breakdown for one serving of the Crispy Almond Flour Breaded Turkey Cutlets (assuming the recipe makes 4 servings). Please note that these values are approximate and can vary based on the specific ingredients and cooking methods used.
| Nutrient | Amount per Serving |
|---|---|
| Calories | 495 kcal |
| Protein | 58 g |
| Fat | 26 g |
| Saturated Fat | 4 g |
| Carbohydrates | 7 g |
| Fiber | 4 g |
| Net Carbs | 3 g |
| Sugar | 2 g |
| Sodium | 710 mg |
This recipe is an excellent source of lean protein and is very low in carbohydrates, making it an ideal choice for a healthy, balanced, and satisfying meal.
Conclusion
There you have it—a simple, elegant, and unbelievably delicious recipe for Crispy Almond Flour Breaded Turkey Cutlets that bridges the gap between healthy eating and homestyle comfort. This dish proves that you don’t need gluten, excess carbs, or complicated techniques to create a meal that will have your entire family cheering. It’s a testament to the power of quality ingredients and thoughtful preparation.
We encourage you to bring this recipe into your kitchen, make it your own, and watch it become a new weeknight staple. Whether you’re a gourmet chef looking for a new technique or a busy parent seeking a healthy meal that your kids will devour, these turkey cutlets are sure to impress. Happy cooking!