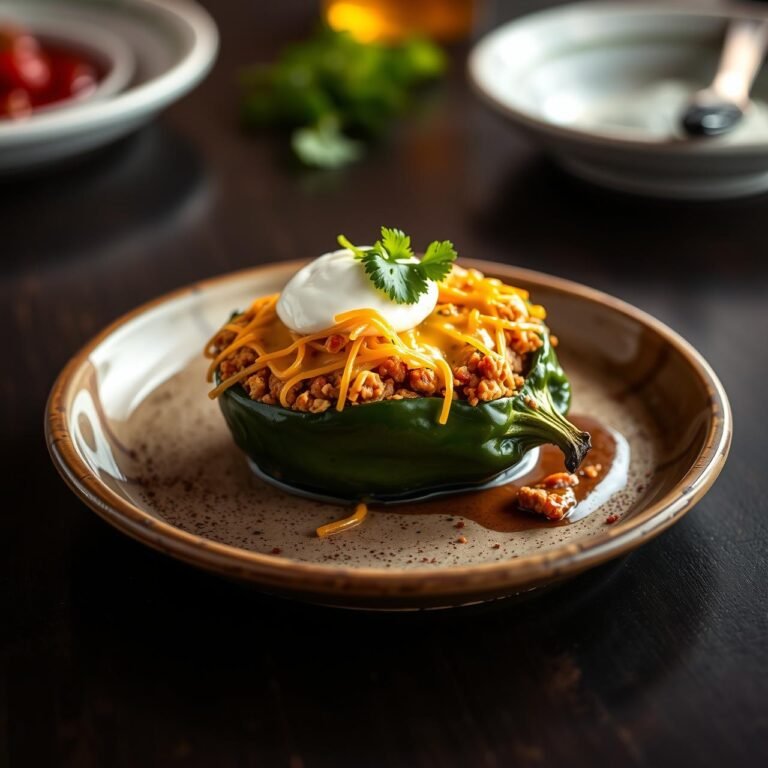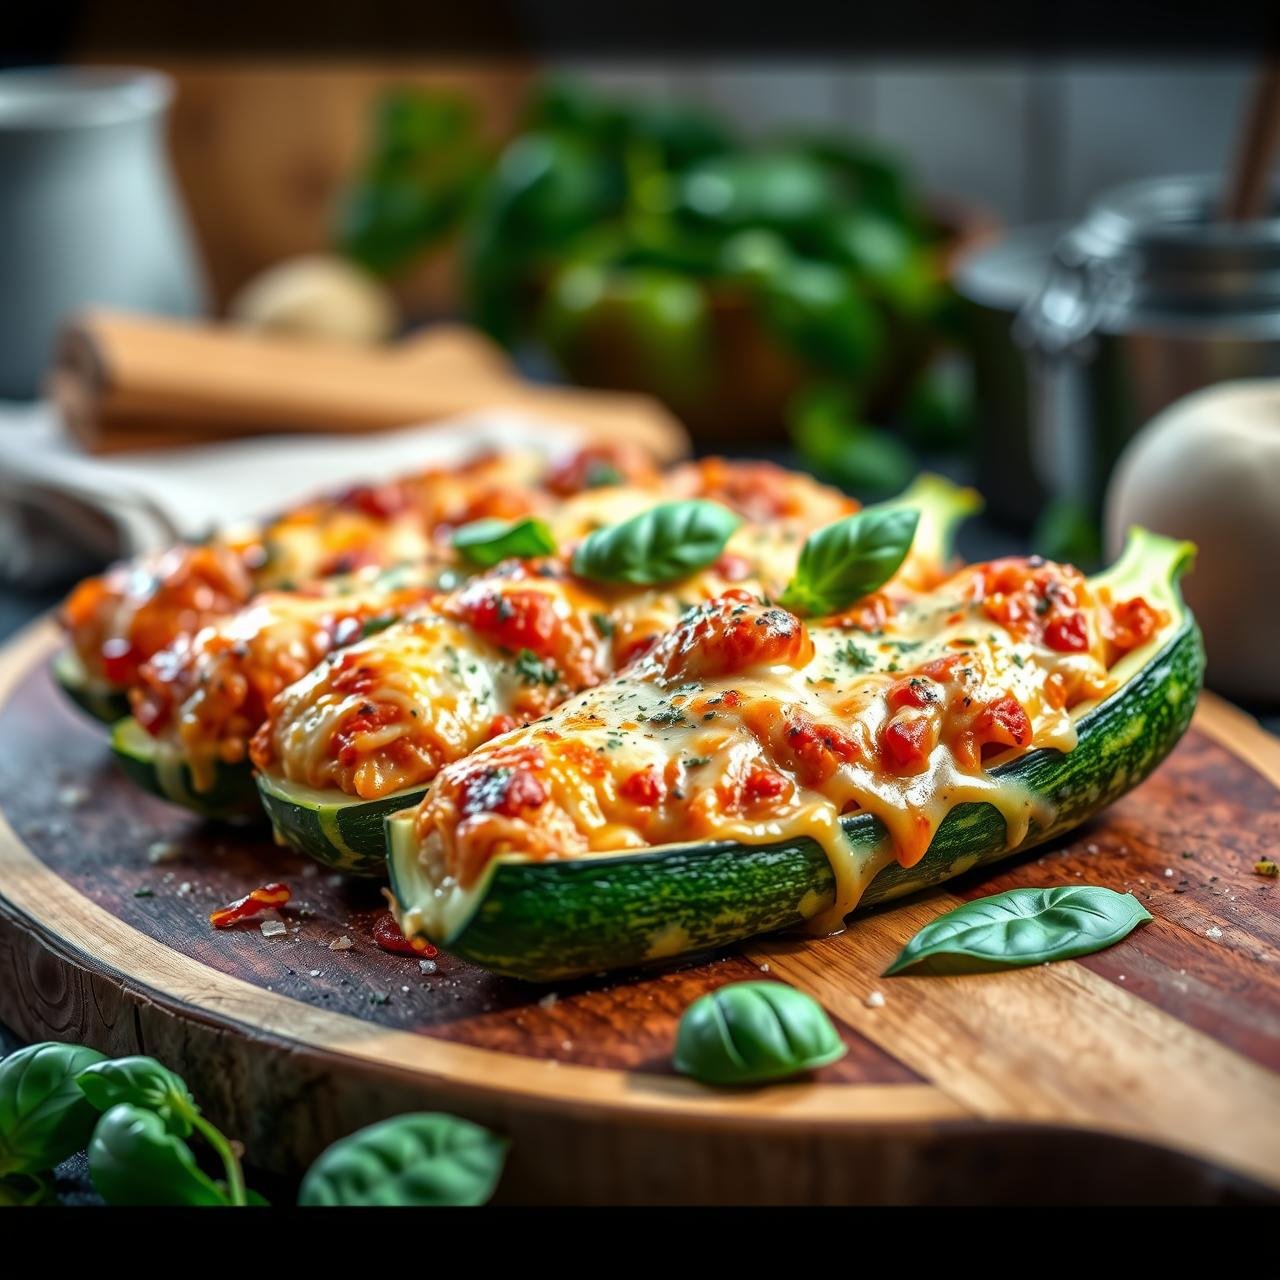
Cheesy Chicken Parmesan Zucchini Boats (Detailed Recipe, Low Calorie)
There are certain dishes that resonate with a sense of pure, unadulterated comfort. Chicken Parmesan is undoubtedly one of them—a timeless classic celebrated for its savory tomato sauce, tender breaded chicken, and glorious blanket of melted cheese. Yet, in our modern pursuit of healthier, cleaner eating, traditional comfort foods can sometimes feel like a heavy indulgence. This is where culinary creativity shines. We’re taking the soul-satisfying flavors of Chicken Parmesan and reimagining them in a vessel that is light, nutritious, and utterly delicious: the humble zucchini.
These Cheesy Chicken Parmesan Zucchini Boats are more than just a low-calorie alternative; they are a celebration of fresh ingredients and smart cooking techniques. By swapping pasta and breaded cutlets for vibrant, hollowed-out zucchini, we create a dish that is naturally gluten-free, low in carbohydrates, and packed with vitamins. It’s a recipe designed for the modern home cook—someone who craves homestyle flavor but also values wholesome, budget-friendly meals. Prepare to transform a simple garden vegetable into a culinary masterpiece that will satisfy the entire family, proving that healthy eating can be both deeply comforting and exceptionally flavorful.
The Right Tools for the Job: Your Equipment Checklist
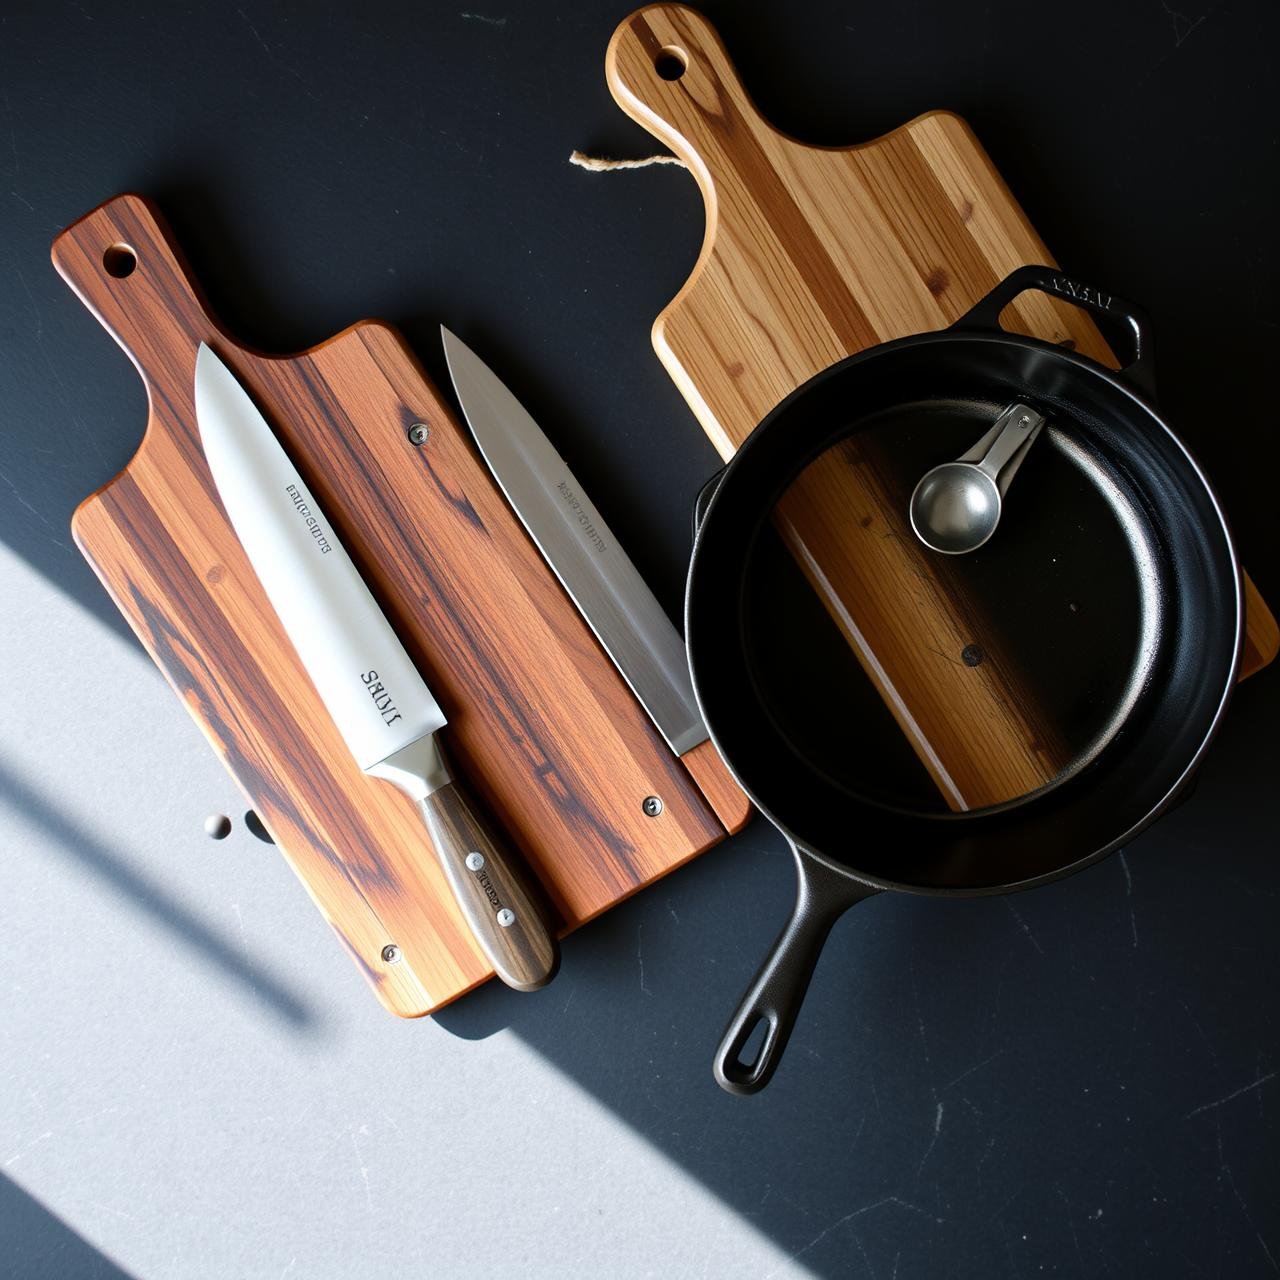
A great chef knows that the right equipment makes any recipe smoother and more enjoyable to execute. For this rustic dish, you won’t need any high-tech gadgets, just a few reliable kitchen staples. Assembling your tools before you begin, a practice known as ‘mise en place,’ ensures an organized and stress-free cooking process.
| Tool | Purpose & Chef’s Note |
|---|---|
| Baking Sheet | A large, rimmed baking sheet is essential for roasting the zucchini boats evenly and catching any potential drips of sauce or cheese. Line it with parchment paper for effortless cleanup. |
| Large Skillet | A 10 to 12-inch skillet (cast iron is fantastic for even heat distribution) is needed to cook the ground chicken filling to perfection. |
| Chef’s Knife & Cutting Board | A sharp knife is your best friend for safely and efficiently halving the zucchini and dicing the onion and garlic. |
| Melon Baller or Spoon | This is the key to hollowing out the zucchini to create the ‘boat’ shape. A small spoon works just as well. |
| Mixing Bowls | You’ll need at least one large bowl to combine the ingredients for the chicken filling. |
| Measuring Cups & Spoons | Accurate measurements are the foundation of a consistent and successful recipe. |
Sourcing Your Ingredients: A Foundation of Flavor
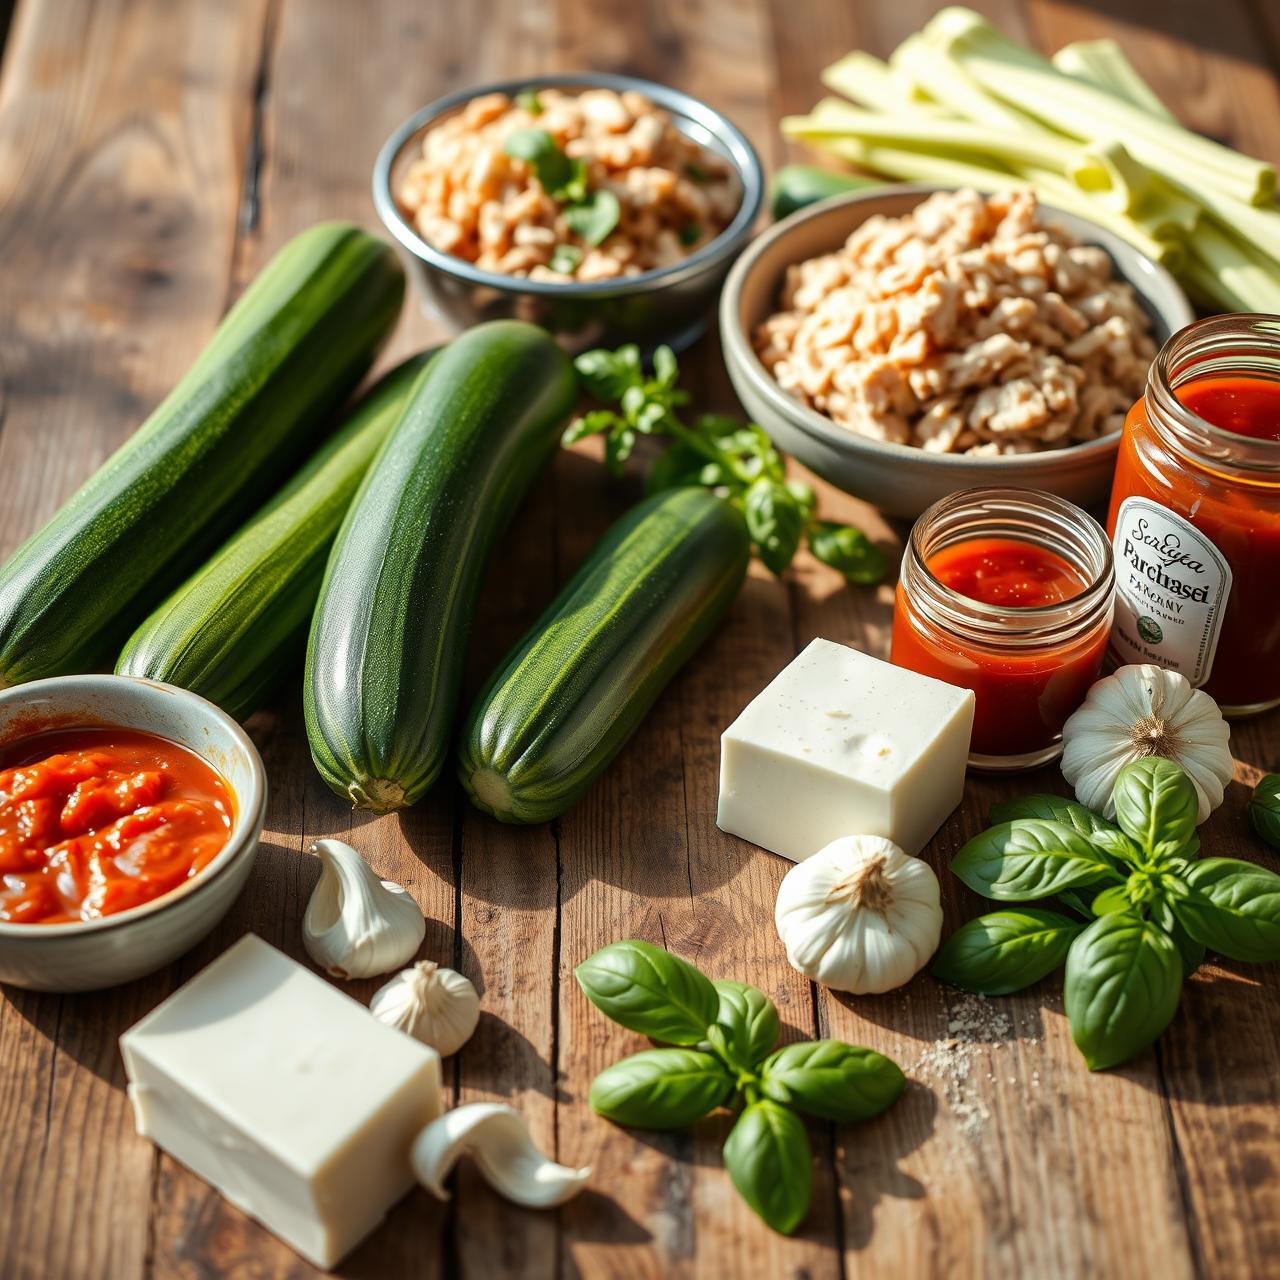
The quality of your final dish is a direct reflection of the ingredients you start with. This recipe celebrates simplicity and freshness. Below is a detailed list of what you’ll need, along with tips for selecting the best options for maximum flavor.
- Zucchini: You will need 4 medium-sized zucchini (about 8 inches long). Look for firm, smooth-skinned zucchini with a vibrant green color. Avoid any that are overly large, as they tend to be watery and have tougher seeds.
- Ground Chicken: 1 pound of lean ground chicken. You can also use ground turkey. For a richer flavor, you could even finely dice boneless, skinless chicken breasts.
- Onion & Garlic: 1 small yellow onion, finely diced, and 3-4 cloves of garlic, minced. These aromatics form the essential flavor base of our filling.
- Marinara Sauce: 1 ½ cups of your favorite marinara sauce. Choose a quality sauce with simple ingredients and no added sugar to keep the dish clean and healthy.
- Cheeses: A combination is key for flavor and meltiness. You’ll need 1 cup of shredded low-moisture mozzarella cheese for that perfect cheese pull, and ½ cup of grated Parmesan cheese for its sharp, nutty flavor.
- Seasonings: 1 teaspoon of dried Italian seasoning, ½ teaspoon of red pepper flakes (optional, for a hint of warmth), plus salt and freshly ground black pepper to taste.
- Olive Oil: 1 tablespoon of extra virgin olive oil for sautéing the aromatics and chicken.
- Fresh Herbs: A handful of fresh basil or parsley, chopped, for garnish. This adds a final touch of brightness and freshness that elevates the entire dish.
Crafting Your Culinary Masterpiece: A Step-by-Step Guide

Follow these detailed steps carefully to build your zucchini boats layer by layer, ensuring a perfect result every time. We’ll break the process down into manageable stages: preparing the zucchini, creating the filling, assembling the boats, and baking to perfection.
-
Step 1: Prepare the Zucchini Shells
Preheat your oven to 400°F (200°C). Line a large baking sheet with parchment paper. Wash and dry the zucchini thoroughly. Trim off the stems and ends, then slice each zucchini in half lengthwise. Using a small spoon or a melon baller, gently scoop out the flesh, leaving about a ¼-inch thick border to create a sturdy boat. Finely chop the scooped-out zucchini flesh and set it aside—we’ll use this in the filling to minimize waste and add extra nutrients. Arrange the hollowed-out zucchini shells on the prepared baking sheet, cut-side up. Brush them lightly with olive oil and season with a pinch of salt and pepper. This initial seasoning is crucial for flavoring the zucchini itself. Bake for 15 minutes. This pre-baking step is the secret to preventing watery zucchini boats, as it helps to draw out excess moisture.
-
Step 2: Create the Savory Chicken Filling
While the zucchini shells are pre-baking, begin your filling. Heat 1 tablespoon of olive oil in a large skillet over medium-high heat. Add the diced onion and cook until it becomes soft and translucent, about 3-4 minutes. Add the minced garlic and the chopped zucchini flesh you set aside earlier. Cook for another 2 minutes until the garlic is fragrant. Add the ground chicken to the skillet. Use a wooden spoon to break it apart and cook until it is browned and cooked through, about 5-7 minutes. Drain any excess fat if necessary. Stir in the Italian seasoning, red pepper flakes (if using), and a generous pinch of salt and pepper. Pour in 1 cup of the marinara sauce and ¼ cup of the Parmesan cheese. Stir everything together and bring the mixture to a gentle simmer. Reduce the heat to low and let it cook for 5 minutes to allow the flavors to meld together beautifully.
-
Step 3: Assemble Your Boats
Once the zucchini shells have finished their 15-minute pre-bake, carefully remove them from the oven. You’ll notice some liquid may have collected in the shells; carefully pour this out. Now, it’s time to assemble. Spoon the remaining ½ cup of marinara sauce evenly into the bottom of each zucchini boat. This creates a flavorful base. Next, divide the chicken filling mixture evenly among the boats, mounding it slightly. Don’t be shy—pack them full!
-
Step 4: Bake to Golden Perfection
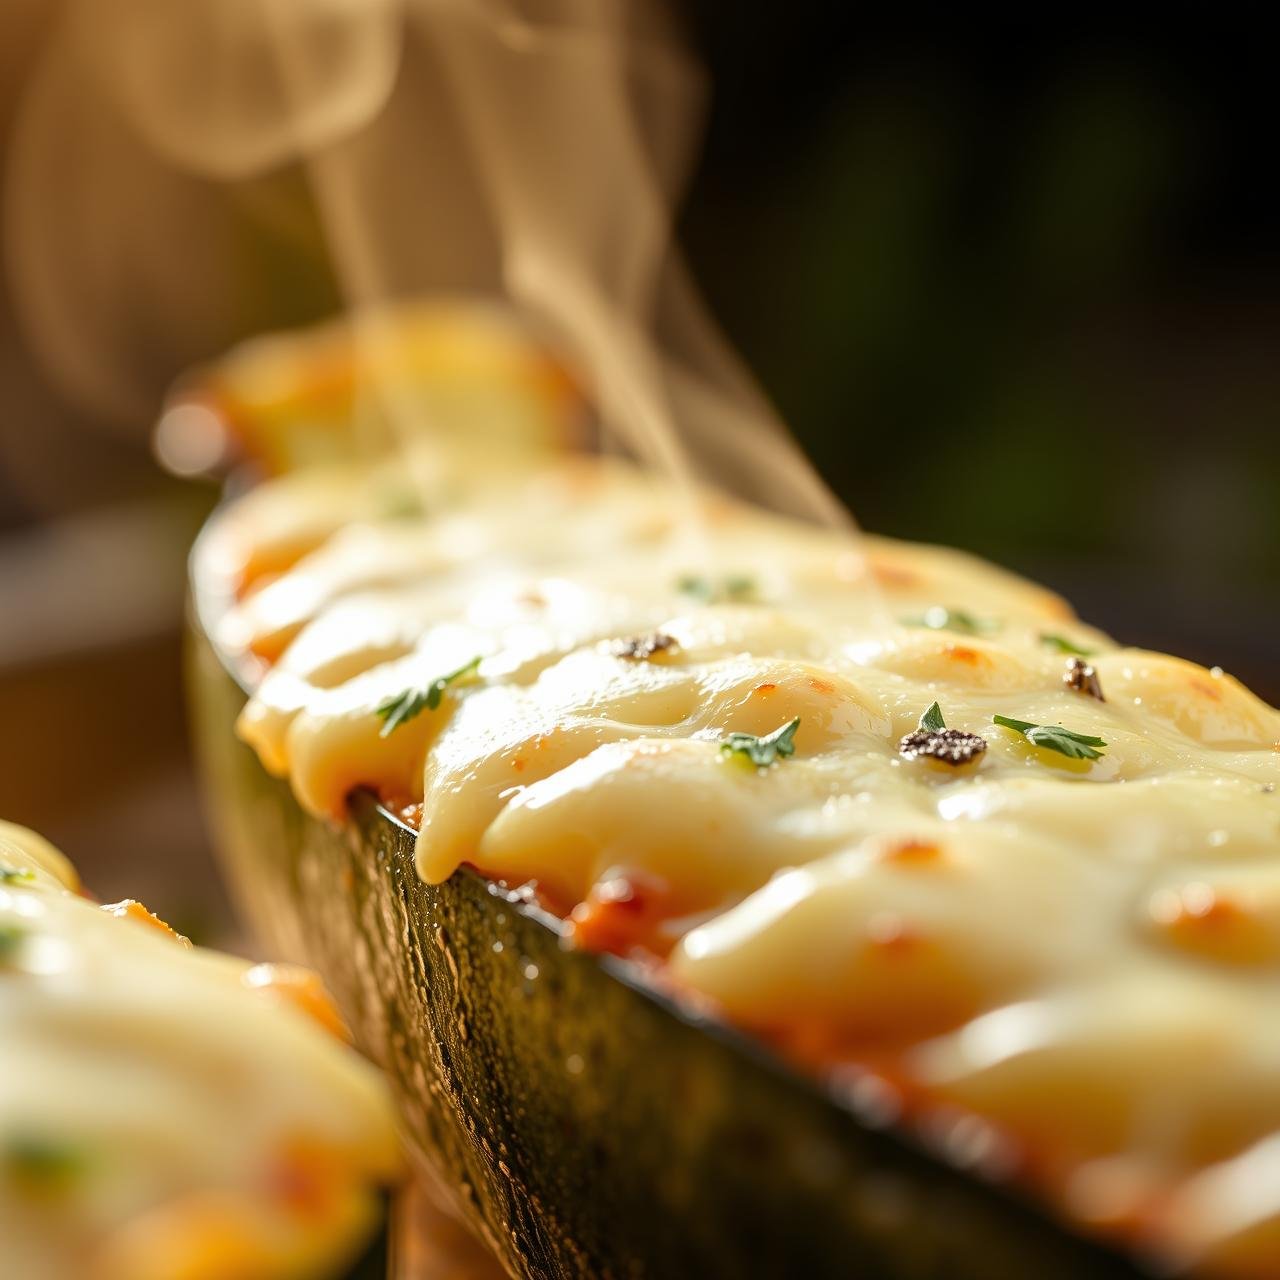
In a small bowl, toss the shredded mozzarella with the remaining ¼ cup of Parmesan cheese. Sprinkle this cheese mixture generously over the top of each filled zucchini boat. Return the baking sheet to the 400°F (200°C) oven. Bake for another 15-20 minutes, or until the zucchini is tender and the cheese on top is melted, bubbly, and beautifully golden brown. For an extra-crispy top, you can switch the oven to the broil setting for the last 1-2 minutes, but watch it very closely to prevent burning. Once baked, remove from the oven and let them rest for a few minutes before serving. Garnish with fresh chopped basil or parsley.
From Our Kitchen to Yours: Expert Tips for Success
Even the simplest recipes can benefit from a few professional insights. Here are some tips to ensure your Chicken Parmesan Zucchini Boats are flawless and to help you customize them to your liking.
- The Secret to Non-Soggy Boats: The most common issue with zucchini boats is excess water. Do not skip the pre-baking step! Salting the hollowed-out shells and letting them sit for 10 minutes before pre-baking can also help draw out even more moisture. Simply pat them dry with a paper towel before baking.
- Achieving the Perfect ‘Cheese Pull’: For that irresistible, restaurant-quality cheese pull, use low-moisture, whole-milk mozzarella that you shred yourself. Pre-shredded cheeses often contain anti-caking agents that can inhibit a smooth melt. Combining it with Parmesan adds depth of flavor.
- Make-Ahead Magic: This recipe is fantastic for meal prep. You can prepare the chicken filling up to 2 days in advance and store it in an airtight container in the refrigerator. You can also pre-bake the zucchini shells. When you’re ready to eat, simply assemble and bake as directed, adding a few extra minutes to the baking time.
- Flavor Variations: Feel free to experiment! Add sautéed mushrooms or bell peppers to the filling for extra vegetables. For a spicier kick, add a pinch more red pepper flakes or a dash of your favorite hot sauce. You can also swap the ground chicken for Italian sausage for a richer flavor profile.
A Healthy Indulgence: Nutritional Breakdown
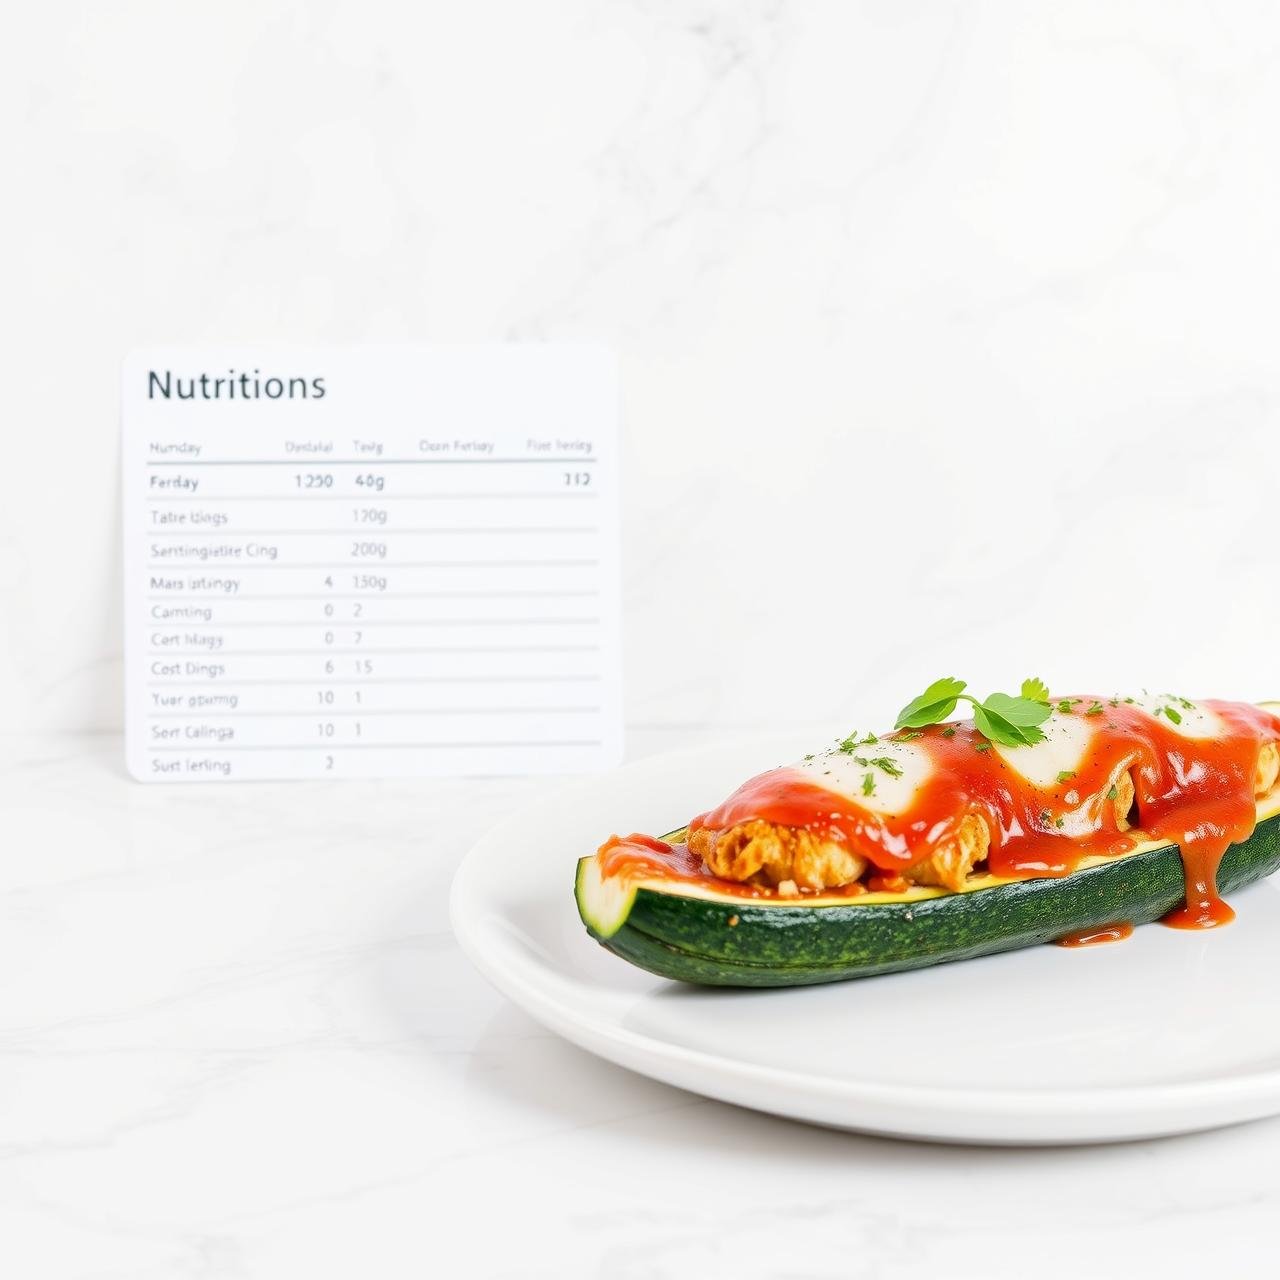
Understanding the nutritional value of your meals is an empowering part of a healthy lifestyle. This dish is designed to be both satisfying and nourishing. The following table provides an estimated nutritional breakdown per serving (assuming the recipe makes 4 servings, with 2 boats per serving). Please note that these values are approximate and can vary based on the specific ingredients used.
| Nutrient | Estimated Amount per Serving |
|---|---|
| Calories | ~380 kcal |
| Protein | ~35g |
| Fat | ~20g |
| Carbohydrates | ~15g |
| Fiber | ~5g |
| Net Carbs | ~10g |
| Sugar | ~9g (from vegetables and sauce) |
| Sodium | ~750mg |
Disclaimer: The nutritional information provided is an estimate and should not be considered a substitute for a professional nutritionist’s advice.
Savoring the Flavors Later: Storage and Reheating Guide
Storing Leftovers
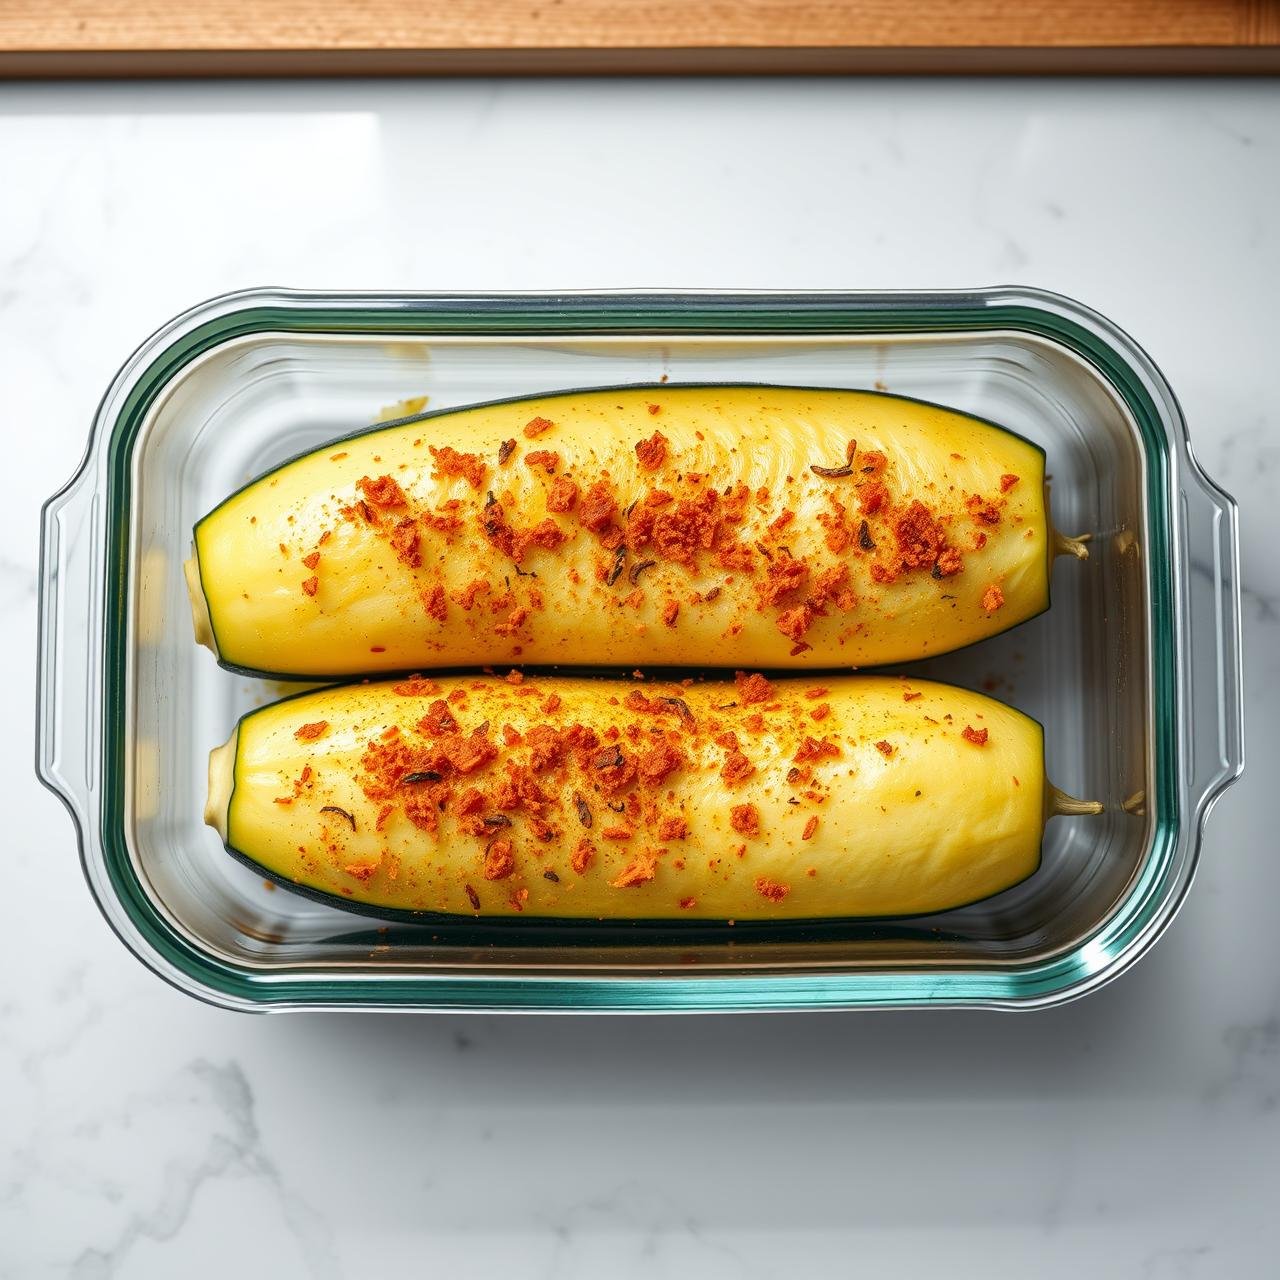
These zucchini boats make for excellent leftovers. Once they have cooled completely to room temperature, store them in a single layer in an airtight container. They will keep well in the refrigerator for up to 3-4 days. Stacking them can cause them to become squashed, so a single layer is best.
Reheating for Best Results
While a microwave is quick, it can make the zucchini soft and watery. For the best texture that rivals the freshly-baked experience, we recommend one of two methods:
- Oven (Recommended): Preheat your oven to 350°F (175°C). Place the zucchini boats on a baking sheet and bake for 10-15 minutes, or until heated through and the cheese is re-melted and bubbly.
- Air Fryer: An air fryer also works wonderfully to crisp up the topping. Preheat your air fryer to 350°F (175°C). Place the boats in the basket in a single layer and heat for 5-8 minutes, checking halfway through to ensure they don’t burn.
Conclusion
In the world of home cooking, the most rewarding dishes are often those that nourish both body and soul. These Cheesy Chicken Parmesan Zucchini Boats are a perfect testament to that philosophy. They capture all the nostalgic, comforting essence of a beloved Italian-American classic while cleverly adapting it for a healthier, low-carb lifestyle. This recipe is more than just a meal; it’s a versatile and satisfying solution for busy weeknights, a crowd-pleasing dish for guests, and a fantastic way to get more vegetables onto the dinner table.
We encourage you to embrace this recipe as a blueprint for your own culinary creativity. Whether you stick to the classic flavors or add your own unique twist, you’re creating a wholesome, homestyle meal that feels both indulgent and virtuous. From our kitchen to yours, we hope you enjoy every savory, cheesy bite.