Better Than Takeout: Healthy Chicken Piccata Recipe (No Fluff)
Chicken Piccata. The name alone evokes images of a classic Italian-American bistro dish: tender, thinly sliced chicken, lightly coated and pan-fried to a golden hue, all bathed in a bright, savory sauce of lemon, capers, and white wine. It’s a perennial favorite for a reason—it’s sophisticated yet comforting, quick to prepare, and bursting with flavor. However, restaurant versions can often be a crutch for excess, laden with butter, sodium, and unnecessary calories that leave you feeling heavy, not energized.
This is where our philosophy of ‘better than takeout’ comes into play. We are stripping this classic down to its beautiful, rustic essentials and rebuilding it with a focus on clean, wholesome ingredients without sacrificing an ounce of flavor. This is a no-fluff guide. We will provide you with the technique, the understanding, and the confidence to create a Chicken Piccata that is not only healthier and more affordable than its restaurant counterpart but, quite simply, tastes better. Prepare to master a dish that is light, satisfying, and destined to become a staple in your weeknight dinner rotation.
Deconstructing the Classic: A Healthier Approach
At its core, a great Piccata is a study in balance: the richness of the chicken, the acidity of the lemon, the salty brine of the capers, and the savory depth of the pan sauce. Our healthy interpretation honors this balance while making intelligent, purposeful swaps. We’re not just reducing calories; we’re elevating the natural flavors of the core ingredients.
Key Healthy Modifications:
- Mindful Fat Usage: We trade copious amounts of butter for a combination of high-quality olive oil for searing and just a touch of butter at the end for flavor and mouthfeel. This significantly cuts down on saturated fat while maintaining that silky finish.
- A Lighter Dredge: Instead of a thick, heavy coating of all-purpose flour, we use just enough to create a delicate, golden crust. For a gluten-free and nutrient-denser option, you can even use finely ground almond flour, which also adds a subtle nutty flavor.
- Sodium Control: Takeout and restaurant sauces are notoriously high in sodium. By using low-sodium chicken broth and relying on the natural brine of the capers for saltiness, we put you in complete control of the final seasoning.
- Flavor Maximization: With less fat and salt to hide behind, the fresh ingredients must shine. We emphasize using freshly squeezed lemon juice—never from a bottle—and high-quality, non-pareil capers. The vibrant, clean flavors are what make this dish truly exceptional.
This approach isn’t about deprivation; it’s about precision and respect for the ingredients. The result is a dish that feels both indulgent and nourishing.
Your Culinary Toolkit: Equipment for Success
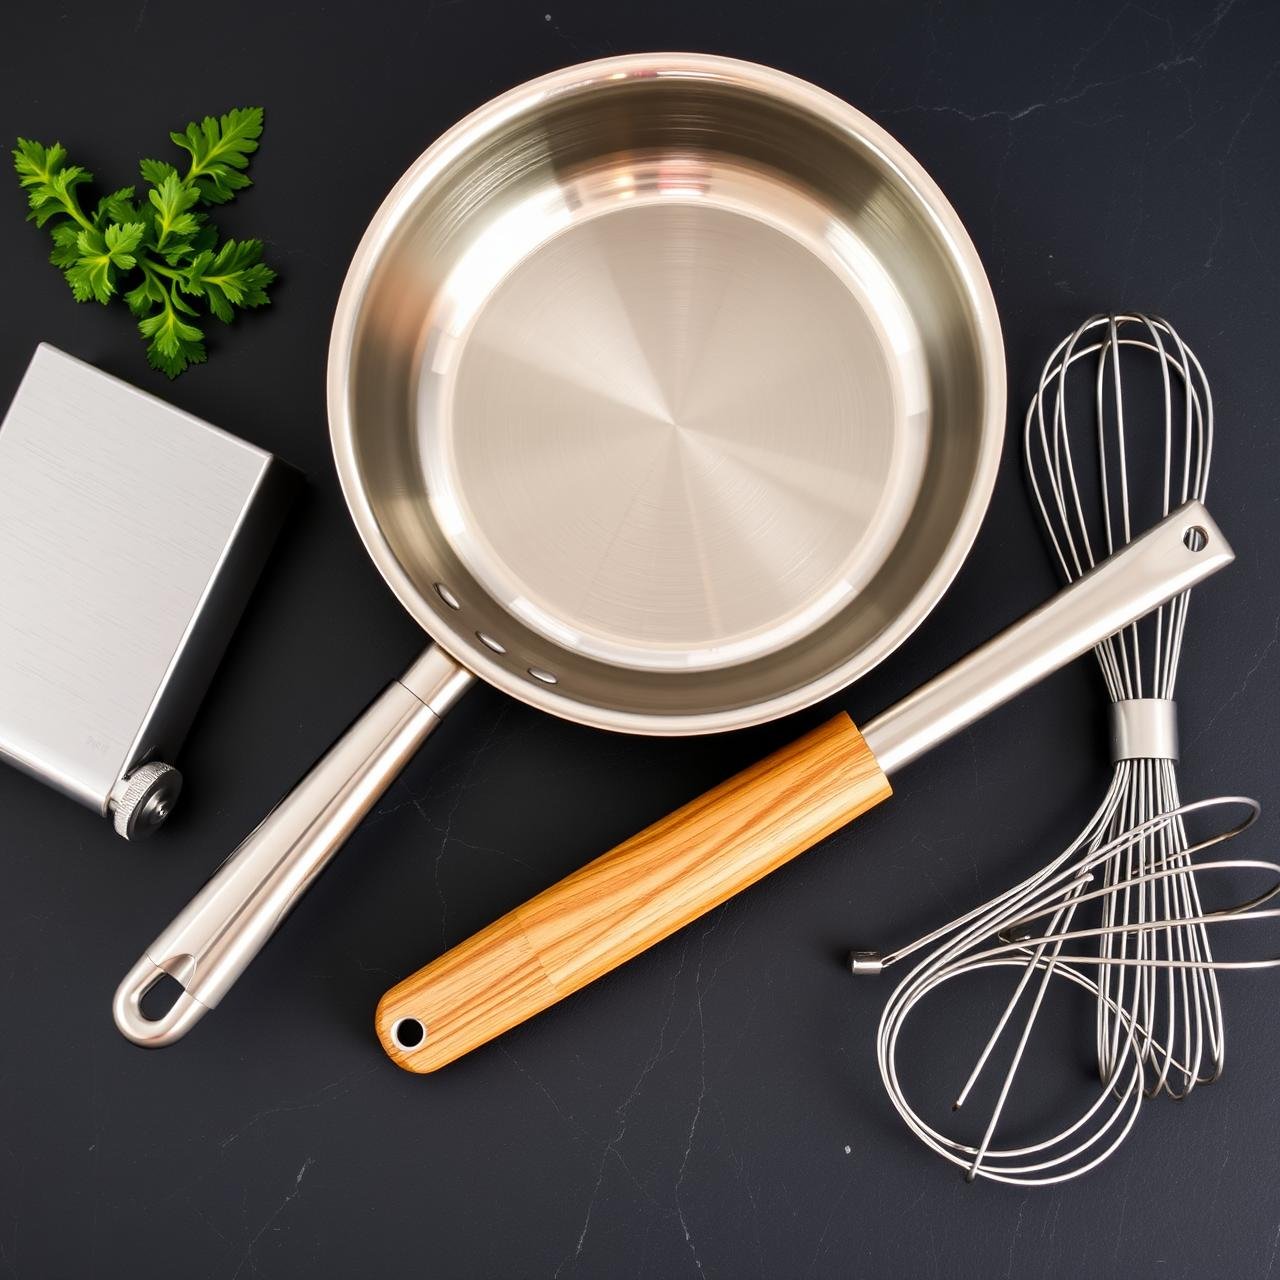
A chef is only as good as their tools, and while Chicken Piccata doesn’t require a professional kitchen, having the right equipment makes the process seamless and ensures perfect results. This is about working smarter, not harder.
| Tool | Purpose & Chef’s Note |
|---|---|
| Large Skillet (12-inch) | A large surface area is non-negotiable. It allows the chicken to sear without steaming, creating that essential golden-brown crust. A heavy-bottomed stainless steel or cast-iron skillet works best as it retains and distributes heat evenly. |
| Meat Mallet or Rolling Pin | To achieve the signature tenderness of Piccata, the chicken must be pounded to an even thickness (about 1/4 inch). This ensures it cooks quickly and uniformly. |
| Shallow Dishes | You’ll need at least two: one for the seasoned flour and one to hold the dredged chicken. Pie plates or shallow bowls work perfectly. |
| Tongs | Essential for flipping the chicken without piercing the flesh (which releases juices) and for handling the cutlets cleanly. |
| Whisk | A small whisk is crucial for creating a smooth, emulsified pan sauce and preventing lumps when incorporating the broth. |
The Heart of the Dish: Ingredient Selection
The quality of your finished dish is a direct reflection of the ingredients you start with. This recipe is simple, so every component has a chance to shine. Choose wisely.
For the Chicken:
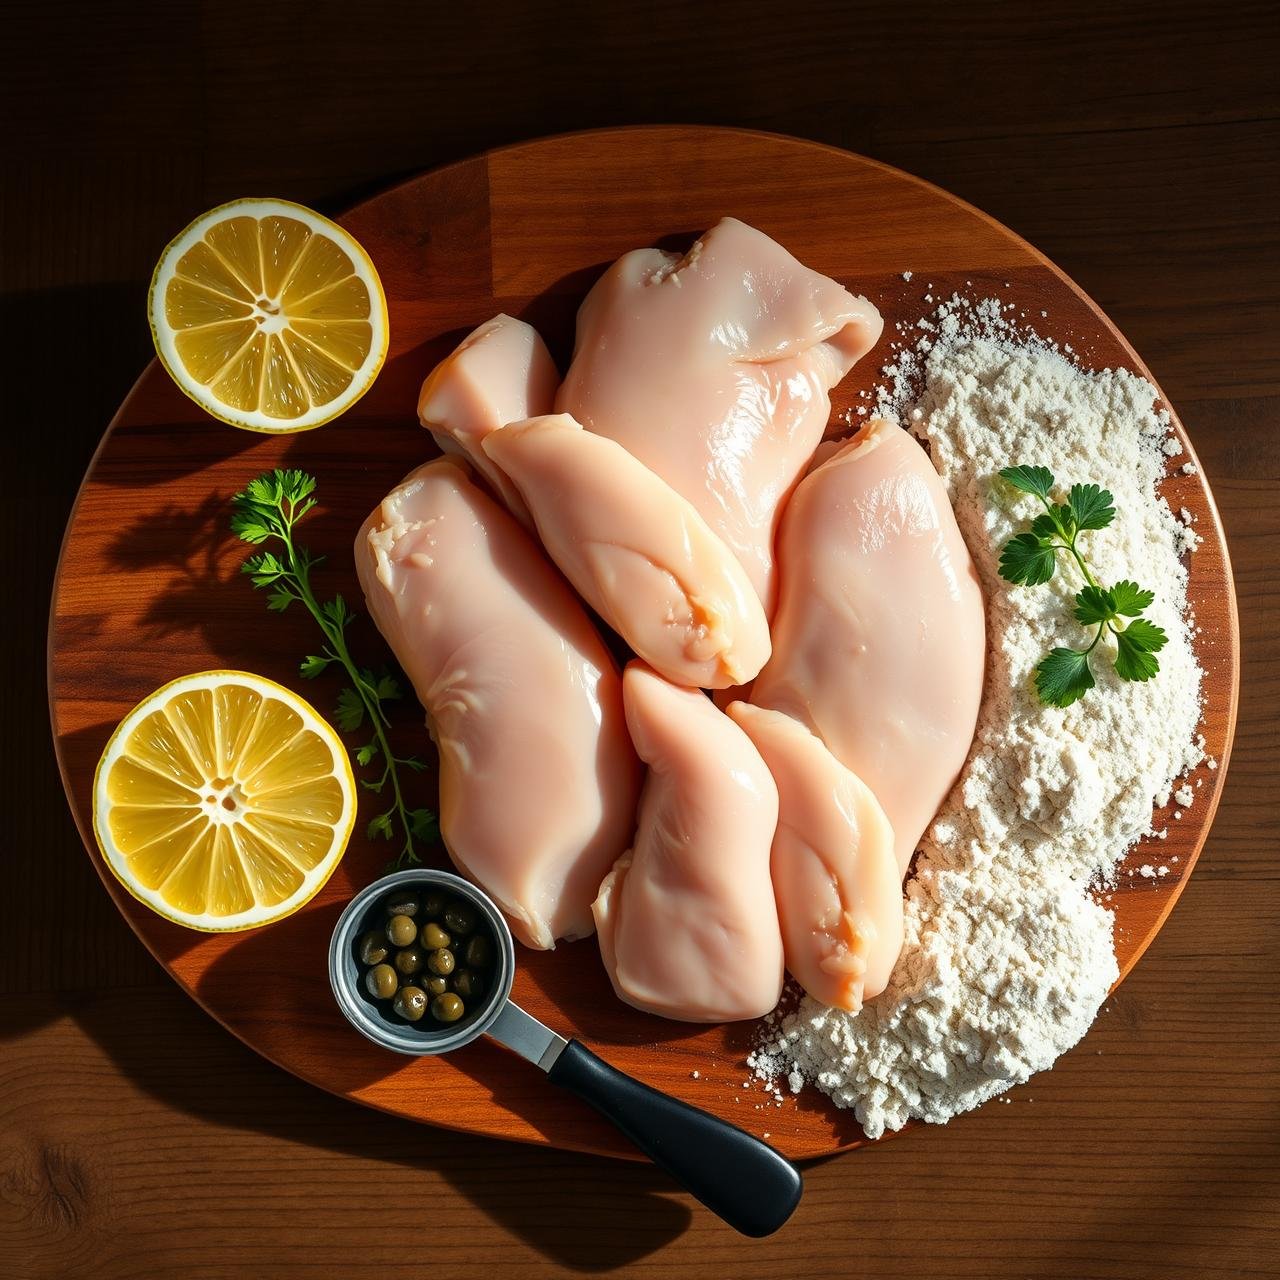
- 4 (about 1.5 lbs total) boneless, skinless chicken breasts, pounded to 1/4-inch thickness
- 1/2 cup whole wheat flour (or all-purpose flour)
- 1/2 teaspoon sea salt
- 1/4 teaspoon freshly ground black pepper
- 2 tablespoons olive oil
For the Pan Sauce:
- 1 tablespoon unsalted butter
- 2 cloves garlic, minced
- 1/2 cup dry white wine (like Pinot Grigio or Sauvignon Blanc), or use additional chicken broth
- 1 cup low-sodium chicken broth
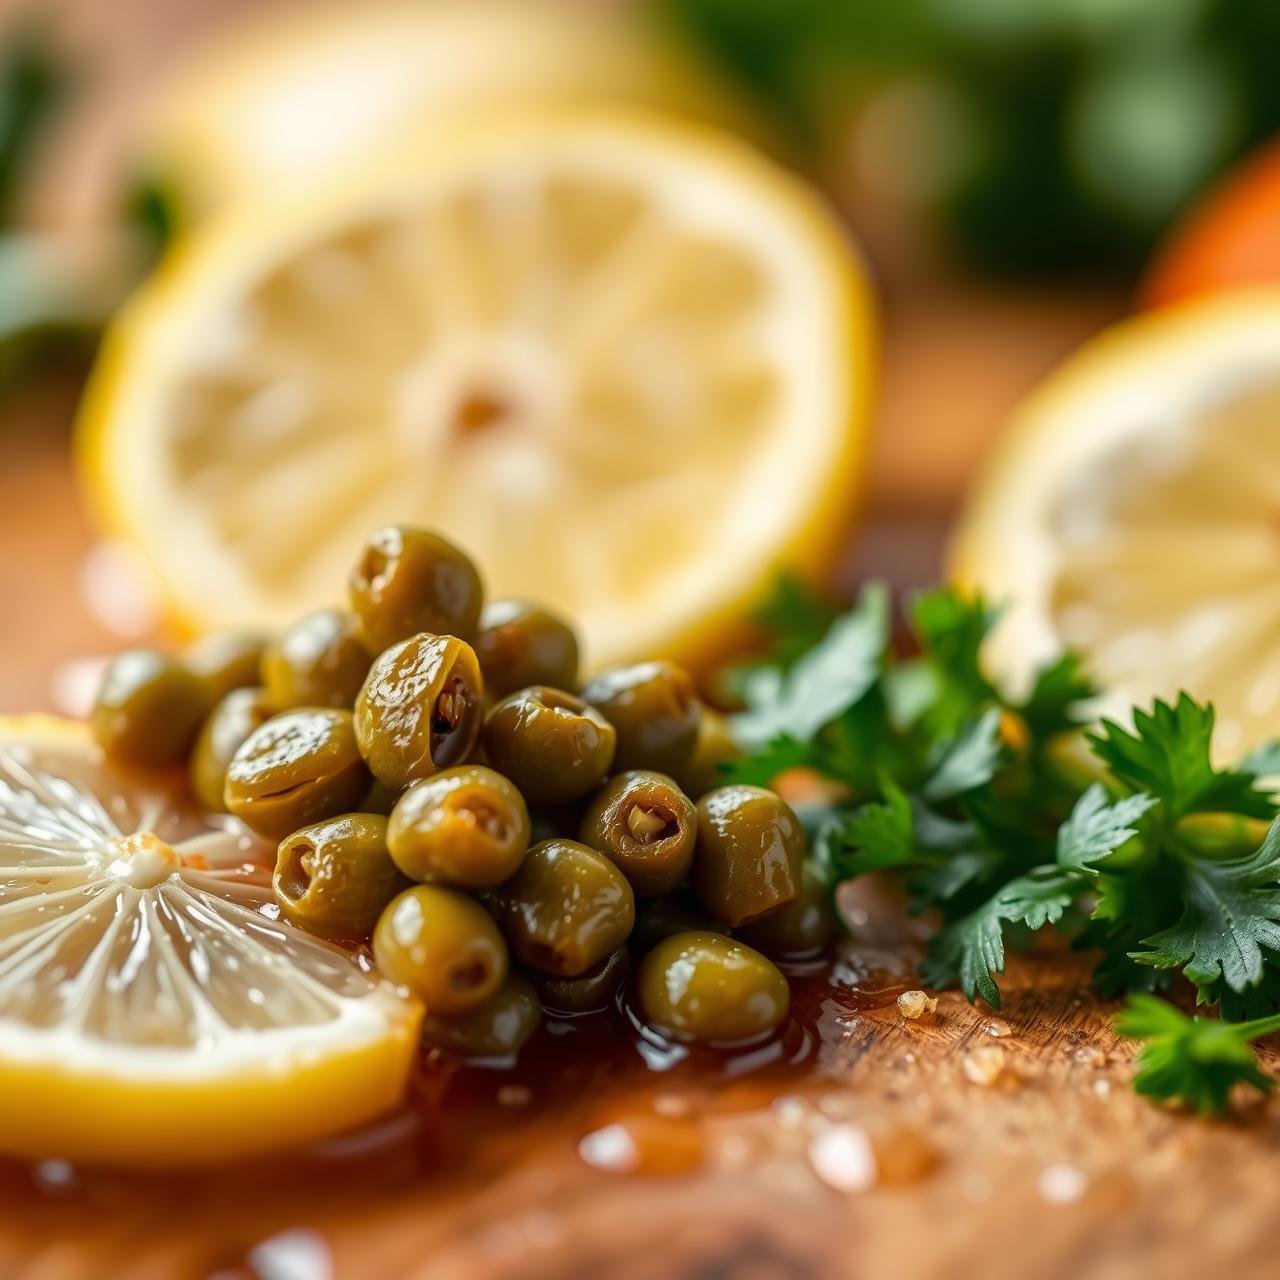
- 1/4 cup freshly squeezed lemon juice (from about 2 lemons)
- 3 tablespoons capers, drained
- 1/4 cup fresh parsley, chopped
A Chef’s Note on Ingredients: For the most tender result, purchase thin-sliced chicken cutlets if available to save time. If pounding your own, ensure they are of a truly even thickness. The difference between fresh and bottled lemon juice is night and day; fresh juice provides a bright, complex acidity that is essential to the dish. Look for non-pareil capers; they are smaller and have a more delicate flavor and texture.
The Method: A Step-by-Step Guide to Piccata Perfection
Follow this method precisely for a flawless result. The entire process moves quickly, so have all your ingredients prepared and ready next to the stove before you begin (a practice chefs call ‘mise en place’).
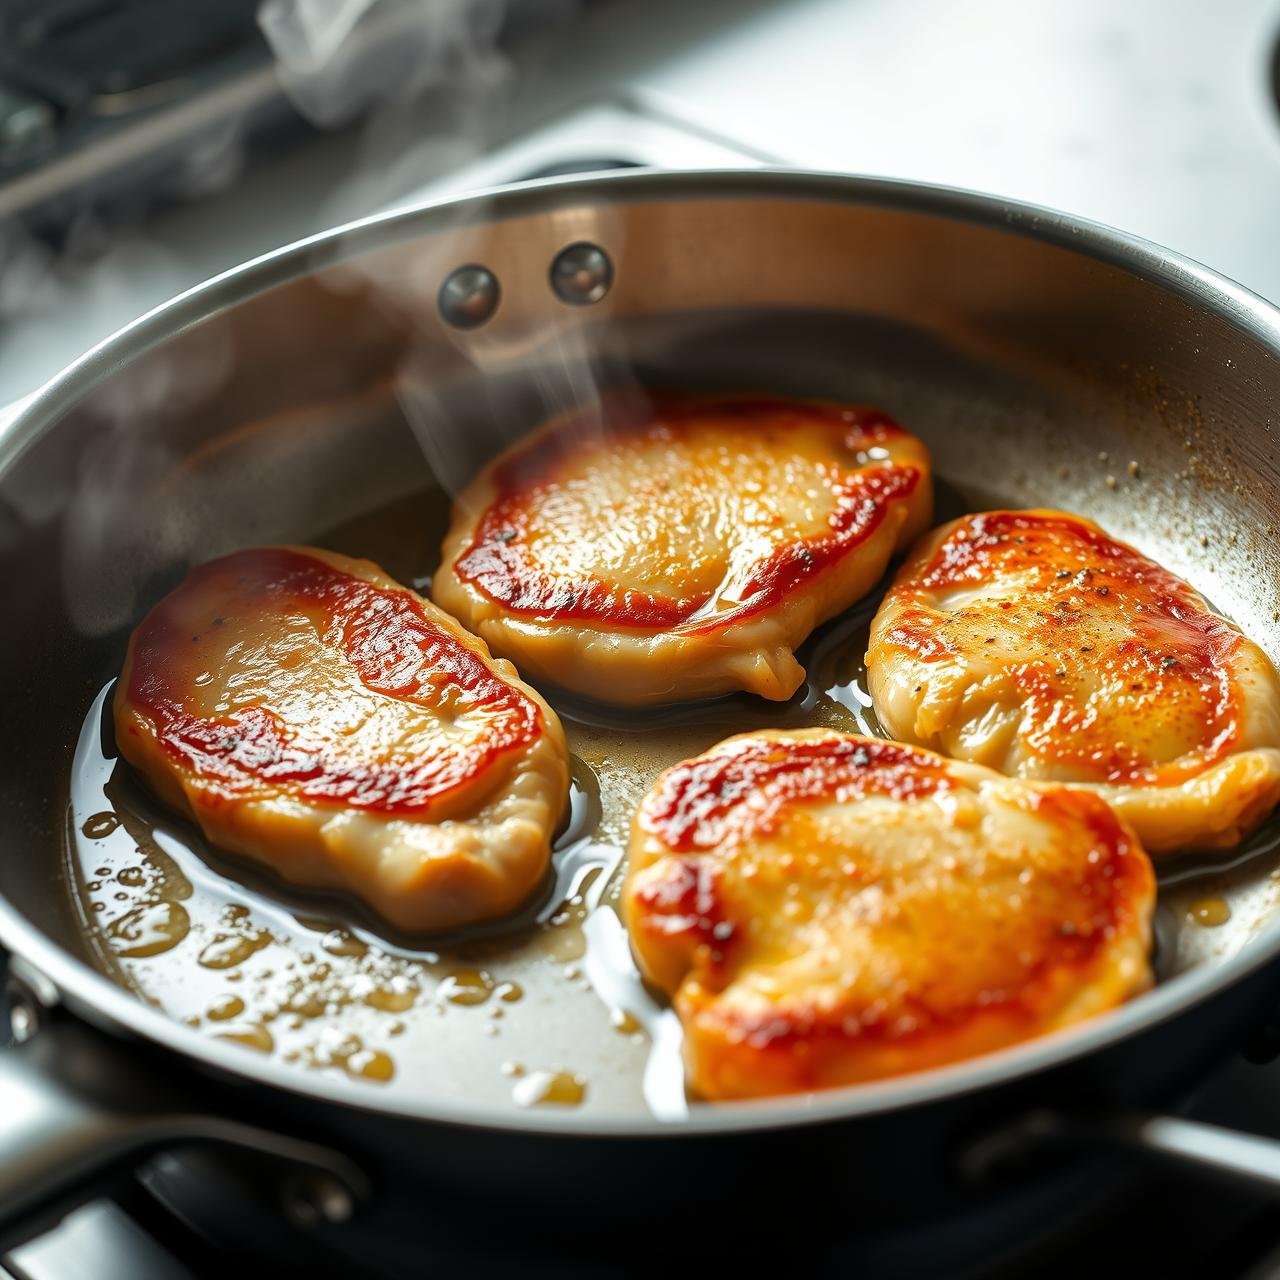
- Prepare the Chicken: If you haven’t already, place the chicken breasts between two pieces of plastic wrap and use a meat mallet or rolling pin to pound them to an even 1/4-inch thickness. Pat each cutlet thoroughly dry with paper towels—this is a critical step for a crispy sear.
- Set Up Your Dredging Station: In a shallow dish, whisk together the flour, salt, and pepper. Lightly press one chicken cutlet at a time into the flour, coating both sides. Gently shake off any excess flour; you want a very thin, almost translucent coating. Place the dredged cutlets on a separate plate or wire rack.
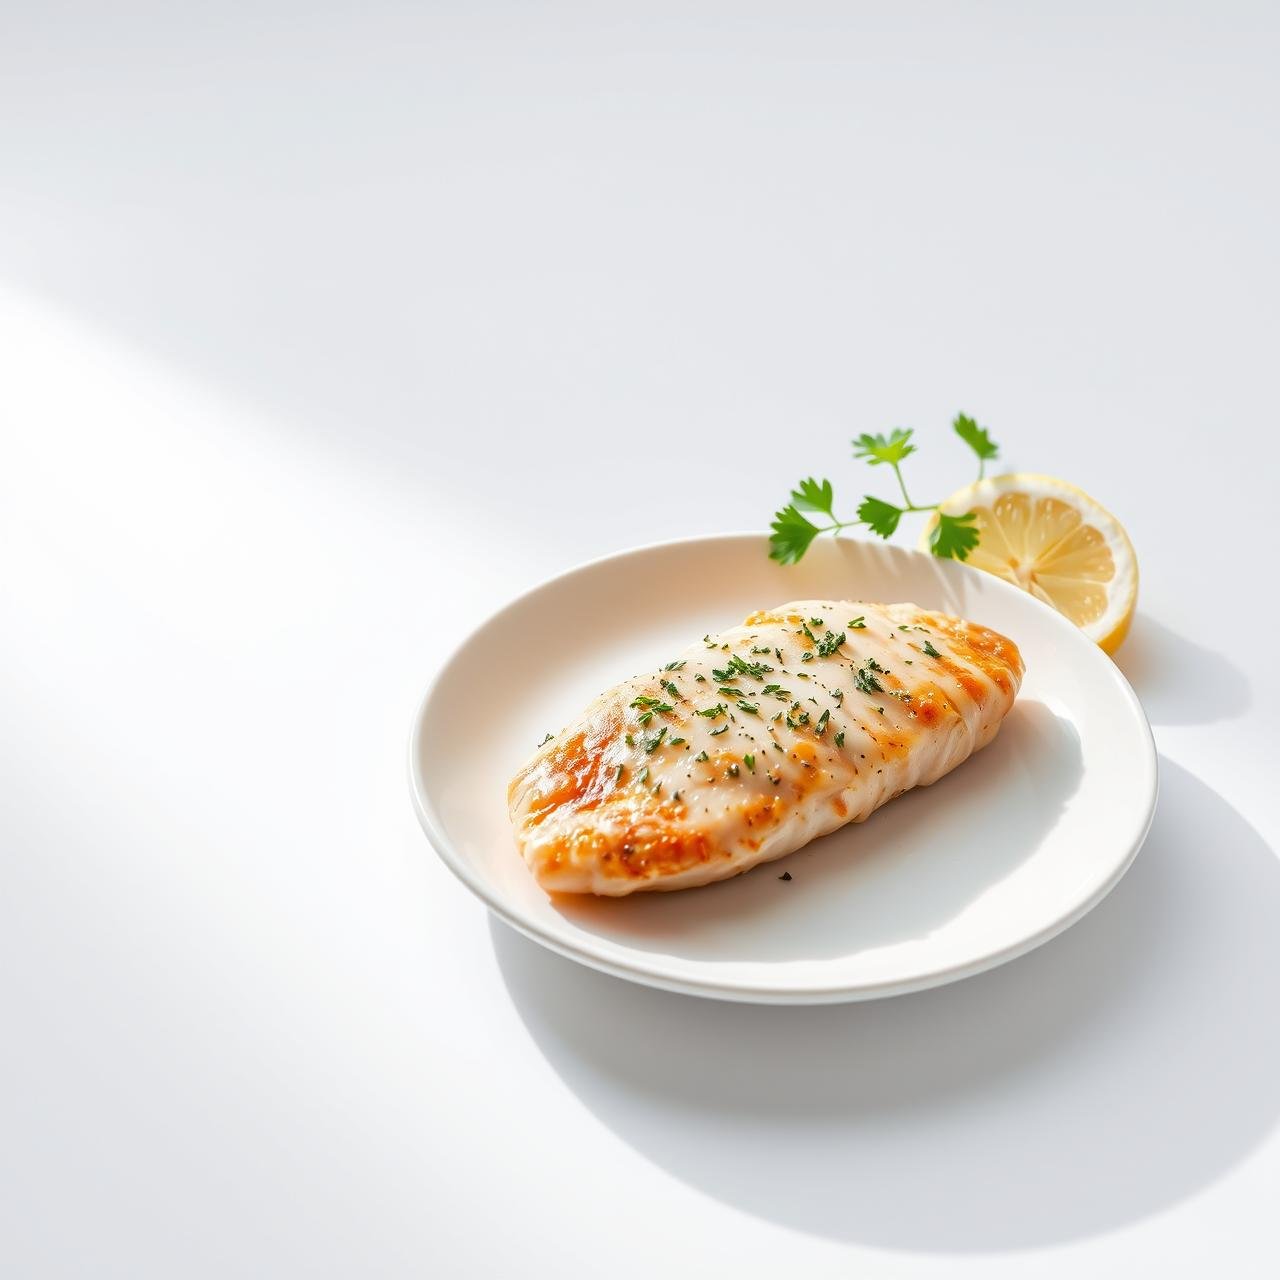
- Sear the Chicken: Heat the olive oil in your large skillet over medium-high heat. The oil should shimmer but not smoke. Carefully place two chicken cutlets in the pan, ensuring they don’t touch. Cook for about 2-3 minutes per side, until they are a deep golden brown and cooked through. Do not overcrowd the pan. Transfer the cooked chicken to a clean plate and repeat with the remaining cutlets.
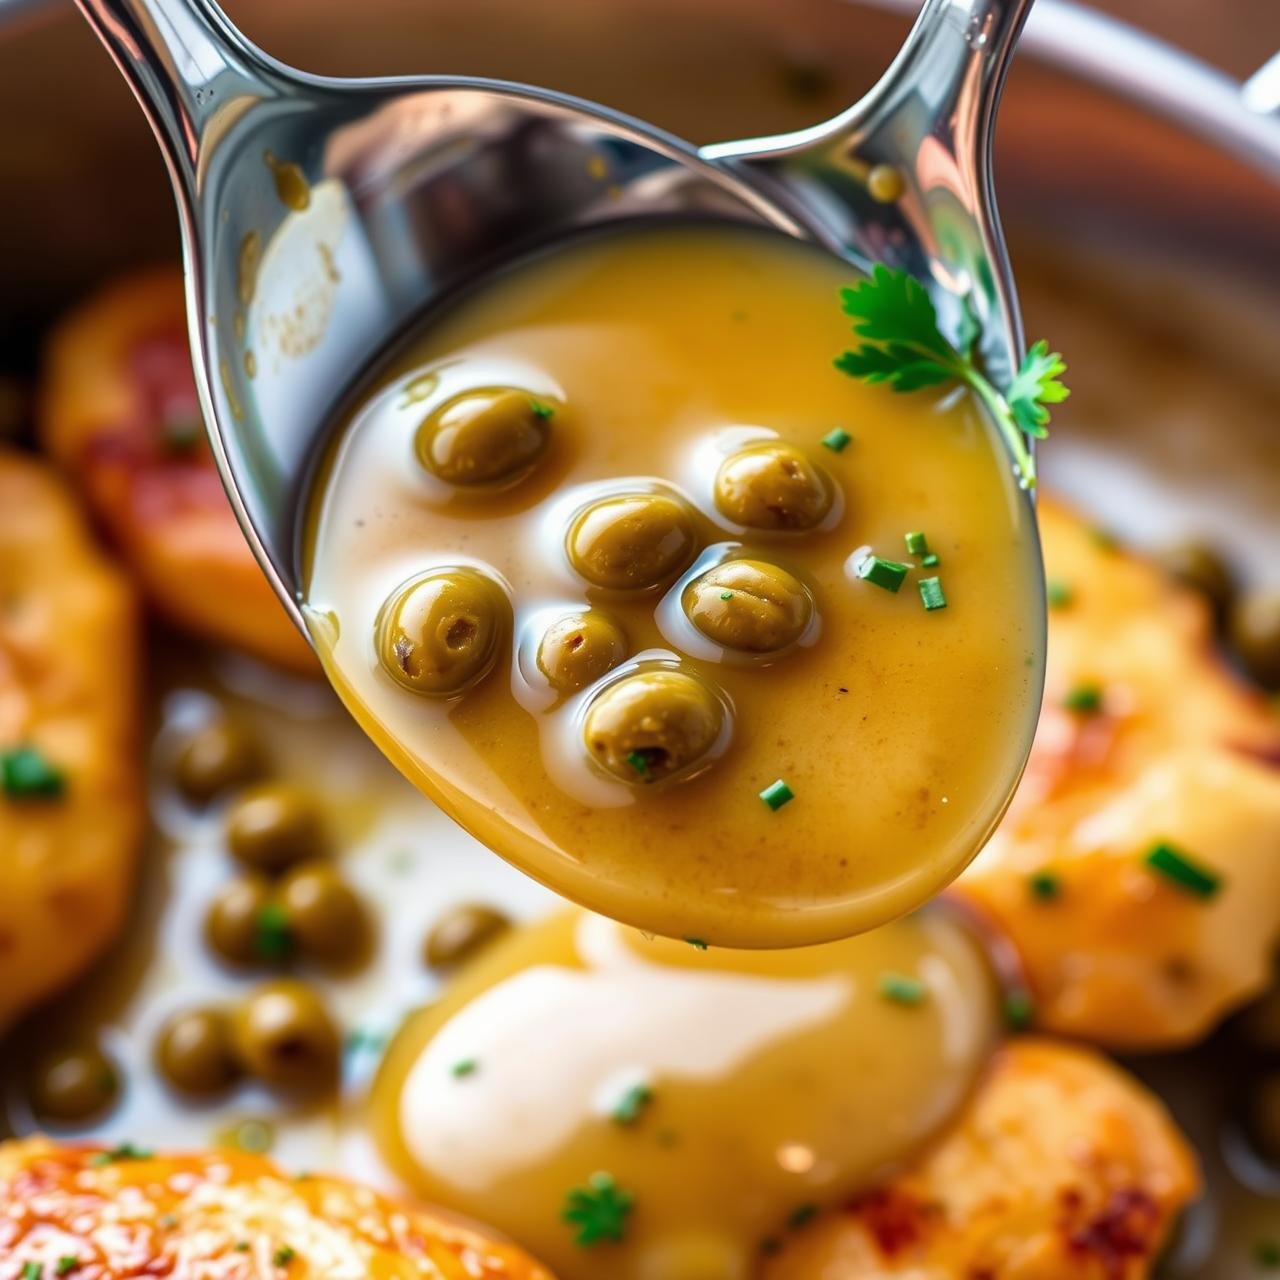
- Build the Pan Sauce: Reduce the heat to medium. Add the minced garlic to the skillet and cook for about 30 seconds until fragrant, stirring constantly. Pour in the white wine (or broth) to deglaze, scraping up any browned bits from the bottom of the pan with a wooden spoon. Let the wine simmer and reduce by about half.
- Finish the Sauce: Whisk in the chicken broth and fresh lemon juice. Bring to a simmer and let it cook for about 3-4 minutes to allow the flavors to meld and the sauce to thicken slightly. Stir in the drained capers and the final tablespoon of butter. Swirl the pan until the butter is melted and incorporated, creating a glossy, slightly thickened sauce.
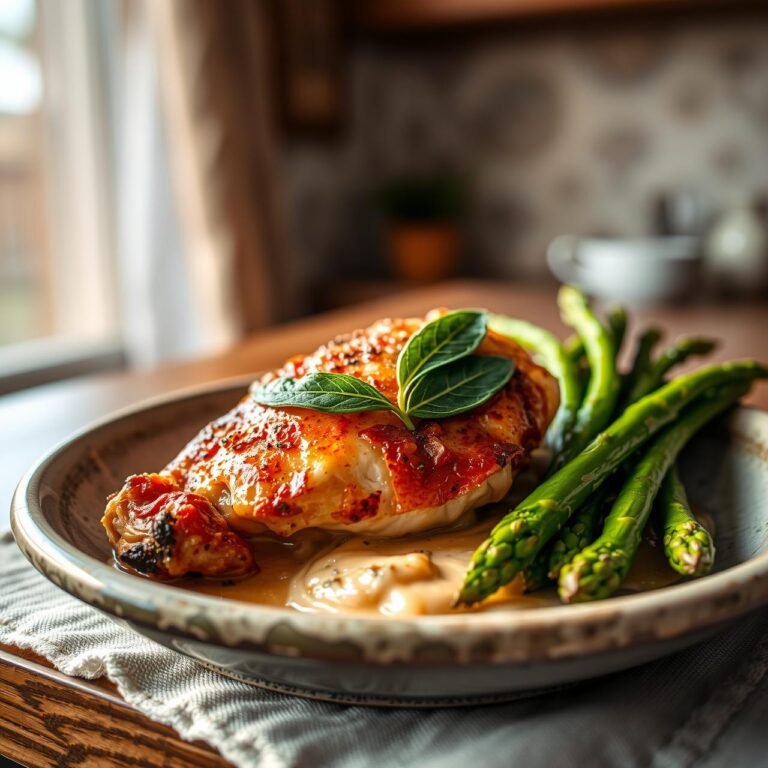
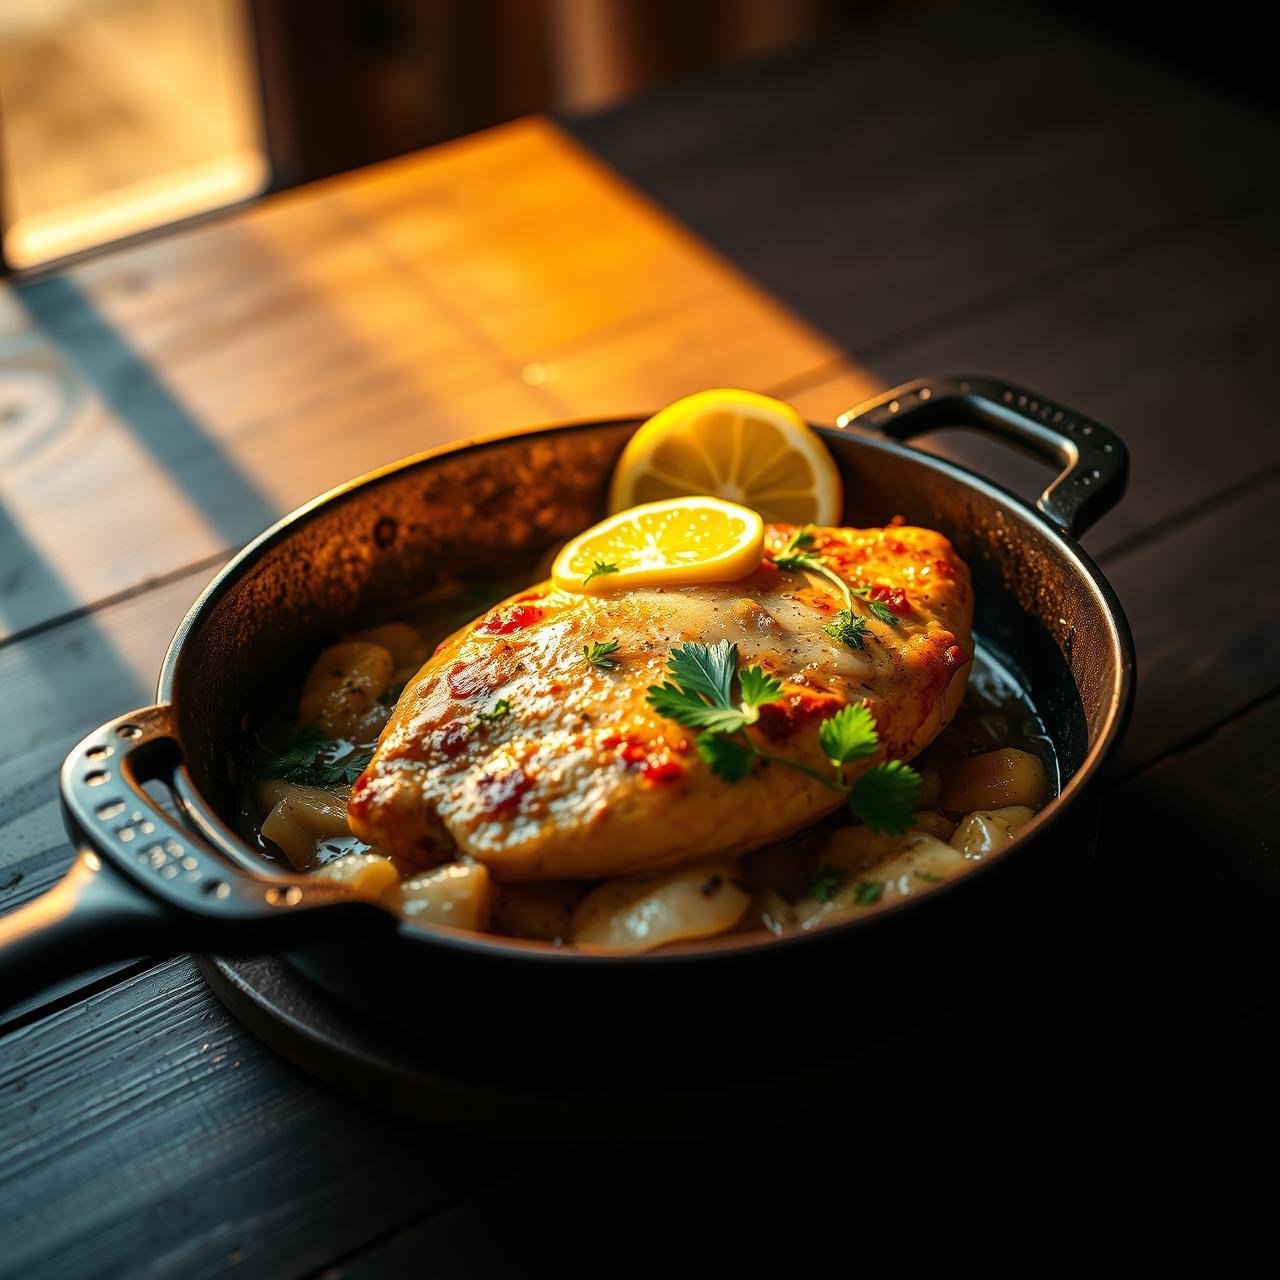
- Combine and Serve: Return the cooked chicken to the skillet, nestling it into the sauce. Spoon some of the sauce and capers over the top of each cutlet. Let it warm through for about a minute. Garnish generously with fresh parsley and serve immediately.
From My Kitchen to Yours: Pro Tips and Common Pitfalls
Mastering a dish is about understanding the small details that make a big difference. Here are some common issues and how to avoid them for a perfect Piccata every time.
How to Avoid a Gummy Dredge
The culprit is usually moisture. Ensure your chicken is patted bone-dry before it ever touches the flour. Secondly, shake off all excess flour. A thick coating turns pasty in the pan. The dredge is there to create a crust and help thicken the sauce, not to be a heavy breading.
The Secret to a Silky, Unbroken Sauce
An ‘unbroken’ or emulsified sauce is smooth and homogenous, not oily and separated. The key is temperature control. After you deglaze, don’t let the sauce boil violently. A steady simmer is all you need. When you add the final tablespoon of butter, do it off the heat or on very low heat, and swirl the pan continuously. This allows the fat to incorporate slowly, creating that velvety texture.
Why You Must Not Overcrowd the Pan
This is perhaps the single most important rule of pan-searing. When you put too much food in a pan at once, the temperature of the pan drops dramatically. Instead of searing, the chicken will steam in its own juices, resulting in a pale, rubbery exterior. Cook in two batches if necessary—your patience will be rewarded with a beautiful, crisp crust.
Completing the Meal: Serving Your Healthy Chicken Piccata
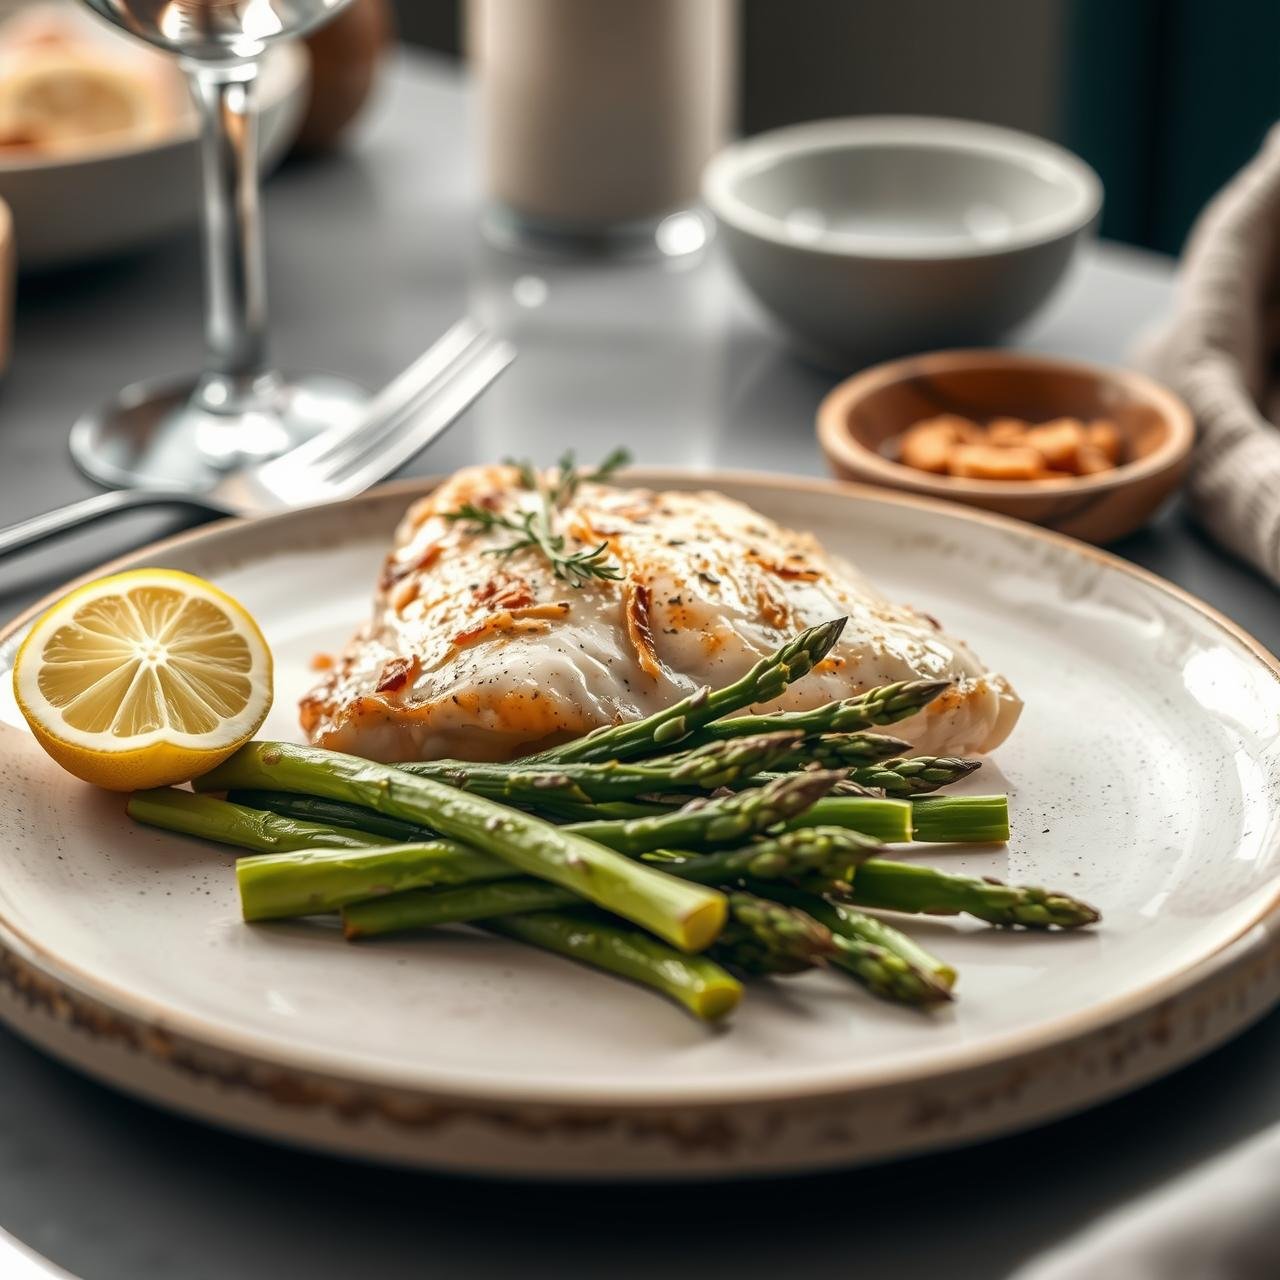
The beauty of Chicken Piccata lies in its versatility. The bright, savory sauce pairs wonderfully with a variety of healthy sides that can absorb or complement its flavors.
- Classic & Healthy: Serve over a bed of whole wheat spaghetti or linguine to catch every drop of the delicious sauce.
- Low-Carb Options: For a lighter meal, pair it with zucchini noodles (zoodles), spaghetti squash, or a generous portion of cauliflower rice.
- Roasted or Steamed Vegetables: The lemon notes in the sauce are a perfect match for green vegetables. Simply prepared steamed asparagus, roasted broccoli, or sautéed spinach with garlic are excellent choices.
- Simple Salad: A crisp arugula salad with a light vinaigrette offers a fresh, peppery contrast to the rich flavors of the Piccata.
When plating, spoon extra sauce and capers over the chicken and the side dish to ensure every bite is packed with flavor.
The Healthy Breakdown: Nutritional Profile
Here is an estimated nutritional breakdown for one serving of this Healthy Chicken Piccata (one chicken cutlet and sauce), not including side dishes. This information can help you fit this delicious meal into your balanced lifestyle.
| Nutrient | Estimated Amount per Serving |
|---|---|
| Calories | ~380 kcal |
| Protein | ~45g |
| Fat | ~15g |
| Saturated Fat | ~4g |
| Carbohydrates | ~10g |
| Sodium | ~450mg |
Disclaimer: The nutritional information provided is an estimate and can vary based on the specific ingredients and portion sizes used.
Savoring Later: Storage and Reheating Instructions
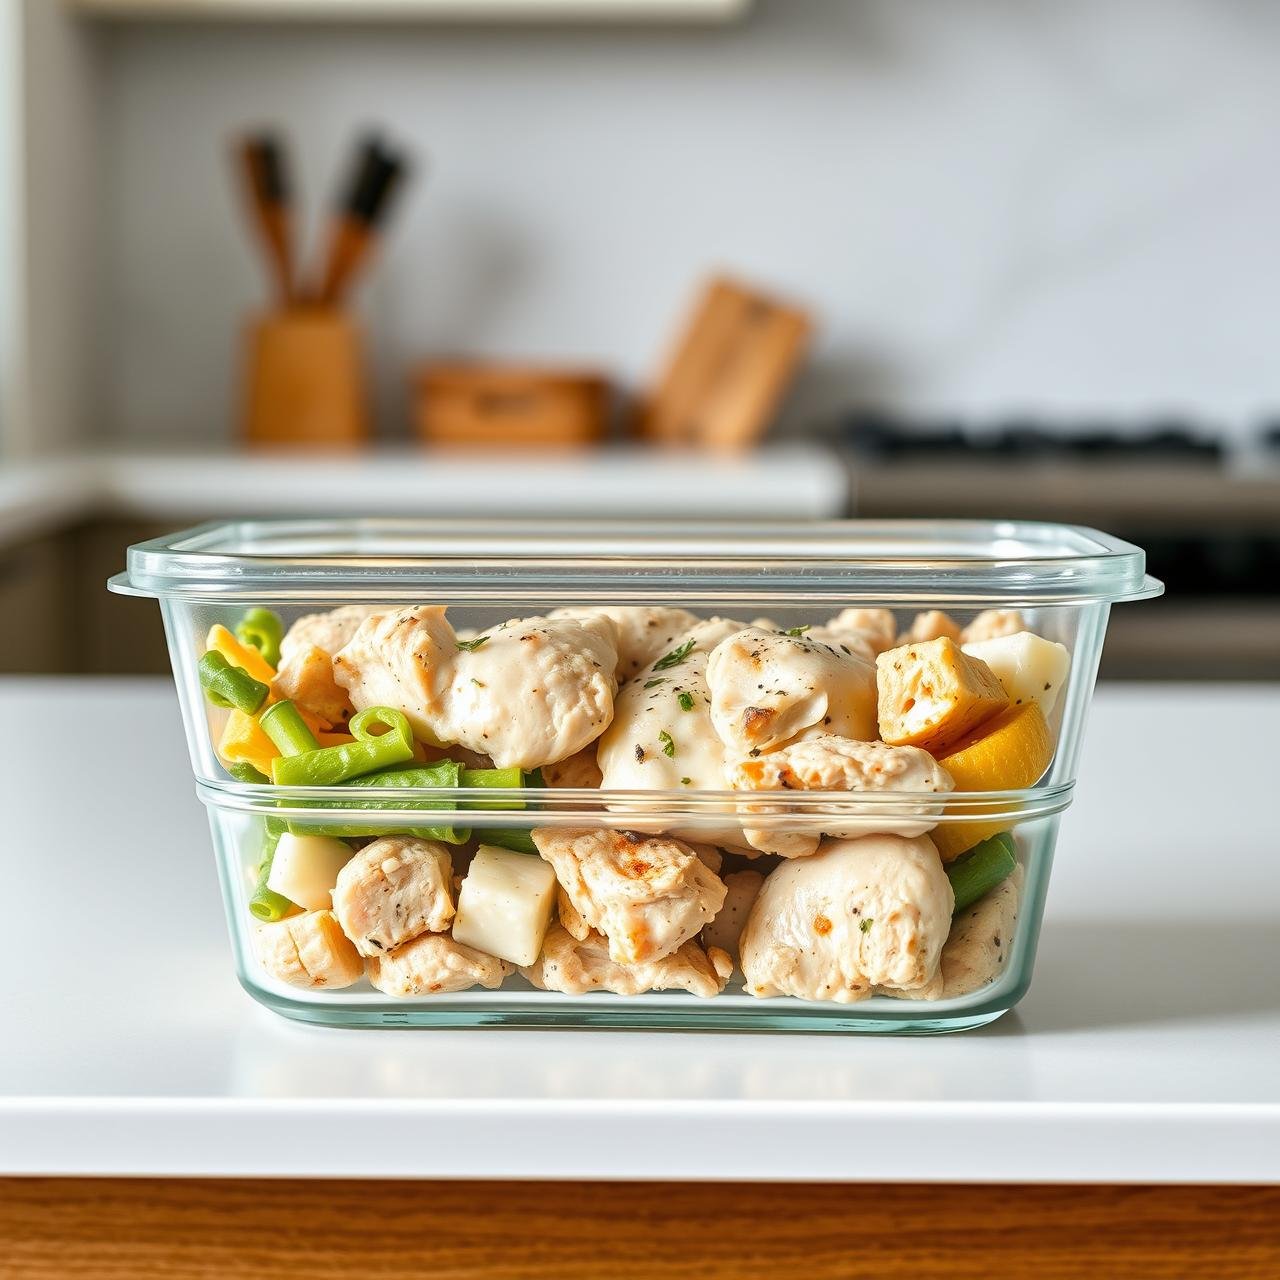
One of the best parts of cooking at home is the potential for delicious leftovers. Stored properly, this Chicken Piccata makes for an excellent next-day lunch.
Storage:
Allow the chicken and sauce to cool completely. Store in an airtight container in the refrigerator for up to 3 days. It’s best to store the chicken and sauce together to keep the meat from drying out.
Reheating:
While a microwave will work in a pinch, it can make the chicken tough. For the best results, use a skillet. Place the chicken and sauce in a skillet over low-medium heat. Add a splash of water or chicken broth to loosen the sauce. Cover the skillet and heat gently for 5-7 minutes, or until the chicken is warmed through. This method preserves the texture of the chicken and the integrity of the sauce.
Conclusion
You have now successfully created a Chicken Piccata that stands tall against any restaurant version. This recipe proves that ‘healthy’ and ‘delicious’ are not mutually exclusive. By focusing on quality ingredients and solid culinary technique, you’ve crafted a meal that is light on the palate, kind to your body, and easy on your wallet. This is the essence of being ‘better than takeout’—it’s about empowering you, the home cook, to create food that is not only satisfying but also makes you feel good. We hope this no-fluff, straightforward guide becomes a trusted favorite in your kitchen. Enjoy the bright, rustic, and utterly delicious flavors of your homemade masterpiece.