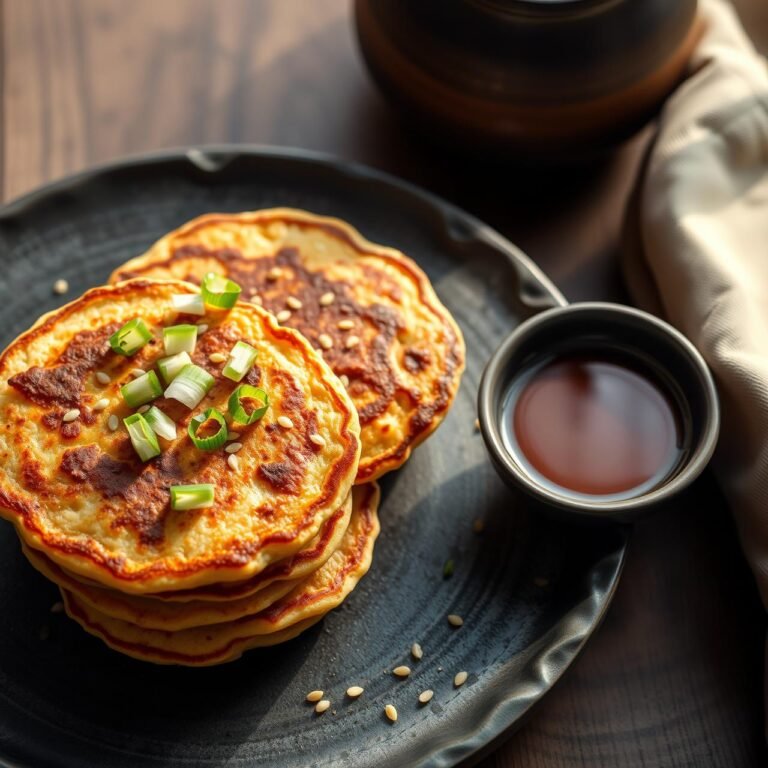
Japanese Savory Cabbage Pancakes: The Weight Loss Secret Weapon
Imagine a meal that’s deeply satisfying, bursting with complex savory flavors, endlessly customizable, and yet, surprisingly, a powerful ally in your weight loss journey. Welcome to the world of Okonomiyaki, the beloved Japanese savory cabbage pancake. Often translated as “grilled as you like it,” this dish is a rustic, homestyle classic that has been nourishing families in Japan for generations. But beyond its comforting appeal lies a nutritional profile that makes it a secret weapon for anyone seeking a healthy, sustainable lifestyle.
Forget bland salads and restrictive diets. This recipe transforms the humble, budget-friendly cabbage into a hearty, protein-packed pancake that keeps you full and satisfied for hours. It’s a culinary chameleon, adapting to your tastes and dietary needs while loading your body with fiber, vitamins, and flavor. In this guide, we’ll not only walk you through crafting the most delicious, authentic-tasting Okonomiyaki at home but also unveil why this simple dish is a game-changer for mindful eating and weight management. Get ready to fire up your griddle and discover your new favorite guilt-free indulgence.
Why Okonomiyaki is a Nutritional Powerhouse
At first glance, a pancake might not seem like health food, but Okonomiyaki shatters that stereotype. Its genius lies in its core ingredient: cabbage. This cruciferous vegetable is incredibly low in calories but exceptionally high in dietary fiber. This fiber is key for weight management; it slows digestion, which helps you feel fuller for longer, curbing cravings and reducing overall calorie intake. Furthermore, cabbage is rich in essential nutrients like Vitamin C, Vitamin K, and antioxidants that help fight inflammation.
The batter itself is light, traditionally using just a small amount of flour, which we can easily adapt for low-carb or gluten-free diets. The primary binders are eggs, which provide high-quality protein essential for muscle maintenance and satiety. Unlike sweet pancakes loaded with sugar, Okonomiyaki’s flavor comes from wholesome ingredients and savory, umami-rich toppings. It’s a perfectly balanced meal in one single, delicious package: complex carbohydrates for energy, protein for fullness, and a massive serving of vegetables for nutrients and fiber. It’s the perfect example of how traditional, homestyle cooking can be inherently healthy and incredibly effective for a modern, health-conscious lifestyle.
Essential Equipment for Perfect Pancakes
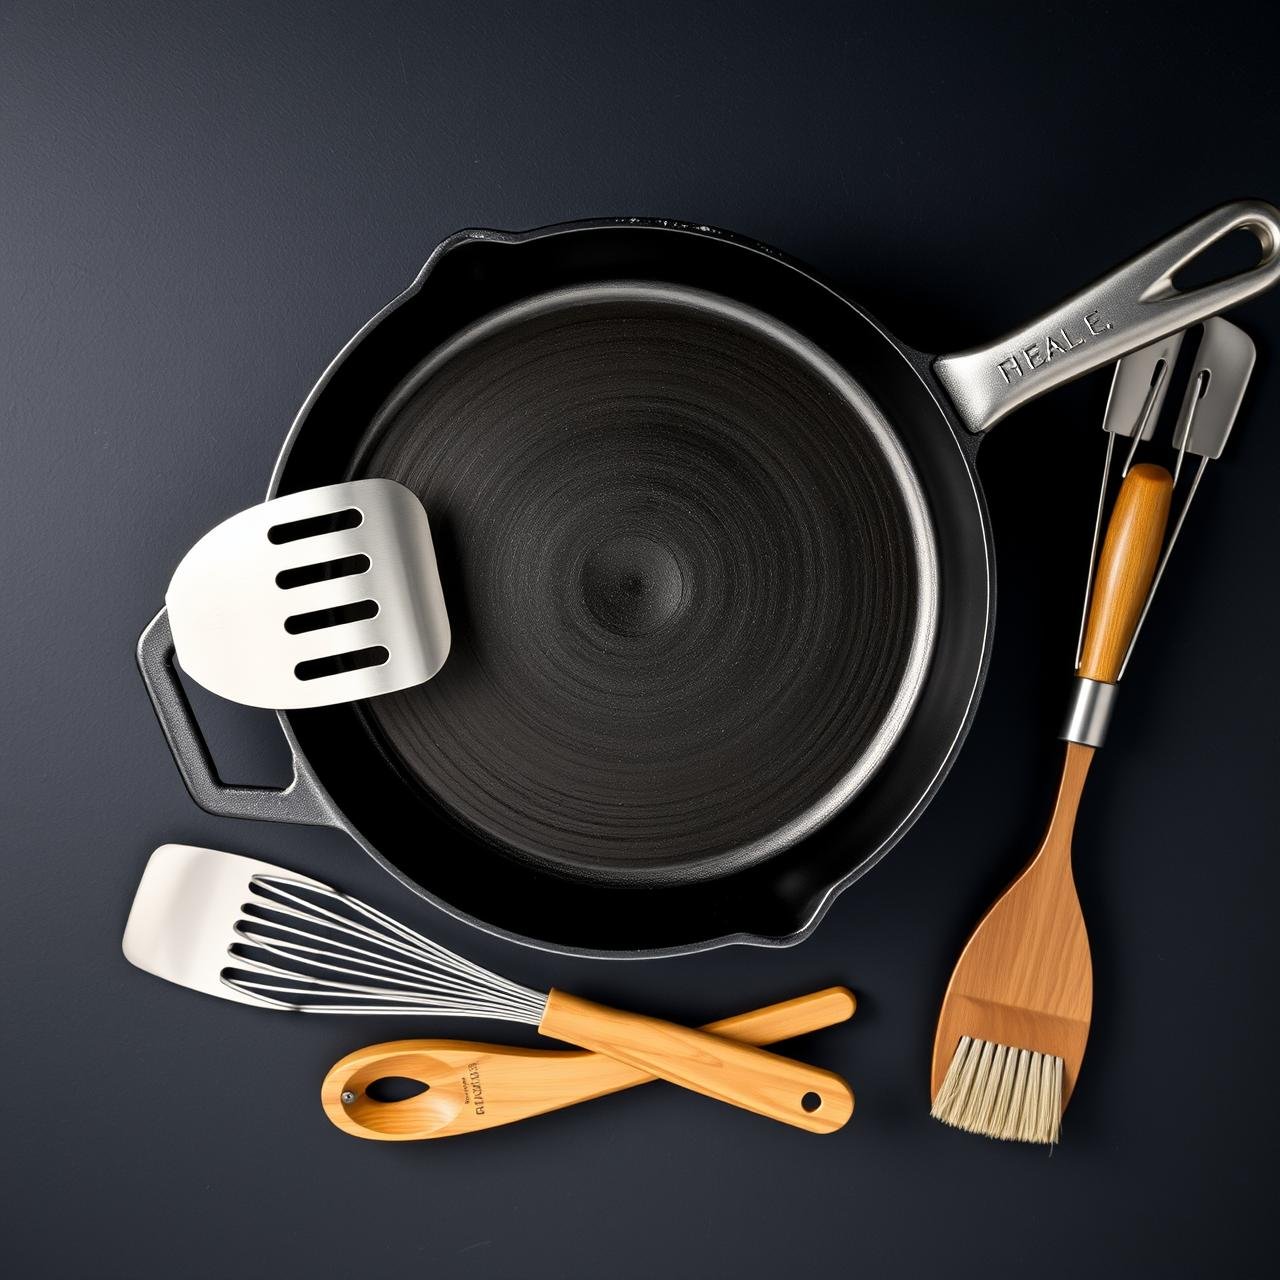
You don’t need a professional Japanese kitchen to make incredible Okonomiyaki. Most of the tools are likely already in your possession. Having the right equipment makes the process smoother and ensures that signature crispy-on-the-outside, tender-on-the-inside texture.
| Equipment | Chef’s Note |
|---|---|
| Large Mixing Bowl | You need ample space to combine the voluminous shredded cabbage with the batter without making a mess. |
| Large Non-Stick Skillet or Griddle | A 10-12 inch skillet is ideal for a single large pancake. A flat-top electric griddle is perfect for making multiple pancakes at once. Non-stick is crucial for an easy flip. |
| Two Wide Spatulas (or Okonomiyaki Hera) | This is the secret to a successful flip! Using two spatulas gives you maximum control and support to turn the pancake without it breaking apart. |
| Sharp Knife or Mandoline Slicer | For shredding the cabbage very finely. A mandoline provides consistent, paper-thin slices which integrate better into the batter. |
| Whisk | For creating a smooth, lump-free batter. |
| Pastry Brush | Helpful for brushing oil onto the skillet and for applying the Okonomiyaki sauce evenly over the cooked pancake. |
The Heart of the Pancake: A Wholesome Ingredients List
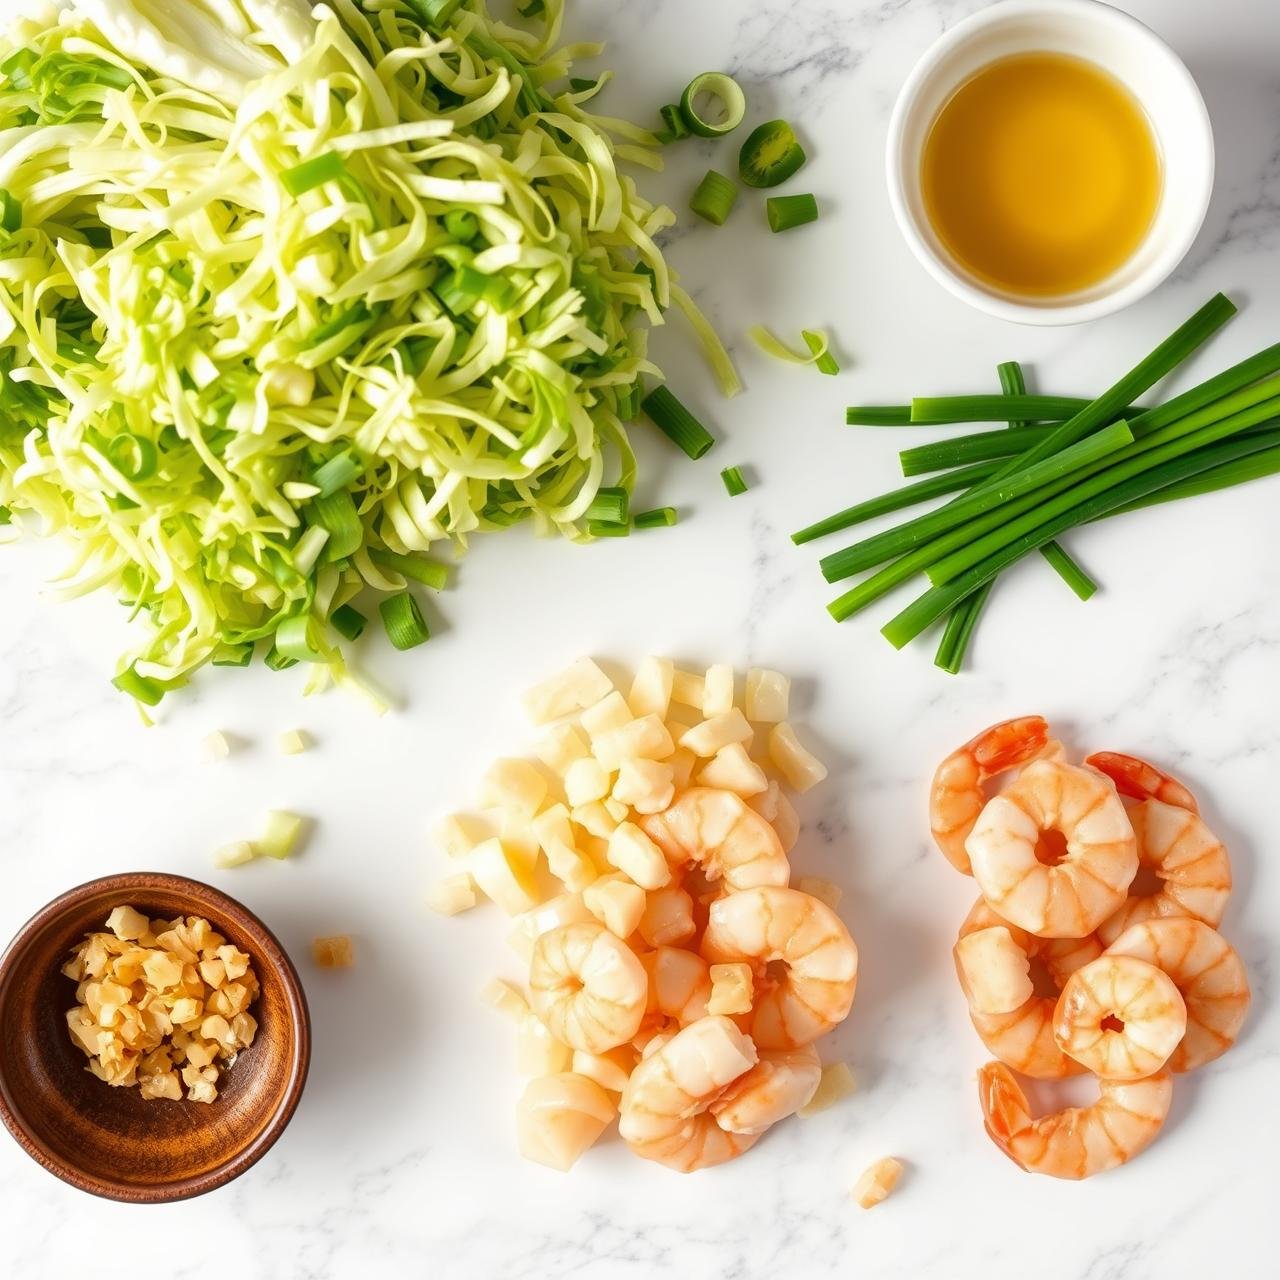
For the Pancake Batter (Serves 2 large pancakes):
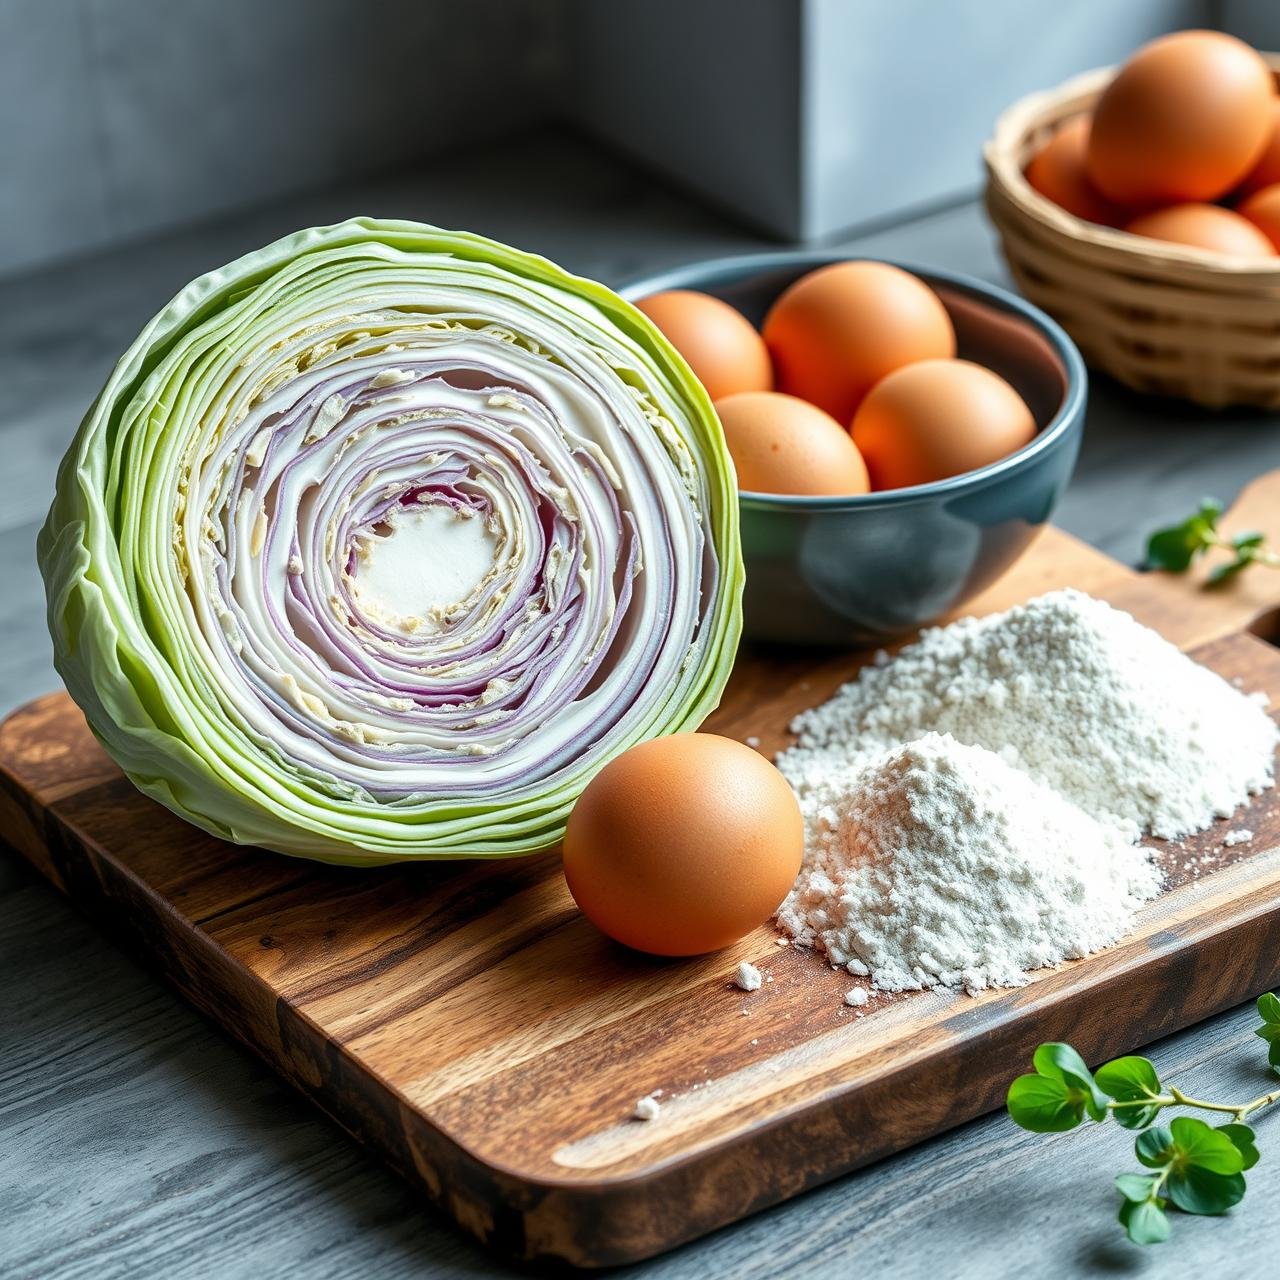
- Cabbage: 1/2 medium head (about 400-500g), finely shredded. This is the star. Its high fiber and water content create a filling base with minimal calories.
- All-Purpose Flour: 1/2 cup (60g). For a healthier, higher-fiber option, substitute with whole wheat pastry flour or a gluten-free all-purpose blend.
- Dashi Powder or Stock: 1/2 cup (120ml) of water mixed with 1 tsp dashi powder, or 1/2 cup prepared dashi stock. Dashi is a Japanese soup stock that provides a deep, savory umami foundation. It’s a non-negotiable for authentic flavor.
- Large Eggs: 2, lightly beaten. They bind the pancake together and add a significant protein boost.
- Scallions (Green Onions): 3-4 stalks, thinly sliced. They add a fresh, mild oniony bite throughout the pancake.
- Tenkasu (Tempura Scraps): 1/4 cup (Optional, but recommended). These crispy bits of fried tempura batter add a delightful texture and richness. You can find them at Asian markets or make your own.
- Pickled Red Ginger (Beni Shoga): 2 tablespoons, chopped (Optional). Adds a sharp, tangy, and colorful accent that cuts through the richness.
- Protein of Choice: 150g (about 5 oz). Thinly sliced pork belly is traditional, but for a leaner, weight-loss-friendly option, use sliced chicken breast, shrimp, diced firm tofu, or even mushrooms.
- Neutral Oil: 1-2 tablespoons, for cooking. Avocado or grapeseed oil works well.
For the Healthy Toppings:
- Okonomiyaki Sauce: Use a store-bought version or make a healthier homemade version by mixing 3 tbsp Worcestershire sauce, 1.5 tbsp ketchup (no sugar added), and 1 tbsp oyster sauce or coconut aminos.
- Japanese Mayonnaise: Kewpie mayo is traditional. For a lighter version, mix Greek yogurt with a touch of rice vinegar and a dab of Dijon mustard.
- Aonori (Dried Green Seaweed Flakes): For a sprinkle of color and sea-like umami.
- Katsuobushi (Bonito Flakes): Paper-thin dried, fermented tuna flakes that famously ‘dance’ from the heat of the pancake. They add a smoky, savory finish.
Crafting the Perfect Okonomiyaki: A Step-by-Step Guide

- Prepare the Cabbage: Start by coring the cabbage and slicing it as thinly as possible. You want fine, ribbon-like shreds, not chunky pieces. A mandoline is excellent for this. Place the shredded cabbage and sliced scallions into your large mixing bowl.
- Make the Batter: In a separate, smaller bowl, whisk together the flour and the dashi stock (or water and dashi powder) until you have a smooth, relatively thin, lump-free batter. It should not be thick like American pancake batter.
- Combine Ingredients: Pour the batter over the shredded cabbage and scallions. Add the two lightly beaten eggs, the tenkasu, and the pickled ginger (if using). Use your hands or a large spoon to gently mix everything together until the cabbage is just coated. Be careful not to overmix, as this can make the pancake tough. The mixture will look like it’s mostly cabbage with very little batter – this is correct!
- Heat the Skillet: Place your large non-stick skillet or griddle over medium heat. Add about 1 tablespoon of neutral oil and spread it evenly. Wait until the oil is shimmering slightly.
- Form the Pancake: Spoon half of the cabbage mixture into the hot skillet. Use your spatula to gently pat it down and form it into a round, thick pancake, about 1.5 to 2 inches thick. Don’t press down too hard; you want to keep some air inside for a fluffy texture.
- Add the Protein: If using pork belly or another thinly sliced meat, lay the slices on top of the pancake now, covering the surface. If using shrimp, tofu, or pre-cooked protein, you can mix it into the batter in step 3.
- Cook the First Side: Cover the skillet with a lid and let the pancake cook for about 5-7 minutes. The steam trapped by the lid is crucial for cooking the cabbage through. The bottom should be a deep, crispy golden brown.
- The Big Flip: This is the moment of truth. Uncover the skillet. Slide your two wide spatulas underneath the pancake from opposite sides. Take a deep breath, and in one swift, confident motion, flip the pancake over. If a little bit of cabbage falls out, just tuck it back in.
- Cook the Second Side: Now cook the second side, uncovered, for another 5-7 minutes, until the protein is cooked through and the pancake is firm. You can press down a bit more firmly on this side to ensure it cooks evenly.
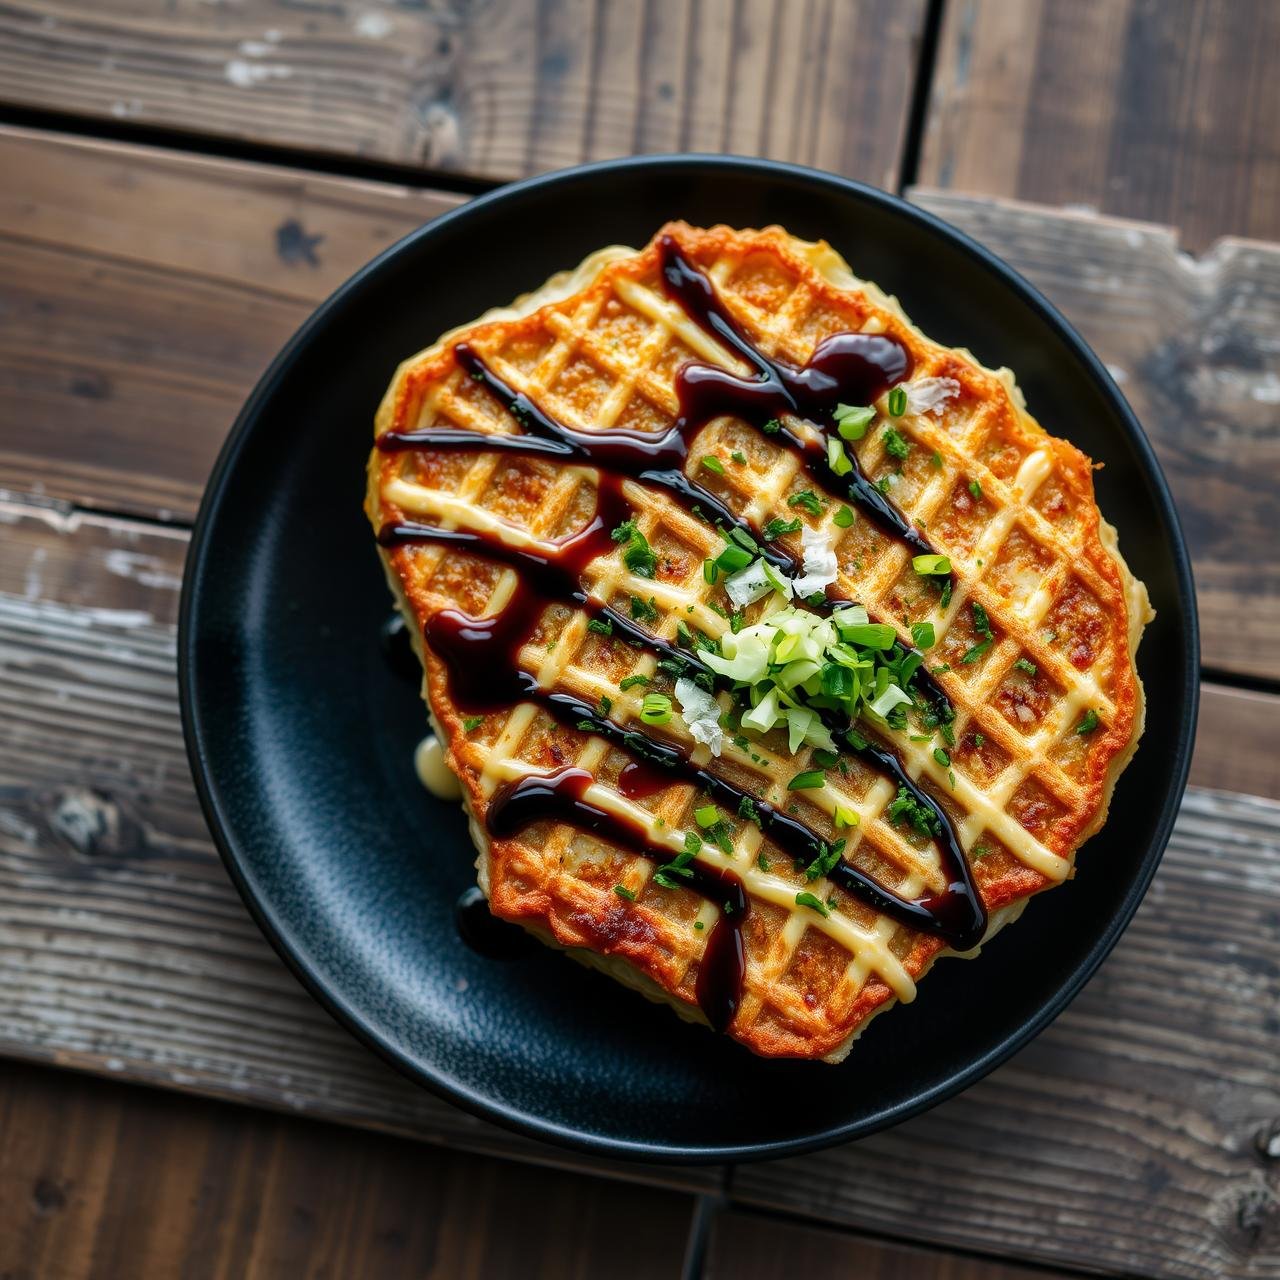
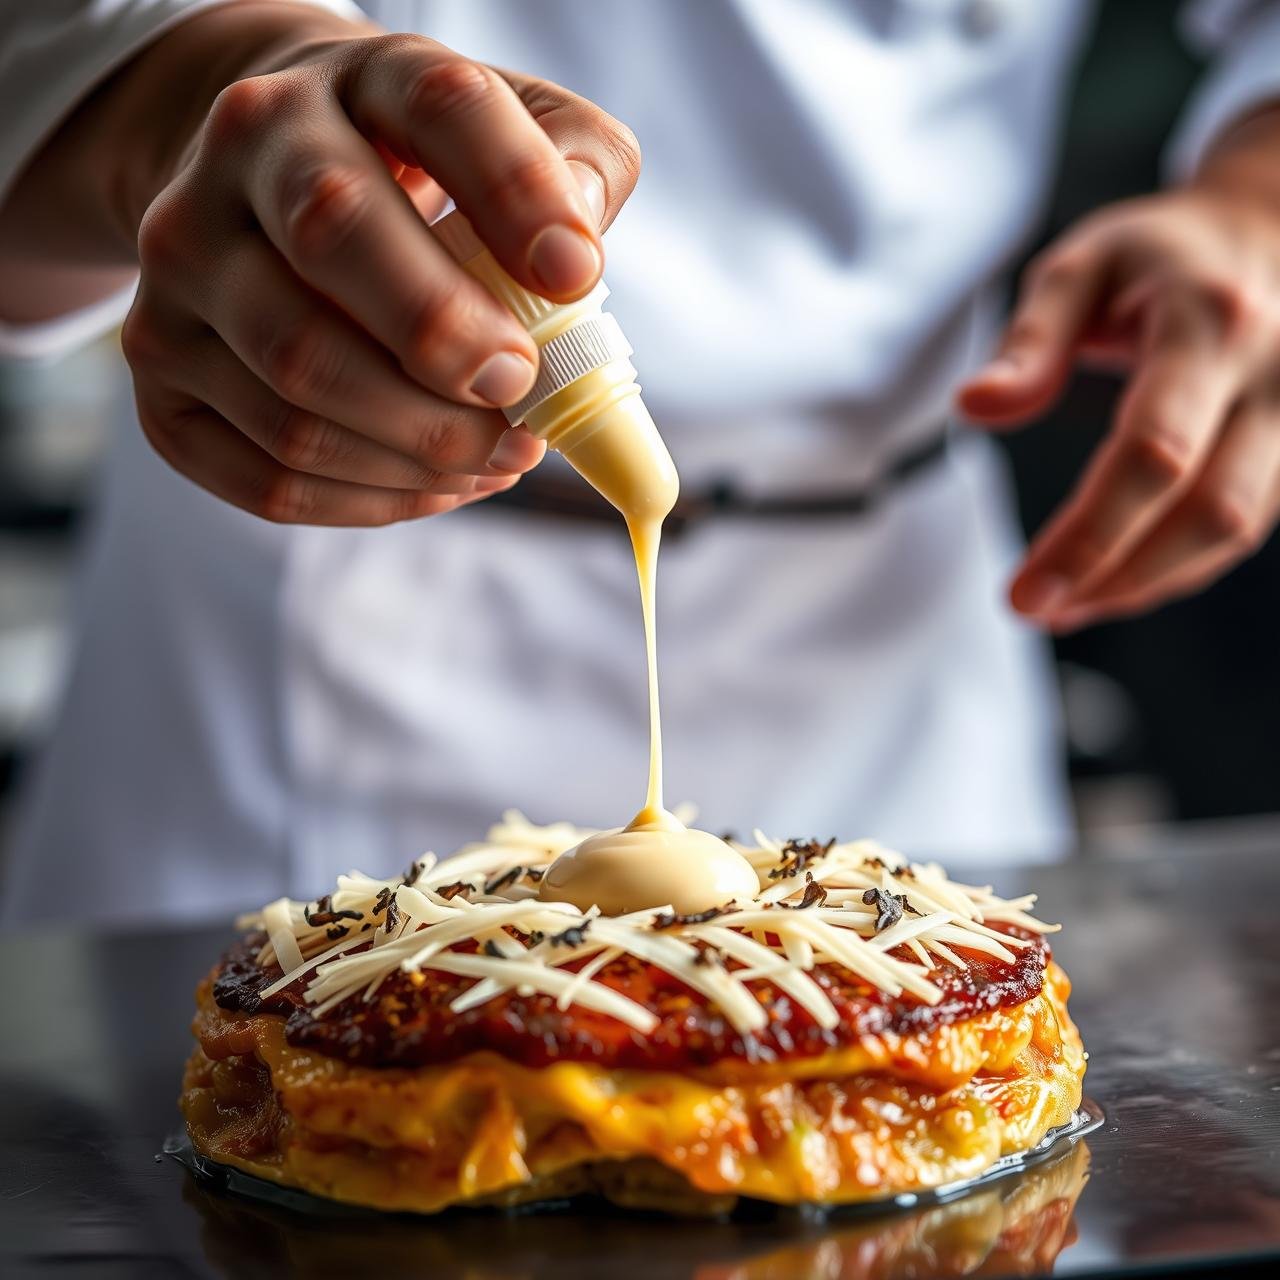
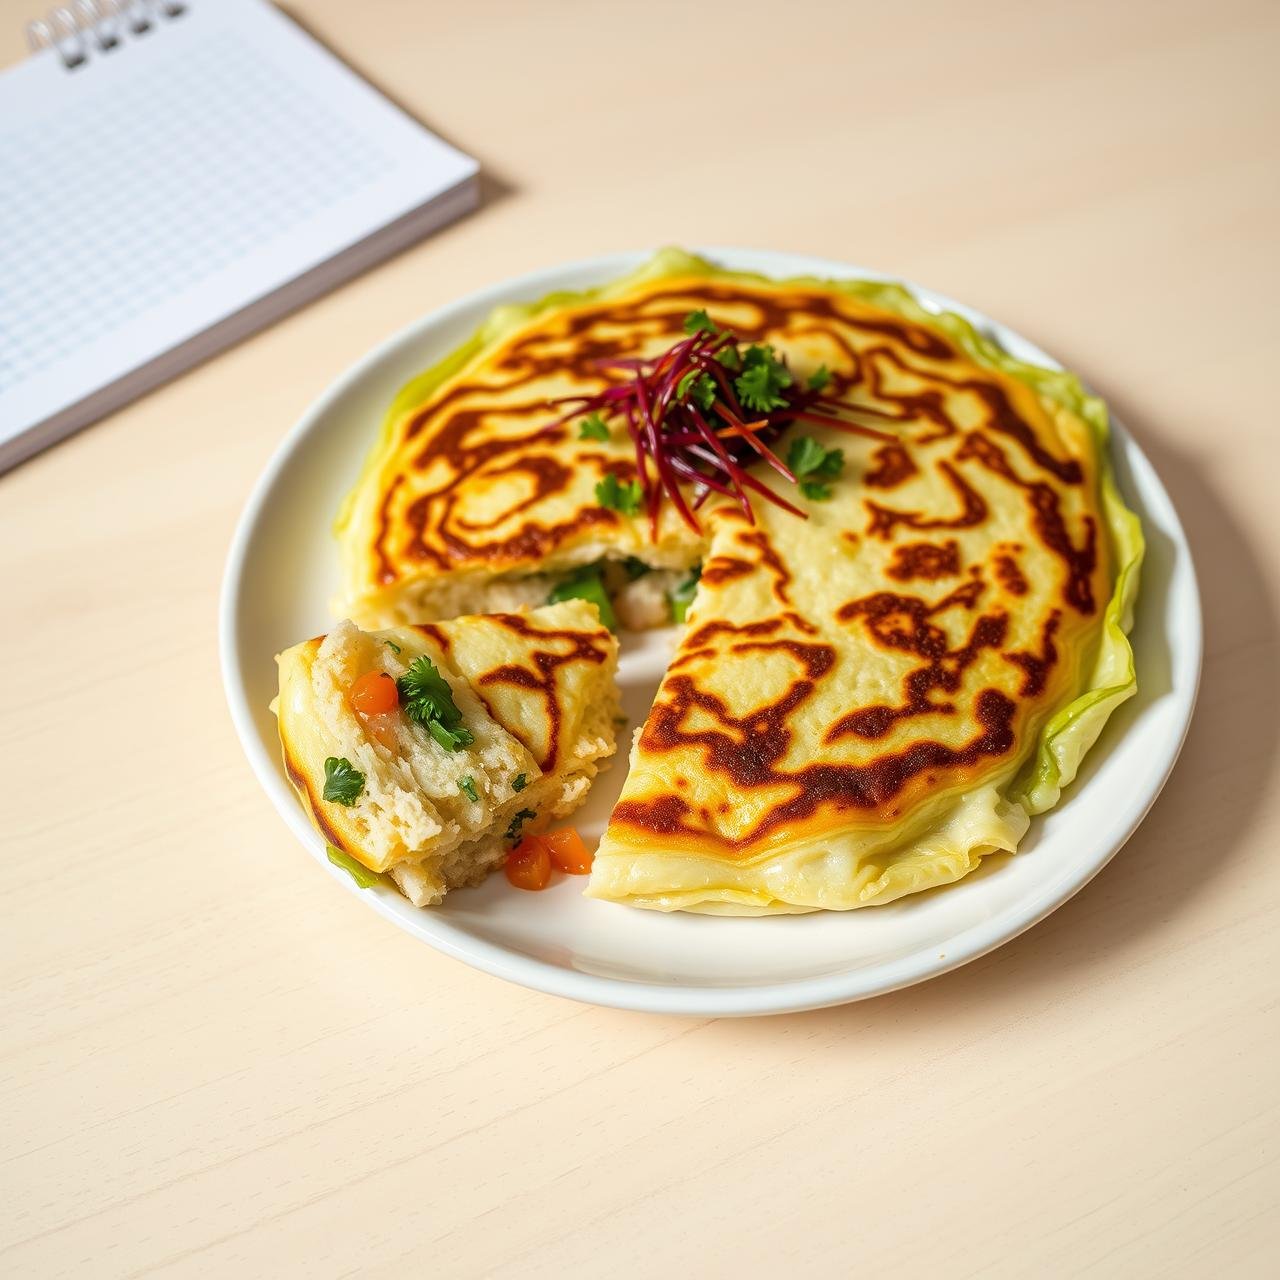
- Garnish and Serve: Slide the finished Okonomiyaki onto a plate. Brush a generous layer of Okonomiyaki sauce over the top. Drizzle with Japanese mayonnaise (you can create a lattice pattern for a classic look). Finish with a sprinkle of aonori and a handful of bonito flakes. Watch them dance! Serve immediately while piping hot.
Mastering the Flip & Other Chef’s Secrets
Tips for a Flawless Okonomiyaki Experience:
- Don’t Overmix the Batter: Treat it like a delicate cake batter. Overmixing develops the gluten in the flour, resulting in a dense, gummy pancake instead of a light and airy one. Mix just until the cabbage is coated.
- Patience is Key: Don’t be tempted to crank up the heat. Cooking Okonomiyaki on medium heat is essential. Too high, and the outside will burn before the dense cabbage interior has a chance to cook and become tender. The lid during the first half of cooking is non-negotiable for steaming the cabbage.
- The Double Spatula Technique: Don’t try to be a hero with a single spatula. The pancake is heavy and delicate. Using two wide spatulas provides the stability needed for a clean, successful flip. Slide them under, lift, and turn with confidence.
- Finely Shredded Cabbage is a Must: The texture of your pancake depends on it. Finely shredded cabbage cooks faster and integrates seamlessly into the batter, creating a cohesive pancake. Chunky pieces will make it fall apart.
- Customize Your Add-ins: Okonomiyaki means “as you like it,” so get creative! Add corn, edamame, chopped kimchi for a spicy kick, or even cheese. Just be mindful not to add too many watery vegetables, as they can make the batter soggy.
- Make Your Own Tenkasu: If you can’t find tenkasu, you can make it! Simply drizzle some tempura batter (or a simple flour-water batter) into hot oil and fry until crispy. Scoop out the bits with a strainer, and you’re good to go.
Nutritional Information
This nutritional breakdown is an estimate for one large pancake (half the recipe) made with shrimp and the healthier sauce/topping options. Actual values may vary based on your specific ingredients and portion size.
| Nutrient | Amount per Serving | % Daily Value* |
|---|---|---|
| Calories | ~380 kcal | 19% |
| Protein | 22g | 44% |
| Carbohydrates | 35g | 13% |
| – Dietary Fiber | 8g | 29% |
| – Sugars | 9g | N/A |
| Fat | 16g | 21% |
| – Saturated Fat | 3g | 15% |
| Sodium | 750mg | 33% |
| Vitamin C | ~80% | |
| Vitamin K | ~90% |
Storing and Reheating Your Pancakes
Okonomiyaki is best enjoyed fresh off the griddle, but leftovers are still incredibly delicious. The key is to store and reheat them properly to maintain the best possible texture.
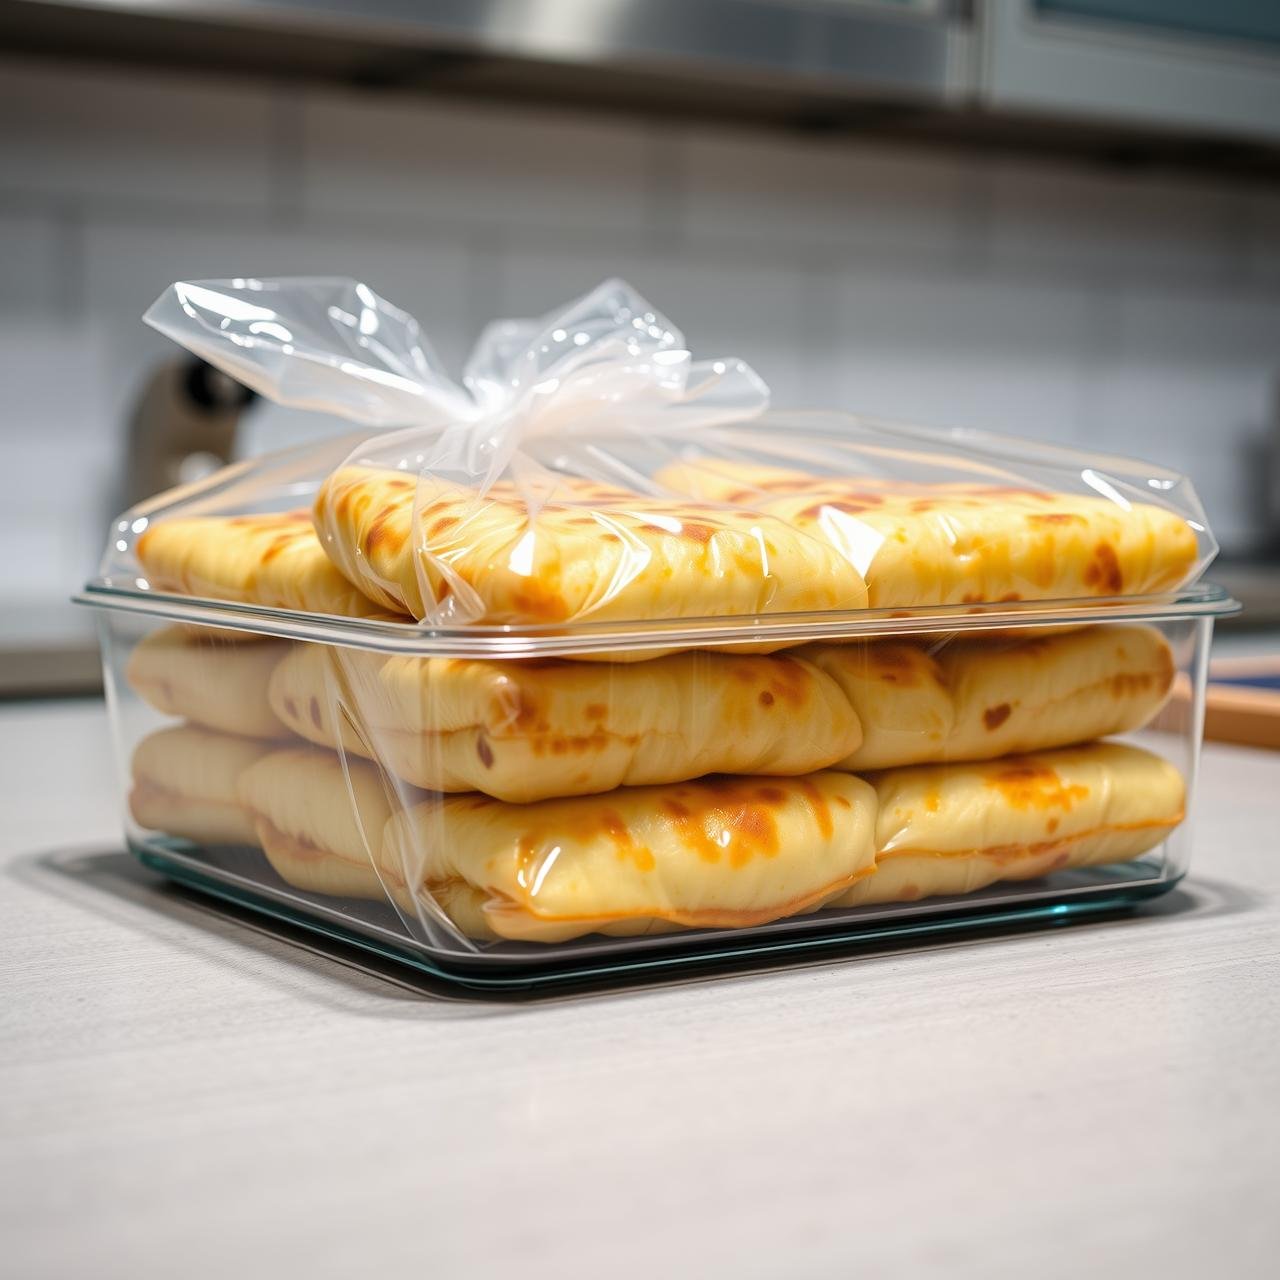
Storing:
Allow the pancakes to cool completely to room temperature. It’s best to store them before adding the sauces and toppings. Wrap individual pancakes tightly in plastic wrap or place them in an airtight container. They can be refrigerated for up to 2-3 days. You can also freeze them for longer storage. To do this, wrap them individually in plastic wrap, then place them in a freezer-safe bag. They will last for up to a month in the freezer.
Reheating:
- Skillet (Recommended Method): Lightly oil a non-stick skillet and heat it over medium-low heat. Place the pancake in the skillet and heat for 3-4 minutes per side, until warmed through and the exterior has regained some of its crispiness.
- Oven or Toaster Oven: Preheat your oven to 350°F (175°C). Place the pancake on a baking sheet and heat for 10-15 minutes, or until hot. This method is great for preventing sogginess.
- Microwave (Quickest Method): Place the pancake on a microwave-safe plate and heat in 30-second intervals until hot. Be aware that this method can make the pancake softer and less crispy than the others.
Once reheated, add your fresh sauces and toppings just before serving.
Conclusion
Japanese savory cabbage pancakes are far more than just a delicious meal; they are a testament to the beauty of simple, wholesome cooking. By embracing the humble cabbage and a few pantry staples, you can create a dish that is both deeply comforting and remarkably aligned with a healthy, weight-conscious lifestyle. It’s proof that you don’t need to sacrifice flavor for nutrition. This recipe empowers you, the home cook, to take control of your ingredients, customize to your heart’s content, and serve up a meal that nourishes the body and delights the senses. So, the next time you’re looking for a satisfying, guilt-free dinner, we hope you’ll remember this incredible ‘secret weapon’ waiting in your crisper drawer.