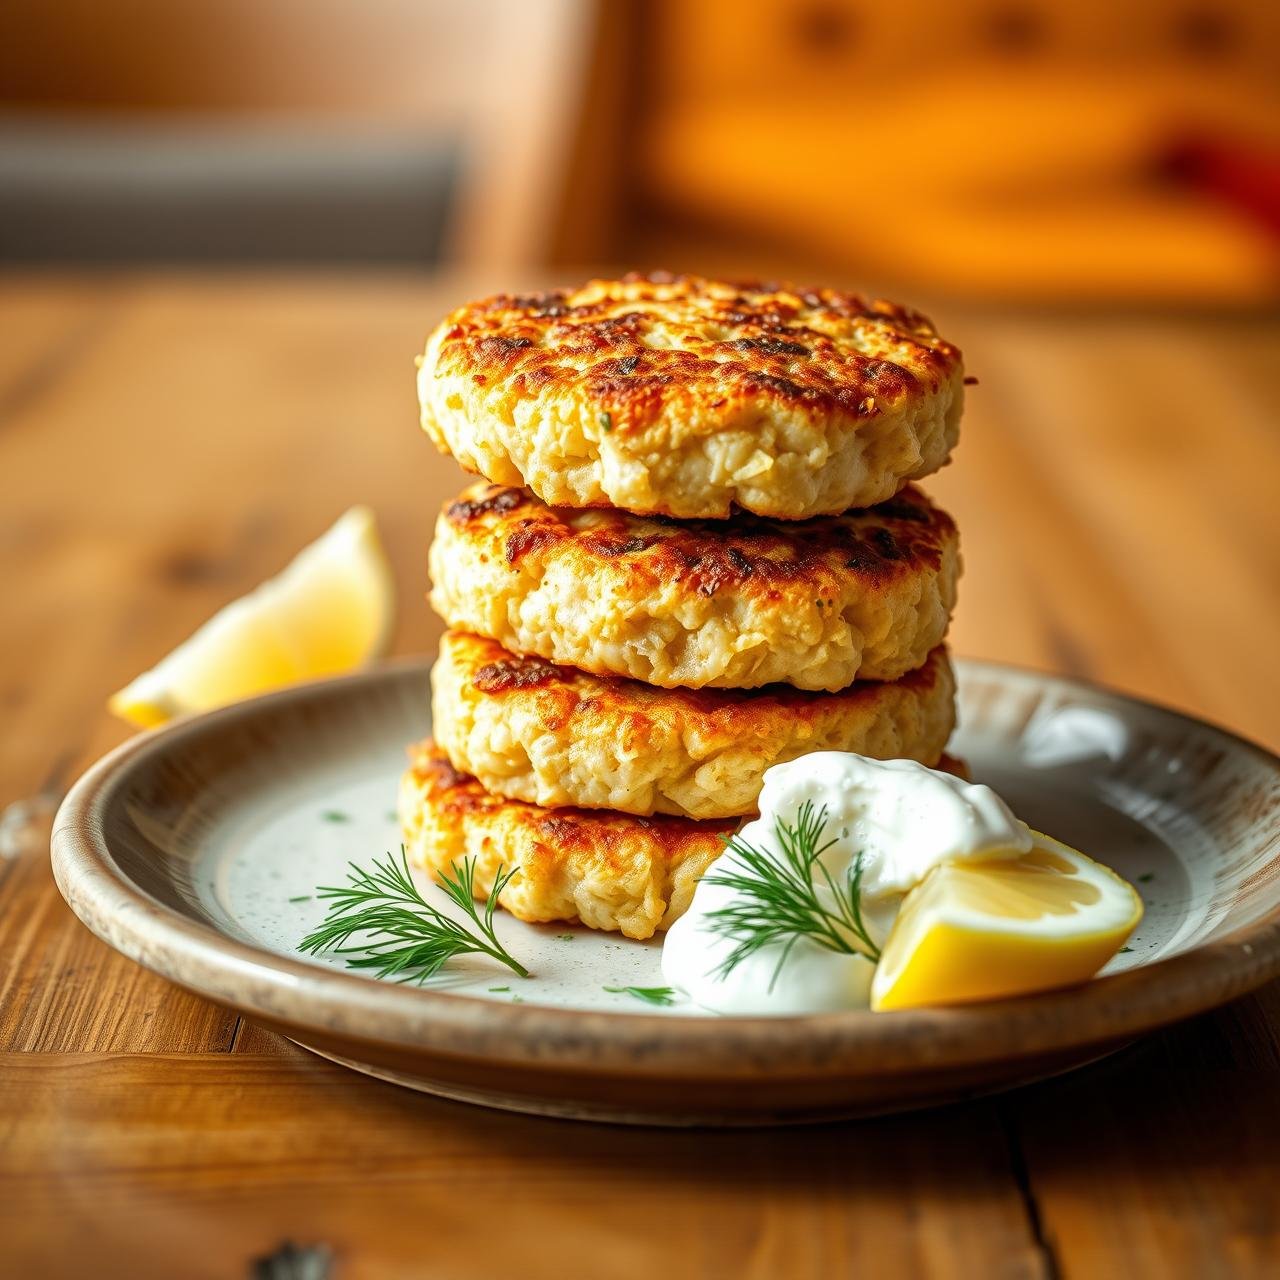
Crispy Canned Tuna Patties: Cheap, High Protein, and Delicious
In the world of pantry staples, the humble can of tuna reigns supreme. It’s a reliable, protein-packed, and incredibly affordable option we turn to for quick lunches and simple salads. But what if I told you that this unassuming can holds the secret to a truly spectacular meal? A dish so delicious, so satisfyingly crispy, and so surprisingly elegant that it will forever change the way you see canned tuna. Welcome to the ultimate guide to crafting Crispy Canned Tuna Patties.
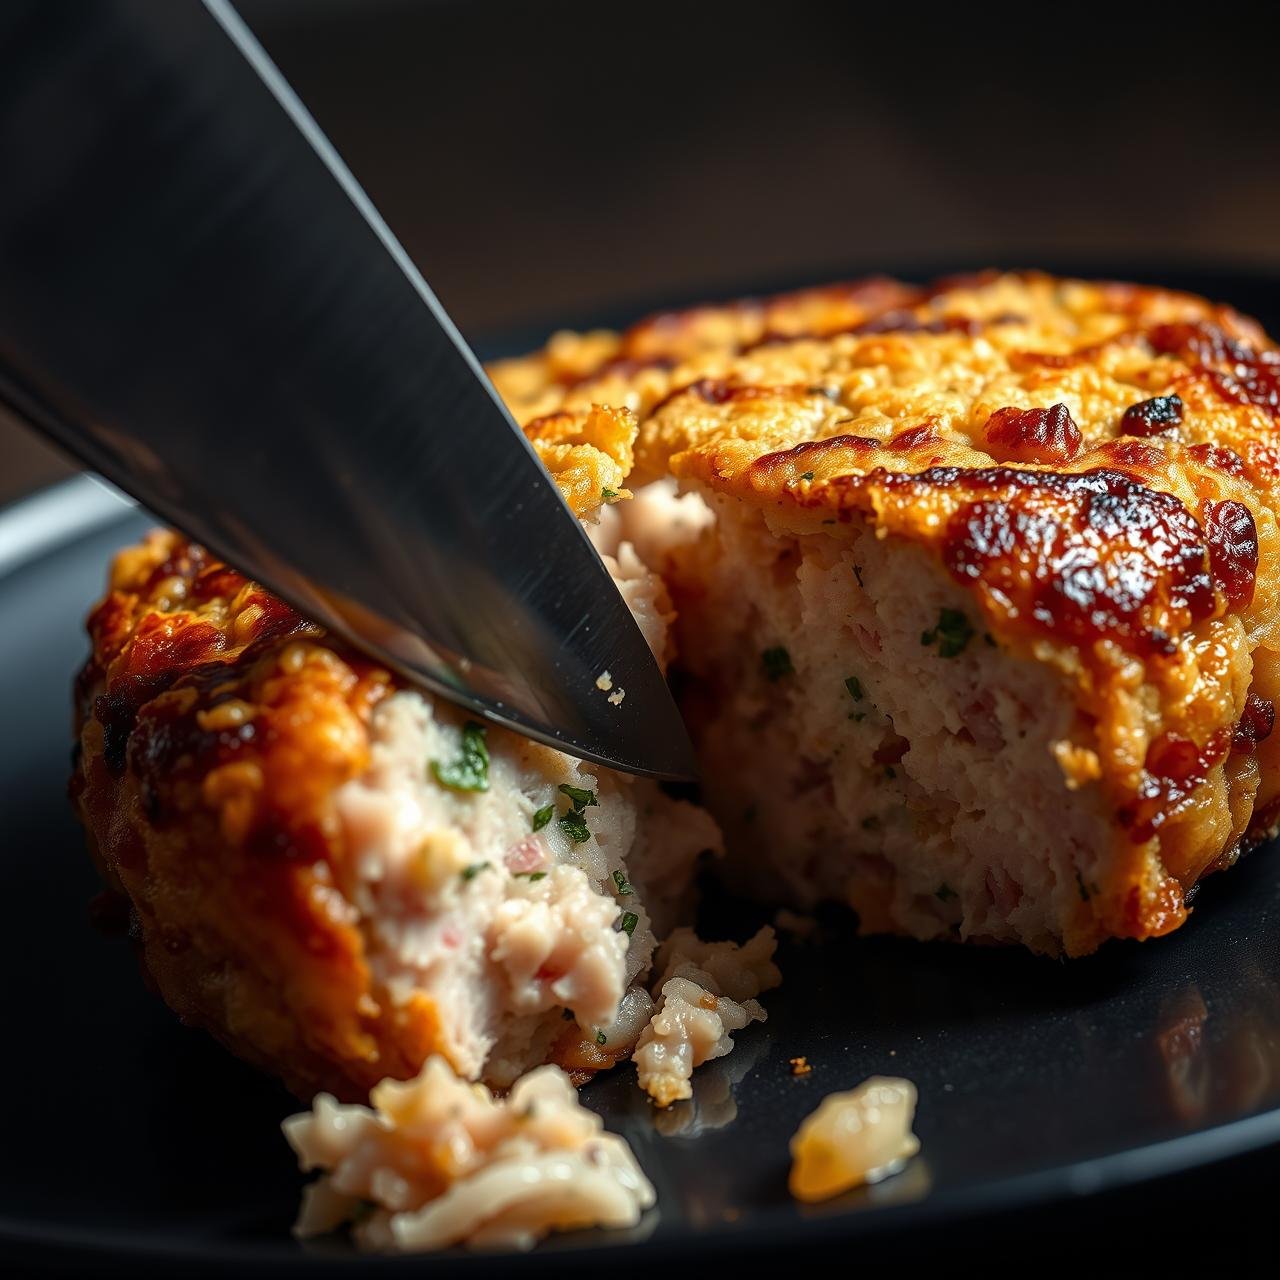
Forget the dry, bland fish cakes of the past. We’re embarking on a culinary journey to create patties with a shatteringly crisp, golden-brown crust that gives way to a tender, flaky, and herb-infused interior. This recipe is a masterclass in texture and flavor, designed to satisfy everyone from the discerning gourmet foodie to the busy home cook on a budget. It’s a high-protein powerhouse for health enthusiasts and a simple, foolproof recipe for those just starting in the kitchen. Prepare to elevate a pantry hero into a dinnertime star.
Why This Tuna Patty Recipe is a Cut Above the Rest
The difference between a mediocre tuna patty and a truly memorable one lies in the details. It’s a delicate balance of moisture, binding, and seasoning. Here, we break down the culinary science that makes this recipe foolproof and fantastic.
The Tuna
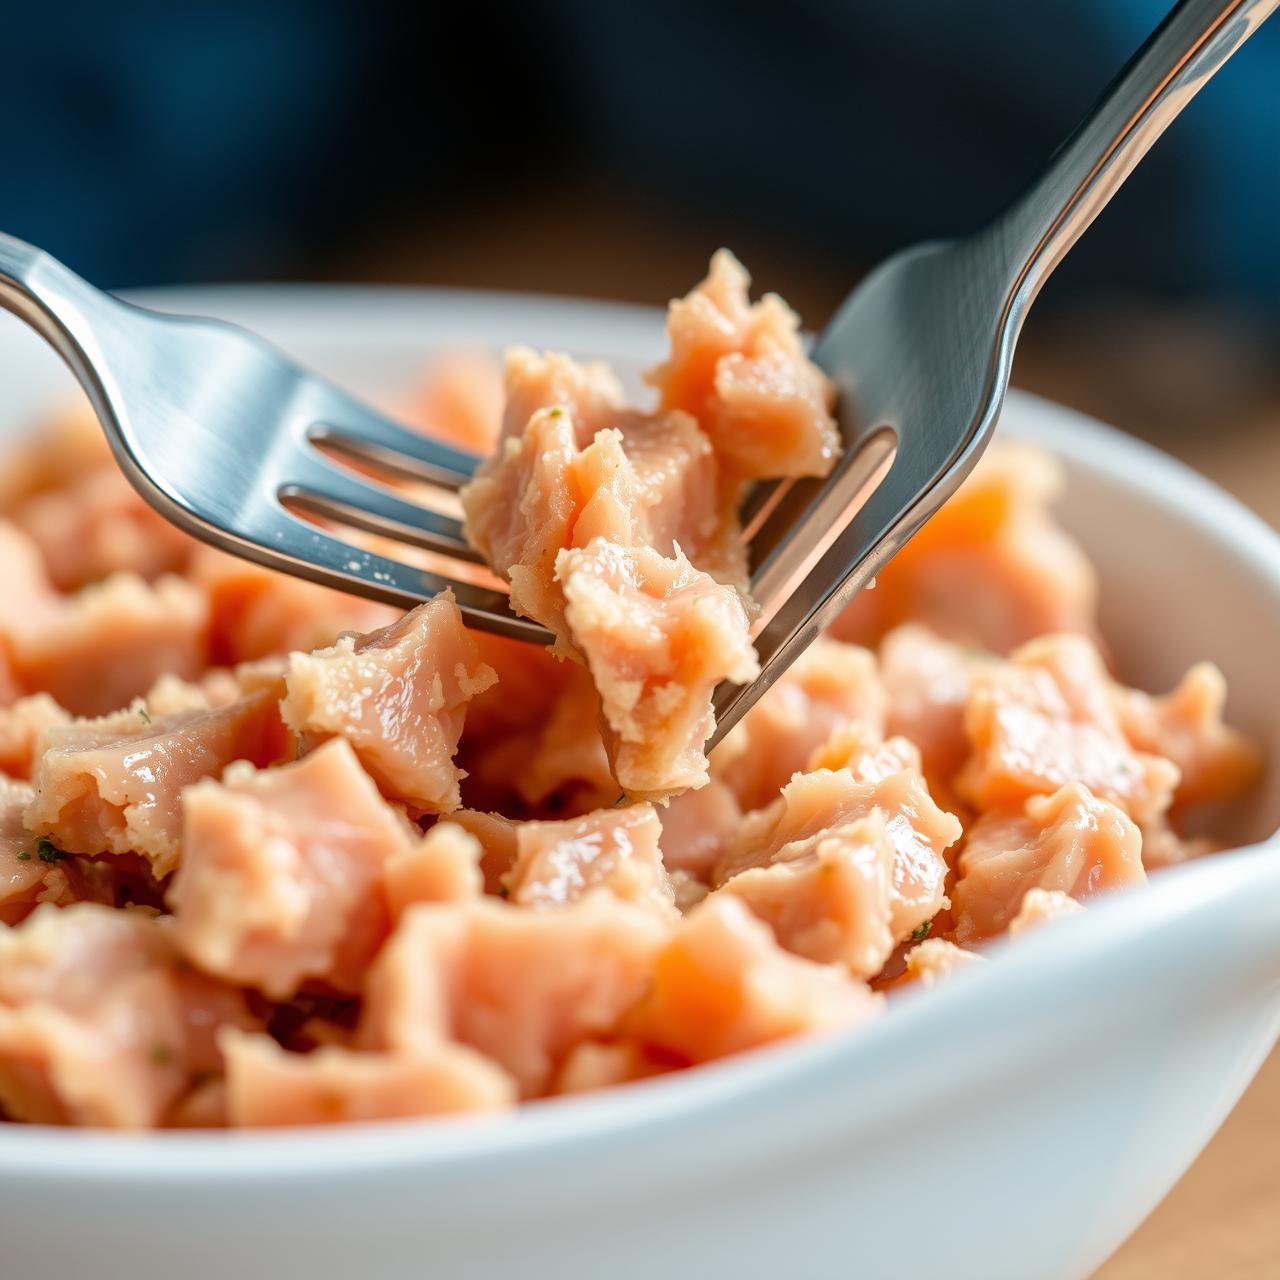
The star of the show! We recommend using solid white albacore tuna packed in water. Albacore has a firmer, meatier texture that holds up beautifully, preventing the patties from becoming mushy. Packing in water gives us a clean slate for flavor and allows us to control the fat content. The most critical step? Draining it thoroughly. Squeeze out every last drop of water. Excess moisture is the number one enemy of a crispy patty and the primary reason they fall apart during cooking.
The Binder
A good binder holds everything together without making the patty dense or heavy. We use a classic combination: egg and Panko breadcrumbs. The egg provides moisture and protein to bind the flakes of tuna, while Japanese-style Panko breadcrumbs, which are lighter and flakier than traditional breadcrumbs, create an exceptionally crispy crust and a light interior texture.
The Aromatics and Seasoning
This is where we build layers of flavor. Finely diced red onion provides a subtle, sweet crunch, while fresh garlic adds a pungent depth. Fresh parsley lends a bright, clean, peppery note that cuts through the richness of the fish. A generous squeeze of fresh lemon juice is non-negotiable; its acidity brightens all the other flavors and makes the tuna taste fresh and vibrant. Finally, a touch of Dijon mustard adds a tangy complexity that ties everything together beautifully.
Gather Your Tools: Equipment for Flawless Tuna Patties
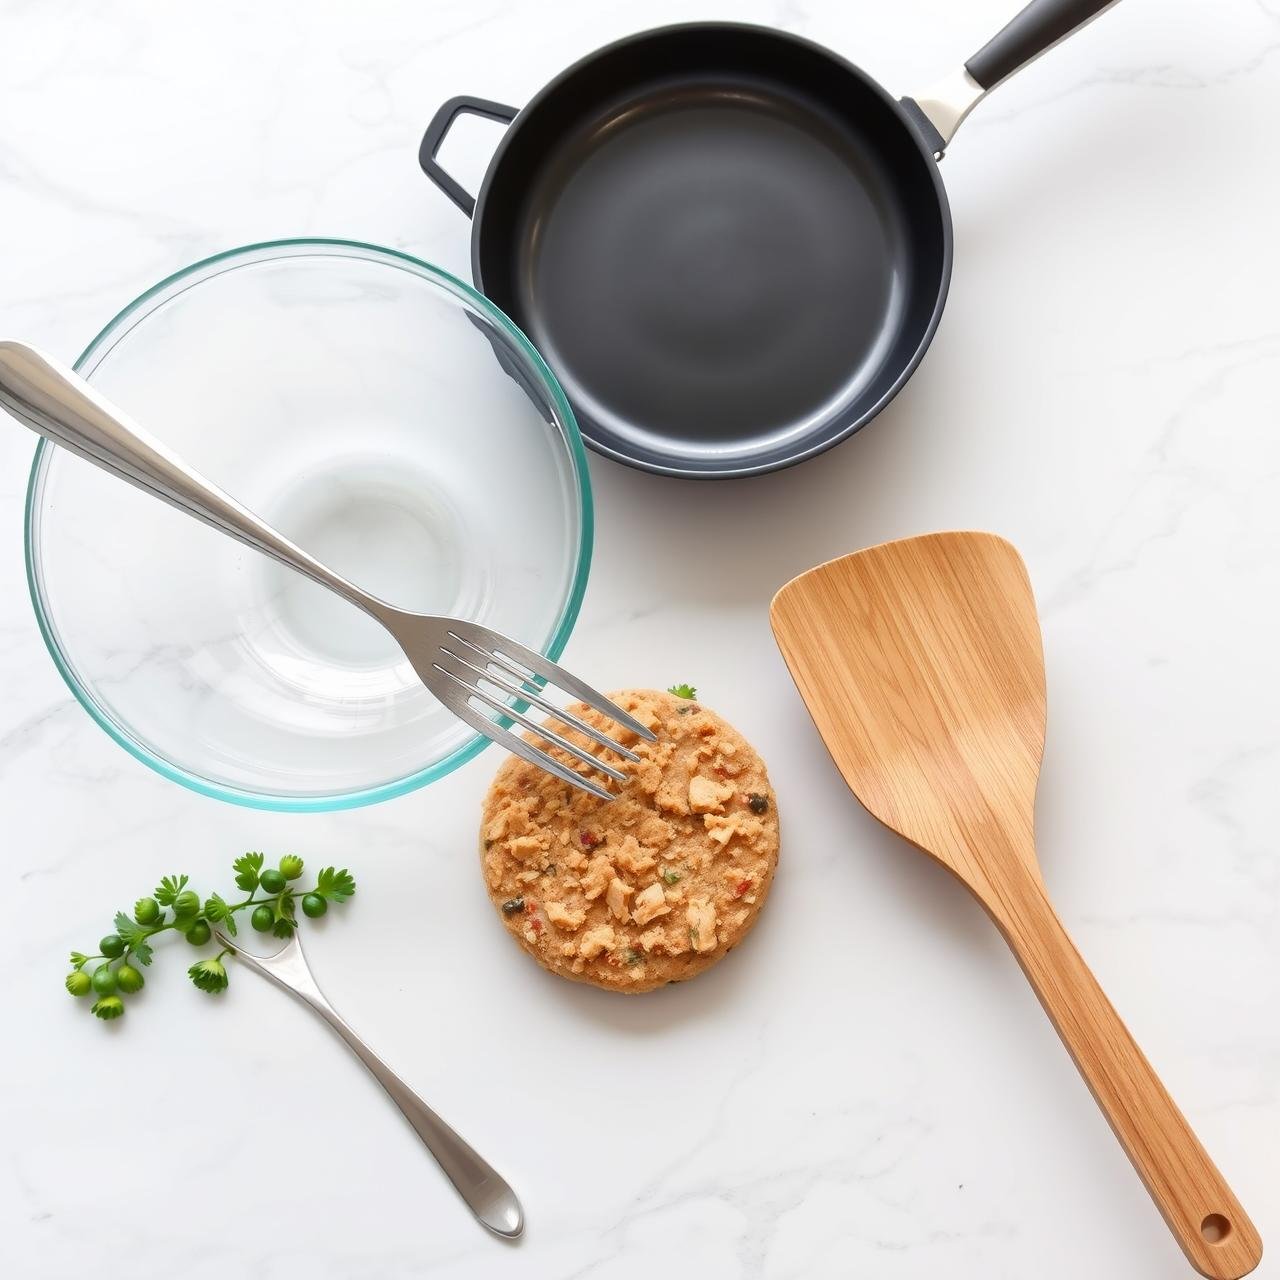
You don’t need any fancy gadgets to create these delicious patties. This recipe relies on basic kitchen equipment you likely already own, making it accessible for any home cook.
| Tool | Purpose |
|---|---|
| Large Mixing Bowl | For combining all ingredients without overcrowding. |
| Fork | Ideal for flaking the tuna and gently mixing the ingredients. |
| Measuring Cups and Spoons | For accurate measurement of binders and seasonings. |
| Large Non-Stick or Cast-Iron Skillet | Essential for achieving an even, golden-brown sear without sticking. |
| Fish Spatula or Thin Metal Spatula | Its thin, flexible design makes it easy to slide under the delicate patties to flip them. |
| Baking Sheet and Parchment Paper | Used for chilling the patties before cooking, a crucial step for firmness. |
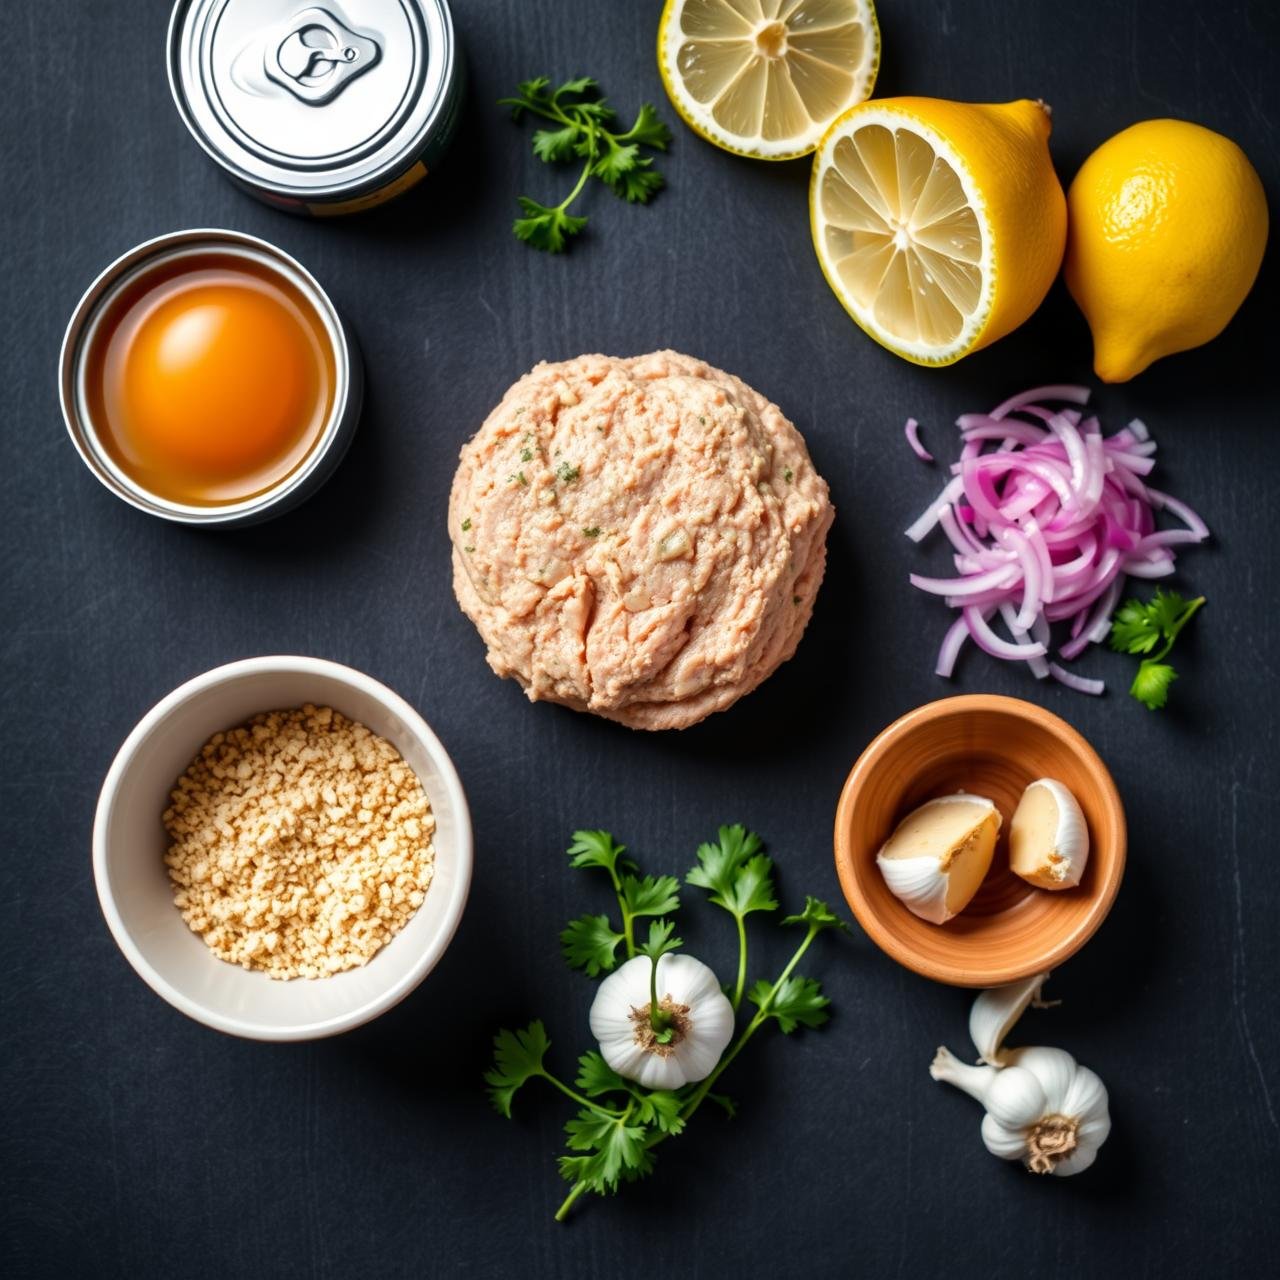
The Pantry All-Stars: Ingredients List
This recipe celebrates the power of simple, high-quality pantry staples. Here’s exactly what you’ll need to create around 8-10 delicious patties.
- Two (5-ounce) cans of solid white albacore tuna in water, drained extremely well
- 1 large egg, lightly beaten
- ¾ cup Panko breadcrumbs, plus more for coating if desired
- ⅓ cup finely diced red onion
- ¼ cup freshly chopped parsley
- 2 cloves garlic, minced
- 1 tablespoon fresh lemon juice
- 1 teaspoon Dijon mustard
- ½ teaspoon sea salt
- ¼ teaspoon freshly ground black pepper
- 2-3 tablespoons olive oil or avocado oil, for frying
- Lemon wedges and your favorite dipping sauce, for serving
Crafting the Patties: A Step-by-Step Guide
Follow these steps carefully for tuna patties that are perfectly formed, beautifully seasoned, and incredibly crispy every single time.
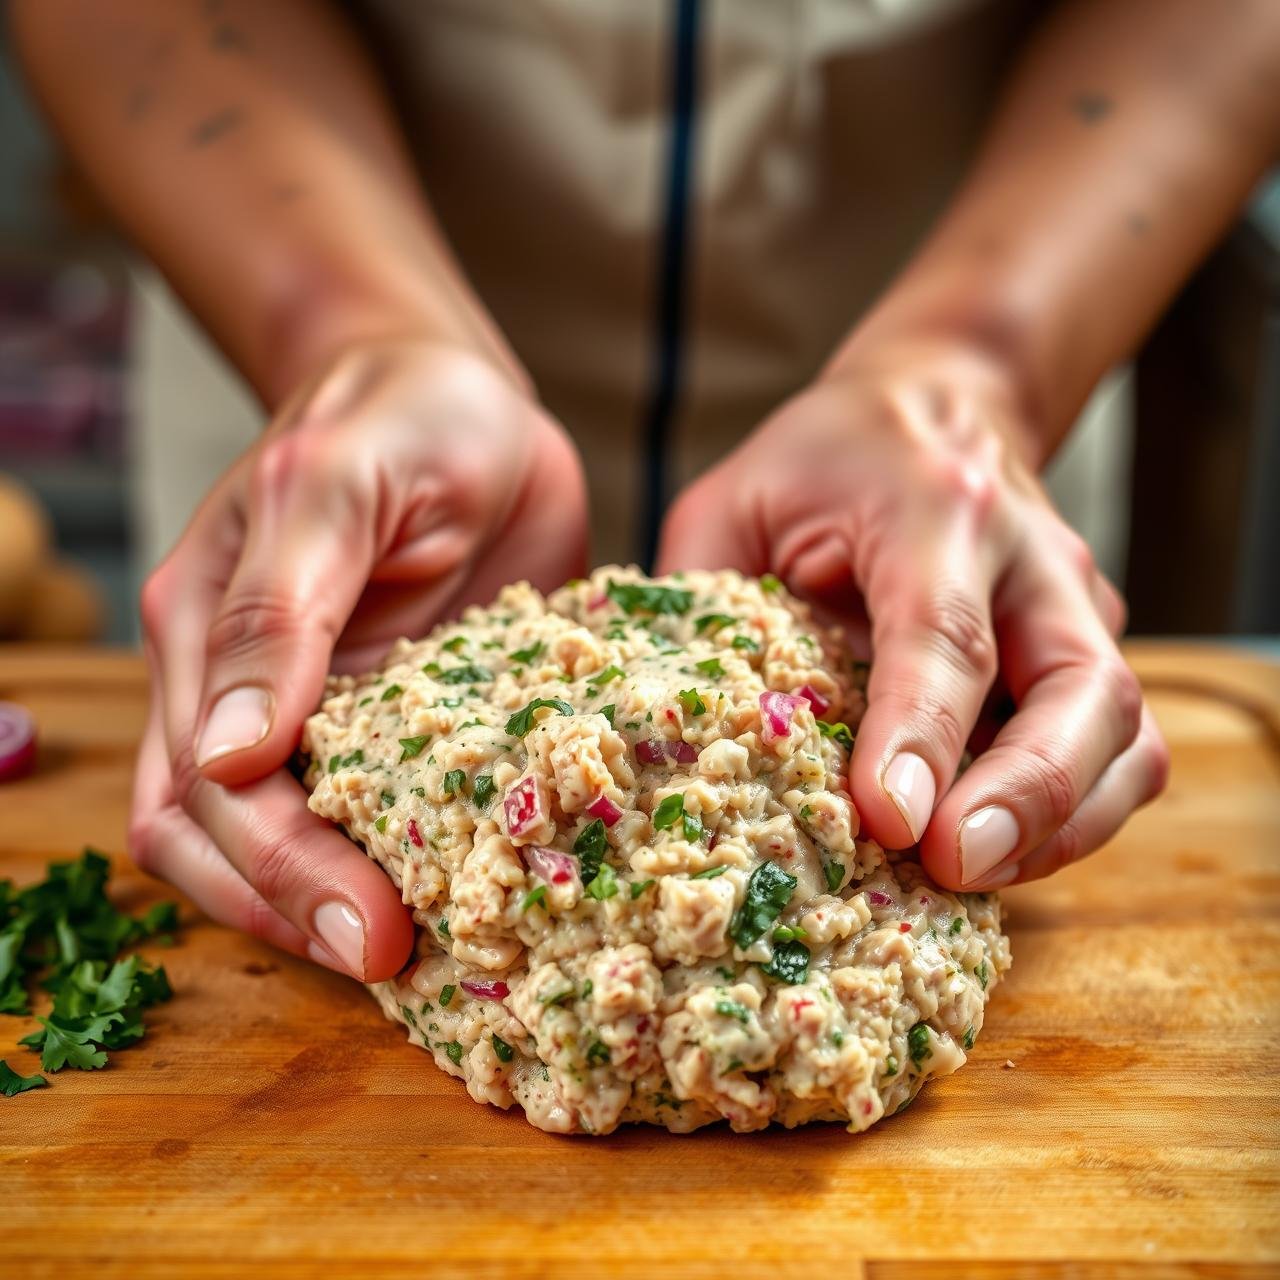
- Drain and Flake: Open the cans of tuna and drain them completely. Press the tuna against the side of the can with a fork to expel as much water as possible. Transfer the dry tuna to a large mixing bowl and use the fork to gently flake it into fine pieces.
- Combine Ingredients: To the bowl with the flaked tuna, add the beaten egg, Panko breadcrumbs, diced red onion, chopped parsley, minced garlic, lemon juice, Dijon mustard, salt, and pepper.
- Mix Gently: Using the fork or your hands, gently mix the ingredients until they are just combined. Be careful not to overmix, as this can make the patties tough. The mixture should be moist enough to hold together when pressed.
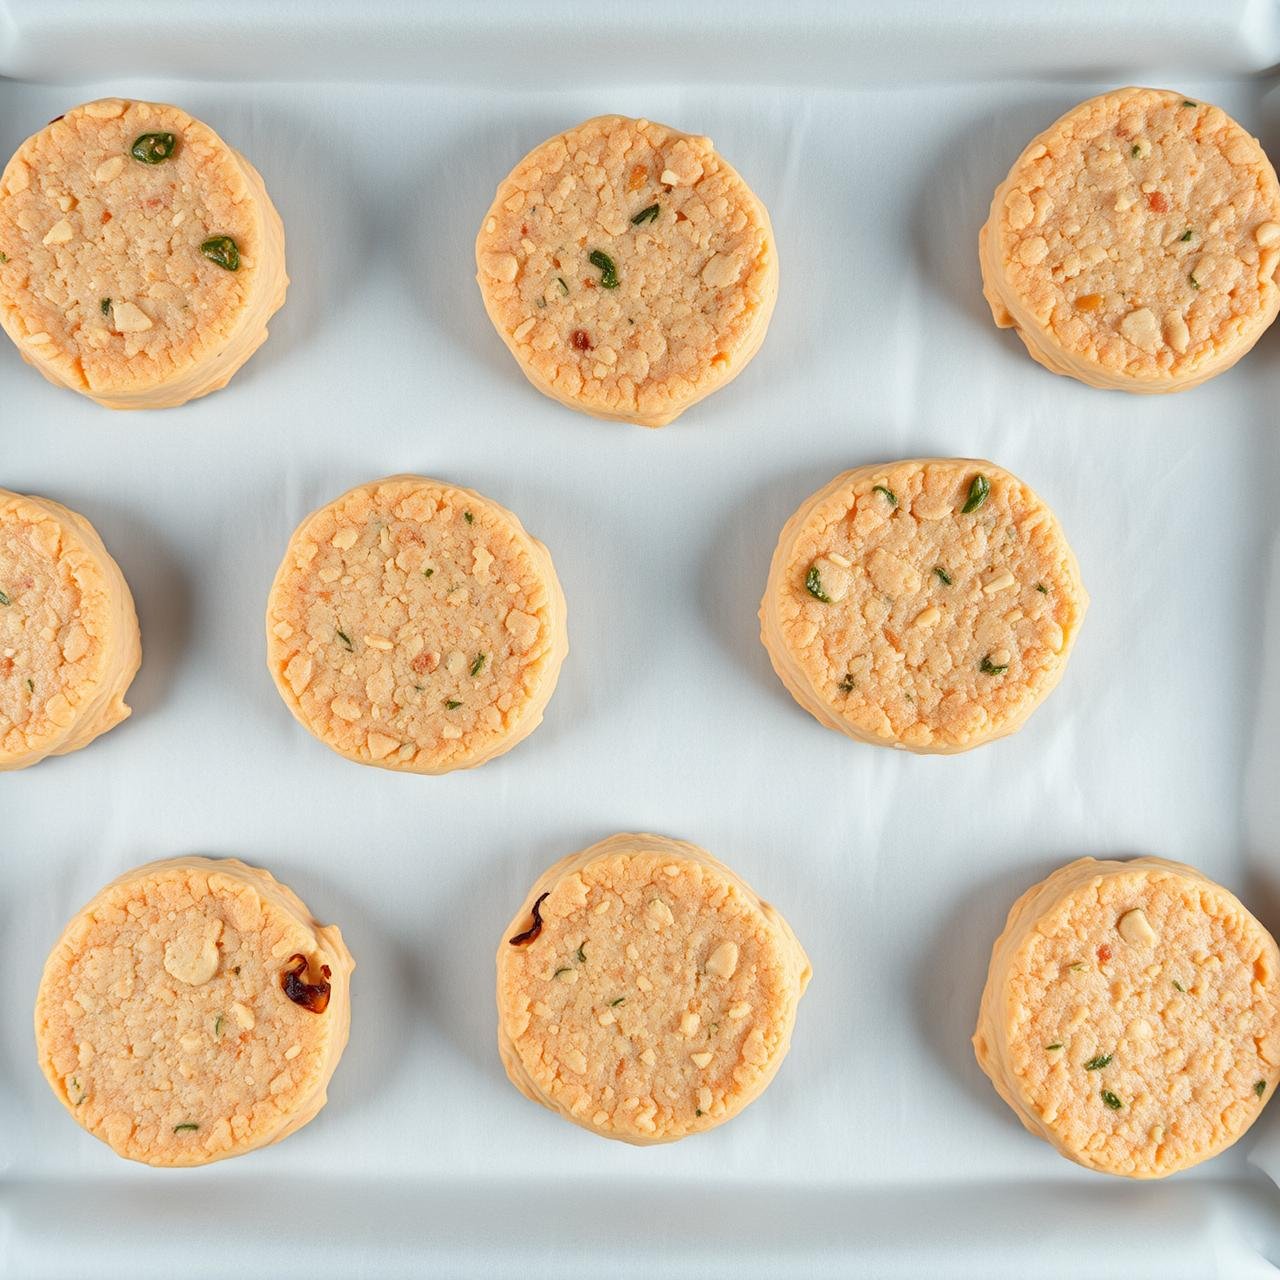
- Shape the Patties: Line a baking sheet with parchment paper. Scoop out about ¼ cup of the tuna mixture and form it into a patty about ½-inch thick and 2-3 inches in diameter. Place the formed patty on the prepared baking sheet. Repeat with the remaining mixture.
- Chill for Firmness: This step is the secret to patties that don’t fall apart. Place the baking sheet with the patties into the refrigerator and let them chill for at least 30 minutes (or up to 4 hours). This allows the binders to set and the flavors to meld.
Cooking Methods: Achieving the Ultimate Golden-Brown Crust
The final step is cooking your patties to crispy perfection. We offer three methods to suit your preference and kitchen equipment.
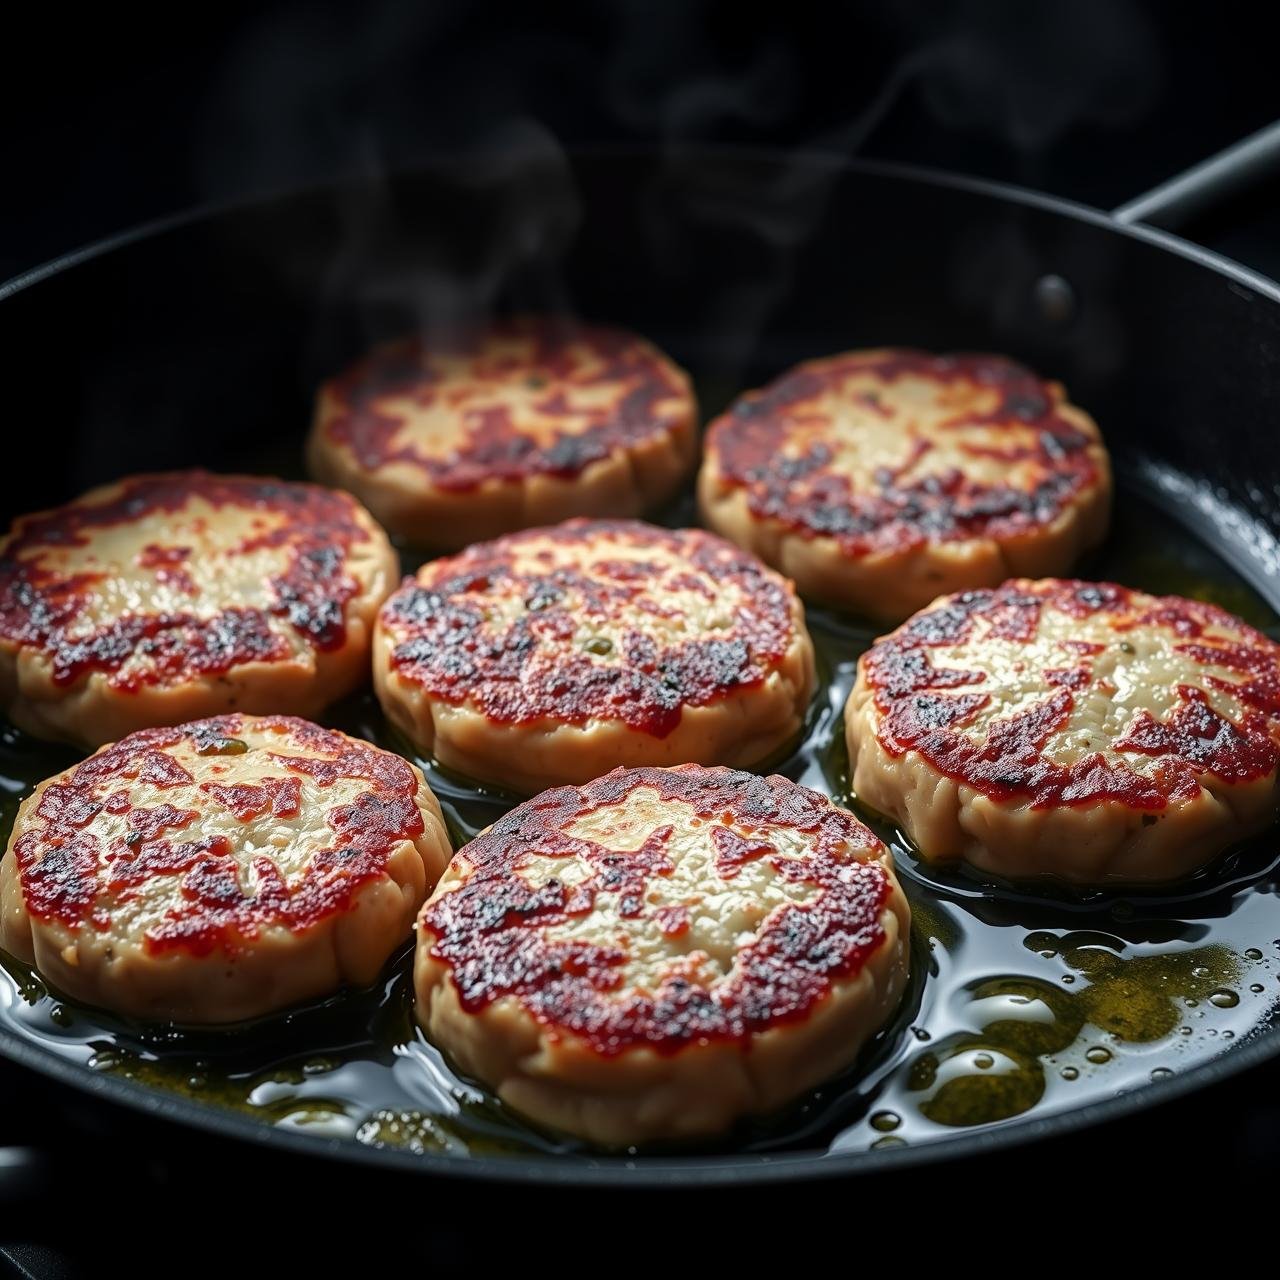
Pan-Frying (Classic & Crispiest Method)
Heat 2-3 tablespoons of olive or avocado oil in a large non-stick or cast-iron skillet over medium-high heat. The oil should shimmer but not smoke. Carefully place the chilled patties in the pan, ensuring not to crowd them (work in batches if necessary). Cook for 3-4 minutes per side, until a deep golden-brown crust forms and the patty is heated through. Transfer to a paper towel-lined plate to drain any excess oil.
Baking (A Healthier, Hands-Off Option)
Preheat your oven to 400°F (200°C). Place the chilled patties on a baking sheet lined with parchment paper or lightly greased with oil. For an extra-crispy exterior, lightly spray the tops of the patties with cooking spray. Bake for 15-20 minutes, flipping halfway through, until golden brown and firm.
Air Frying (The Quick & Crispy Compromise)
Preheat your air fryer to 375°F (190°C). Lightly spray the air fryer basket and the tops of the chilled patties with cooking spray. Arrange the patties in a single layer in the basket. Air fry for 10-12 minutes, flipping halfway through, until crispy and golden brown.
From Good to Gourmet: Expert Tips and Common Pitfalls
- Don’t Skip the Chill: We can’t stress this enough. Chilling the patties is the most important step for ensuring they hold their shape during cooking.
- The Dryness Test: If your mixture feels overly wet and won’t form a patty, your tuna might still have had too much moisture. Add more Panko breadcrumbs, one tablespoon at a time, until it holds together.
- Uniform Size: Use a measuring cup or ice cream scoop to portion out the mixture. This ensures all your patties are the same size and cook evenly.
- Get the Pan Hot: For pan-frying, make sure your oil is properly heated before adding the patties. This creates an instant sear that locks in moisture and develops that coveted crust.
- Troubleshooting: Patties Falling Apart? This is almost always due to one of three things: the tuna wasn’t drained well enough, the mixture wasn’t chilled long enough, or you were too rough when flipping them. Use a thin, wide spatula for gentle turning.
Make It Your Own: Flavor Variations and Perfect Pairings
This classic recipe is a perfect canvas for your culinary creativity. Here are some ideas to inspire you.
Flavor Twists
- Spicy: Add 1 finely diced jalapeño or ¼ teaspoon of red pepper flakes to the mixture for a kick of heat. Serve with a sriracha-lime aioli.
- Mediterranean: Mix in 2 tablespoons of chopped Kalamata olives, 1 tablespoon of capers, and a pinch of dried oregano. Serve with a dollop of tzatziki.
- Low-Carb/Keto: Substitute the Panko breadcrumbs with almond flour or crushed pork rinds. Ensure your Dijon mustard has no added sugar.
- Cheesy: Fold in ¼ cup of grated Parmesan or sharp cheddar cheese for a savory, gooey element.
Perfect Pairings & Serving Suggestions
- As a Burger: Serve a patty on a toasted brioche bun with lettuce, tomato, and tartar sauce for a gourmet fish sandwich.
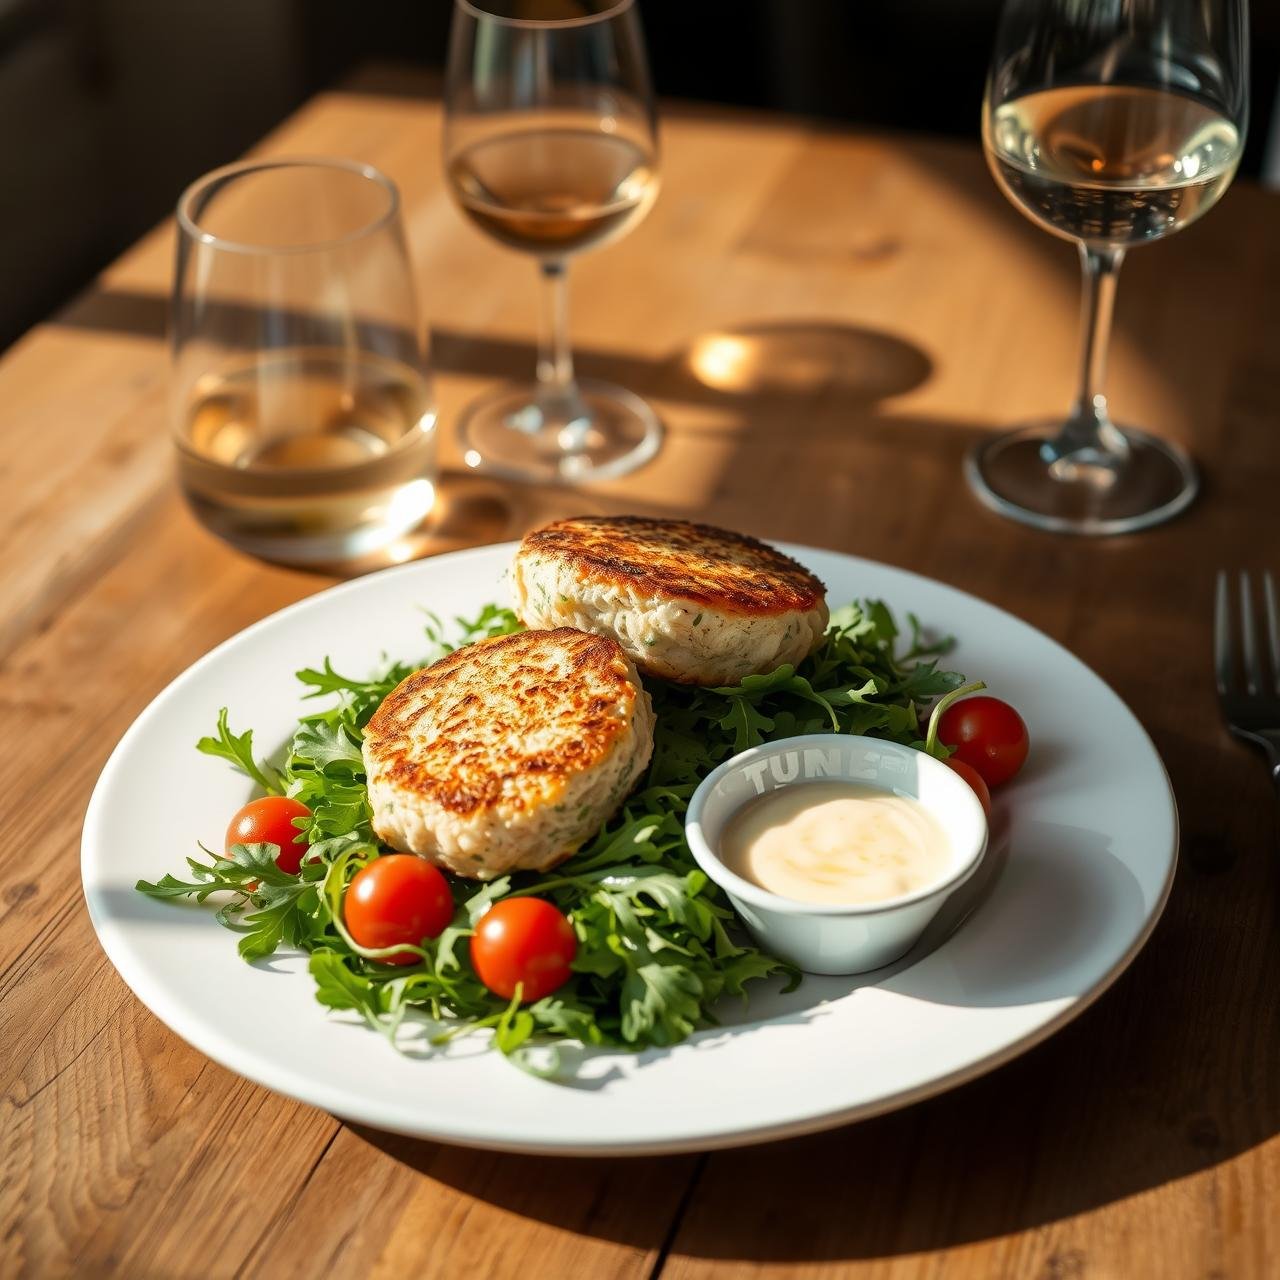
- On a Salad: Place two warm patties on a bed of fresh arugula or mixed greens tossed in a lemon vinaigrette for a high-protein, satisfying lunch.
- As a Main Course: Plate them with a side of roasted sweet potato wedges, a quinoa salad, or steamed green beans.
- As an Appetizer: Make smaller, bite-sized patties and serve them with a variety of dipping sauces like a creamy dill dip, a spicy remoulade, or a simple lemon-herb yogurt.
The Healthy Breakdown: Nutritional Profile
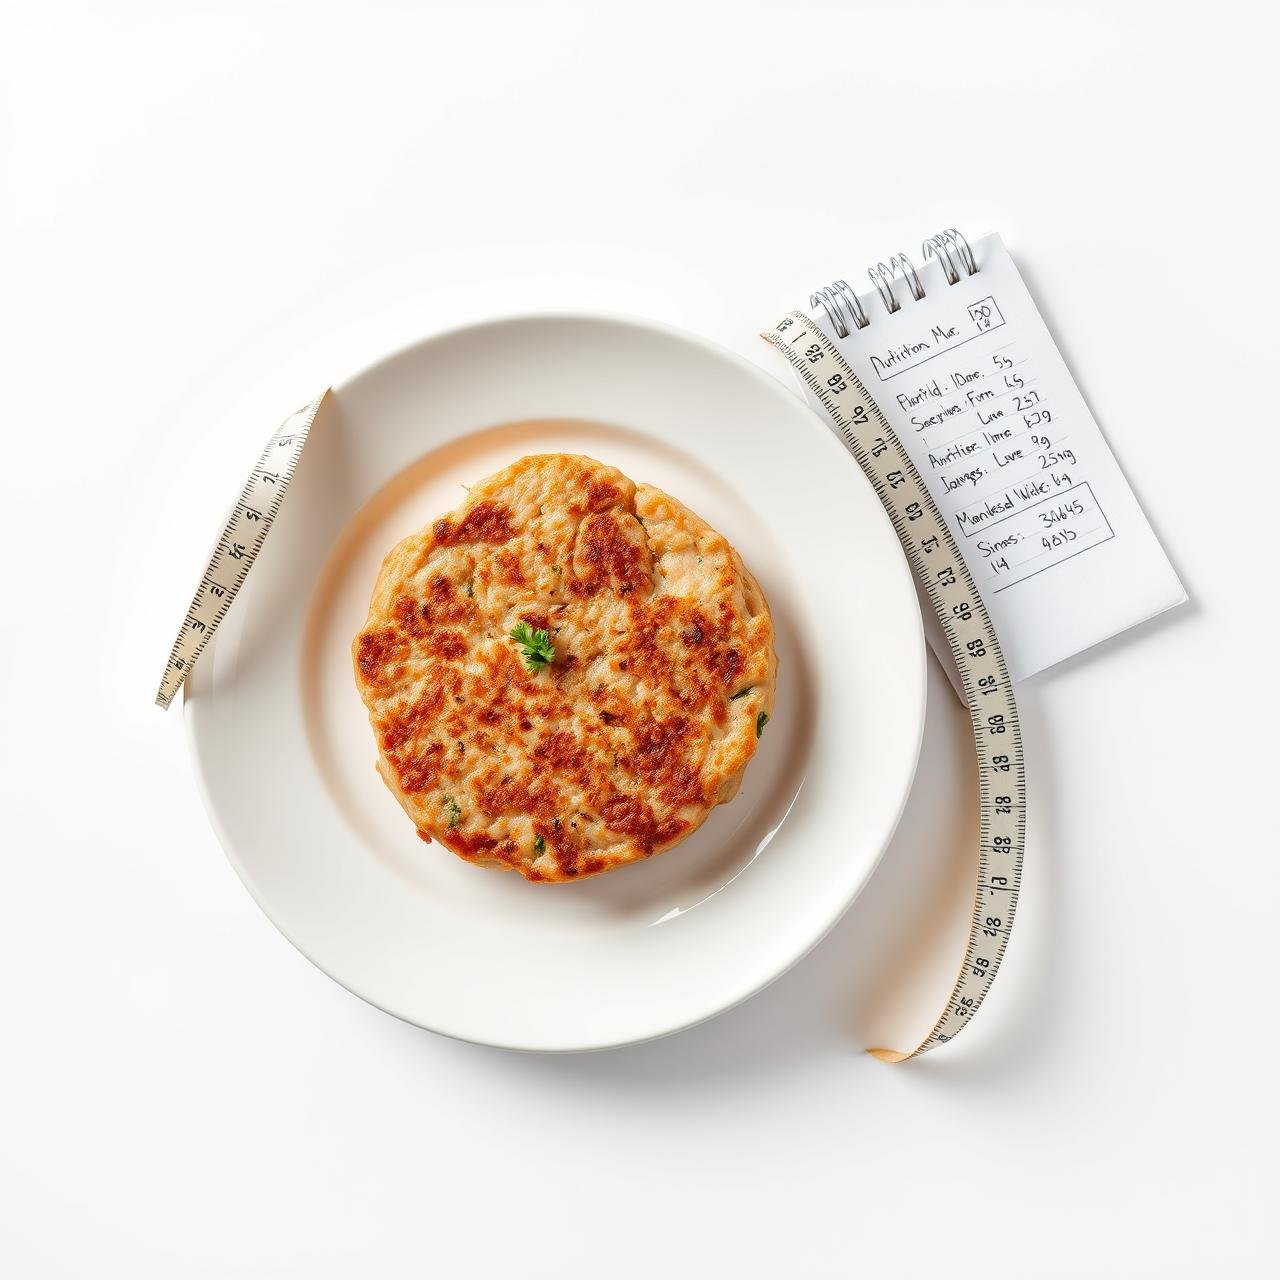
These tuna patties are a fantastic source of lean protein and healthy fats. Here is an estimated nutritional breakdown per patty, assuming the recipe yields 9 patties and they are pan-fried in olive oil. Please note these values are approximate and can vary based on specific ingredients and cooking methods.
| Nutrient | Amount Per Patty (Approx.) |
|---|---|
| Calories | 125 kcal |
| Protein | 10g |
| Fat | 6g |
| Saturated Fat | 1g |
| Carbohydrates | 7g |
| Fiber | 1g |
| Sugar | 1g |
| Sodium | 250mg |
Savor Later: Storage and Reheating Instructions
These patties are excellent for meal prep. Here’s how to store and reheat them to maintain their delicious texture.
Refrigeration
Store cooked patties in an airtight container in the refrigerator for up to 3-4 days. You can also store the uncooked, shaped patties in the refrigerator for up to 24 hours before cooking.
Freezing
For longer storage, freezing is an excellent option. Place the cooked and cooled patties on a parchment-lined baking sheet and “flash freeze” them for an hour until solid. Then, transfer the frozen patties to a zip-top freezer bag or airtight container. They will keep for up to 3 months.
The Best Way to Reheat
To bring back that glorious crispiness, avoid the microwave at all costs!
Oven/Toaster Oven: Place the patties on a baking sheet and heat in a preheated oven at 375°F (190°C) for 10-15 minutes (a bit longer if frozen), until warmed through and crispy.
Air Fryer: Reheat in the air fryer at 350°F (175°C) for 4-6 minutes until hot and re-crisped.
Conclusion
There you have it—a simple can of tuna transformed into a dish that is crispy, savory, healthy, and deeply satisfying. These Crispy Canned Tuna Patties are a testament to the fact that incredible meals don’t have to be complicated or expensive. They are the perfect intersection of rustic homestyle cooking and gourmet flavor, a versatile dish that can be dressed up for a dinner party or served simply for a quick weeknight meal. By understanding the key techniques—draining the tuna well, using the right binders, and chilling the mixture—you are now equipped to create flawless tuna patties every time. We encourage you to embrace this recipe, make it your own with different herbs and spices, and rediscover the delicious potential hiding in your pantry.