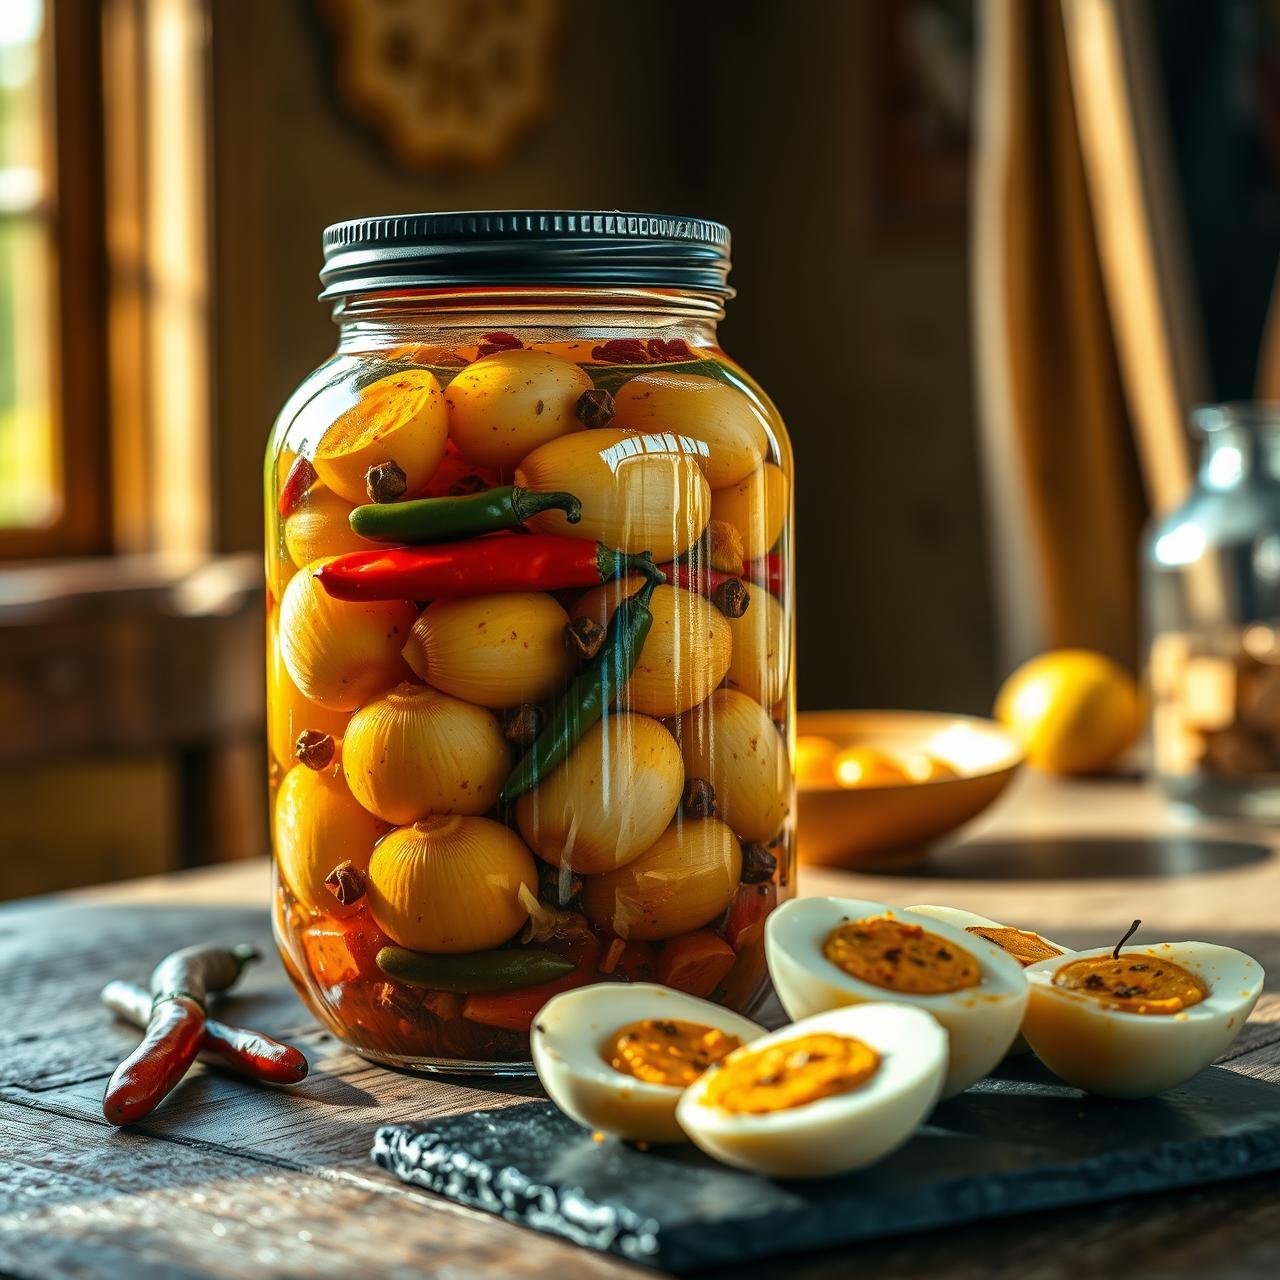
Old Fashioned Spicy Pickled Eggs (The Best High Protein Snack)
There’s a certain charm to old-fashioned recipes, a connection to a simpler time when pantries were stocked with preserved goods born from patience and tradition. Among these timeless culinary treasures, spicy pickled eggs stand out as a bold, savory, and incredibly satisfying snack. Long before protein bars and shakes became the norm, these humble eggs were the go-to source for a quick, nourishing bite. They are more than just a bar snack; they are a testament to rustic ingenuity, a perfect way to extend the life of eggs while infusing them with an unforgettable fiery and tangy flavor.
This recipe isn’t about reinventing the wheel. It’s about perfecting it. We’re embracing the classic methods to create a high-protein snack that is both deeply flavorful and remarkably easy to prepare in your own kitchen. Whether you’re a seasoned home cook looking to add a new staple to your repertoire, a budget-conscious foodie seeking delicious and economical snacks, or someone simply craving a taste of nostalgia, these Old-Fashioned Spicy Pickled Eggs are the answer. They are the perfect grab-and-go snack, a fantastic addition to salads and appetizer platters, and a clean, powerful source of protein to fuel your day. Let’s delve into the craft of creating the best spicy pickled eggs you’ve ever tasted.
The Essential Toolkit: Equipment for Perfect Pickled Eggs
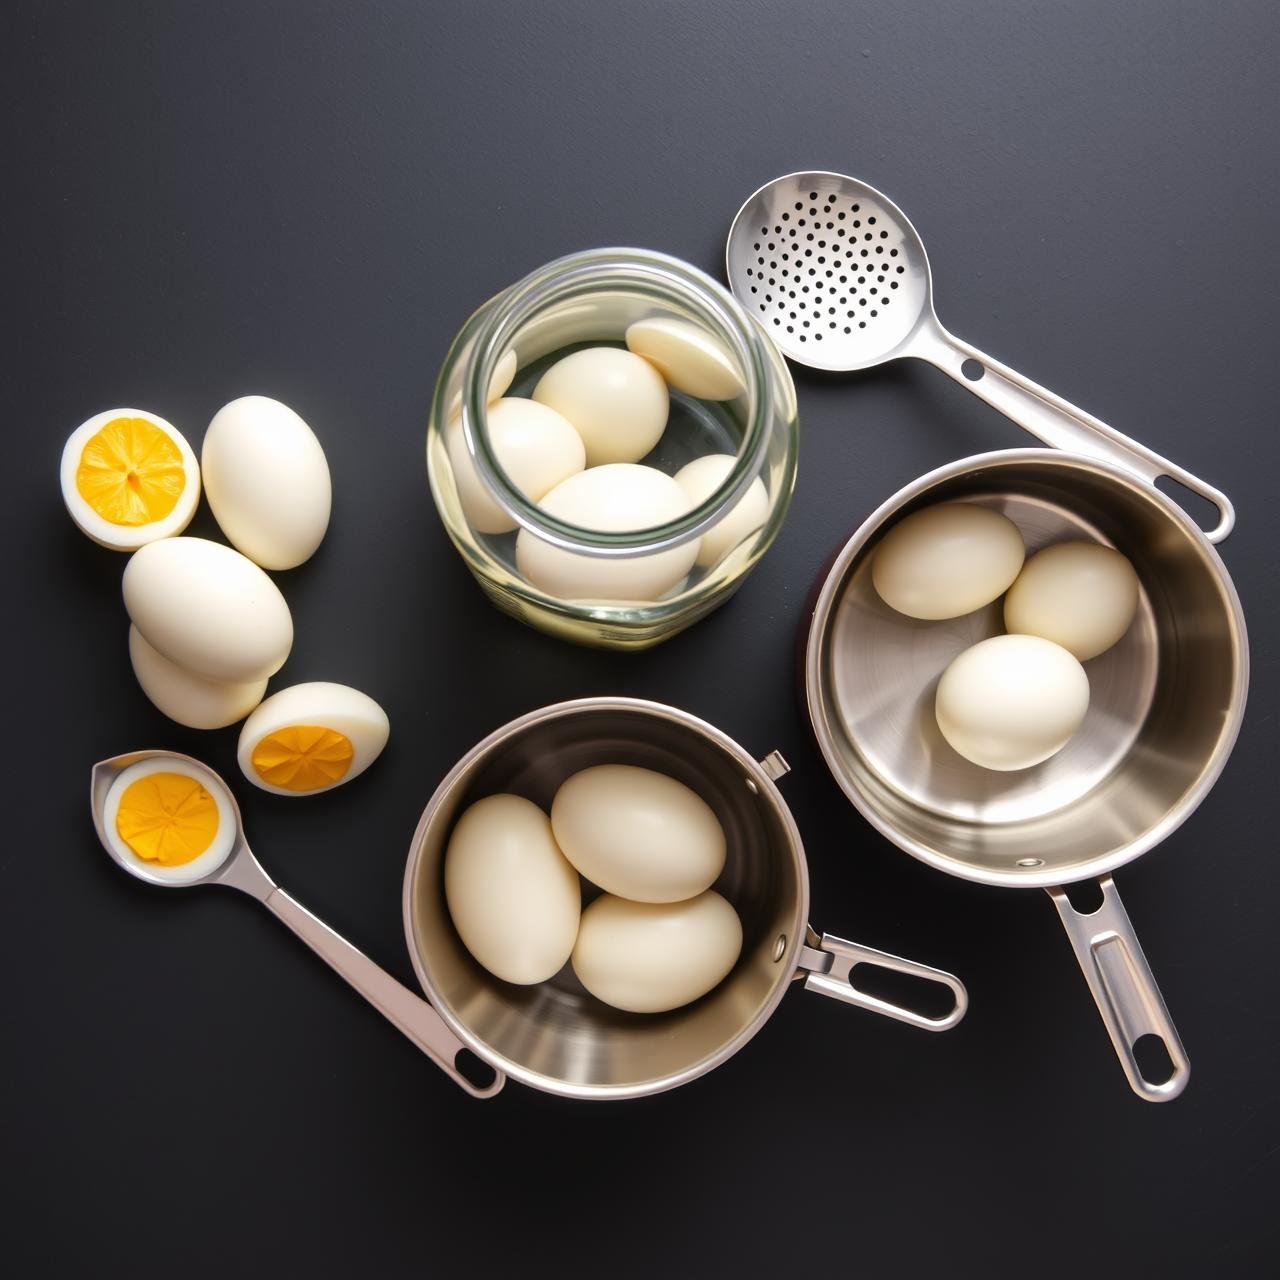
Before we begin the pickling process, it’s crucial to gather the right tools. Using the proper equipment not only makes the process smoother but also ensures a safe and successful outcome. You don’t need fancy gadgets, just a few kitchen essentials. A non-reactive saucepan is critical, as acidic ingredients like vinegar can react with metals like aluminum or cast iron, imparting a metallic taste to your brine. Glass jars are the ideal choice for storing your pickled eggs, as they won’t stain, absorb odors, or leach chemicals into your food. Here is a simple breakdown of what you’ll need.
| Equipment | Purpose |
|---|---|
| Large Glass Jar with Lid (1/2 gallon or 2 quarts) | For storing the eggs during the pickling process. Ensure it’s sterilized and has a tight-fitting lid. |
| Medium to Large Saucepan (Non-Reactive) | For preparing the brine. Stainless steel or enamel-coated pots are perfect choices. |
| Slotted Spoon | For safely transferring hard-boiled eggs to and from hot water and into the pickling jar. |
| Measuring Cups and Spoons | For accurately measuring liquids and spices to achieve a perfectly balanced brine. |
| Large Bowl | For creating an ice bath to rapidly cool the hard-boiled eggs, which makes them easier to peel. |
Gathering Your Ingredients: The Foundation of Flavor
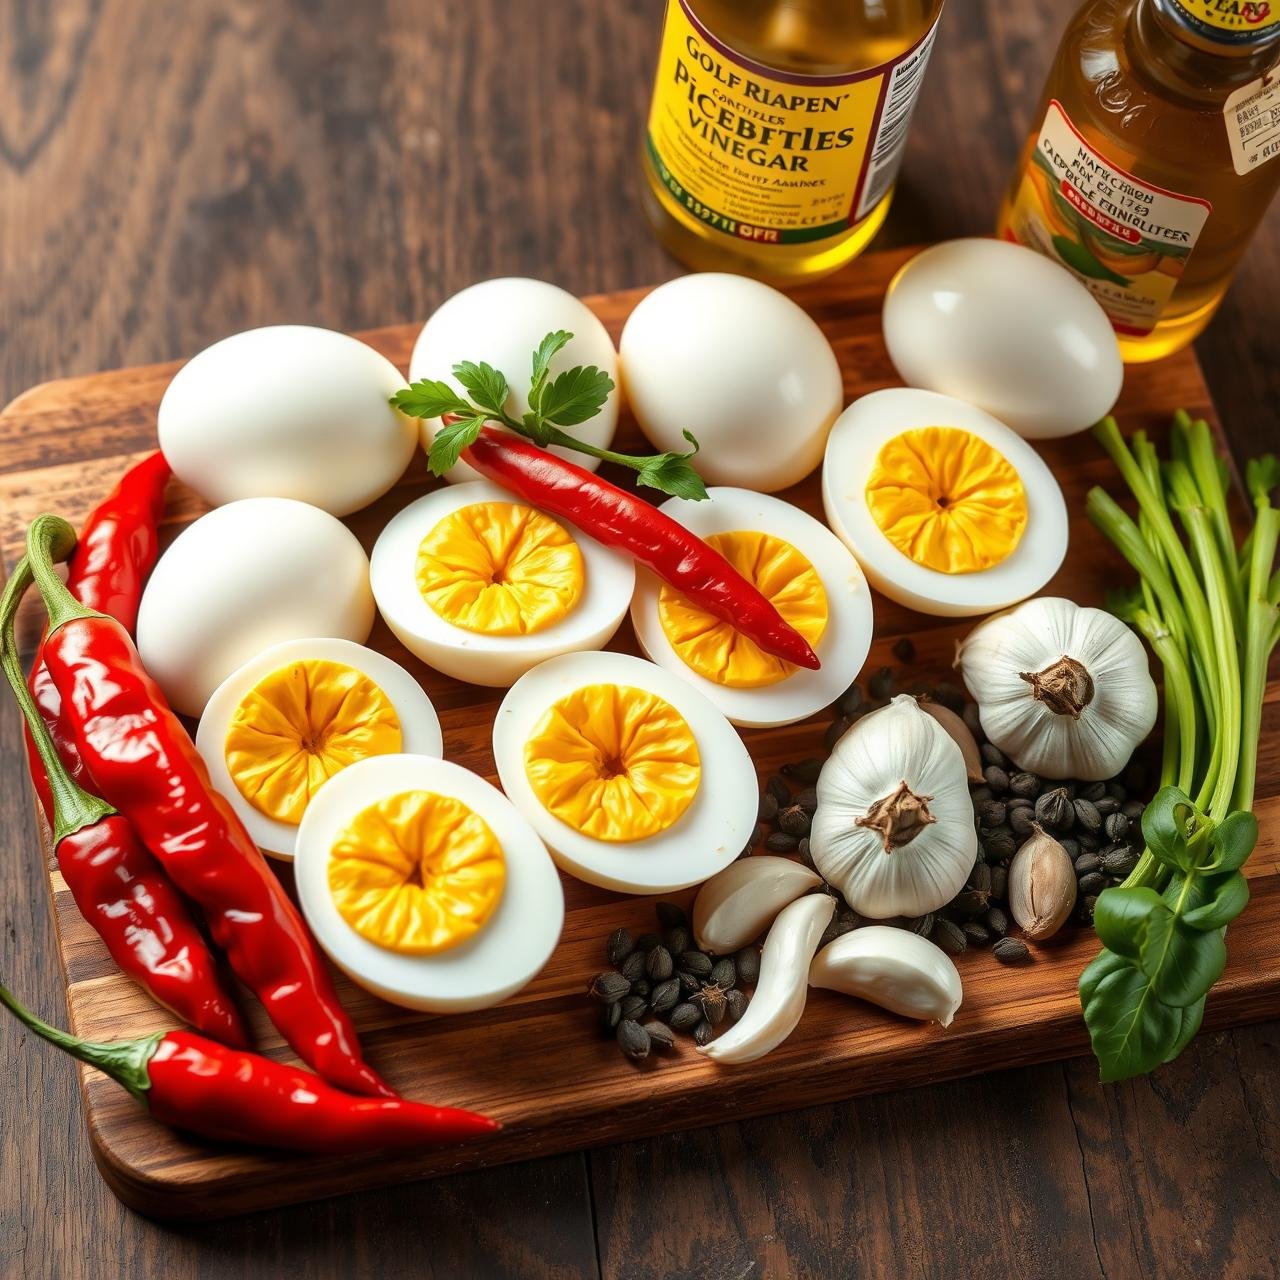
The quality of your pickled eggs is a direct reflection of the ingredients you use. While the list is simple, each component plays a vital role in the final flavor profile. Fresh, high-quality eggs will yield the best texture, and the choice of vinegar and spices will define the character of your brine. This recipe is designed for a perfect balance of heat, tang, and savory depth, but feel free to adjust the spices to your personal preference.
- 12 large eggs: Freshness is key. Hard-boiled and peeled.
- 2 cups apple cider vinegar: Provides a robust, slightly fruity tang that is the hallmark of classic pickled eggs.
- 1.5 cups water: Used to dilute the vinegar for a more balanced brine.
- 1/4 cup granulated sugar: Adds a subtle sweetness to balance the acidity and heat. You can substitute with maple syrup for a different flavor profile.
- 1 tablespoon kosher salt: Essential for flavor and preservation. Avoid iodized salt, which can make the brine cloudy.
- 4-6 whole dried red chili peppers: The source of our heat. Use arbol or cayenne peppers. Adjust the quantity based on your desired spice level.
- 2-4 cloves garlic: Smashed lightly to release their aromatic oils into the brine.
- 1 tablespoon whole black peppercorns: Adds a pungent, earthy spice.
- 1 teaspoon mustard seeds: Provides a classic pickling tang and subtle texture.
- 1 teaspoon red pepper flakes: For an extra layer of consistent, dispersed heat throughout the brine.
- Optional additions: A few slices of onion or a bay leaf can add another layer of aromatic complexity.
Step-by-Step Guide to Spicy Pickled Perfection
Follow these instructions carefully to create a flawless batch of spicy pickled eggs. The process is straightforward, with the most important ingredient being time. Allowing the eggs to marinate properly is the key to developing that deep, infused flavor we’re aiming for.
-
Prepare the Eggs:
Start by hard-boiling your eggs. Place the 12 large eggs in a single layer in a large pot and cover with cold water by about an inch. Bring the water to a rolling boil, then immediately turn off the heat, cover the pot, and let the eggs sit for 12-15 minutes. While the eggs cook, prepare an ice bath in a large bowl. Using a slotted spoon, transfer the cooked eggs directly into the ice bath. Let them cool completely for about 10 minutes. This shock of cold water not only stops the cooking process but also makes the shells significantly easier to peel. Once cooled, carefully peel all the eggs and set them aside.
-
Create the Brine:
In your non-reactive saucepan, combine the 2 cups of apple cider vinegar, 1.5 cups of water, 1/4 cup of sugar, and 1 tablespoon of kosher salt. Stir over medium-high heat until the sugar and salt have completely dissolved.
-
Infuse the Spices:
Add the whole dried chili peppers, smashed garlic cloves, 1 tablespoon of black peppercorns, 1 teaspoon of mustard seeds, and 1 teaspoon of red pepper flakes to the brine. Bring the mixture to a gentle boil and let it simmer for 5 minutes. This allows the spices to release their essential oils and flavors into the liquid.
-
Pack the Jar:
Carefully place the peeled hard-boiled eggs into your large, sterilized glass jar. Try to pack them in snugly without crushing them. You can layer some of the larger spices from the brine, like the whole chilies and garlic, amongst the eggs as you fill the jar.
-
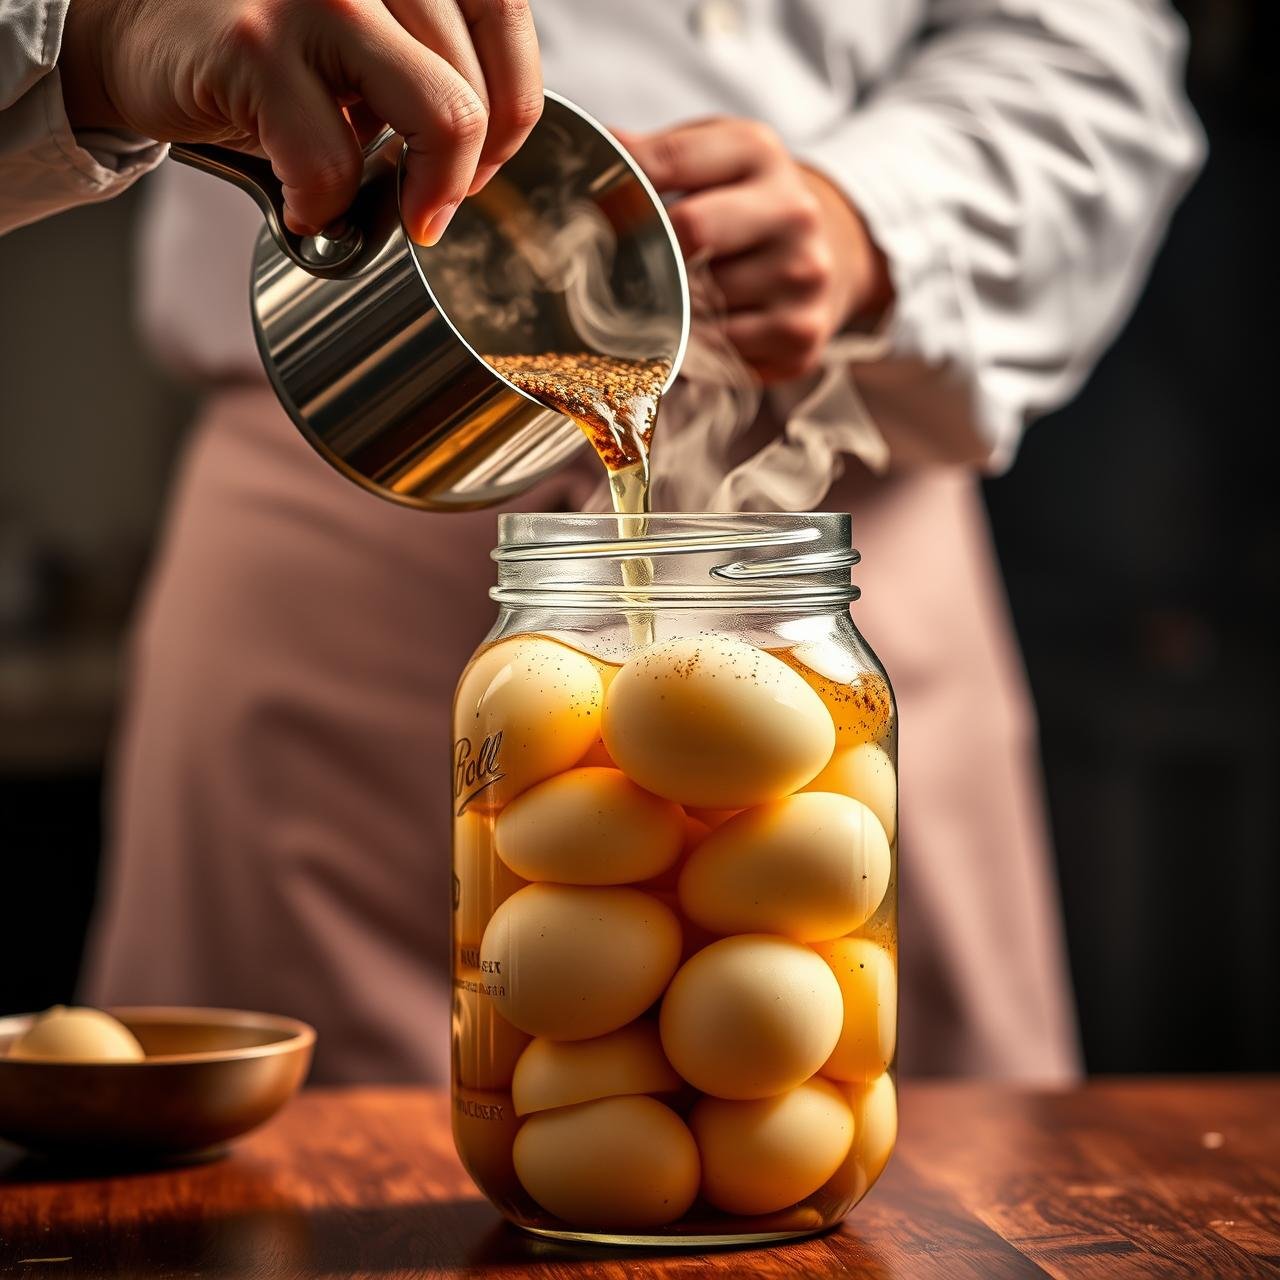
Combine and Seal:
Carefully pour the hot brine over the eggs in the jar, ensuring they are completely submerged. All the spices should be poured in as well. If needed, use a spoon to press the eggs down gently to keep them under the liquid. Seal the jar tightly with its lid.
-
Cool and Refrigerate:
Let the jar cool to room temperature on your countertop, which may take about 1-2 hours. Once cooled, transfer the jar to the refrigerator.
-
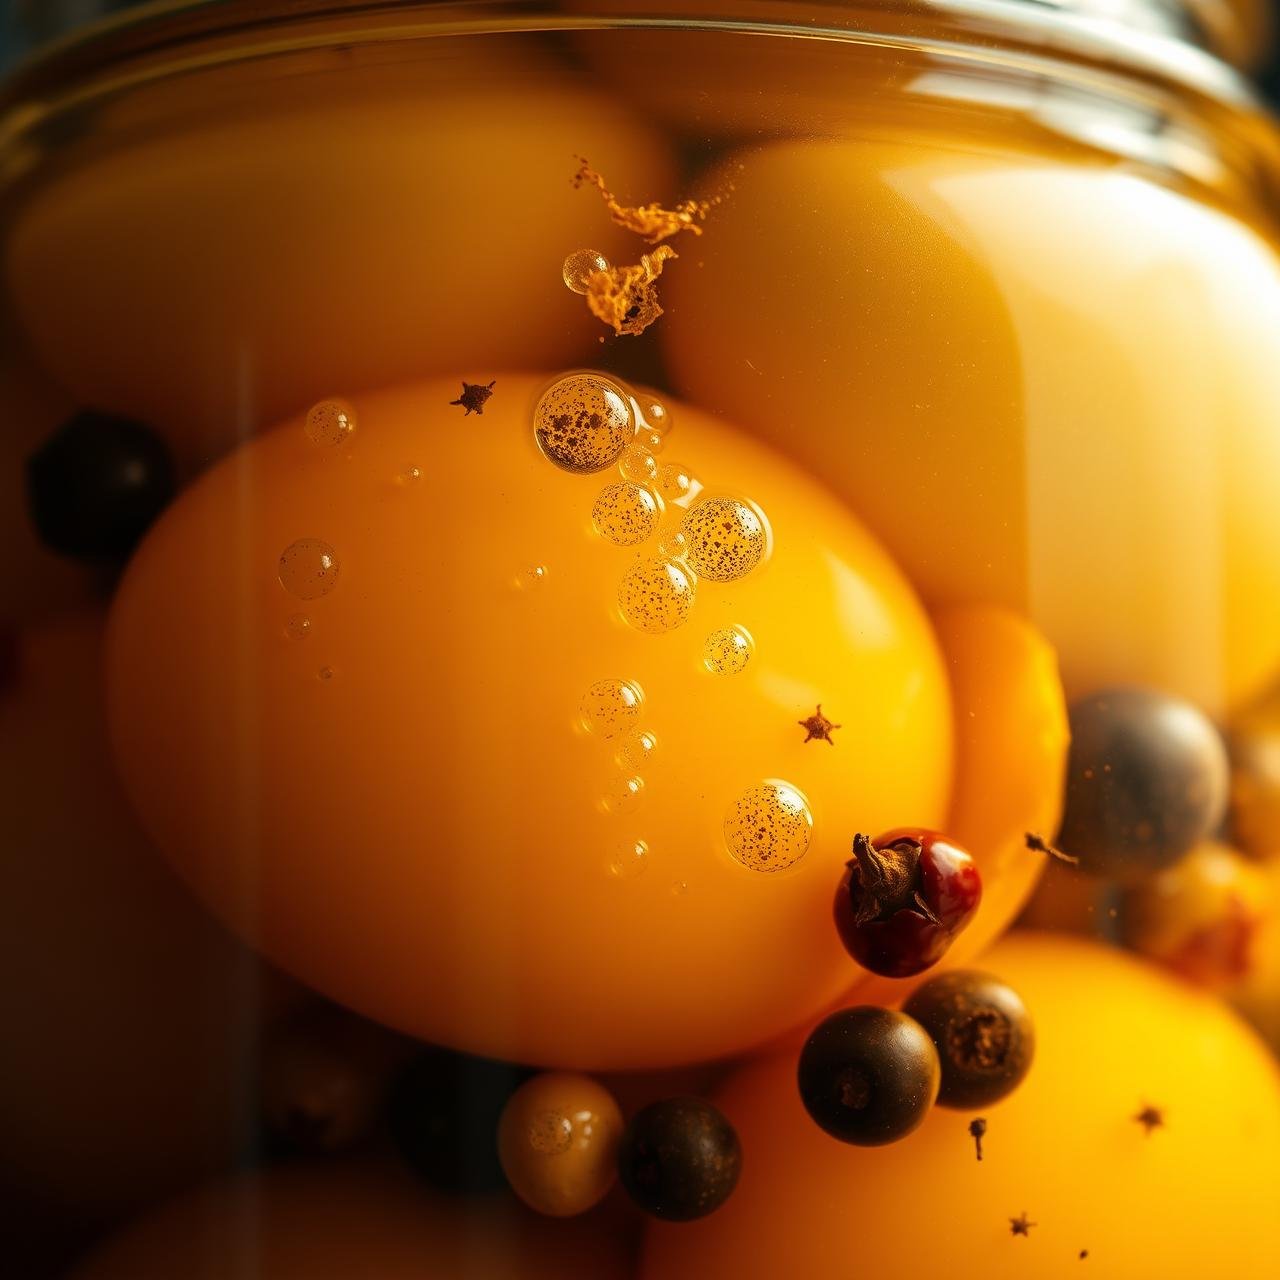
The Waiting Game:
This is the most crucial step. For the best flavor, you must let the eggs pickle in the refrigerator for at least 7 days before eating. For an even more intense and developed flavor, wait for 2 weeks. The longer they sit, the more the brine will penetrate the egg whites and even flavor the yolk.
Chef’s Notes & Pro Tips for Success
Mastering the art of pickled eggs comes with a few insider tricks. These tips will help you avoid common pitfalls and allow you to customize the recipe to your liking, ensuring a perfect batch every time.
- The Perfect Peel: The secret to easily peeled hard-boiled eggs isn’t just the ice bath. Using eggs that are a week or two old, rather than farm-fresh, often makes the shells come off more cleanly. The membrane has had time to slightly detach from the shell.
- Customize Your Heat: The spice level is entirely up to you. For a milder version, use fewer chili peppers and omit the red pepper flakes. For a fiery batch, slice one or two of the chili peppers in half lengthwise before adding them to the brine to expose the seeds. You can also experiment with different types of peppers like habanero for a fruity, intense heat.
- Vinegar Variations: While apple cider vinegar provides a classic, robust flavor, don’t be afraid to experiment. White distilled vinegar will give you a sharper, more neutral tang. Rice vinegar offers a milder, slightly sweet flavor. You can even use a blend of vinegars to create a unique flavor profile.
- Don’t Poke the Eggs: You might see some recipes that suggest pricking the eggs with a toothpick to help the brine penetrate faster. I strongly advise against this. It can create a rubbery texture and introduces a potential pathway for bacteria. Patience is the true key to a well-flavored egg.
- Beyond the Egg: Feel free to add other vegetables to the jar for a pickled medley. Sliced onions, jalapeños, or even a few sticks of carrot will pickle alongside the eggs and absorb the delicious spicy brine.
- Brine Safety: Always use a fresh brine for each batch. Never reuse pickling brine, as its pH level changes after the first use, making it potentially unsafe for preserving another batch.
Nutritional Profile: A Healthy Snack Choice
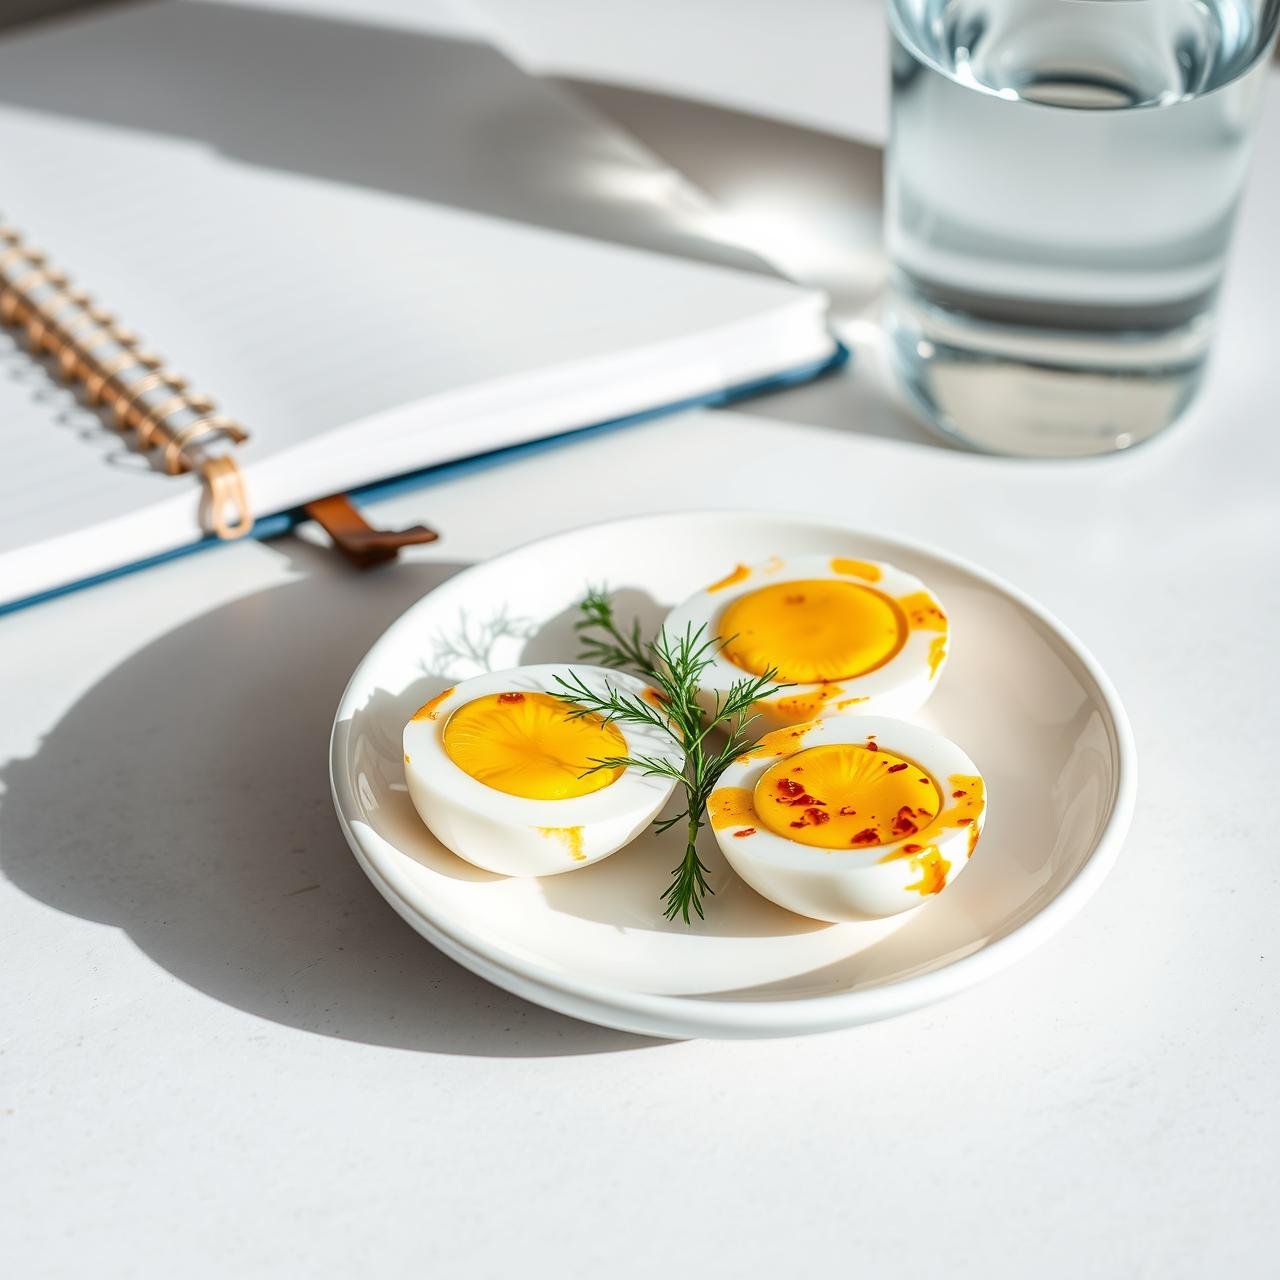
Spicy pickled eggs are not just a treat for your taste buds; they are a powerhouse of nutrition. Packed with high-quality protein, they are an excellent choice for a post-workout snack, a mid-day energy boost, or a simple way to increase your protein intake. They are naturally low in carbohydrates and fit perfectly into various dietary plans, including keto and low-carb lifestyles. The protein helps with muscle repair and keeps you feeling full and satisfied, curbing cravings for less healthy options.
| Nutrient | Amount Per Egg (Approximate) |
|---|---|
| Calories | 85 kcal |
| Protein | 6.5 g |
| Fat | 5.5 g |
| Carbohydrates | 1 g |
| Sugar | 0.8 g |
| Sodium | 220 mg |
Note: Nutritional values are estimates and can vary based on egg size and specific ingredients used.
Proper Storage for Lasting Flavor and Safety
Proper storage is non-negotiable for ensuring both the safety and quality of your homemade spicy pickled eggs. Because this is a refrigerated pickle recipe and not a shelf-stable canned one, the eggs must be kept cold at all times.
Refrigeration is Key:
Once the jar has cooled to room temperature after sealing, it must be placed directly into the refrigerator. Do not leave it on the counter. The cold temperature is what prevents the growth of harmful bacteria, including the one that causes botulism.
Shelf Life:
When stored correctly in a tightly sealed glass jar in the refrigerator, your spicy pickled eggs will remain delicious and safe to eat for up to 3-4 months. However, you will likely find they are at their peak flavor and texture within the first month. Over time, the egg whites may become slightly tougher, which is a normal part of the pickling process.
Signs of Spoilage:
Always trust your senses. Before consuming, inspect the jar. Discard the entire batch if you notice any of the following: a foul or ‘off’ smell, any signs of mold growth on the surface of the brine or eggs, a cloudy or slimy brine, or if the lid is bulging. When in doubt, throw it out. Your safety is paramount.
Conclusion
Embracing the tradition of old-fashioned spicy pickled eggs is more than just following a recipe; it’s about creating a delicious, wholesome, and versatile food that connects us to a rich culinary past. With a jar of these gems in your refrigerator, you’re always prepared with a high-protein snack, a zesty addition to a salad, or a unique appetizer for guests. The process is simple, the ingredients are humble, and the result is a bold, satisfying flavor that is hard to resist. We encourage you to roll up your sleeves, fill your kitchen with the aromatic scent of pickling spices, and create a batch of your own. Experiment with the heat, enjoy the process, and savor the rich, spicy, and tangy reward of your efforts.