Crispy Cauliflower Grilled Cheese: The Secret to Gooey Low Carb Bliss
There are certain cravings that strike with a primal force, a deep-seated desire for pure, unadulterated comfort. At the top of that list, for many of us, is the humble grilled cheese sandwich. The symphony of a buttery, crackling crust giving way to a molten river of perfectly melted cheese is a culinary memory etched into our hearts. But for those of us embracing a healthier, low-carb lifestyle, that classic comfort can feel like a distant dream. Until now.
Forget everything you thought you knew about gluten-free or keto bread substitutes. We are not talking about flimsy, eggy concoctions that fall apart at the mere sight of a spatula. We are diving headfirst into a revolutionary technique that transforms the versatile, nutrient-packed cauliflower into a sturdy, crispy, and utterly delicious vessel for the gooiest cheese imaginable. This isn’t just a recipe; it’s a revelation. It’s the answer to your comfort food prayers, a culinary masterpiece that marries wholesome, clean eating with the soul-satisfying bliss of a classic grilled cheese.
Prepare to be amazed as we walk you through the chef-like secrets to achieving that perfect golden-brown crust and a stringy, decadent cheese pull that will have you questioning if it’s truly low-carb. This Crispy Cauliflower Grilled Cheese is more than a meal—it’s an experience that nourishes your body and comforts your soul, proving that you never have to sacrifice flavor for your health goals.
Why Cauliflower ‘Bread’ is a Culinary Game-Changer
Before we roll up our sleeves and get to cooking, let’s talk about our star player: cauliflower. This cruciferous vegetable is a titan in the world of healthy cooking, and for good reason. When transformed into ‘bread’ slices, it offers a host of benefits that traditional wheat bread simply can’t match.
Nutrient-Dense and Low in Carbs
First and foremost, cauliflower is incredibly low in carbohydrates and calories, making it a dream ingredient for anyone on a ketogenic, low-carb, or diabetic-friendly diet. But it’s not just about what it lacks; it’s about what it provides. It’s packed with vitamins, including Vitamin C, Vitamin K, and an array of B vitamins, as well as essential minerals and fiber. This means you’re not just cutting carbs; you’re actively adding a powerhouse of nutrition to your meal.
The Perfect Texture and Flavor Profile
The secret to this recipe’s success lies in mastering the texture. When prepared correctly—and we’ll show you exactly how—cauliflower develops a firm, yet tender structure with beautifully browned, crispy edges that mimic a perfectly toasted slice of artisan bread. Its mild, slightly nutty flavor is the ideal neutral canvas, allowing the rich, savory notes of the cheese to shine through without being overpowered. It doesn’t taste like vegetables; it tastes like a foundation built for cheesy greatness.
Naturally Gluten-Free and Allergen-Friendly
For those with gluten sensitivities or celiac disease, finding a satisfying bread substitute can be a lifelong quest. This recipe provides a wholesome, delicious solution that is naturally free from gluten, grains, and nuts. It’s a clean, simple approach to a classic sandwich that everyone at the table can enjoy, regardless of dietary restrictions.
Essential Equipment for Cauliflower Grilled Cheese Mastery
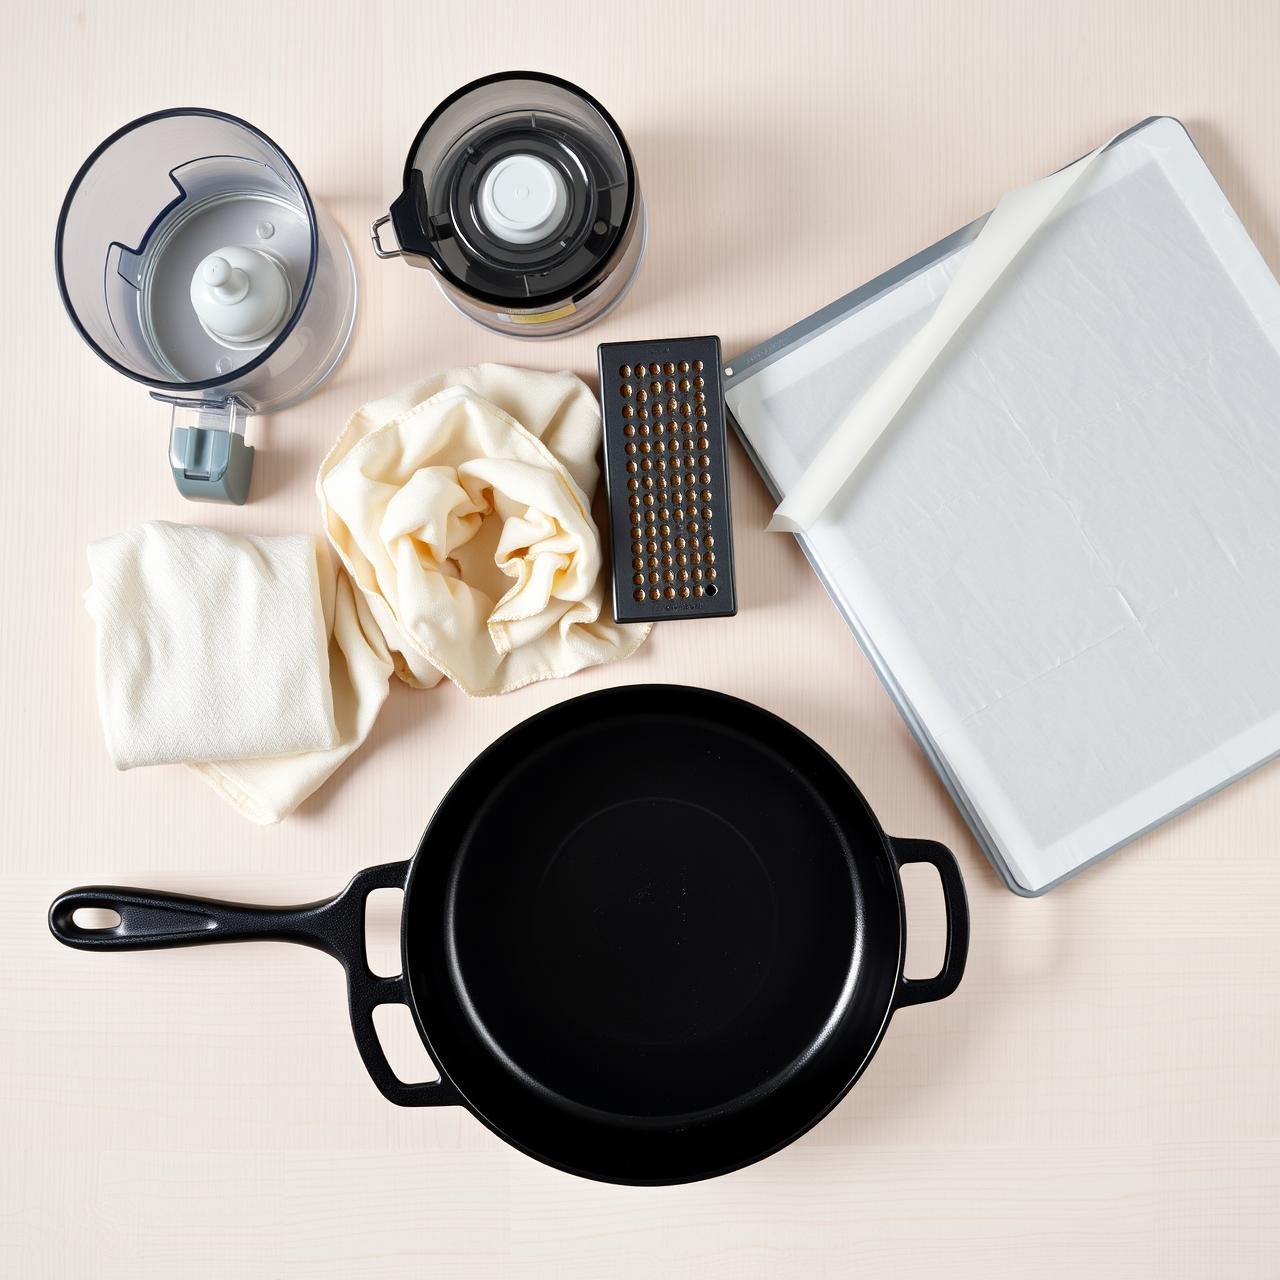
Great results in the kitchen often start with having the right tools for the job. While this recipe doesn’t require any overly specialized gadgets, a few key pieces of equipment will ensure a smooth process and a perfectly crispy outcome. Here’s what you’ll need to have at the ready:
| Equipment | Chef’s Note |
|---|---|
| Food Processor or Box Grater | Essential for quickly and evenly ricing the cauliflower. A food processor is faster, but a box grater works just as well for a more hands-on, rustic approach. |
| Large Microwave-Safe Bowl | Used for steaming the cauliflower rice, a crucial step to soften it before forming the ‘bread’ slices. |
| Cheesecloth or a Clean Tea Towel | This is the non-negotiable secret weapon. It’s used to squeeze every last drop of moisture from the steamed cauliflower, which is the key to achieving a firm, non-soggy bread texture. |
| Baking Sheets & Parchment Paper | You’ll need two baking sheets lined with parchment paper. The parchment prevents sticking and ensures easy cleanup. |
| Large Non-Stick Skillet or Griddle | A quality skillet is vital for the final step: achieving that iconic golden-brown, crispy crust on your grilled cheese. A cast-iron skillet also works beautifully. |
| Spatula | A sturdy but flexible spatula will be your best friend for flipping the cauliflower slices and the final sandwich. |
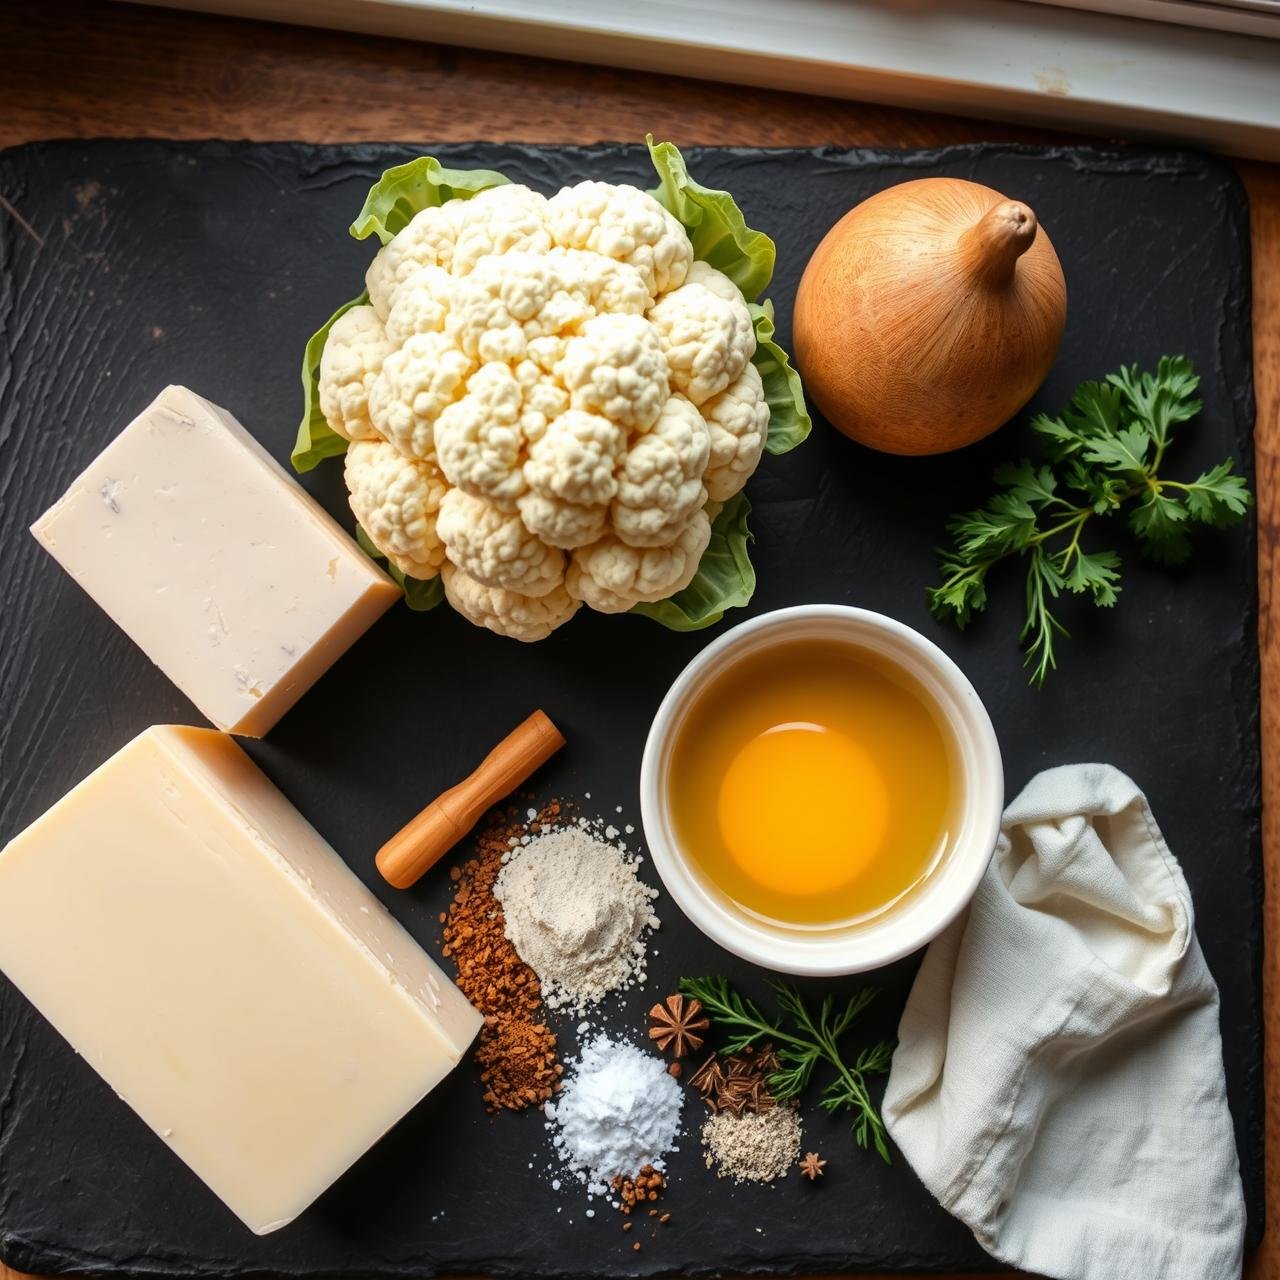
Gathering Your Farm-Fresh Ingredients
The beauty of this recipe lies in its simplicity and the quality of its components. Using fresh, high-quality ingredients will elevate your cauliflower grilled cheese from good to gourmet. Here’s your shopping list:
For the Crispy Cauliflower ‘Bread’ Slices (Makes 4 Slices):
- 1 large head of cauliflower (about 2-2.5 lbs), yielding approximately 4 cups of riced cauliflower
- 1 large pasture-raised egg, lightly beaten
- 1/2 cup finely grated Parmesan cheese (use a good quality block for the best flavor)
- 1 tsp Italian seasoning (or a mix of dried oregano and basil)
- 1/2 tsp garlic powder
- 1/2 tsp sea salt
- 1/4 tsp black pepper
For the Dreamy, Gooey Cheese Filling:
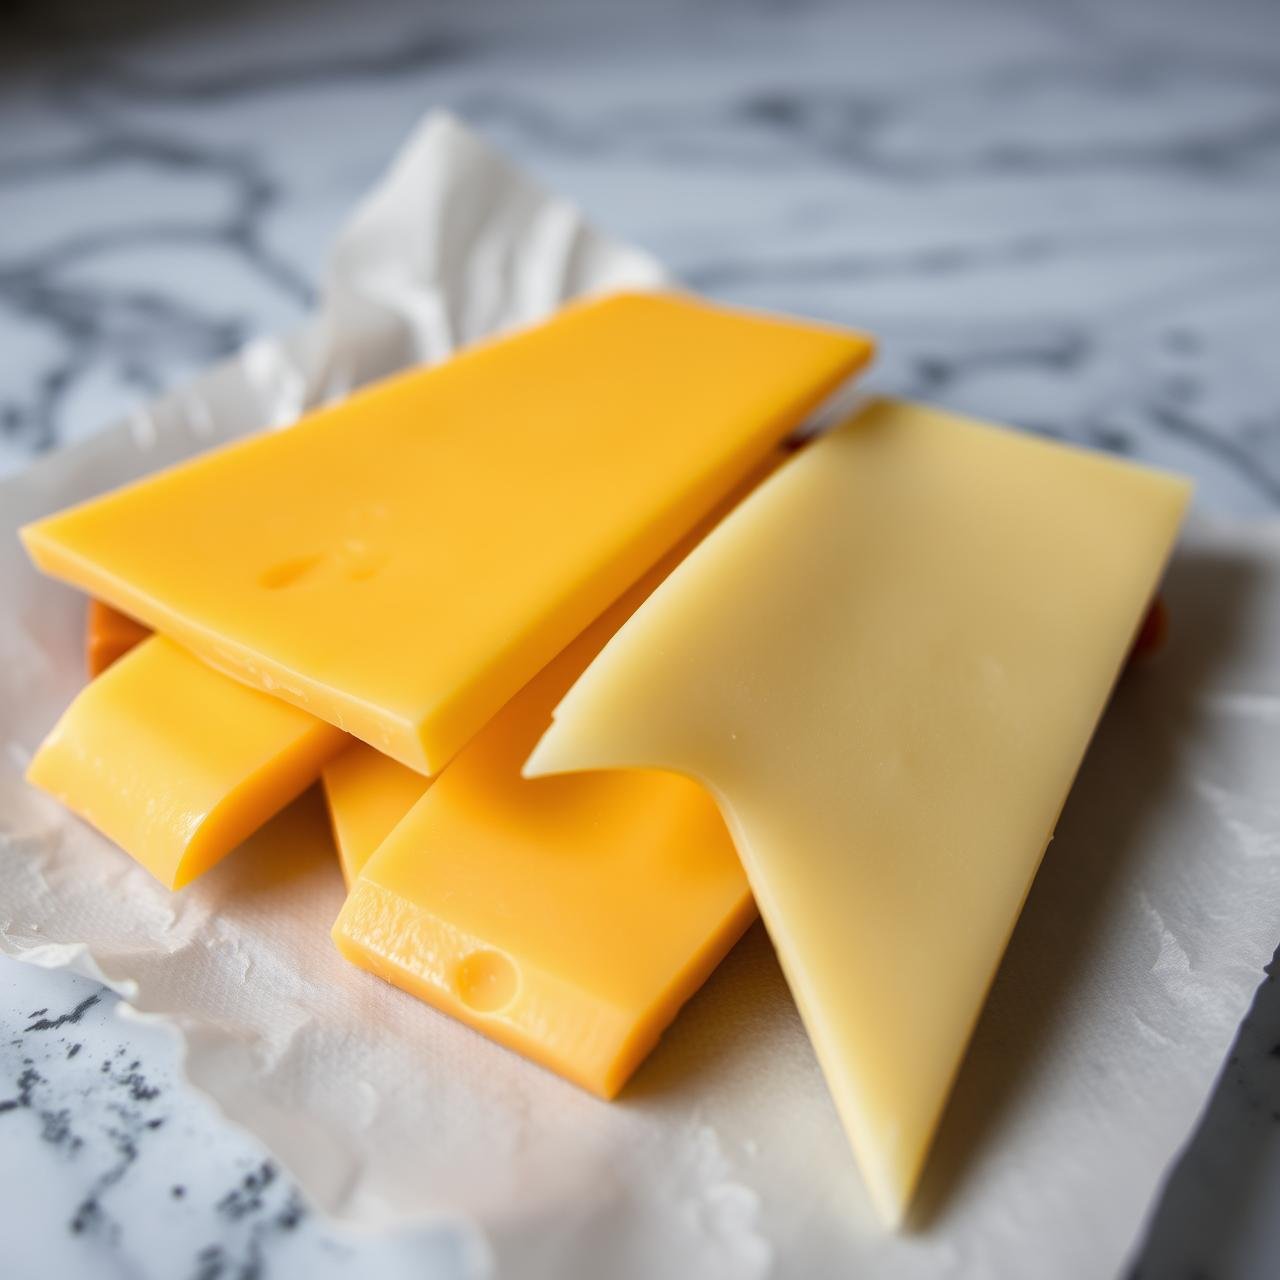
- 4-6 slices of your favorite melting cheese. A combination works wonders! We recommend a mix of sharp cheddar for flavor and Monterey Jack or Provolone for that epic cheese pull.
- 1 tbsp unsalted butter or avocado oil, for grilling
Crafting the Crispy Cauliflower ‘Bread’: A Step-by-Step Guide
This is where the magic begins. The process of creating the cauliflower ‘bread’ is the most crucial part of the recipe. Follow these steps meticulously for a perfect, sturdy foundation for your grilled cheese.
-
Prepare the Cauliflower
Start by washing and thoroughly drying your head of cauliflower. Remove the leaves and the tough core, then break the florets into smaller, manageable pieces. Working in batches, pulse the florets in a food processor until they have the texture of coarse rice. Be careful not to over-process, or you’ll end up with a puree. If you don’t have a food processor, use the large holes on a box grater. You should have about 4 cups of riced cauliflower.
-
Steam the Cauliflower Rice
Place the riced cauliflower into a large, microwave-safe bowl. Cover the bowl (but don’t seal it completely) and microwave on high for 5-6 minutes, or until it’s tender and steam-cooked. Alternatively, you can steam it on the stovetop for 8-10 minutes. The goal is to cook it until it’s soft enough to mash.
-
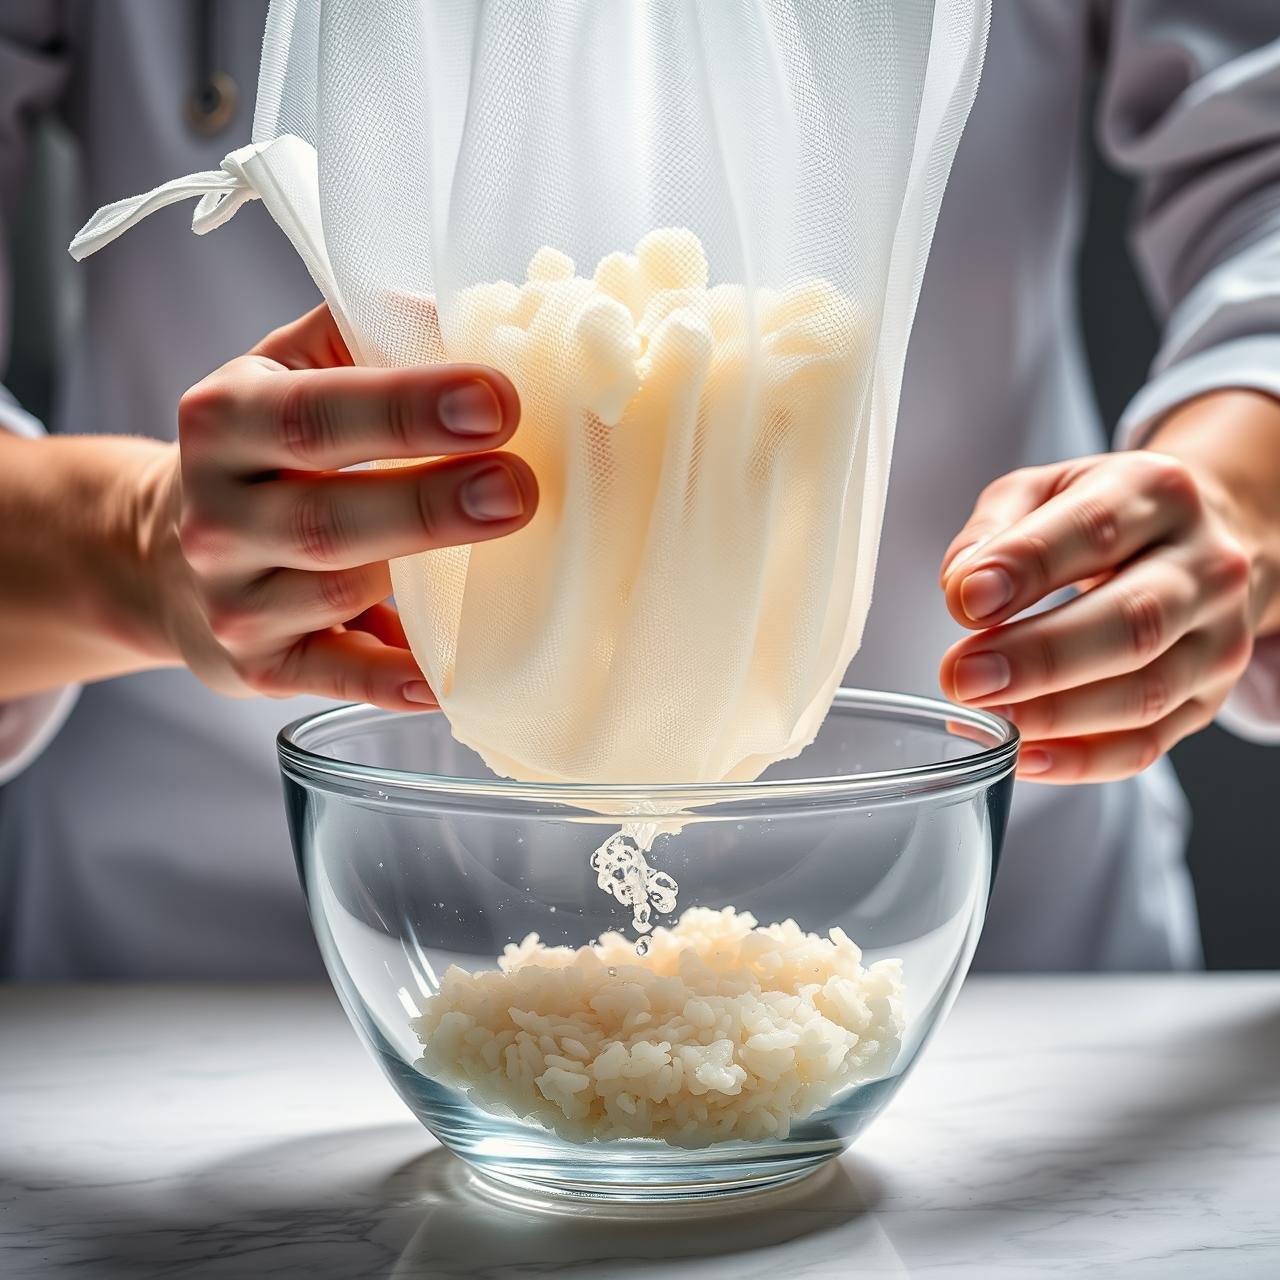
The Most Important Step: Squeeze It Dry!
Allow the steamed cauliflower to cool for at least 10 minutes—it will be extremely hot. Once cool enough to handle, transfer the cauliflower to the center of a large piece of cheesecloth or a clean, thin tea towel. Gather the corners, twist the top, and squeeze with all your might over the sink. You will be astonished at how much water comes out. Continue squeezing until you can’t get another drop out. This step is absolutely critical; excess moisture is the enemy of crispy ‘bread’.
-
Mix and Form the ‘Dough’
Preheat your oven to 400°F (200°C) and line a large baking sheet with parchment paper. In a large mixing bowl, combine the incredibly dry cauliflower pulp, the beaten egg, grated Parmesan cheese, Italian seasoning, garlic powder, salt, and pepper. Mix thoroughly with your hands or a spatula until a cohesive ‘dough’ forms.
-
Shape and Bake the Slices
Divide the mixture into four equal portions. On the prepared baking sheet, shape each portion into a bread-like square or rectangle, about 1/2-inch thick. Pat them down firmly to ensure they are compact. Bake for 15-20 minutes, or until the tops are dry to the touch and the edges are turning a beautiful golden brown.
-
The Second Bake for Ultimate Crispiness
Carefully flip each cauliflower slice using a spatula. Return the baking sheet to the oven and bake for another 10-12 minutes on the other side. This second bake ensures both sides are dry, firm, and perfectly golden. Once done, remove from the oven. These are now your ‘bread’ slices, ready for cheesy greatness!
Assembling and Grilling to Golden, Gooey Perfection
With your beautiful cauliflower slices ready, it’s time for the grand finale. This is the moment we transform our healthy components into the soul-warming comfort food we’ve been craving.
-
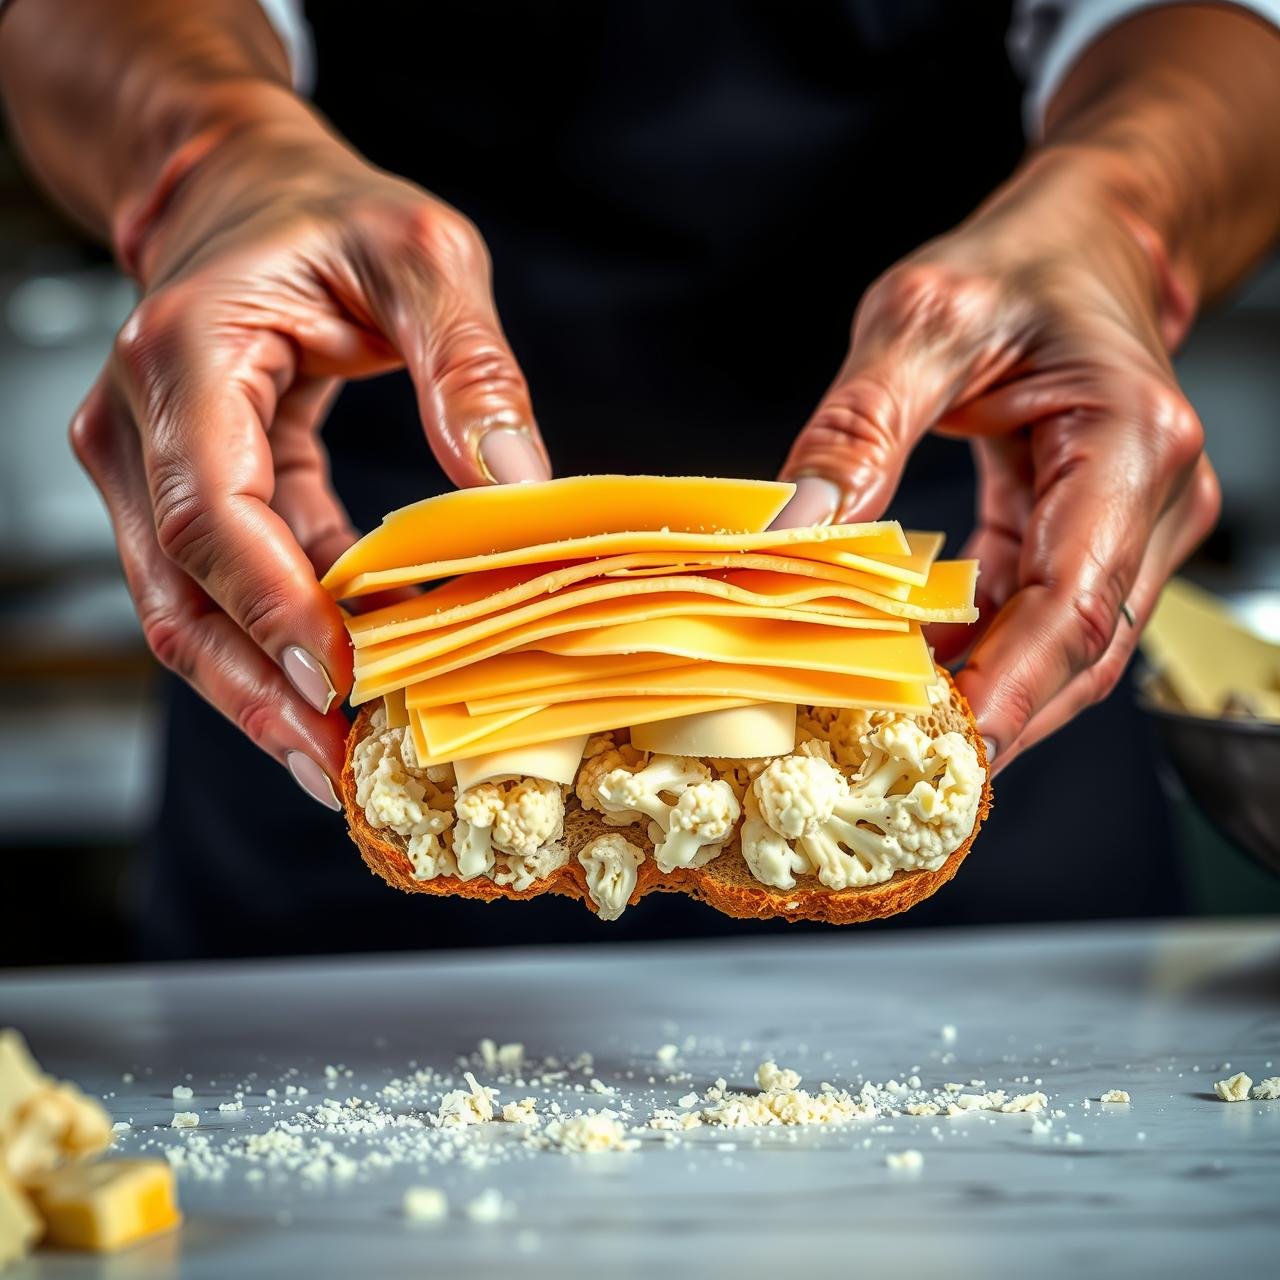
Layer the Cheese
Take two of your crispy cauliflower ‘bread’ slices. On one slice, layer your chosen cheeses. Don’t be shy here! A generous amount of cheese is key to achieving that mouth-watering, gooey center. We love using one slice of sharp cheddar for robust flavor and two slices of provolone for that irresistible stretch. Place the second cauliflower slice on top to form your sandwich.
-
Prepare the Skillet
Place a large non-stick or cast-iron skillet over medium heat. Once the skillet is warm, add 1/2 tablespoon of butter or avocado oil and let it melt and coat the bottom of the pan.
-
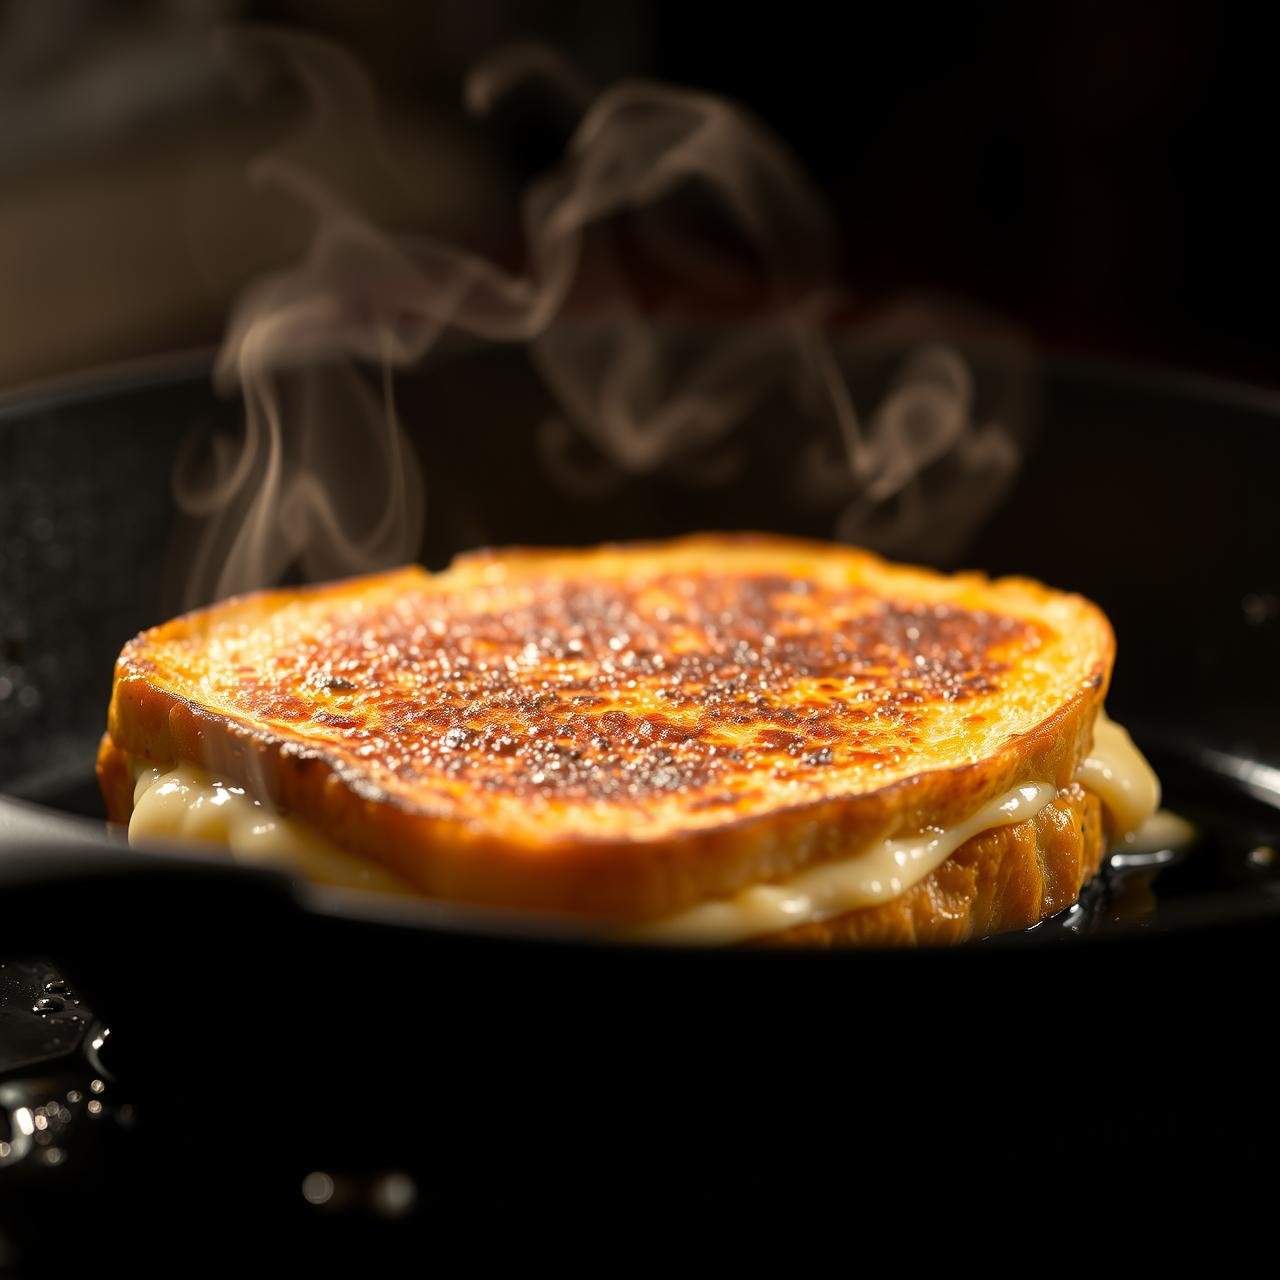
Grill to Crispy Bliss
Carefully place your assembled cauliflower grilled cheese into the hot skillet. Cook for 3-4 minutes per side, until the exterior is a deep golden brown and exceptionally crispy, and the cheese inside is completely melted and beginning to ooze from the sides. You can gently press down on the sandwich with your spatula to encourage even melting and browning.
-
Rest and Serve
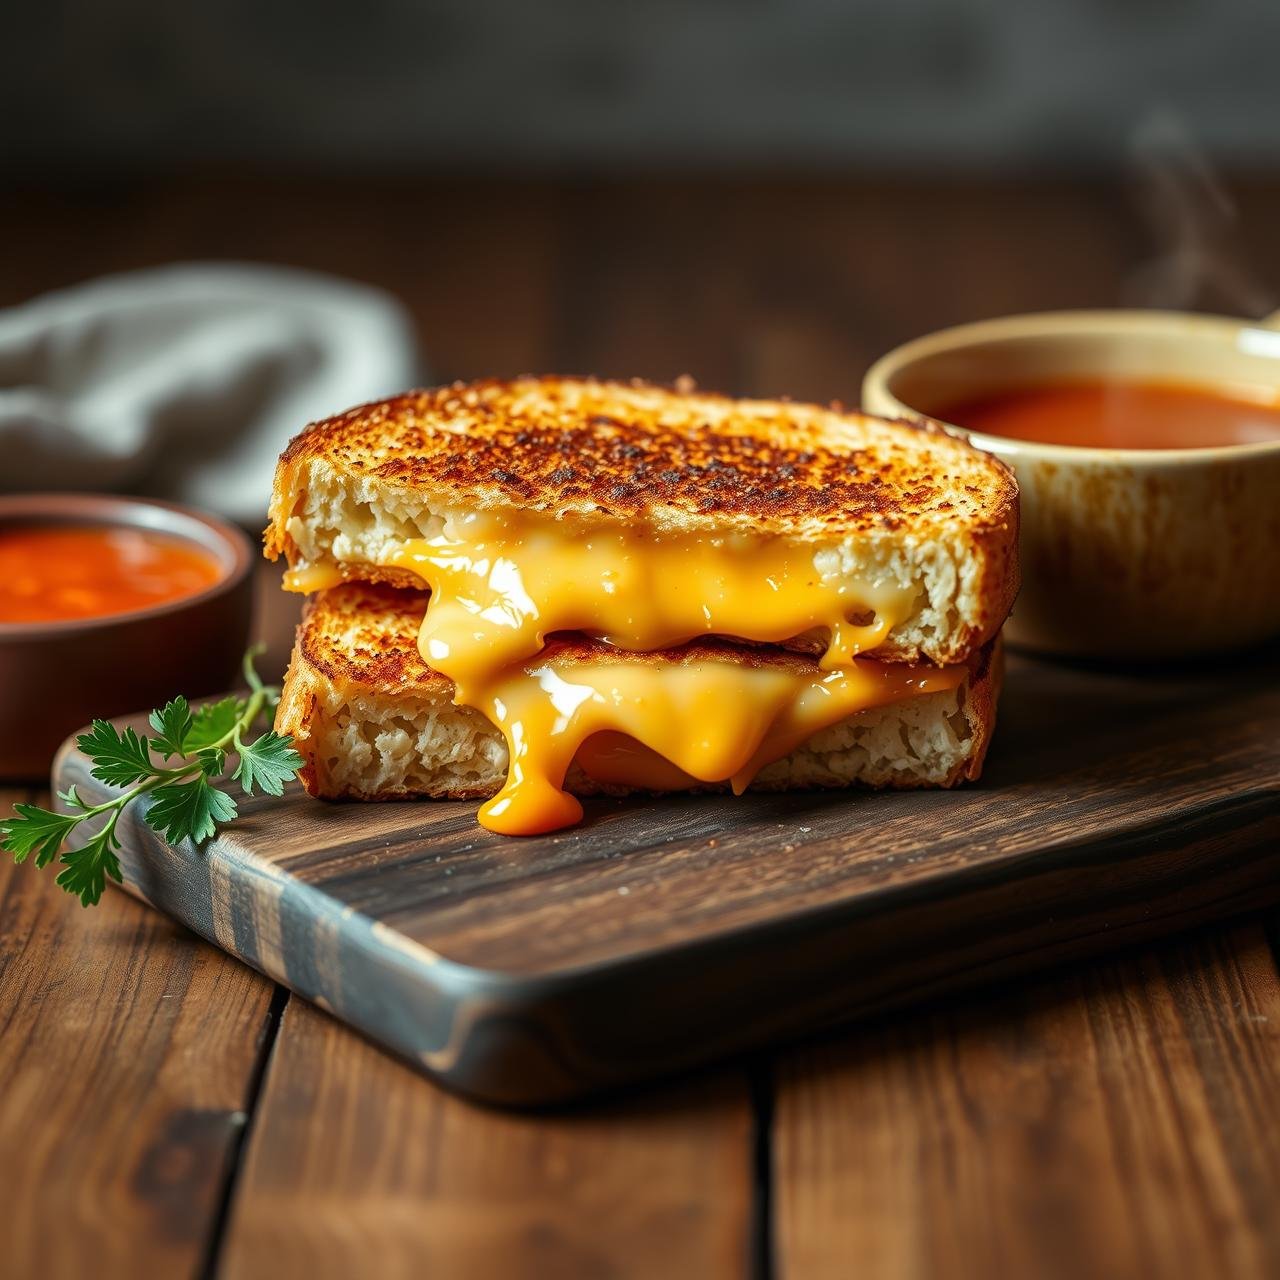
Remove the grilled cheese from the skillet and place it on a cutting board. Let it rest for just a minute—this allows the cheese to set slightly, preventing it from spilling out everywhere when you cut into it. Slice it diagonally (it’s scientifically proven to taste better that way!), and serve immediately while it’s hot, crispy, and at peak gooeyness. It pairs beautifully with a warm bowl of tomato soup or a simple side salad.
Chef’s Secrets for the Ultimate Low-Carb Grilled Cheese
Ready to take your cauliflower grilled cheese to the next level? These professional tips and variations will ensure flawless results every time and allow you to customize the recipe to your heart’s content.
On Mastering the ‘Bread’:
- Don’t Skimp on Squeezing: We cannot stress this enough. If your ‘bread’ feels flimsy or wet, it’s because there was too much moisture left in the cauliflower. Use a durable cheesecloth and put your muscles into it!
- Parmesan is Key: The Parmesan cheese does more than add flavor; it acts as a binder and helps create a crispy, cheese-like crust during baking. Don’t substitute it with a soft cheese.
- Even Thickness: When forming your slices, ensure they are an even thickness throughout. This promotes even baking and prevents soft spots in the middle.
On Perfecting the Cheese Pull:
- Combine Your Cheeses: The best grilled cheese sandwiches often use a blend of cheeses. Use one for sharp, complex flavor (like aged cheddar, Gruyère, or Gouda) and another for its superior melting and stretching qualities (like Provolone, Monterey Jack, or low-moisture mozzarella).
- Shred Your Own: Pre-shredded cheeses are often coated in starches to prevent clumping, which can inhibit a smooth melt. For the ultimate gooeyness, buy blocks of cheese and shred or slice them yourself.
- Room Temperature Cheese: Allowing your cheese slices to come to room temperature for about 15-20 minutes before assembling will help them melt faster and more evenly.
Flavor Variations to Explore:
- Spicy Kick: Add a pinch of red pepper flakes to the cauliflower mixture or layer a few slices of pickled jalapeños with the cheese.
- Herby Delight: Mix fresh chopped chives or dill into the cauliflower ‘dough’ or spread a thin layer of pesto on the inside of the ‘bread’ before adding the cheese.
- Bacon & Tomato: Add a slice of ripe tomato and a piece of crispy, cooked bacon inside your sandwich for a low-carb take on a classic melt.
Nutritional Profile: A Healthy Indulgence
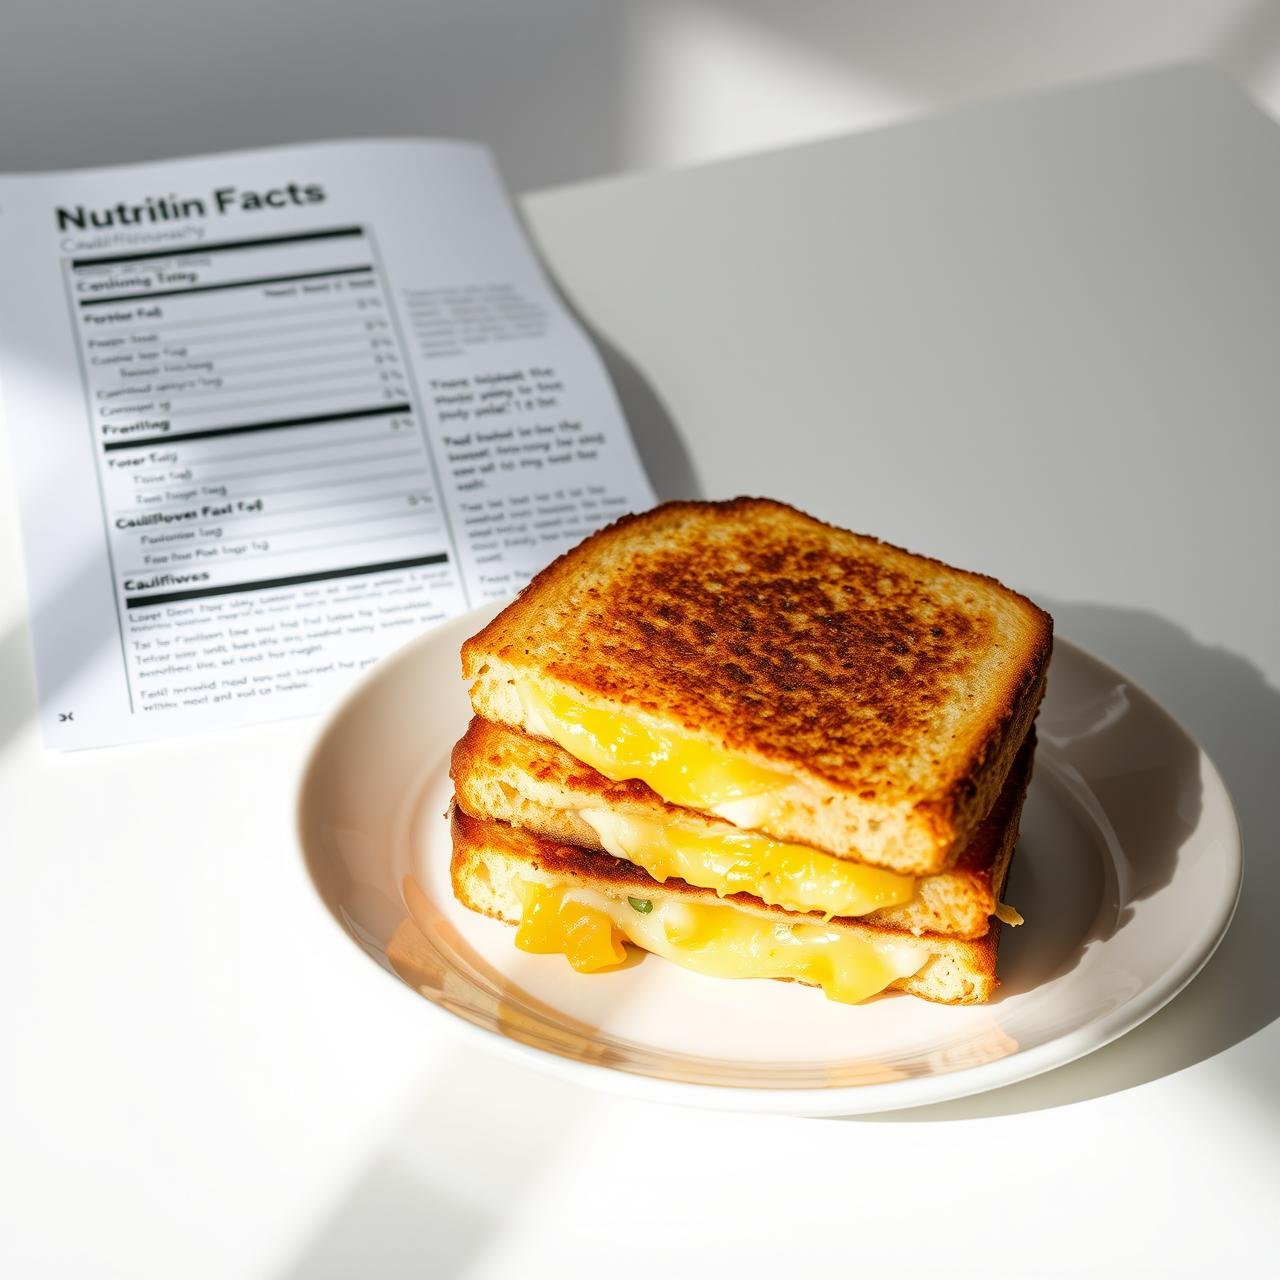
Here is an approximate nutritional breakdown for one complete Crispy Cauliflower Grilled Cheese sandwich (made with 2 ‘bread’ slices and cheese). Please note that values can vary based on the exact size of your cauliflower and the type of cheese you use.
| Nutrient | Approximate Amount per Serving |
|---|---|
| Calories | 420 kcal |
| Net Carbohydrates | 8g |
| Total Carbohydrates | 14g |
| Fiber | 6g |
| Protein | 25g |
| Fat | 30g |
| Saturated Fat | 16g |
| Sodium | 850mg |
| Vitamin C | 120% of DV |
| Calcium | 45% of DV |
*These values are estimates and should be used as a general guideline.
Storing and Reheating Your Cauliflower Creation
While this grilled cheese is undeniably best when enjoyed fresh from the skillet, you can certainly prepare components ahead of time or store leftovers. Here’s how to do it right to maintain that signature crispiness.
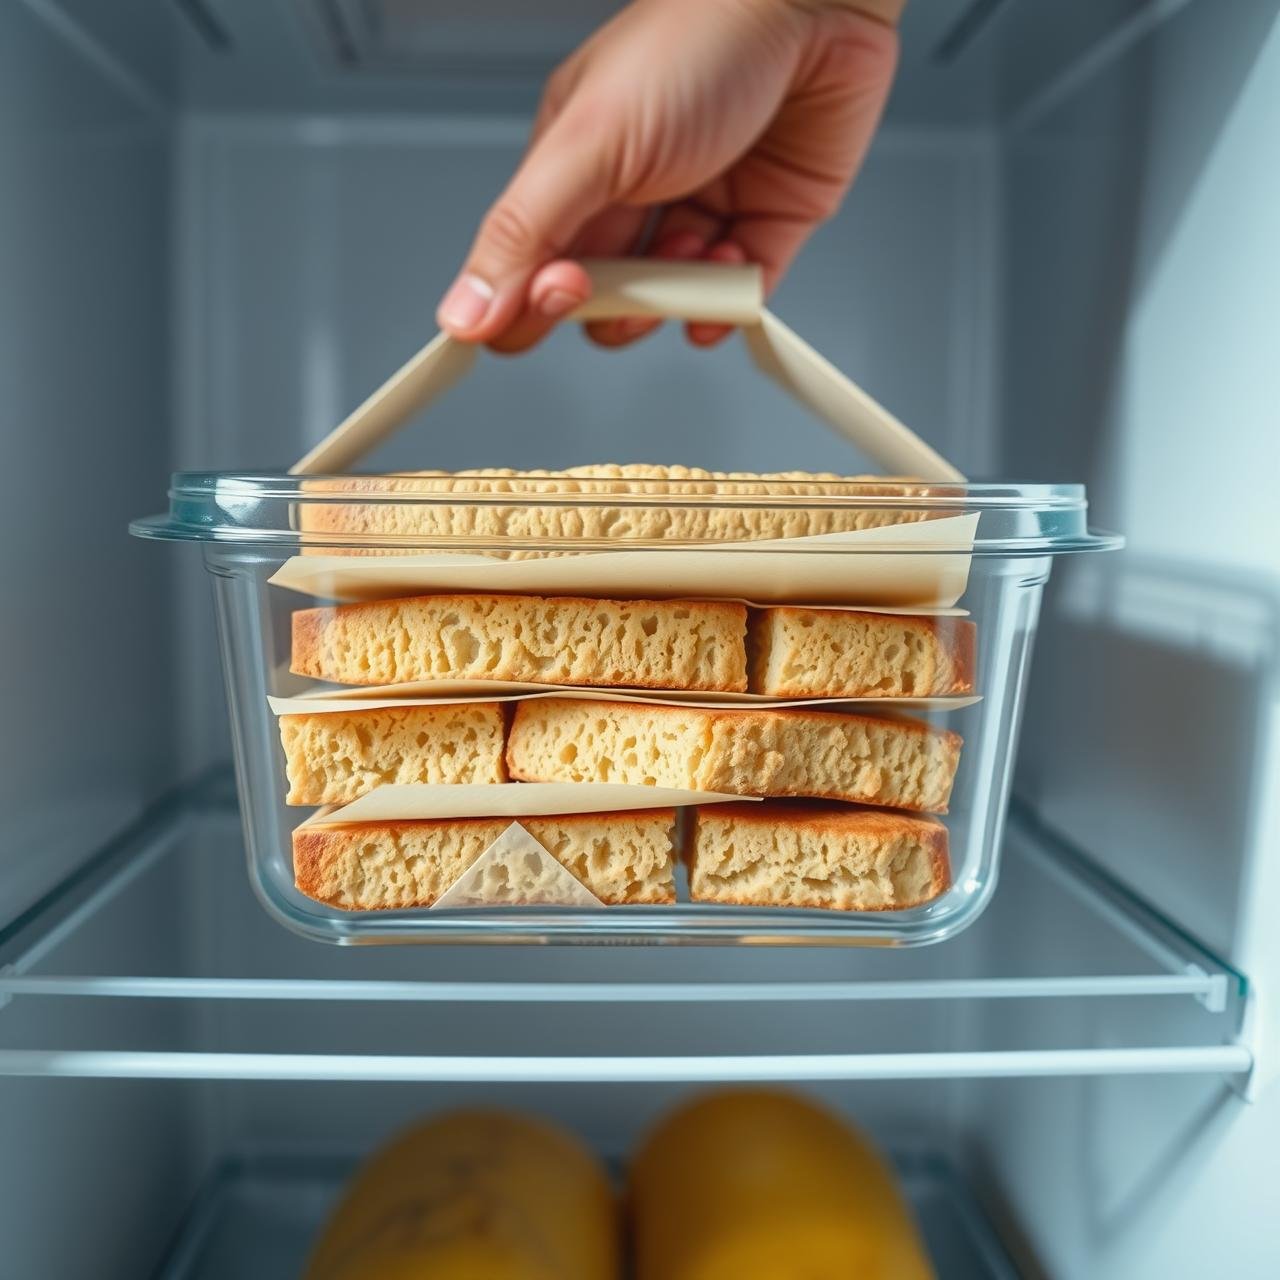
Making Ahead:
You can bake the cauliflower ‘bread’ slices ahead of time. Once they are fully cooled, store them in an airtight container in the refrigerator, with parchment paper between each slice to prevent sticking. They will keep well for up to 3 days. When you’re ready for a grilled cheese, simply assemble and grill as directed.
Storing Leftovers:
If you have a fully assembled and grilled sandwich left over, allow it to cool completely. Wrap it tightly in foil or place it in an airtight container. Store it in the refrigerator for up to 2 days.
The Best Way to Reheat:
Avoid the microwave at all costs! Microwaving will turn your crispy masterpiece into a soft, soggy disappointment. The best way to reheat is in a skillet or an air fryer.
- Skillet Method: Place the sandwich in a dry, non-stick skillet over medium-low heat. Cover the skillet and heat for 2-3 minutes per side, until the sandwich is warmed through and the exterior has crisped up again.
- Air Fryer Method: Place the sandwich in the air fryer basket and heat at 350°F (175°C) for 4-5 minutes, flipping halfway through. This method works exceptionally well for reviving the crispy texture.
Conclusion
And there you have it—a Crispy Cauliflower Grilled Cheese that shatters expectations and redefines what healthy comfort food can be. By transforming a humble vegetable into a sturdy, golden-brown ‘bread’, we’ve unlocked a world of gooey, cheesy bliss without the carb-heavy consequences. This recipe is a testament to the fact that eating well doesn’t mean eating boring. It’s about creativity, technique, and savoring every single delicious, nourishing bite.
We encourage you to make this recipe your own. Experiment with different cheese combinations, add your favorite herbs and spices, and share this revolutionary sandwich with someone you love. It’s more than just lunch; it’s a celebration of wholesome ingredients and culinary ingenuity. We would love to see your creations! Tag us on social media or leave a comment below to share your experience with this low-carb wonder.