Finally! Crispy Baked Onion Rings That Are Actually Healthy
Let’s be honest. The quest for the perfect onion ring often ends in disappointment. We dream of that shatteringly crisp, golden-brown coating giving way to a sweet, tender onion within. But more often than not, we’re faced with a choice: the deep-fried, grease-laden rings from a restaurant or the sad, soggy specimens that emerge from a home oven. It’s a classic comfort food dilemma. What if I told you that you could have it all? That you could craft onion rings in your own kitchen that are not only audibly crunchy and intensely flavorful but also astonishingly healthy? It’s not a dream. It’s this recipe.
We’re leaving the deep fryer behind and embracing the power of high-heat baking. This method transforms simple pantry ingredients into an appetizer or side dish that will stun your family and friends. We’ll delve into the science of the perfect crunch, from selecting the right onion to mastering the three-step dredging process that guarantees a coating that clings. Forget the excess oil and the lingering smell of fried food. Prepare to welcome a new era of clean, wholesome, and utterly irresistible onion rings into your life. This isn’t just a recipe; it’s a revelation.
The Science of the Crunch: Why This Recipe Works
The magic behind these unbelievably crispy baked onion rings isn’t magic at all—it’s culinary science. Understanding these core principles is the key to moving beyond a simple recipe and truly mastering the technique. Three key factors work in harmony to produce that coveted crunch without a drop of deep-frying oil.
1. The Panko Powerhouse
Forget standard breadcrumbs. The star of our coating is Panko, Japanese-style breadcrumbs. Unlike their fine-grained Western counterparts, panko flakes are larger, lighter, and more jagged. When baked, these airy flakes create a spiky, ultra-crisp texture that mimics the crunch of deep-frying. They also absorb less moisture and oil, which means they stay crispier for longer. We toast them lightly before dredging, a chef’s trick that kickstarts the browning process and develops a deeper, nuttier flavor in the oven.
2. The Three-Stage Dredging Lock
A coating that falls off in the oven is the enemy of a good baked onion ring. We prevent this tragedy with a classic, foolproof three-stage dredging process: flour, egg, then panko. Each step has a specific job. The initial dusting of seasoned flour gives the wet egg wash something to cling to. The egg wash then acts as the sticky glue for our final layer. Finally, the panko mixture provides the crunch. Pressing the panko firmly onto the ring ensures a tight, durable coating that won’t abandon ship during baking.
3. High Heat & Air Circulation
To replicate the intense, quick-cooking environment of a deep fryer, we use two crucial tools: a high oven temperature and a wire rack. Roasting at 425°F (220°C) ensures the coating cooks rapidly, browning and crisping up before the onion inside has a chance to release too much steam and make everything soggy. The wire rack is non-negotiable. By elevating the rings, we allow hot air to circulate around the entire surface—top, bottom, and sides. This 360-degree cooking is what guarantees a uniformly golden and crispy ring, eliminating the dreaded pale, soft underside that plagues rings baked directly on a sheet pan.
Your Toolkit for Onion Ring Perfection
Great results begin with the right tools and ingredients. While this recipe relies on simple pantry staples, selecting the best quality you can find and using the proper equipment will elevate your onion rings from good to gourmet. Here’s everything you’ll need.
Required Equipment
| Equipment | Why It’s Essential |
|---|---|
| 2 Large Rimmed Baking Sheets | Provides ample space to avoid overcrowding, which is key for crispiness. |
| 2 Oven-Safe Wire Racks | This is the secret weapon for 360-degree crunch. It allows hot air to circulate under the rings. |
| 3 Shallow Bowls or Pie Plates | Creates an organized and efficient dredging station for the flour, egg, and panko. |
| Chef’s Knife | A sharp knife ensures clean, uniform slices for even cooking. |
| Whisk & Tongs | A whisk for a smooth egg wash and tongs for clean, easy handling of the rings. |
Pantry Staples for Golden Rings
The beauty of this recipe lies in its simplicity. These ingredients come together to create a symphony of flavor and texture.
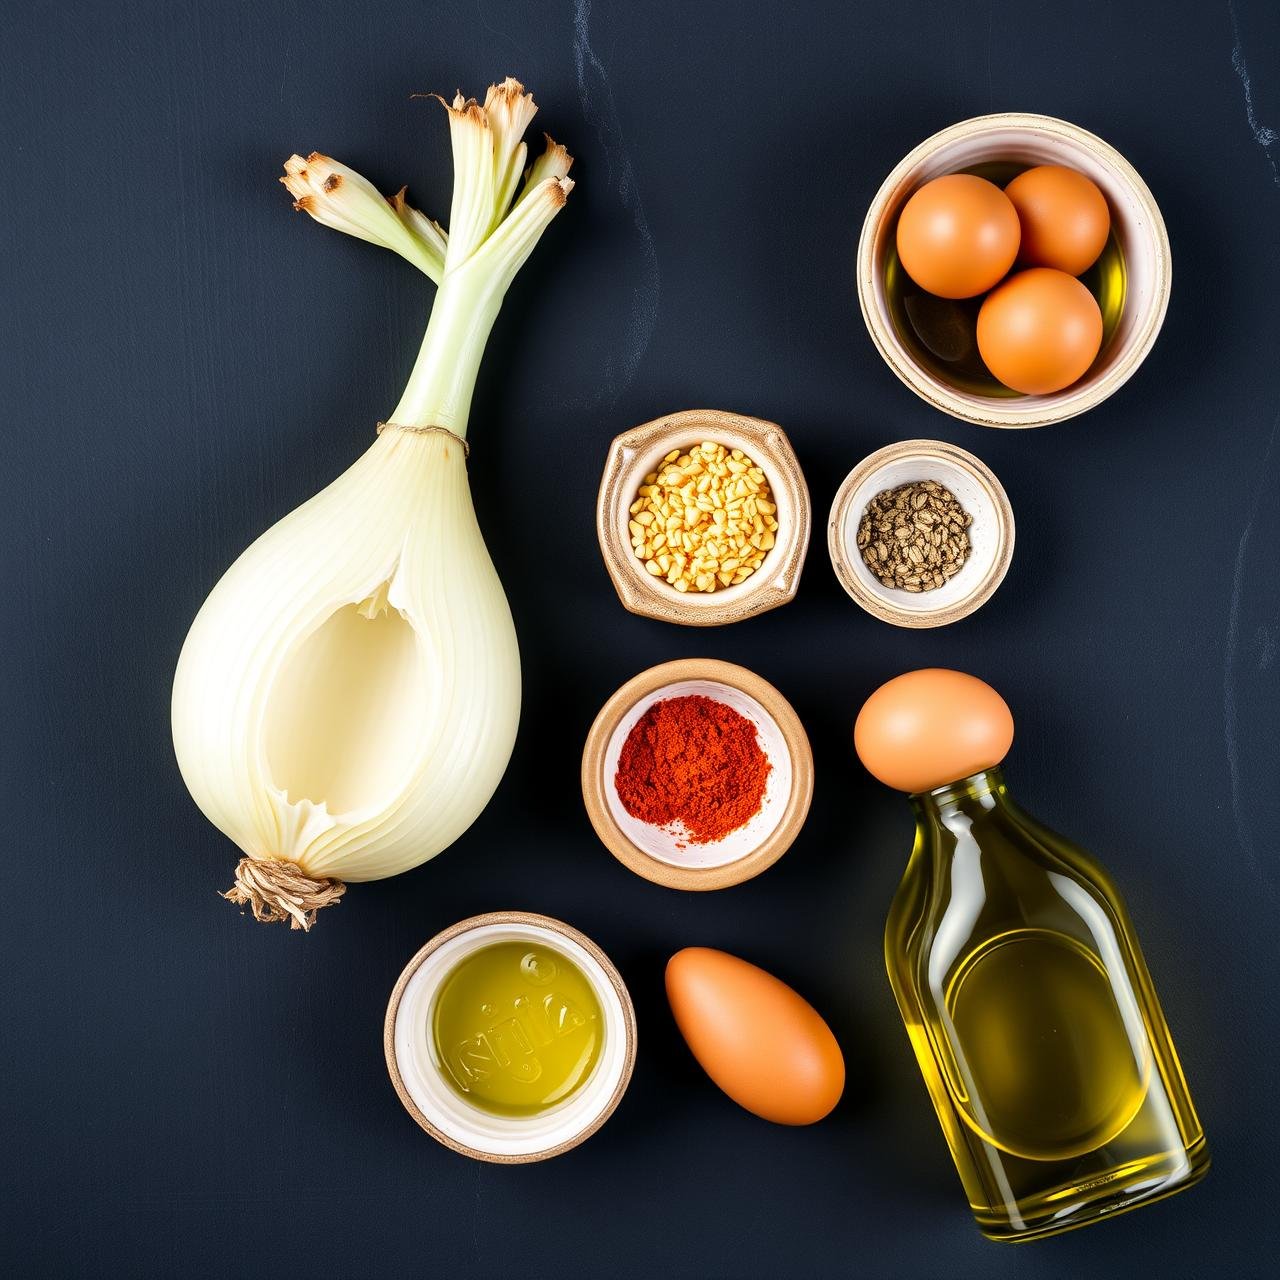
- 2 large sweet onions (like Vidalia, Walla Walla, or Spanish) – Their lower sulfur content means they’re less pungent and become wonderfully sweet when baked.
- 1 cup all-purpose flour – This forms the base layer that helps the egg and panko adhere.
- 3 large eggs – The binder that acts as the glue for our crunchy coating.
- 2 ½ cups Panko breadcrumbs – The non-negotiable hero ingredient for that light, airy, ultra-crispy texture.
- 2 tablespoons olive oil or avocado oil – Used to toast the panko, adding flavor and encouraging a beautiful golden-brown color.
- 1 ½ teaspoons smoked paprika – Lends a subtle, smoky depth and a gorgeous warm hue.
- 1 ½ teaspoons garlic powder – For a savory, aromatic backbone of flavor.
- 1 teaspoon fine sea salt – To season every layer and make the flavors pop.
- ½ teaspoon black pepper – For a gentle touch of warmth and spice.
Crafting Your Crispy Baked Onion Rings: A Step-by-Step Guide
Follow these steps with care, and you’ll be rewarded with a tray of the most delicious, guilt-free onion rings you’ve ever had. Precision and patience are your best friends here. Let’s begin.
- Prepare Your Oven and Pans: Adjust your oven racks to the upper-middle and lower-middle positions. Preheat the oven to 425°F (220°C). Place one wire rack inside each of the two baking sheets. This setup is crucial for crisping.
- Toast the Panko: In a large, dry skillet over medium heat, add the panko breadcrumbs. Toast, stirring frequently, for 3-5 minutes, or until they are lightly golden and fragrant. Transfer the toasted panko to one of your shallow bowls and toss with the olive oil, smoked paprika, garlic powder, ½ teaspoon of salt, and the black pepper. Mix until well combined.
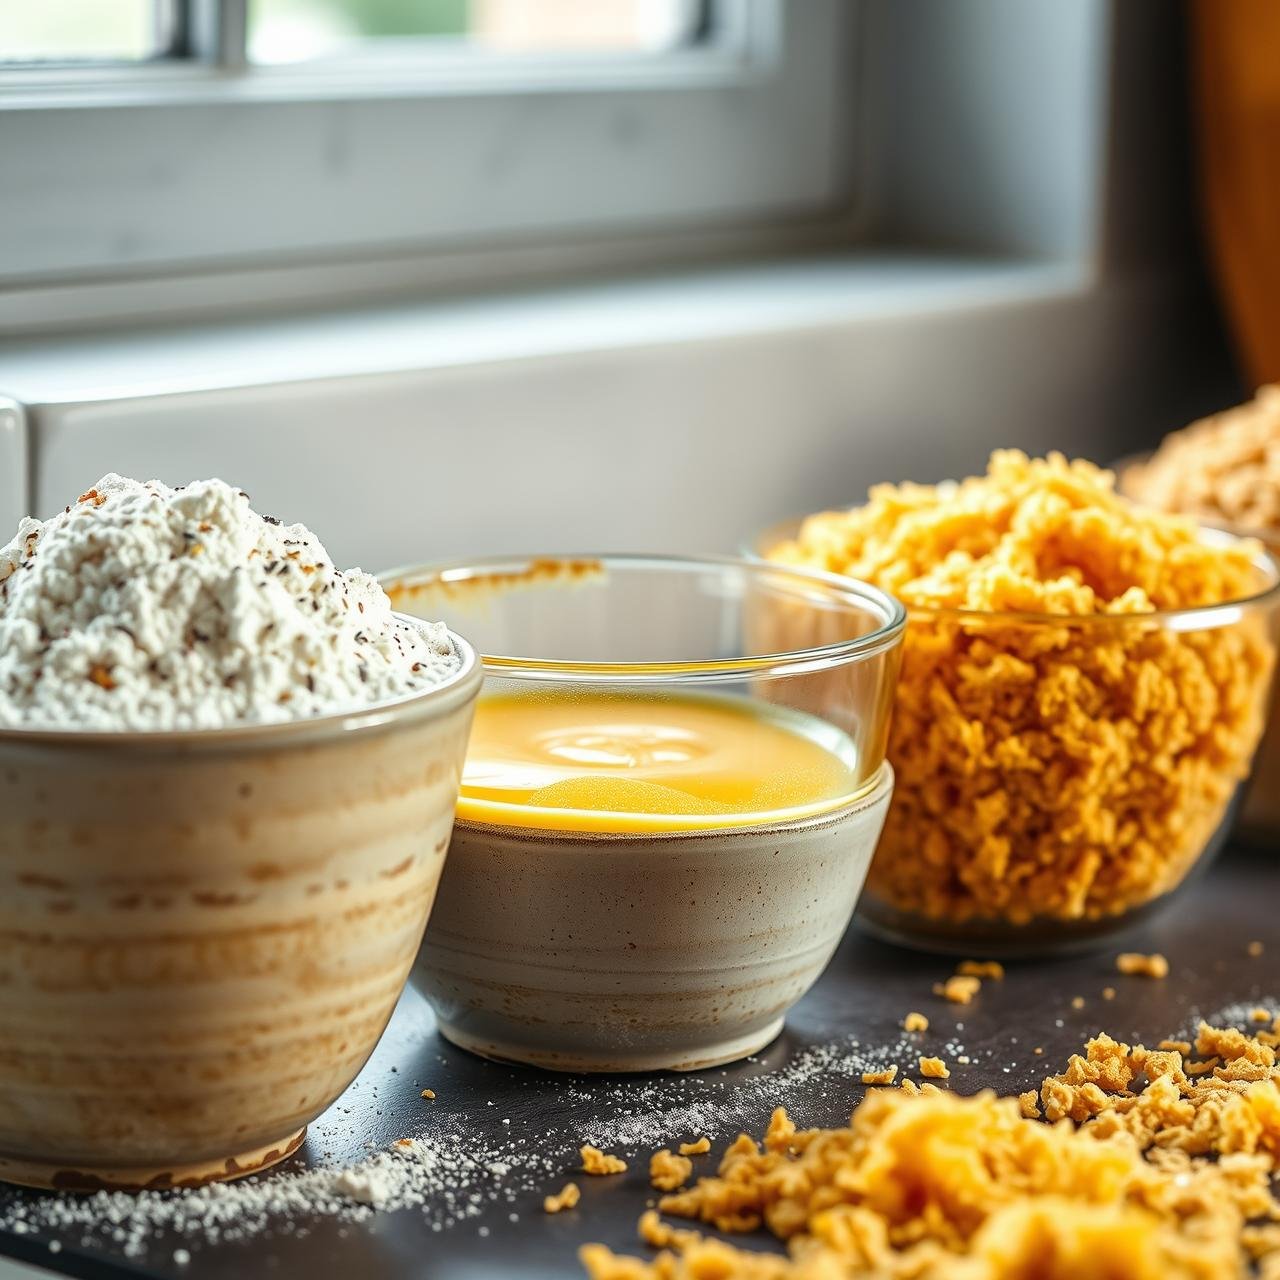
- Set Up Your Dredging Station: Arrange your three shallow bowls. In the first, place the flour mixed with the remaining 1 teaspoon of salt. In the second, whisk the eggs until they are smooth and pale yellow. The third bowl should contain your seasoned, toasted panko mixture.
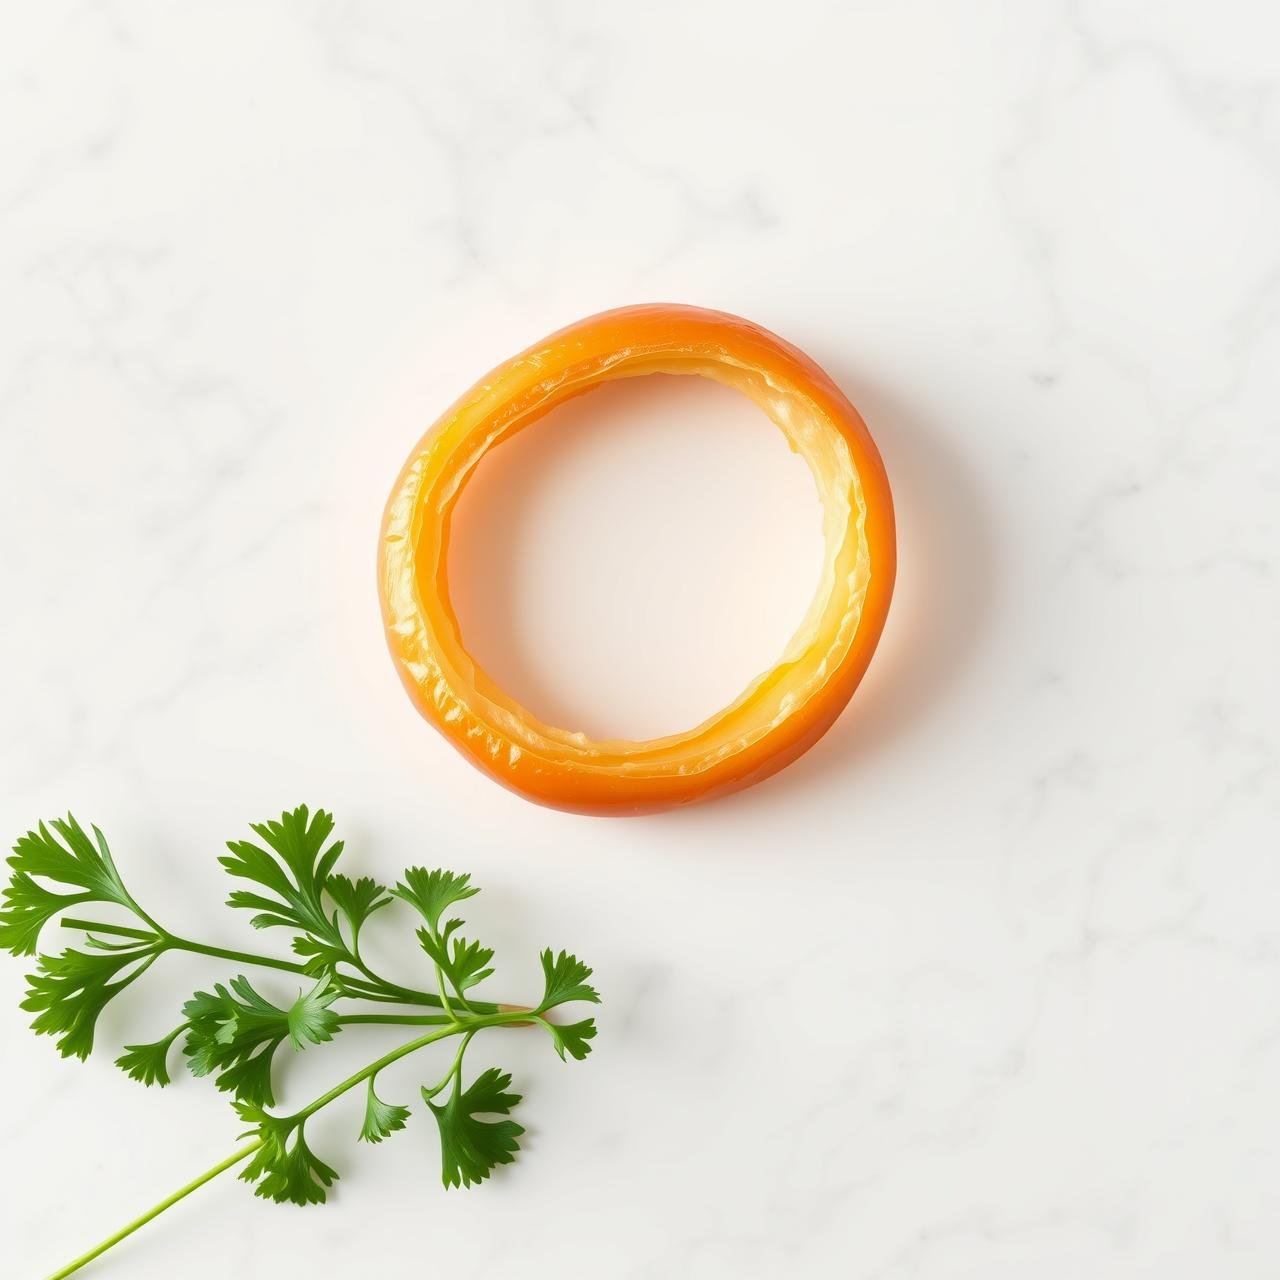
- Prepare the Onions: Peel the onions and slice them crosswise into thick rings, about ½- to ¾-inch wide. Carefully separate the rings. You can save the smaller, inner rings for another recipe like a soup or stir-fry.
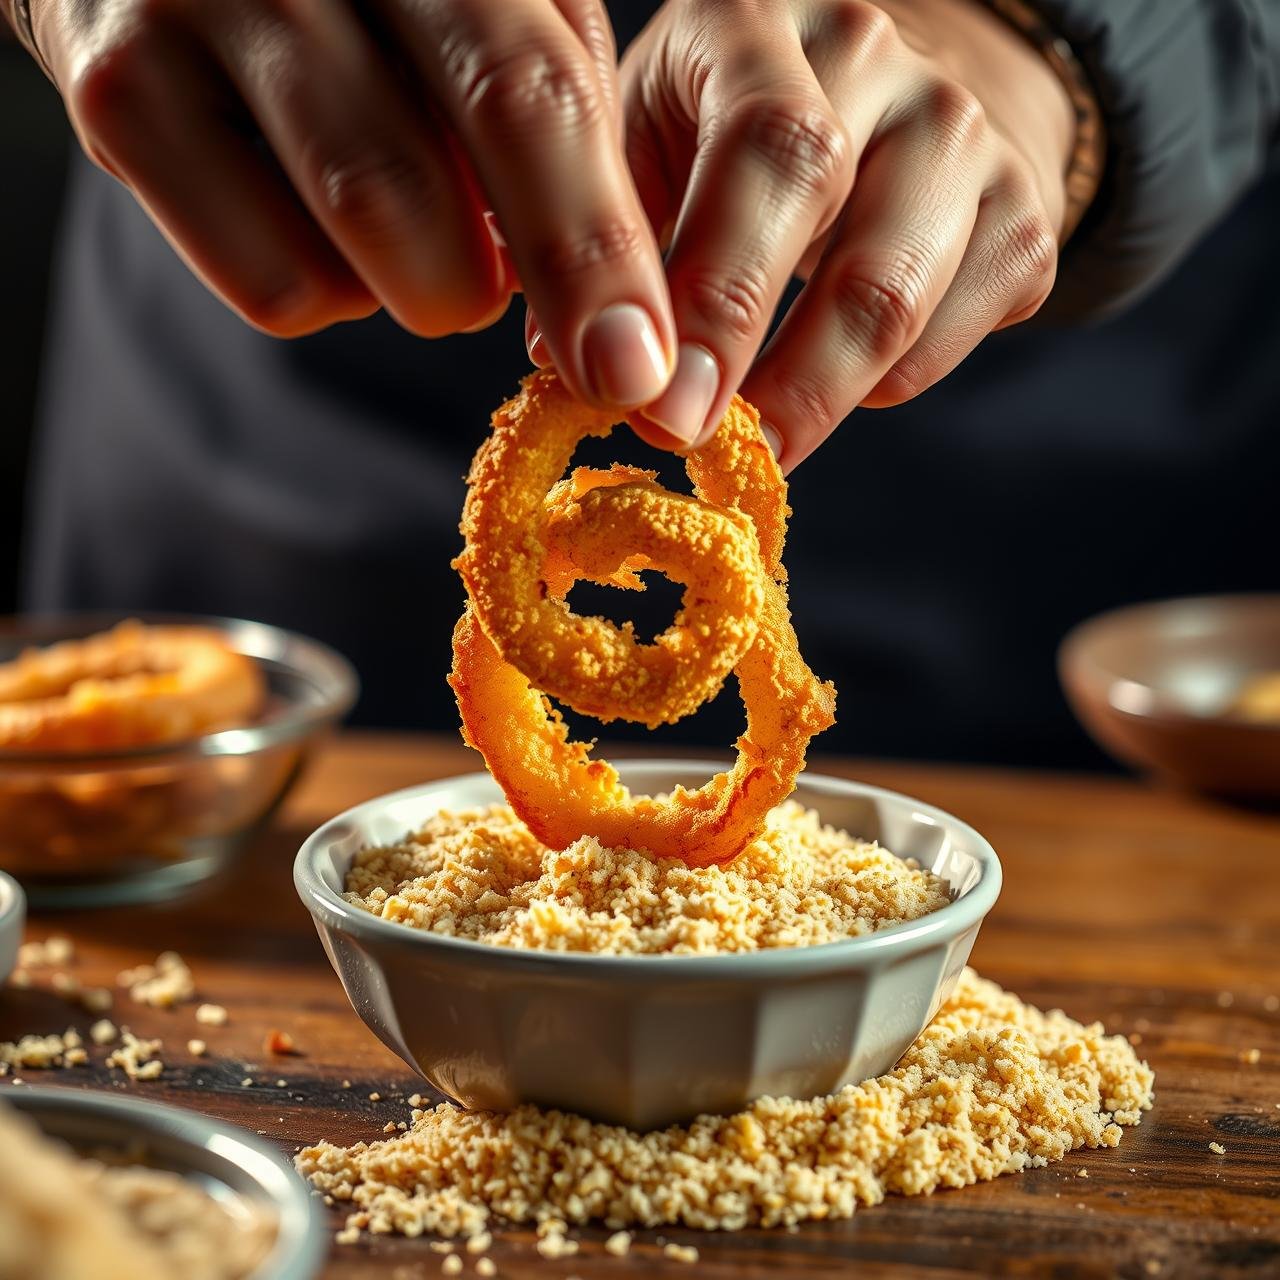
- The Dredging Process (One Ring at a Time): Working with one ring at a time for the best results, start by lightly coating it in the seasoned flour mixture. Tap off any excess. Next, dip the flour-dusted ring completely into the egg wash, allowing any excess to drip back into the bowl. Finally, press the egg-coated ring firmly into the panko mixture, ensuring it is generously and evenly coated on all sides and edges.
- Arrange on the Racks: Carefully place the coated onion ring onto one of the wire racks. Be sure to leave space between each ring; do not let them touch. Overcrowding will cause them to steam instead of bake, resulting in a soggy texture. Repeat with the remaining rings, filling both racks.
- Bake to Golden Perfection: Place the baking sheets in the preheated oven. Bake for 10 minutes. After 10 minutes, carefully remove the pans, flip each onion ring using tongs, and rotate the pans between the racks (move the top one to the bottom and vice-versa). Return to the oven and bake for another 8-12 minutes, or until the rings are a deep golden brown and wonderfully crispy.
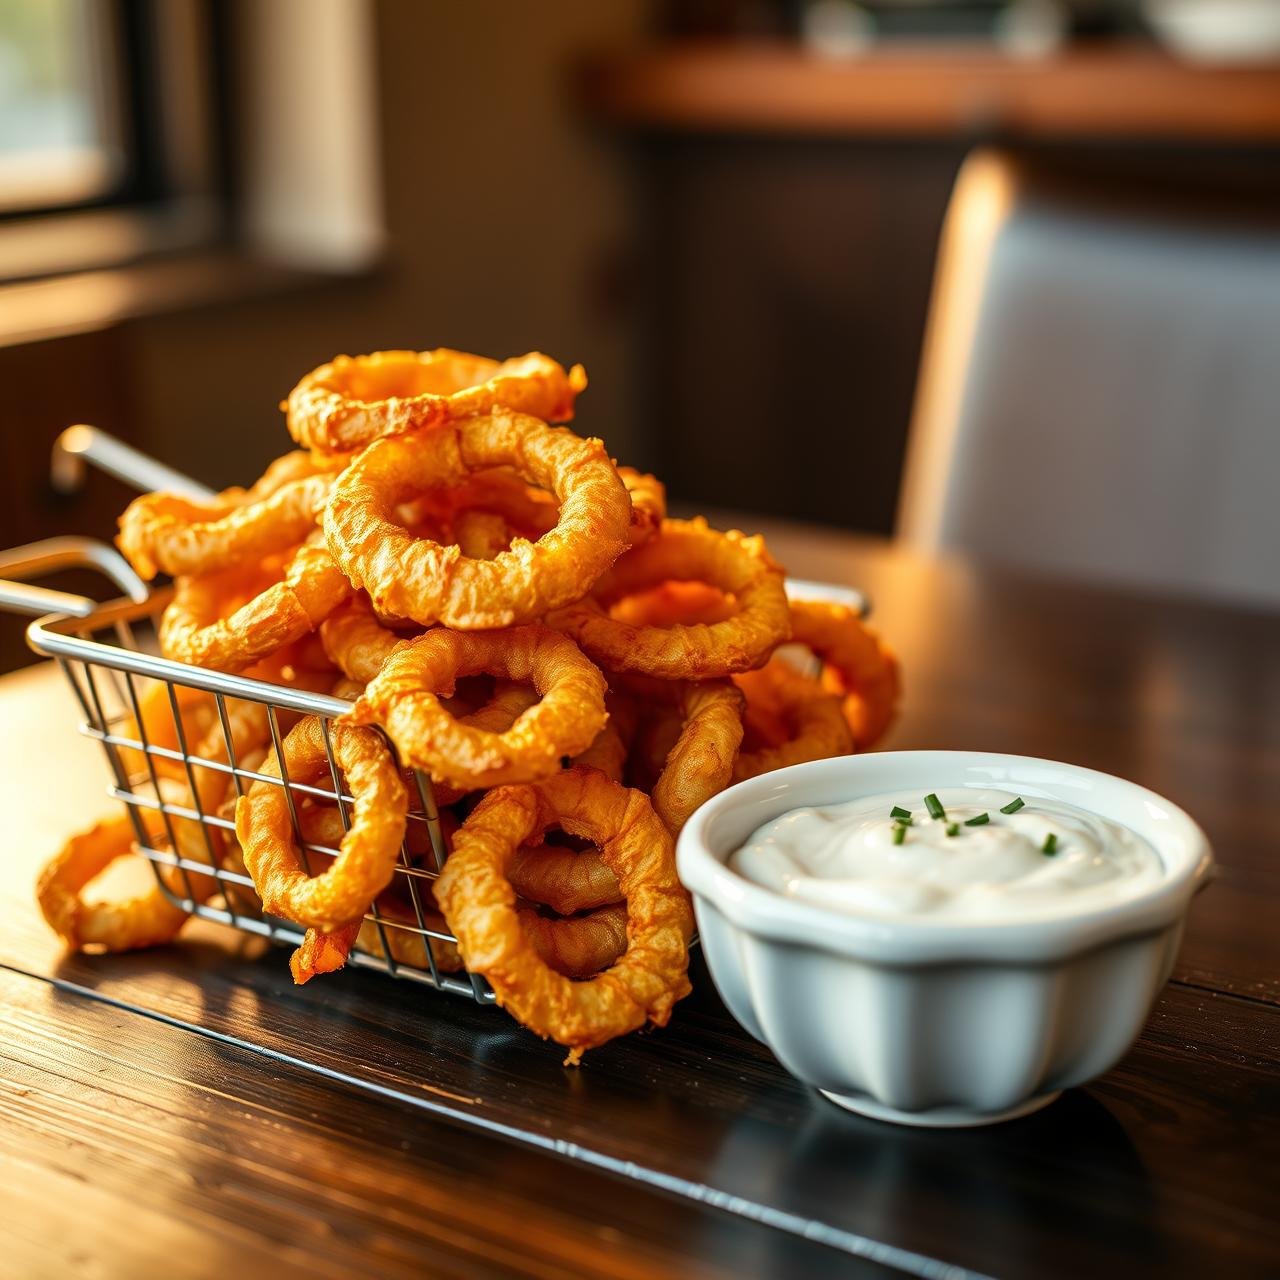
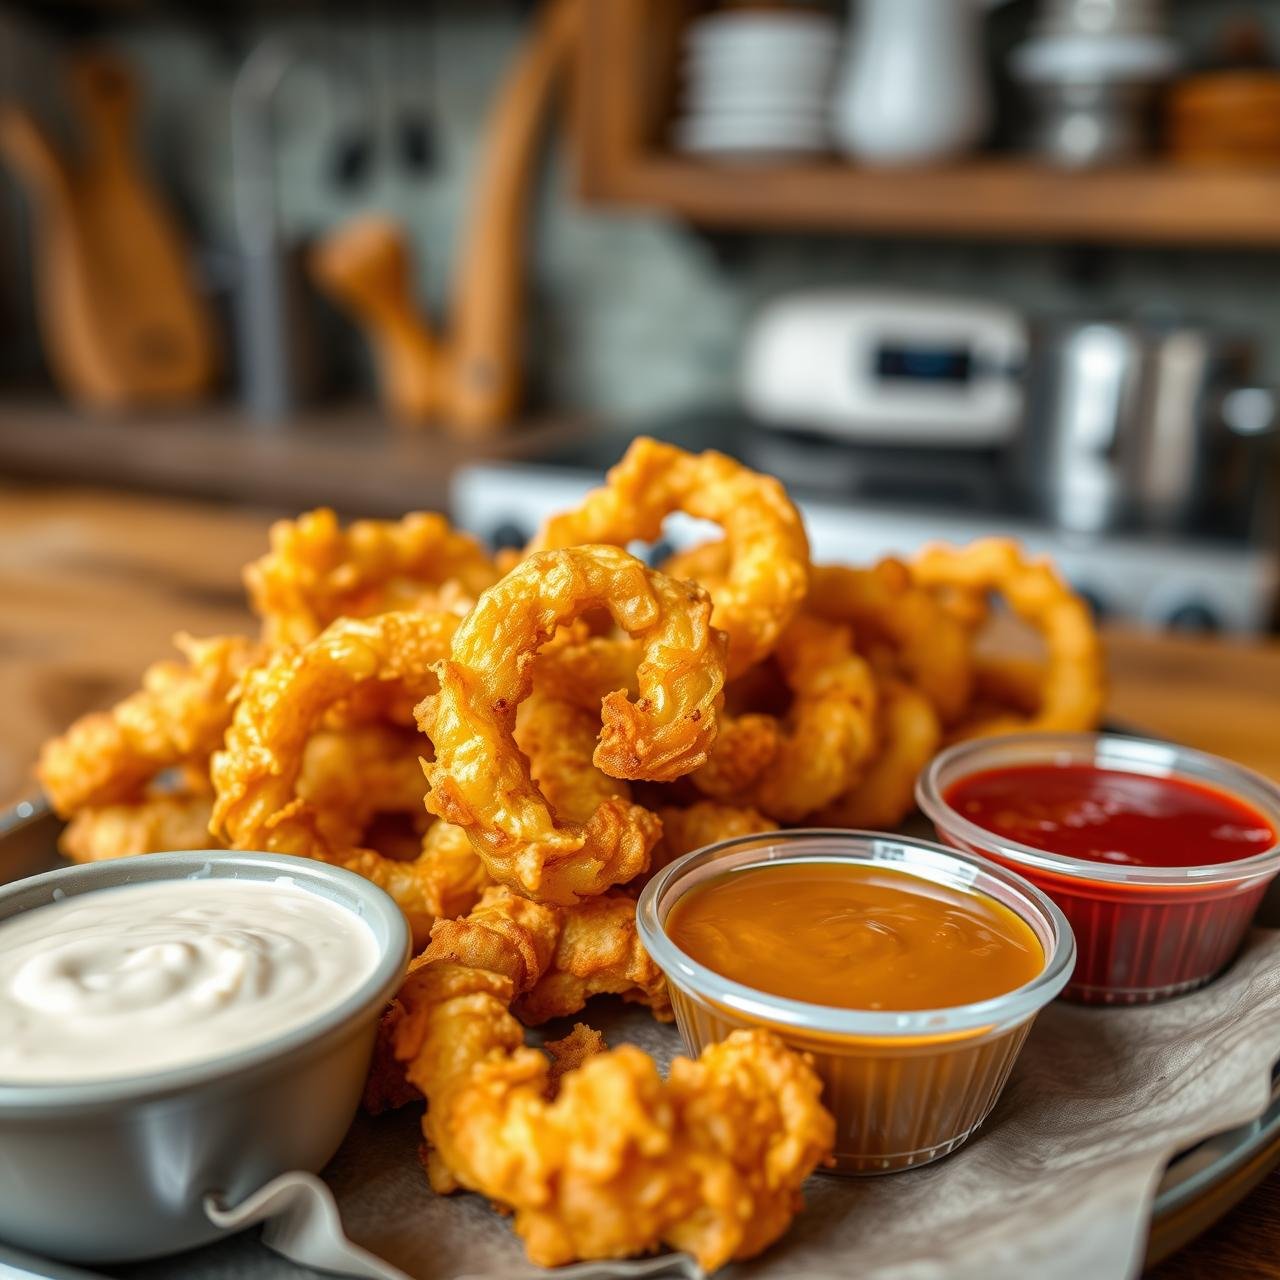
- Serve Immediately: For the absolute best texture, serve the onion rings hot and fresh from the oven with your favorite dipping sauces.
From My Kitchen to Yours: Pro Tips & Flavor Variations
A great recipe is a fantastic starting point, but a few professional tips can make all the difference. Here are some secrets to ensure flawless execution every time, along with some ideas to customize these rings to your liking.
Tips for Flawless Onion Rings
- Don’t Skip the Toast: Toasting the panko is a small step with a huge payoff. It guarantees a richer flavor and a more even, golden-brown color that you can’t achieve otherwise.
- The ‘Dry Hand, Wet Hand’ Technique: To avoid clumpy, batter-caked fingers, designate one hand for the dry ingredients (flour, panko) and the other for the wet (egg). This keeps your dredging station clean and your coating even.
- Chill for Adhesion: For an even more durable crust, you can place the coated onion rings on the rack in the refrigerator for 15-30 minutes before baking. This helps the coating set and adhere even better.
- Uniform Slices are Key: Try to slice your onions as uniformly as possible. Rings of a similar thickness will cook at the same rate, ensuring none are burnt while others are undercooked.
Flavor Twists and Serving Suggestions
- Add Some Heat: Mix ¼ to ½ teaspoon of cayenne pepper into your flour mixture for a spicy kick.
- Cheesy Goodness: Add ¼ cup of finely grated Parmesan cheese to your panko mixture for a savory, cheesy crust.
- Herbaceous Notes: Mix 1 teaspoon of dried oregano or an Italian seasoning blend into the panko for a more herbaceous flavor profile.
- Perfect Dipping Sauces: These rings are a perfect canvas for sauces. Try a spicy Sriracha aioli (mayonnaise, Sriracha, lime juice), a tangy honey mustard, a classic BBQ sauce, or a clean and simple marinara.
Healthy Indulgence: A Nutritional Comparison
The word “healthy” gets used a lot, but what does it really mean in this context? The primary difference lies in the cooking method. By baking instead of deep-frying, we drastically reduce the amount of oil absorbed by the food, which significantly cuts down on the overall fat and calorie content. Here’s a side-by-side look at how our baked onion rings stack up against a typical restaurant-style deep-fried serving.
| Nutrient (per serving, estimated) | Our Crispy Baked Onion Rings | Typical Deep-Fried Onion Rings |
|---|---|---|
| Calories | ~ 250 kcal | ~ 450-550 kcal |
| Total Fat | ~ 8g | ~ 25-35g |
| Saturated Fat | ~ 1.5g | ~ 5-8g |
| Sodium | ~ 400mg | ~ 700-1000mg |
| Fiber | ~ 4g | ~ 3g |
Disclaimer: These are estimated values for comparison purposes. Actual nutritional content will vary based on specific ingredients and serving sizes.
As you can see, the difference is stark. Our baked version contains roughly half the calories and less than a third of the fat. This transformation turns a heavy, greasy indulgence into a sensible and satisfying snack or side dish that you can feel good about serving to your family. You get all the crave-worthy flavor and crunch with none of the guilt.
Keeping the Crunch: Storage and Reheating
While these baked onion rings are undeniably best when enjoyed fresh from the oven, leftovers can still be delicious if handled correctly. The key is to store and reheat them in a way that preserves their delicate, crispy texture.
Storage
Once the onion rings have cooled completely to room temperature (this is important to prevent condensation), place them in a single layer in an airtight container. You can stack layers by placing a sheet of parchment paper between them. Store them in the refrigerator for up to 3 days.
Reheating: The Right Way
Whatever you do, do not use the microwave. A microwave will turn the crispy coating into a soft, steamy, and altogether disappointing mess. The goal is to drive off any moisture the coating has absorbed in the fridge and re-crisp the panko. Your best options are:
- Oven or Toaster Oven (Best Method): Preheat your oven or toaster oven to 400°F (200°C). Arrange the leftover onion rings in a single layer on a wire rack set on a baking sheet. Bake for 5-8 minutes, or until they are heated through and sizzling again. They’ll be almost as crispy as when they were first made.
- Air Fryer (Excellent Method): Preheat your air fryer to 375°F (190°C). Place the onion rings in the basket in a single layer (you may need to work in batches). Air fry for 3-5 minutes, shaking the basket halfway through, until they are hot and crispy.
Conclusion
The search for a truly crispy, truly healthy baked onion ring is officially over. We’ve journeyed through the science of the crunch, assembled our tools, and followed a foolproof method to create a snack that delivers on every promise. That magnificent, golden-brown coating, the sweet and tender onion inside, and the deeply satisfying crunch are now well within your reach, right in your own kitchen—no deep fryer required.
This recipe is more than just a healthier alternative; it’s a testament to the fact that wholesome, homemade food can be every bit as exciting and delicious as its indulgent counterparts. It’s comfort food you can feel great about, a crowd-pleasing appetizer that will disappear in minutes, and a versatile side dish that will elevate any meal. So go ahead, preheat that oven and embrace the joy of creating something truly special. We promise, after one bite, you’ll agree that these are the best baked onion rings you’ve ever had.