Cilbir Eggs: The Savory Yogurt Breakfast You Didn’t Know You Needed
Imagine a breakfast that is at once comforting and exhilarating, simple in its components yet profoundly complex in flavor. A dish steeped in history, rumored to have been enjoyed by Ottoman sultans, yet perfectly suited for the modern home cook’s table. This is Çılbır, often known as Turkish Eggs—a culinary masterpiece you’ll wish you had discovered sooner.
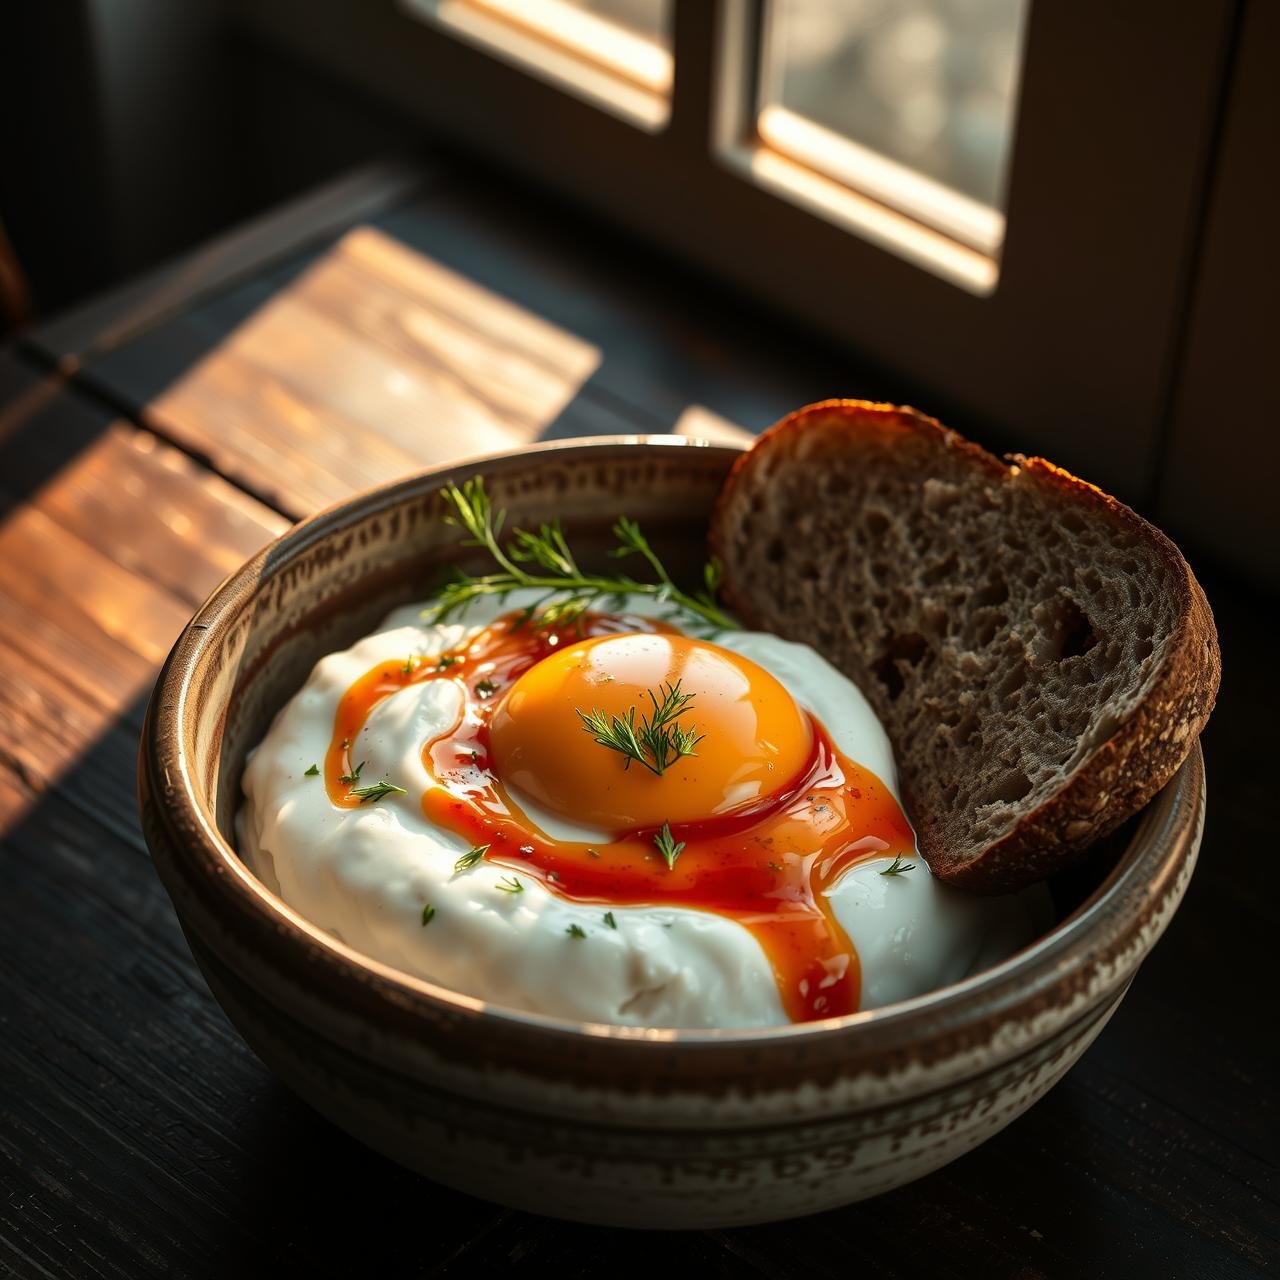
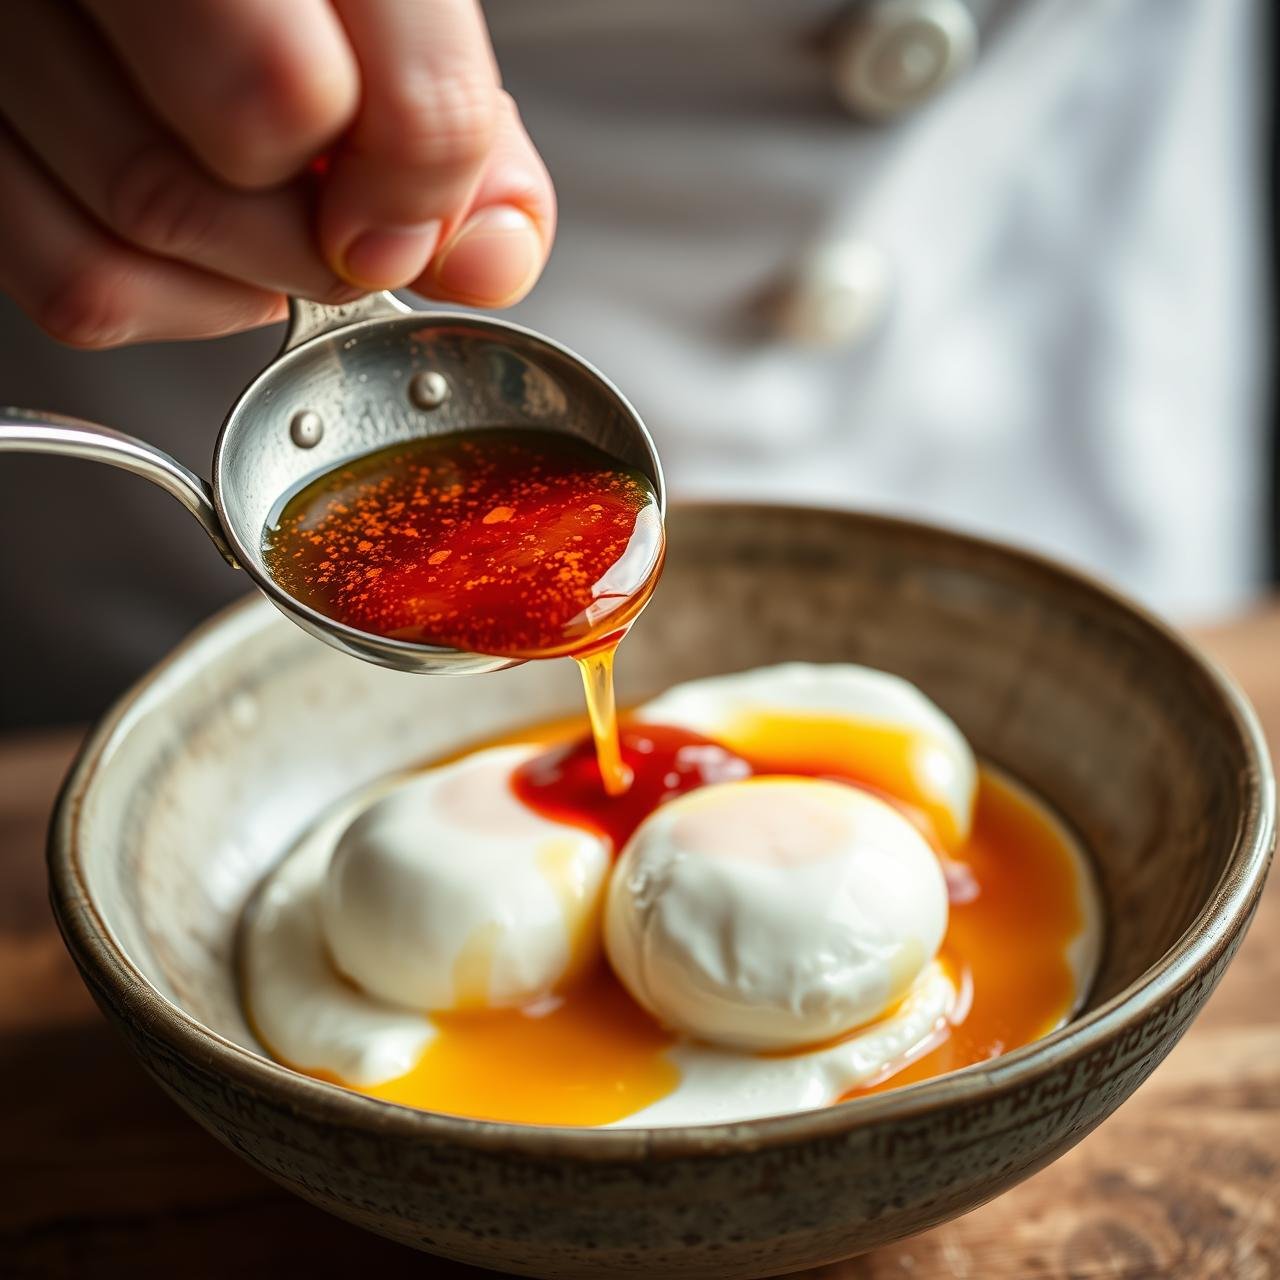
At its heart, Cilbir is a beautiful harmony of textures and temperatures. It begins with a generous spread of thick, creamy yogurt, sharpened with the pungent bite of fresh garlic. Nestled into this cool, savory bed are two perfectly poached eggs, their whites tender and their yolks waiting to burst into a river of liquid gold. The crowning glory is a drizzle of hot, melted butter, infused with the smoky, gentle heat of Aleppo pepper (pul biber), which pools and swirls across the dish in a vibrant crimson flourish. Served with a side of thick, crusty bread for dipping, each bite is a revelation: the cool tang of the yogurt, the rich warmth of the egg yolk, and the spicy hum of the butter come together in a perfect symphony.
This guide is more than just a recipe; it’s an education in technique and tradition. We will delve into the soul of each component, from selecting the right yogurt to achieving the flawless poached egg every single time. Forget your mundane breakfast routine. It’s time to embrace the rustic elegance of Cilbir and transform your morning meal into an unforgettable experience.
The Soul of Cilbir: Understanding the Core Components
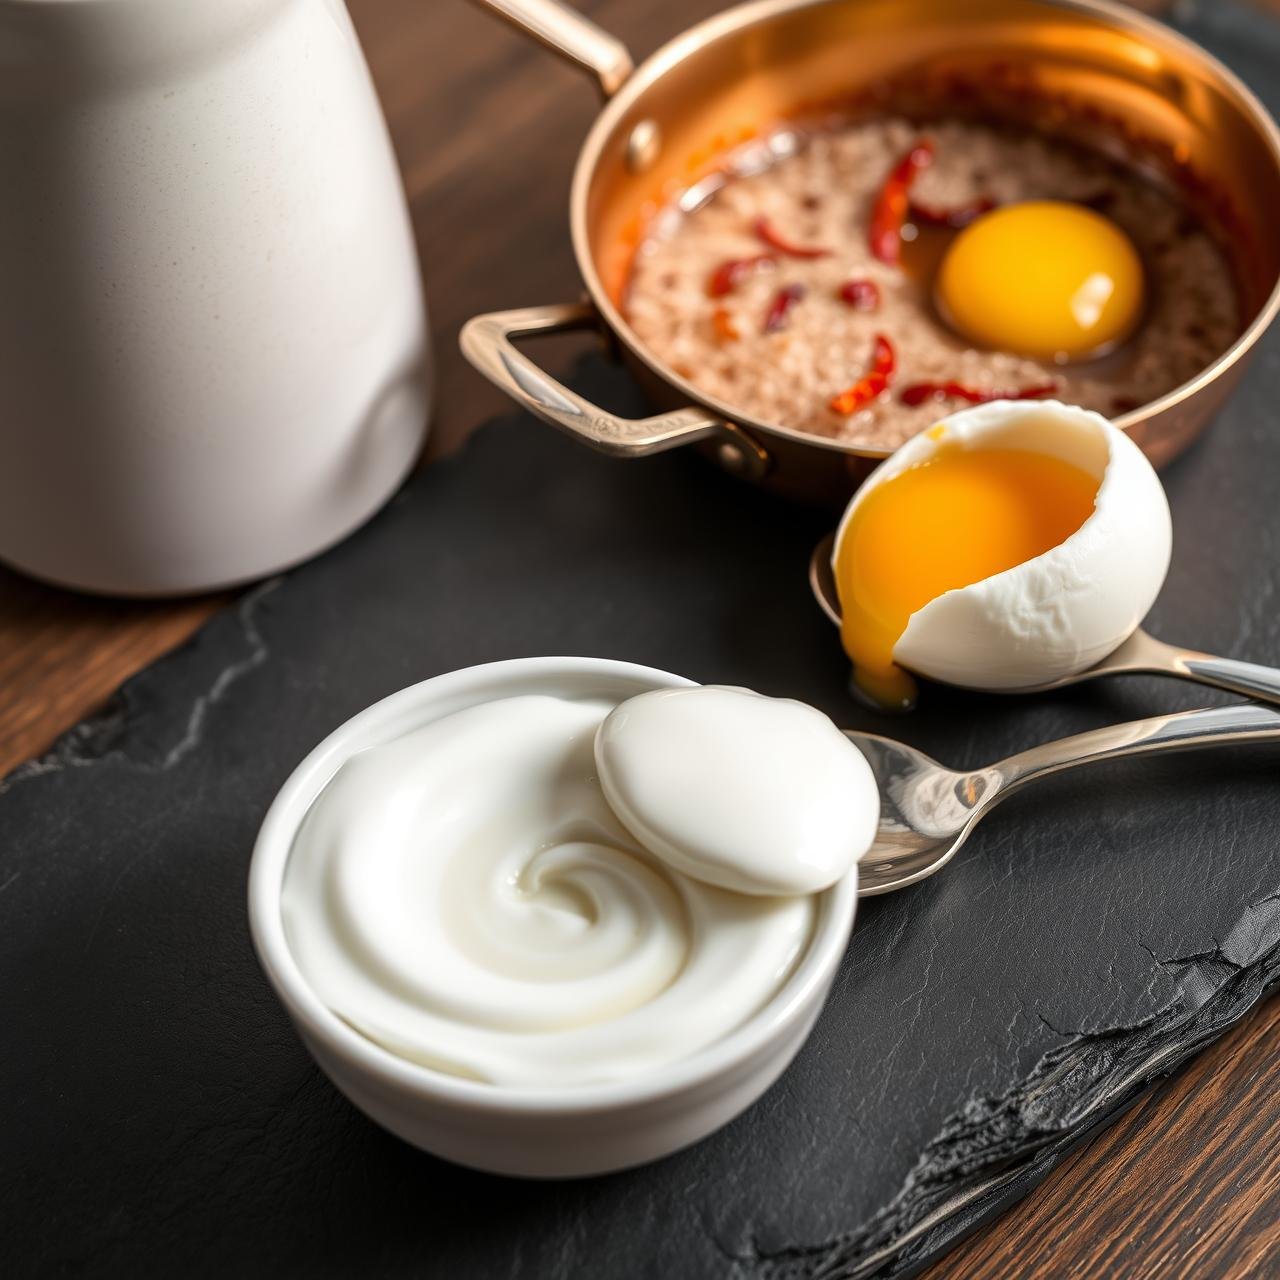
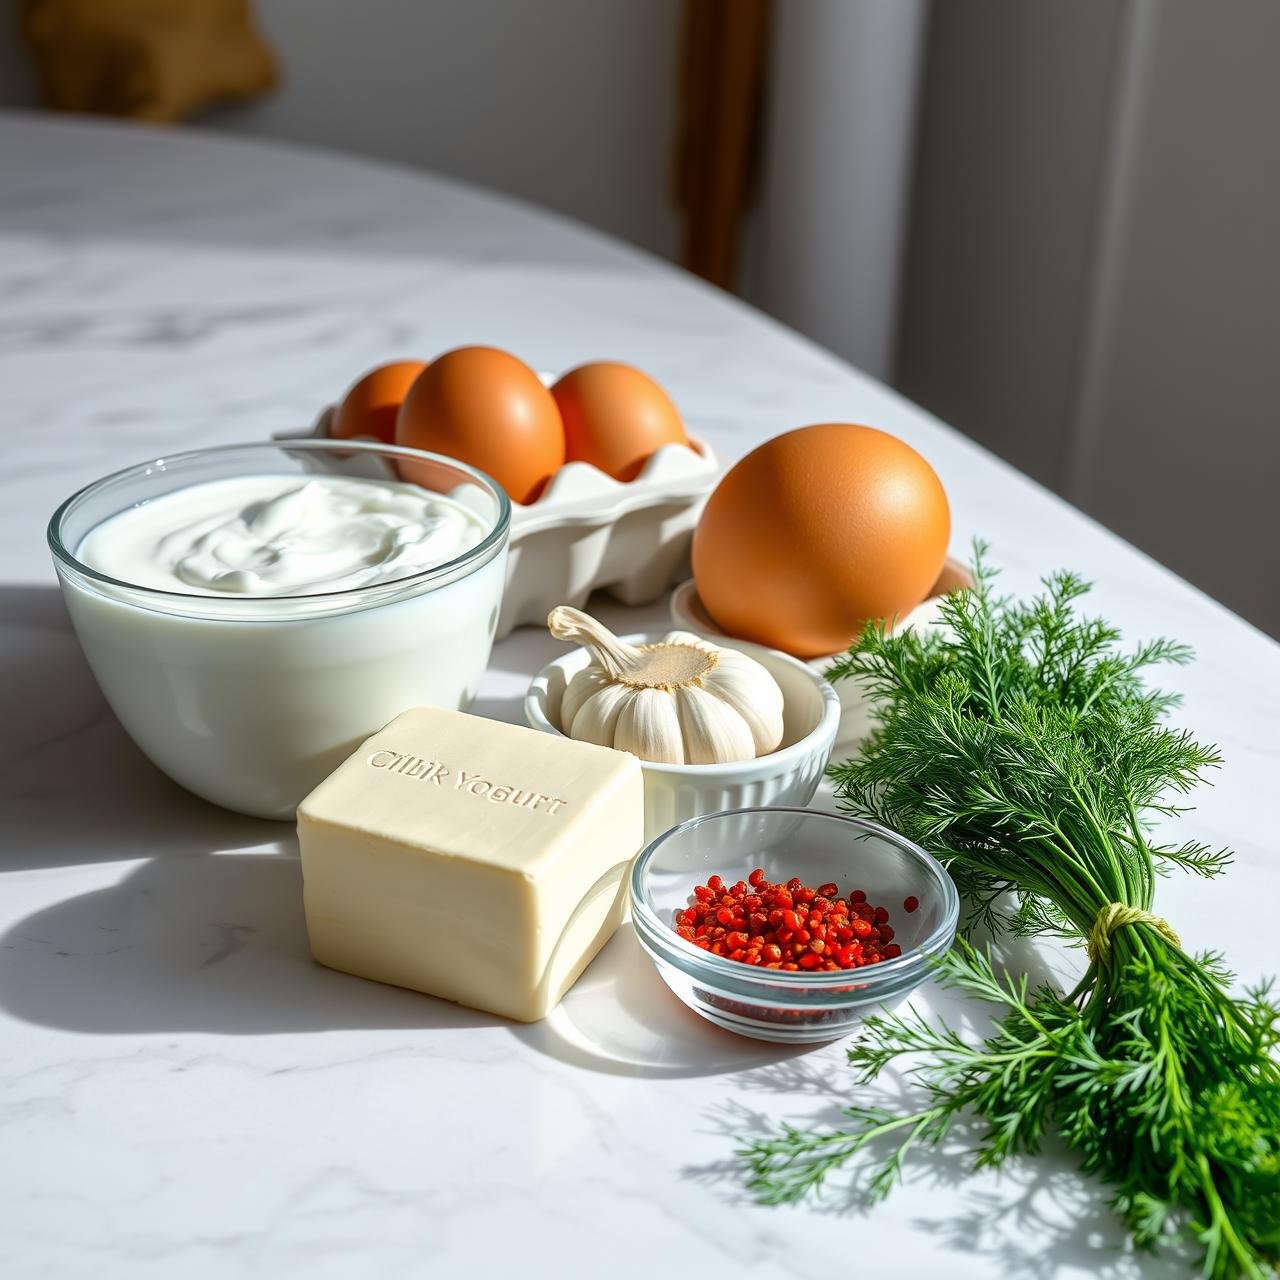
To truly master Cilbir, one must first respect its three pillars: the yogurt, the eggs, and the spiced butter. Each element is simple on its own, but together, they create something magical. Understanding the ‘why’ behind each ingredient choice is the first step from being a cook to becoming a chef in your own kitchen.
The Yogurt Base: A Cool, Creamy Foundation
The yogurt is not merely a serving vessel; it is the soul of the dish. The ideal choice is a full-fat, thick-strained Turkish or Greek yogurt. The high fat content (around 10%) is non-negotiable for achieving the luxurious, velvety texture that defines Cilbir. Low-fat or regular yogurt will be too thin and watery, creating a soupy consistency instead of a rich base. The tang of the yogurt provides a crucial acidic counterpoint to the richness of the egg yolk and butter. For budget-conscious cooks, you can create your own thick yogurt by straining plain, whole-milk yogurt through a cheesecloth-lined sieve for a few hours or overnight in the refrigerator. The yogurt should be seasoned simply with finely grated fresh garlic and a touch of salt. Using fresh garlic is paramount; granulated garlic powder will not provide the same bright, pungent flavor.
The Perfect Poached Egg: A Silky, Runny Yolk is Key
The centerpiece of Cilbir is the poached egg. A perfect poach yields a firm, yet delicate white that encases a completely liquid, luscious yolk. The secret begins with the eggs themselves: use the freshest eggs you can find. Fresh eggs have tighter whites that hold their shape better during poaching. While a splash of vinegar in the water can help set the whites of older eggs, it can impart a slight flavor and is often unnecessary with fresh ones. The water should be just simmering, not at a rolling boil, which would tear the delicate egg whites apart. Creating a gentle vortex in the water before slipping the egg in helps the whites wrap around the yolk, forming that classic teardrop shape.
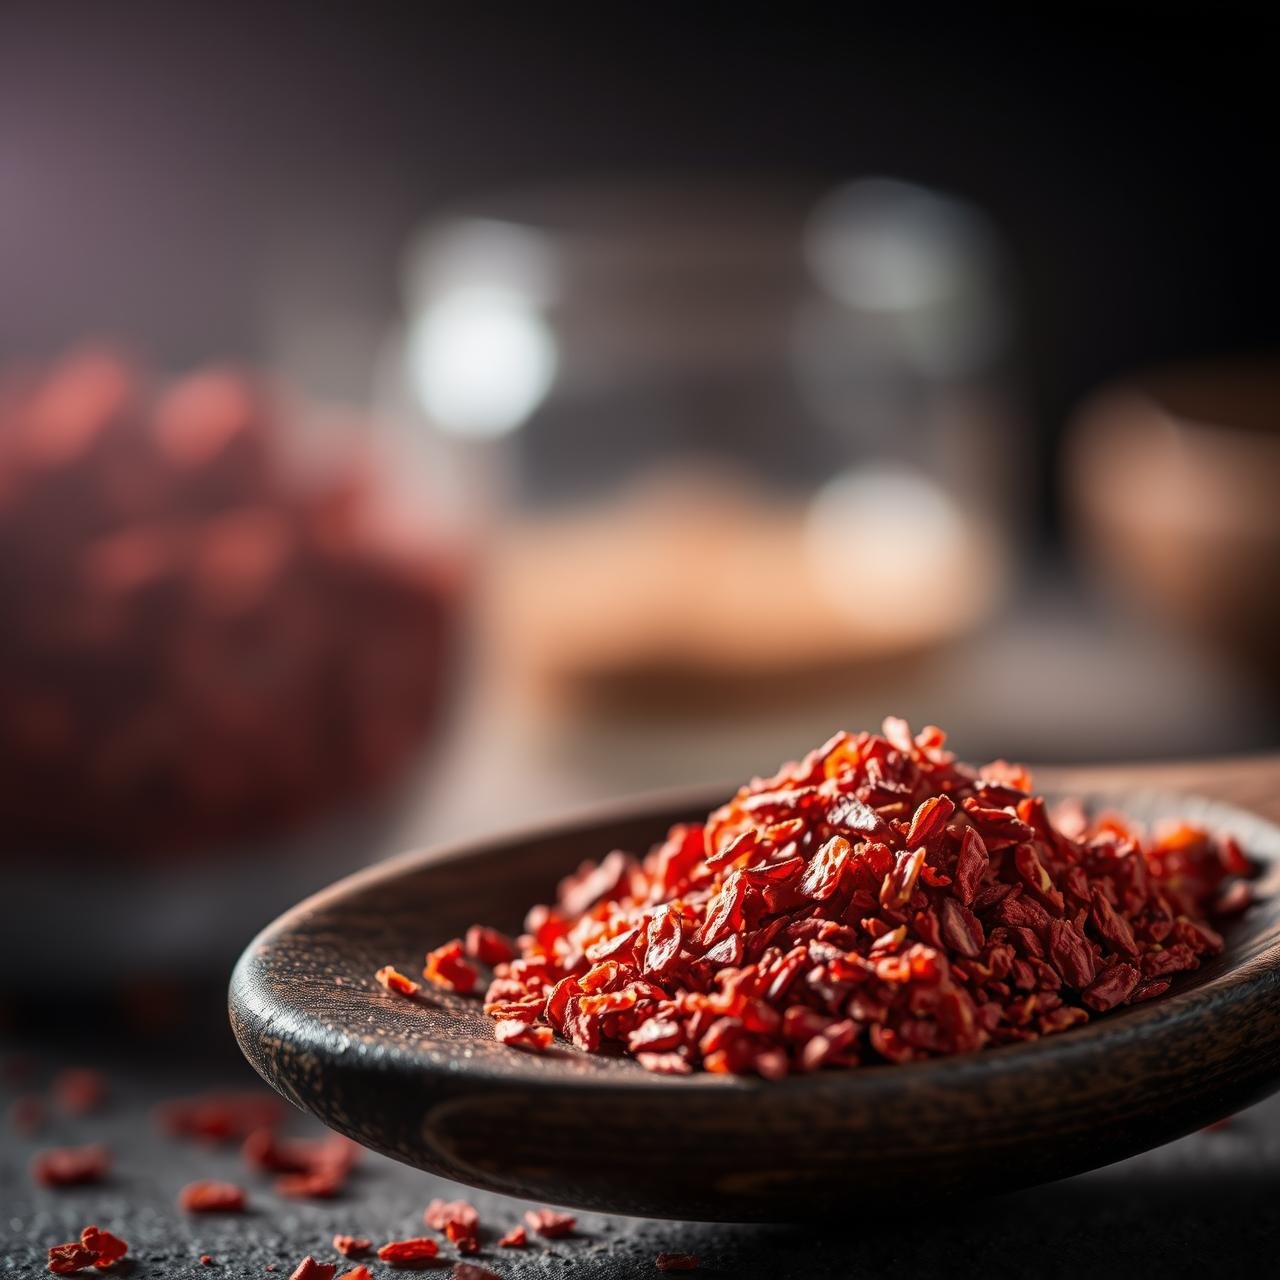
The Spiced Butter (Pul Biber Yağı): The Fiery Crown
This is the final flourish that brings the entire dish to life. The butter, traditionally infused with Aleppo pepper (pul biber), provides warmth, spice, and a stunning visual contrast. Aleppo pepper is a special chili flake from Turkey with a moderate heat level, a slightly smoky, earthy flavor, and hints of fruitiness. It’s less about fiery pain and more about a complex, warming hum. If you cannot find it, a good substitute is a mixture of sweet or smoked paprika for color and earthiness, with a small pinch of cayenne or red pepper flakes for heat. The key is to melt the butter over low heat and gently foam it before stirring in the spices. This toasts the spices and unlocks their aromatic oils without burning them, which would result in a bitter taste.
Gather Your Tools: Essential Equipment for Perfect Cilbir
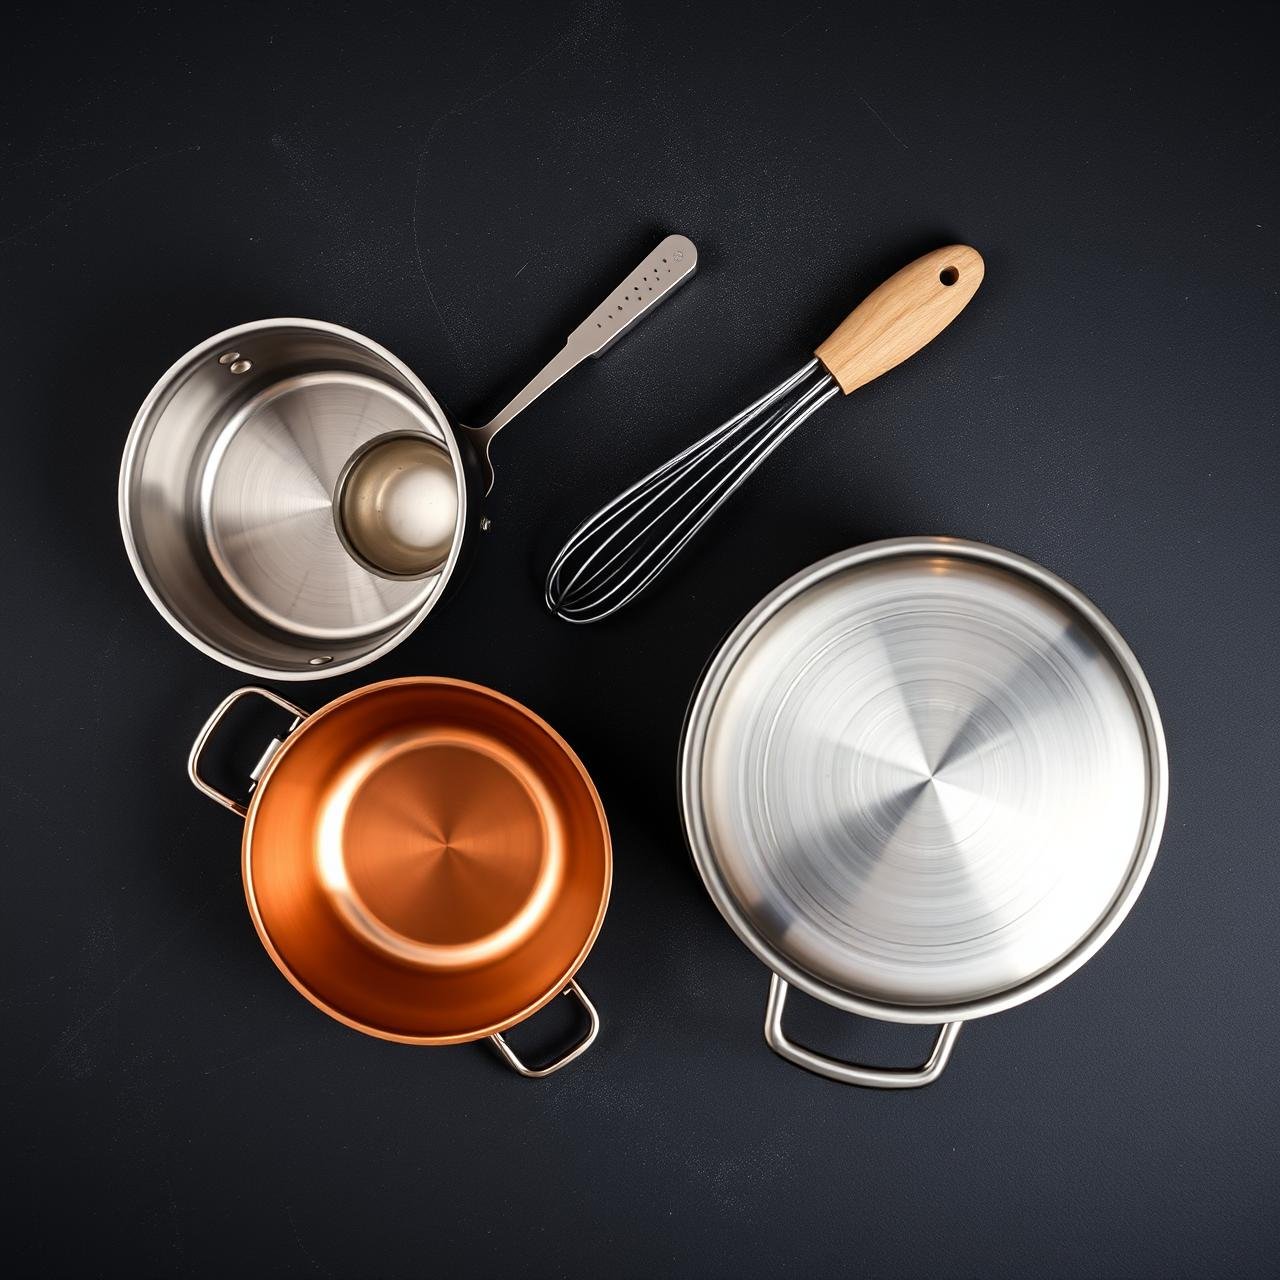
You don’t need a professional kitchen to create beautiful Cilbir, but having the right tools makes the process smoother and more successful. Here is the simple equipment that will set you up for flawless execution.
| Equipment | Purpose | Chef’s Note |
|---|---|---|
| Saucepan or Small Pot | For poaching the eggs | Choose one that is deep enough to allow the eggs to be fully submerged in about 3-4 inches of water. |
| Small Skillet or Saucier | For melting and infusing the butter | A light-colored pan (like stainless steel) makes it easier to monitor the color of the butter to prevent burning. |
| Slotted Spoon | For removing eggs from water | Essential for gently lifting the delicate poached eggs and allowing excess water to drain away. |
| Fine-Mesh Sieve | Optional, for ‘pro-level’ poaching | Cracking the egg into a sieve first allows the thin, watery outer whites to drain away, resulting in a tidier poached egg. |
| Two Small Mixing Bowls | For the yogurt and for cracking eggs | One for mixing the garlic yogurt, and another to crack your egg into before sliding it into the water. This prevents shell fragments from getting in the pot. |
| Whisk | For the yogurt base | Ensures the garlic and salt are evenly incorporated into the yogurt for a smooth, consistent texture. |
| Microplane or Garlic Press | For the garlic | Creates a fine garlic paste that melts into the yogurt, avoiding chunky, raw bits and providing a more integrated flavor. |
A Symphony of Flavors: The Ingredients List
This recipe serves two, but it can be easily scaled up or down. The beauty of Cilbir lies in its simplicity and the quality of its ingredients. Choose the best you can find for a truly memorable meal.
For the Garlic Yogurt Base:
- 1.5 cups (about 340g) Full-Fat Turkish or Greek Yogurt (10% milk fat is ideal)
- 1-2 cloves Fresh Garlic, finely grated or pressed into a paste
- 1/4 teaspoon Sea Salt, or to taste
For the Poached Eggs:
- 4 Large, very fresh eggs
- 1 tablespoon White Vinegar (optional, helps set whites of slightly older eggs)
- Water for poaching
For the Spiced Butter:
- 4 tablespoons (57g) Unsalted Butter
- 1-2 teaspoons Aleppo Pepper (Pul Biber)
- 1/2 teaspoon Sweet or Smoked Paprika (optional, for extra color and smokiness)
- A pinch of Cayenne Pepper or Red Pepper Flakes (optional, for extra heat)
For Garnish and Serving:
- Fresh Dill or Mint, finely chopped
- Flaky Sea Salt
- Freshly Ground Black Pepper
- Crusty Sourdough, Pita Bread, or Simit for serving
The Art of Assembly: Step-by-Step Instructions
Follow these steps carefully to build your perfect bowl of Cilbir. The process is quick, so it’s best to have all your components ready to go before you begin poaching the eggs—a classic culinary practice known as ‘mise en place’.
- Prepare the Yogurt Base: In a mixing bowl, combine the 1.5 cups of Greek yogurt, the grated garlic paste from 1-2 cloves, and 1/4 teaspoon of salt. Whisk until perfectly smooth. Divide the yogurt between two shallow serving bowls, spreading it to create an even layer. Set aside at room temperature to take the chill off; this prevents the cold yogurt from shocking the warm eggs.
- Heat the Poaching Water: Fill a saucepan with about 3-4 inches of water. Add a pinch of salt and the optional tablespoon of vinegar. Bring the water to a bare simmer over medium heat. You should see small, gentle bubbles rising from the bottom, but the surface should be relatively calm. A rolling boil will destroy your eggs.
- Poach the Eggs: Crack each fresh egg into a separate small cup or ramekin. Create a gentle whirlpool (vortex) in the simmering water with a spoon. Carefully slide one egg into the center of the vortex. The motion will help the egg white wrap around itself. Repeat with the second egg. Cook for 3 to 4 minutes for a firm white and a completely runny yolk. Do not overcrowd the pan; cook the eggs in two batches if necessary.
- Prepare the Spiced Butter: While the eggs are poaching, place the 4 tablespoons of unsalted butter in a small skillet over low heat. Allow it to melt and foam gently. Once the foam subsides slightly, remove it from the heat and stir in the 1-2 teaspoons of Aleppo pepper and optional paprika. The residual heat will toast the spices perfectly. You should hear a gentle sizzle and smell the fragrant aroma. Be careful not to let the butter brown or the spices burn.
- Assemble the Dish: Using a slotted spoon, carefully lift the poached eggs from the water, allowing any excess water to drain off. Gently place two poached eggs on top of the yogurt base in each bowl.
- Garnish and Serve Immediately: Drizzle the hot, spiced butter over the eggs and yogurt. Garnish generously with chopped fresh dill or mint, a sprinkle of flaky sea salt, and a crack of black pepper. Serve immediately with warm, crusty bread for dipping into the yolk and scooping up the yogurt.
Chef’s Secrets & Pro-Tips for Flawless Cilbir
The difference between good and great Cilbir often lies in small, subtle details. Here are some professional tips to elevate your dish and troubleshoot common issues.
Room Temperature Yogurt is Crucial
Never serve Cilbir with yogurt straight from the refrigerator. The intense cold will immediately sap the heat from your perfectly poached eggs and butter, resulting in a lukewarm and less pleasant dish. Allowing the prepared garlic yogurt to sit on the counter for 20-30 minutes while you prepare everything else makes a world of difference.
The Sieve Trick for Tidy Eggs
For picture-perfect poached eggs without wispy ‘ghosts’, try this professional trick. Crack your egg into a fine-mesh sieve set over a bowl. Gently swirl the egg in the sieve for a few seconds. This allows the thin, watery part of the egg white to drain away, leaving only the thicker white that will cling to the yolk during poaching. The result is a much neater, more compact poached egg.
Don’t Scorch the Spices
The biggest mistake when making the spiced butter is using heat that is too high. Butter solids can burn quickly, and burnt spices are acrid and bitter. The proper technique is to melt the butter until it foams, then immediately remove it from the heat. The residual heat in the pan is more than enough to toast the Aleppo pepper and release its fragrant oils without any risk of scorching.
Make it Ahead (Sort of)
While Cilbir is best assembled and served immediately, you can prep the components to save time. The garlic yogurt can be made up to 2 days in advance and stored in an airtight container in the refrigerator; in fact, the garlic flavor will meld and improve over time. Just remember to pull it out of the fridge before you start cooking. The spiced butter can also be made ahead and gently rewarmed before serving.
Beyond the Classic: Variations and Perfect Pairings

Once you’ve mastered the classic Cilbir, feel free to experiment. This dish is a wonderful canvas for creativity. Here are some variations and serving suggestions to inspire your next brunch.
Creative Variations on Cilbir
- Add Feta: Crumble some salty, tangy feta cheese over the yogurt before adding the eggs for an extra layer of flavor and texture.
- Introduce Greens: Serve the eggs and yogurt over a bed of wilted spinach or kale that has been sautéed with a little garlic and olive oil.
- Crispy Chickpea Topping: For added crunch and plant-based protein, top your Cilbir with crispy roasted chickpeas seasoned with cumin and paprika.
- Herbaceous Yogurt: Finely chop other fresh herbs like mint, parsley, or chives and mix them directly into the yogurt base along with the garlic.
- Brown Butter Base: For a nuttier, deeper flavor, allow the butter to gently brown (but not burn!) before adding the spices. Watch it carefully as it can turn from brown to black in seconds.
Perfect Pairings
The most crucial pairing for Cilbir is something to soak up the glorious mixture of runny yolk and savory yogurt. Crusty, toasted sourdough bread is the quintessential choice, offering a sturdy texture and tangy flavor. Warm, fluffy pita bread or traditional Turkish simit (a sesame-crusted bread ring) are also excellent options. For a fuller meal, serve Cilbir alongside a simple salad of sliced cucumbers, tomatoes, and olives dressed with lemon juice and olive oil to cut through the richness of the dish.
Conclusion
Cilbir is more than just a meal; it’s a testament to the beauty of simple, high-quality ingredients working in perfect harmony. It proves that an elegant, deeply satisfying breakfast doesn’t require complex techniques or a long list of ingredients. It’s a dish that nourishes the body and comforts the soul, connecting us to a rich culinary history with every spoonful.
Now that you are armed with the knowledge and techniques to create flawless Cilbir, we encourage you to step into your kitchen with confidence. Embrace the process, from whisking the cool, garlicky yogurt to watching the spiced butter sizzle. Whether you’re making it for a quiet solo breakfast or a bustling weekend brunch with loved ones, Cilbir is a dish that is sure to impress and delight. Welcome to your new favorite breakfast.