How to Make Perfectly Crispy Baked Kale Chips That Actually Taste Good
Let’s be honest. The idea of kale chips is fantastic: a virtuous, crunchy snack that satisfies cravings without the guilt. But the reality? It’s often a plate of disappointment. Many of us have followed recipes with high hopes, only to pull out a tray of either stubbornly soggy leaves, acrid, burnt crisps, or a sad combination of both. It’s enough to make you give up and reach for the potato chips.
But what if I told you that achieving kale chip perfection—chips that are uniformly crisp, shatter with a satisfying crunch, and are seasoned so beautifully they taste like a genuine treat—is not only possible, but surprisingly simple? It’s not about a magic ingredient; it’s about mastering a few key techniques. This is more than just a recipe; it’s a definitive guide. We’ll delve into the science of why kale chips fail and provide a step-by-step method that guarantees you’ll produce a snack so delicious, you’ll forget how healthy it is. Prepare to transform that humble bunch of kale into the crispiest, most crave-worthy snack in your repertoire.
The Kale Chip Conundrum: Why Most Recipes Fail
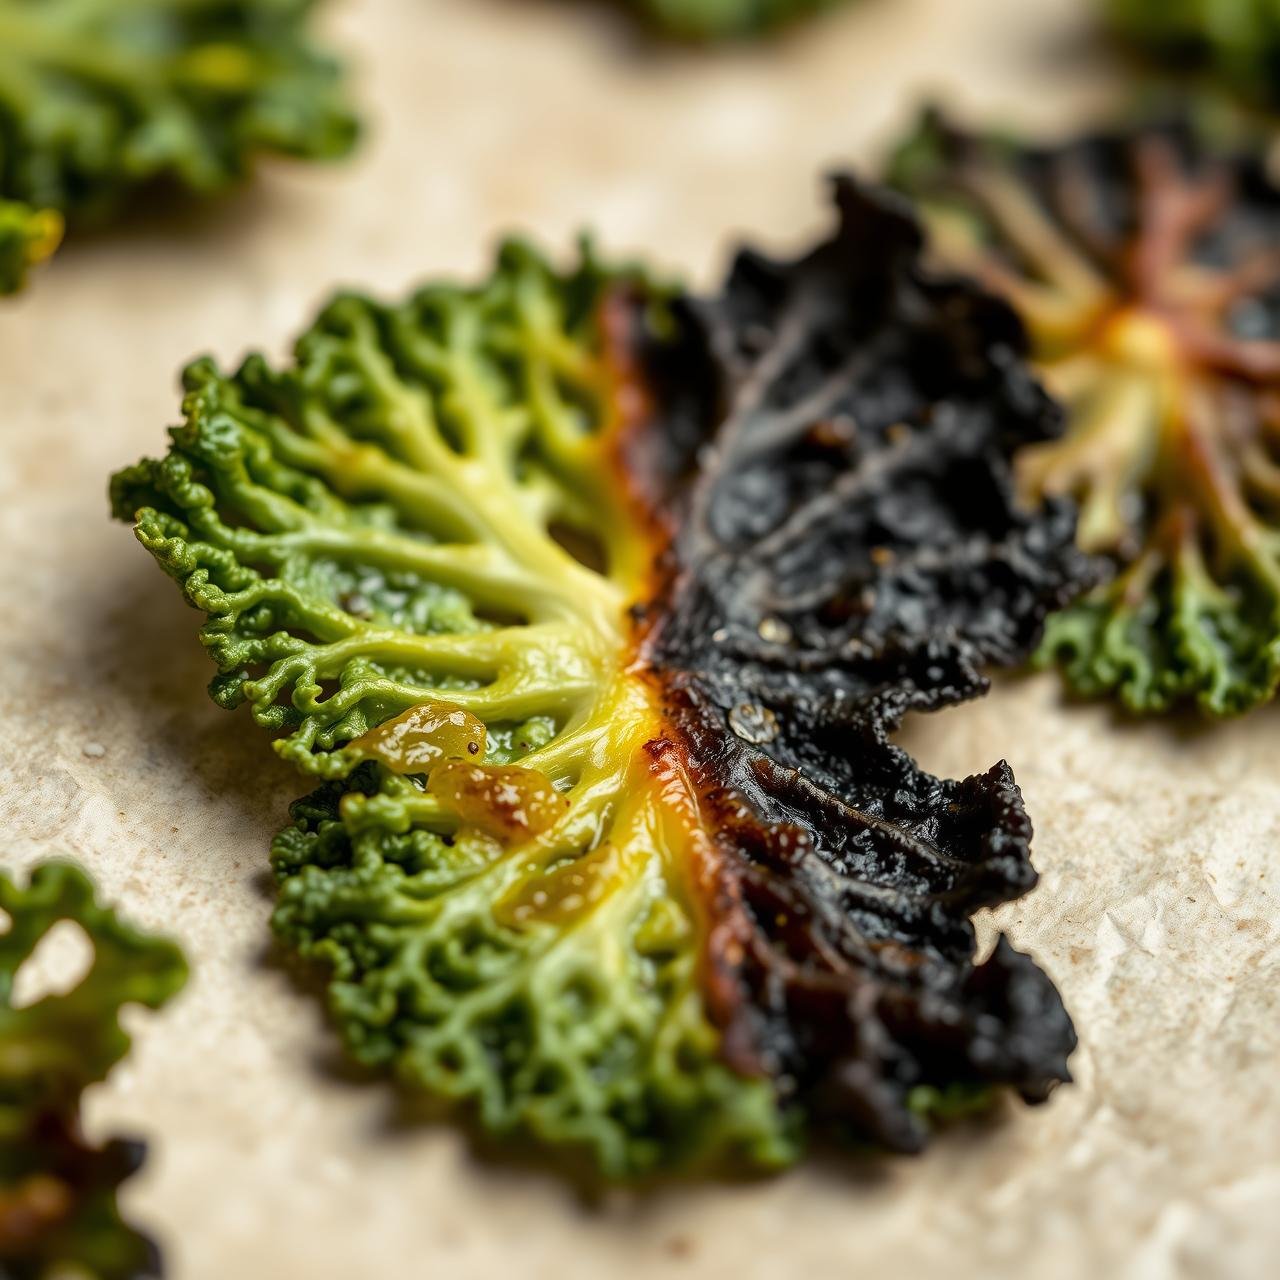
Before we build our perfect chip, we must understand the enemy. The primary culprit behind every kale chip failure is moisture. Kale is packed with water, and if that water isn’t properly managed, it will steam the leaves in the oven instead of roasting them to a crisp. This leads to that dreaded limp, chewy texture.
The second common pitfall is improper temperature. An oven that’s too hot will scorch the delicate edges of the kale long before the thicker rib sections have had a chance to dry out and crisp up. This results in an unpleasant, burnt flavor and an inconsistent texture. Conversely, an oven that’s too cool won’t evaporate the moisture effectively, leading back to our soggy problem. Finally, inconsistent or excessive oiling can create greasy spots that refuse to crisp while leaving other parts dry and brittle. Our method systematically eliminates every one of these issues, paving the way for crunchy glory.
Choosing Your Champion: The Best Kale for Chips
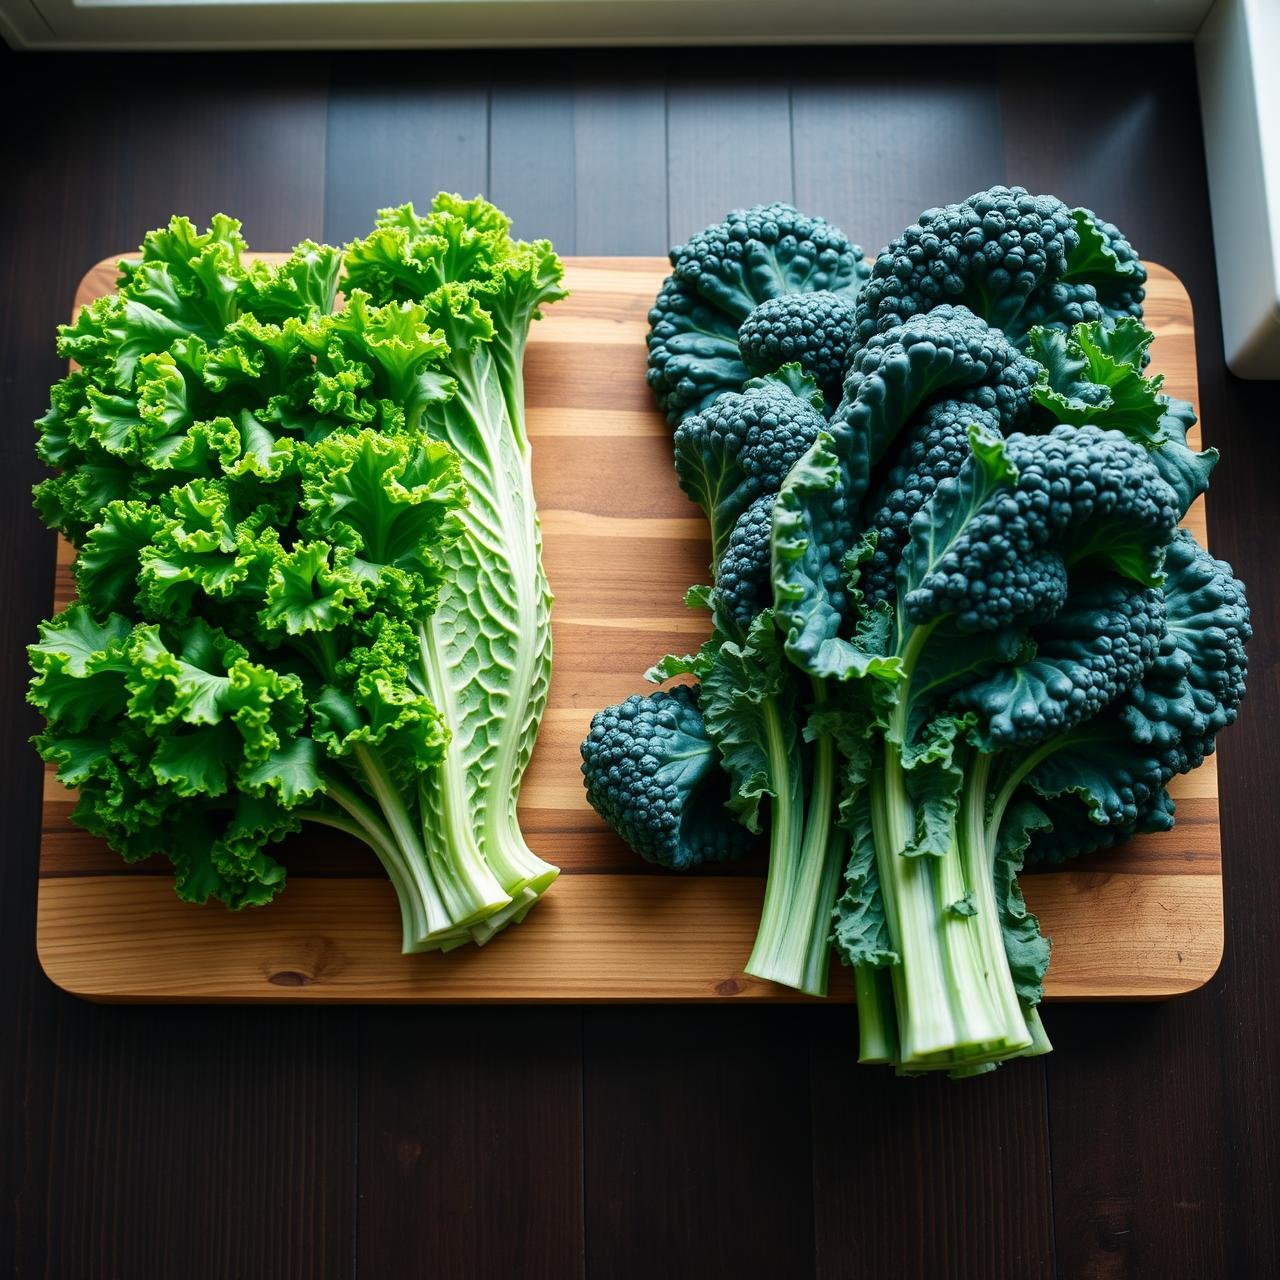
While you can technically make chips from any type of kale, one variety stands head and shoulders above the rest for this purpose: Lacinato Kale, also known as Dinosaur or Tuscan kale. Its leaves are flatter and more uniform than its curly cousin, which makes it significantly easier to coat evenly with oil and ensures it bakes into flat, chip-like crisps.
Curly kale, with its abundant ruffles, can be tricky. The frilly edges are prone to burning quickly, and it’s difficult to get oil into every nook and cranny, often leading to uneven cooking. Lacinato’s sturdy, bumpy texture holds up beautifully to the baking process, resulting in a robust chip with a satisfying, almost nutty flavor. When you’re at the market, look for a bunch with deep, dark green leaves that are firm and fresh, not wilted or yellowing.
The Core Ingredients & Essential Equipment
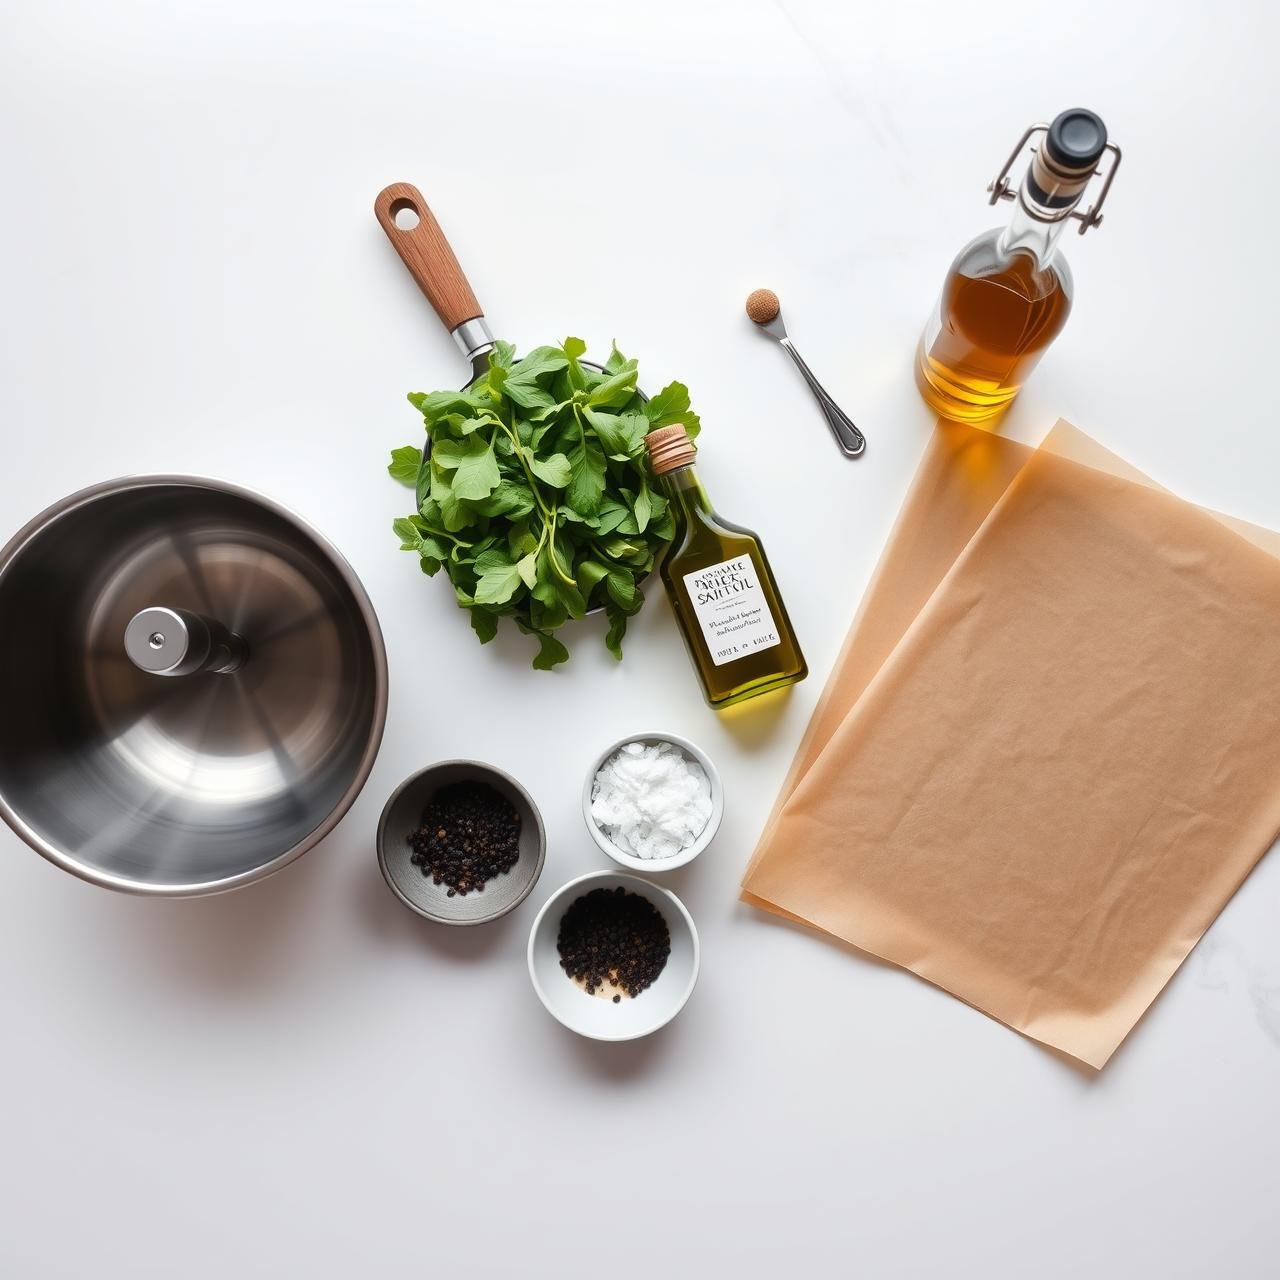
The beauty of this recipe lies in its rustic simplicity. You don’t need fancy gadgets or exotic ingredients to achieve spectacular results. Quality and preparation are what matter most.
Ingredients
- 1 large bunch Lacinato (Dinosaur) kale, about 8-10 ounces
- 1 to 1.5 tablespoons high-quality extra virgin olive oil
- 1/2 teaspoon fine sea salt, or to taste
- 1/4 teaspoon freshly ground black pepper (optional)
Equipment
Having the right tools makes the process seamless and guarantees better results. A salad spinner, in particular, is a game-changer for achieving maximum crispiness.
| Tool | Purpose |
|---|---|
| Large Salad Spinner | The single most important tool for getting the kale bone-dry. |
| Large Mixing Bowl | For evenly massaging the oil and seasonings into the leaves. |
| 2 Large Rimmed Baking Sheets | Using two sheets prevents overcrowding, which is essential for crisping. |
| Parchment Paper | Prevents sticking and makes cleanup a breeze. |
The Step-by-Step Method to Crispy Perfection
Follow these steps with care and precision. Each one is a crucial component in our quest for the perfect crunch. The secret is not in rushing, but in the deliberate preparation of the leaves before they ever see the heat of the oven.
- Prep the Oven and Pans: Position your oven racks in the upper and lower thirds of the oven and preheat to a steady 300°F (150°C). Do not be tempted to use a higher temperature! Line two large baking sheets with parchment paper.
- Wash and De-Stem: Thoroughly wash the kale leaves under cool running water. To de-stem, hold the base of the stem with one hand and, with the other hand, strip the leafy part off the tough central rib. Discard the stems (or save them for stocks or smoothies).
- THE MOST CRITICAL STEP – Dry Thoroughly: This is where kale chip dreams are made or broken. Place the washed leaves in a salad spinner and spin them until no more water comes out. Then, lay the leaves on a clean kitchen towel or paper towels and gently pat them completely dry. Any lingering moisture is the enemy of crispiness.
- Tear into Pieces: Tear the dry leaves into large, chip-sized pieces, about 2-3 inches. Remember that they will shrink significantly during baking, so don’t make them too small.
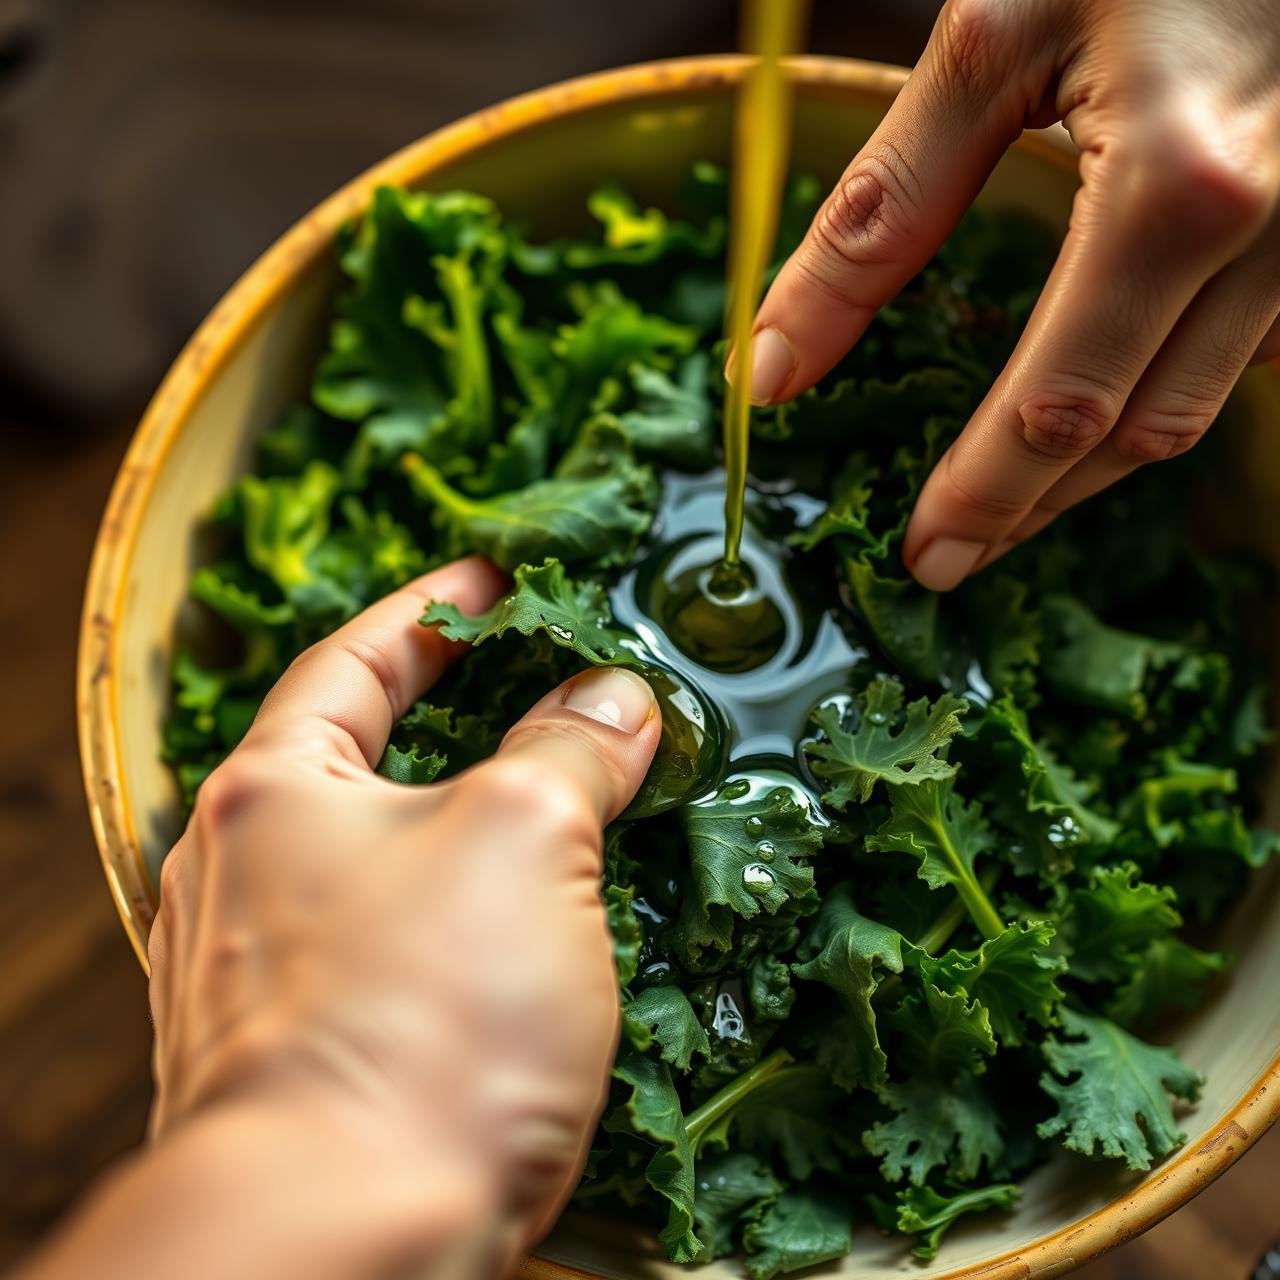
- The Oil Massage: Place the torn, dry kale pieces into your large mixing bowl. Drizzle with 1 tablespoon of olive oil to start. Now, use your hands to gently but thoroughly massage the oil into every surface of each leaf. The kale should be lightly glistening, not saturated or dripping with oil. If some leaves still look dry, add the remaining 1/2 tablespoon of oil and continue to massage.
- Season Generously: Sprinkle the salt and pepper over the oiled kale and toss well to distribute the seasonings evenly.
- The Single-Layer Rule: Arrange the seasoned kale onto the prepared baking sheets in a single, even layer. Do not let the pieces overlap! Crowding the pan will cause the kale to steam instead of roast. It is far better to use two pans or bake in two batches than to overcrowd one pan.
- Bake Low and Slow: Place the baking sheets in the preheated oven. Bake for 20 to 25 minutes, rotating the pans halfway through (swapping their positions on the upper and lower racks) to ensure even cooking. The chips are done when they are dry to the touch, brittle, and the edges are slightly browned but not burnt.
- Cool for Ultimate Crisp: Remove the baking sheets from the oven. The chips may not feel perfectly crisp straight away—this is normal! Let them cool completely on the baking sheets for at least 5-10 minutes. They will crisp up significantly as they cool, transforming into the shatteringly crunchy snack you’ve been dreaming of.
Beyond Salt & Pepper: Gourmet Flavor Variations
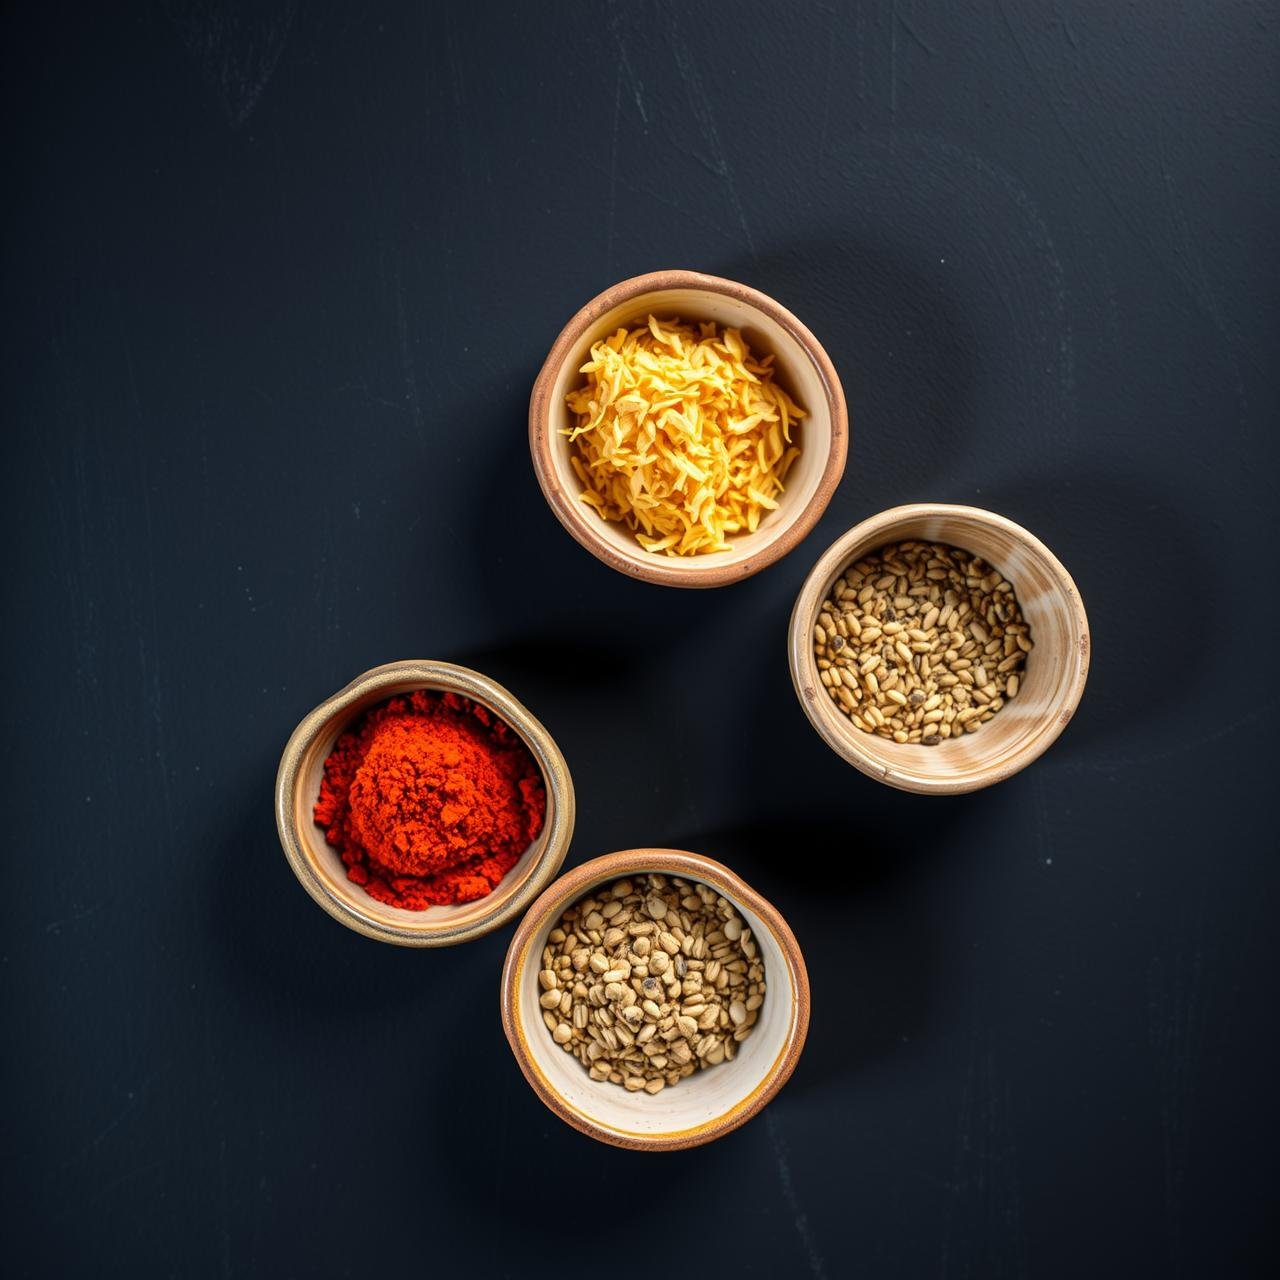
Once you’ve mastered the basic technique, the world of flavor is your oyster. Add these seasonings along with the salt and pepper after oiling the kale. Here are a few chef-inspired combinations to elevate your chip game:
- Smoky & Savory: 1 tsp smoked paprika + 1/2 tsp garlic powder + 1/4 tsp onion powder.
- “Cheesy” Vegan Delight: 2 tbsp nutritional yeast + 1/2 tsp garlic powder. This gives a surprisingly rich, savory, umami flavor reminiscent of cheese.
- Spicy Chili Lime: 1/2 tsp chili powder + 1/4 tsp cumin + a generous squeeze of fresh lime juice massaged in with the oil.
- Zesty Parmesan Herb: 2 tbsp finely grated Parmesan cheese + 1/2 tsp dried oregano + a pinch of red pepper flakes. (Add cheese in the last 5 minutes of baking to prevent burning).
- Everything Bagel: 1 tbsp everything bagel seasoning. A simple and incredibly delicious option!
Troubleshooting: Common Kale Chip Catastrophes
Even with the best recipe, things can sometimes go awry. Here’s how to diagnose and fix the most common kale chip problems.
Why are my chips soggy and chewy?
This is almost always a moisture problem. Either you didn’t dry the kale leaves thoroughly enough after washing, or you overcrowded the pan. Overcrowding traps steam, which softens the leaves. Ensure your kale is bone-dry and always give the chips plenty of space on the baking sheet.
Why did my chips burn so quickly?
Your oven was too hot. Every oven is slightly different, and yours might run hotter than the temperature on the dial. Try reducing the temperature by 25°F next time. Also, remember that the delicate edges will burn first, so watch them closely in the last 5 minutes of baking.
Why do my chips taste bitter?
A slight bitterness is natural to kale, but an overwhelmingly acrid taste usually means the chips are slightly burnt. Even a little bit of charring can create a powerful bitter flavor. Pull them from the oven as soon as they are crisp, even if they haven’t browned much.
Storage, Serving, and a Snack You Can Feel Good About
How to Store Kale Chips
The key to maintaining that glorious crunch is proper storage. First, ensure the chips are 100% cooled to room temperature before storing. Any residual warmth will create condensation and lead to sogginess. Store them in an airtight container at room temperature. Avoid the refrigerator, as the humidity will soften them. They are best enjoyed within 2-3 days, as they will gradually lose their crispness over time.
Serving Suggestions
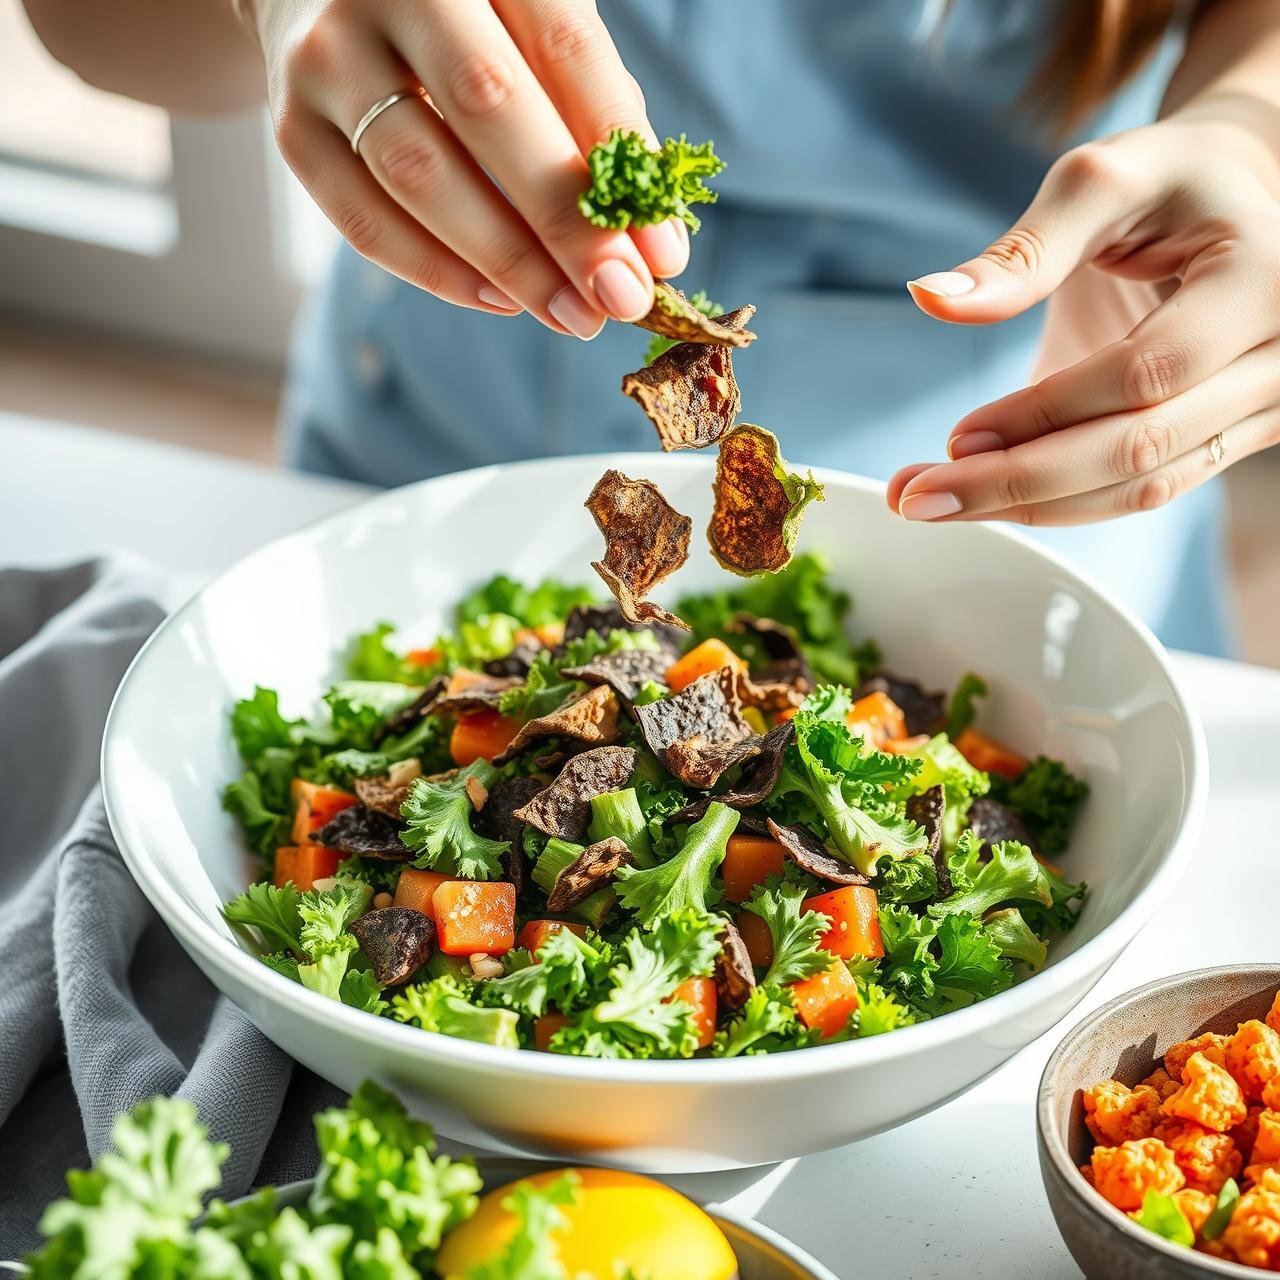
While they are fantastic on their own, kale chips are surprisingly versatile. Crumble them over salads or soups for a crunchy topping, use them as a garnish for roasted vegetables or grain bowls, or serve them alongside your favorite dip (though they are delicate, so choose a lighter dip!).
Nutritional Profile
Here is an estimated nutritional breakdown for a single serving, assuming the recipe makes 4 servings.
| Nutrient | Amount per Serving |
|---|---|
| Calories | ~75 kcal |
| Fat | ~5g |
| Carbohydrates | ~6g |
| Fiber | ~2g |
| Protein | ~3g |
| Vitamin K | >100% DV |
| Vitamin A | >100% DV |
| Vitamin C | >80% DV |
Conclusion
You are now equipped with the knowledge and technique to banish soggy, burnt kale chips from your life forever. By respecting the process—prioritizing dryness, embracing the low-and-slow baking method, and giving your chips space to crisp up—you can consistently create a snack that is both incredibly healthy and deeply satisfying. This recipe is a foundation for your creativity. Experiment with the flavor variations, find your favorite, and share the joy of a truly perfect, homemade kale chip. The days of disappointing results are over; welcome to your new favorite snack.