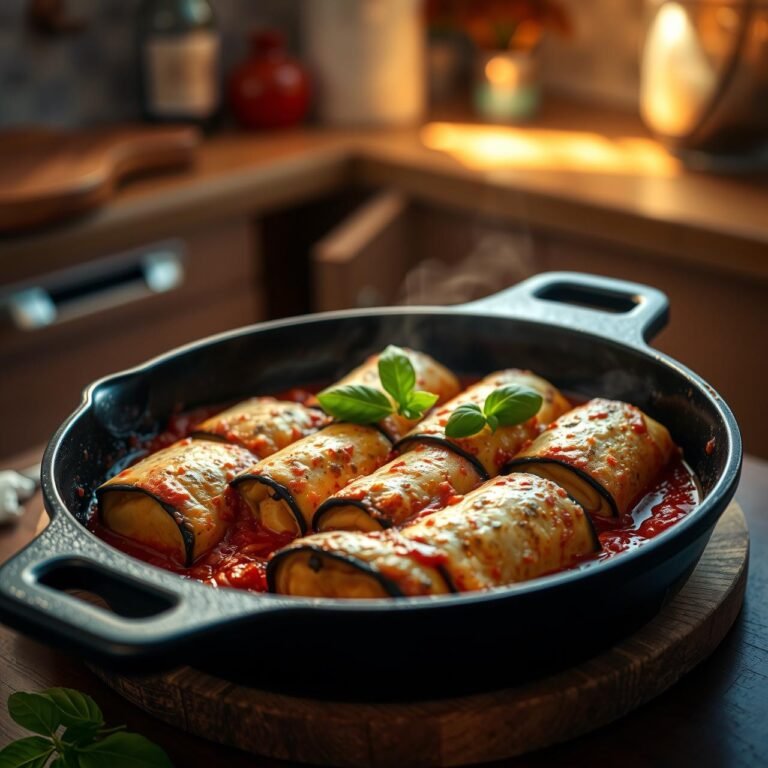
Super Crispy Air Fryer Tofu Katsu (No Oil Required Detailed Guide)
Imagine the sound: a satisfying, audible crunch that gives way to a tender, savory interior. This is the hallmark of a perfect Japanese Katsu. Traditionally, this deep-fried cutlet is a masterclass in texture, but it often comes with a significant amount of oil. For those of us seeking a healthier, cleaner path without sacrificing that crave-worthy crispiness, the challenge has always been real. Until now.
Enter the air fryer, our kitchen hero. This guide is your culinary roadmap to achieving a Super Crispy Air Fryer Tofu Katsu that is so unbelievably crunchy, you’ll question if it really is baked. We’re diving deep into the technique, from selecting the right tofu to mastering the three-stage breading process that guarantees a crust that clings and crisps to perfection—all without a single drop of added oil. This isn’t just a recipe; it’s a method for transforming humble tofu into a show-stopping, homestyle meal that will satisfy gourmet palates, health enthusiasts, and budget-conscious home cooks alike. Prepare to be amazed by the power of hot air and a little bit of know-how.
Why This Oil-Free Katsu Will Become Your New Favorite

Before we roll up our sleeves, let’s talk about what makes this recipe so special. It’s more than just a healthier alternative; it’s a culinary revelation that stands proudly on its own merits.
- The Unbelievable Crunch: We use Japanese Panko breadcrumbs, which are coarser and lighter than traditional breadcrumbs. When air-fried, they create a shatteringly crisp crust that mimics the texture of deep-frying with astonishing accuracy.
- Healthy & Wholesome: By eliminating oil entirely, we slash the fat and calorie content dramatically. This is a high-protein, plant-based meal you can feel genuinely good about eating any night of the week.
- Flavor-Packed Interior: The secret to delicious tofu is proper preparation. We’ll show you how to press the tofu to create a firm, meaty texture that acts as the perfect canvas for savory seasonings and the rich, tangy tonkatsu sauce.
- Budget-Friendly Gourmet: Tofu is an incredibly affordable protein. This recipe empowers you to create a restaurant-quality meal that feels indulgent and special without breaking the bank. It’s homestyle cooking elevated to a new level.
Essential Equipment for Katsu Perfection
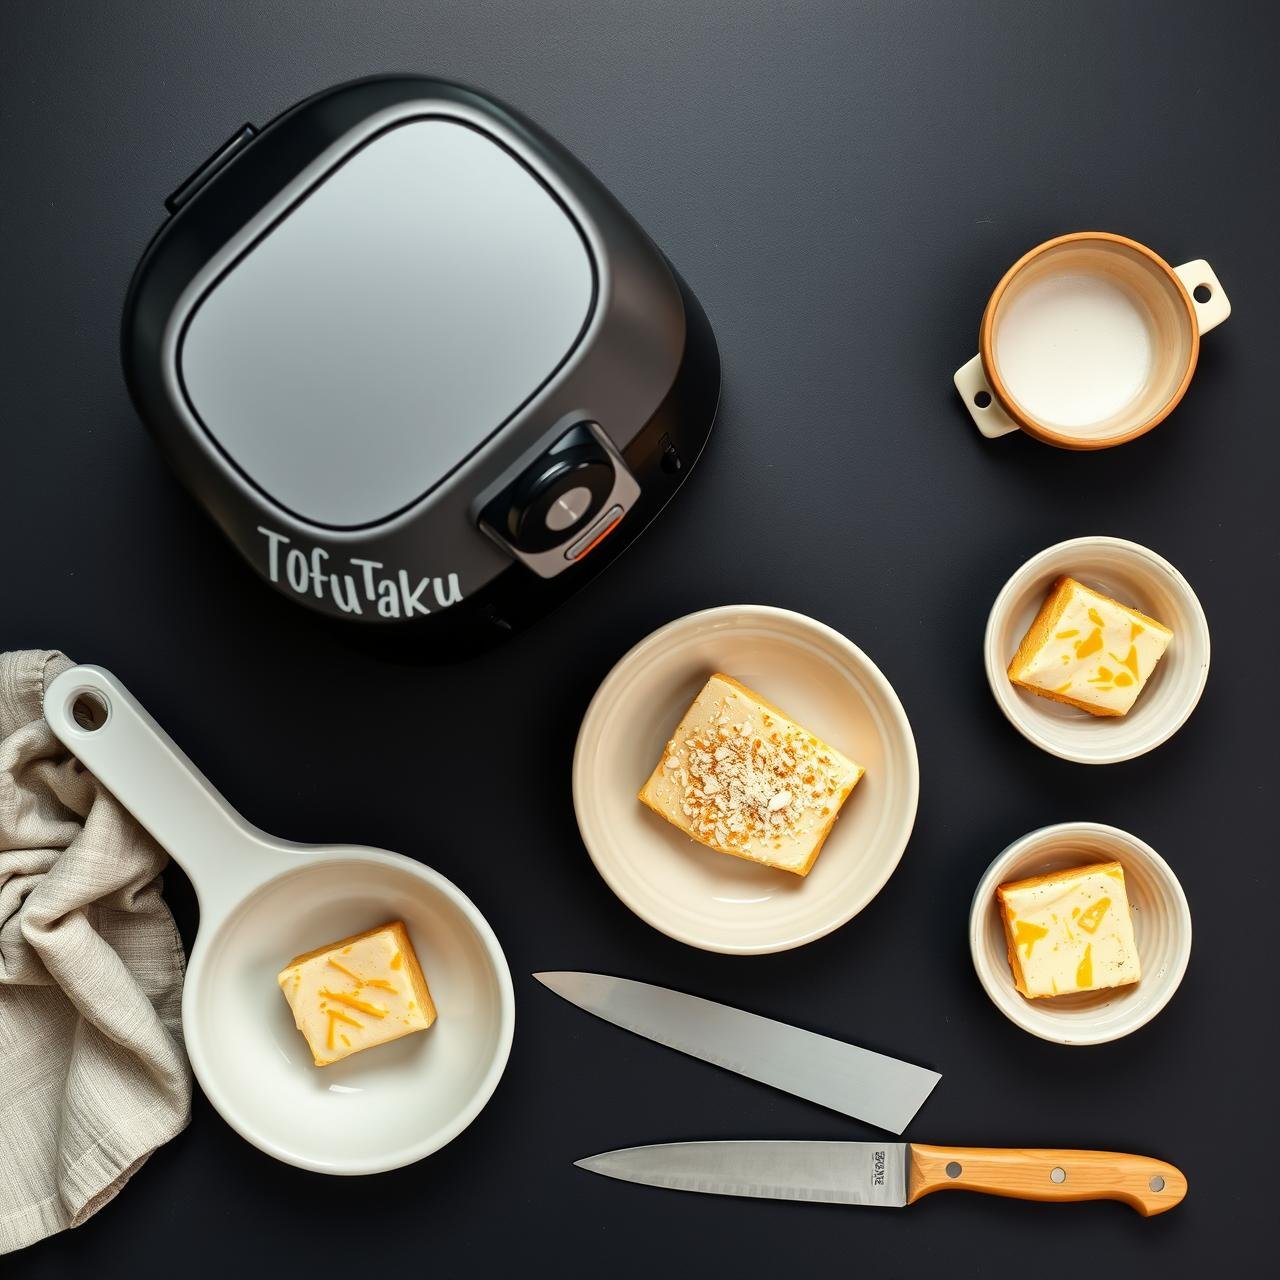
You don’t need a professional kitchen to achieve perfect results, but a few key tools are non-negotiable for success. Having everything ready before you begin, a practice known as ‘mise en place,’ makes the process smooth and enjoyable.
| Equipment | Chef’s Note |
|---|---|
| Air Fryer | Any model will work, but basket-style fryers tend to circulate air most effectively for maximum crispiness. Preheating is key! |
| Tofu Press (or DIY setup) | Absolutely essential. A press is convenient, but you can use heavy books and paper towels. Removing water is the secret to non-soggy tofu. |
| Shallow Bowls or Pie Plates (x3) | You’ll need three separate dishes for the flour, the wet batter, and the panko. This organized setup prevents a clumpy, messy breading process. |
| Measuring Cups & Spoons | Precision is helpful for getting the seasoning in the flour mixture just right. |
| Sharp Knife & Cutting Board | For slicing the tofu into uniform cutlets, ensuring they cook evenly. |
The Anatomy of Perfect Katsu: Ingredient Breakdown
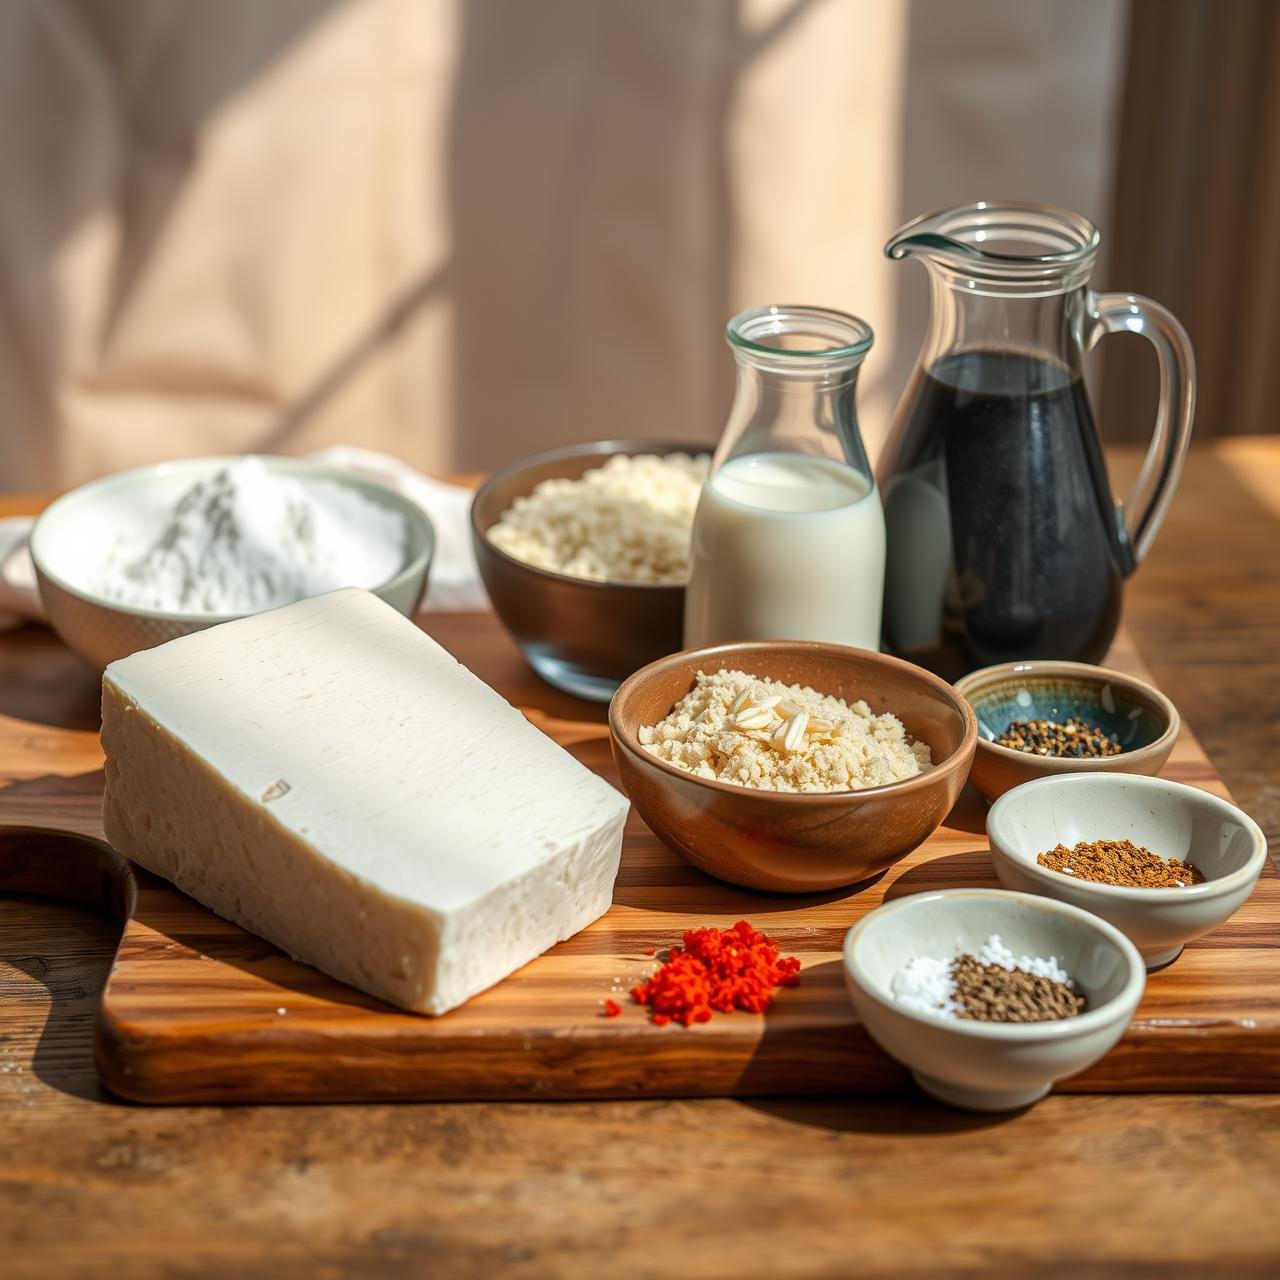
The beauty of this recipe lies in its simplicity and the quality of its components. Each ingredient plays a crucial role in building the final masterpiece of texture and flavor.
For the Tofu Cutlets:
- Extra-Firm Tofu (16 oz block): Do not substitute with soft or silken tofu. Extra-firm tofu holds its shape and develops a wonderfully meaty texture once pressed.
- All-Purpose Flour (1/2 cup): This is the first layer of our breading. It gives the wet mixture something to cling to.
- Garlic Powder & Onion Powder (1 tsp each): These aromatics infuse the first layer of breading with a savory, foundational flavor.
- Salt & Black Pepper (1/2 tsp each): Essential for seasoning the tofu from the outside in.
- Unsweetened Plant-Based Milk (3/4 cup): Acts as the binder. Almond, soy, or oat milk all work beautifully. It replaces the traditional egg wash.
- Dijon Mustard (1 tbsp): A secret ingredient! The mustard adds a subtle tang and helps the milk mixture thicken slightly, making it a more effective binder.
- Japanese Panko Breadcrumbs (1 1/2 cups): The star of the show. Panko is made from crustless bread, resulting in larger, flakier crumbs that absorb less oil and become incredibly crispy.
For the Classic Tonkatsu Sauce (Optional, but Recommended):
- Ketchup (1/2 cup): Provides the sweet and tangy tomato base.
- Worcestershire Sauce (2 tbsp, use vegan if needed): Adds umami depth and complexity.
- Soy Sauce or Tamari (1 tbsp): For saltiness and another layer of umami.
- Mirin or Maple Syrup (1 tbsp): Adds a touch of sweetness to balance the acidity.
The Ultimate Guide: Step-by-Step Tofu Katsu Preparation
Follow these steps meticulously for a flawless, crispy result. The process is straightforward and methodical, rewarding your patience with an incredible meal.
Part 1: Pressing the Tofu (The Most Crucial Step)
- Drain the Tofu: Open the package and pour out all the water. Give the block a gentle rinse.
- Press Out Excess Water: If using a tofu press, follow the manufacturer’s instructions. If not, place the tofu block on a plate lined with several paper towels or a clean kitchen towel. Place another layer of towels on top, followed by a heavy object like a cast-iron skillet or a few cookbooks.
- Wait Patiently: Press the tofu for at least 30 minutes, but for the best, firmest texture, aim for 1 hour. You’ll be surprised how much water comes out.
- Slice the Cutlets: Once pressed, slice the tofu block horizontally into four equal-sized cutlets, about 1/2-inch thick.
Part 2: Setting Up the Breading Station
- Prepare Three Bowls: Line up your three shallow bowls.
- Bowl 1 (Dry Mix): In the first bowl, whisk together the all-purpose flour, garlic powder, onion powder, salt, and pepper.
- Bowl 2 (Wet Mix): In the second bowl, whisk together the unsweetened plant-based milk and Dijon mustard until smooth.
- Bowl 3 (Panko): In the third bowl, simply add the Panko breadcrumbs.
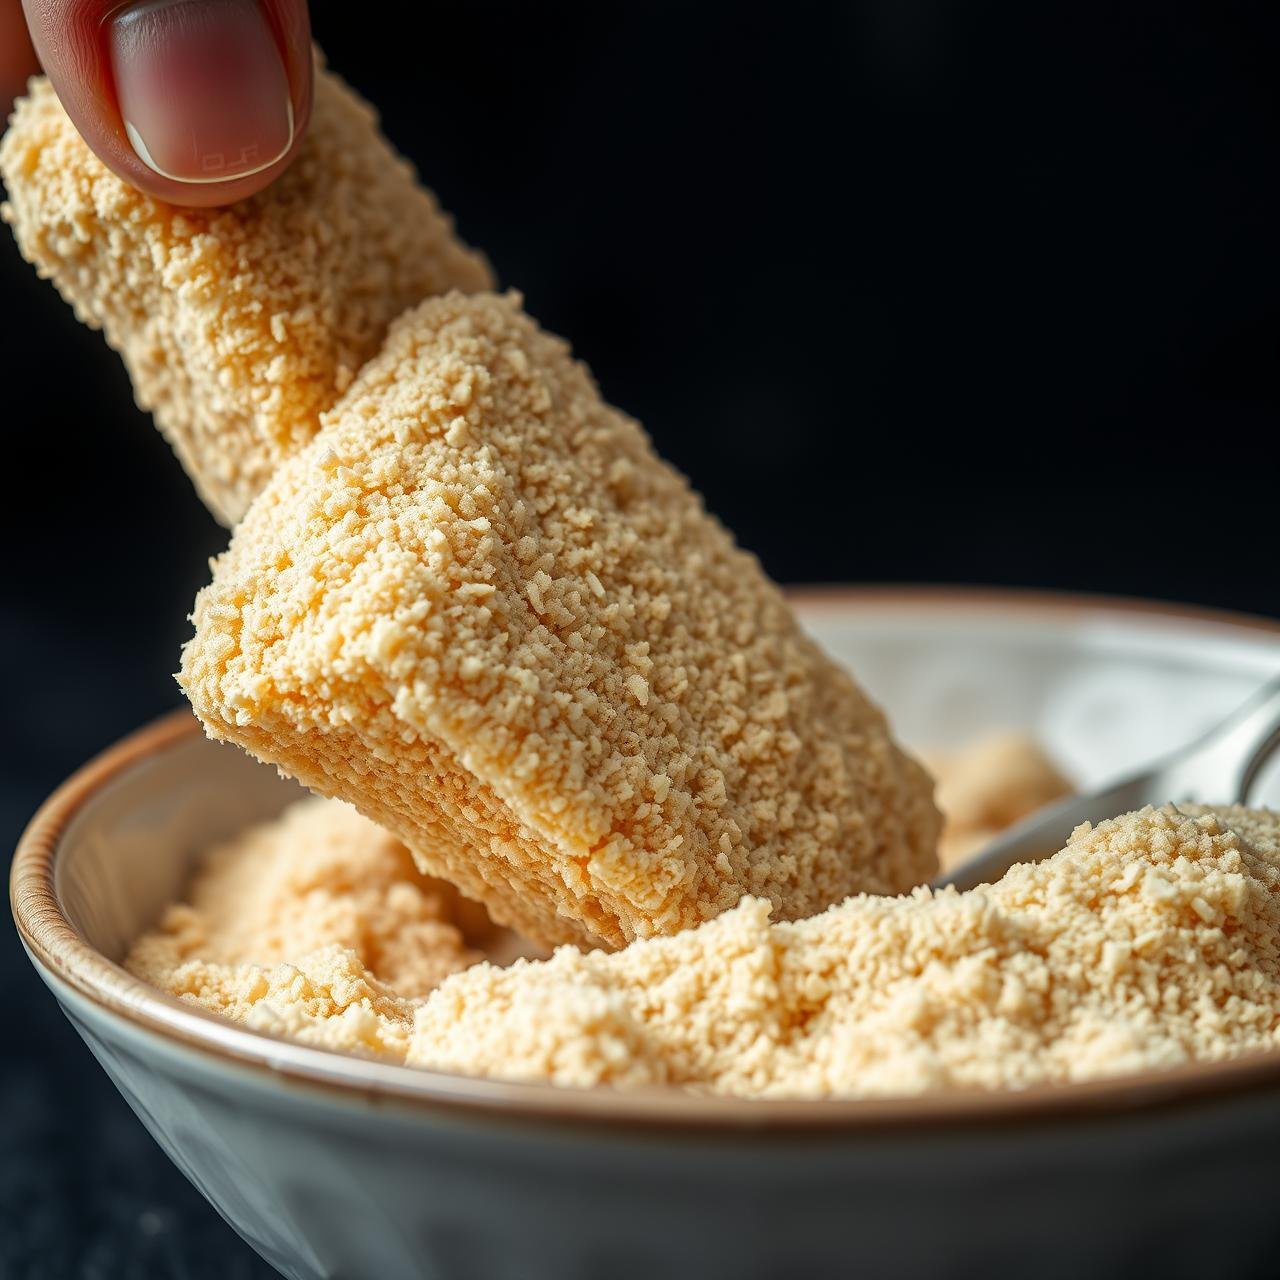
Part 3: The Breading Process
- Dry Hand, Wet Hand: Designate one hand for dry ingredients and one for wet to minimize mess. This is a pro technique!
- First Dredge: Take one tofu cutlet and coat it completely in the flour mixture. Shake off any excess. The surface should be dry and dusty.
- Second Dip: Using your ‘wet hand,’ transfer the floured cutlet to the milk mixture. Submerge it completely, letting any excess drip off.
- Final Coat: Immediately transfer the wet cutlet to the panko bowl. Using your ‘dry hand,’ scoop and press the panko firmly onto all sides of the tofu. Ensure a thick, even coating. This pressing action is key for a crust that doesn’t fall off. Place the breaded cutlet on a clean plate or parchment-lined tray.
- Repeat: Continue this process for the remaining three cutlets.
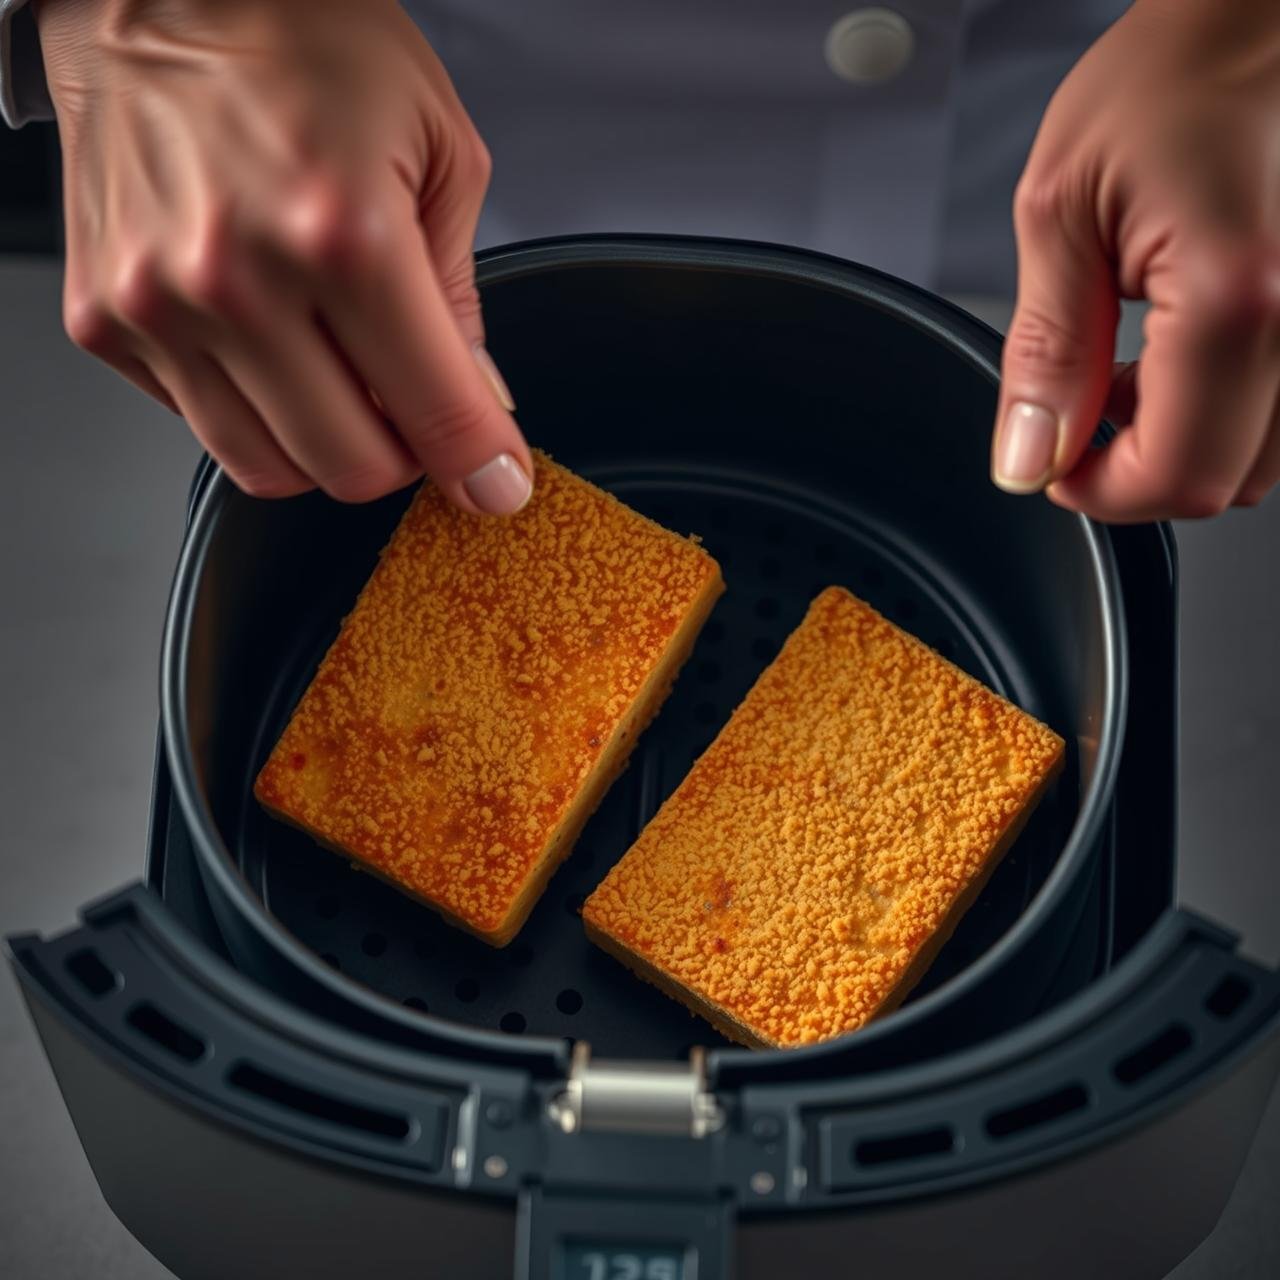
Part 4: Air Frying to Golden Perfection
- Preheat Your Air Fryer: Set your air fryer to 400°F (200°C) and let it preheat for 5 minutes. This is crucial for an initial blast of heat that sets the crust.
- Arrange in Basket: Carefully place the breaded tofu cutlets in the air fryer basket in a single layer. Do not overcrowd them; cook in two batches if necessary. Overcrowding will steam the tofu instead of crisping it.
- Air Fry: Cook for 12-15 minutes, carefully flipping the cutlets halfway through. The katsu is done when it’s a deep golden brown and sounds hollow and crispy when tapped.
Chef’s Secrets for Unbelievably Crispy Tofu
Little details can make a big difference. Here are some insider tips to guarantee your tofu katsu is flawless every single time.
- Don’t Skip the Press: I cannot overstate this. Pressing is the difference between a firm, meaty cutlet and a soft, watery one. It’s the foundation of crispy tofu.
- Toast Your Panko: For an even deeper golden color and nutty flavor, you can pre-toast your panko. Spread it on a baking sheet and bake at 350°F (175°C) for 3-5 minutes until lightly golden before using it in the breading station.
- Press the Panko Firmly: When you’re in the final breading stage, use your dry hand to really press the panko into the tofu. This mechanical action helps form a strong, durable crust that won’t flake off during cooking.
- Give Them Space: The golden rule of air frying is to never overcrowd the basket. Hot air needs to circulate around every surface of the food to create a uniformly crisp exterior. Cook in batches if your air fryer is small.
- Serve Immediately: Air-fried foods are at their peak crispiness right out of the fryer. Serve the katsu as soon as it’s done for the best possible texture and sound.
Serving Suggestions & Homemade Tonkatsu Sauce
A perfectly cooked katsu deserves a perfect presentation. Traditionally, it’s served as a set meal, or ‘teishoku,’ which is easy and fun to replicate at home.
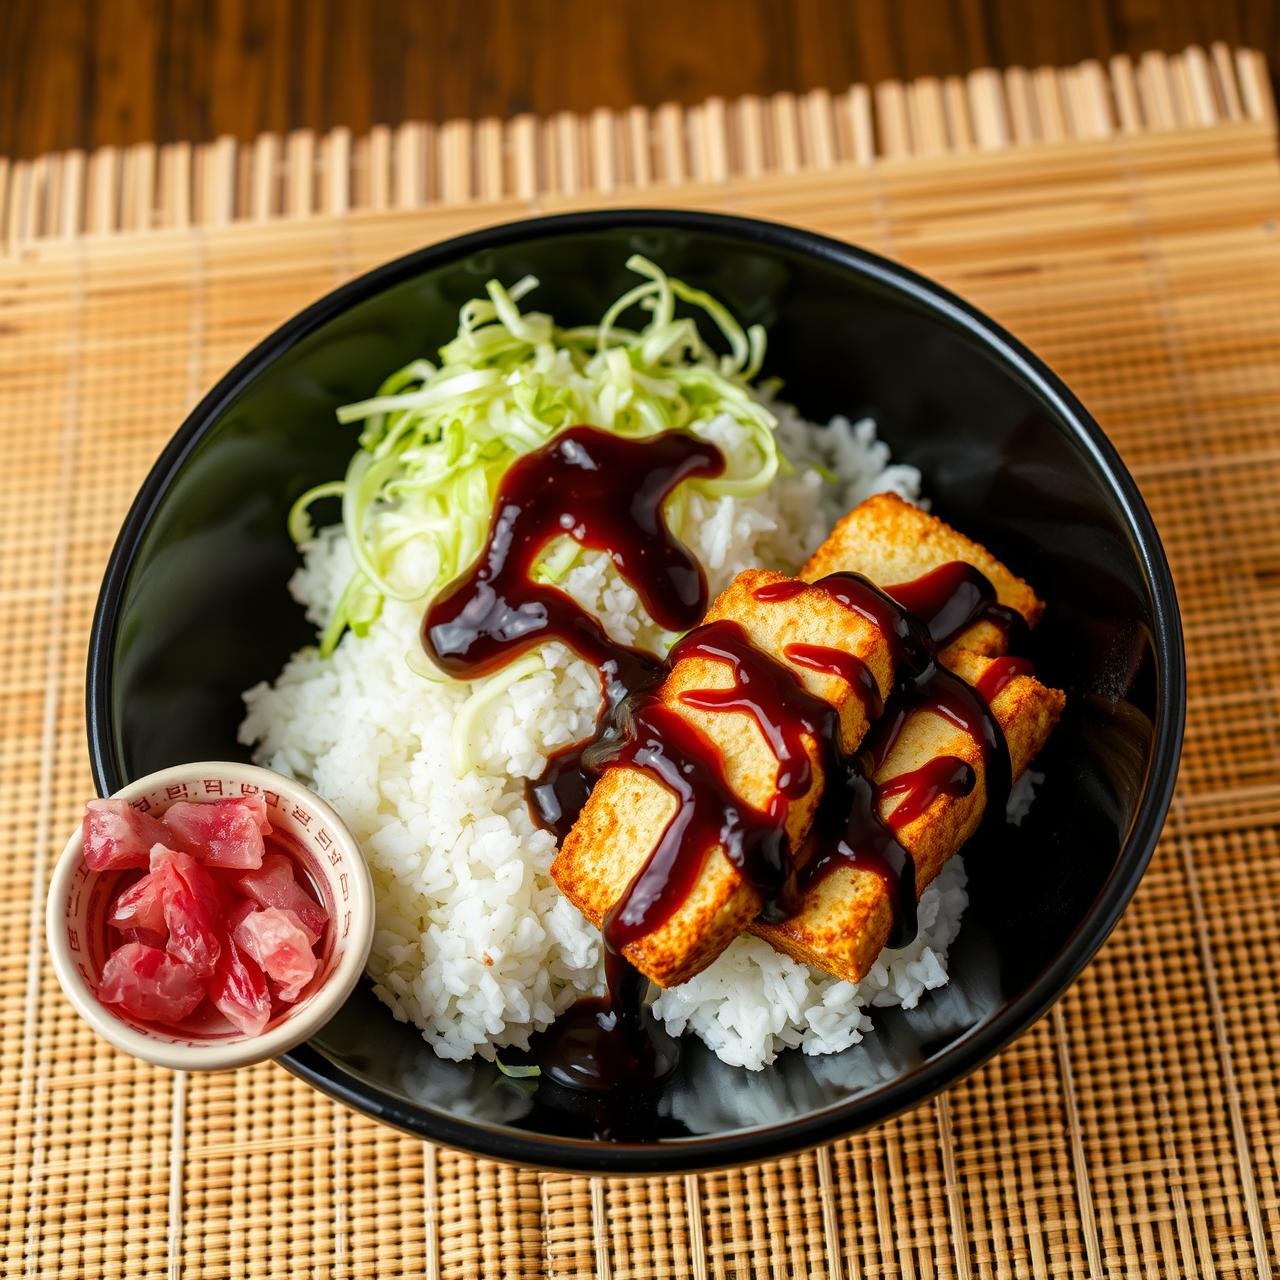
Classic Katsu Set Meal:
Slice the finished tofu katsu into 1-inch strips. Serve alongside a mound of fluffy short-grain rice (like Jasmine or Sushi rice) and a generous portion of finely shredded cabbage. The crisp, cool cabbage provides a refreshing contrast to the rich, crunchy katsu.
Homemade Tonkatsu Sauce:
While you can buy pre-made sauce, this homemade version is incredibly simple and allows you to control the ingredients. In a small bowl, simply whisk together 1/2 cup ketchup, 2 tbsp Worcestershire sauce (vegan version if needed), 1 tbsp soy sauce, and 1 tbsp mirin or maple syrup until smooth. That’s it! Drizzle it generously over the sliced katsu before serving.
Other Serving Ideas:
- Katsu Sando: Serve the katsu cutlet between two slices of fluffy Japanese milk bread with a layer of tonkatsu sauce for the ultimate sandwich experience.
- Katsudon Style: Place the sliced katsu over a bowl of rice and top with a vegan egg scramble and a savory dashi-based sauce.
- Katsu Curry: Serve the crispy cutlet alongside a rich and hearty Japanese curry sauce.
Nutritional Information
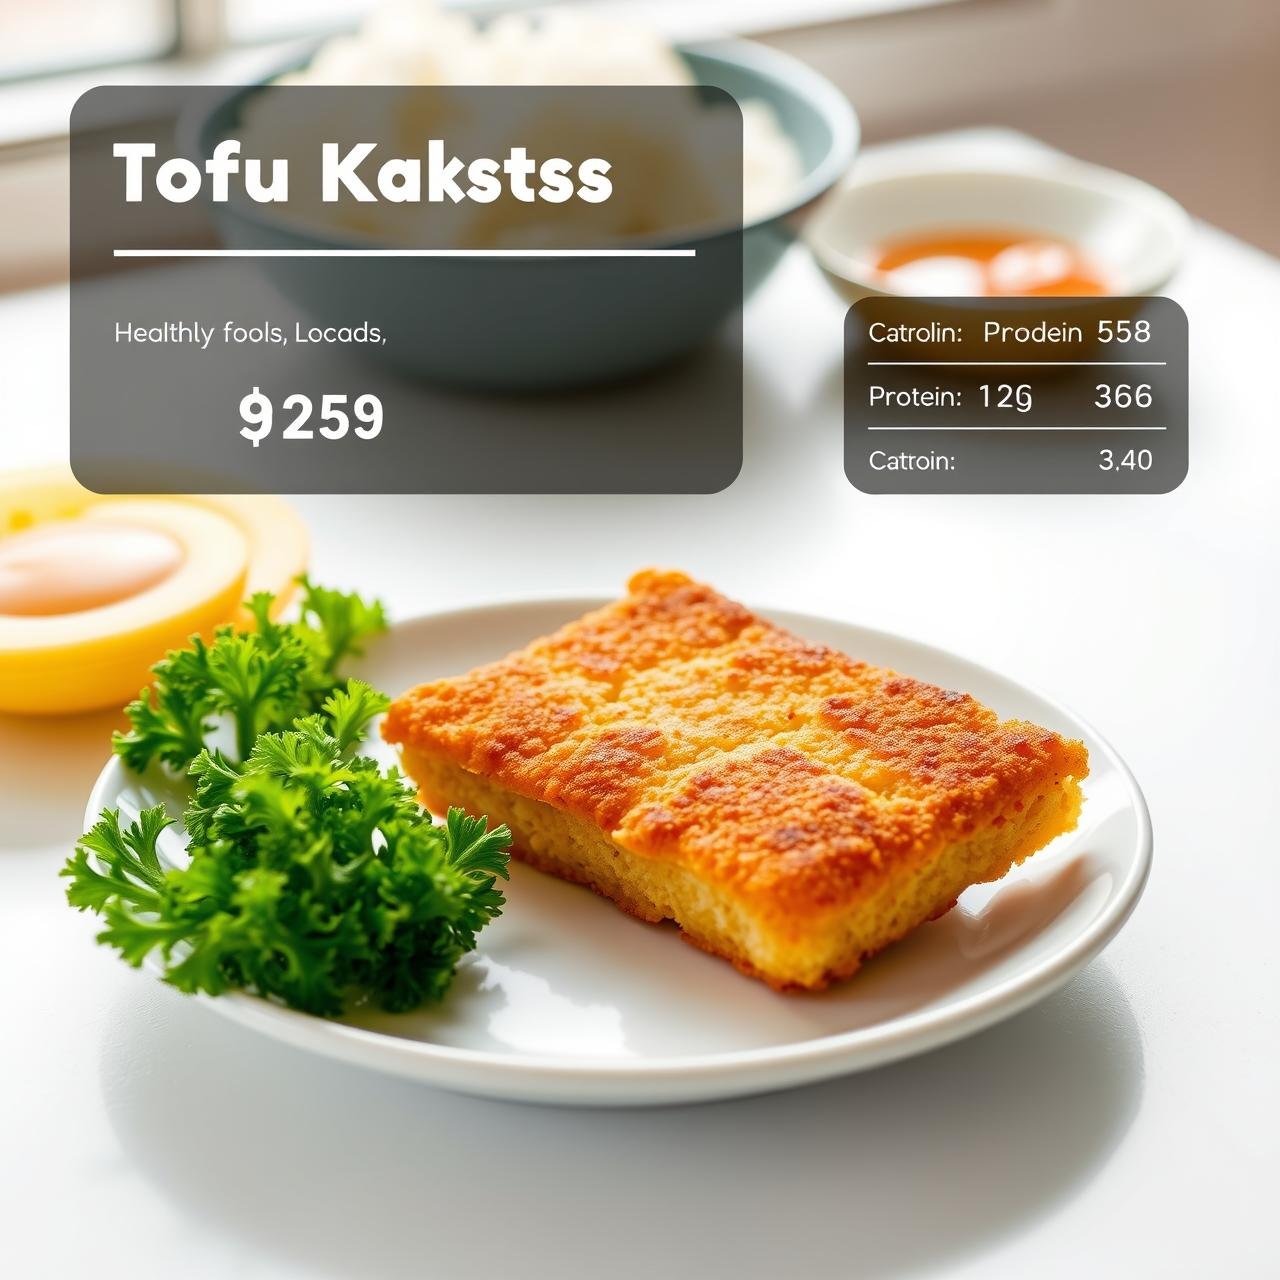
This is an estimate per serving, assuming the recipe makes four servings (one cutlet per serving). The sauce is calculated separately.
| Nutrient | Amount per Katsu Cutlet (without sauce) |
|---|---|
| Calories | ~285 kcal |
| Protein | ~18 g |
| Fat | ~7 g |
| Carbohydrates | ~35 g |
| Fiber | ~3 g |
| Sodium | ~450 mg |
Disclaimer: Nutritional information is an estimate and can vary based on the specific brands of ingredients used.
Storing and Reheating for Maximum Crispiness
While katsu is best enjoyed fresh, leftovers can still be delicious if handled correctly. The goal is to reheat it in a way that revives the crispiness without drying out the tofu.
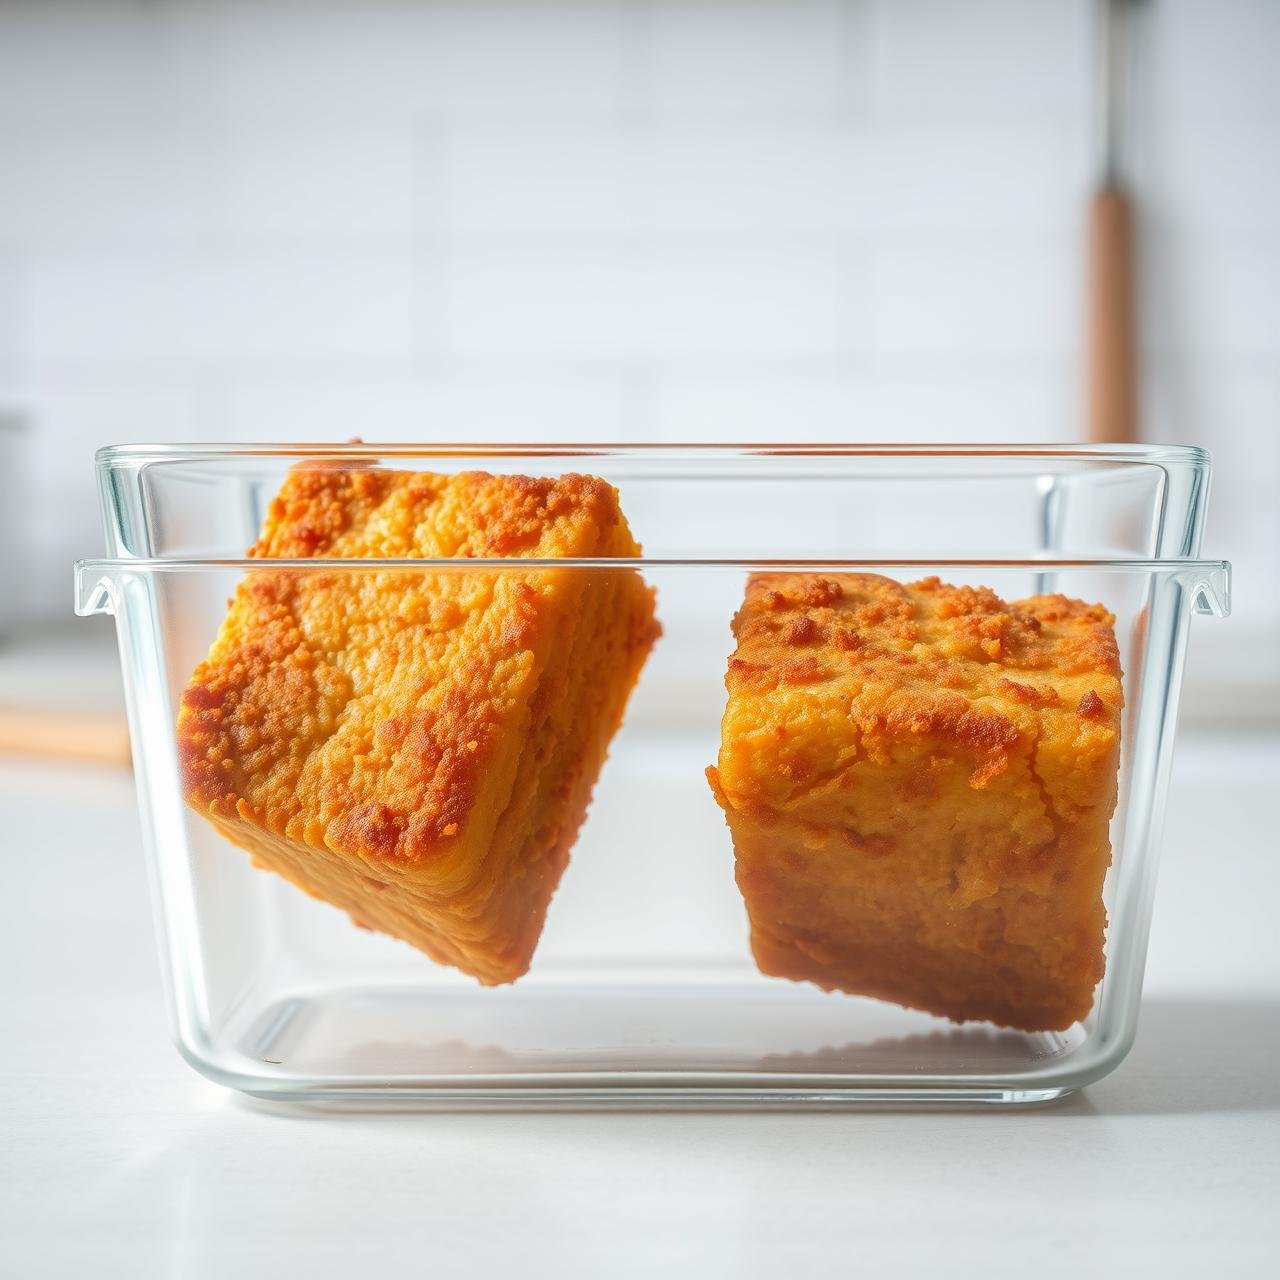
Storage:
Allow the katsu to cool completely to room temperature. This prevents condensation from forming in the container, which is the enemy of crispiness. Store the cooled cutlets in an airtight container in the refrigerator for up to 3 days.
Reheating:
The best way to bring back that crunch is to use the air fryer again! Do not use a microwave, as it will make the breading soggy.
- Preheat your air fryer to 375°F (190°C).
- Place the leftover katsu in a single layer in the basket.
- Heat for 3-5 minutes, or until warmed through and the crust is crispy again.
This method will give you a result that is nearly as good as the day you made it, ensuring no delicious katsu goes to waste.
Conclusion
And there you have it—a truly crispy, golden, and satisfying Tofu Katsu made right in your air fryer, proving that you don’t need oil to achieve incredible texture and flavor. This recipe is a testament to the power of simple ingredients and smart techniques. It’s a healthy, budget-friendly, and deeply comforting meal that brings the beloved taste of Japanese homestyle cooking into your kitchen. We hope this detailed guide empowers you to create this dish with confidence and that the resounding crunch of your first bite brings a smile to your face. Happy cooking!