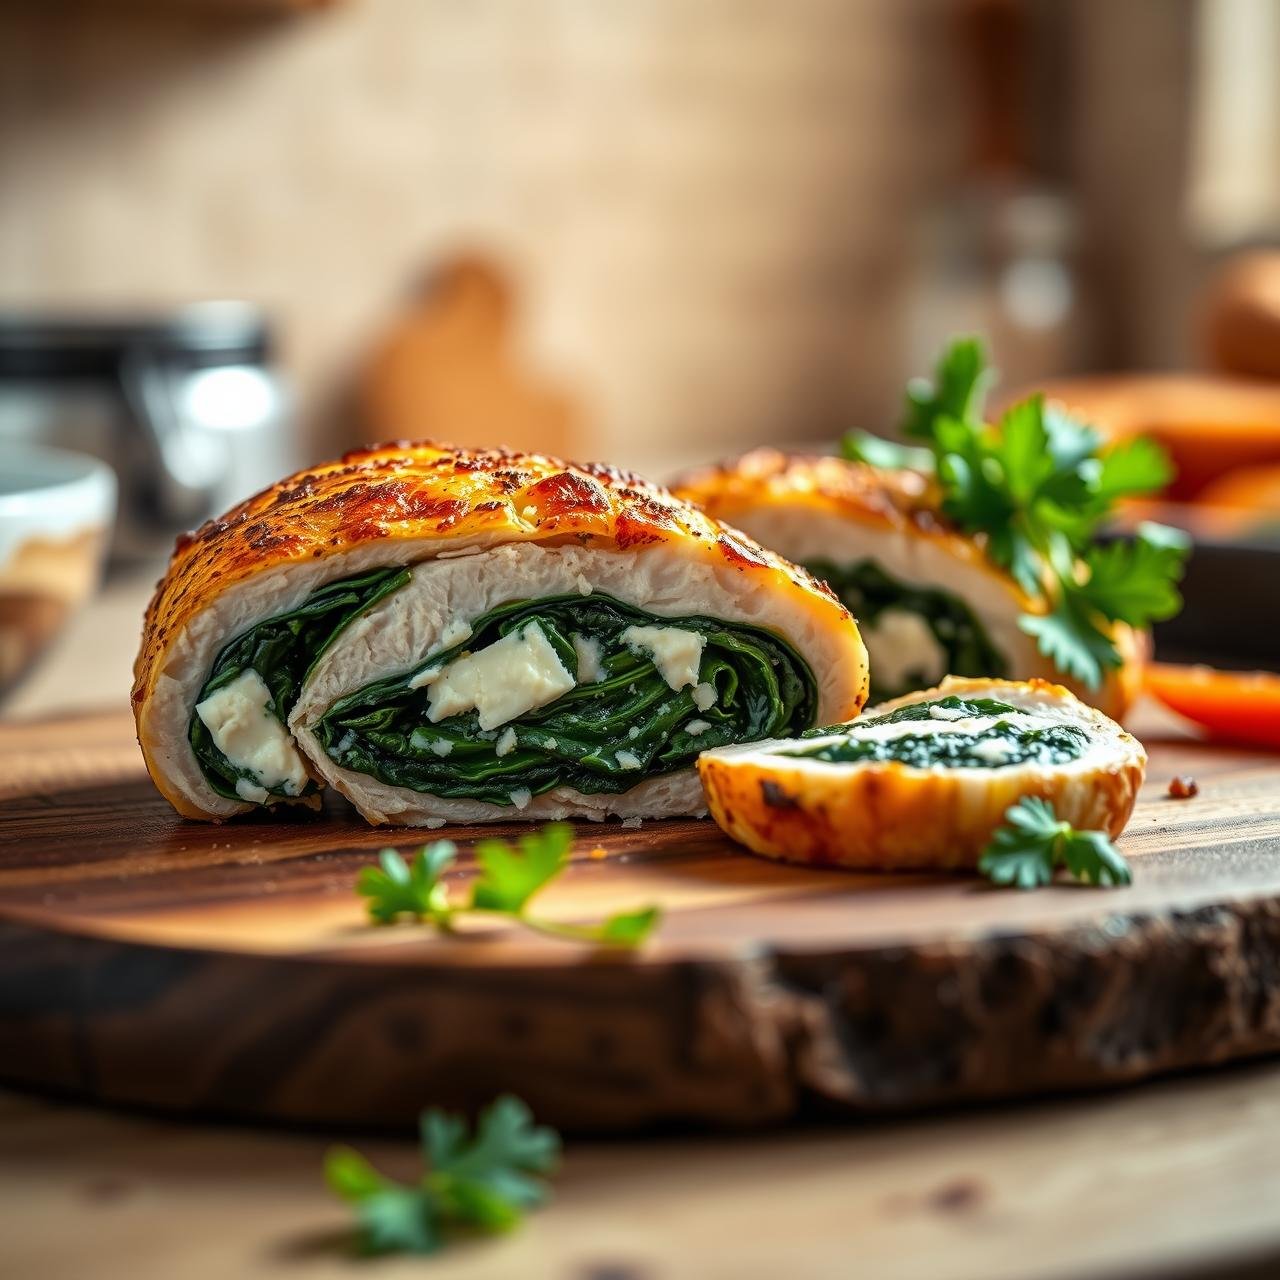
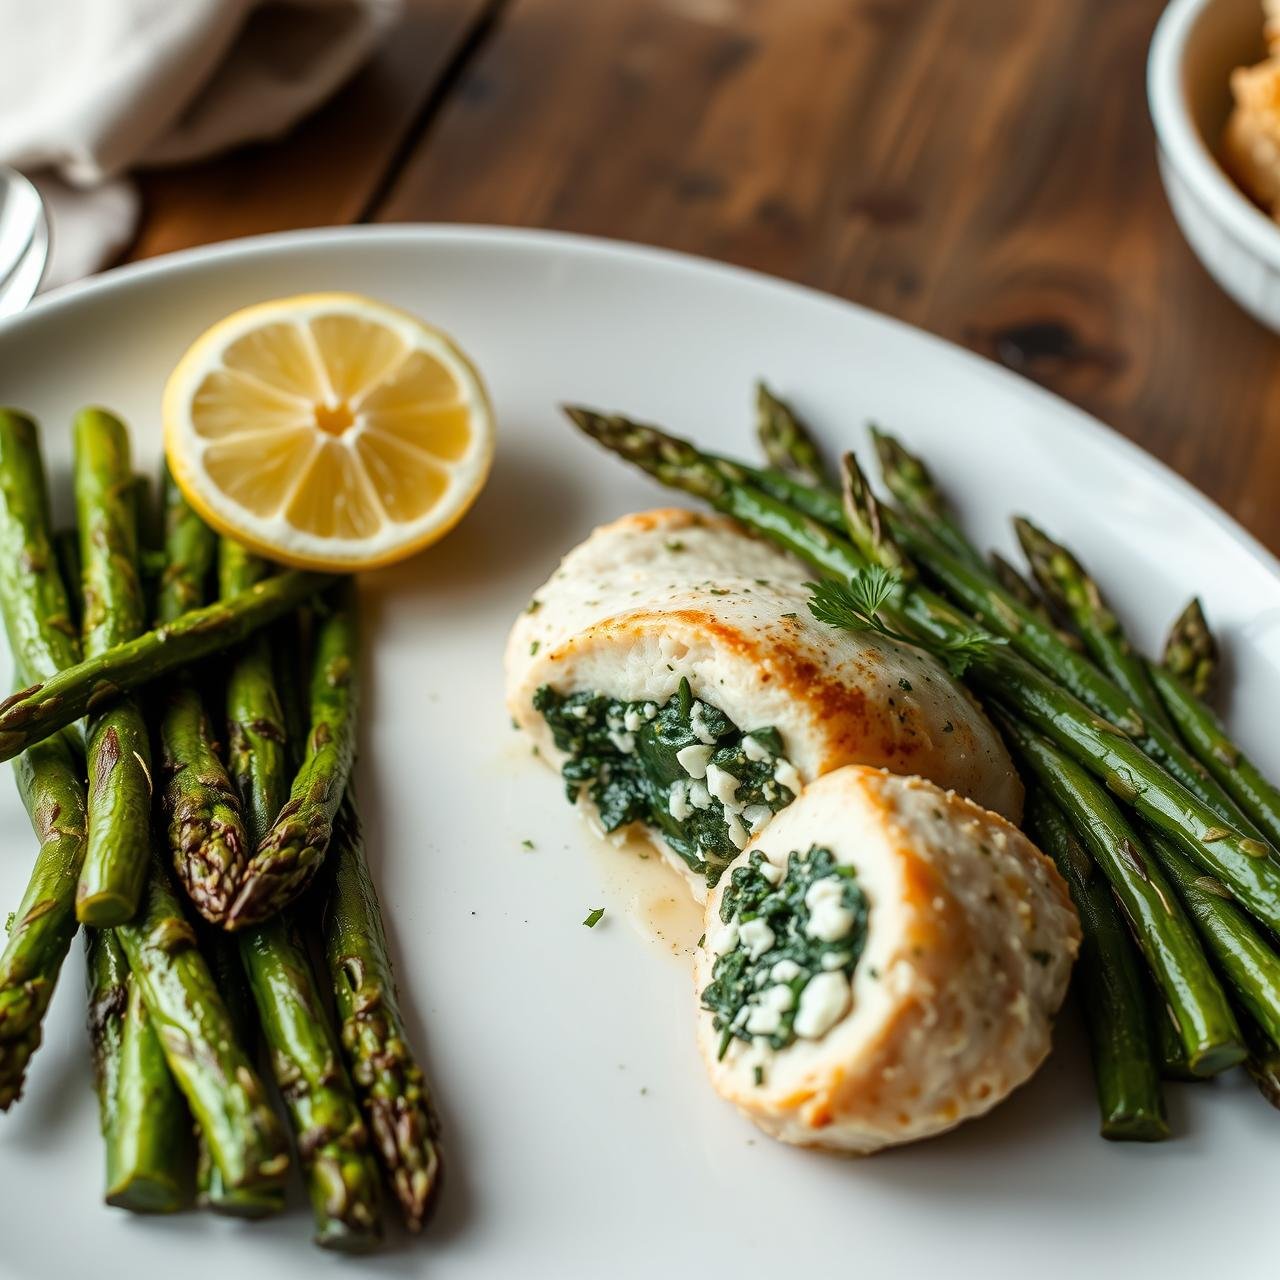
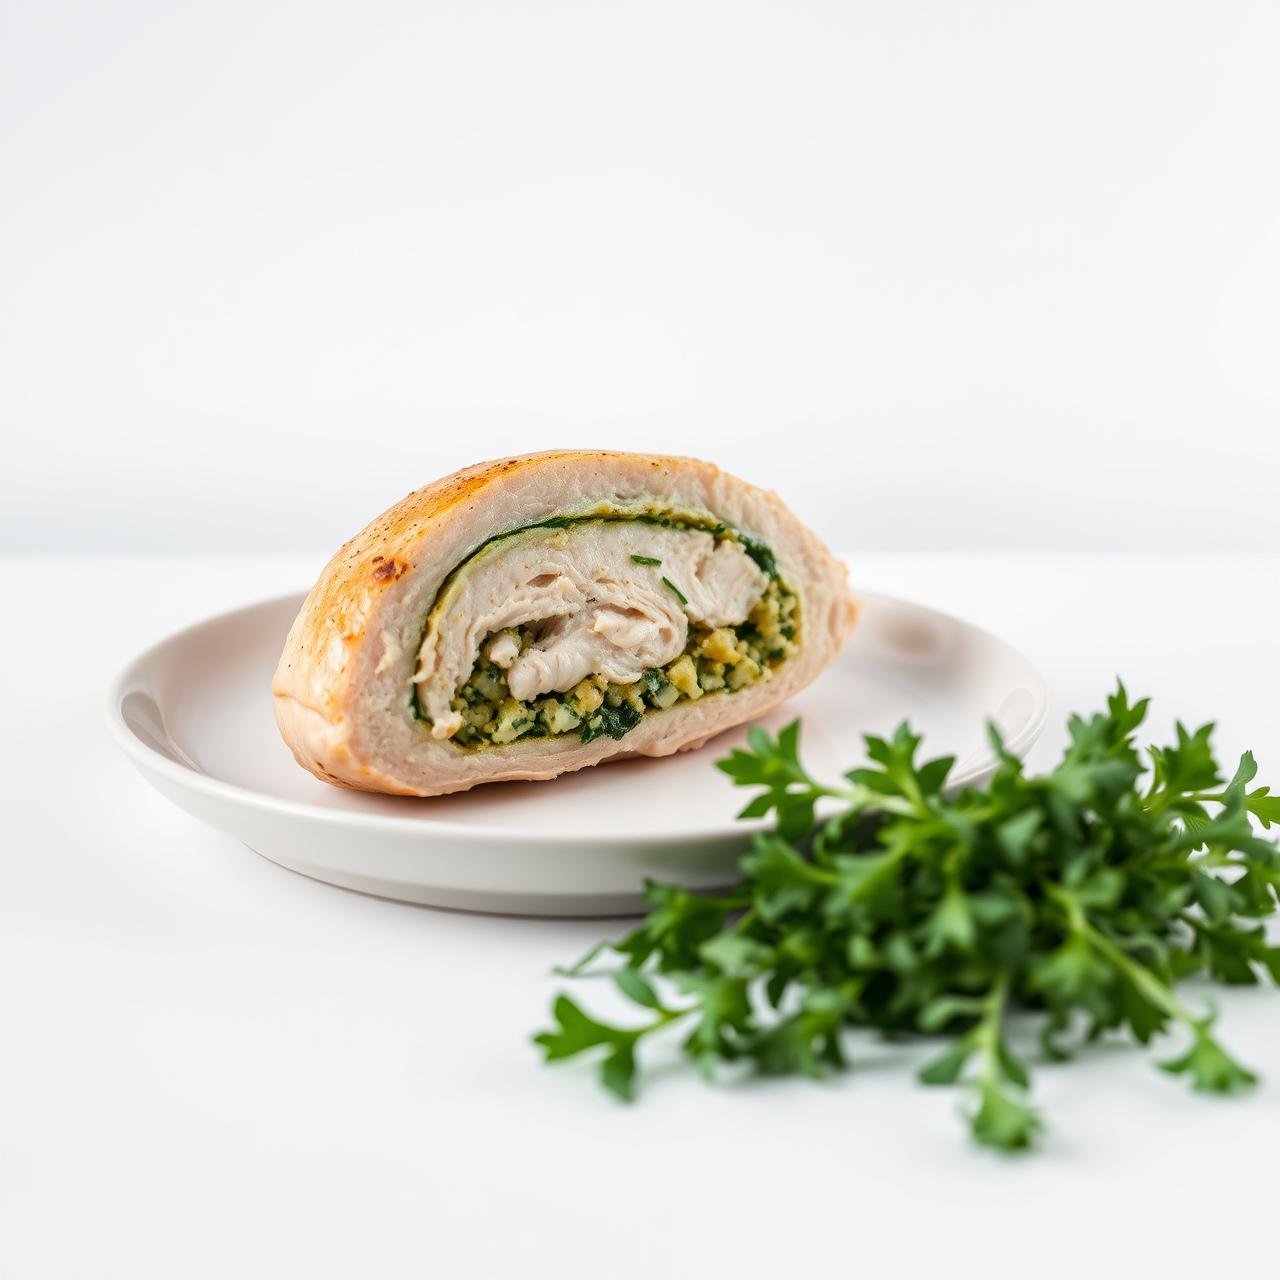
Juicy Spinach and Feta Stuffed Chicken Breast (Keto Friendly)
There is a unique satisfaction that comes from creating a dish that is both profoundly comforting and impressively elegant, yet simple enough for a weeknight meal. Our Juicy Spinach and Feta Stuffed Chicken Breast is precisely that dish. It stands as a testament to the fact that healthy, keto-friendly eating doesn’t mean sacrificing flavor or indulgence. This recipe transforms the humble chicken breast—a staple for budget-conscious home cooks—into a culinary centerpiece. We will guide you, with professional precision and a rustic, homestyle approach, through crafting a dish where tender, juicy chicken encases a warm, savory filling of earthy spinach, tangy feta, and creamy cheese. It’s a celebration of clean flavors and wholesome ingredients, designed to nourish your body and delight your palate. Prepare to elevate your home cooking with a recipe that is as reliable as it is delicious.
The Art and Science of a Perfectly Stuffed Chicken
Why does stuffing a chicken breast create such a succulent result? The secret lies in a combination of flavor infusion and moisture retention. By creating a pocket within the lean chicken breast and filling it with a rich mixture, we achieve two things. First, the filling itself—a blend of cooked spinach, salty feta, creamy cheese, and aromatic garlic—gently seasons the chicken from the inside out as it cooks. Second, and perhaps more importantly, the filling acts as an internal basting agent. The moisture and fats from the cheese mixture slowly release during cooking, preventing the notoriously lean chicken breast from drying out. The result is an incredibly tender, juicy piece of meat every single time. This technique is a cornerstone of classic cooking, and mastering it will unlock a new level of confidence in your kitchen. This particular combination of spinach and feta is a nod to Mediterranean flavors—clean, bright, and deeply satisfying.
Essential Equipment for a Flawless Dish
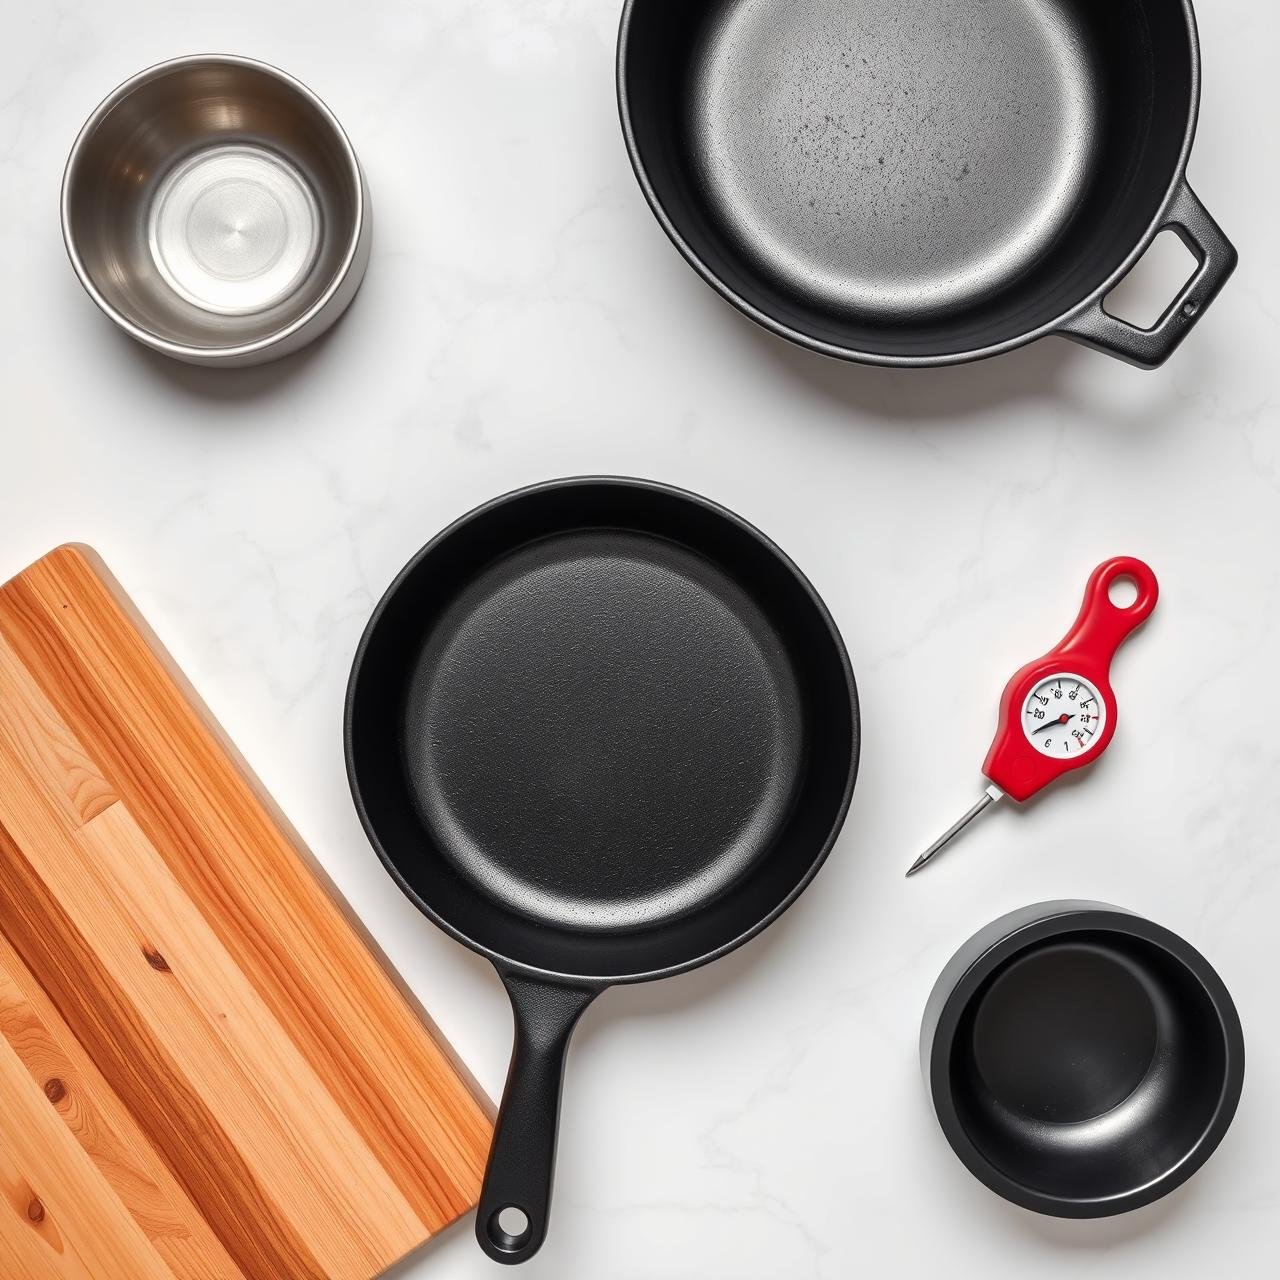
A great chef knows that the right tools make any task simpler and more efficient. For this recipe, you don’t need any highly specialized gadgets, just a few kitchen workhorses. Having these items ready will ensure a smooth and enjoyable cooking process from start to finish.
| Tool | Purpose |
|---|---|
| Large Skillet | An oven-safe skillet (cast iron is ideal) is crucial for searing the chicken on the stovetop and then transferring it directly to the oven. This two-step cooking process is key to the juicy result. |
| Sharp Paring or Boning Knife | A sharp, smaller knife will give you the control needed to carefully cut a pocket into the chicken breast without piercing through the other side. |
| Mixing Bowl | A medium-sized bowl is needed to thoroughly combine the ingredients for your delicious spinach and feta filling. |
| Cutting Board | Use a dedicated cutting board for raw meat to prevent cross-contamination. A separate one for your vegetables is always best practice. |
| Toothpicks or Kitchen Twine | These are essential for securing the chicken breast after stuffing, ensuring the filling stays inside during the cooking process. |
| Meat Thermometer | The only foolproof way to guarantee perfectly cooked, juicy chicken that is safe to eat. An instant-read thermometer is a home cook’s best friend. |
Gathering Your Fresh, Wholesome Ingredients
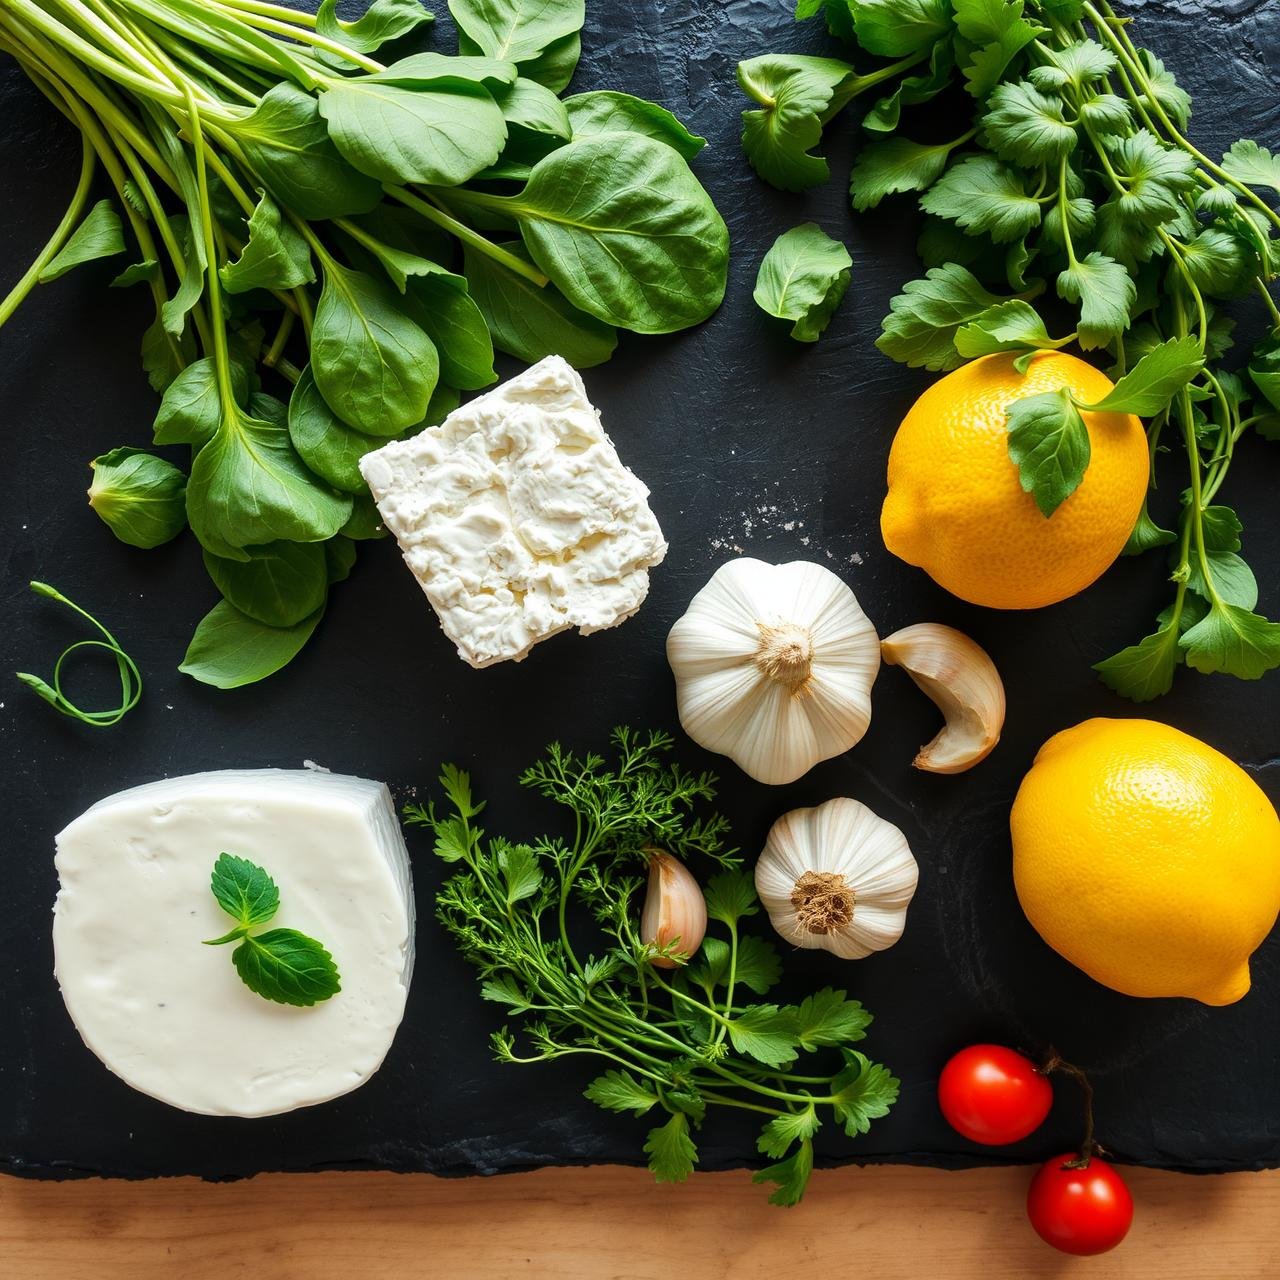
The quality of your final dish is a direct reflection of the ingredients you begin with. This recipe relies on simple, fresh, and budget-friendly components that come together to create something truly special. Here is your shopping list:
- 4 medium boneless, skinless chicken breasts (about 6-8 ounces each)
- 1 tablespoon olive oil
- 5 ounces fresh spinach, roughly chopped
- 2 cloves garlic, minced
- 4 ounces feta cheese, crumbled
- 4 ounces cream cheese, softened to room temperature
- 1/4 cup grated Parmesan cheese
- 1/2 teaspoon black pepper, freshly ground
- 1/2 teaspoon salt
- 1/4 teaspoon red pepper flakes (optional, for a little heat)
- 1 teaspoon paprika (for seasoning the outside of the chicken)
- 1 teaspoon garlic powder (for seasoning the outside of the chicken)
A Chef’s Guide: Crafting the Perfect Stuffed Chicken Breast
Follow these steps with care and precision, and you will be rewarded with a restaurant-quality meal. We have broken the process down into manageable stages: preparing the filling, stuffing the chicken, and finally, the crucial sear-and-bake cooking method.
Phase 1: Creating the Savory Filling
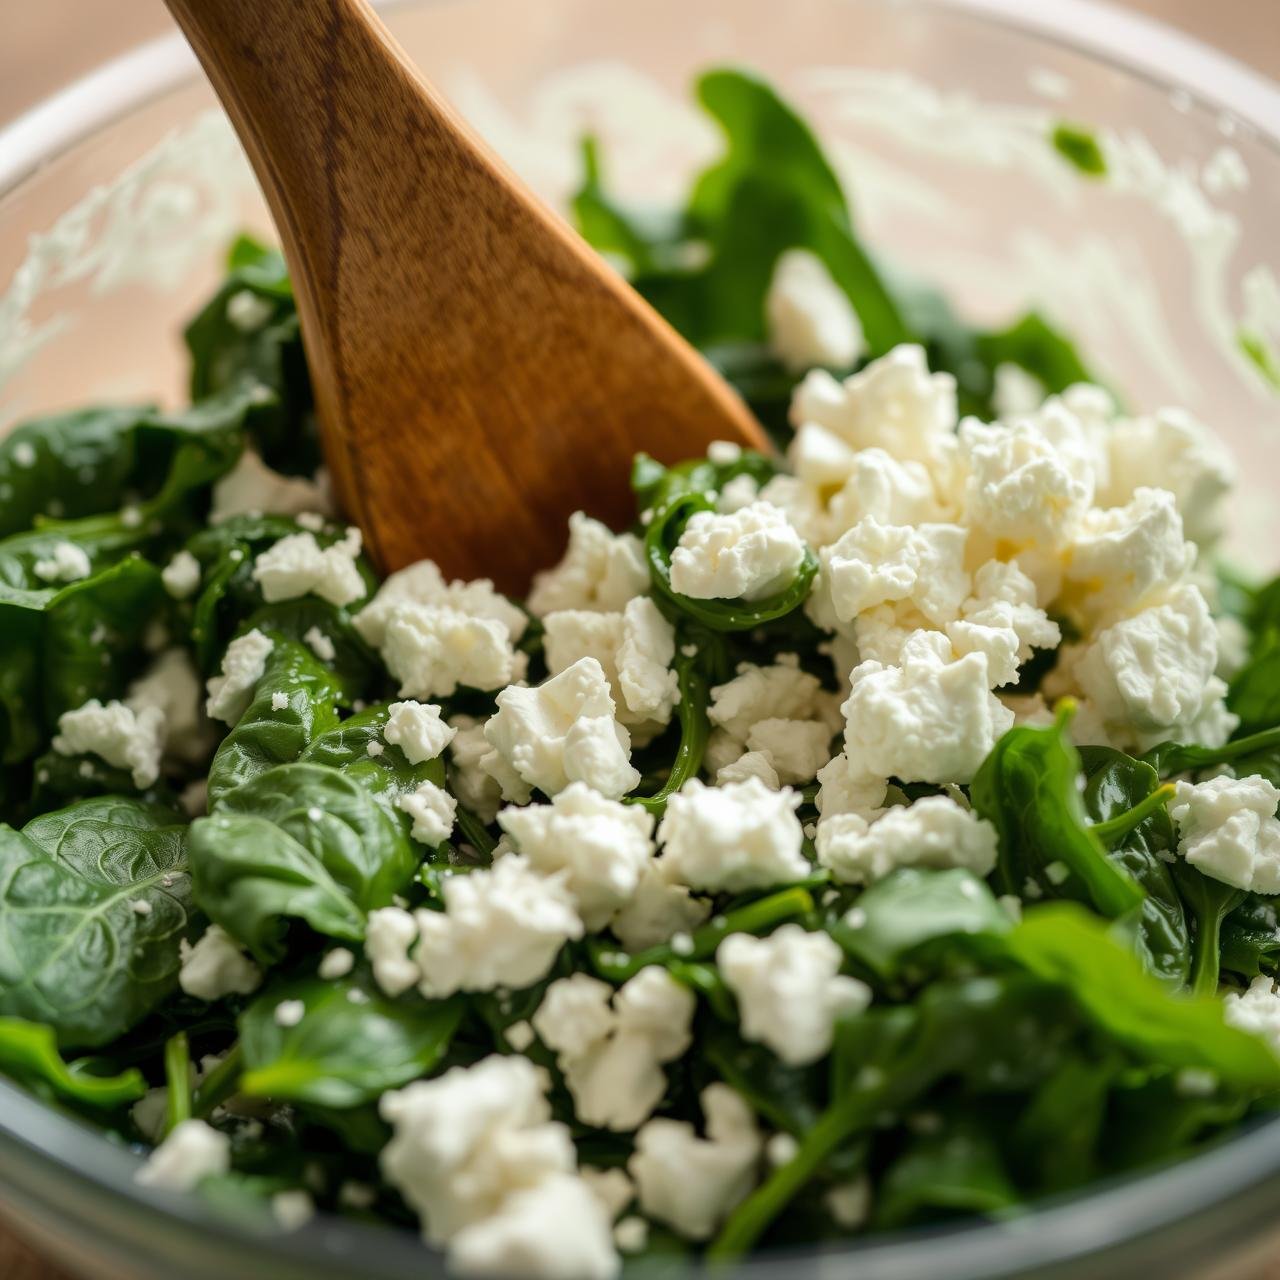
- Wilt the Spinach: Heat 1/2 tablespoon of olive oil in your skillet over medium heat. Add the minced garlic and cook for about 30 seconds until fragrant. Be careful not to burn it. Add the fresh spinach in batches and cook, stirring occasionally, until it has completely wilted down, about 3-4 minutes.
- Remove Excess Moisture: Transfer the cooked spinach to a fine-mesh sieve or a colander. Using the back of a spoon, press down firmly on the spinach to squeeze out as much excess water as possible. This step is critical to prevent a watery filling.
- Combine the Filling: In your mixing bowl, combine the softened cream cheese, crumbled feta, grated Parmesan, the squeezed spinach, salt, black pepper, and optional red pepper flakes. Mix until everything is well incorporated. Set aside.
Phase 2: Preparing and Stuffing the Chicken
- Preheat and Prepare: Preheat your oven to 400°F (200°C). Pat the chicken breasts completely dry with paper towels. A dry surface is essential for achieving a beautiful golden-brown sear.
- Create the Pocket: Place a chicken breast flat on your cutting board. Carefully insert the tip of your sharp knife into the thickest part of the breast, cutting horizontally to create a deep pocket. Be careful not to cut all the way through to the other side. Repeat for all four chicken breasts.
- Stuff the Chicken: Evenly divide the spinach and feta mixture among the four chicken breasts, carefully spooning it into each pocket. Don’t overstuff, as the filling can spill out during cooking.
- Secure the Opening: Use toothpicks to weave the opening of the pocket shut, or tie each breast with a piece of kitchen twine. This ensures the delicious filling stays where it belongs.
- Season Generously: In a small bowl, mix together the paprika, garlic powder, and a pinch of salt and pepper. Rub this seasoning mixture all over the exterior of each stuffed chicken breast.
Phase 3: The Sear-and-Bake Method
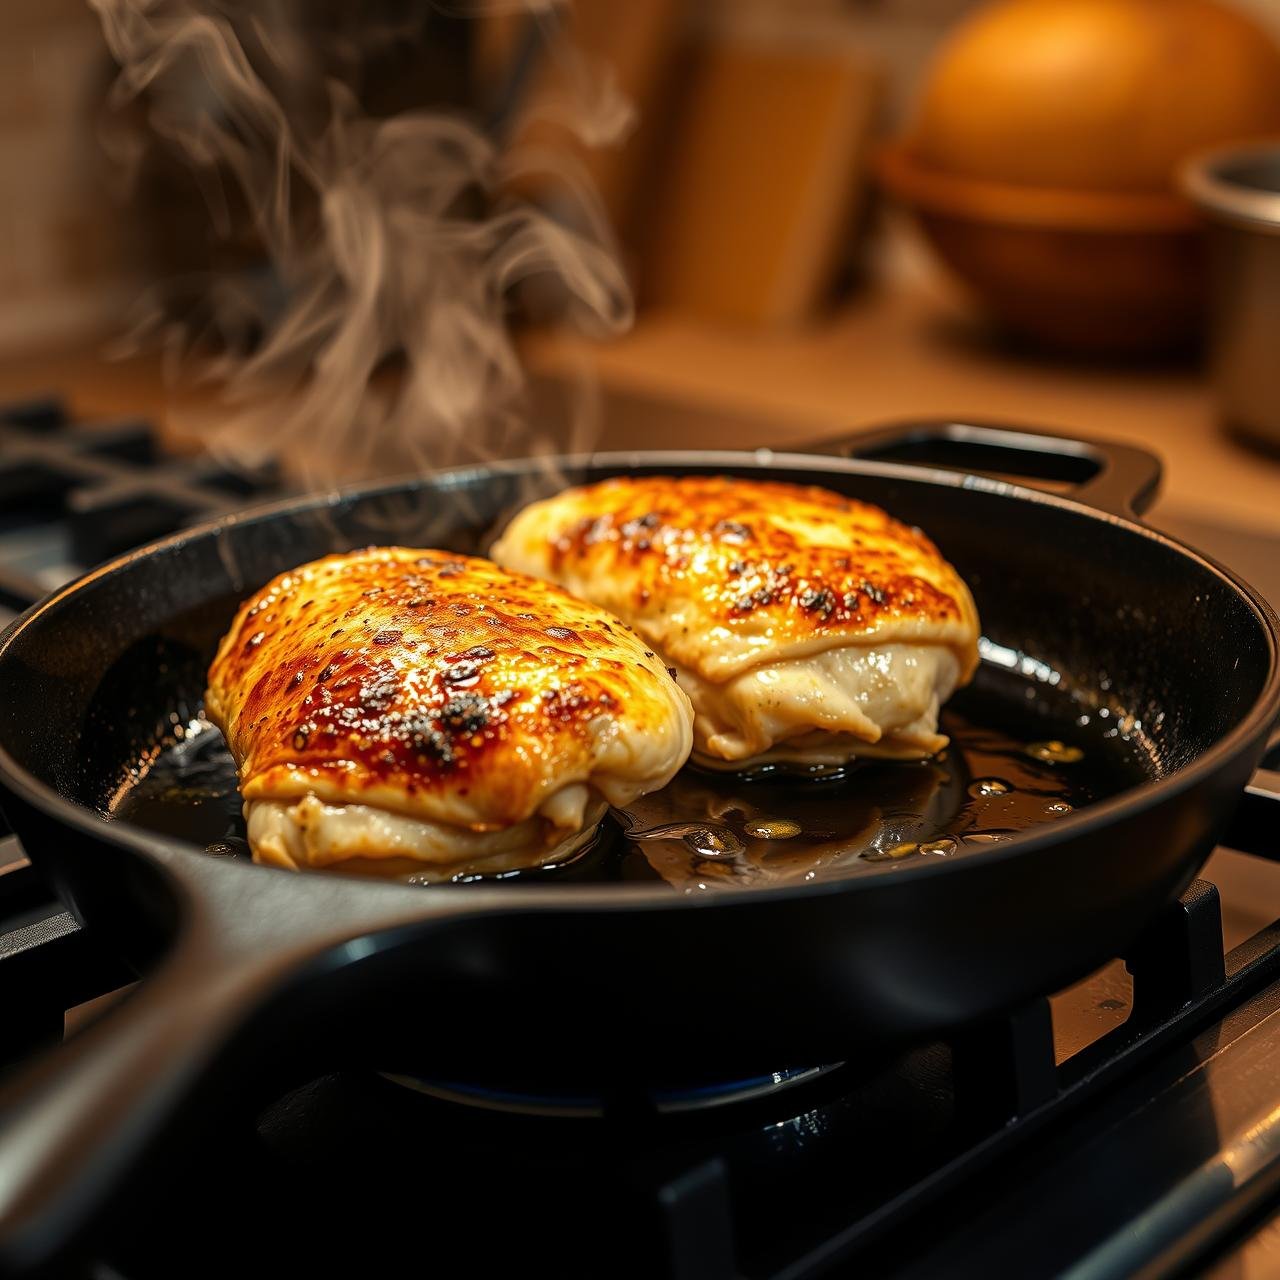
- Sear for a Golden Crust: Heat the remaining 1/2 tablespoon of olive oil in your oven-safe skillet over medium-high heat. Once the oil is shimmering, carefully place the seasoned chicken breasts in the pan. Sear for 3-4 minutes per side, until a deep golden-brown crust forms. Do not overcrowd the pan; work in batches if necessary.
- Bake to Perfection: Transfer the entire skillet to the preheated oven. Bake for 15-20 minutes, or until the chicken is cooked through. The most accurate way to check for doneness is with a meat thermometer—the internal temperature should read 165°F (74°C) at the thickest part of the chicken, not the filling.
- Rest Before Serving: Remove the skillet from the oven and let the chicken rest in the pan for 5-10 minutes before serving. This allows the juices to redistribute, ensuring every bite is moist and tender. Remember to remove any toothpicks or twine before slicing and serving.
Pro Tips from the Kitchen for Variations and Success
Ingredient Swaps and Additions:
- Cheese Variations: Not a fan of feta? Try substituting with goat cheese for a different tangy flavor, or use shredded mozzarella or provolone for an extra cheesy pull.
- Add Some Crunch: For added texture, consider mixing toasted pine nuts or chopped sun-dried tomatoes into your filling.
- Herb Infusions: Fresh herbs can elevate this dish. Try adding finely chopped dill, oregano, or chives to the cheese mixture for a brighter flavor profile.
Technique and Troubleshooting:
- Preventing a Dry Chicken: The two most important steps are not overcooking the chicken (use that meat thermometer!) and allowing it to rest before slicing. The sear-and-bake method also helps lock in juices.
- What if My Filling Leaks? A little bit of leakage is normal. To minimize it, make sure you don’t overstuff the pocket and secure it well with toothpicks. Also, ensuring your cream cheese is softened will make the filling less likely to split and separate.
- Perfect Side Pairings: To keep the meal keto-friendly, serve this chicken with a side of steamed asparagus, roasted broccoli, a fresh Greek salad, or cauliflower mash.
Nutritional Profile: A Healthy Indulgence
This dish is a powerhouse of nutrition, perfectly aligned with a ketogenic or low-carb lifestyle. It’s rich in protein, healthy fats, and essential nutrients from the spinach. The following is an estimated nutritional breakdown per serving (one stuffed chicken breast). Please note that actual values may vary based on specific ingredients and portion sizes.
| Nutrient | Amount per Serving (Approx.) |
|---|---|
| Calories | 450 kcal |
| Protein | 55 g |
| Total Fat | 25 g |
| Saturated Fat | 12 g |
| Total Carbohydrates | 5 g |
| Dietary Fiber | 2 g |
| Net Carbs | 3 g |
| Sodium | 750 mg |
Storage and Reheating Instructions
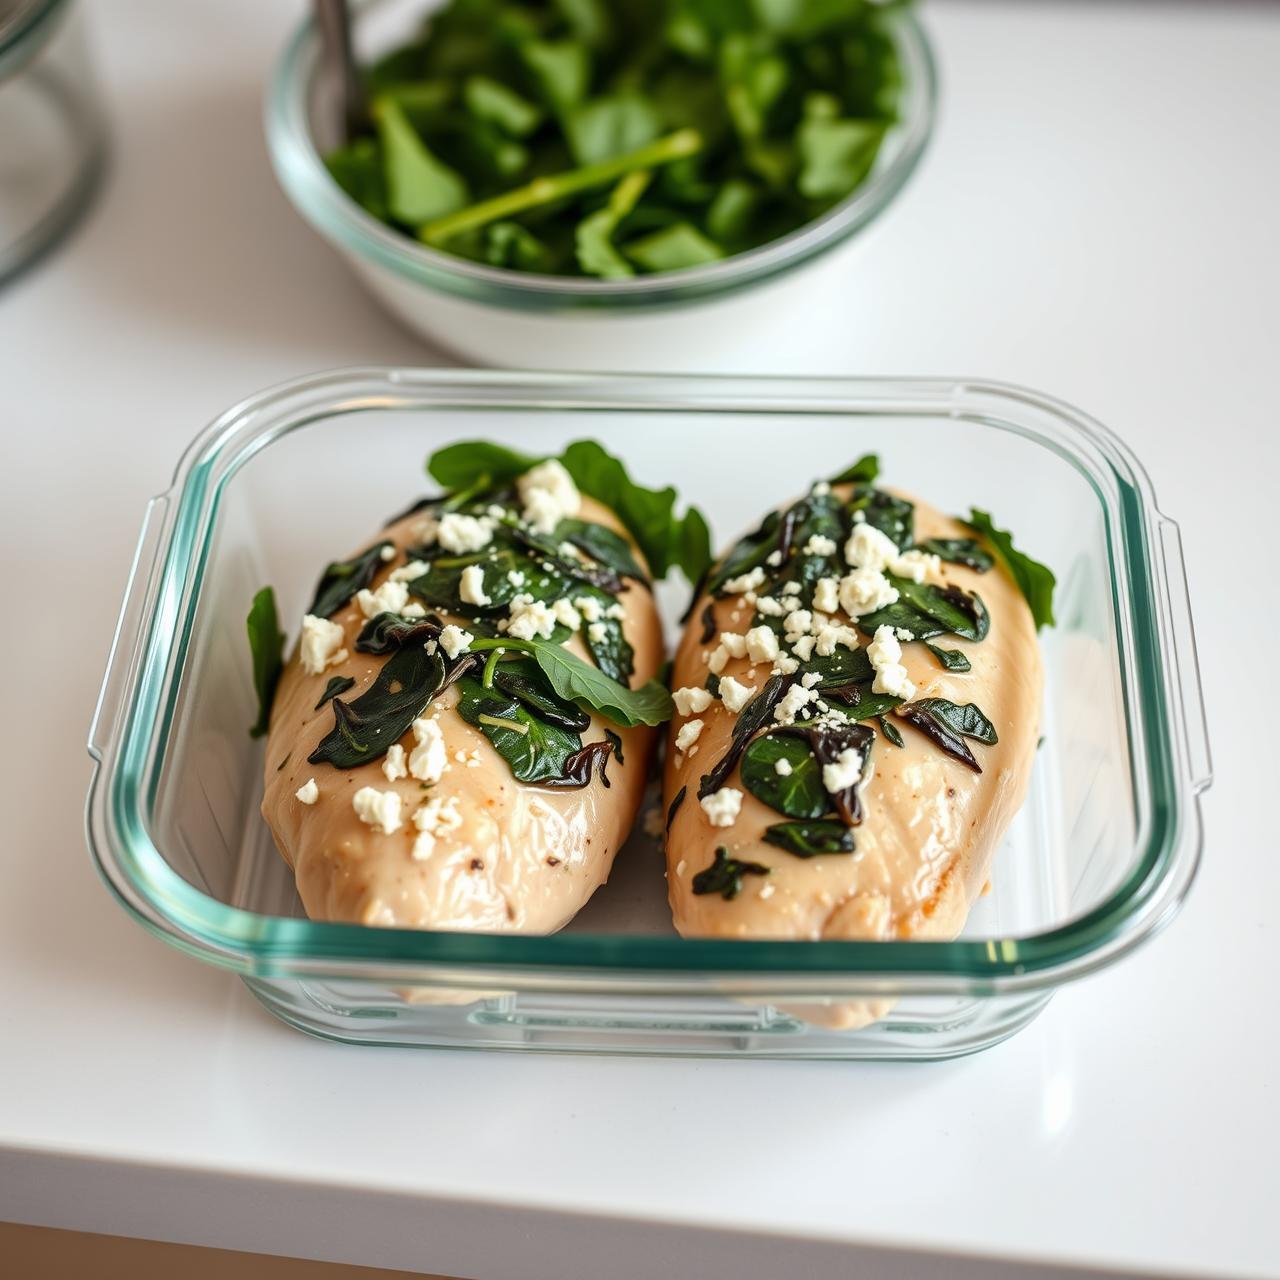
This recipe is just as delicious the next day, making it perfect for meal prep or enjoying leftovers. Proper storage is key to maintaining its quality.
Storage:
Allow the chicken to cool completely to room temperature. Store it in an airtight container in the refrigerator for up to 3-4 days. Storing it whole rather than sliced will help it retain more moisture.
Reheating:
The best way to reheat stuffed chicken is in the oven to prevent it from becoming rubbery. Preheat your oven to 350°F (175°C). Place the chicken in a small baking dish with a splash of chicken broth or water to create steam and prevent drying out. Cover with foil and bake for 15-20 minutes, or until heated through. For a quicker option, you can microwave it in short bursts, but the texture will be best from the oven.
Conclusion
You have now mastered the art of creating a Juicy Spinach and Feta Stuffed Chicken Breast that is as nourishing as it is flavorful. This recipe proves that simple, budget-friendly ingredients can be transformed into an elegant meal suitable for any occasion, from a busy weeknight to a special dinner. It is a cornerstone of healthy, satisfying cooking that fits seamlessly into a keto lifestyle without compromise. We encourage you to embrace this technique, experiment with your own filling variations, and share the joy of a wholesome, homemade meal with those around you. Happy cooking!