Flourless Peanut Butter Protein Muffins (Detailed Recipe No Fluff)
In the world of healthy baking, finding a recipe that is both simple and deeply satisfying can be a challenge. We’re here to cut through the noise with a direct, no-fluff guide to creating the ultimate Flourless Peanut Butter Protein Muffins. This recipe is engineered for home cooks and budget-conscious individuals who demand both nutrition and flavor without complicated steps or exotic ingredients. By eliminating flour, we create a muffin that is naturally gluten-free, incredibly moist, and packed with a robust peanut butter taste. The addition of protein powder transforms this simple treat into a powerful snack, perfect for post-workout recovery, a grab-and-go breakfast, or a guilt-free solution to midday cravings. Prepare to master a recipe that will become a staple in your healthy-eating toolkit.
Essential Equipment for Perfect Protein Muffins
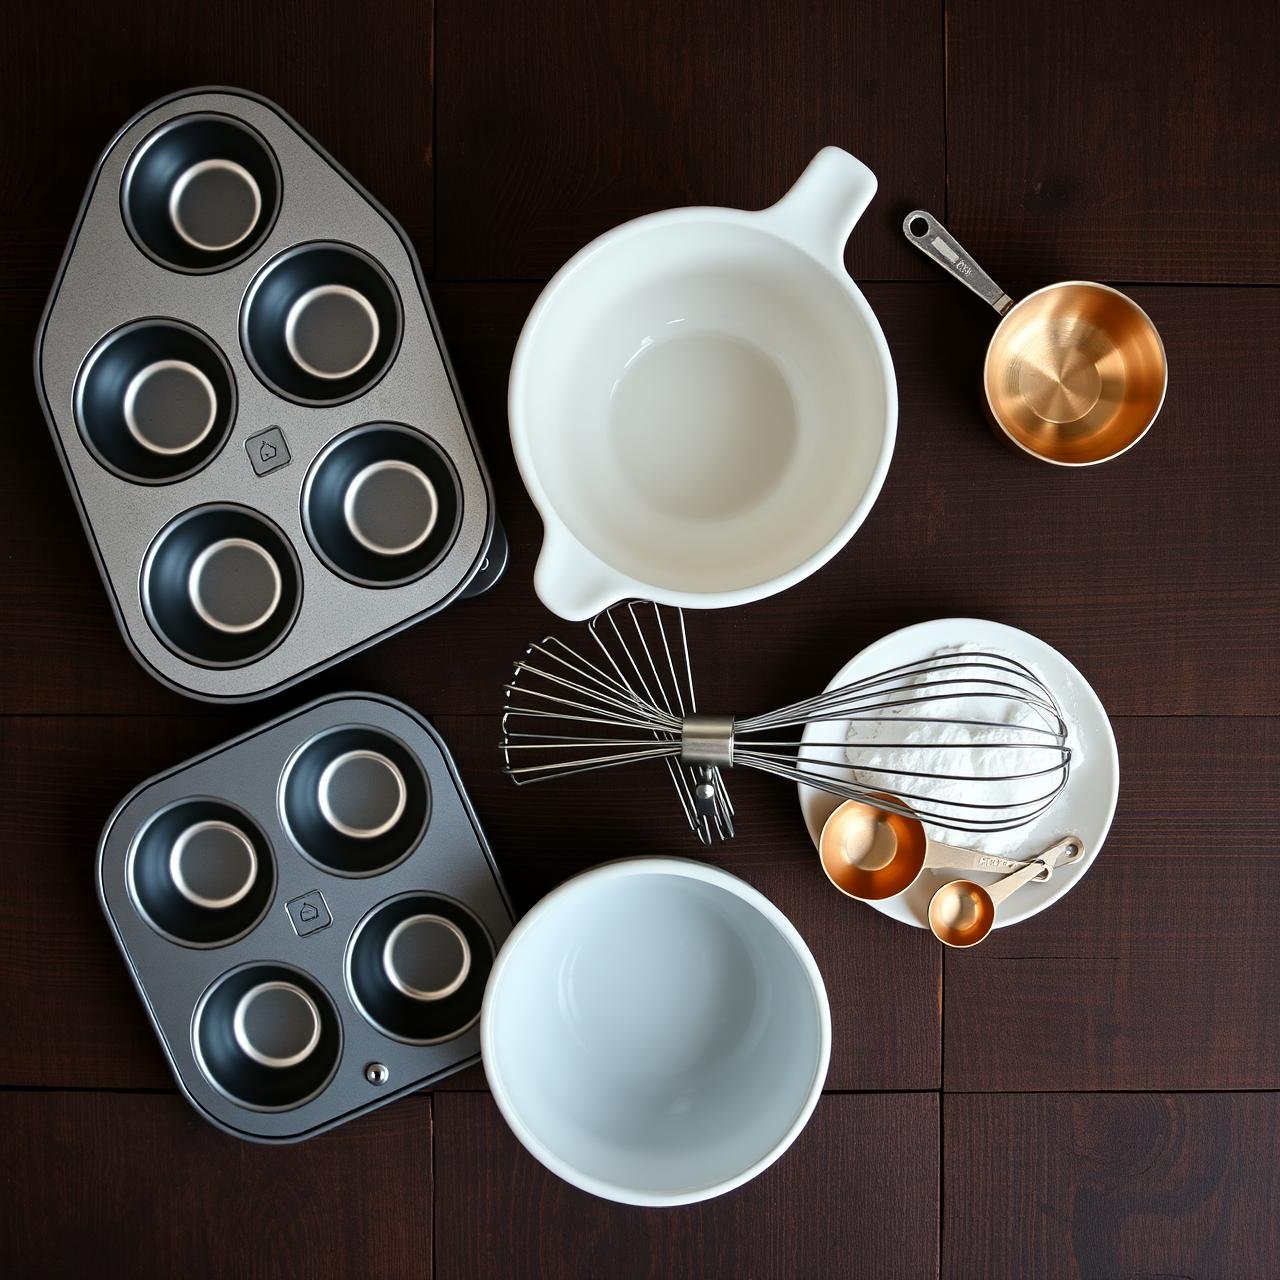
A great recipe begins with the right tools. For these flourless muffins, you don’t need any specialized or expensive equipment. We’re focusing on standard kitchen essentials that ensure consistent results every time. Having these items ready before you begin will streamline the baking process, making it a smooth and enjoyable experience. The key is in the simplicity and functionality of each piece.
| Equipment | Purpose & Notes |
|---|---|
| Standard 12-Cup Muffin Tin | The foundation of our recipe. A metal tin is recommended for even heat distribution. |
| Paper or Silicone Liners | Essential for preventing sticking and for easy cleanup. Silicone liners are a great reusable, budget-friendly option. |
| Large Mixing Bowl | You’ll need one spacious bowl to combine all the wet and dry ingredients without making a mess. |
| Whisk | A simple wire whisk is perfect for thoroughly combining the batter, ensuring there are no lumps of protein powder or baking soda. |
| Measuring Cups & Spoons | Precision is key in baking. Accurate measurements of each ingredient will guarantee the perfect texture and flavor. |
| Ice Cream Scoop or Large Spoon | Using a scoop ensures that each muffin cup is filled evenly, which helps them all bake at the same rate. |
| Wire Cooling Rack | Crucial for allowing air to circulate around the muffins after baking, preventing them from becoming soggy on the bottom. |
The Building Blocks: A Breakdown of Ingredients
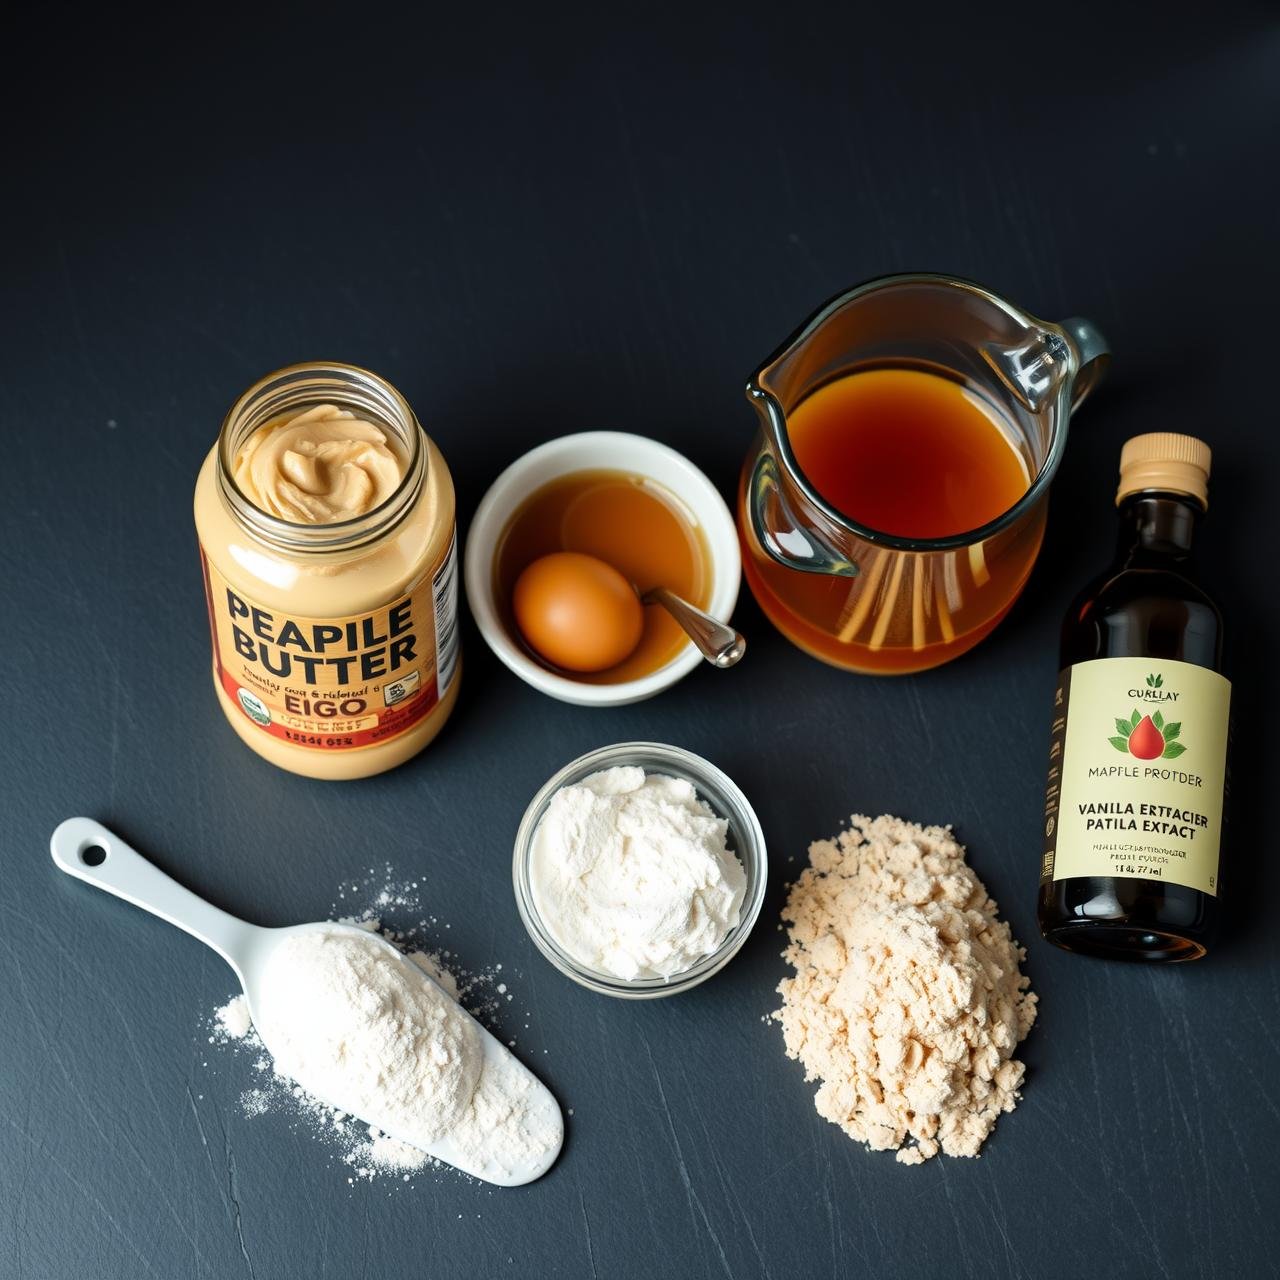
The magic of these muffins lies in their simple, high-impact ingredients. Each component is chosen for its specific role in creating the final product’s flavor, texture, and nutritional profile. We prioritize whole, accessible ingredients that you likely already have in your pantry.
Main Ingredients
- Creamy Peanut Butter: 1 cup. Use a natural, unsweetened variety where the only ingredients are peanuts and salt. This is the heart of the muffin, providing flavor, healthy fats, and structure in place of flour.
- Eggs: 2 large. Eggs act as a binder, holding everything together, and provide leavening and moisture.
- Pure Maple Syrup: 1/3 cup. Our primary sweetener. It offers a wonderful, rustic sweetness that complements the peanut butter. Honey can also be used as a substitute.
- Vanilla Protein Powder: 2 scoops (approx. 60g). This boosts the protein content significantly. A whey or casein blend works best for baking as it helps maintain moisture. A plant-based protein will also work, but may result in a slightly denser muffin.
- Unsweetened Milk: 1/4 cup. Any kind will do—dairy, almond, oat, or soy. This helps to thin the batter to the perfect consistency.
- Pure Vanilla Extract: 1 teaspoon. Enhances all the other flavors in the muffin.
- Baking Soda: 1 teaspoon. This is our leavening agent, which gives the muffins their lift and tender crumb.
- Fine Sea Salt: 1/4 teaspoon. Balances the sweetness and brings out the richness of the peanut butter.
Optional Add-ins
- Dark Chocolate Chips: 1/2 cup. For a classic and delicious flavor combination.
- Chopped Nuts: 1/4 cup. Walnuts or pecans add a lovely crunch and texture.
Step-by-Step Baking Guide: From Batter to Muffin
Follow these detailed instructions precisely for flawless results. The process is straightforward and designed to be foolproof, even for novice bakers. The key is to avoid overmixing the batter, which can lead to tough muffins.
- Preparation: Preheat your oven to 350°F (175°C). Line a standard 12-cup muffin tin with paper or silicone liners. This is a critical first step to ensure your oven is ready when your batter is.
- Combine Wet Ingredients: In your large mixing bowl, combine the 1 cup of creamy peanut butter, 2 large eggs, 1/3 cup of maple syrup, 1/4 cup of milk, and 1 teaspoon of vanilla extract. Use your whisk to mix these ingredients together until the batter is completely smooth and uniform in color.
- Incorporate Dry Ingredients: Add the 2 scoops of protein powder, 1 teaspoon of baking soda, and 1/4 teaspoon of salt directly into the wet ingredients. Whisk again, but only until the dry ingredients are just combined. Be careful not to overmix at this stage. The batter will be thick.
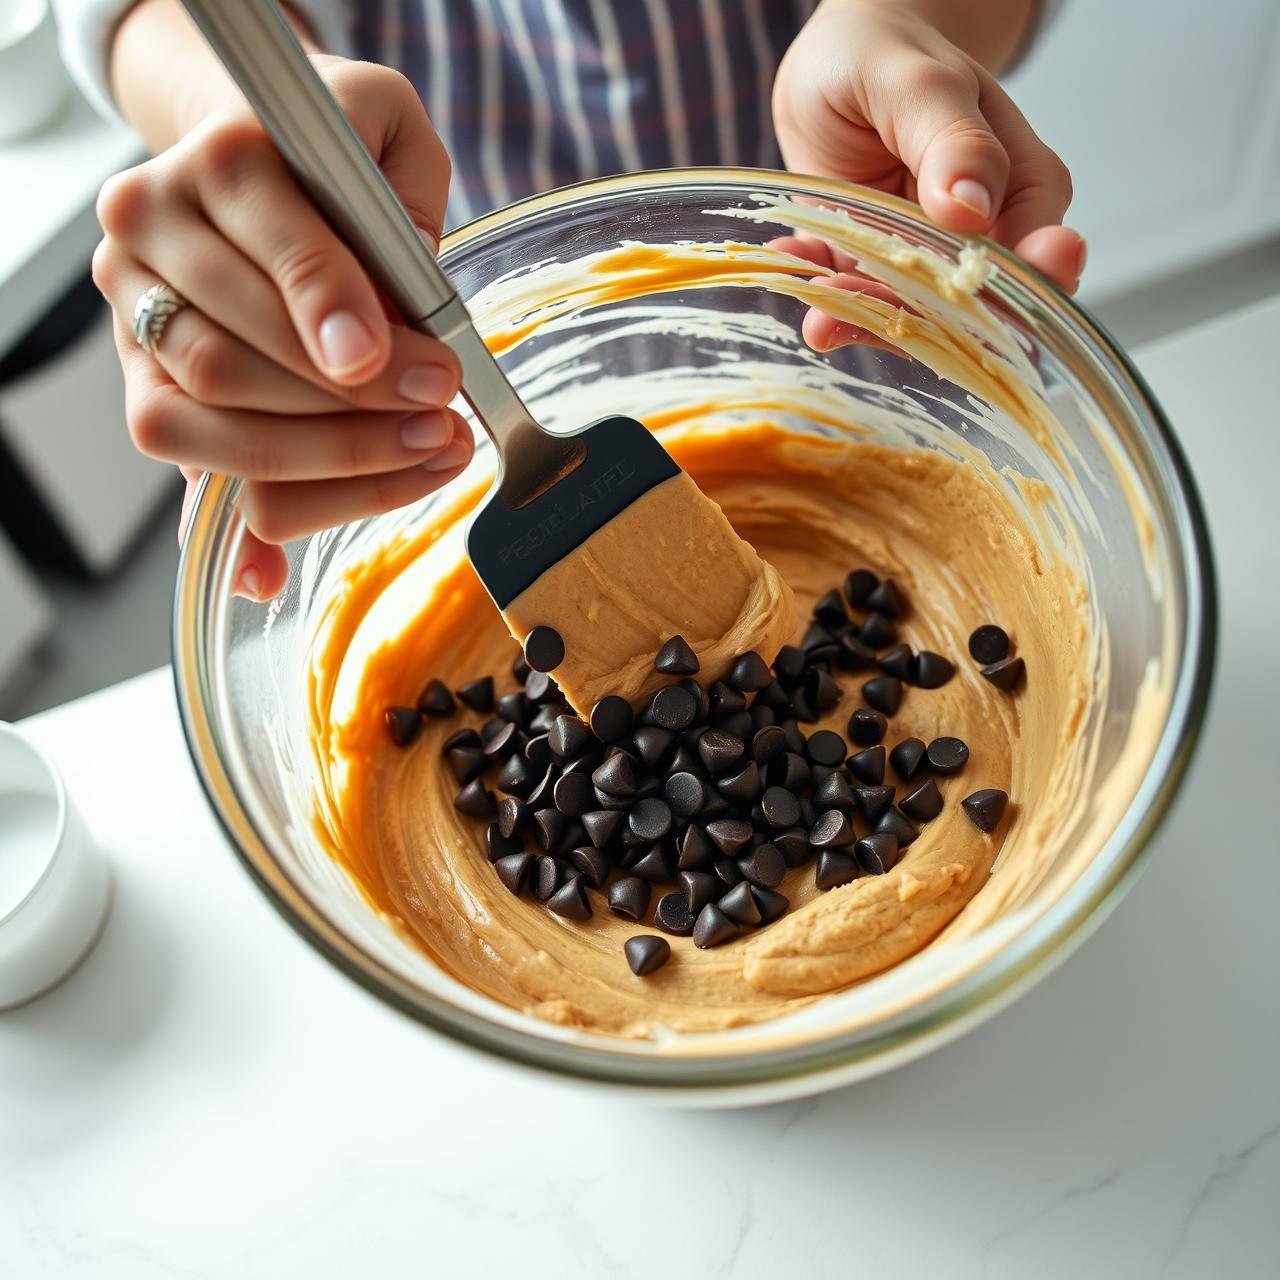
- Fold in Add-ins (Optional): If you are using chocolate chips or nuts, gently fold them into the batter with a spatula until they are evenly distributed.
- Fill Muffin Cups: Using an ice cream scoop or a large spoon, divide the batter evenly among the 12 prepared muffin cups. Each cup should be about two-thirds full. The scoop method helps ensure all muffins are the same size and will bake evenly.
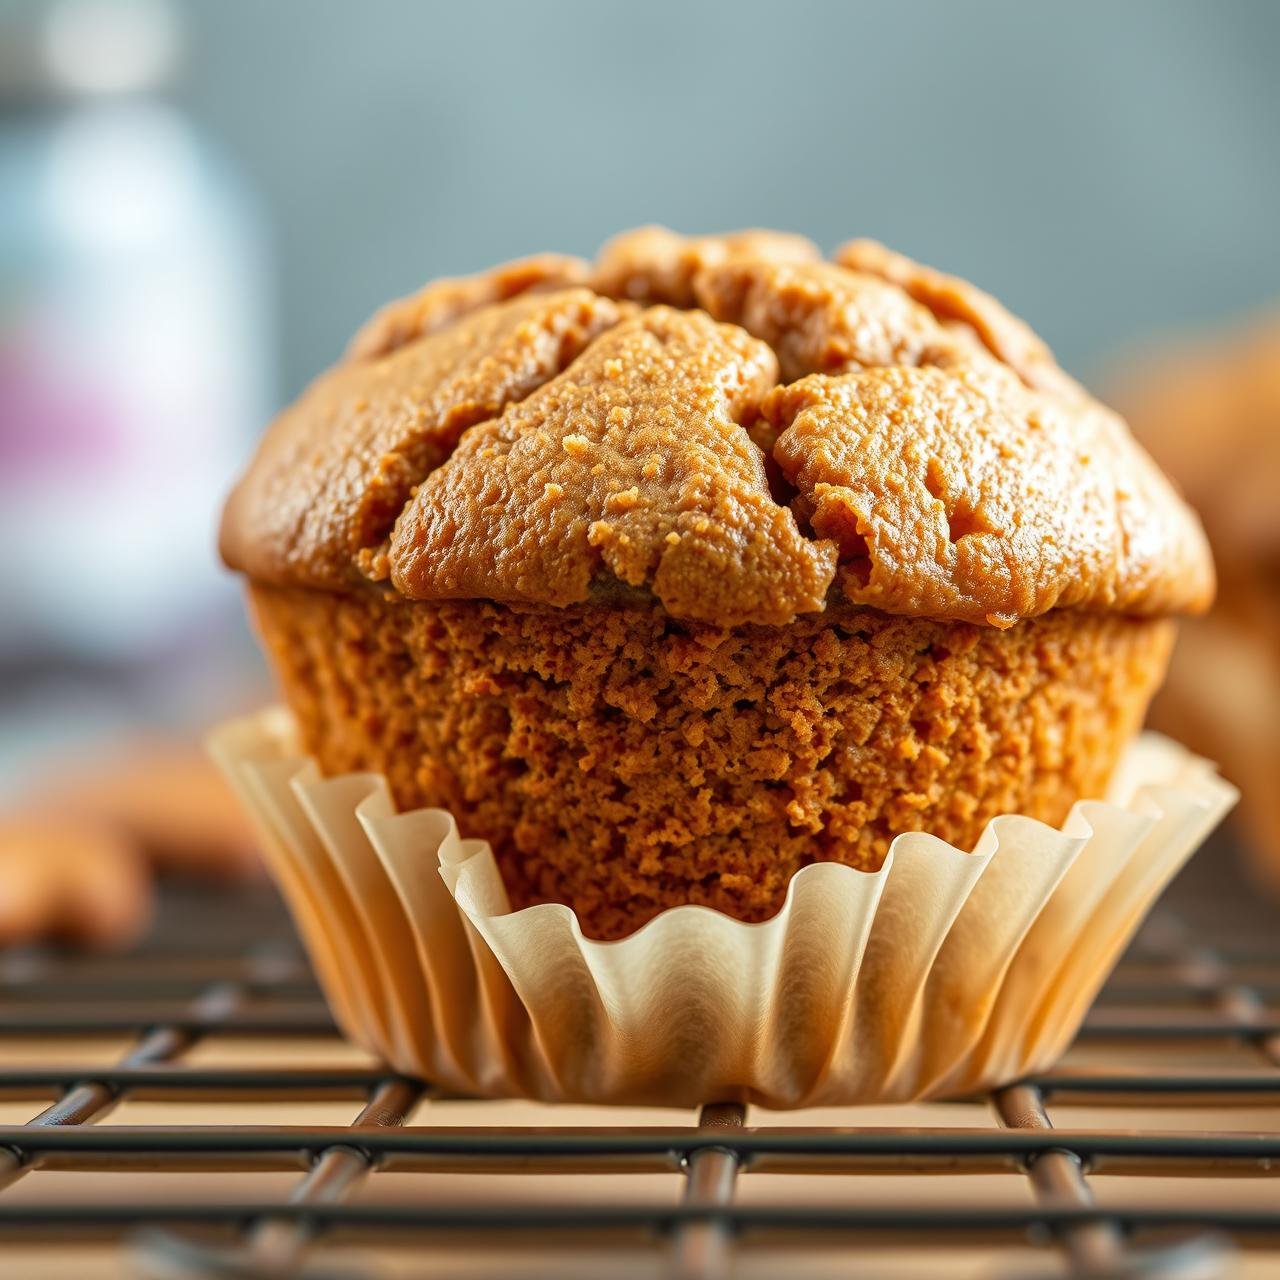
- Bake: Place the muffin tin on the center rack of your preheated oven. Bake for 15-18 minutes. The muffins are done when a wooden skewer or toothpick inserted into the center of a muffin comes out clean or with a few moist crumbs attached. The tops should be golden brown and feel firm to the touch.
- Cooling Process: Once baked, remove the muffin tin from the oven. Let the muffins cool in the tin for about 5 minutes. This allows them to set slightly. After 5 minutes, carefully transfer the muffins to a wire cooling rack to cool completely. Allowing them to cool on the rack prevents the bottoms from becoming damp.
Chef’s Notes: Tips for Muffin Mastery & Creative Variations
Tips for Success
- Peanut Butter Choice: The type of peanut butter matters. Avoid hydrogenated, sweetened peanut butters (like Jif or Skippy) as they contain extra sugar and oils that can alter the texture. A natural, drippy peanut butter is ideal.
- Don’t Overbake: Protein-based baked goods can dry out quickly. It’s better to err on the side of slightly underbaked. Pull them from the oven as soon as the toothpick test passes. They will continue to cook slightly from residual heat as they cool.
- Room Temperature Ingredients: For a smoother, more uniform batter, use eggs and milk that are at room temperature. This helps them incorporate more easily with the peanut butter.
Creative Variations
- Different Nut Butters: This recipe works beautifully with other natural nut butters. Try almond butter for a milder flavor or cashew butter for extra creaminess.
- Fruit Infusion: Fold in 1/2 cup of mashed banana for extra moisture and natural sweetness. If you do, consider reducing the maple syrup slightly.
- Spice It Up: Add 1/2 teaspoon of ground cinnamon or a pinch of nutmeg to the dry ingredients for a warm, spiced flavor profile that pairs wonderfully with peanut butter.
Nutrition Information
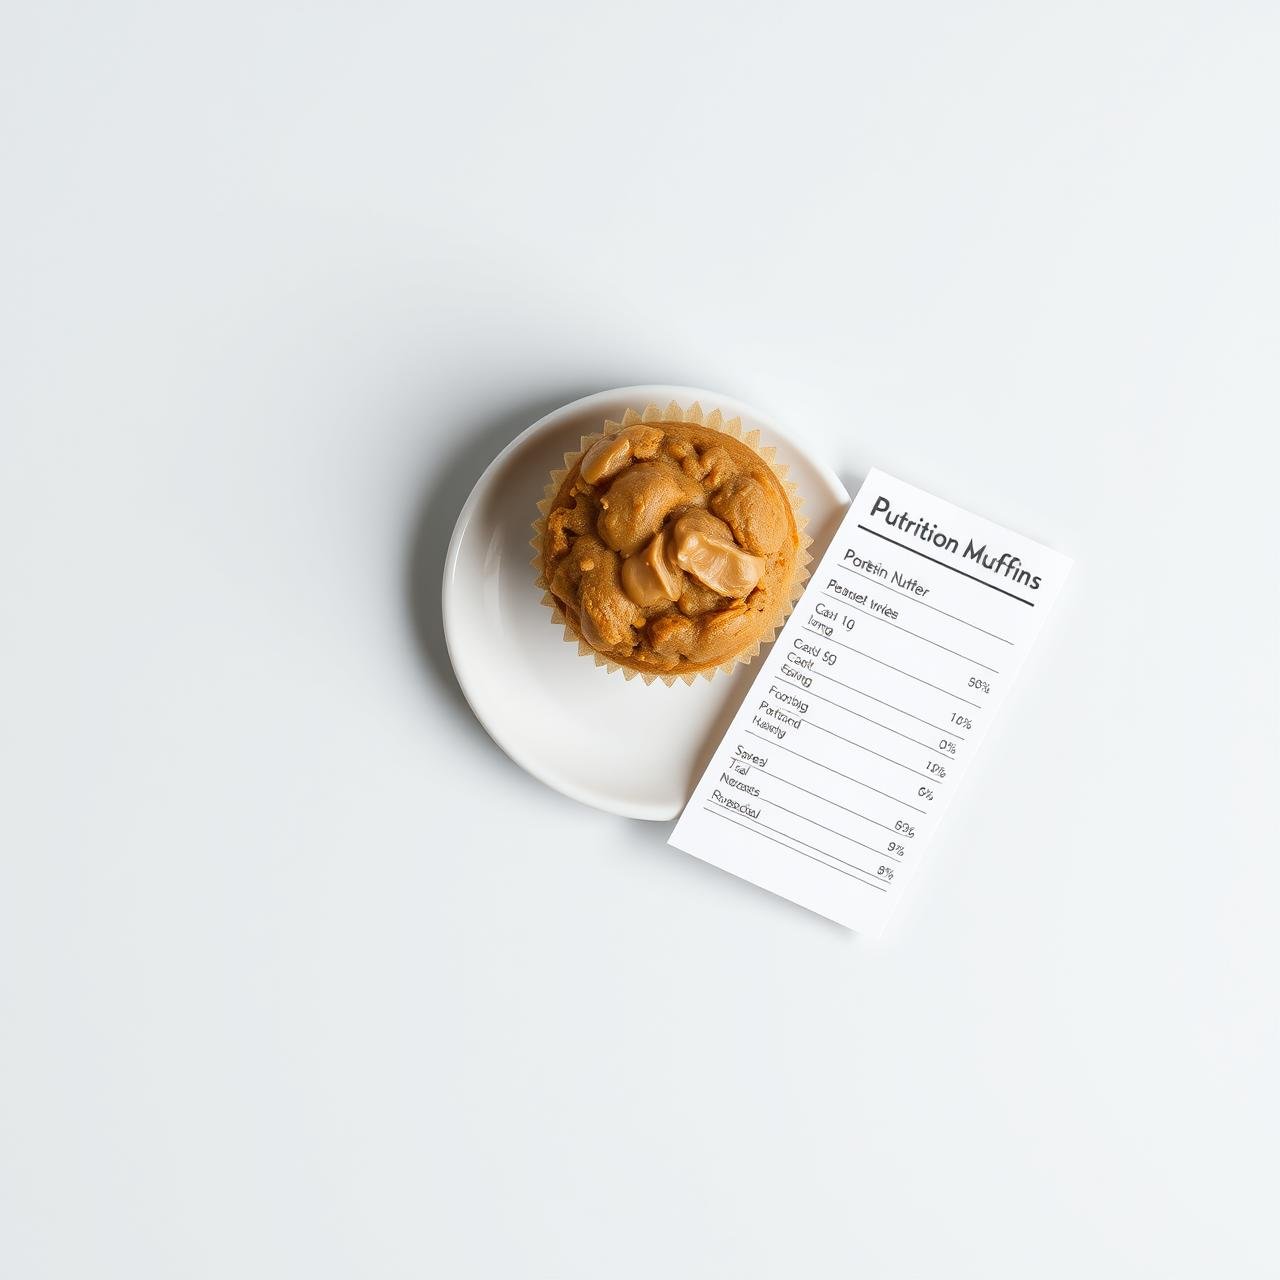
Here is an approximate nutritional breakdown per muffin, assuming the recipe makes 12 muffins and does not include optional add-ins. Please note that these values can vary based on the specific brands of peanut butter and protein powder used.
| Nutrient | Amount per Muffin |
|---|---|
| Calories | ~180 kcal |
| Protein | ~10g |
| Fat | ~12g |
| Saturated Fat | ~2g |
| Carbohydrates | ~10g |
| Fiber | ~2g |
| Sugar | ~6g |
| Sodium | ~150mg |
Storing Your Homemade Protein Muffins for Lasting Freshness

Proper storage is essential to maintain the moisture and flavor of your flourless muffins. Because they are so moist and contain no preservatives, they should be stored with care.
Room Temperature Storage
You can store the muffins in an airtight container at room temperature for up to 3 days. To prevent them from becoming soggy, you can place a paper towel on the bottom of the container and another on top of the muffins to absorb any excess moisture.
Refrigeration
For longer storage, place the muffins in an airtight container in the refrigerator for up to one week. They may become more firm when chilled. You can enjoy them cold or let them sit at room temperature for about 15 minutes before eating. For a fresh-baked taste, warm one in the microwave for 10-15 seconds.
Freezing for Meal Prep
These muffins are perfect for freezing. Once they have cooled completely, place them on a baking sheet in a single layer and freeze for about an hour until solid. Then, transfer the frozen muffins to a zip-top freezer bag or airtight container. They will keep in the freezer for up to 3 months. To thaw, simply take one out and let it sit at room temperature, or microwave it for 30-45 seconds.
Conclusion
You now have a reliable, detailed, and no-fluff recipe for Flourless Peanut Butter Protein Muffins that delivers on taste, texture, and nutrition. By focusing on quality ingredients and a straightforward method, you can consistently produce a healthy, satisfying snack that supports your wellness goals. These muffins are a testament to the fact that simple, rustic baking can yield incredibly delicious results. Enjoy them as part of your weekly meal prep, a quick breakfast, or a well-deserved treat.