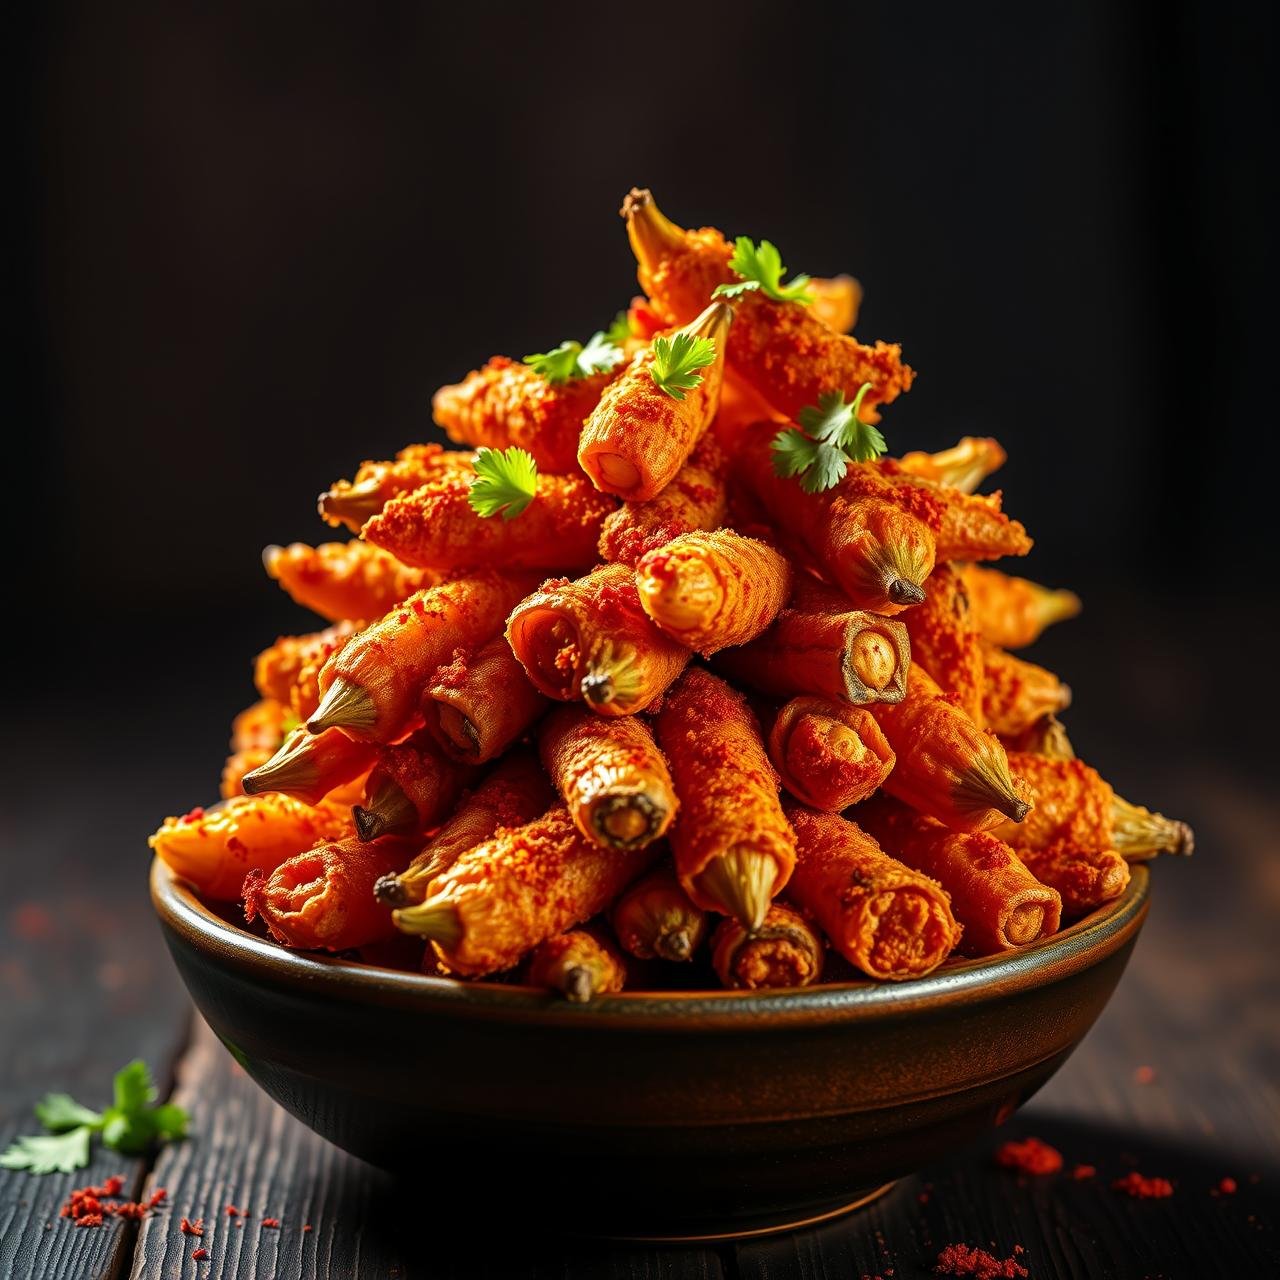
Crispy Okra With No Slime: A Spicy Metabolism Boosting Side (No Fluff)
Let’s be honest: okra has a reputation. For many, the mere mention of this vibrant green vegetable conjures up one dreaded word: slime. But what if I told you that the slimy texture you fear is not a requirement, but a result of improper cooking? Prepare to have your perception of okra completely transformed. This recipe is my tried-and-true method for achieving shatteringly crispy, deeply flavorful okra without a hint of goo. We’ll harness the power of high heat and a carefully selected blend of thermogenic spices—like cayenne and cumin—to create a side dish that not only delights the palate but also gives your metabolism a gentle nudge. This is a no-fluff guide to mastering okra, turning a misunderstood vegetable into the star of your dinner table. It’s rustic, wholesome, and packed with a fiery character that will have you reaching for seconds, and thirds.
The Science: Why Okra Gets Slimy and How We Beat It

Before we dive into the recipe, let’s get a little chef-like and educational. Understanding the ‘why’ is the key to culinary success. Okra contains a substance called mucilage, a soluble fiber that becomes viscous and slimy when it comes into contact with liquid and heat. While this property is fantastic for thickening gumbos and stews, it’s the enemy of a crispy side dish. So, how do we conquer the slime?
Our Three-Pronged Attack:
- Dryness is Your Ally: The first rule is to ensure your okra is bone dry before it meets any oil or seasoning. We’ll wash and then meticulously pat it dry. Any surface moisture will immediately steam the okra instead of roasting it, activating the mucilage.
- Embrace High Heat: We’re not gently baking here; we’re roasting at a high temperature (425°F / 220°C). This intense heat quickly sears the outside of the okra, cooking it so fast that the mucilage doesn’t have time to develop its signature slimy texture.
- Give It Space: Overcrowding the pan is a cardinal sin in the quest for crispiness. We’ll spread the okra in a single, even layer, ensuring hot air can circulate around each individual piece. This promotes even browning and prevents the pods from steaming in their own moisture.
By following these core principles, we’re not just cooking okra; we’re using food science to guarantee a perfectly crisp, delectable result every single time.
The Fiery, Metabolism-Boosting Spice Blend
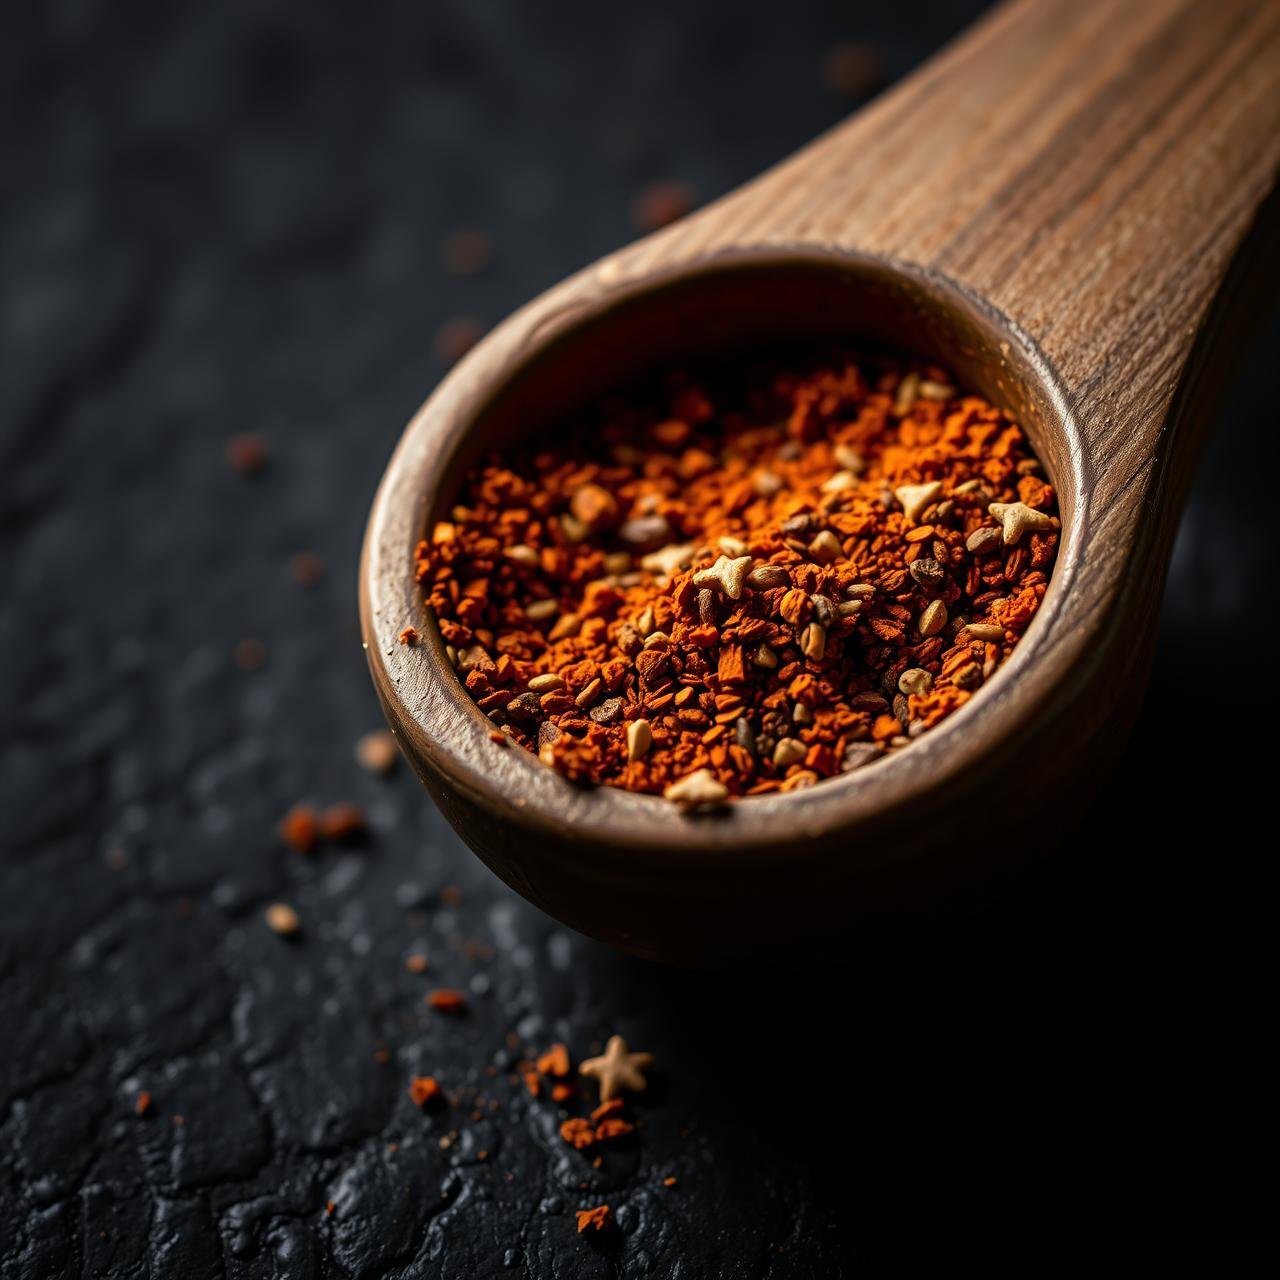
This isn’t just about crispiness; it’s about creating a flavor that’s bold, smoky, and invigorating. The spice blend is the heart of this recipe, designed not only for taste but also for its health-supportive properties. Many of these spices contain compounds that are known to have a thermogenic effect, meaning they can slightly increase your body’s heat production and metabolic rate.
- Smoked Paprika: Lends a deep, smoky backbone without any actual grilling.
- Cayenne Pepper: The star player for heat. It contains capsaicin, the compound responsible for its spiciness and thermogenic effects. Adjust the amount to your personal heat preference.
- Cumin Powder: Adds a warm, earthy, and slightly nutty flavor that pairs beautifully with the okra’s grassy notes.
- Garlic Powder & Onion Powder: These provide a savory, aromatic base that rounds out the entire flavor profile.
- Fine Sea Salt & Black Pepper: Essential for enhancing all the other flavors.
This combination creates a symphony of flavors that clings to every nook and cranny of the crispy okra, making each bite an explosion of smoky, spicy, and savory goodness.
Essential Equipment for Crispy Okra Success

You don’t need any fancy gadgets for this recipe. Simple, quality kitchen tools are all it takes to achieve perfection.
| Tool | Purpose |
|---|---|
| Large Baking Sheet | Crucial for spreading the okra in a single layer. A heavy-duty, light-colored sheet promotes even roasting. |
| Large Mixing Bowl | For efficiently tossing the okra with oil and spices to ensure every piece is evenly coated. |
| Chef’s Knife & Cutting Board | For prepping the okra. A sharp knife ensures clean cuts without crushing the pods. |
| Kitchen Towels or Paper Towels | Absolutely essential for getting the okra completely dry. |
Homestyle Ingredients: Fresh, Simple, and Flavorful
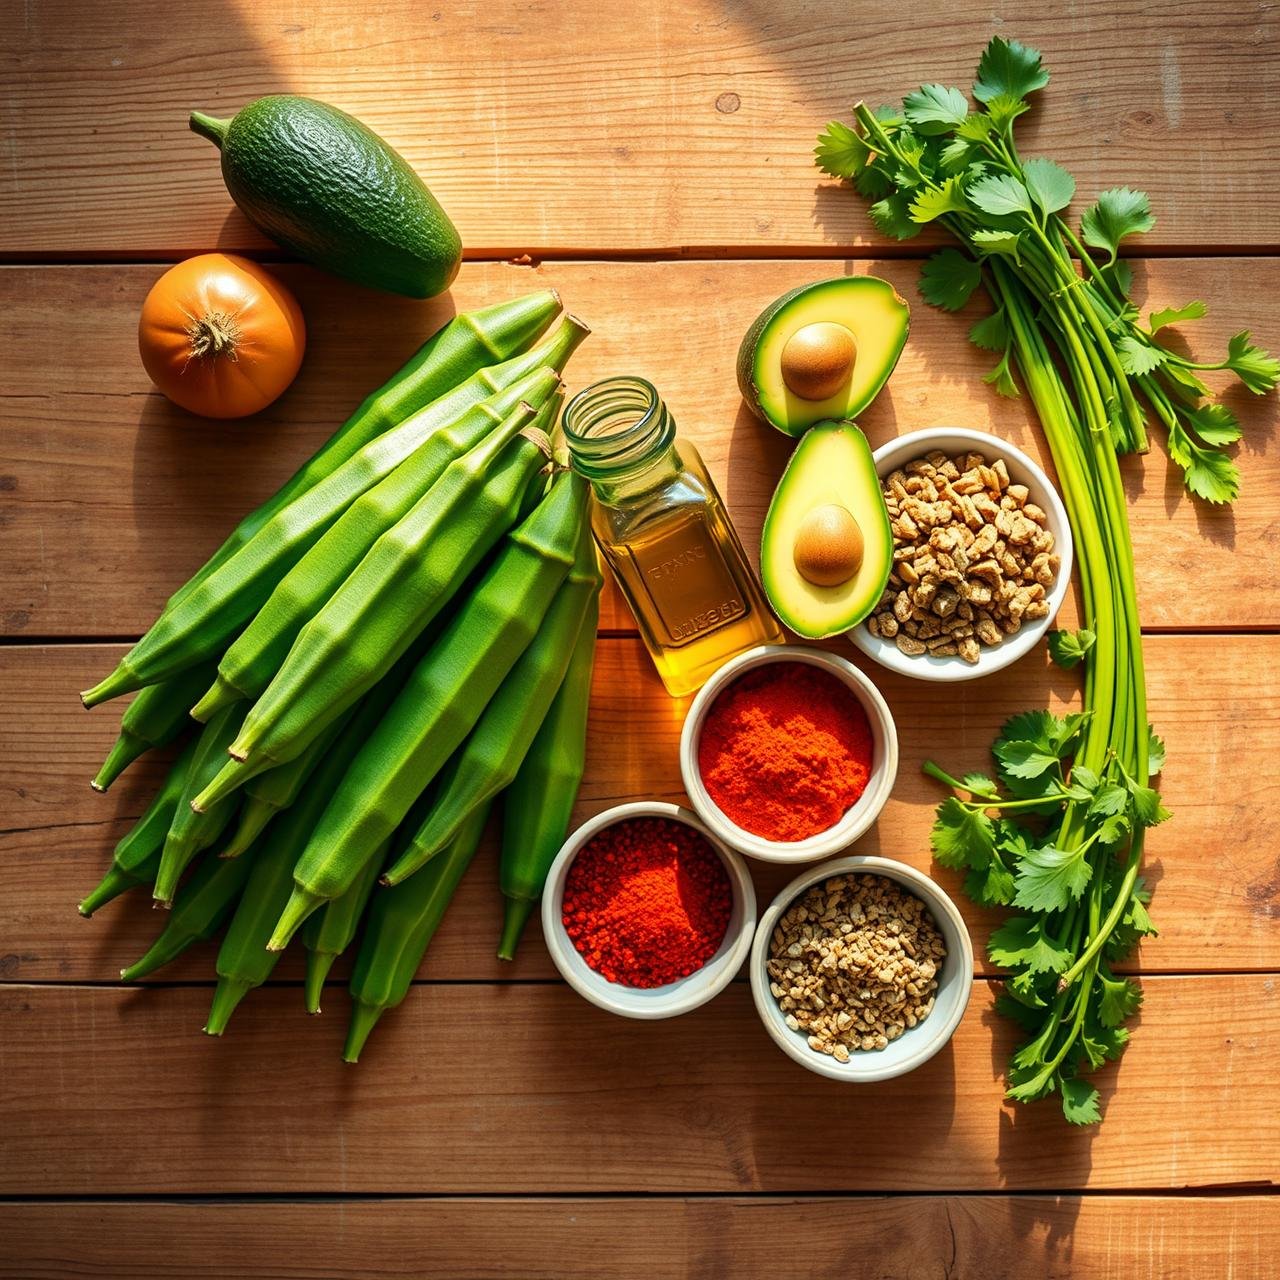
Quality ingredients are the foundation of any great dish. This recipe celebrates simplicity and freshness.
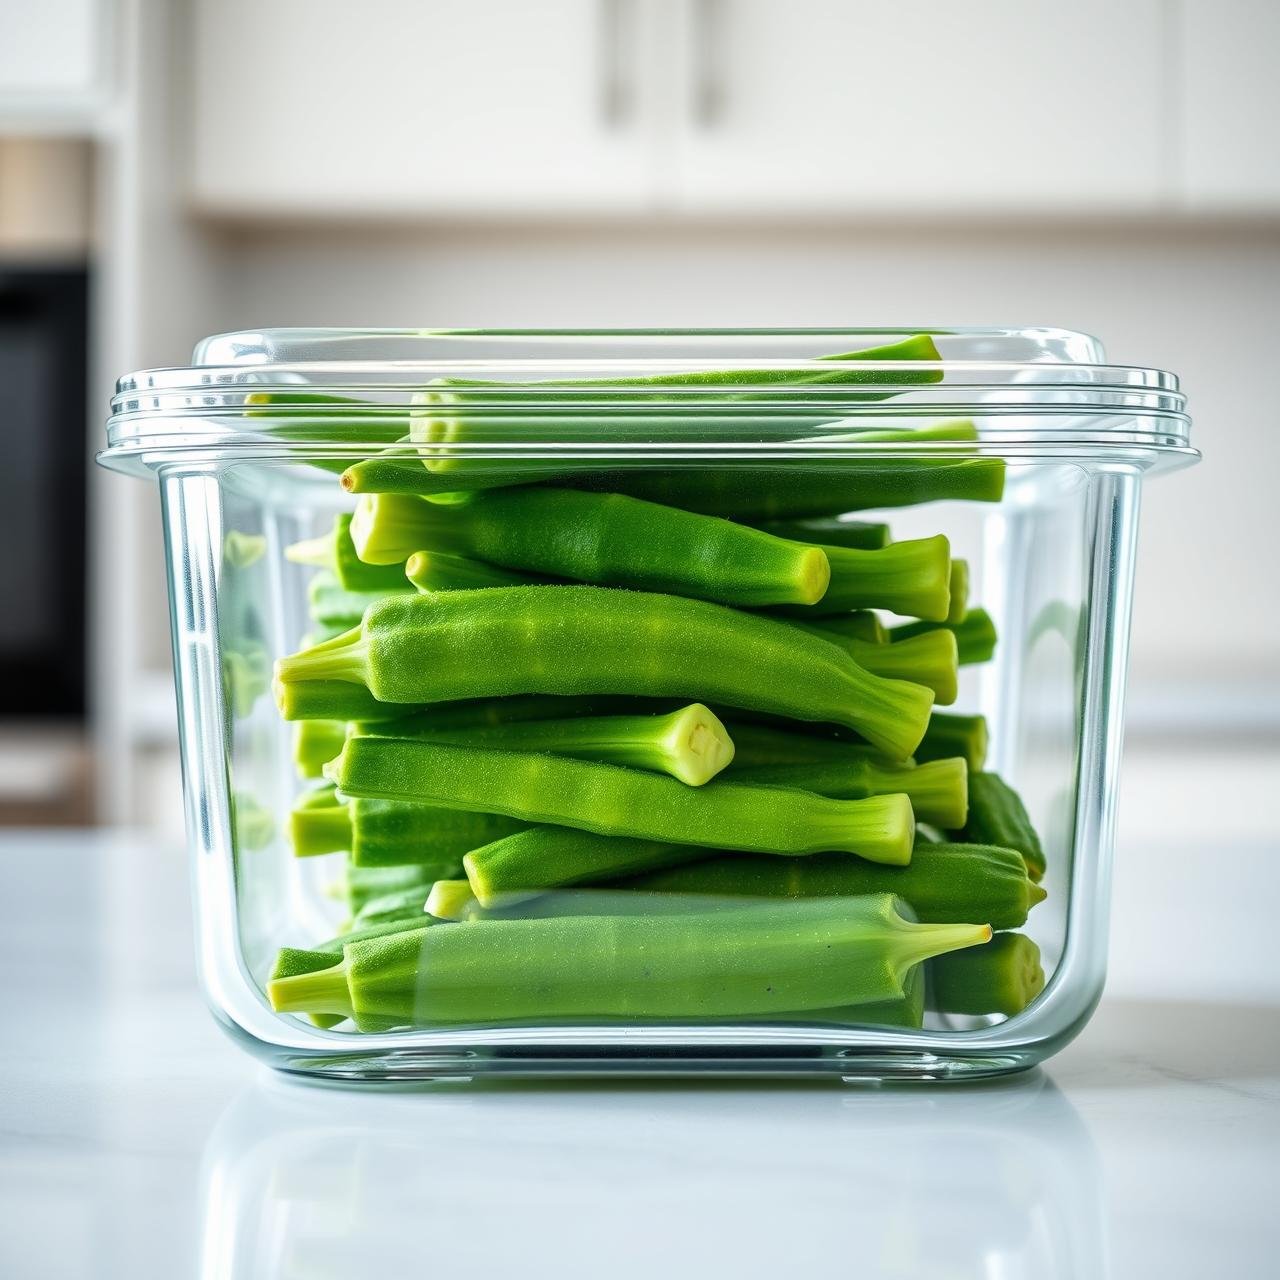
- Fresh Okra: 1 pound (about 450g), preferably young, tender pods that are bright green and firm to the touch. Avoid any that are bruised or overly large and woody.
- Avocado Oil or other high-heat oil: 2 tablespoons. Avocado oil is excellent for its high smoke point and neutral flavor.
- Smoked Paprika: 1 teaspoon.
- Garlic Powder: 1 teaspoon.
- Cumin Powder: 1/2 teaspoon.
- Onion Powder: 1/2 teaspoon.
- Cayenne Pepper: 1/4 to 1/2 teaspoon, depending on your desired spice level.
- Fine Sea Salt: 1/2 teaspoon, or to taste.
- Freshly Ground Black Pepper: 1/4 teaspoon, or to taste.
- Optional Garnish: Freshly chopped cilantro or a squeeze of fresh lime juice for serving.
Step-by-Step Guide to Perfectly Crispy Okra
Follow these steps precisely, and you’ll be rewarded with the best okra of your life. The key is in the details.
- Preheat and Prepare: Place a large, empty baking sheet in the oven and preheat to 425°F (220°C). Preheating the pan is a chef’s trick that gives the okra a head start on crisping the moment it makes contact.
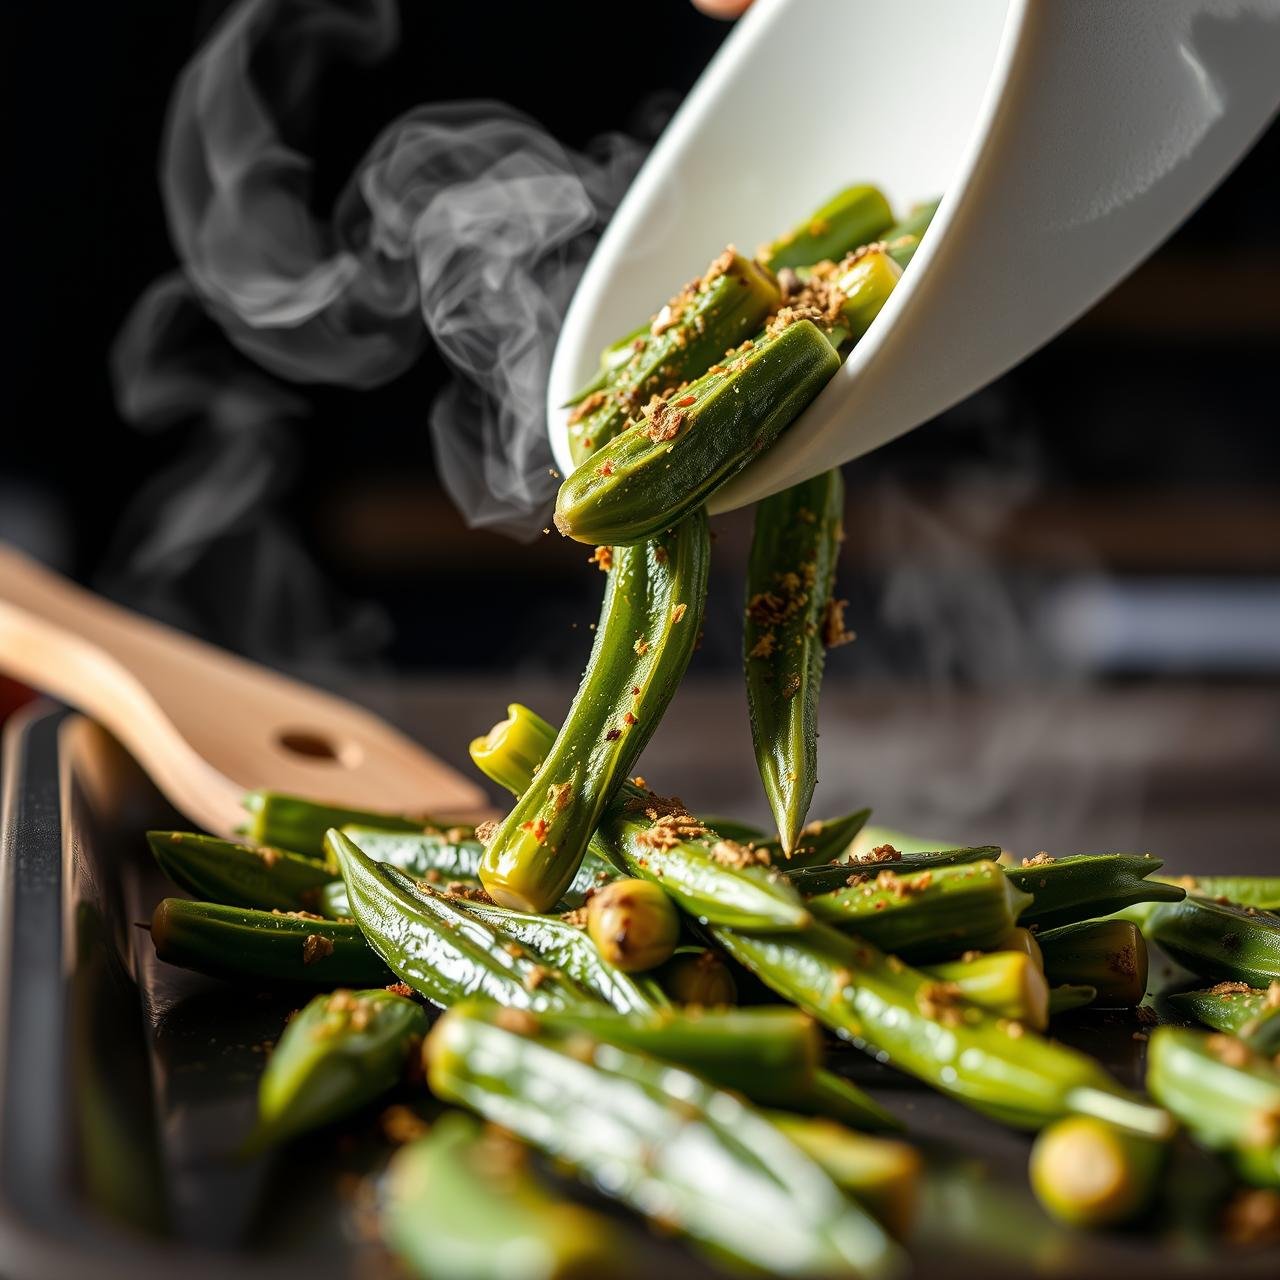
- Wash and THOROUGHLY Dry: Wash the okra pods and trim off the top stems. The most critical step is next: dry them completely. Spread them on a clean kitchen towel and pat them dry with another towel. Let them air dry for a few minutes if you have time. Remember, moisture is the enemy of crispiness!
- Slice the Okra: Slice the okra pods in half lengthwise. This increases the surface area, allowing for maximum crisping and more space for the delicious spices to adhere. For very large pods, you can quarter them.
- Season Generously: In a large mixing bowl, combine the dried and sliced okra with the avocado oil. Toss well to coat every piece. In a separate small bowl, whisk together the smoked paprika, garlic powder, cumin, onion powder, cayenne, salt, and pepper. Sprinkle this spice mixture over the oiled okra and toss again until every piece is evenly and generously coated.
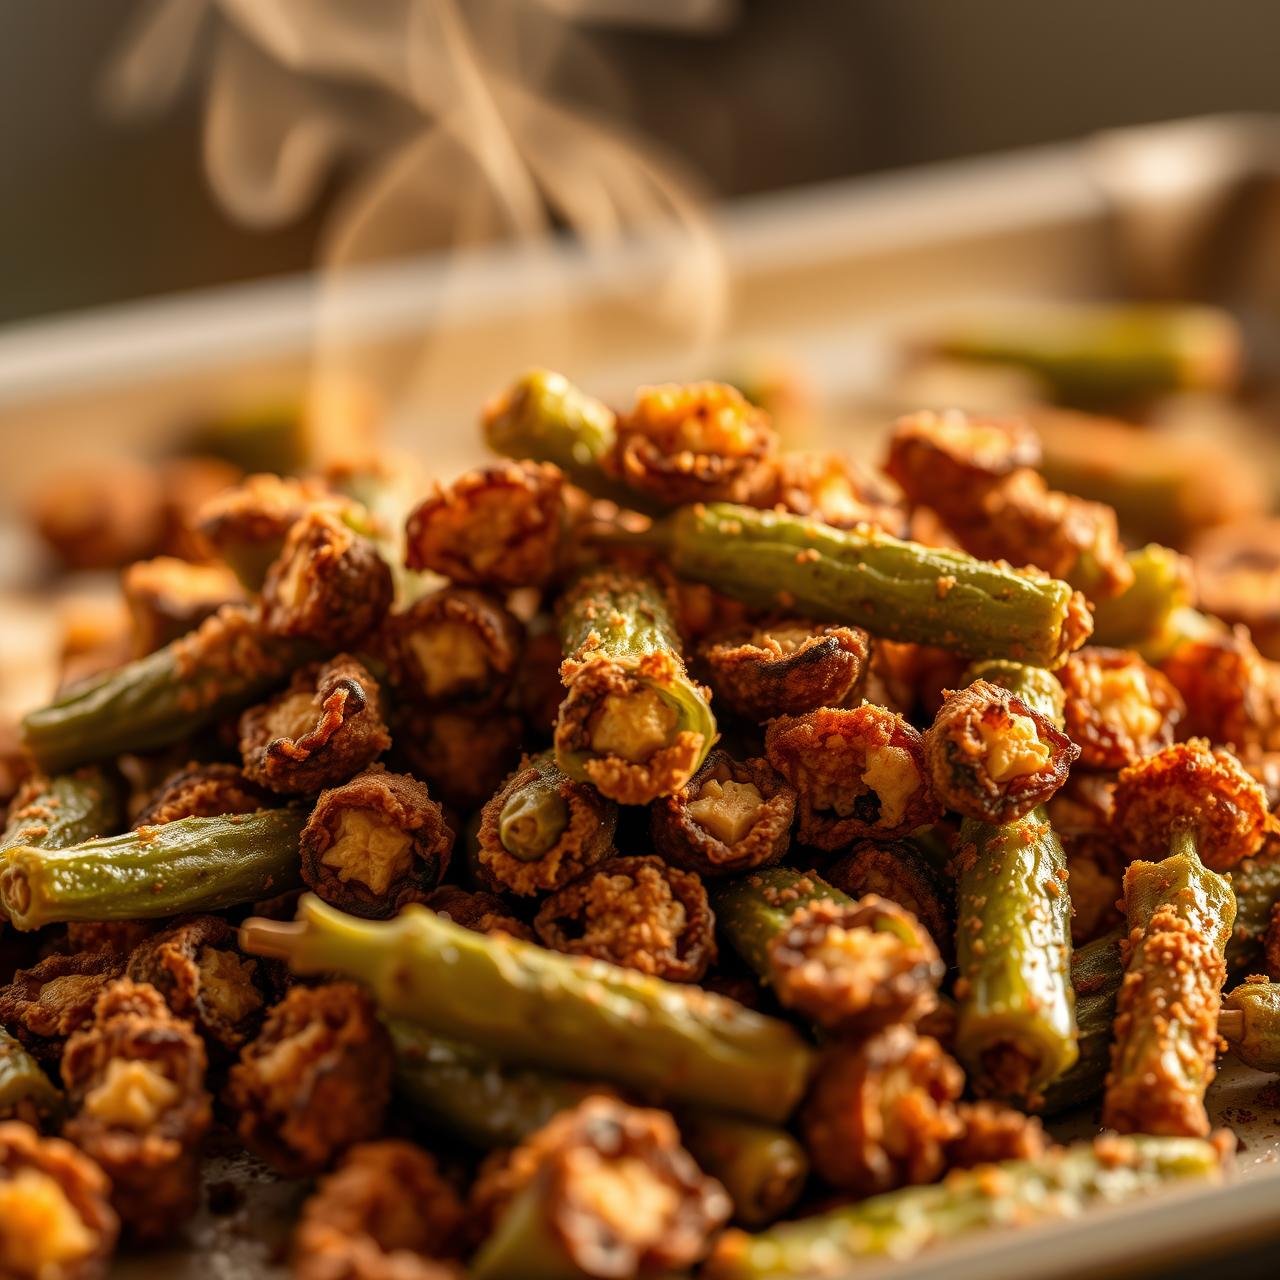
- Roast to Golden Perfection: Carefully remove the hot baking sheet from the oven. Immediately spread the seasoned okra onto the pan in a single, even layer. Do not overcrowd it! Use two pans if necessary. Roast for 15-20 minutes, flipping the okra halfway through, until the edges are golden brown and crispy.
- Serve Immediately: For the best texture, serve the crispy okra immediately. Garnish with a sprinkle of fresh cilantro or a bright squeeze of lime juice, if desired.
Chef’s Tips for Ultimate Crunch and Flavor
Selecting the Best Okra
Look for smaller pods, typically under 4 inches long. They are more tender and have a better flavor. They should be bright green and snap easily. If a pod feels limp or has dark spots, leave it behind.
The Single-Layer Rule
I cannot stress this enough: do not overcrowd the pan. If the okra pods are touching too much, they will steam each other instead of roasting. This is the most common mistake that leads to soft, not crispy, results. Use two baking sheets if your batch is too large for one.
Don’t Stir Too Much
While we flip the okra once halfway through, avoid the temptation to constantly stir or shake the pan. You want to allow the cut sides to have prolonged contact with the hot pan, which develops a deep, caramelized crust.
Serving Suggestions
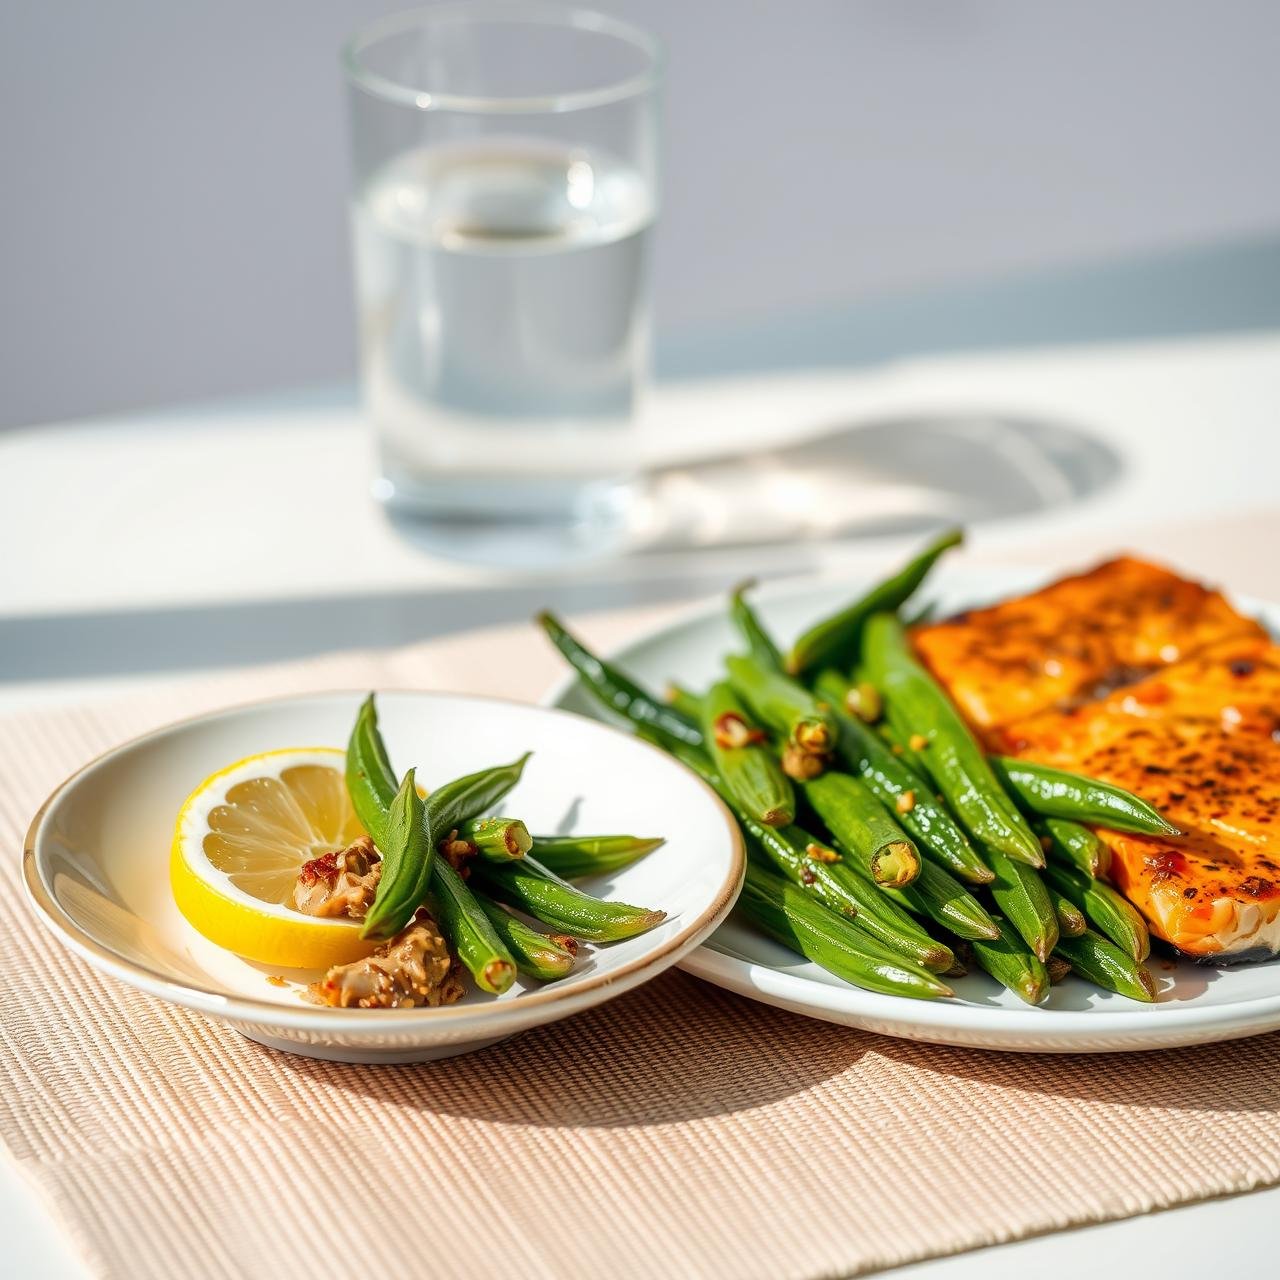
This spicy okra is phenomenal on its own, but it also pairs wonderfully with other dishes. Serve it alongside grilled chicken or fish, mix it into a grain bowl for a textural contrast, or serve it as an appetizer with a cooling yogurt or tahini dip to balance the heat.
Nutritional Information (Approximate)
This side dish is not only delicious but also packed with nutrients. It’s low in calories and carbs, and high in fiber, vitamins C and K, and folate. Here’s an estimated breakdown for a single serving (recipe makes about 4 servings).
| Nutrient | Amount per Serving |
|---|---|
| Calories | ~85 kcal |
| Fat | ~7g |
| Carbohydrates | ~6g |
| Fiber | ~3g |
| Sugars | ~2g |
| Protein | ~2g |
| Sodium | ~310mg |
Disclaimer: Nutritional information is an estimate and can vary based on the specific ingredients used.
Storing and Reheating for a Second Round of Crispiness
While this okra is undeniably best when fresh from the oven, leftovers can still be enjoyable if handled correctly.
Storage:
Allow the okra to cool completely to room temperature. This prevents condensation from forming in the container, which would make it soggy. Store it in an airtight container in the refrigerator for up to 3 days.
Reheating:
Do not use a microwave! It will turn your crispy masterpiece into a soft, sad pile. The best way to reheat is to spread the okra on a baking sheet and pop it into a 400°F (200°C) oven or an air fryer for about 5-7 minutes, or until it’s heated through and has regained some of its original crispiness. This method effectively re-roasts the okra, bringing it back to life.
Conclusion
There you have it—the definitive guide to making crispy, spicy, and utterly slime-free okra. By understanding the science and respecting the technique, you can elevate this humble vegetable from a feared, slimy pod to a crave-worthy, metabolism-boosting side dish. It’s a testament to how simple, wholesome ingredients, when treated with a little know-how, can create something truly spectacular. So, the next time you see fresh okra at the market, don’t shy away. Embrace the challenge, fire up your oven, and prepare to fall in love with the crunch. Happy cooking!