Ditch The Sugar: 3-Ingredient Strawberry Chia Jam Tutorial
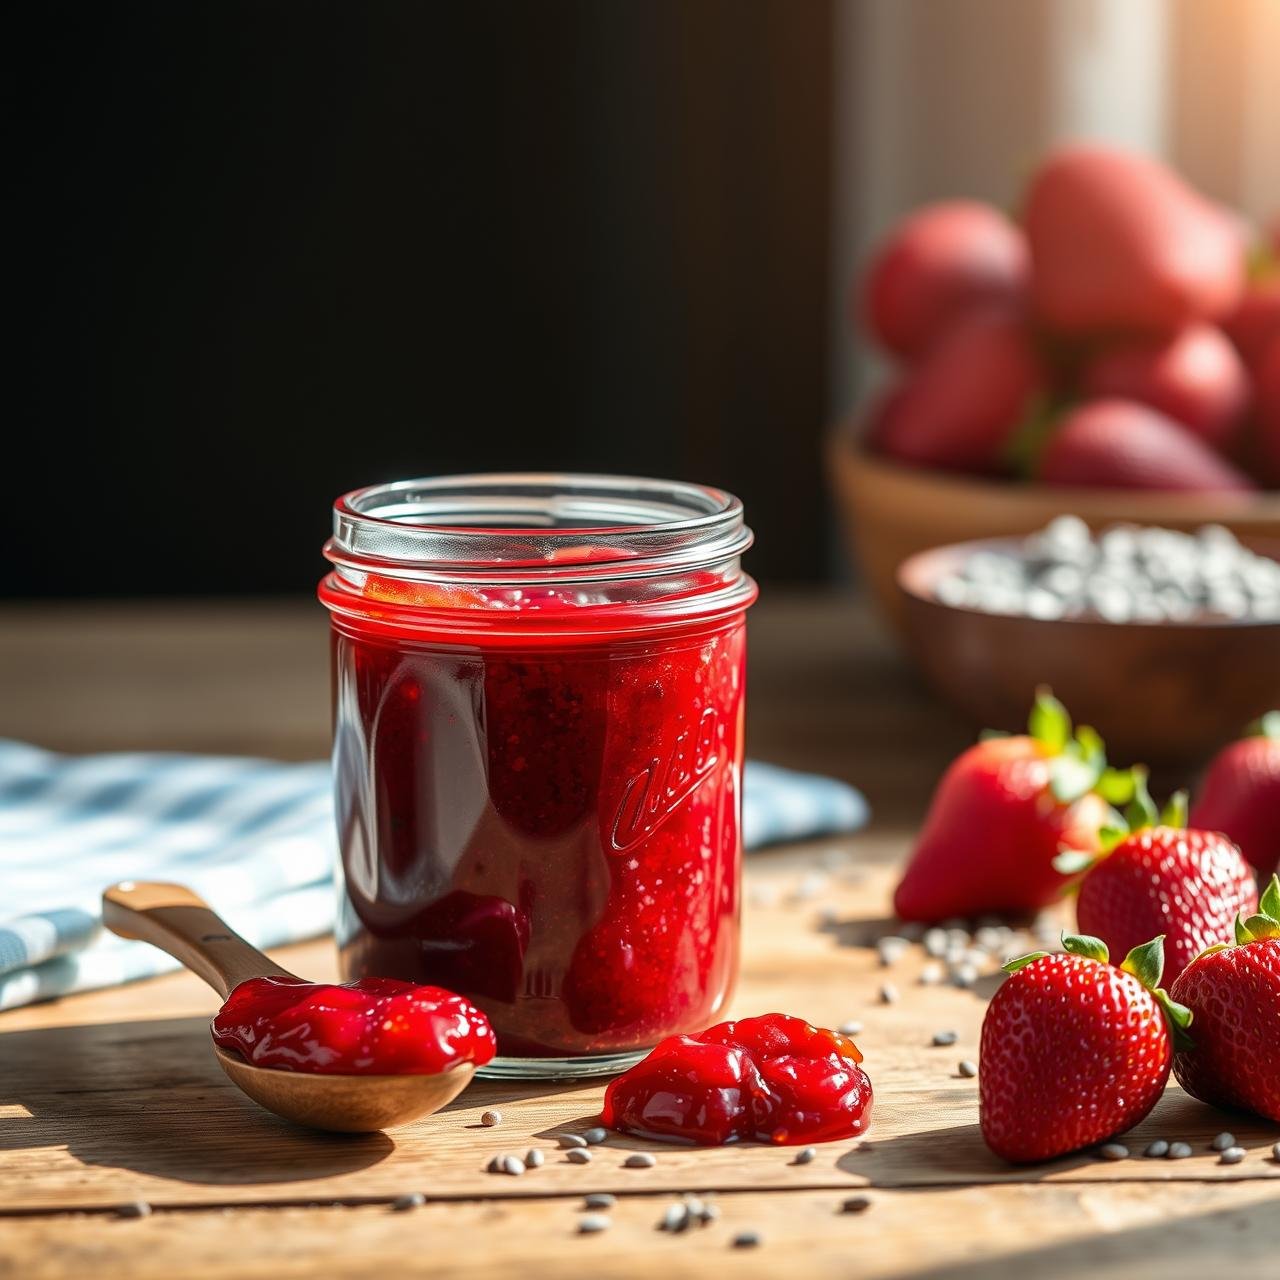
Imagine spreading a thick, jewel-toned jam onto a warm piece of sourdough toast, the sweet, sun-kissed flavor of fresh strawberries bursting in your mouth. Now, imagine that this luscious spread is not only delicious but also wonderfully healthy, completely free of refined sugars, and made in your own kitchen in under 20 minutes. Welcome to the world of homemade Strawberry Chia Jam—a simple, rustic, and revolutionary way to enjoy a classic condiment.
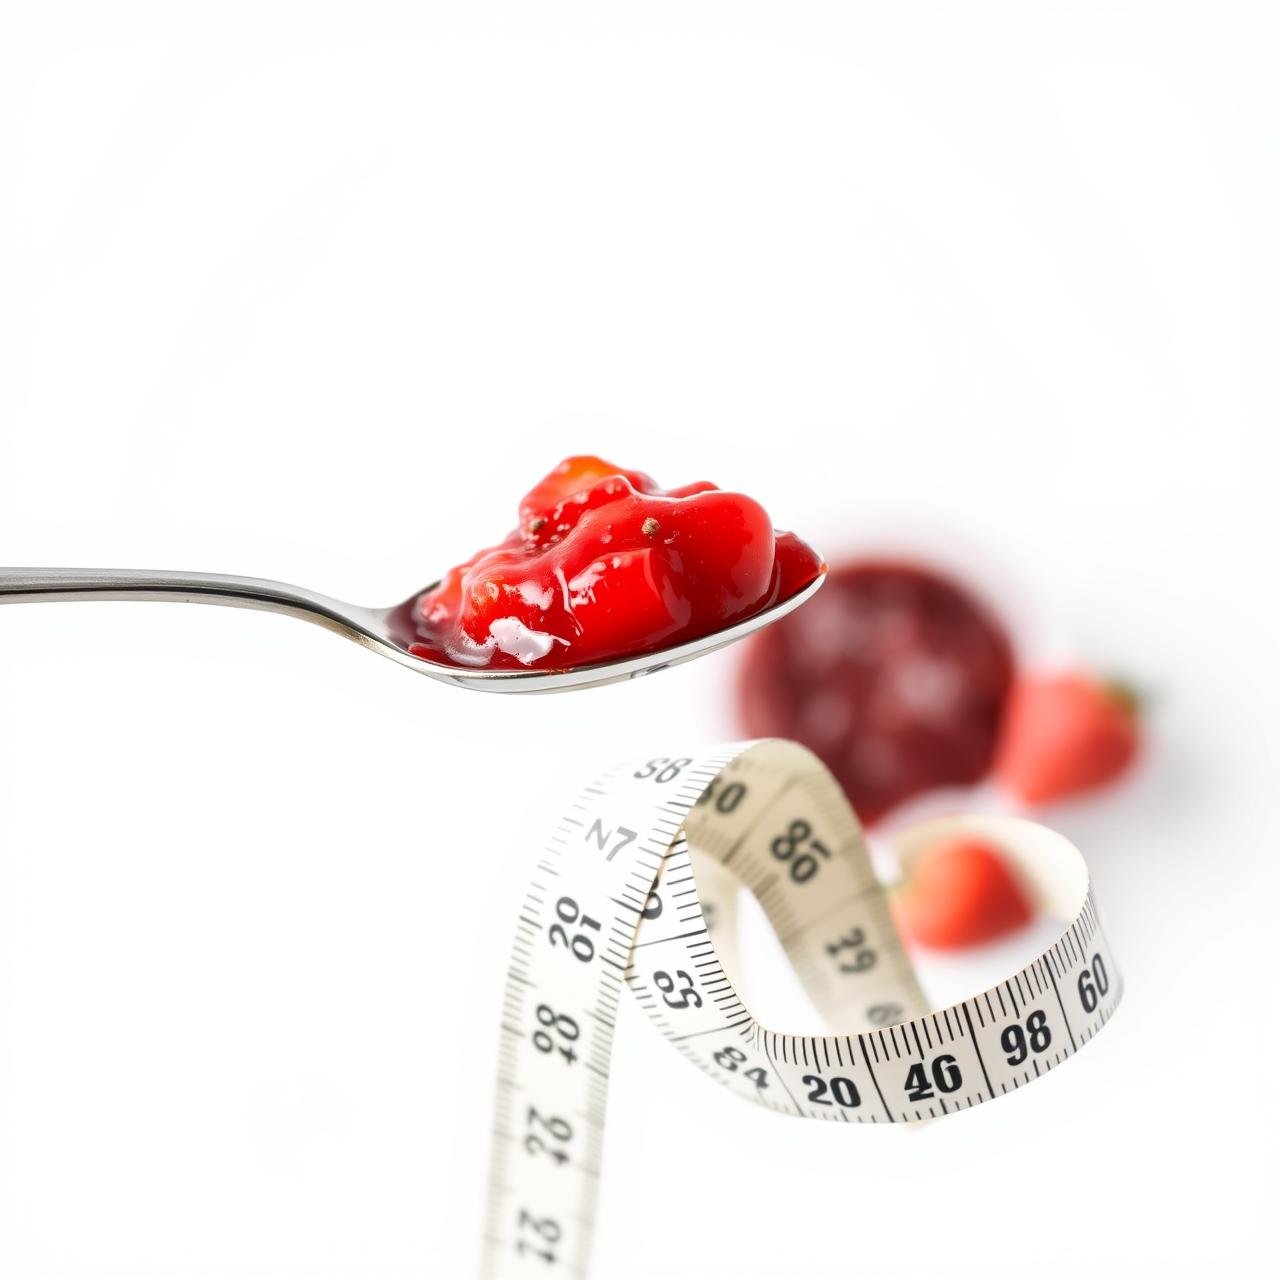
For too long, traditional jams have been synonymous with staggering amounts of sugar and complex canning processes. We’re here to change that narrative. This recipe strips jam down to its beautiful, wholesome essence, relying on the natural sweetness of fruit and the magical gelling power of chia seeds. It’s a game-changer for health enthusiasts, a delight for gourmet foodies, and a sigh of relief for busy home cooks. Prepare to ditch the sugar-laden store-bought jars forever and embrace a jam that nourishes your body while delighting your taste buds.
Why You’ll Fall in Love with This Sugar-Free Strawberry Jam
Before we dive into the simple steps, let’s talk about why this recipe will become a staple in your culinary repertoire. It’s more than just a jam; it’s a small act of self-care, a testament to the power of whole foods, and a celebration of simplicity in the kitchen.
Naturally Nutritious
Unlike conventional jams that often list sugar as the first ingredient, our version champions fruit. The sweetness comes directly from the strawberries, with an optional touch of a natural sweetener like maple syrup. The real star, however, is the chia seed. These tiny powerhouses are packed with omega-3 fatty acids, plant-based protein, and an incredible amount of dietary fiber, which aids in digestion and promotes a feeling of fullness. You’re not just eating jam; you’re adding a nutritional boost to your meal.
Incredibly Simple & Quick
Forget sterilizing jars and spending hours over a hot stove. This recipe is the definition of simplicity. With just 3 core ingredients and about 15-20 minutes of your time, you can whip up a batch. There’s no pectin, no candy thermometer, and no complex steps. It’s a straightforward process of simmering, mashing, and stirring—perfect for even the most novice of cooks.
Wonderfully Versatile
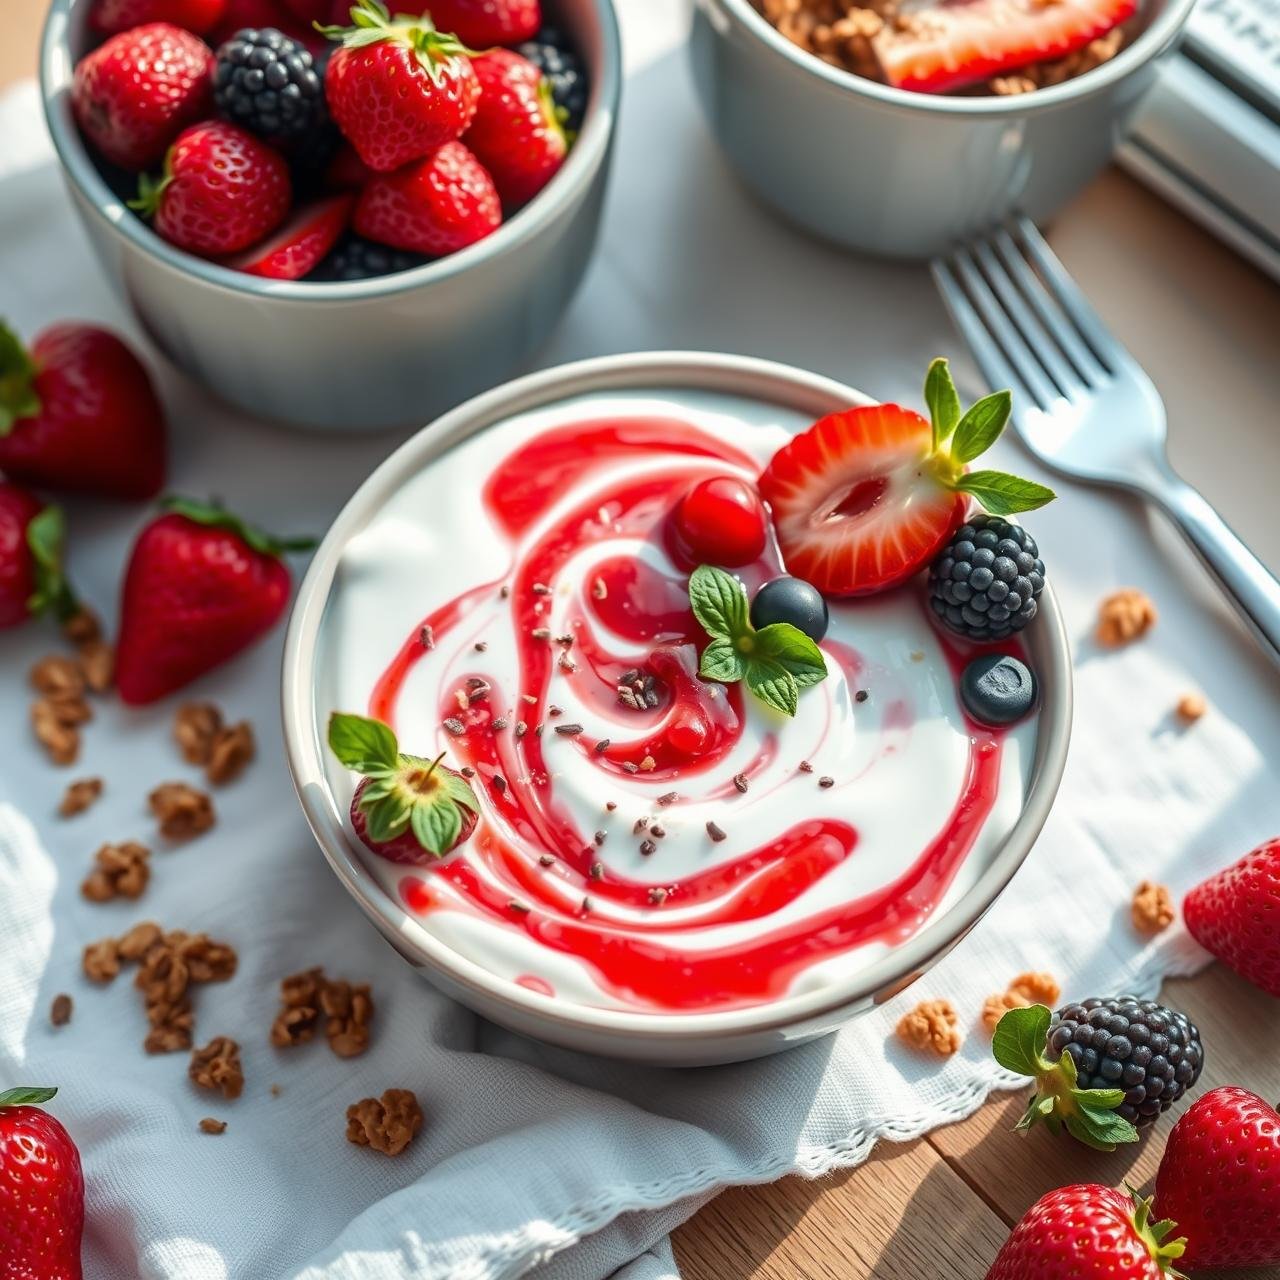
This strawberry chia jam is a true kitchen chameleon. Its uses extend far beyond morning toast. Swirl it into a bowl of creamy Greek yogurt or oatmeal for a burst of flavor. Use it as a vibrant topping for pancakes, waffles, or cheesecakes. It can even be used as a clean, fruity filling for pastries or thumbprint cookies. The possibilities are as endless as your culinary imagination.
The Power Trio: Understanding Your Ingredients
The beauty of this recipe lies in its minimalism. Each of the three ingredients plays a crucial, starring role. Understanding them will empower you to perfect your jam and even customize it to your liking.
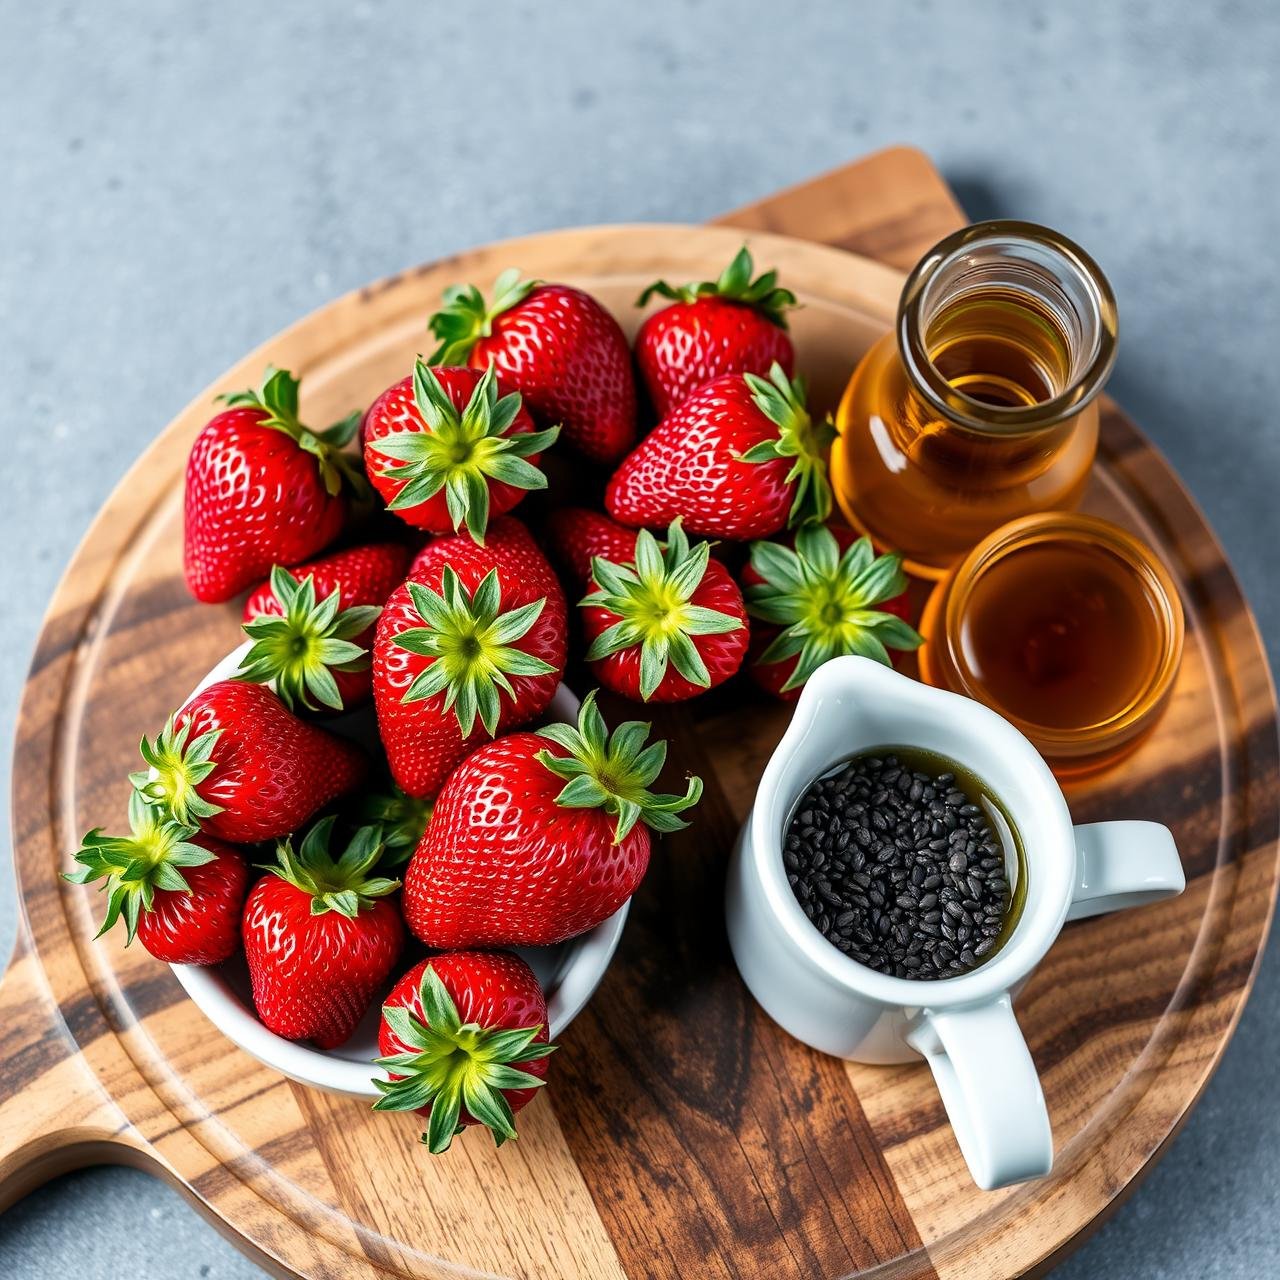
Ingredient 1: Strawberries (Fresh or Frozen)
The heart and soul of our jam. The choice between fresh and frozen is entirely up to you and often depends on the season. Fresh, in-season strawberries will offer an unparalleled vibrant, sweet flavor. Look for berries that are bright red, plump, and fragrant. Frozen strawberries are a fantastic, budget-friendly option, especially in the off-season. They work beautifully as they break down easily when heated, releasing their juices to create a perfect jam base. You don’t even need to thaw them first!
Ingredient 2: Chia Seeds
This is our magic ingredient, the natural thickener that replaces commercial pectin and heaps of sugar. When chia seeds are exposed to liquid—in this case, the juices from the cooked strawberries—they form a gel-like substance. This process, known as creating a ‘chia gel’, is what gives our jam its thick, spreadable consistency. You can use either black or white chia seeds; their nutritional profiles and gelling abilities are virtually identical.
Ingredient 3: Natural Sweetener (Optional)
While ripe strawberries are often sweet enough on their own, a touch of natural sweetener can elevate the flavor and balance any tartness. We recommend pure maple syrup for its rich, rustic flavor that complements the strawberries beautifully. Other great options include raw honey (if not vegan), agave nectar, or a few drops of liquid stevia for a completely sugar-free option. The key is to add it to taste—start with a small amount and adjust as needed.
Essential Equipment for Your Jam-Making Journey
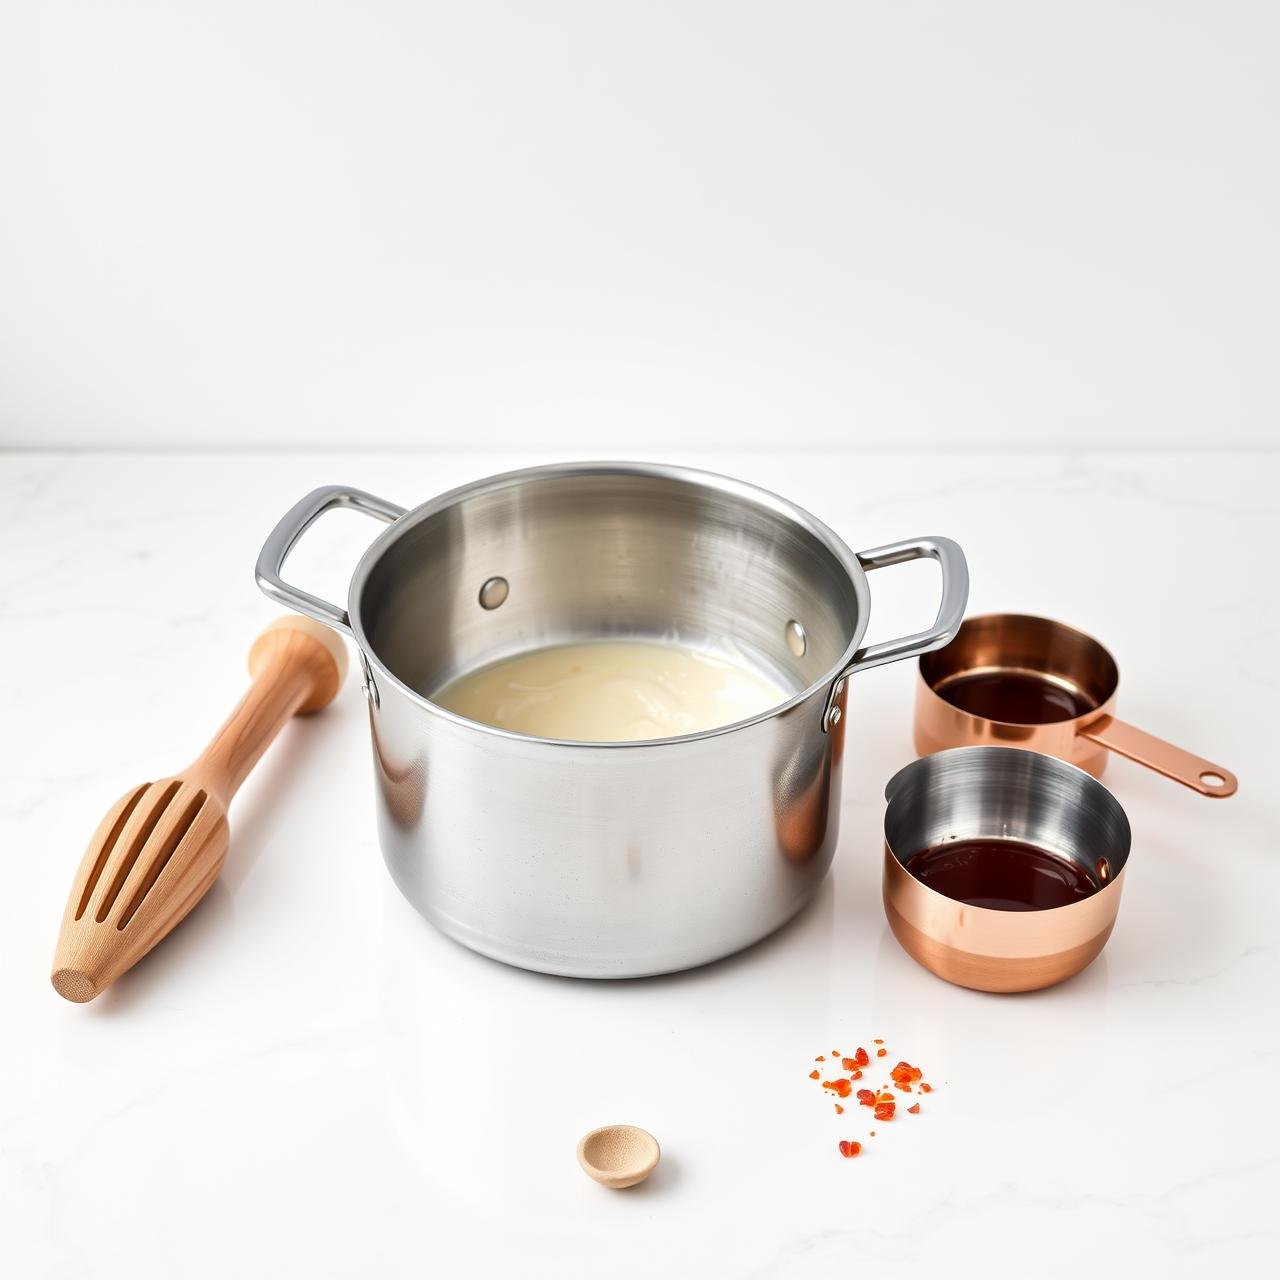
You don’t need any fancy canning equipment for this simple refrigerator jam. You likely already have everything you need right in your kitchen.
| Equipment | Purpose |
|---|---|
| Medium Saucepan | For simmering the strawberries to release their natural juices and soften the fruit. |
| Potato Masher or Fork | To break down the cooked strawberries to your desired consistency, from chunky to smooth. |
| Silicone Spatula or Wooden Spoon | For stirring the jam and scraping down the sides of the saucepan to prevent sticking. |
| Measuring Cups & Spoons | For accurately measuring your strawberries, chia seeds, and optional sweetener. |
| Airtight Jar or Container | For storing your finished jam in the refrigerator. A clean glass jar works perfectly. |
The Ultimate 3-Ingredient Strawberry Chia Jam Recipe
Ingredients
- 2 cups (about 300g) fresh or frozen strawberries, hulled
- 2 tablespoons chia seeds
- 1-2 tablespoons pure maple syrup (or other natural sweetener, to taste), optional
- 1 tablespoon fresh lemon juice (optional, brightens the flavor)
Step-by-Step Instructions
-
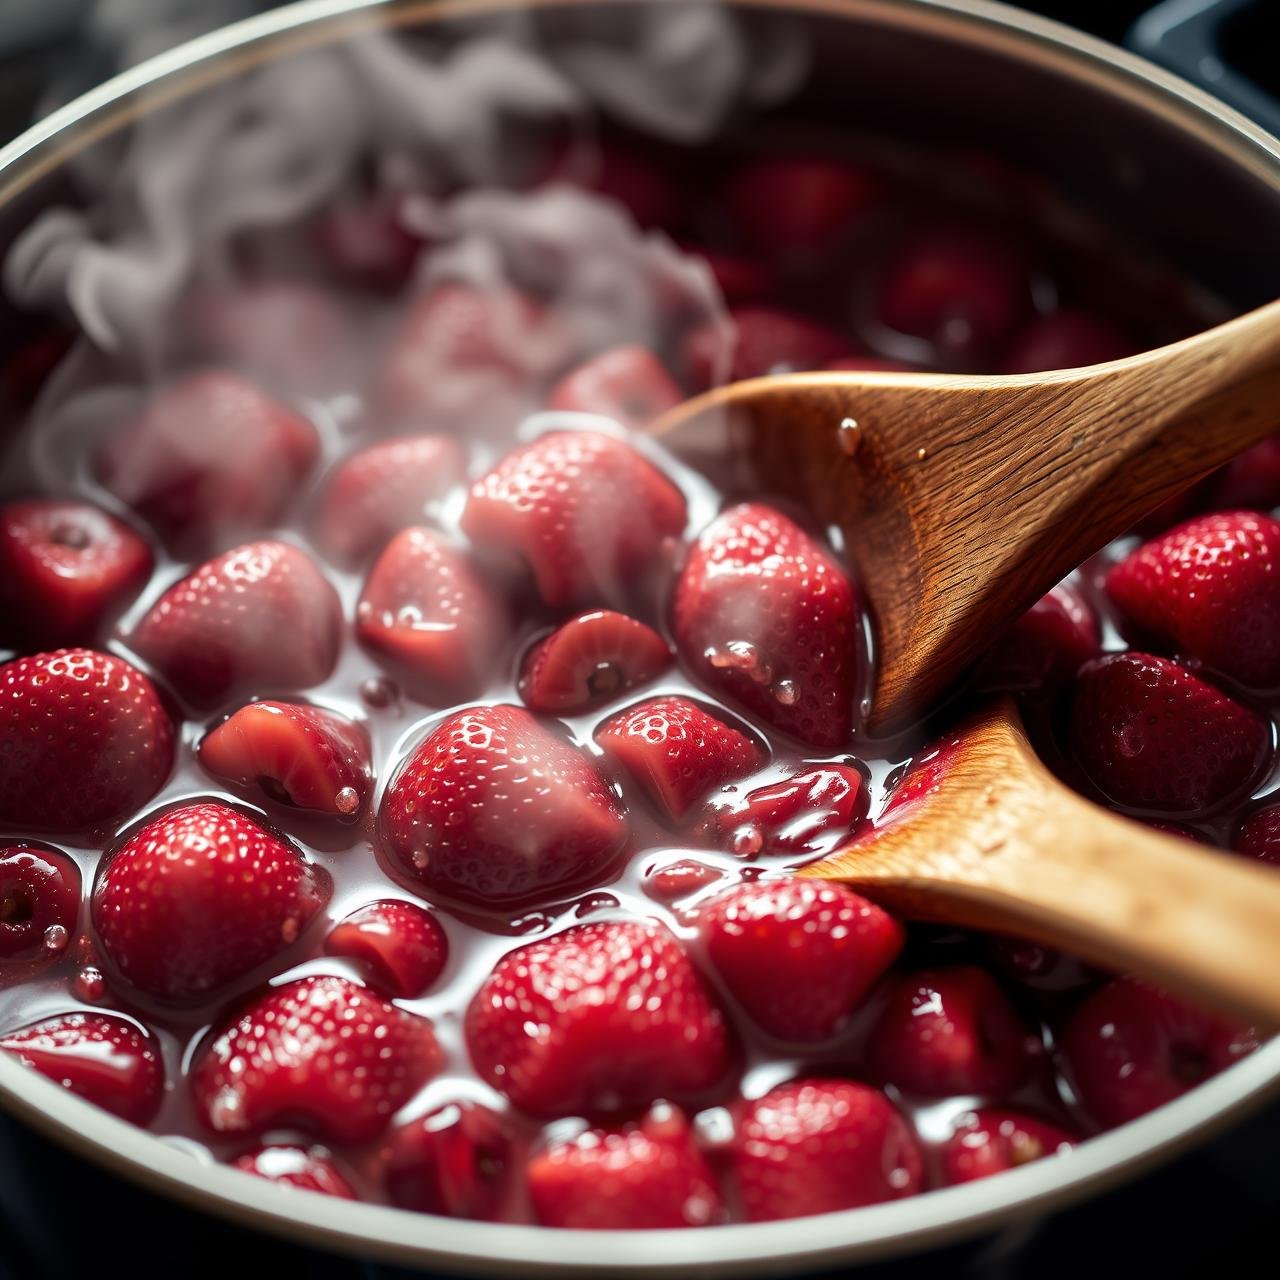
Cook the Strawberries
Place the strawberries (and lemon juice, if using) in a medium saucepan over medium heat. As the berries begin to heat up, they will release their natural juices. Stir occasionally to prevent them from sticking to the bottom of the pan. Continue to cook for about 5-10 minutes, until the berries have softened completely and are bubbling gently.
-
Mash to Your Desired Texture
Once the strawberries are soft, remove the saucepan from the heat. Use a potato masher, the back of a fork, or an immersion blender to break down the berries. For a rustic, chunky jam, mash lightly. For a smoother consistency, mash more thoroughly or give it a quick pulse with an immersion blender.
-
Stir in the Chia Seeds and Sweetener
Sprinkle the 2 tablespoons of chia seeds over the mashed strawberries and stir vigorously to combine, ensuring there are no clumps. If you’re using a sweetener, add it now. Start with 1 tablespoon of maple syrup, stir it in, and taste. Add more if you desire a sweeter jam.
-
Let it Thicken
Let the mixture sit for at least 10-15 minutes. As it cools, the chia seeds will work their magic, absorbing the liquid and thickening the jam to a perfect, spreadable consistency. It will continue to thicken as it chills in the refrigerator.
-
Transfer and Store
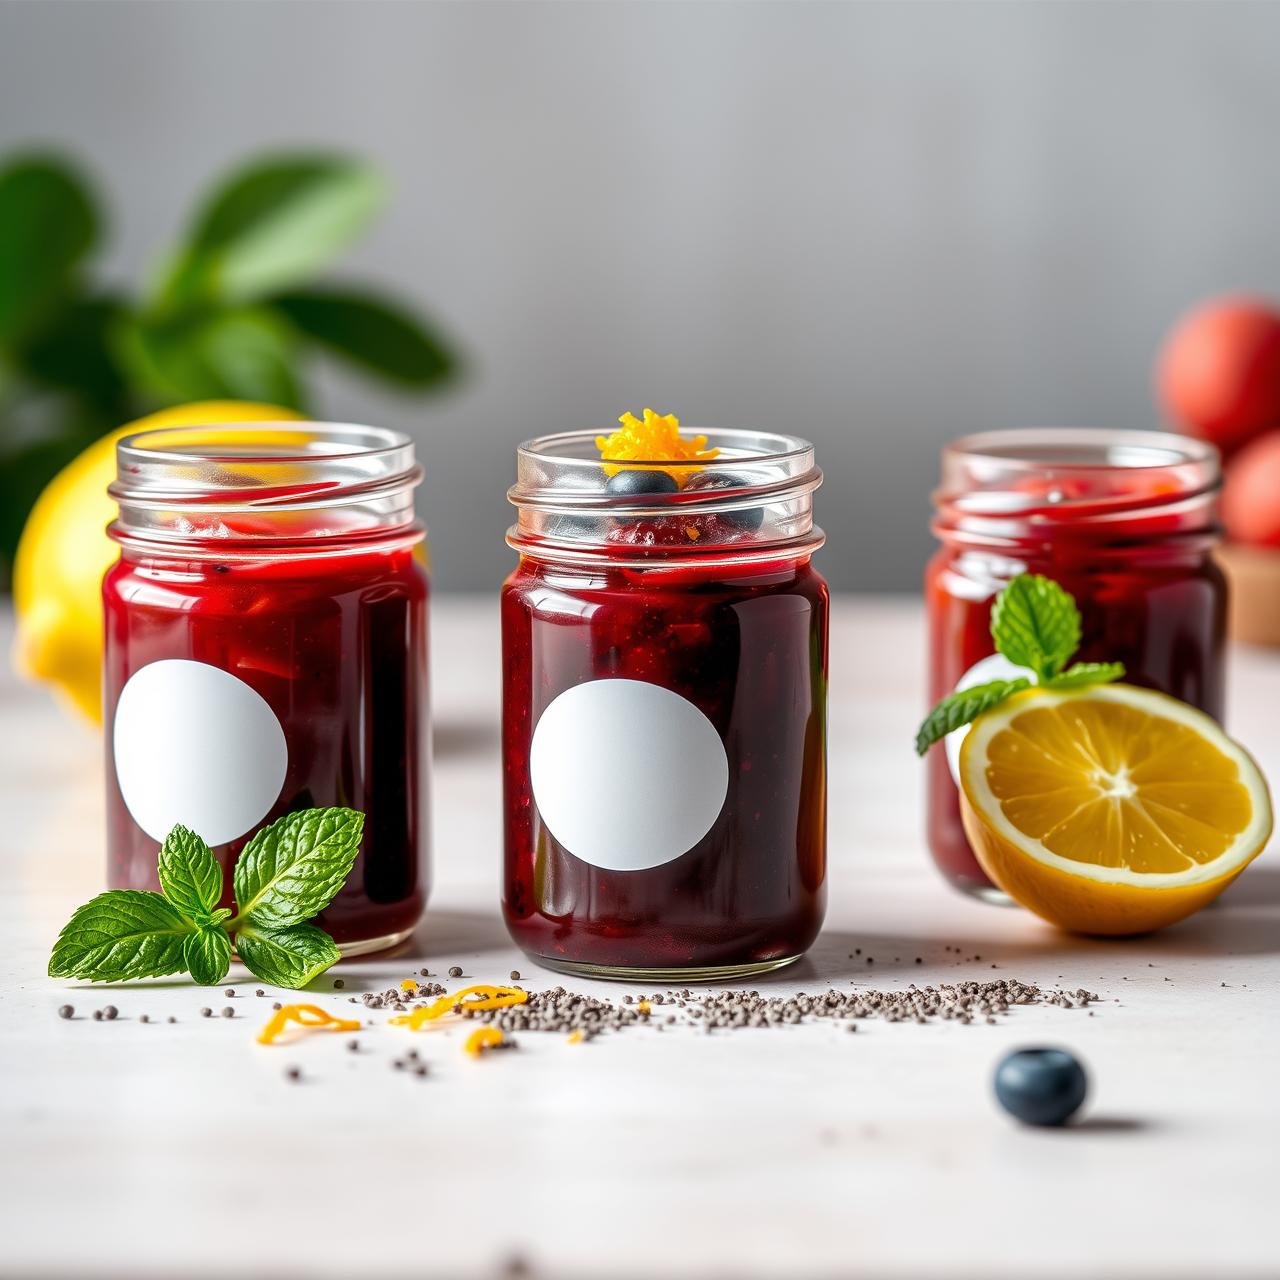
Once the jam has reached your desired thickness, transfer it to an airtight jar or container. Let it cool completely to room temperature before sealing it and placing it in the refrigerator.
A Chef’s Secrets: Tips & Variations for Perfect Jam
While this recipe is incredibly straightforward, a few professional tips can help you perfect and personalize your creation.
Achieving Your Ideal Consistency
Is your jam not quite as thick as you’d like? No problem. The consistency is easily adjustable. If it seems too thin after 15 minutes of resting, simply stir in another teaspoon of chia seeds and let it sit for another 10 minutes. Conversely, if your jam becomes too thick, you can thin it out by stirring in a tablespoon of water at a time until you reach the perfect texture.
Flavor Variations & Creative Add-Ins
This simple recipe is a fantastic canvas for your creativity. Consider these delicious variations:
- Vanilla Bean: Scrape the seeds from half a vanilla bean into the strawberries as they cook for a warm, aromatic flavor.
- Citrus Zest: Add a teaspoon of fresh orange or lime zest along with the lemon juice to create a brighter, more complex flavor profile.
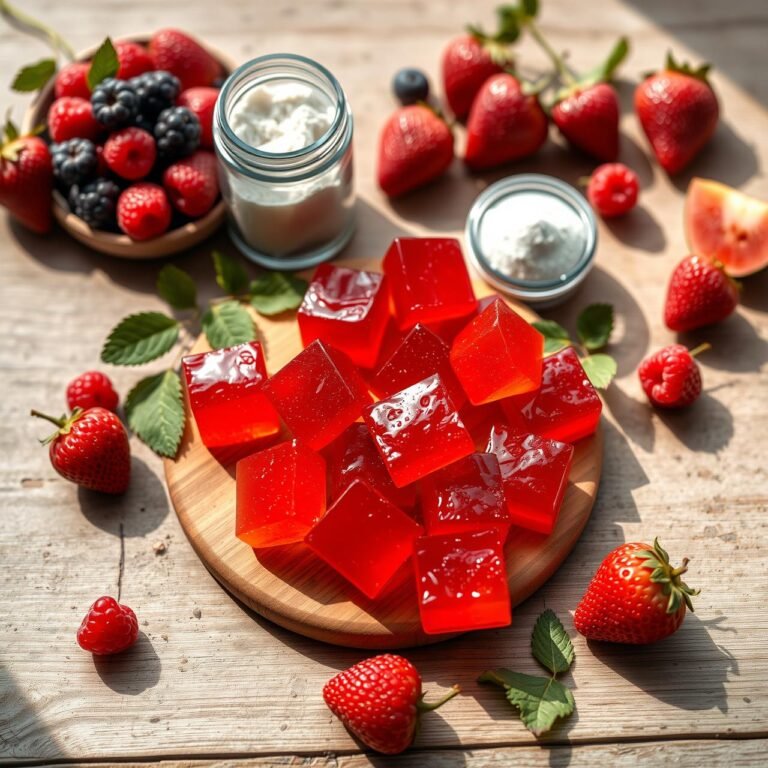
- Mixed Berry: Swap out half the strawberries for raspberries, blueberries, or blackberries to create a beautiful mixed berry jam.
- Spiced Jam: For a cozier flavor, add a pinch of cinnamon or cardamom to the saucepan with the berries.
Troubleshooting Common Issues
Even the simplest recipes can have hiccups. Here’s how to solve them:
- Clumpy Jam: This usually happens if the chia seeds weren’t stirred in well enough. To fix it, simply whisk the jam vigorously for a minute or two to break up any clumps.
- Jam Tastes Dull: If the flavor feels a little flat, a squeeze of fresh lemon juice is the perfect remedy. Its acidity brightens and enhances the natural sweetness of the strawberries.
Nutritional Information
This is an estimated nutritional breakdown per tablespoon. Actual values may vary based on the ripeness of your fruit and the type/amount of sweetener used.
| Nutrient | Amount per Serving (1 Tbsp) |
|---|---|
| Calories | ~15-20 kcal |
| Carbohydrates | ~3g |
| Fiber | ~1.5g |
| Sugars | ~1g (natural from fruit) |
| Protein | ~0.5g |
| Fat | ~0.8g |
| Omega-3s | ~450mg |
Disclaimer: This nutritional information is an estimate and should be used as a guide only.
Storing Your Homemade Treasure
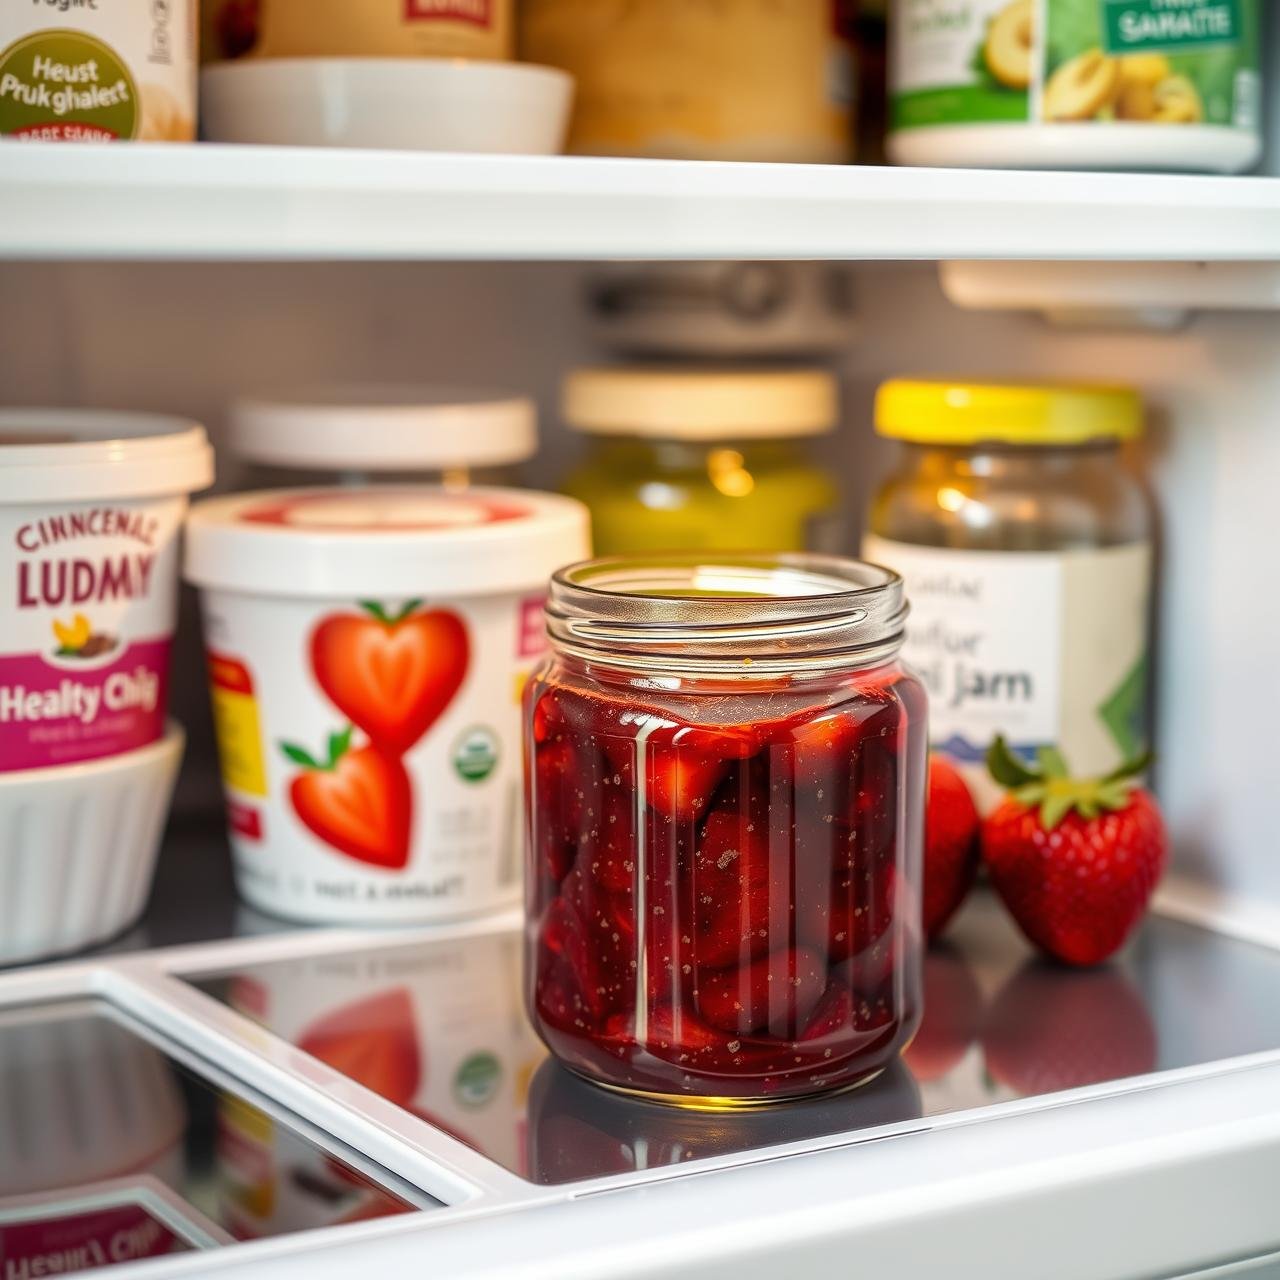
Because this jam doesn’t contain the high sugar content or undergo the formal canning process of traditional jams, it needs to be stored in the refrigerator. Proper storage is key to keeping it fresh and delicious.
Refrigeration
Once cooled, your strawberry chia jam should be stored in an airtight container or sealed jar in the refrigerator. It will stay fresh and delicious for up to 2 weeks. You might find that it thickens further after being chilled overnight. If it becomes too thick, simply stir in a teaspoon of water to loosen it up.
Freezing for Longevity
One of the best things about this recipe is how well it freezes! You can easily make a double or triple batch when strawberries are in season and save it for later. To freeze, portion the cooled jam into freezer-safe containers or ice cube trays (for single servings). Be sure to leave a little bit of space at the top for expansion. It can be stored in the freezer for up to 3 months. To use, simply thaw it in the refrigerator overnight and give it a good stir before serving.
Conclusion
You’ve done it. In just a few simple steps, you have transformed fresh fruit and tiny seeds into a jar of vibrant, delicious, and profoundly healthy strawberry jam. By embracing this recipe, you’re not just making a condiment; you’re taking control of your food, nourishing your body, and rediscovering the simple joy of homemade goodness. The next time you reach for a jar of jam, let it be the one you crafted with your own hands—a sweet, satisfying spread that you can feel truly good about eating and sharing. Enjoy every spoonful!