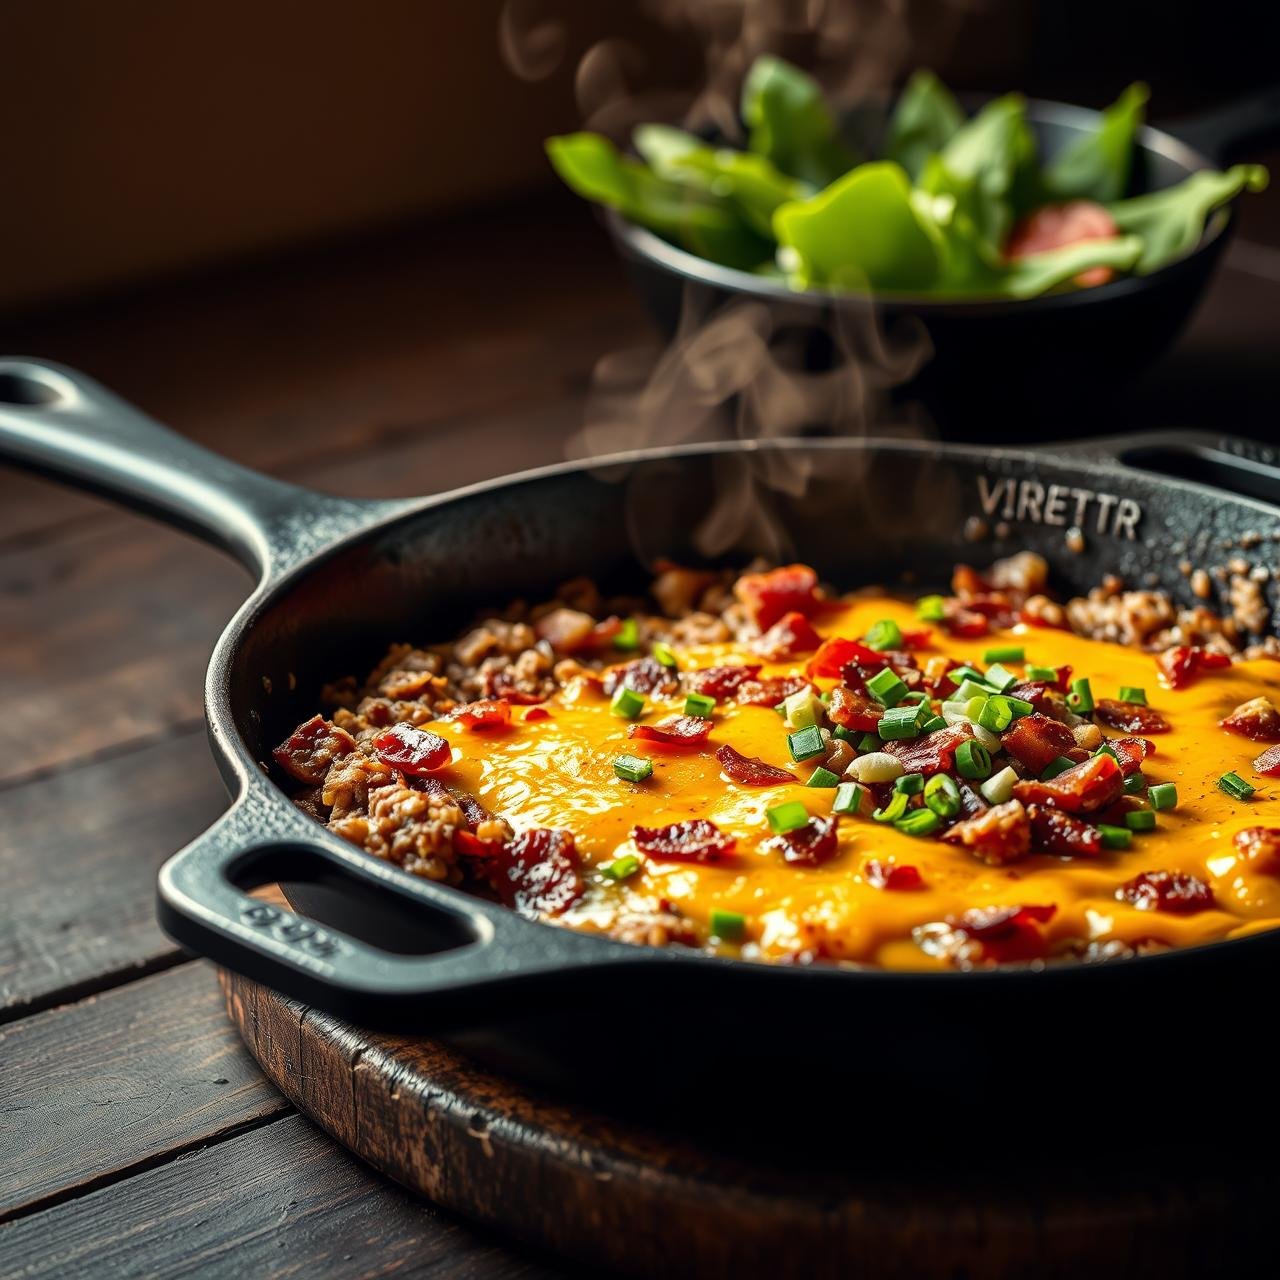
Bacon Cheeseburger Skillet: The Low Carb Dinner of Your Dreams
Imagine the quintessential American comfort food: a juicy, perfectly seared bacon cheeseburger, loaded with all your favorite toppings. The rich flavor of the beef, the smoky crunch of bacon, the sharp, creamy melt of cheddar cheese—it’s a symphony of textures and tastes that’s hard to resist. But what if you could capture that entire soul-satisfying experience without the heavy bun, in a dish that’s both incredibly easy to make and perfectly aligned with a healthy, low-carb lifestyle? Welcome to the dinner of your dreams: the Bacon Cheeseburger Skillet.
This recipe is a true culinary hero for the modern home cook. It’s a one-pan wonder that transforms simple, wholesome ingredients into a gourmet-level meal in less than 30 minutes. It’s designed for everyone at the table, from the discerning gourmet foodie who appreciates the depth of flavor from properly rendered bacon fat to the health enthusiast seeking delicious keto-friendly options. For the budget-conscious cook, it’s a brilliant way to stretch a pound of ground beef into a fulfilling family meal. And for the busy home cook, it’s the answer to the perennial question: “What’s for dinner?” Get ready to fall in love with a dish that proves you don’t have to sacrifice flavor for health or convenience.
Gather Your Tools: Essential Kitchen Equipment
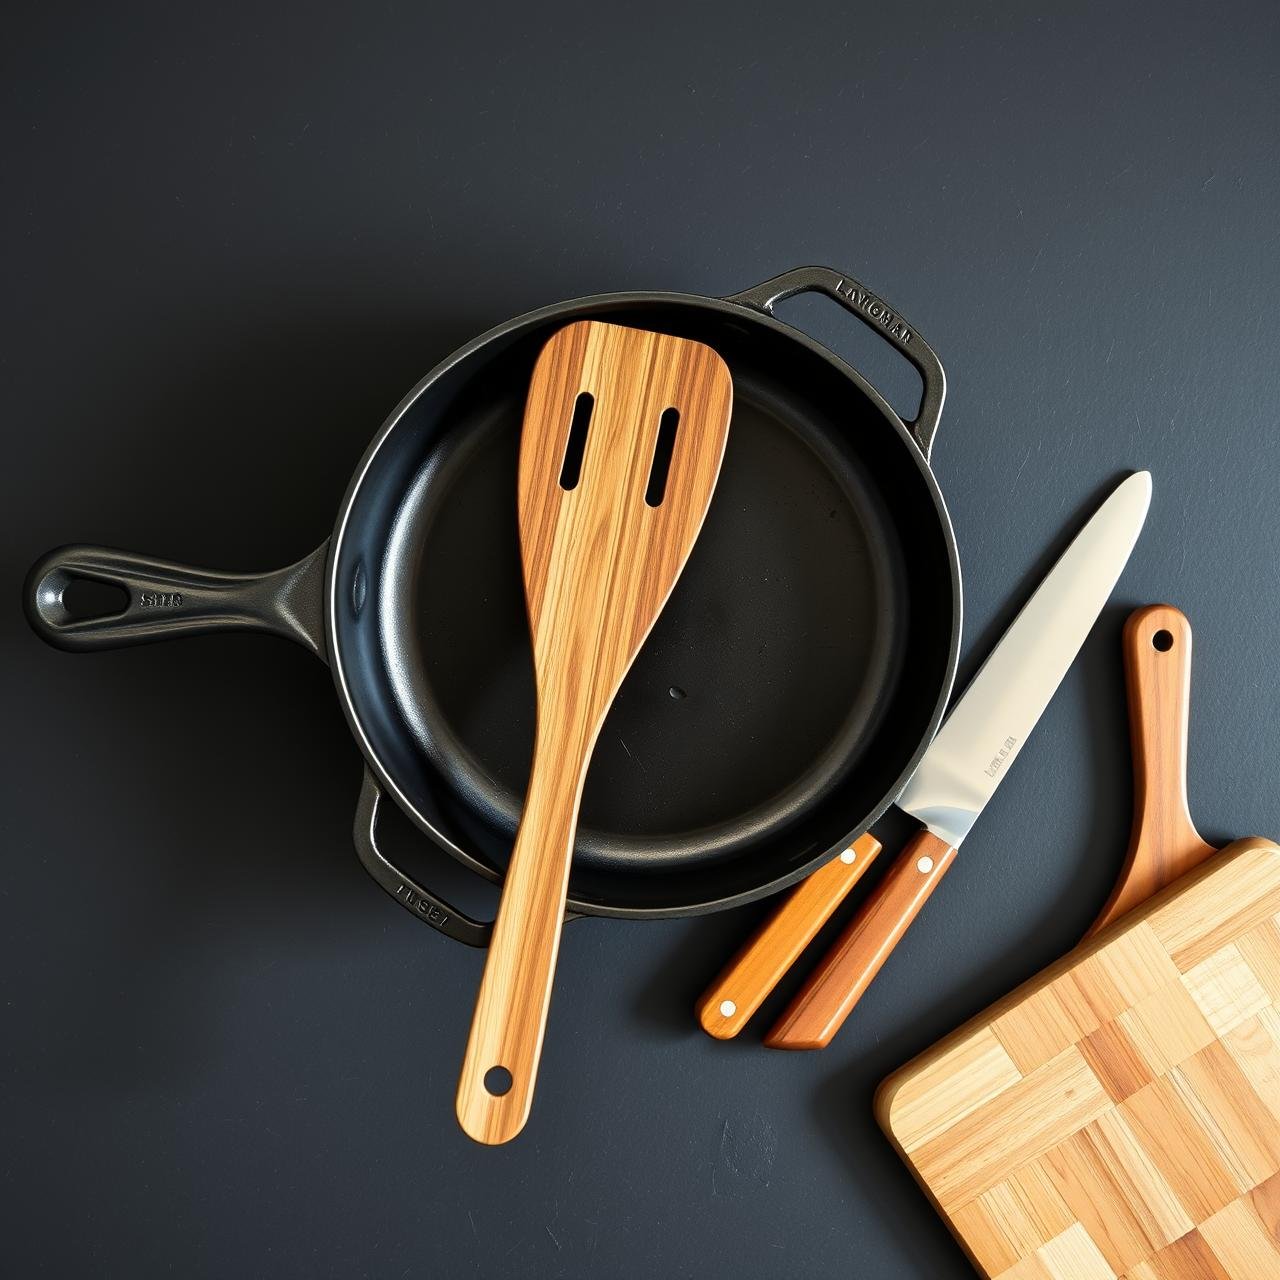
A great chef knows that the right tools make all the difference. For this recipe, we rely on a few kitchen staples to ensure perfect results every time. You don’t need anything fancy, just reliable pieces that can handle the heat and help you build layers of flavor with ease.
| Equipment | Chef’s Note |
|---|---|
| 12-Inch Cast-Iron Skillet | This is the star of the show. A cast-iron skillet provides superior heat retention and distribution, giving your ground beef a beautiful, caramelized sear that you can’t achieve with other pans. It also goes from stovetop to table beautifully. |
| Large Wooden Spatula or Spoon | Essential for breaking up the ground beef as it cooks and for scraping up any delicious browned bits (the ‘fond’) from the bottom of the pan. Wood is ideal as it won’t scratch your skillet’s seasoning. |
| Chef’s Knife & Cutting Board | A sharp knife is a cook’s best friend. You’ll need it for dicing your onion, mincing garlic, and chopping the bacon. A sturdy cutting board provides a safe and stable surface. |
| Box Grater | While pre-shredded cheese is convenient, we strongly recommend grating your own. It’s free of anti-caking agents and melts into a gloriously smooth and creamy blanket over your skillet. |
| Measuring Spoons & Cups | Precision is key for a well-balanced dish. Have these on hand to measure out your spices and liquids for consistent, delicious results every time. |
A Symphony of Flavors: The Ingredients List
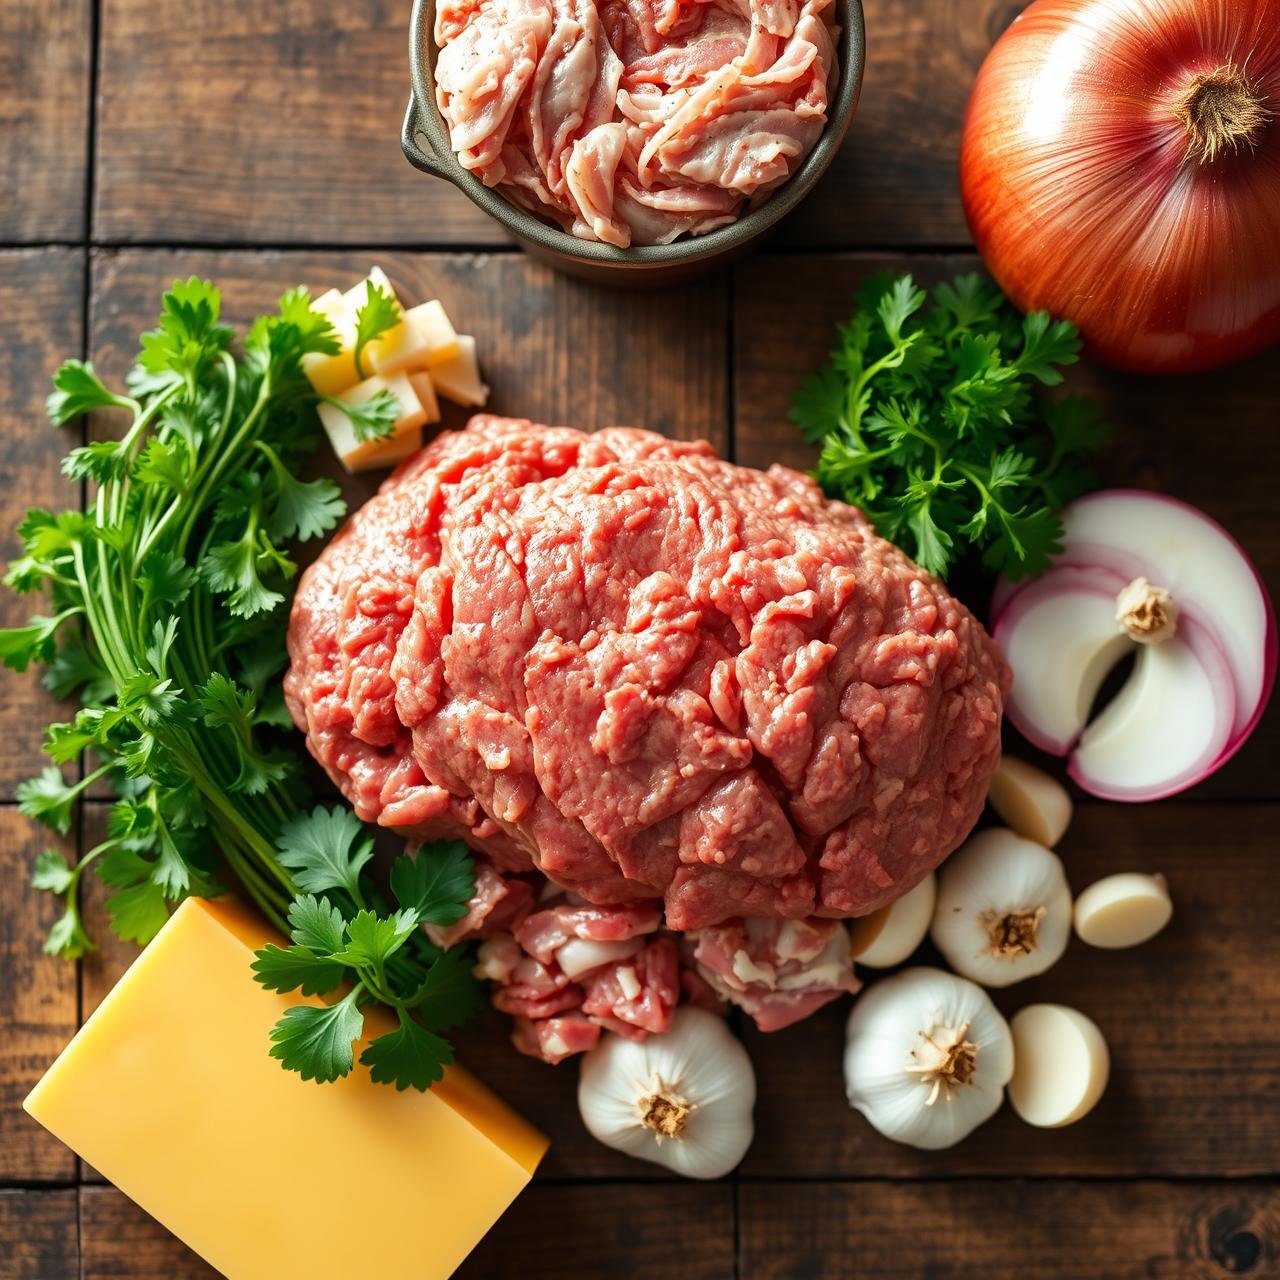
The beauty of this dish lies in its simple, high-quality ingredients. Each component plays a crucial role in creating the iconic bacon cheeseburger flavor profile. Opt for the freshest ingredients you can find for the most vibrant taste.
For the Skillet Base:
- 1 lb thick-cut bacon, chopped
- 1.5 lbs ground beef (80/20 or 85/15 recommended for flavor and moisture)
- 1 medium yellow onion, diced
- 3-4 cloves garlic, minced
- 1 tsp smoked paprika
- 1 tsp garlic powder
- 1/2 tsp onion powder
- Sea salt and freshly ground black pepper, to taste
- 1 (8 oz) can tomato sauce
- 2 tbsp tomato paste
- 1 tbsp Worcestershire sauce
- 1 tsp Dijon mustard
For the Cheesy Topping & Garnish:
- 2 cups sharp cheddar cheese, freshly shredded
- 4 oz cream cheese, softened and cubed
- Dill pickle slices or chopped dill pickles
- Fresh parsley or chives, chopped for garnish
Bringing It All Together: Step-by-Step Instructions
Follow these steps closely to build layers of flavor, resulting in a perfectly cooked, irresistibly cheesy skillet dinner. The process is straightforward and rewarding, with your kitchen filling with incredible aromas from the very first step.
- Crisp the Bacon: Place your 12-inch cast-iron skillet over medium heat. Add the chopped bacon and cook, stirring occasionally, until it’s wonderfully crispy and golden brown, about 8-10 minutes. Use a slotted spoon to transfer the bacon to a paper towel-lined plate, leaving about 1-2 tablespoons of the rendered bacon fat in the skillet. This fat is liquid gold and will form the flavor base for the entire dish.
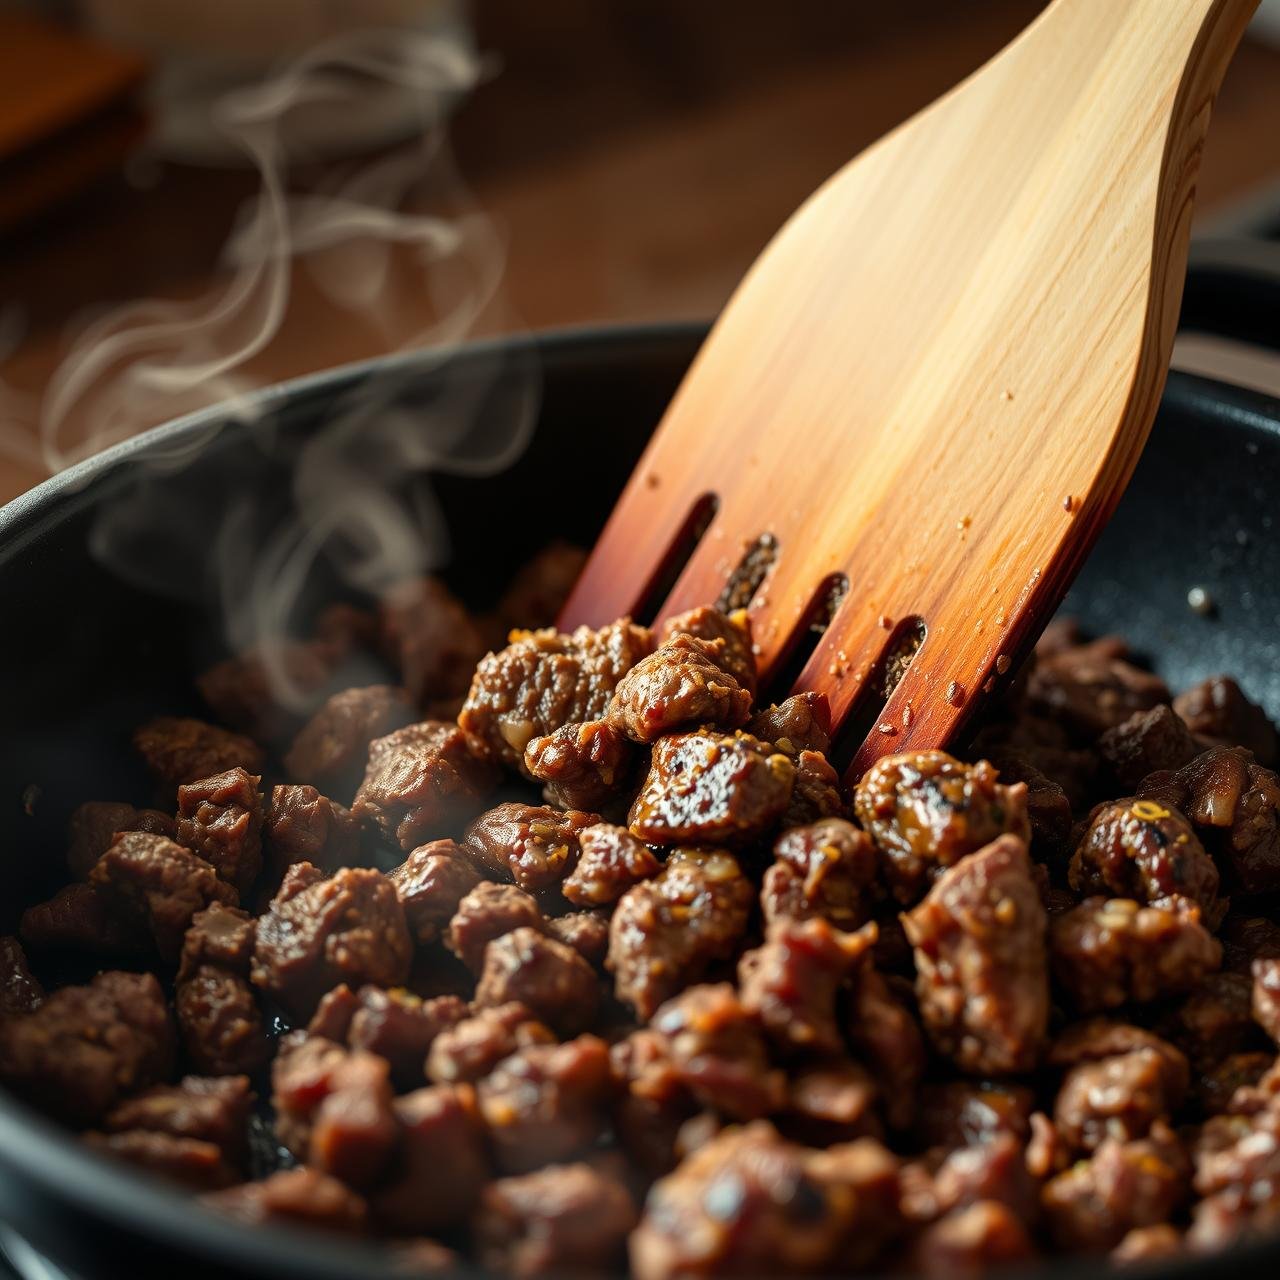
- Sear the Beef: Increase the heat to medium-high. Add the ground beef to the hot skillet. Let it sit for a few minutes without stirring to develop a deep, brown crust on one side. Then, use your wooden spatula to break the meat into crumbles. Continue cooking until it’s browned all over, about 5-7 minutes. Drain off any excess grease.
- Build the Aromatic Base: Add the diced yellow onion to the skillet with the beef. Sauté for 3-4 minutes until the onion softens and becomes translucent. Add the minced garlic and cook for another minute until fragrant, being careful not to burn it.
- Season Generously: Sprinkle the smoked paprika, garlic powder, onion powder, salt, and pepper over the meat and onion mixture. Stir well to combine, allowing the spices to toast for about 30 seconds to awaken their flavors.
- Create the Savory Sauce: Pour in the tomato sauce, tomato paste, Worcestershire sauce, and Dijon mustard. Stir everything together until the sauce is well incorporated with the beef. Bring the mixture to a gentle simmer.
- Add Creamy Richness: Reduce the heat to low. Dot the top of the beef mixture with the cubed cream cheese. Gently stir it in until it melts and creates a rich, creamy, and slightly tangy sauce that coats every piece of beef. This is the secret to a luxuriously textured skillet.
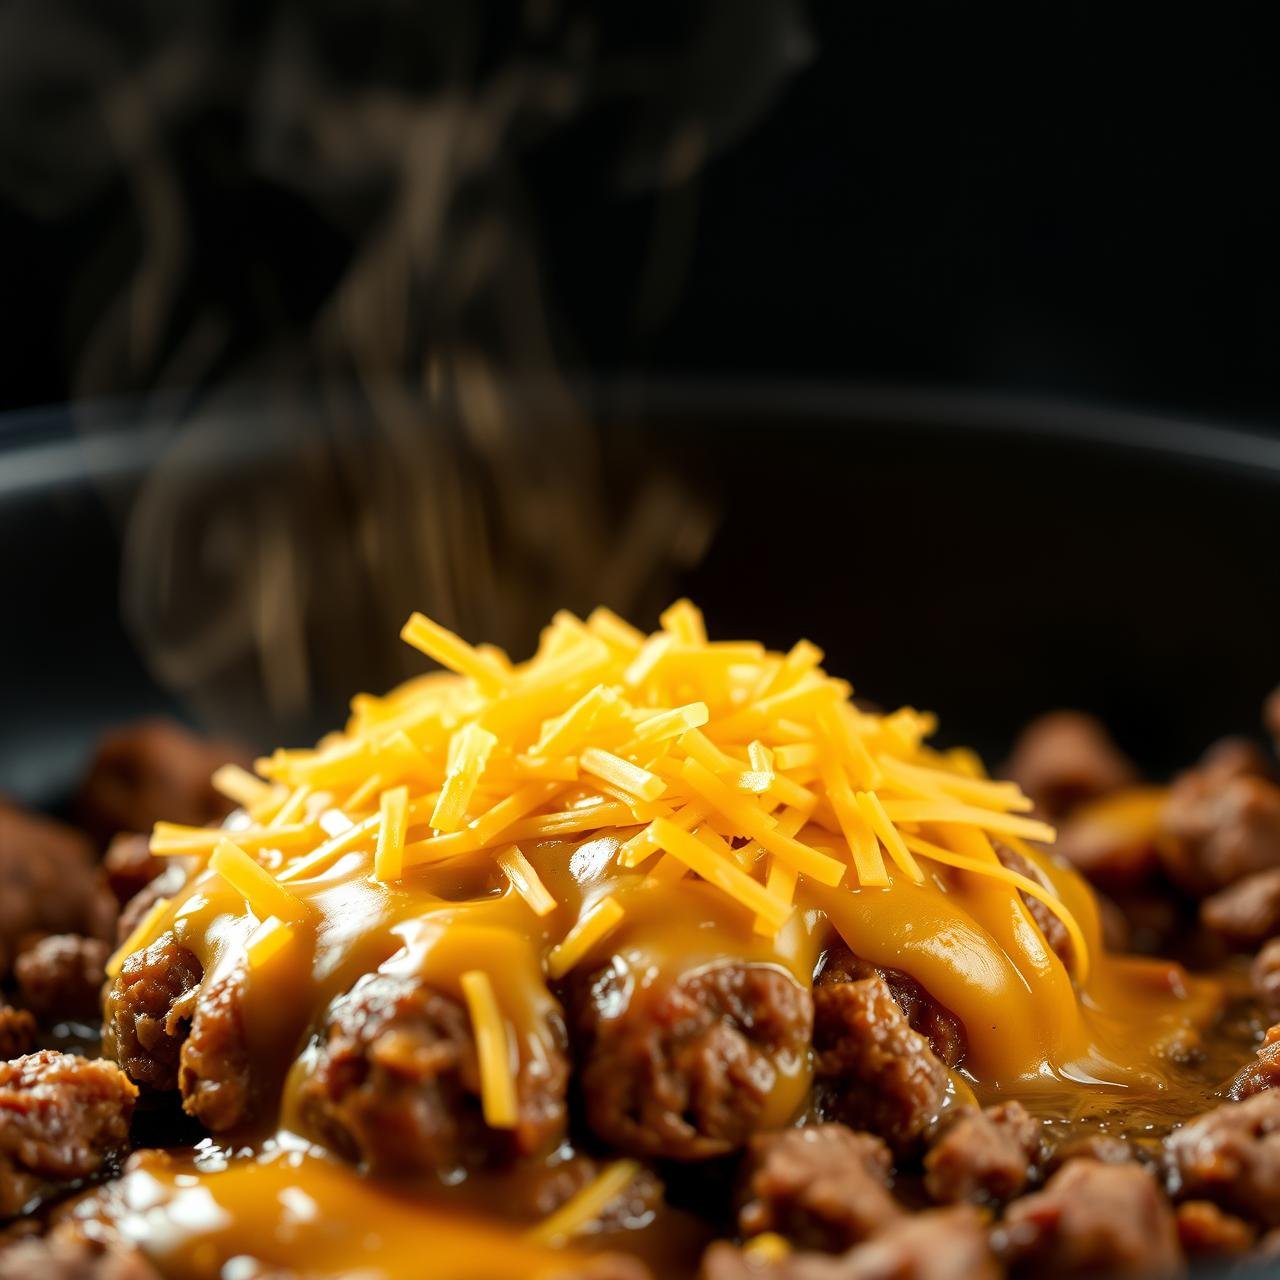
- The Grand Finale – Melt the Cheese: Sprinkle the shredded sharp cheddar cheese evenly over the top of the skillet. Scatter half of your reserved crispy bacon bits over the cheese. Cover the skillet with a lid (or a piece of foil) and let it cook on low for 2-3 minutes, or until the cheese is completely melted, bubbly, and irresistible.
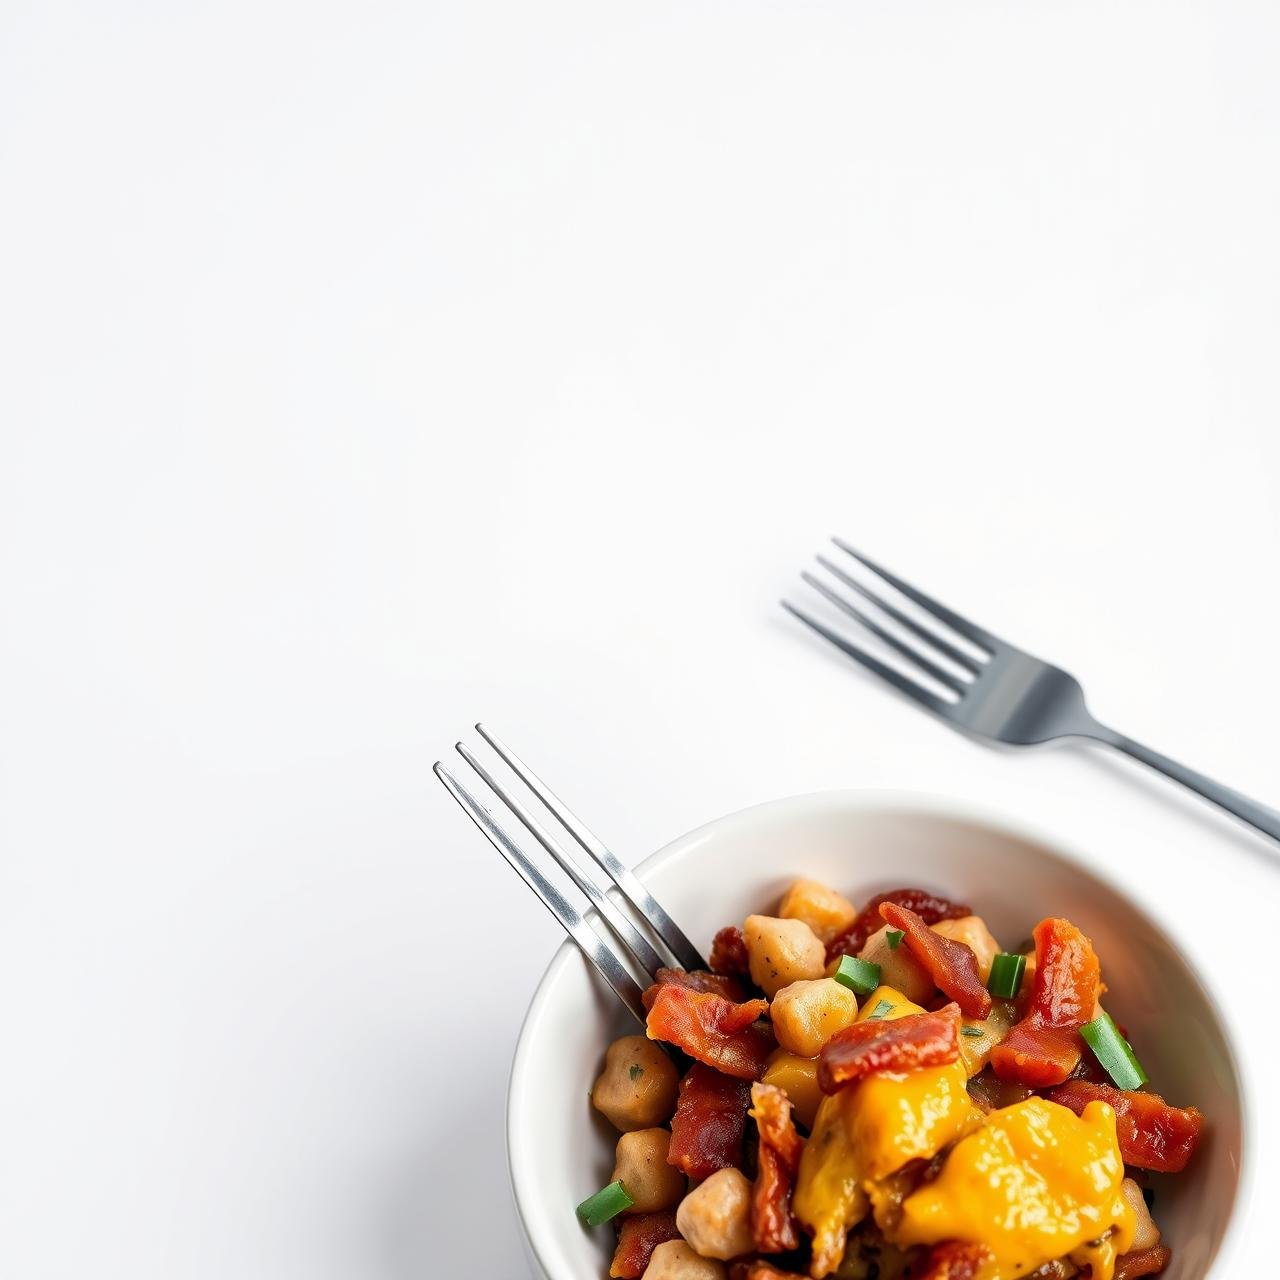
- Garnish and Serve: Remove the skillet from the heat. Top with the remaining crispy bacon, fresh dill pickle slices, and a sprinkle of chopped parsley or chives. Let it rest for a minute before serving hot.
Chef’s Secrets for Skillet Perfection
Elevate your skillet from simply ‘good’ to ‘unforgettable’ with these professional tips and tricks. Small adjustments in technique can yield huge dividends in flavor and texture.
- Don’t Crowd the Pan: When browning the beef, make sure it has enough space to sear rather than steam. If your skillet seems too full, it’s better to brown the beef in two batches. A proper sear develops deep, complex flavors through the Maillard reaction.
- Shred Your Own Cheese: This tip cannot be overstated. Pre-shredded cheeses contain starches and cellulose to prevent clumping, which inhibits a smooth, perfect melt. Taking two extra minutes to grate a block of sharp cheddar will reward you with a far superior, creamier, and more flavorful cheese topping.
- Deglaze for Depth: After browning the beef and onions, you’ll notice browned bits stuck to the bottom of the pan. This is called ‘fond’. When you add the tomato sauce, use your spatula to scrape these bits up. They will dissolve into the sauce, adding an incredible depth of savory, umami flavor.
- Taste and Adjust: Before you add the cheese topping, take a small taste of the beef mixture. Does it need more salt? A pinch more pepper? A splash more Worcestershire for tang? Cooking is about tasting and adjusting as you go to suit your palate.
- Let It Rest: Just like a good steak, allowing the finished skillet to rest for a couple of minutes off the heat before serving lets the flavors meld and the sauce settle slightly. This makes for a more cohesive and delicious first bite.
Make It Your Own: Delicious Variations & Serving Suggestions

This recipe is a fantastic canvas for your culinary creativity. Here are some mouth-watering ideas to customize your skillet or serve it in exciting new ways, catering to different tastes and dietary needs.
Flavor Variations:
- Spicy Kick: Add a diced jalapeño or a pinch of red pepper flakes along with the onions for a fiery kick.
- Mushroom & Swiss: Sauté 8 oz of sliced cremini mushrooms with the onions and swap the cheddar for Swiss cheese for a classic burger variation.
- Blue Cheese & Onion: Crumble 4 oz of blue cheese over the top along with the cheddar and top with caramelized onions for a bold, tangy flavor.
- Add Veggies: Boost the nutritional content by stirring in a cup of finely chopped cauliflower rice or zucchini when you add the sauce.
Serving Suggestions:
- Lettuce Wraps: Serve scoops of the skillet mixture in crisp iceberg or butter lettuce cups for a fresh, crunchy, and low-carb ‘burger’ experience.
- Over Veggies: Spoon the mixture over a bed of steamed cauliflower rice, zucchini noodles, or roasted broccoli.
- Stuffed Peppers: Use the skillet mixture as a delicious stuffing for hollowed-out bell peppers and bake until tender.
- With a Side Salad: A simple side salad with a vinaigrette dressing provides a fresh, acidic contrast that perfectly complements the richness of the skillet.
Nourishment by the Numbers: Nutritional Breakdown
For those tracking their macros or simply curious about the nutritional profile, here is an estimated breakdown per serving. Please note that these values are an approximation and can vary based on the specific ingredients used, such as the fat content of your ground beef.
| Nutrient | Amount Per Serving (approx.) |
|---|---|
| Calories | 550 kcal |
| Total Fat | 42g |
| Saturated Fat | 18g |
| Protein | 38g |
| Total Carbohydrates | 8g |
| Dietary Fiber | 2g |
| Net Carbs | 6g |
| Sodium | 980mg |
This recipe is calculated based on 6 servings.
Savor It Later: Storage and Reheating Guide
This skillet makes for fantastic leftovers and is perfect for meal prepping. Storing it correctly ensures it stays fresh and delicious for days to come.
Storage:
Once the skillet has cooled completely, transfer any leftovers into an airtight container. It can be stored in the refrigerator for up to 4 days. I recommend storing any fresh garnishes like pickles or parsley separately to maintain their texture.
Reheating:
- Stovetop (Recommended): Place the desired portion in a small skillet over medium-low heat. Add a splash of water or beef broth to prevent it from drying out. Cover and heat for 5-7 minutes, stirring occasionally, until warmed through. This method best preserves the texture of the meat and cheese.
- Microwave: For a quicker option, place a serving in a microwave-safe dish and cover loosely. Heat on 50% power in 1-minute increments, stirring in between, until heated to your liking. Using half power helps prevent the beef from becoming tough.
Conclusion
The Bacon Cheeseburger Skillet is more than just a recipe; it’s a celebration of flavor, convenience, and wholesome eating. It proves that you can enjoy the decadent, comforting tastes you crave while still nourishing your body. In one pan and under 30 minutes, you create a meal that’s rustic enough for a cozy night in, yet impressive enough to share with friends. It’s a dish that adapts to your tastes, welcomes creativity, and will undoubtedly earn a permanent spot in your weeknight dinner rotation. So go ahead, embrace the skillet, and rediscover the pure joy of a bacon cheeseburger—reimagined for your modern, healthy kitchen.