Low Carb Crustless Cheeseburger Pie: Family Favorite (Detailed Recipe)
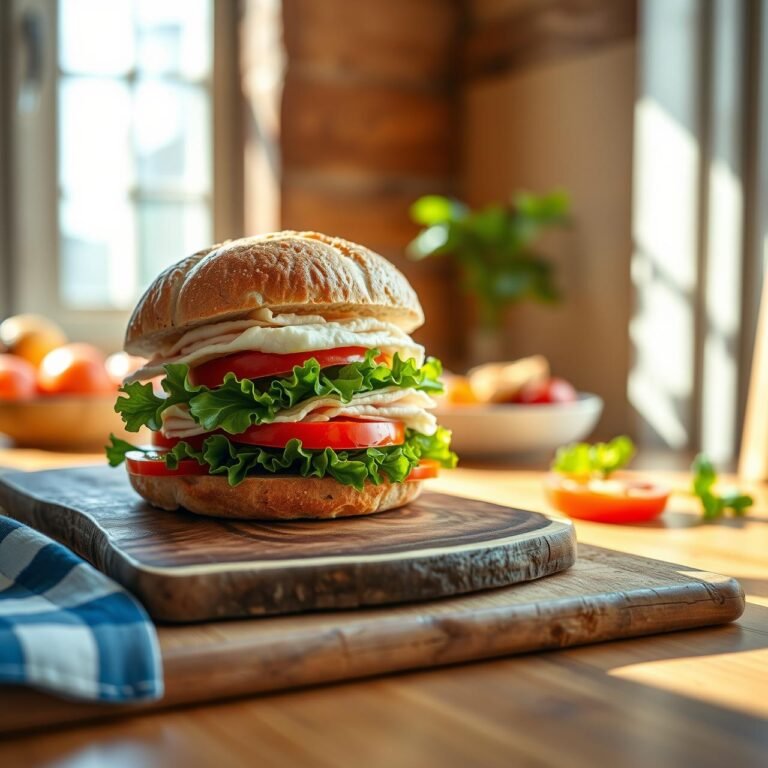
There’s an almost universal comfort found in the classic American cheeseburger. The savory beef, the sharp tang of pickles, the gooey melted cheese—it’s a combination that speaks directly to the soul. But what if you could capture that entire, mouth-watering experience without the heavy, carb-laden bun? Welcome to your new family favorite: the Low Carb Crustless Cheeseburger Pie.
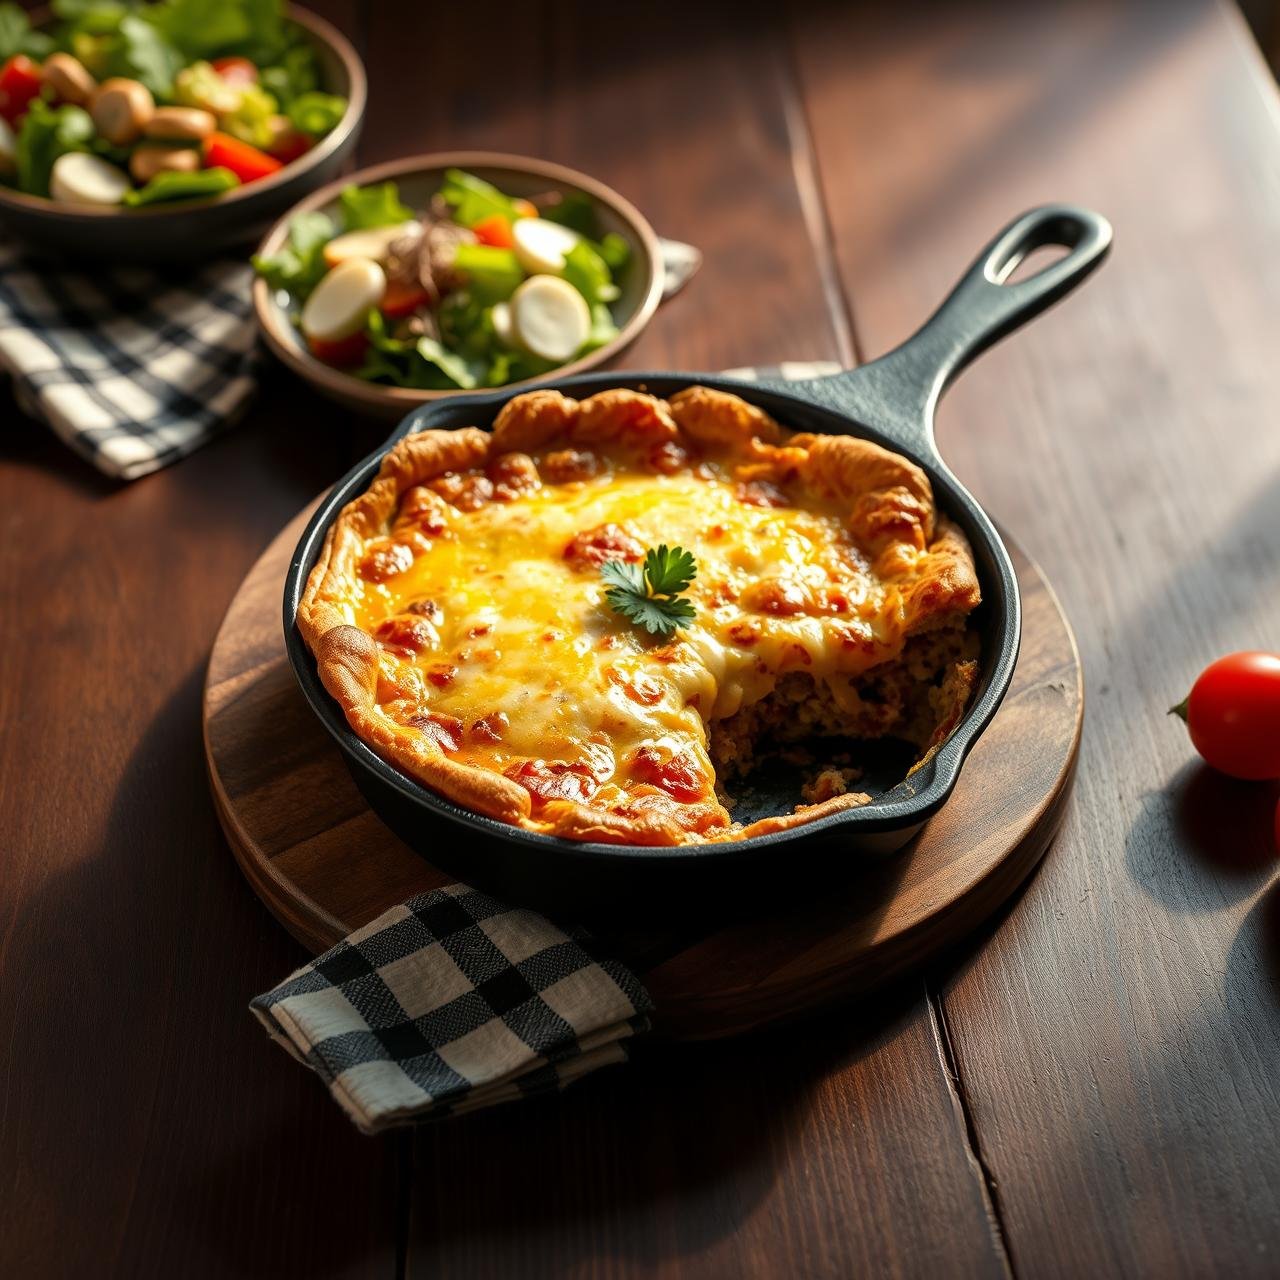
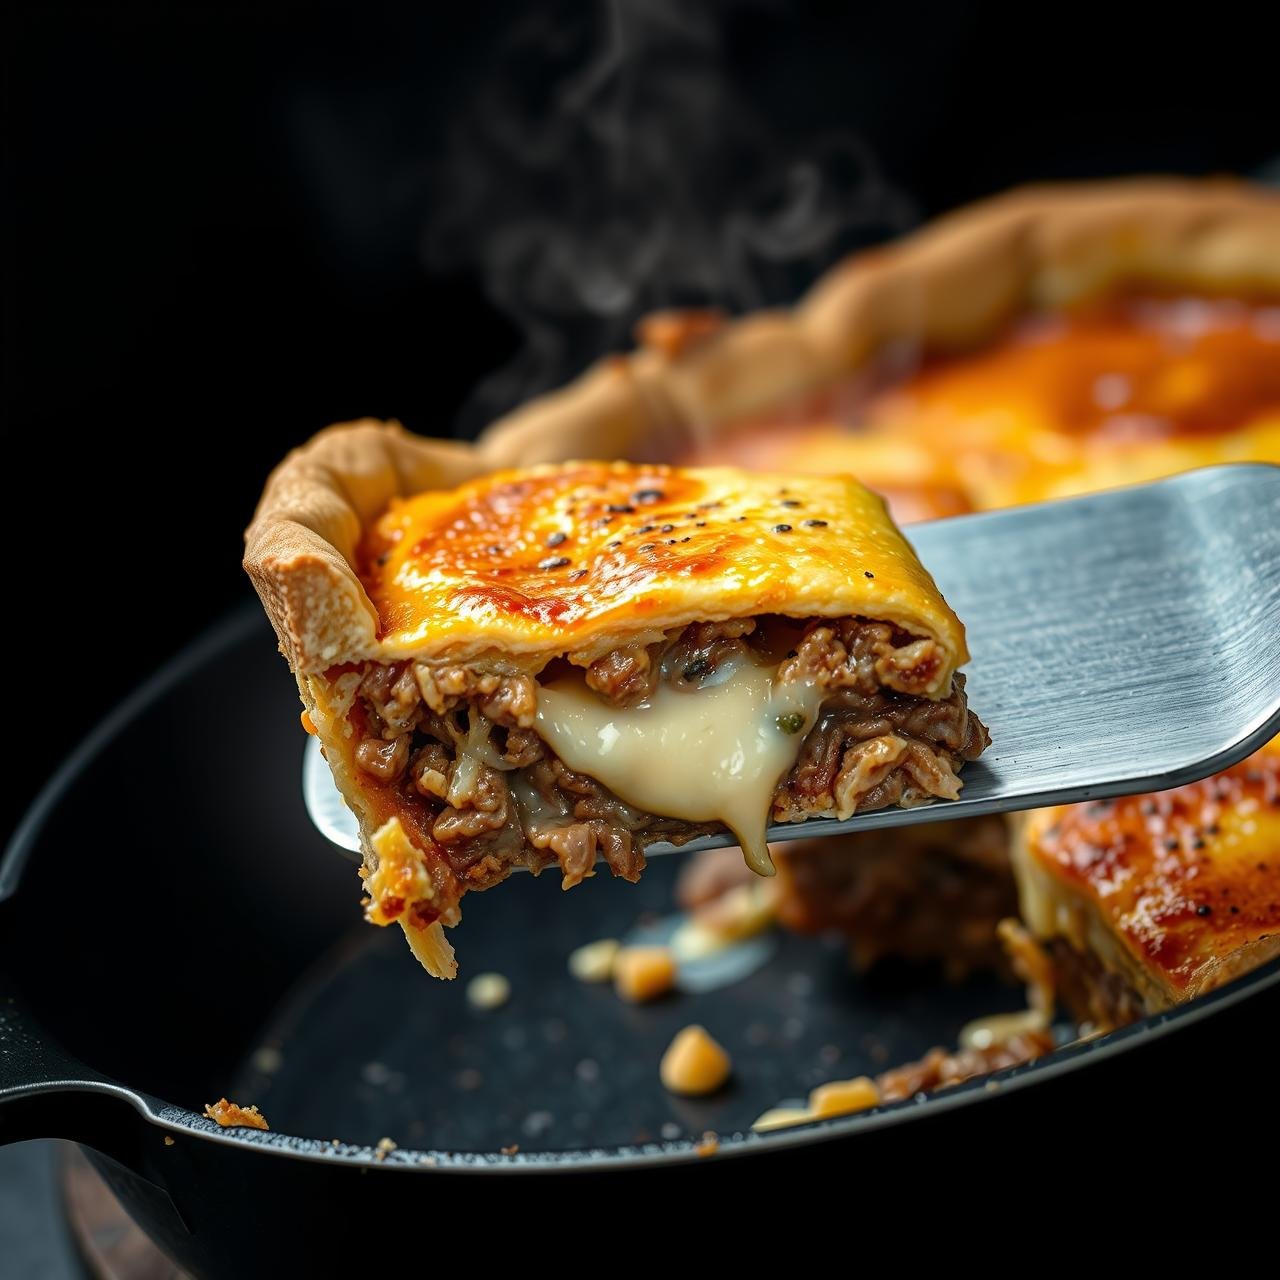
This recipe is more than just a low-carb alternative; it’s a culinary revelation. It deconstructs the beloved cheeseburger and reassembles it into a rustic, homestyle pie that is both deeply satisfying and incredibly simple to make. Imagine a savory, perfectly seasoned ground beef filling, studded with onions and tangy dill pickles, all held together by a rich, creamy egg and cheese binder that bakes into a custardy, golden-brown delight. It’s the perfect one-pan solution for busy weeknights, a surefire hit with picky eaters, and a wholesome dish that aligns with a healthy, clean-eating lifestyle. Prepare to watch your family devour every last bite and ask for seconds—this isn’t just dinner, it’s a delicious memory in the making.
The Heart of the Matter: Why This Recipe Works
At its core, this Crustless Cheeseburger Pie is a masterclass in flavor engineering, proving that you don’t need a crust to create a complete and satisfying meal. Its brilliance lies in its simplicity and its smart, wholesome structure.
Key Benefits:
- Keto & Low-Carb Perfection: By eliminating the bun and any flour-based binders, this dish becomes a powerhouse for anyone following a ketogenic or low-carb diet. It’s packed with protein and healthy fats to keep you full and energized.
- Gluten-Free & Grain-Free: This recipe is naturally free from gluten and grains, making it an excellent choice for individuals with celiac disease or gluten sensitivities.
- One-Pan Wonder: From sautéing the beef to baking the final pie, most of the action can happen in a single oven-safe skillet (like cast iron), which means streamlined cooking and minimal cleanup.
- Budget-Friendly Staple: Built around humble ground beef, cheese, and eggs, this dish delivers an immense flavor payoff without breaking the bank. It’s a fantastic way to stretch your grocery budget while serving a truly impressive meal.
- Family-Approved Flavor: It tastes just like a cheeseburger! The familiar, comforting flavors make it an instant hit with both adults and children. Even the pickiest eaters can’t resist a cheesy, savory pie.
Gather Your Culinary Toolkit: Essential Equipment
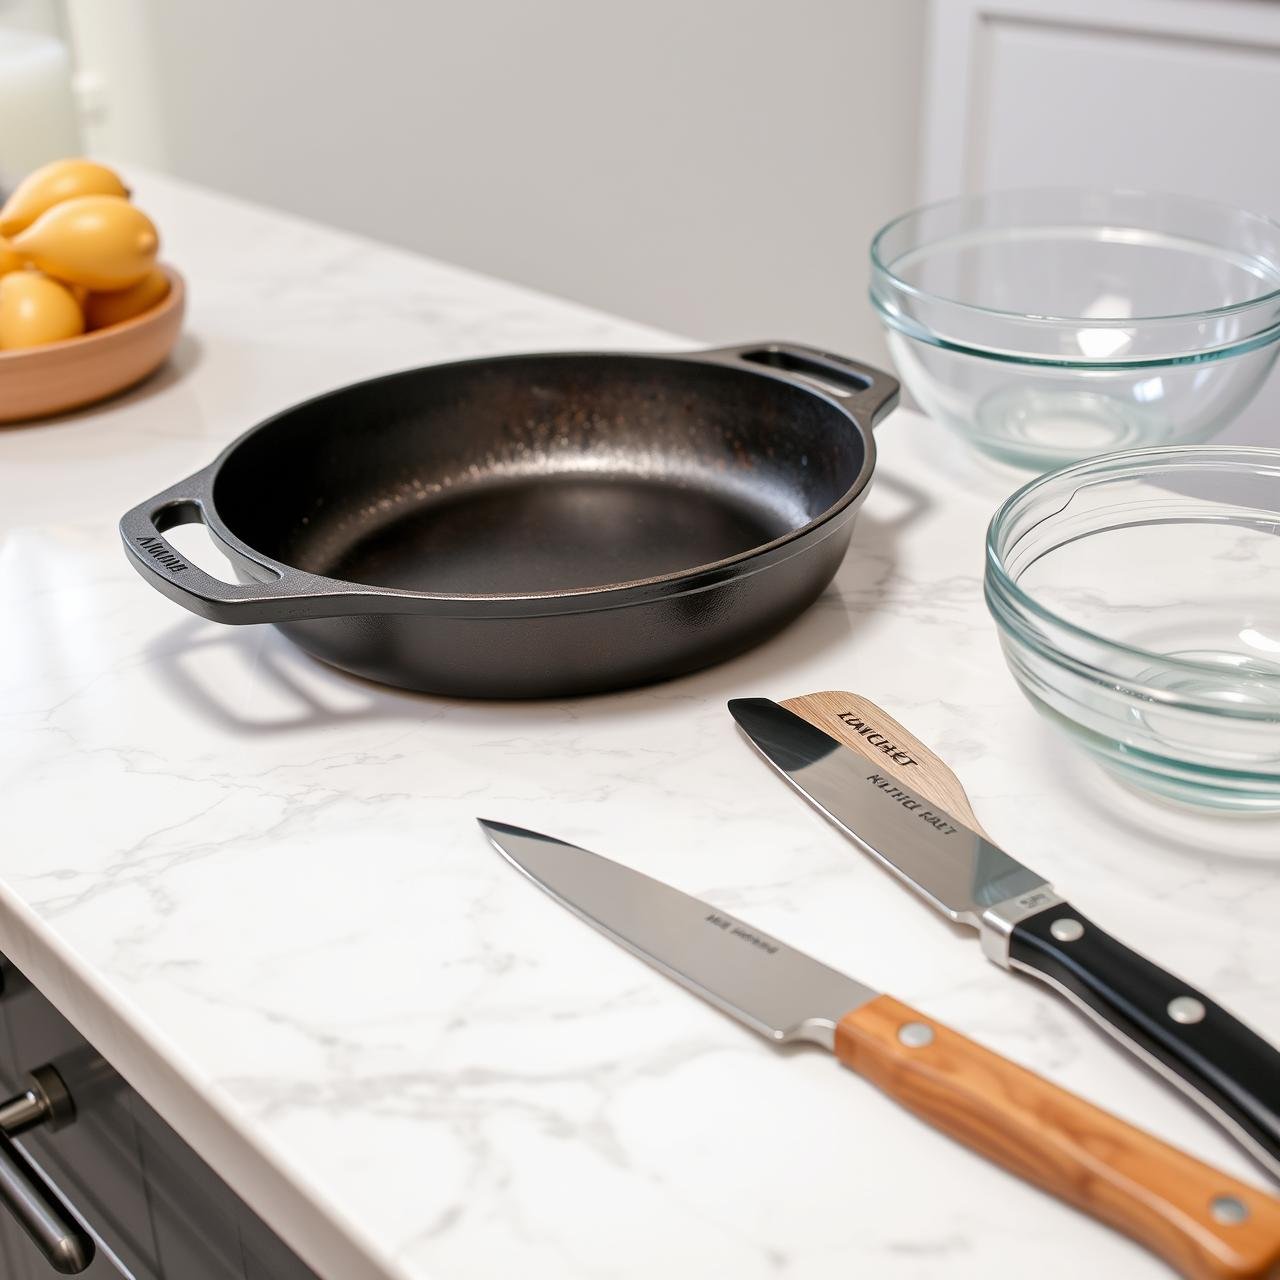
A great chef knows that the right tools make all the difference. For this recipe, you don’t need any fancy gadgets, just a few kitchen workhorses to ensure a perfect result every time.
| Equipment | Size/Type | Chef’s Note |
|---|---|---|
| Oven-Safe Skillet | 10-inch | A cast-iron skillet is highly recommended. It provides exceptional heat retention for a beautiful, even bake and allows you to go straight from stovetop to oven. |
| Baking Dish | 9-inch Pie Plate | If you don’t have an oven-safe skillet, a standard glass or ceramic pie plate or a square baking dish works perfectly. |
| Large Mixing Bowl | – | For whisking together the creamy egg and cheese binder. |
| Wooden Spoon or Spatula | – | Essential for breaking up and browning the ground beef without scratching your pan. |
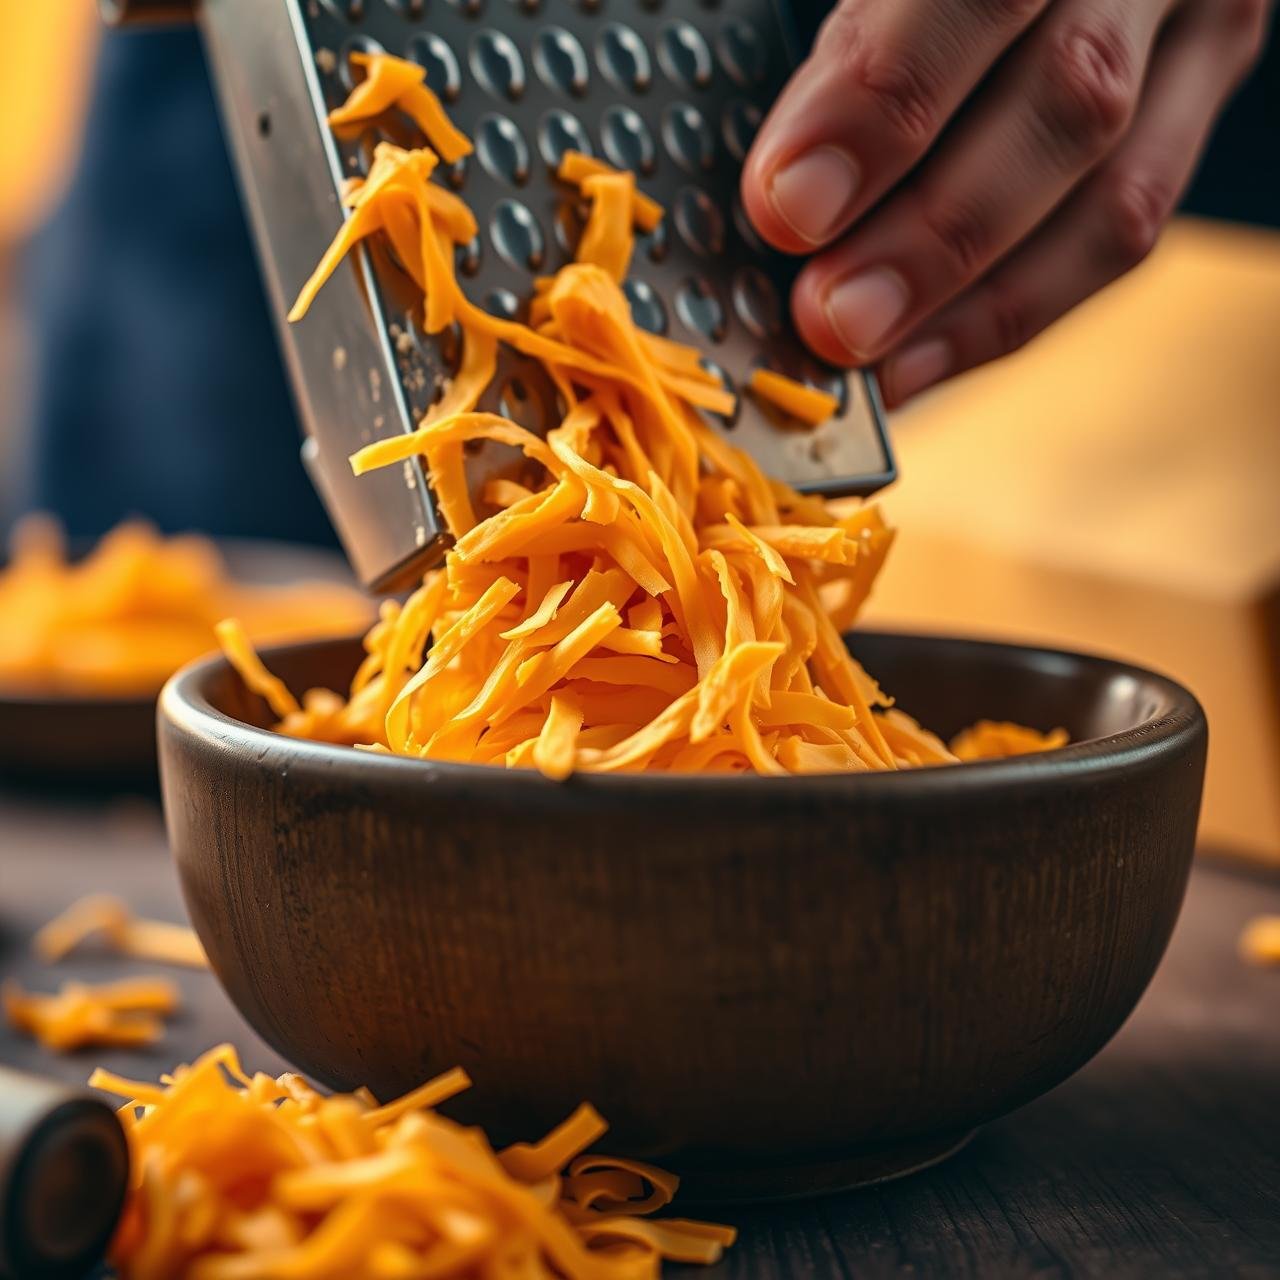
| Box Grater | – | For grating the cheese. Freshly grated cheese melts far more smoothly than pre-shredded varieties. |
| Measuring Cups & Spoons | – | Precision is key for a well-balanced flavor profile. |
The Anatomy of a Perfect Cheeseburger Pie: Ingredients
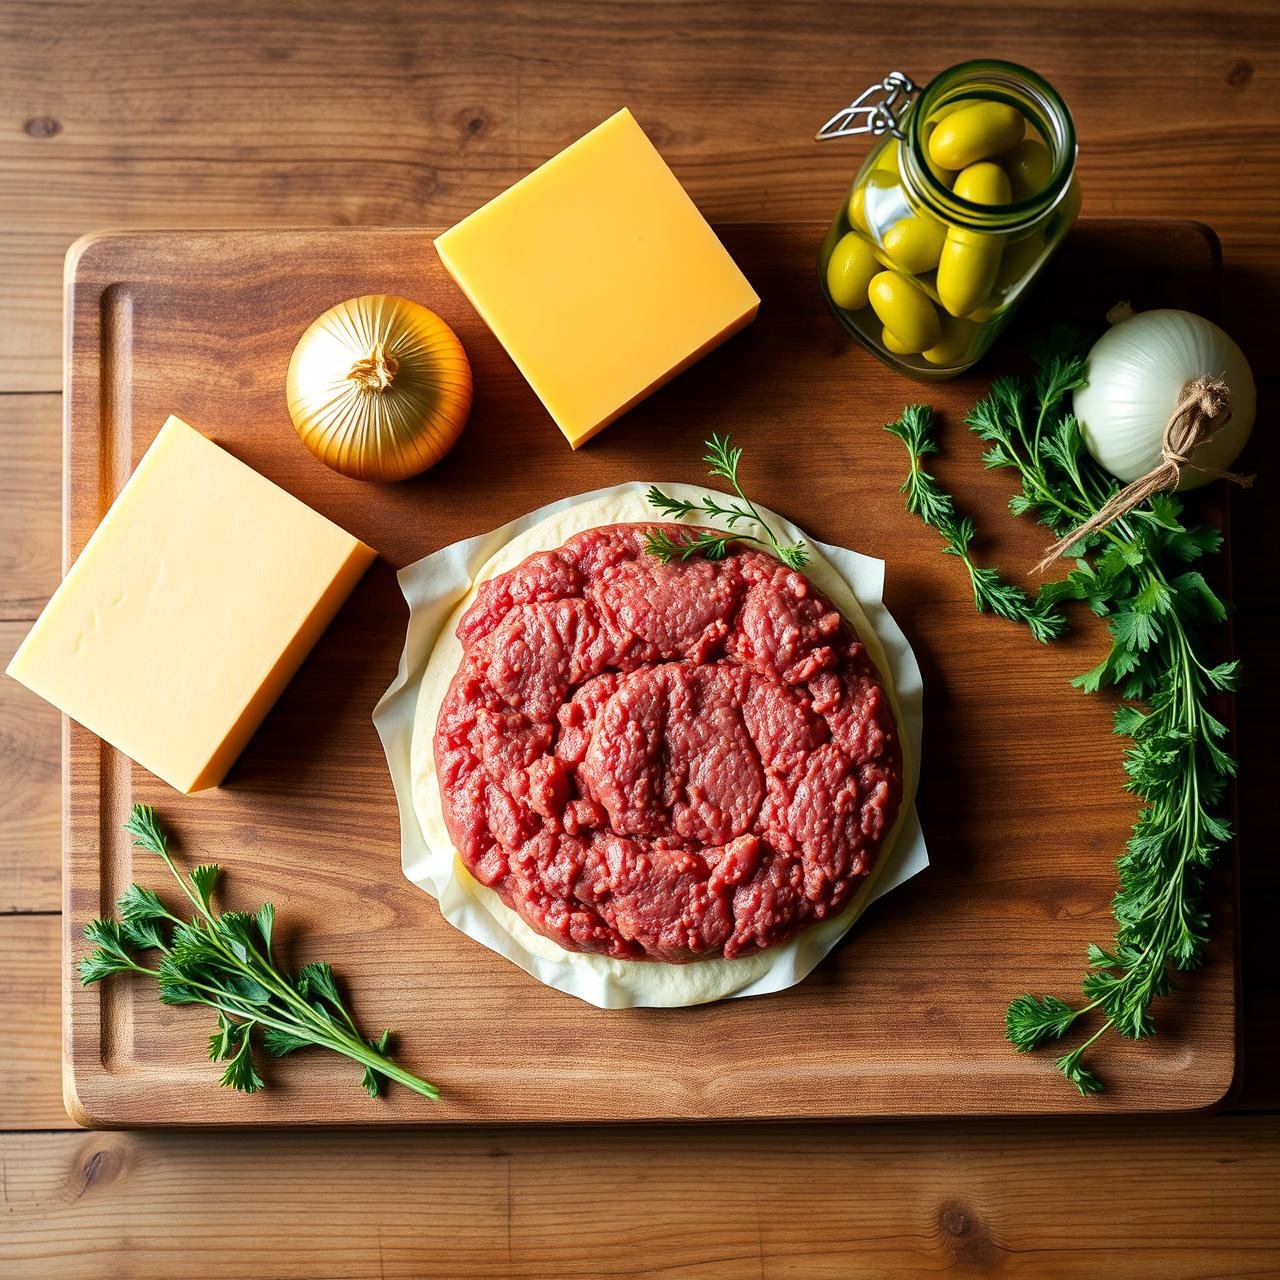
The quality of your ingredients is the foundation of this dish. Here’s a breakdown of what you’ll need and why each component is crucial.
For the Savory Beef Filling:
- 2 lbs Ground Beef (80/20 or 85/15): Using ground chuck with a decent fat content ensures a moist, flavorful pie. Don’t go too lean, as fat equals flavor.
- 1 large Yellow Onion, finely diced: Provides a sweet, aromatic base that complements the savory beef.
- 2 cloves Garlic, minced: Adds a pungent depth of flavor.
- 1 cup Dill Pickles, chopped: This is a non-negotiable! The bright, acidic tang of pickles cuts through the richness of the beef and cheese, perfectly mimicking the classic burger experience.
- 1 tbsp Worcestershire Sauce: A secret weapon for umami, adding a complex, savory background note.
- 1 tsp Sea Salt: Or to taste.
- 1/2 tsp Black Pepper, freshly ground: For a touch of spice.
For the Creamy Egg Binder:
- 4 large Eggs: These are the structural backbone of the pie, creating a custardy texture that holds everything together.
- 1 cup Heavy Cream: Lends a luxurious richness and creaminess to the binder. For a lighter version, you can use half-and-half, but heavy cream yields the best texture.
- 2 cups Sharp Cheddar Cheese, freshly grated and divided: Sharp cheddar provides that classic, bold cheeseburger flavor. Grating it yourself from a block avoids anti-caking agents and results in a gloriously smooth melt.
The Main Event: Step-by-Step Instructions

Follow these detailed steps to craft your crustless pie. Read through them once before you begin to familiarize yourself with the process.
-
Prepare Your Oven and Pan:
Preheat your oven to 375°F (190°C). Lightly grease your 10-inch cast-iron skillet or 9-inch pie plate.
-
Sauté the Aromatics:
In your large skillet over medium-high heat, add the diced yellow onion. Cook, stirring occasionally, for about 5-7 minutes, or until the onion has softened and become translucent. Add the minced garlic and cook for another minute until fragrant. Be careful not to burn the garlic.
-
Brown the Ground Beef:
Add the ground beef to the skillet with the onions and garlic. Use a wooden spoon to break the meat apart. Cook until the beef is thoroughly browned and no pink remains, which should take about 8-10 minutes. The sizzle and aroma will begin to fill your kitchen—this is the first layer of flavor.
-
Drain and Season:
This step is critical for a perfect texture. Carefully drain off any excess grease from the skillet. Return the skillet to the heat and stir in the Worcestershire sauce, salt, and black pepper. Cook for one minute more to allow the flavors to meld.
-
Incorporate the Pickles:
Remove the skillet from the heat. Stir in the chopped dill pickles. This ensures they retain a bit of their texture and don’t become too soft. If you used a separate skillet, transfer this beef mixture into your prepared pie plate and spread it in an even layer.
-
Create the Binder:
In a large mixing bowl, whisk the 4 large eggs until they are light and frothy. Slowly whisk in the heavy cream until fully combined. This mixture is what will set up and create the ‘pie’.
-
Add the Cheese:
Stir 1 1/2 cups of the grated sharp cheddar cheese into the egg and cream mixture. Reserve the remaining 1/2 cup for the topping.
-
Combine and Assemble:
Pour the egg and cheese mixture evenly over the ground beef in the skillet or pie plate. Gently shake the pan to help the liquid settle into all the nooks and crannies.
-
Top and Bake:
Sprinkle the remaining 1/2 cup of cheddar cheese evenly over the top. Place the skillet or pie plate in the preheated oven. Bake for 25-30 minutes, or until the center is set (it shouldn’t jiggle) and the cheese on top is melted, bubbly, and beautifully golden brown.
-
The Crucial Rest:
Remove the pie from the oven and let it rest on a wire rack for at least 10 minutes before slicing. This is the most important step! It allows the pie to set, ensuring you can cut clean, beautiful slices. Slicing too early will result in a soupy mess.
Chef’s Secrets & Pro Tips for Perfection
Elevate your cheeseburger pie from great to unforgettable with these insider tips from a professional kitchen.
- Don’t Crowd the Pan: When browning your beef, make sure your skillet is large enough. If the meat is too crowded, it will steam instead of brown, robbing you of the deep, savory flavor that comes from the Maillard reaction.
- Grate Your Own Cheese: Pre-shredded cheeses are coated with starches to prevent clumping, which can lead to a gritty texture when melted. Grating a block of cheese by hand takes only a minute and guarantees the creamiest, gooiest melt.
- Moisture Management is Key: Draining the grease from the beef is non-negotiable. Additionally, if your chopped pickles seem excessively wet, give them a gentle squeeze in a paper towel to remove excess brine. This prevents the final pie from being watery.
- Taste and Adjust Seasoning: Before you pour the egg binder over the beef, take a small taste of the meat mixture. Adjust salt and pepper as needed. Remember that the cheese will add saltiness, so be mindful.
- Let It Rest, Seriously: We can’t stress this enough. The 10-minute rest is when the magic happens. The residual heat finishes cooking the center and the egg structure firms up, allowing for perfect, photo-worthy slices.
Delicious Detours: Customizations & Variations

Think of this recipe as a delicious canvas. Once you’ve mastered the classic, feel free to experiment with these mouth-watering variations.
-
Bacon Cheeseburger Pie:
Cook 6 slices of bacon until crisp. Crumble and stir into the beef mixture along with the pickles. A timeless and irresistible combination.
-
Mushroom & Swiss Pie:
Sauté 8 ounces of sliced mushrooms with the onions. Substitute the cheddar with an equal amount of grated Swiss or Gruyère cheese for a sophisticated, earthy flavor.
-
Spicy Jalapeño Popper Pie:
Add 1-2 diced jalapeños (seeds removed for less heat) with the onions. Swirl 4 ounces of softened cream cheese into the beef mixture before adding the egg binder. Use a mix of cheddar and Monterey Jack cheese.
-
Build-Your-Own Topping Bar:
For a fun, interactive family dinner, serve the pie plain and set up a topping bar. Include bowls of shredded lettuce, diced tomatoes, sliced red onion, extra pickles, and a homemade ‘special sauce’ (mayonnaise, sugar-free ketchup, and pickle relish).
Serving & Storing Your Masterpiece
Serving Suggestions:
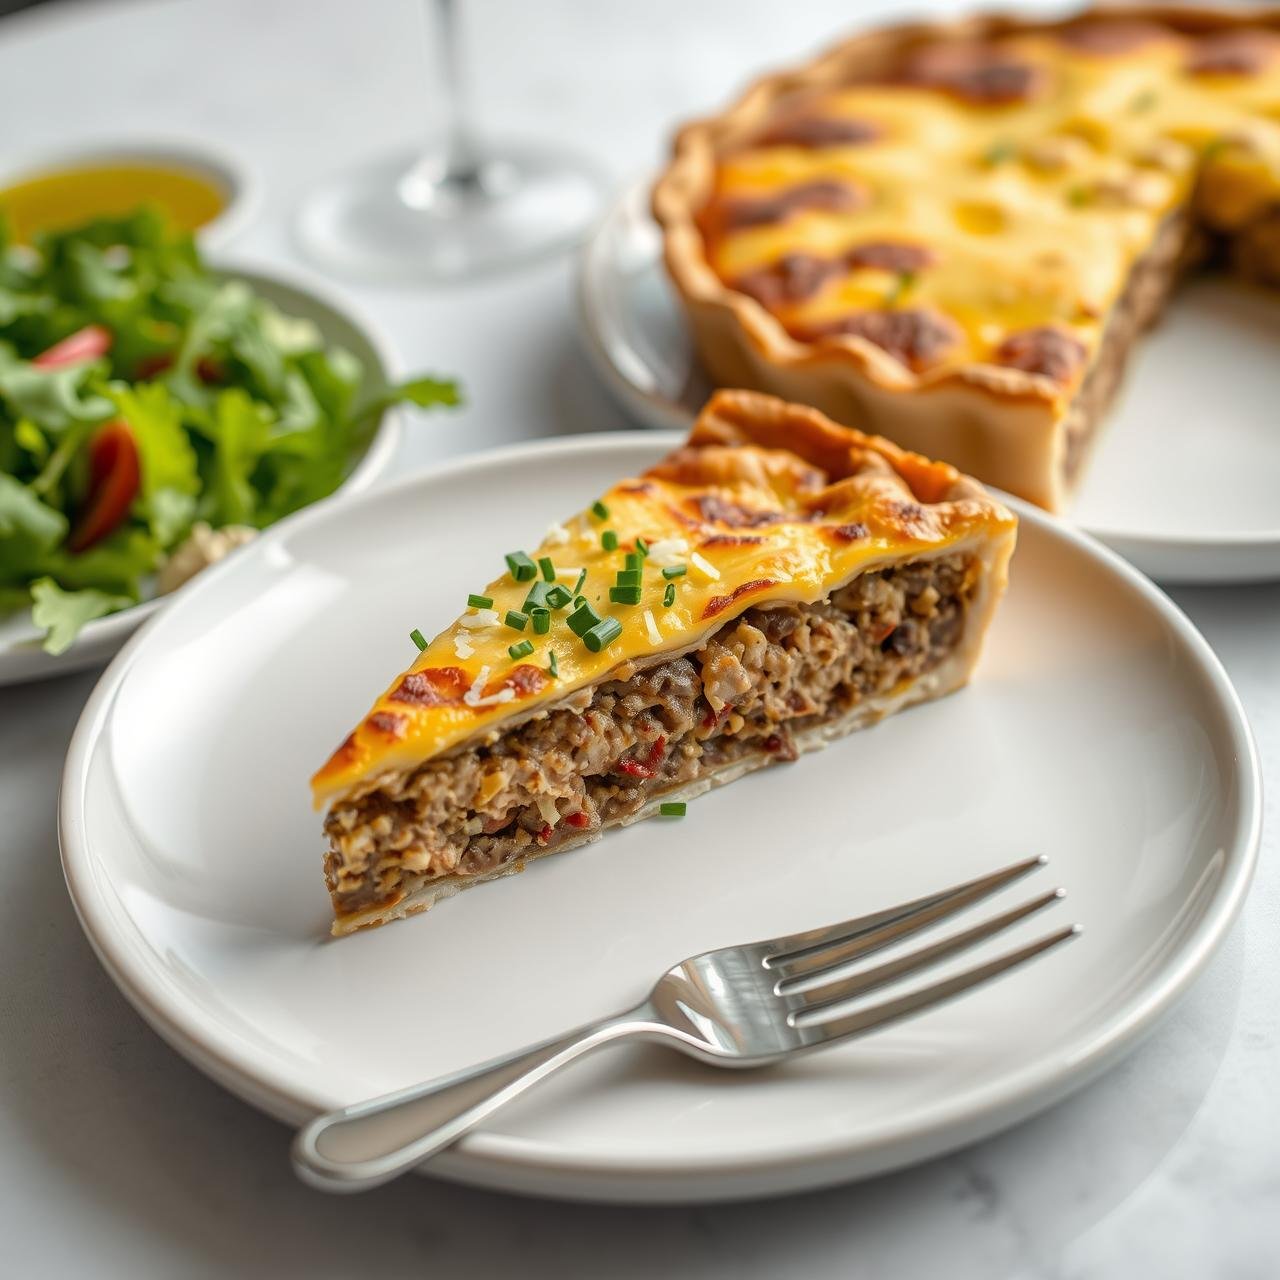
This hearty pie stands beautifully on its own, but it pairs wonderfully with classic burger sides. Serve each slice with a crisp green salad tossed in a simple vinaigrette, a side of steamed broccoli or green beans, or some roasted asparagus. For a fully low-carb meal, cauliflower rice or mashed cauliflower are excellent accompaniments. Garnish with a sprinkle of fresh parsley or chives for a pop of color and freshness.
Storage Instructions:
- Refrigerating: Allow the pie to cool completely. Cover the dish tightly with plastic wrap or aluminum foil, or transfer slices to an airtight container. It will keep well in the refrigerator for 3-4 days.
- Freezing: This pie freezes surprisingly well! You can freeze it whole or in individual portions. Wrap tightly in plastic wrap, then a layer of aluminum foil, and place in the freezer for up to 3 months.
- Reheating: For best results, reheat individual slices in the microwave until warmed through. You can also reheat the entire pie in a 325°F (160°C) oven until hot and bubbly.
The Nutritional Lowdown
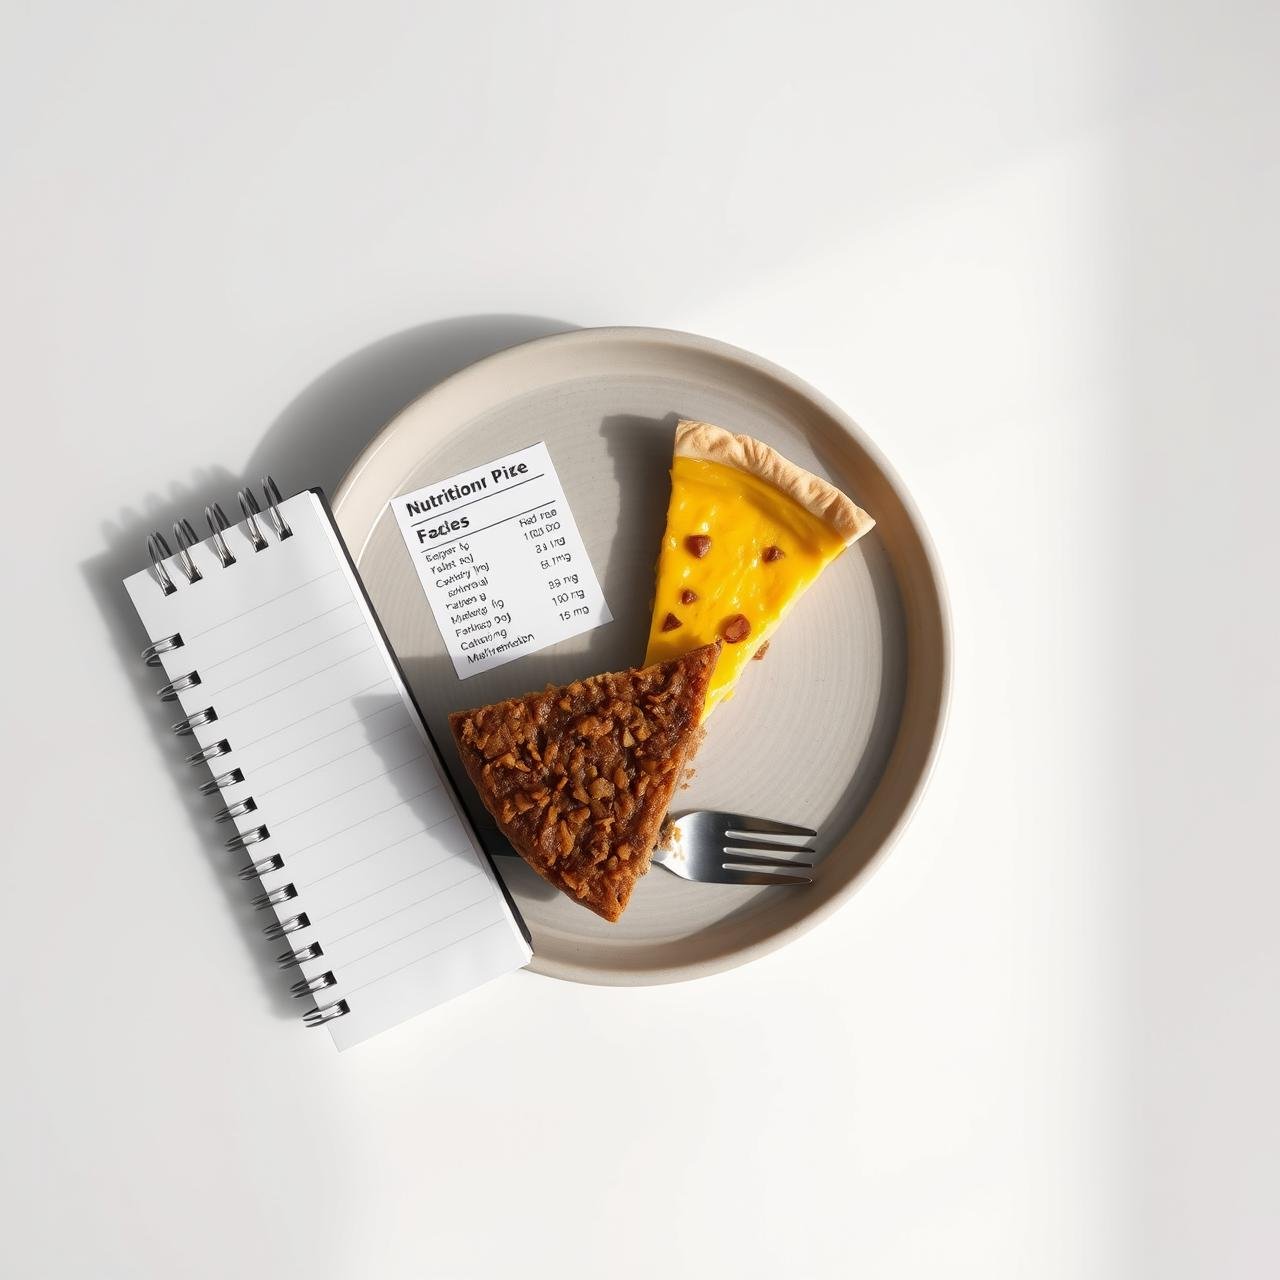
Here is an estimated nutritional breakdown per serving, assuming the recipe makes 8 servings. Please note that these values are approximate and can vary based on the specific ingredients used.
| Nutrient | Amount per Serving |
|---|---|
| Calories | ~550 kcal |
| Protein | ~35g |
| Fat | ~45g |
| Total Carbohydrates | ~5g |
| Fiber | ~1g |
| Net Carbohydrates | ~4g |
Disclaimer: The nutritional information provided is an estimate and should not be considered a substitute for a professional nutritionist’s advice.
Conclusion
The Crustless Cheeseburger Pie is more than just a recipe; it’s a celebration of wholesome, satisfying food that brings the family together. It’s proof that you can indulge in the rich, comforting flavors you crave while still nourishing your body. Effortlessly simple, endlessly customizable, and undeniably delicious, this dish is poised to become a permanent fixture in your meal rotation.
So go ahead, preheat your oven, and get ready to create a meal that feels like a warm hug in a skillet. We can’t wait to hear how your family enjoys this new favorite. Drop a comment below with your own creative variations or favorite burger toppings!