How to Make Cauliflower Crust Pizza That Actually Holds Together (Detailed Recipe)
The promise of cauliflower crust pizza is a siren’s call for health enthusiasts and gluten-free foodies alike: all the savory, cheesy satisfaction of a classic pizza, but built on a virtuous foundation of vegetables. Yet, for many home cooks, the reality is often a soggy, fragile disc that collapses under the weight of toppings, demanding a fork and a sense of humor. If you’ve ever felt the disappointment of a crust that crumbles, you are not alone. It’s a common culinary tragedy born from a single, formidable foe: moisture.
But what if I told you that a truly magnificent cauliflower crust is not a myth? A crust that is golden-brown, with crisp, sturdy edges and a tender-yet-firm center? A crust you can confidently slice, lift, and fold just like its flour-based cousin? It is entirely possible, and it doesn’t require magic—it requires technique. This is more than just a recipe; it’s a masterclass in transforming a humble head of cauliflower into a culinary masterpiece. We will delve into the science of why most crusts fail and provide a meticulous, step-by-step guide to conquer the challenge. Prepare to arm yourself with the knowledge to create a cauliflower crust so delicious and structurally sound, it will redefine your pizza nights forever.
The Science: Why This Cauliflower Crust Doesn’t Fall Apart
The success of any cauliflower crust hinges on one critical factor: water removal. A head of cauliflower is over 90% water. When heated, this water turns to steam, creating a soggy, weak structure that can’t support sauce, cheese, or toppings. Our method tackles this head-on with a two-pronged approach.
First, we pre-cook the ‘riced’ cauliflower just enough to soften it and release its internal moisture. Second, and this is the non-negotiable step, we wring every last possible drop of water out using a cheesecloth or nut milk bag. It’s an arm workout, but it’s the single most important action you will take. By removing the excess liquid, we create a denser, drier pulp that can be properly bound together.
The binders are the second part of the equation. A precise combination of egg (for protein structure), aged Parmesan cheese (which contains less moisture than younger cheeses and adds incredible savory flavor), and a touch of almond flour (to absorb any residual moisture and provide a bread-like texture) creates a powerful matrix. When baked, the egg coagulates and the cheese melts and crisps, fusing the cauliflower particles into a sturdy, sliceable, and utterly delicious crust.
Essential Equipment for Cauliflower Crust Success
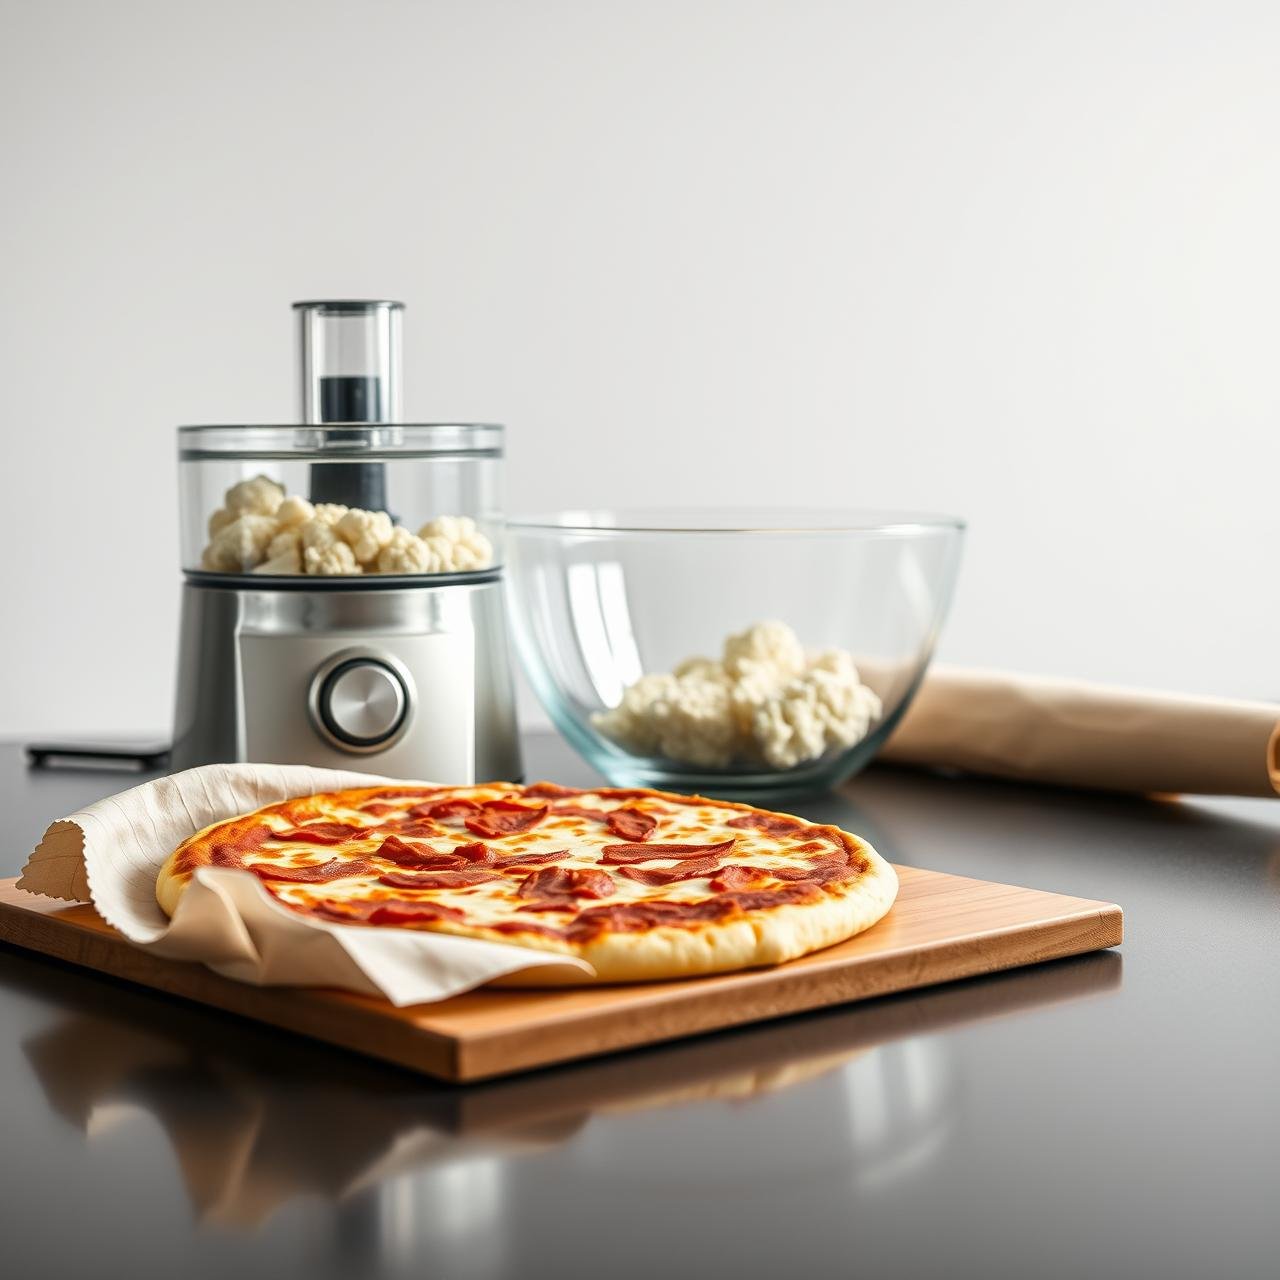
Having the right tools makes the process smoother and guarantees better results. You don’t need a professional kitchen, but these items are key to achieving that perfect, sturdy crust.
| Tool | Purpose & Chef’s Note |
|---|---|
| Food Processor | For quickly and evenly ‘ricing’ the cauliflower. A box grater works too, but requires more effort. |
| Large Microwave-Safe Bowl | For steaming the cauliflower rice to release its moisture. |
| Cheesecloth or Nut Milk Bag | THE MOST CRITICAL TOOL. This is for squeezing the water from the cooked cauliflower. A clean, thin kitchen towel can work in a pinch, but cheesecloth is superior. |
| Large Baking Sheet | A standard half-sheet pan is perfect. |
| Parchment Paper | Absolutely essential for preventing the crust from sticking and ensuring an easy cleanup. Do not substitute with foil. |
| Pizza Stone (Optional, but Recommended) | Preheating a pizza stone in the oven provides intense, direct heat to the bottom of the crust, helping it become extra crisp. |
Pristine Ingredients for a Perfect Pizza Crust
Quality ingredients are the foundation of great flavor. For a crust this simple, each component plays a starring role. This recipe yields one 10-12 inch crust, enough for 2-3 people.
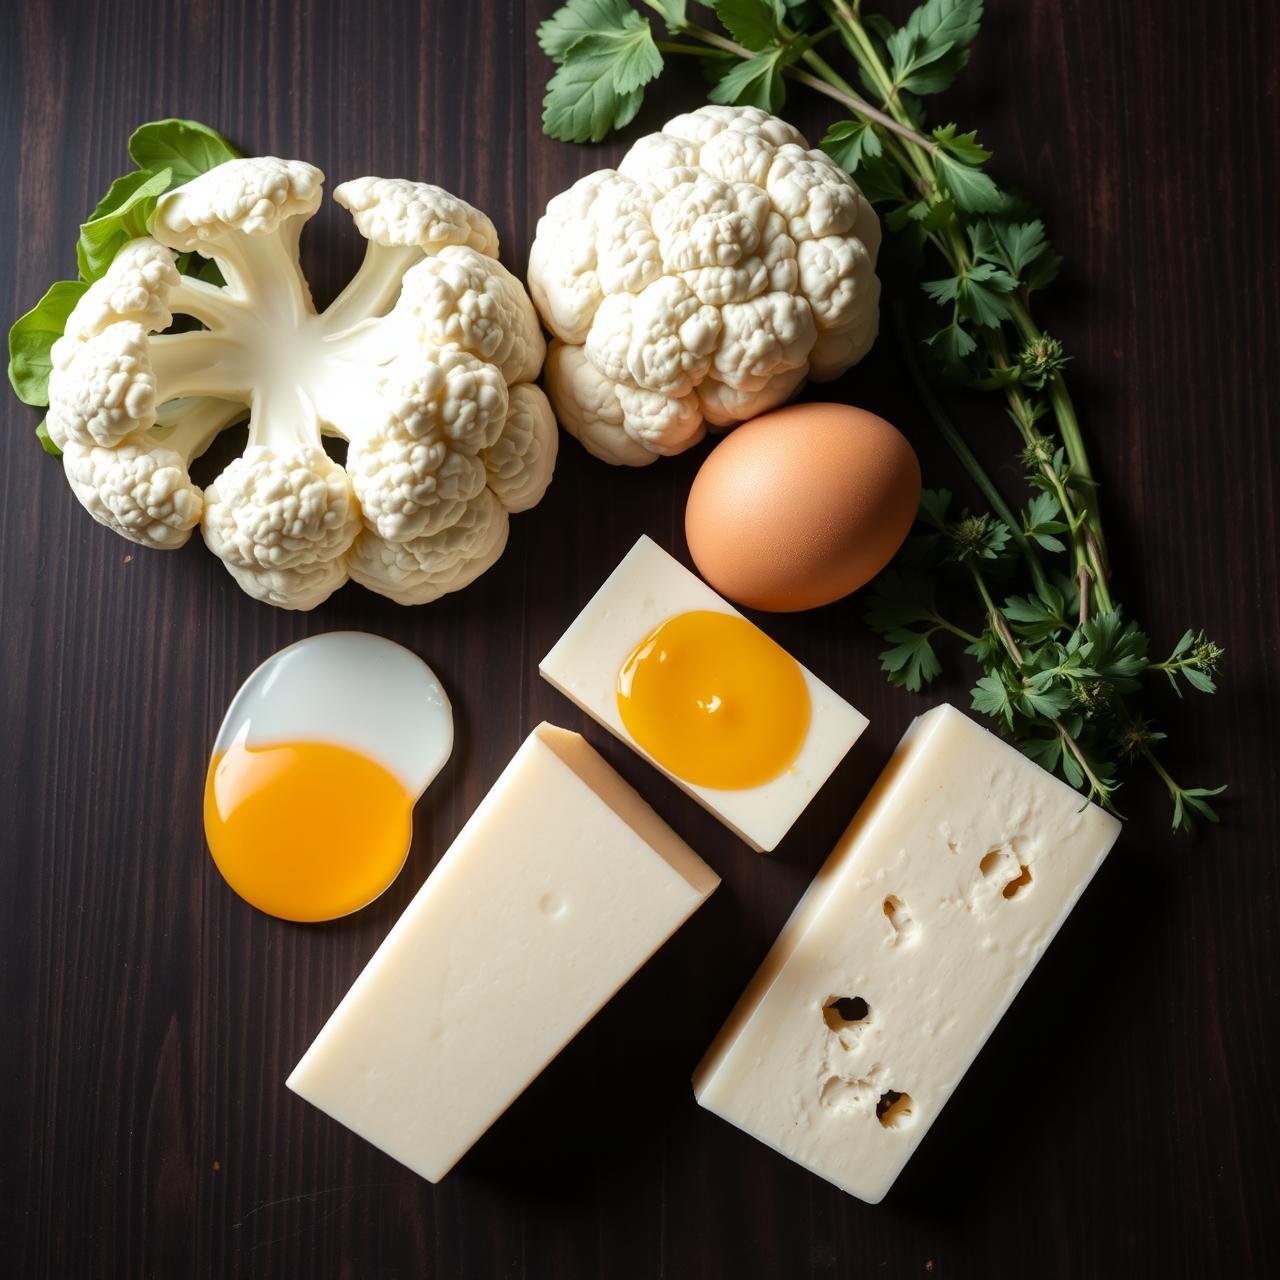
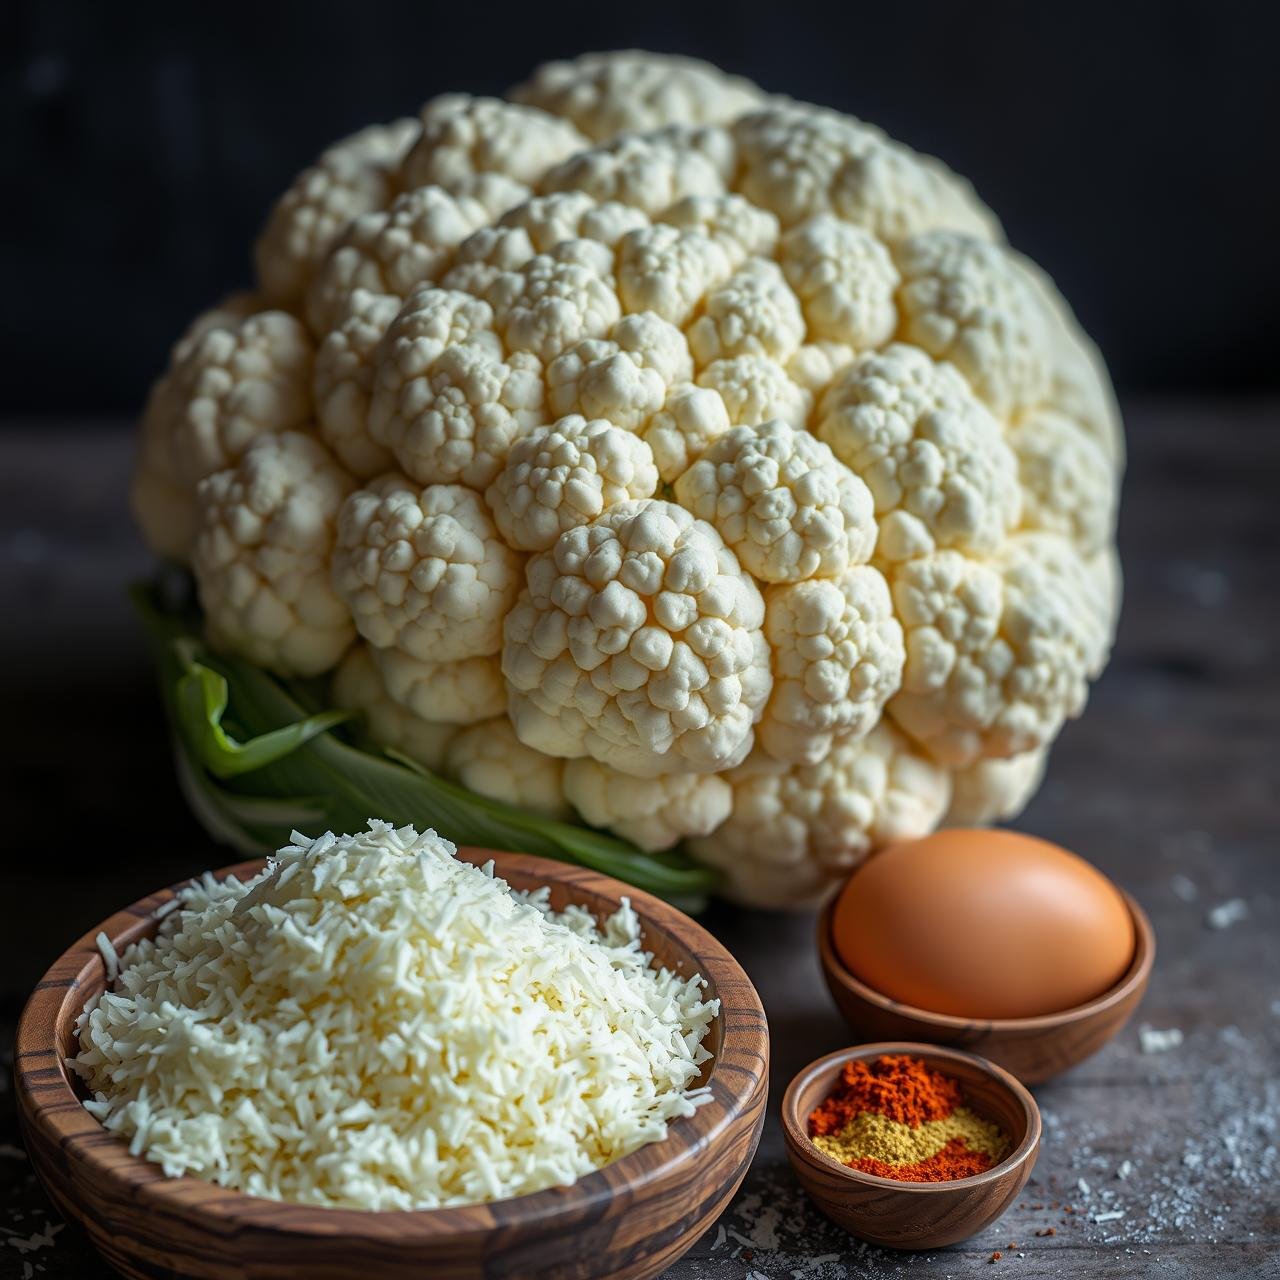
- 1 large head of cauliflower (about 2.5 lbs), which will yield approximately 3-4 cups of riced cauliflower.
- 1 large egg, lightly beaten. This is our primary binder.
- 1/2 cup finely grated Parmesan cheese. Use a quality block and grate it yourself for the best flavor and melting properties. Pre-shredded often contains anti-caking agents.
- 1/4 cup super-fine almond flour. This acts as a secondary binder and provides a lovely, subtle texture.
- 1 teaspoon dried oregano or an Italian seasoning blend.
- 1/2 teaspoon garlic powder.
- 1/2 teaspoon fine sea salt.
- 1/4 teaspoon black pepper.
Step-by-Step Guide to a Flawless, Foldable Crust
Follow these steps with precision, and you will be rewarded with a perfect crust. The key is patience, especially during the moisture removal and the initial baking phase.
-
Prepare Your Oven and Pan
Place an oven rack in the center position. If you are using a pizza stone, place it on the rack now. Preheat your oven to a blistering 425°F (220°C). Line a large baking sheet with parchment paper and set it aside.
-
Create the Cauliflower ‘Rice’
Wash and thoroughly dry the cauliflower head. Remove the green leaves and tough core. Cut the cauliflower into large florets. Working in batches to avoid overcrowding, pulse the florets in a food processor until they have the texture of coarse sand or rice. You should have about 3-4 cups of riced cauliflower. Be careful not to over-process, or you’ll create a watery purée.
-
Cook and Cool the Cauliflower
Transfer the riced cauliflower to a large, microwave-safe bowl. Cover and microwave on high for 4-5 minutes, or until it’s soft and steam-cooked. Alternatively, you can steam it on the stovetop for 5-7 minutes. Once cooked, spread the hot cauliflower rice on a baking sheet to cool down for about 10 minutes. It needs to be cool enough to handle safely for the next step.
-
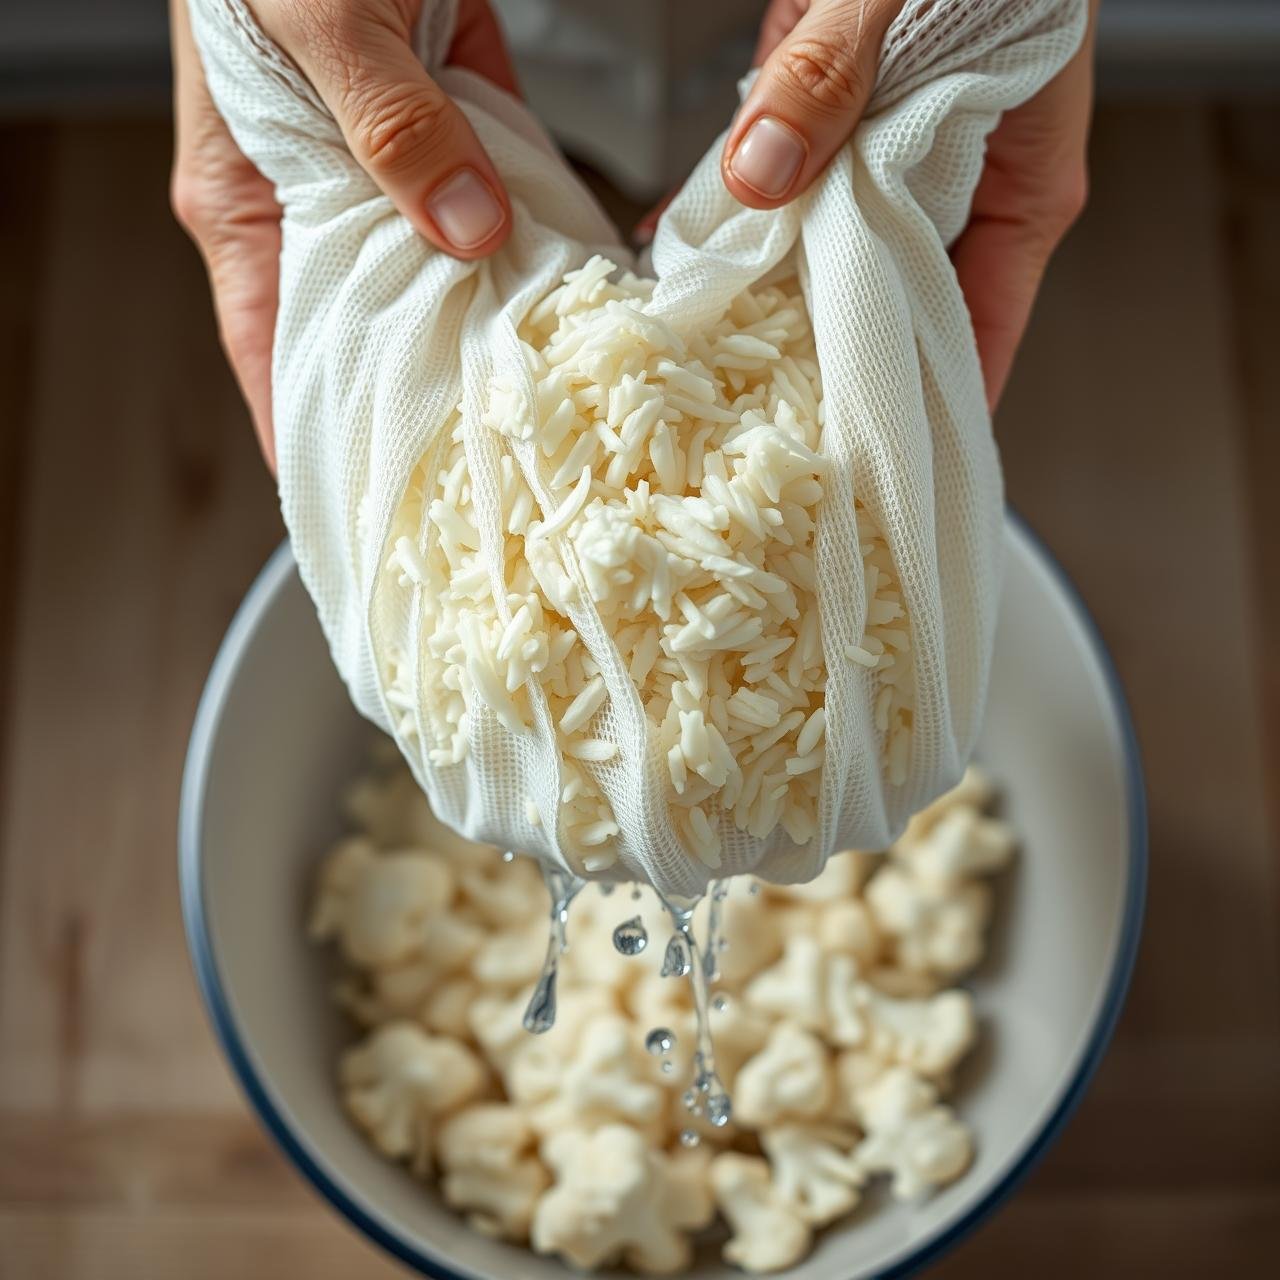
The Squeeze: The Most Important Step
This is where the magic happens. Transfer the cooled cauliflower to the center of a large piece of cheesecloth or a nut milk bag. Gather the edges to form a tight bundle. Over a bowl or the sink, begin to twist and squeeze with all your might. You will be astonished at how much water comes out. Continue wringing until you can barely get another drop out. The resulting cauliflower pulp should be dry and crumbly. You should be able to extract at least 1 cup of water.
-
Form the Crust Dough
In a large bowl, combine the squeezed, dry cauliflower pulp, the beaten egg, the grated Parmesan cheese, almond flour, oregano, garlic powder, salt, and pepper. Mix thoroughly with a spatula or your hands until it forms a cohesive, sticky ‘dough’.
-
Shape and Blind Bake the Crust
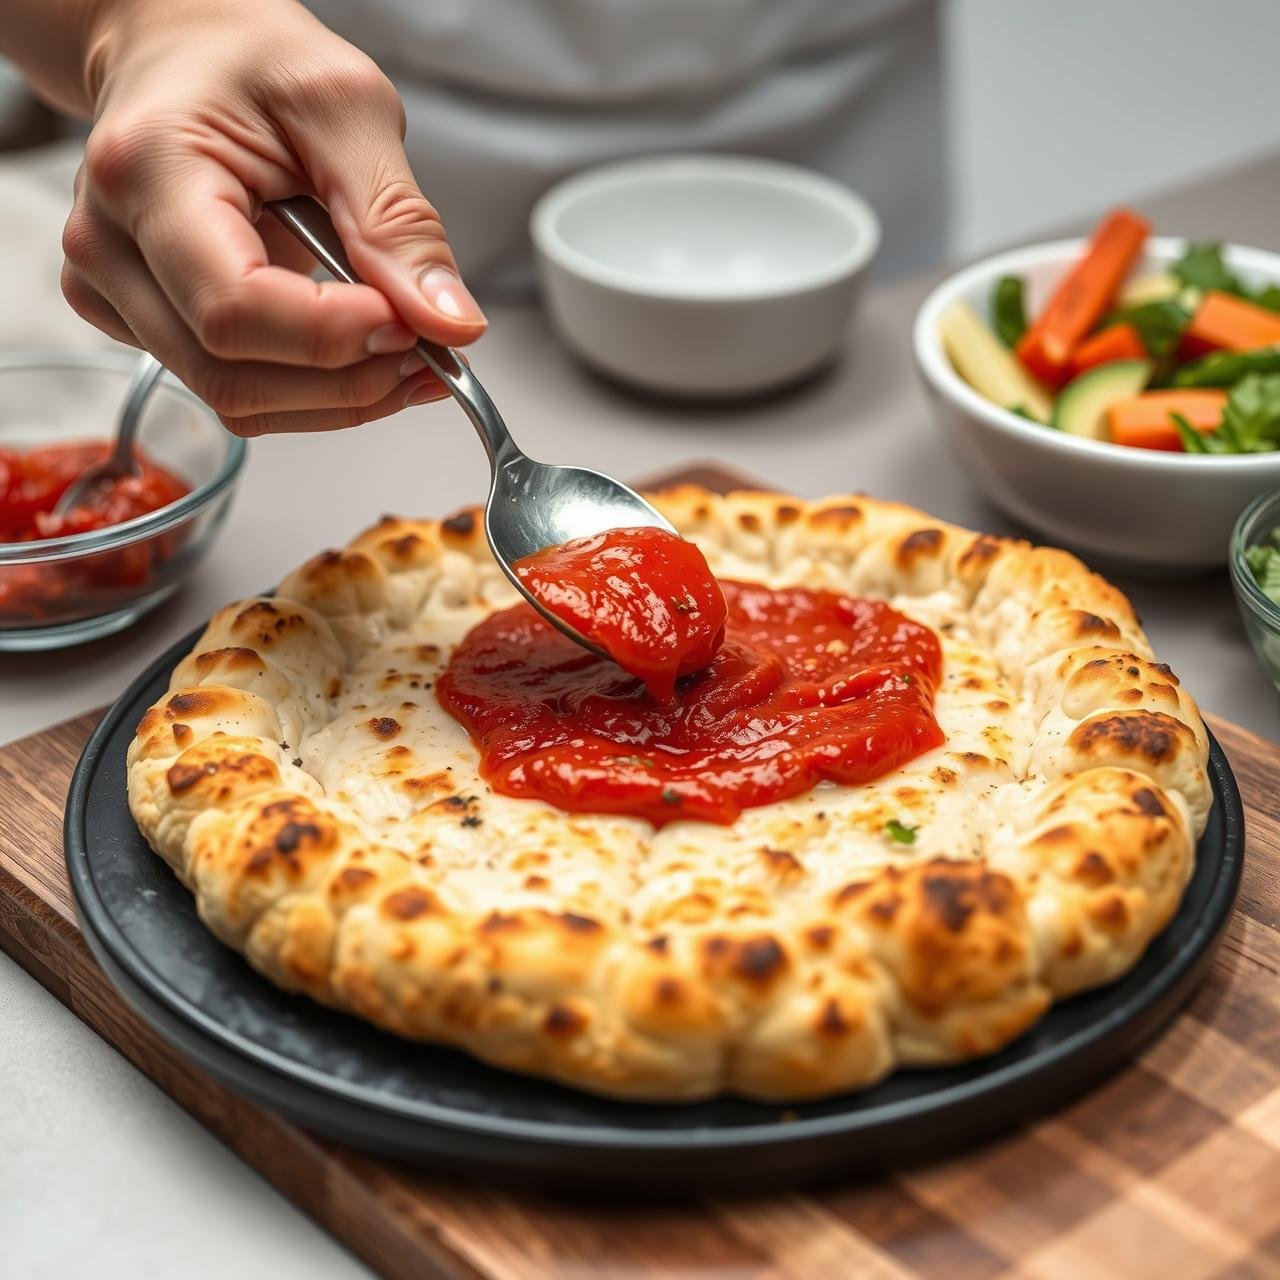
Transfer the dough ball to the center of your parchment-lined baking sheet. Using your hands, press and spread the dough outwards into a thin, even circle about 10-12 inches in diameter. Aim for about 1/8 to 1/4-inch thickness. A slightly thicker edge will create a nice ‘crust’ rim. Slide the parchment paper with the crust onto the preheated pizza stone (if using) or simply place the baking sheet in the oven. Bake for 20-25 minutes, or until the crust is deeply golden-brown, dry to the touch, and the edges are firm and lifting slightly from the parchment. This is the ‘blind bake’, and it’s crucial for a sturdy foundation.
Assembling Your Masterpiece: Toppings & Final Bake
Your beautifully blind-baked crust is a blank canvas. Now, it’s time to dress it up. The key here is restraint—an overloaded crust, even a sturdy one, can become soggy.
-
Less is More with Sauce
Remove the crust from the oven. Let it cool for a minute. Spread a thin, even layer of your favorite pizza sauce over the surface, leaving a small border around the edge. Use no more than 1/3 cup of sauce. Too much sauce will reintroduce moisture and compromise the crust’s integrity.
-
Choose Toppings Wisely
Sprinkle on your cheese of choice—low-moisture mozzarella is classic. Add your other toppings. If using vegetables with high water content like mushrooms or bell peppers, consider sautéing them first to cook off some of their moisture. Pre-cooking meats like sausage is also essential.
-
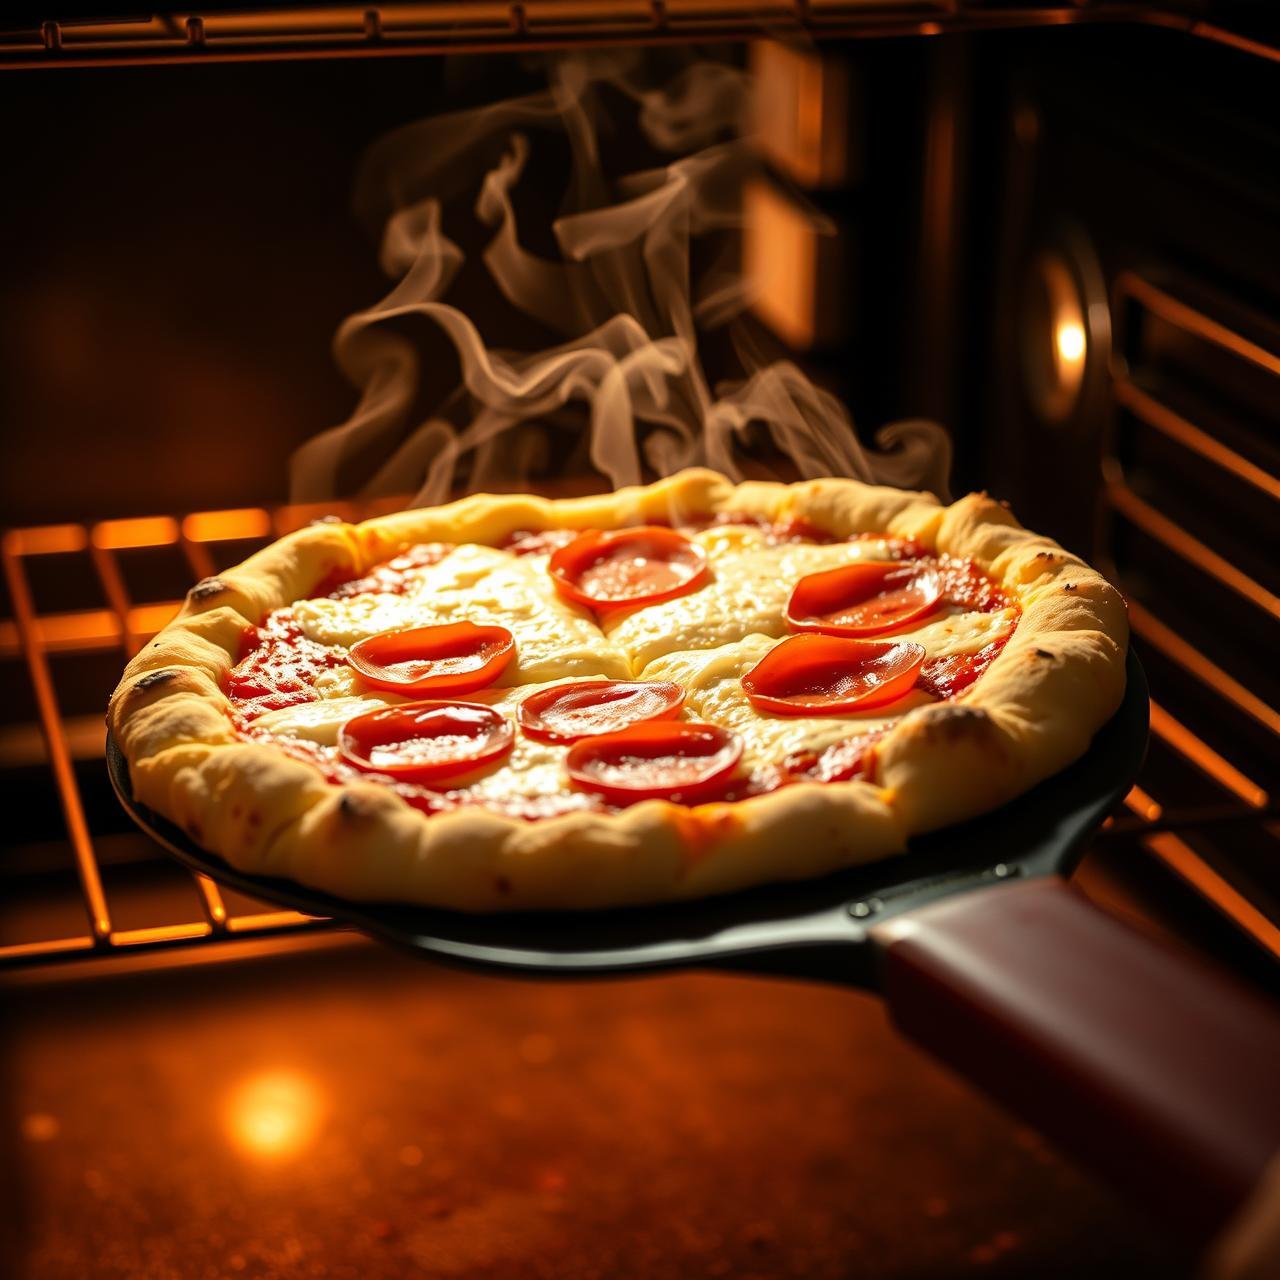
The Final Bake
Return the topped pizza to the 425°F (220°C) oven. Bake for another 8-12 minutes, or until the cheese is melted, bubbly, and beginning to brown in spots. For an extra-crispy top, you can switch the oven to the broil setting for the last 1-2 minutes, watching it carefully to prevent burning.
-
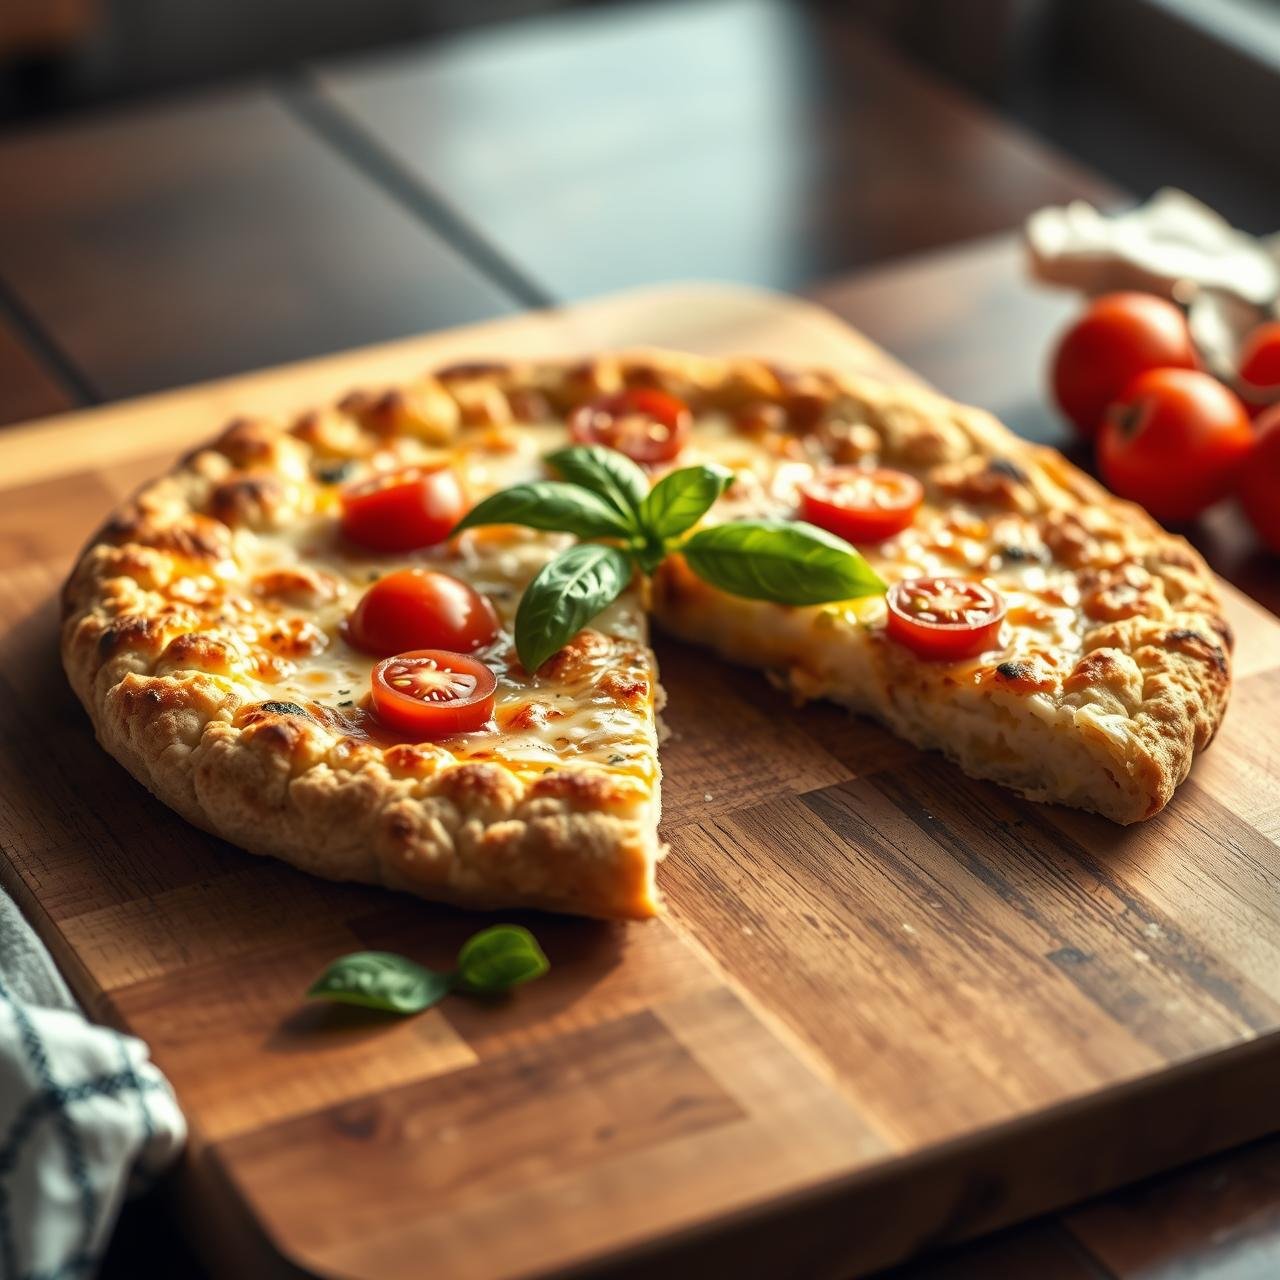
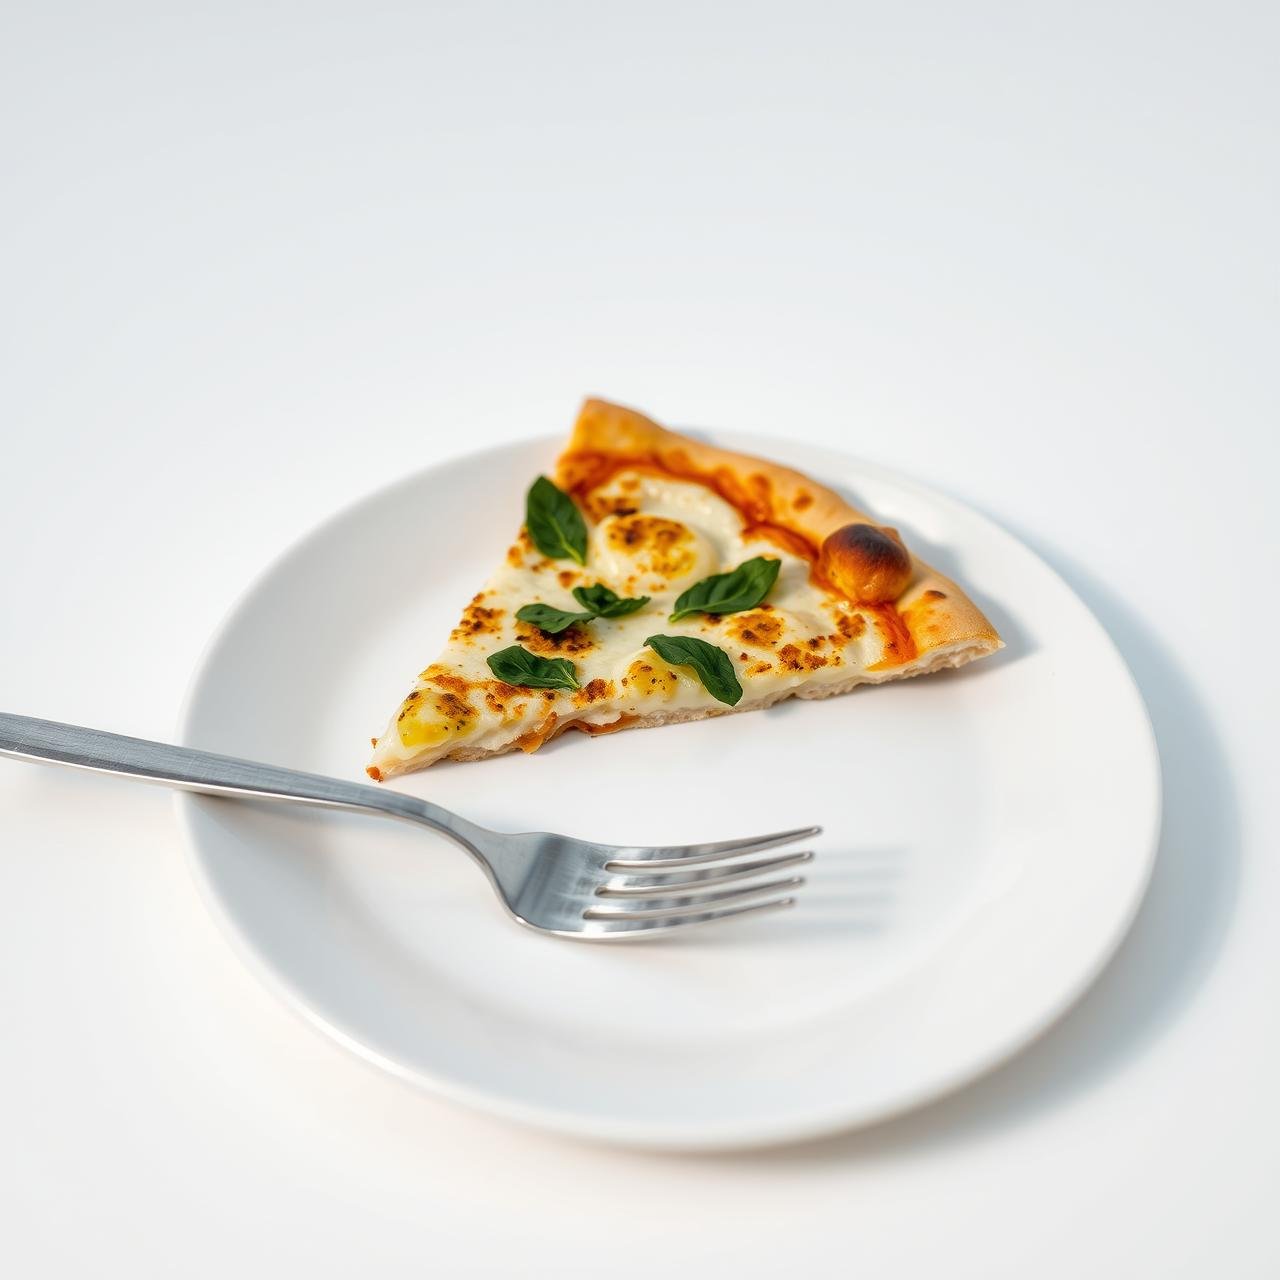
Rest and Serve
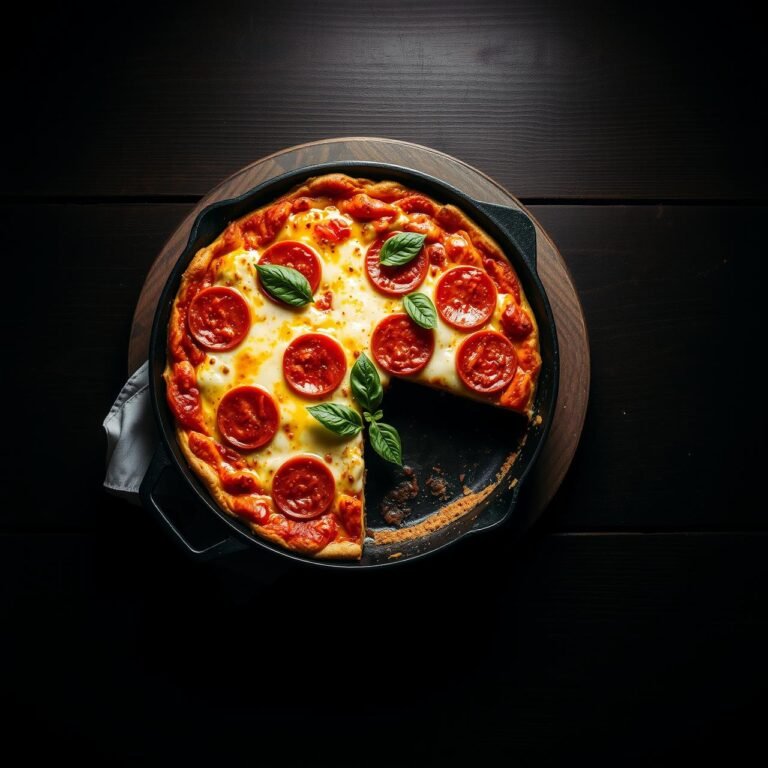
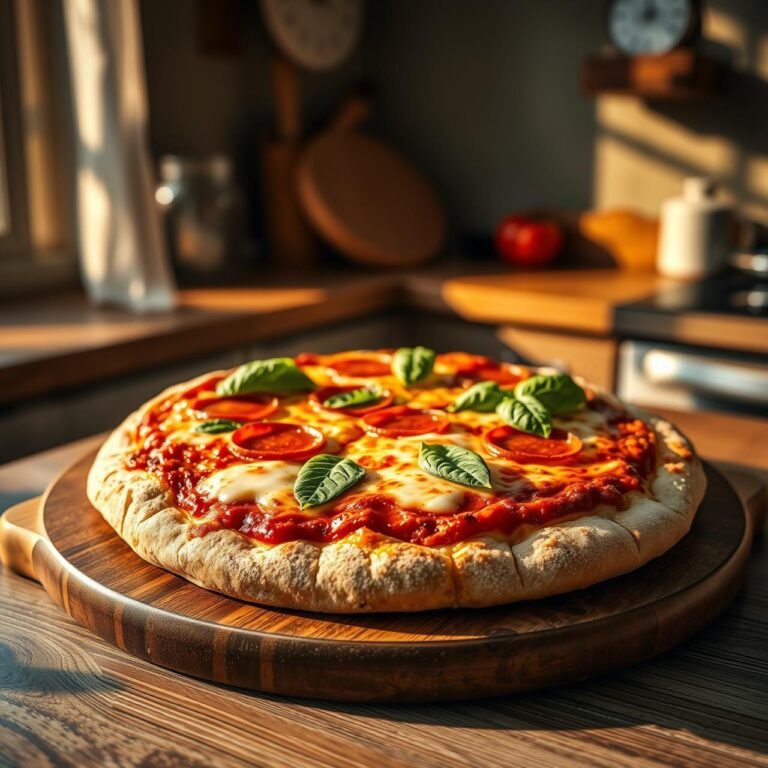
Once baked, slide the pizza onto a cutting board and let it rest for at least 5 minutes. This allows the cheese to set and the crust to firm up further, ensuring clean slices. Garnish with fresh basil or a sprinkle of red pepper flakes, slice with a sharp pizza cutter, and serve immediately.
Chef’s Secrets & Pro-Tip Troubleshooting
Common Mistakes to Avoid
- Not Squeezing Enough: If your crust is soft or falls apart, you didn’t remove enough water. Next time, squeeze more!
- Making the Crust Too Thick: A thick crust won’t cook through and get crisp in the center. Aim for a 1/4-inch thickness at most.
- Underbaking the Crust: The blind bake is critical. The crust should be deeply golden and firm before you even think about adding toppings. Don’t be afraid of color; color is flavor and structure.
- Overloading with Toppings: A cauliflower crust is not as robust as a flour crust. Be mindful and don’t pile on wet or heavy ingredients.
Flavor Variations & Dietary Swaps
- Spice It Up: Add a pinch of red pepper flakes or a teaspoon of smoked paprika to the crust dough for a different flavor profile.
- Dairy-Free Option: You can substitute the Parmesan cheese with a high-quality nutritional yeast (about 3-4 tablespoons) and your favorite dairy-free mozzarella for the topping. The texture will be slightly different but still delicious.
- Herbaceous Crust: Mix in 2 tablespoons of finely chopped fresh herbs like parsley, basil, or rosemary into the dough for a fresh, aromatic kick.
Nutritional Information
This provides an estimated nutritional breakdown for 1/4 of the crust only (without toppings), as toppings can vary widely. This crust is an excellent low-carb, keto-friendly, and gluten-free option.
| Nutrient | Amount per Serving (1/4 Crust) |
|---|---|
| Calories | ~125 kcal |
| Protein | ~10g |
| Fat | ~8g |
| Carbohydrates | ~6g |
| Fiber | ~3g |
| Net Carbs | ~3g |
| Sodium | ~450mg |
Storing and Reheating Your Cauliflower Pizza
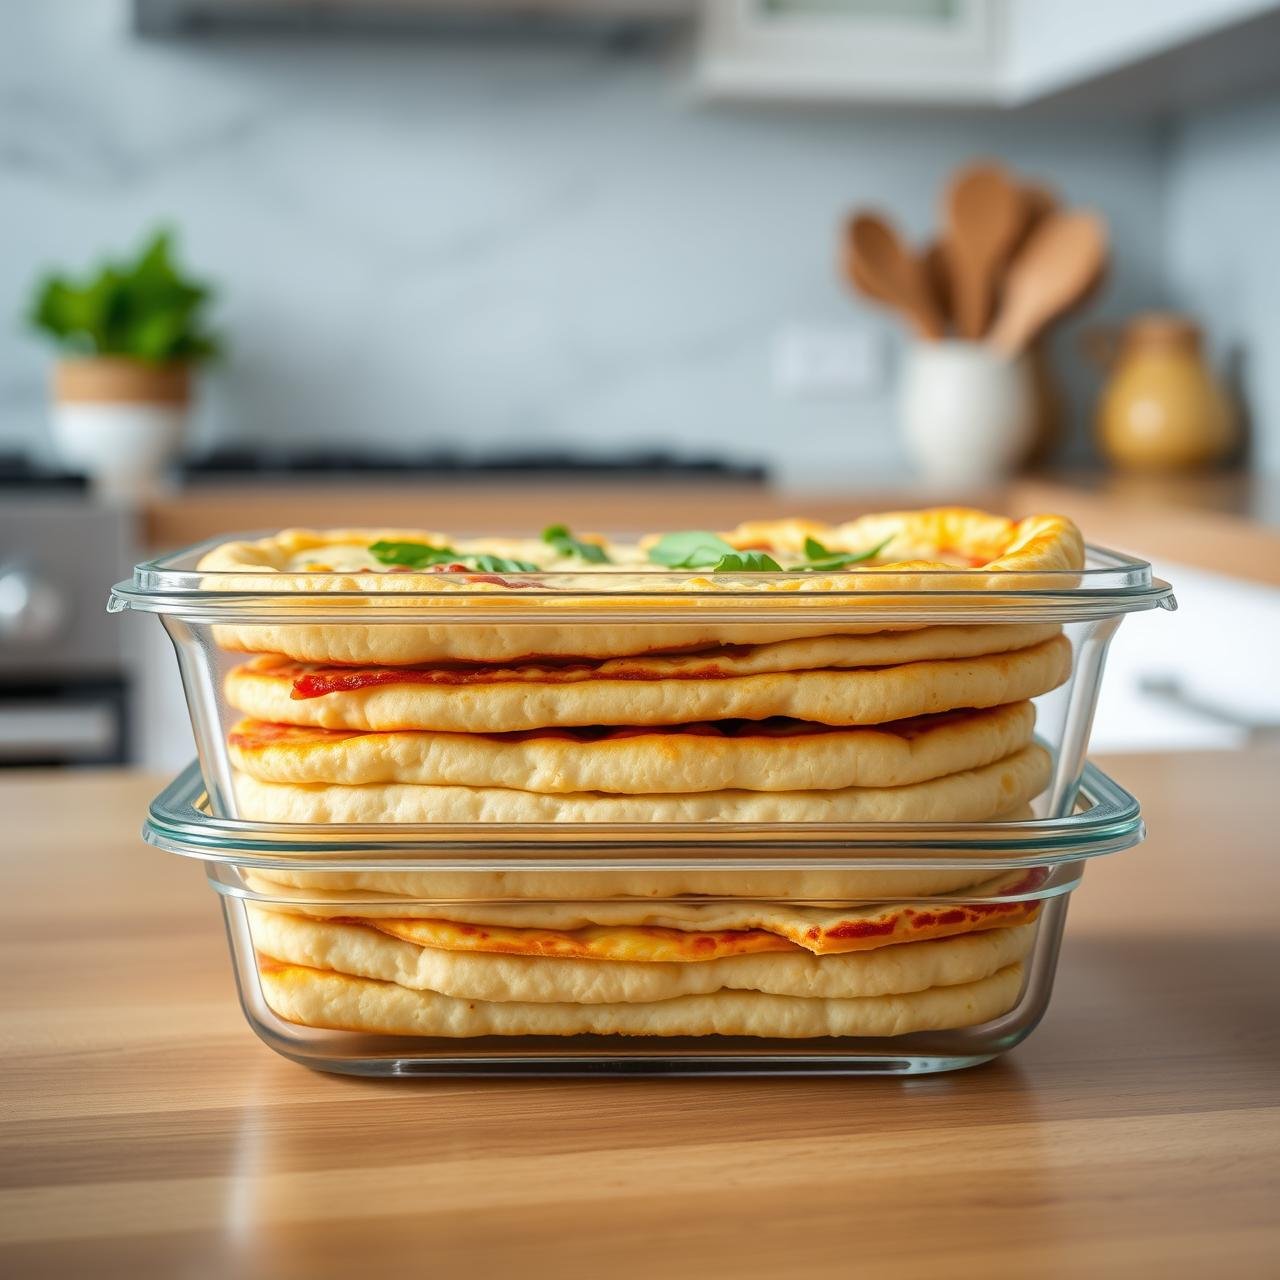
One of the best things about this sturdy crust is that the leftovers are just as good! Unlike soggy versions that turn to mush, this crust holds up beautifully.
- To Store: Allow any leftover pizza to cool completely. Store slices in an airtight container in the refrigerator for up to 3 days. You can place parchment paper between slices to prevent sticking.
- To Reheat: For the best results, avoid the microwave, which can make the crust soft. The best way to reheat is in an oven or toaster oven at 375°F (190°C) for 5-8 minutes, or until the cheese is bubbly and the crust is crisp again. An air fryer also works wonderfully, at 350°F for 3-4 minutes.
- Freezing the Crust: You can make the crusts ahead of time! Complete the blind bake step, allow the crusts to cool completely, then wrap them tightly in plastic wrap and then foil. They can be frozen for up to 3 months. Bake directly from frozen, adding a few extra minutes to the final baking time after you add your toppings.
Conclusion
You now possess the ultimate guide to crafting a cauliflower crust pizza that is not just a healthy alternative, but a genuinely delicious meal in its own right. By understanding the importance of moisture removal and following these detailed steps, you’ve unlocked the secret to a crust that is crisp, flavorful, and wonderfully sturdy. No more forks, no more floppy messes—just pure, unadulterated pizza joy. So go forth, preheat your oven, and prepare to be amazed at what you and a humble head of cauliflower can achieve. Welcome to the world of perfect, holdable, and absolutely crave-worthy cauliflower pizza.