Crispy Bell Pepper Nachos: The Ultimate Low Carb Movie Snack
Imagine this: the lights are dim, your favorite movie is queued up, and a familiar craving strikes—the irresistible call for a heaping plate of nachos. That delightful crunch, the savory meat, the glorious, gooey cheese pulls… it’s a cinematic experience in itself. But often, this indulgence comes with a side of carb-heavy guilt. What if you could capture all that mouth-watering satisfaction without derailing your healthy intentions? Enter the game-changer: Crispy Bell Pepper Nachos.
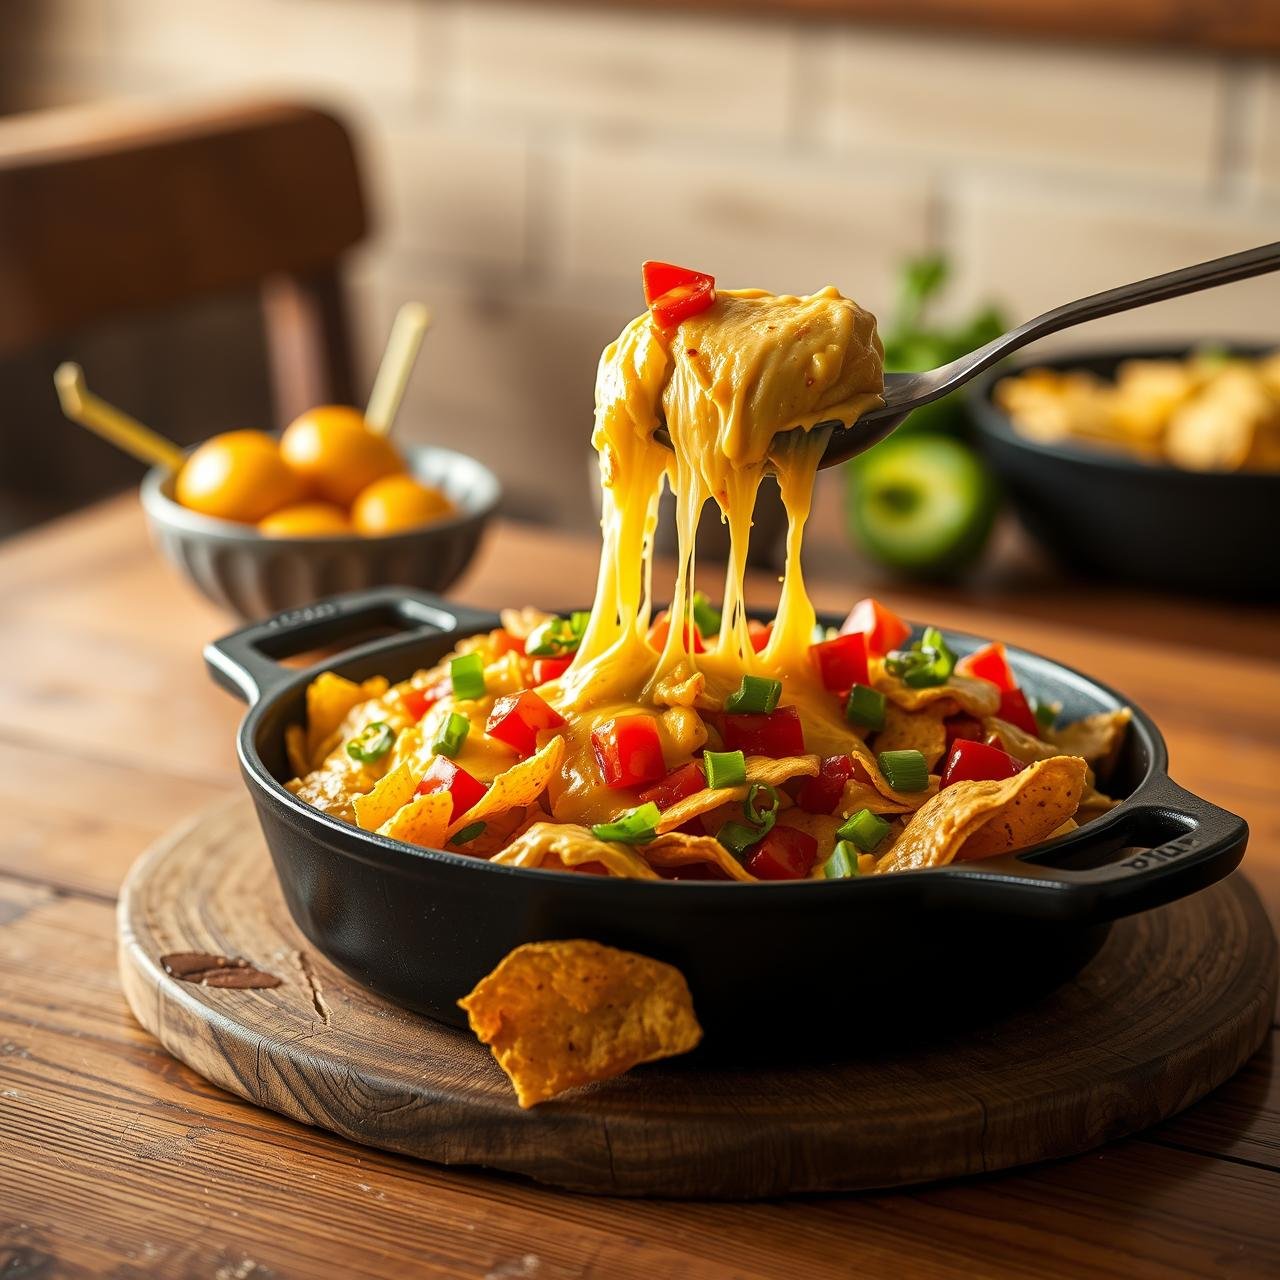
This isn’t just a substitute; it’s an upgrade. We’re trading greasy, processed tortilla chips for nature’s perfect edible scoop: the humble bell pepper. When roasted, these vibrant vessels become tender-crisp, their natural sweetness providing a stunning counterpoint to the rich, savory toppings. Each bite is a symphony of textures and flavors—the hearty, seasoned beef, the sharp, molten cheddar, the cool, creamy sour cream, and the fresh kick of cilantro and jalapeño, all cradled in a perfectly roasted pepper. It’s the ultimate rustic, homestyle comfort food, reimagined with a clean, wholesome twist. Prepare to redefine your snack game and embrace a movie night treat that nourishes your body and delights your soul.
Why You’ll Adore These Bell Pepper Nachos
Before we dive into the heart of the recipe, let’s talk about why this dish is destined to become a staple in your culinary repertoire. It’s more than just a low-carb alternative; it’s a celebration of fresh ingredients and smart cooking that delivers on every level.
- Incredibly Flavorful: The natural sweetness of the roasted bell peppers pairs beautifully with the savory, spiced meat and rich cheese. It’s a complex flavor profile that traditional nachos simply can’t replicate.
- Nutrient-Packed & Low-Carb: Bell peppers are loaded with vitamins A and C, antioxidants, and fiber. By swapping out corn chips, you drastically cut down on carbohydrates and processed ingredients, making this a guilt-free indulgence perfect for keto, paleo, and low-carb lifestyles.
- Endlessly Customizable: This recipe is a canvas for your creativity. Don’t eat beef? Use ground turkey, chicken, or a plant-based crumble. Love spice? Add extra jalapeños or a dash of cayenne. The topping possibilities are limitless, allowing everyone to build their perfect bite.
- Quick and Easy: From prep to plate, these nachos come together in about 30 minutes. It’s an ideal recipe for a busy weeknight dinner or a last-minute appetizer when guests arrive.
- One-Pan Wonder: By building and baking the nachos in a single cast-iron skillet or on a sheet pan, you’re left with minimal cleanup. More time for movie-watching, less time for dish-washing!
The Cast of Characters: Your Ingredients
The beauty of this recipe lies in its simplicity and the quality of its components. Think of it as an ensemble cast where every ingredient plays a crucial role. For the best results, always opt for the freshest ingredients you can find.
For the Nacho Base:
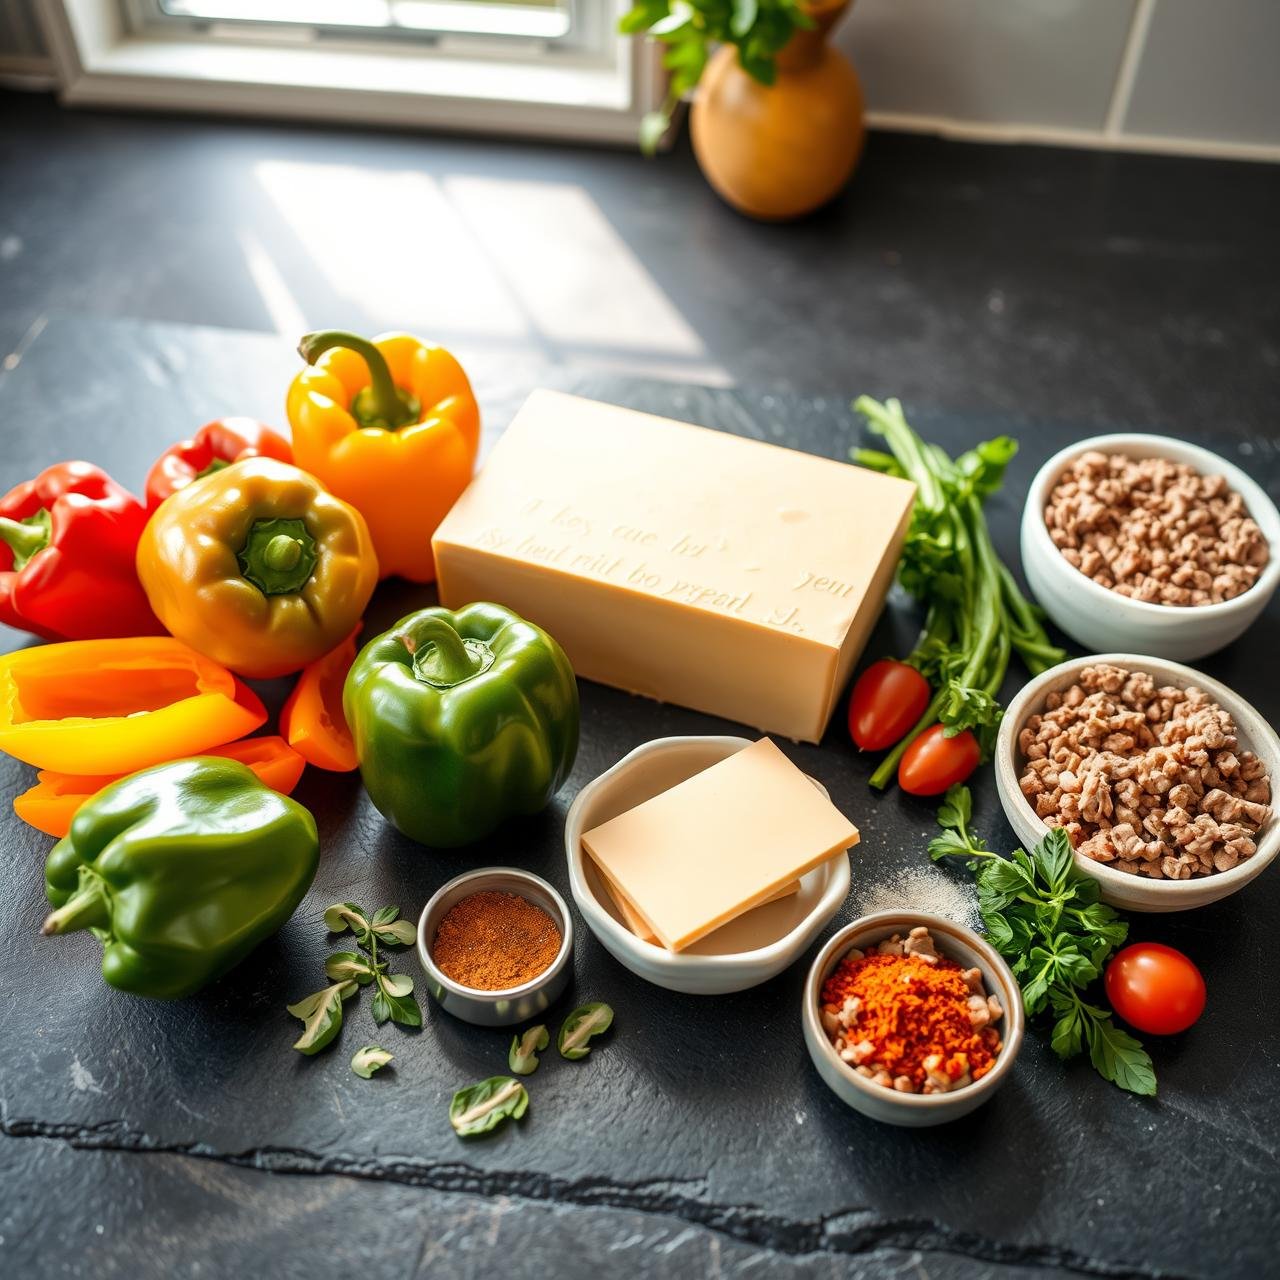
- Bell Peppers: 3 large, multi-colored (red, yellow, orange). Their thicker walls hold up well to toppings, and their vibrant colors make for a stunning presentation.
- Avocado or Olive Oil: 1 tablespoon. For lightly coating the peppers to help them roast and crisp up.
- Sea Salt and Black Pepper: To taste, for seasoning the pepper base.
For the Savory Filling:
- Lean Ground Beef: 1 pound (90/10 recommended). You can also substitute ground turkey, chicken, or chorizo for a different flavor profile.
- Yellow Onion: 1/2 medium, finely diced. This builds the aromatic foundation of the filling.
- Garlic: 2-3 cloves, minced. Fresh garlic is always best for a pungent, aromatic kick.
- Taco Seasoning: 2 tablespoons of your favorite store-bought brand, or a homemade blend (chili powder, cumin, paprika, onion powder, oregano).
- Water or Beef Broth: 1/4 cup. To help create a saucy, cohesive filling.
For the Cheesy Topping:
- Sharp Cheddar Cheese: 2 cups, freshly grated. Grating your own cheese from a block is non-negotiable! It melts far more smoothly than pre-shredded varieties, which contain anti-caking agents. A mix of cheddar and Monterey Jack is also fantastic.
For the Finishing Touches (Optional but Recommended):
- Sour Cream or Greek Yogurt
- Fresh Cilantro, chopped
- Pickled Jalapeños
- Diced Avocado or Guacamole
- Salsa or Pico de Gallo
- Sliced Black Olives
Essential Tools for Nacho Perfection
You don’t need a professional kitchen to craft these incredible nachos, but a few key tools will make the process smoother and yield superior results. Here’s what I recommend having on hand:
| Tool | Chef’s Note |
|---|---|
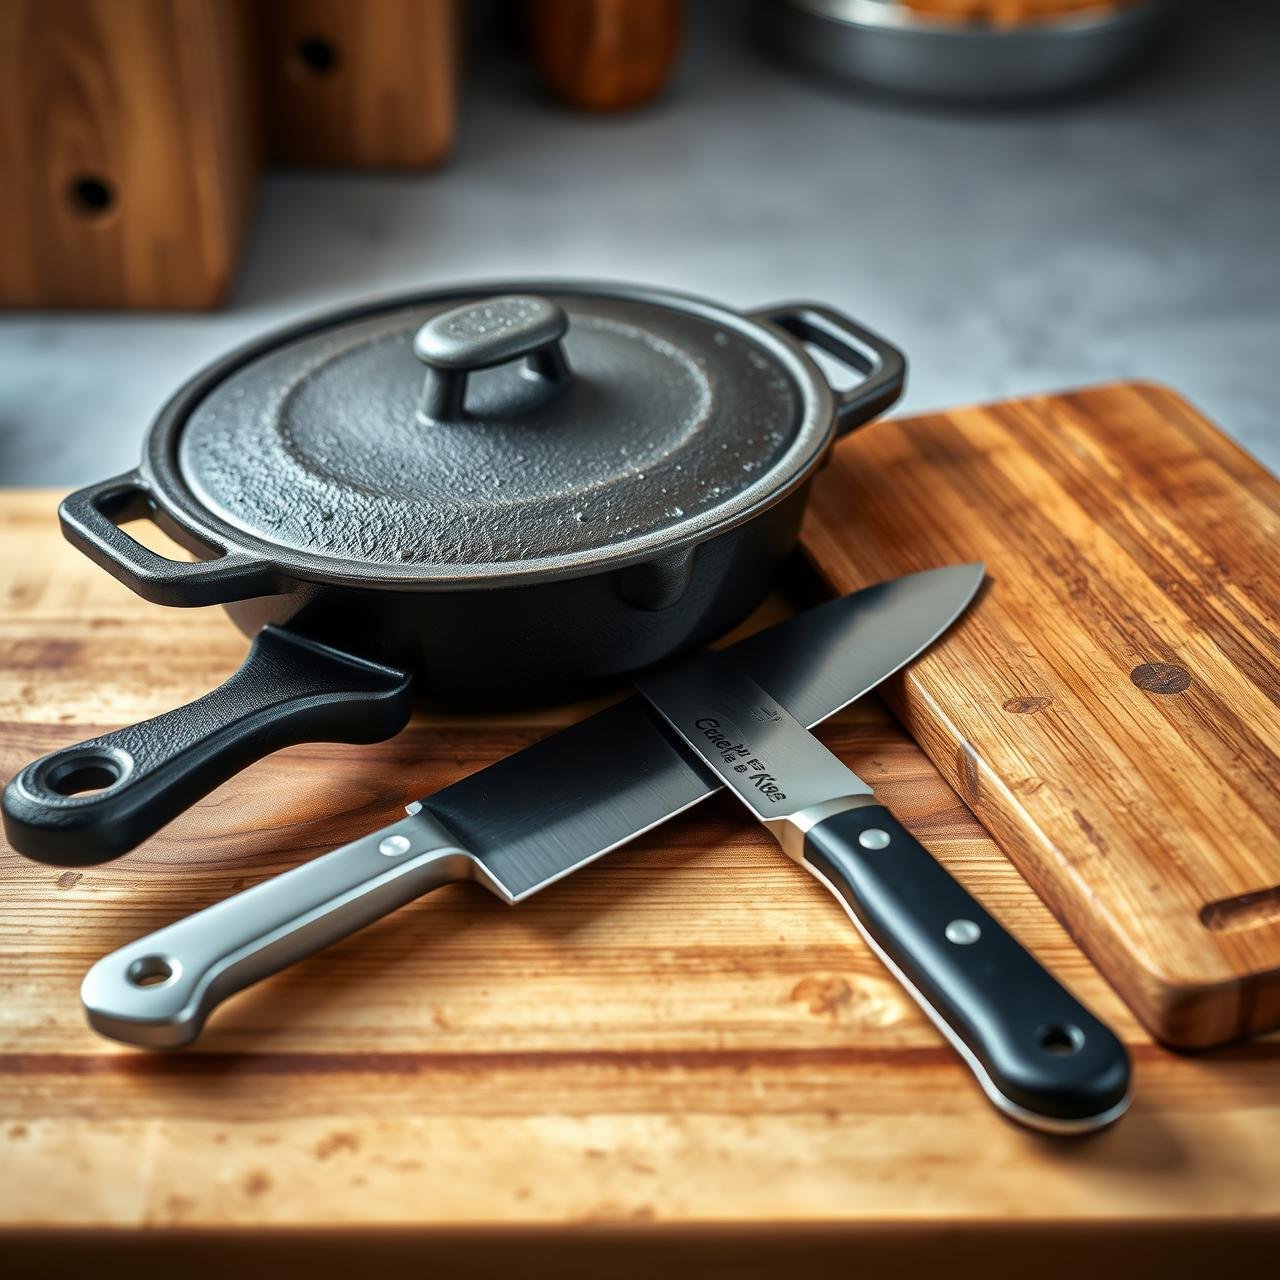
| Large Cast-Iron Skillet (12-inch) | My preferred vessel. It goes seamlessly from stovetop to oven, retains heat beautifully for a great sizzle, and makes for a rustic, communal presentation. A large oven-safe skillet or a baking sheet will also work. |
| Sharp Chef’s Knife | Essential for cleanly slicing the peppers, dicing the onion, and mincing the garlic. A sharp knife is a safe knife! |
| Large Cutting Board | Provides a stable, ample surface for all your prep work. A designated board for vegetables is a good practice. |
| Box Grater | Crucial for grating your own cheese. The difference in meltability and flavor is night and day compared to pre-shredded cheese. |
| Wooden Spoon or Spatula | Perfect for breaking up and browning the ground beef without scratching your skillet. |
The Art of Assembly: A Step-by-Step Guide
Follow these steps closely to build layers of flavor and texture, resulting in the most epic plate of bell pepper nachos you’ve ever tasted.
-
Prepare the Peppers:
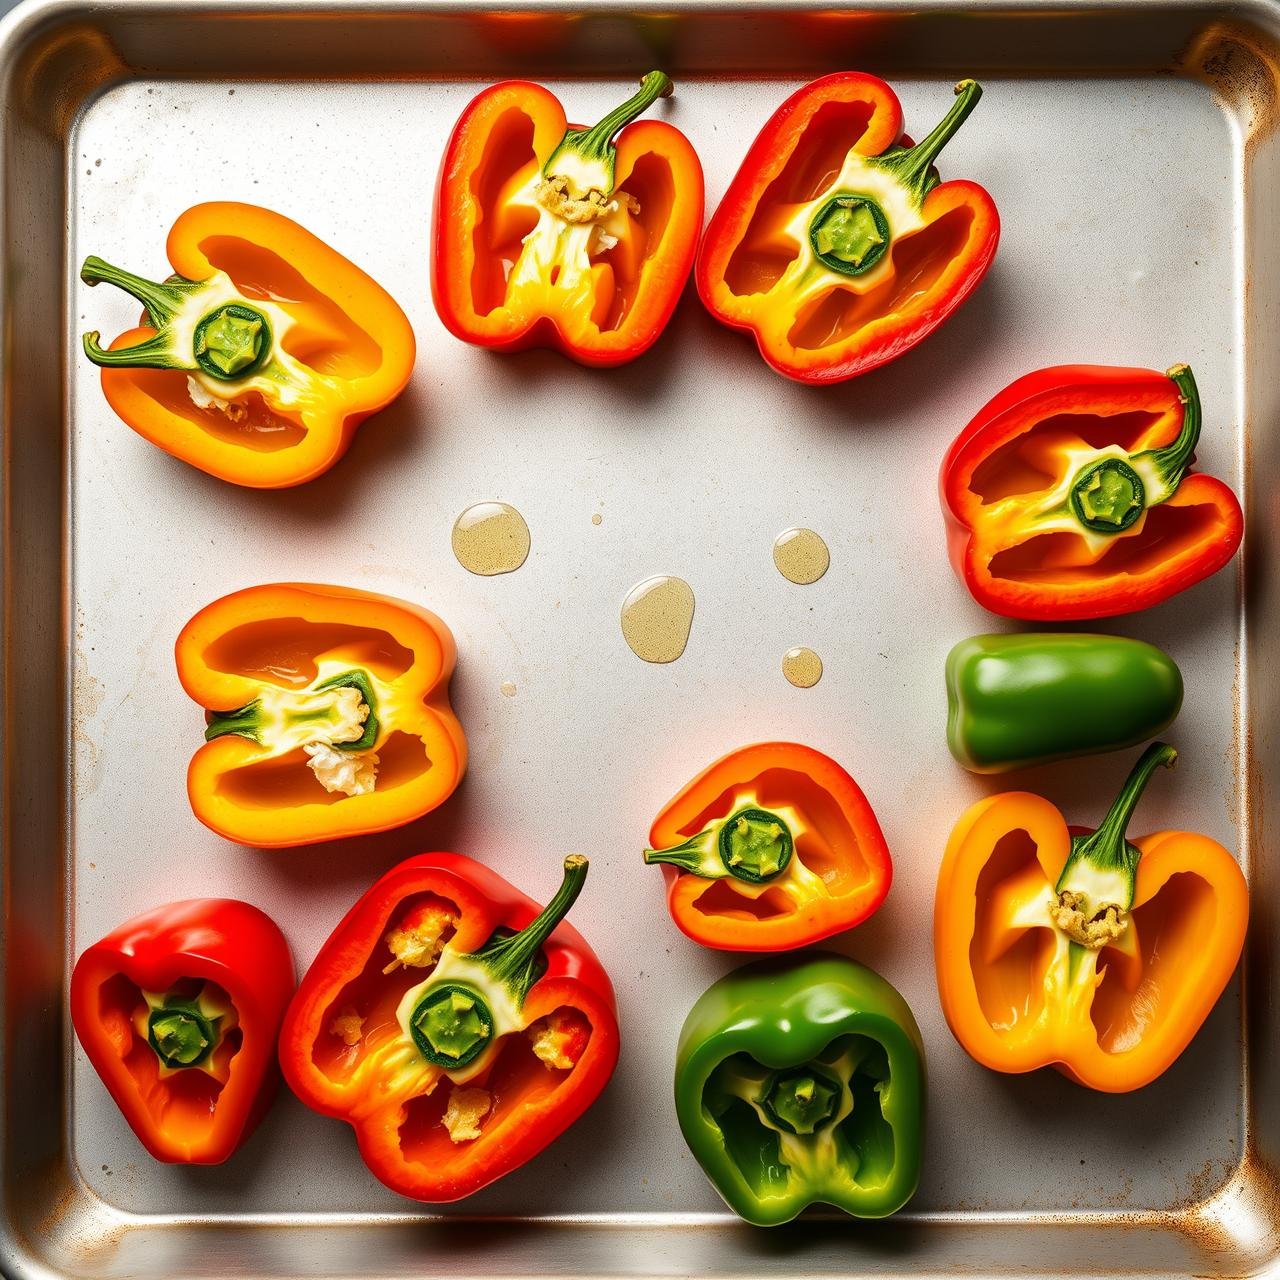
Preheat your oven’s broiler to high and position an oven rack about 6 inches from the heat source. Wash and dry the bell peppers thoroughly. Slice them in half lengthwise, from stem to tip. Remove the seeds and white membranes. You can then cut them into large, scoop-like pieces or leave them as halves for larger ‘boats’. Arrange the pepper pieces in a single layer, cut-side up, in your cast-iron skillet or on a baking sheet. Drizzle with oil, sprinkle with salt and pepper, and toss to coat.
-
The Initial Roast:
Place the skillet under the broiler for 4-6 minutes. You’re looking for the edges to become slightly charred and the peppers to become tender-crisp. This pre-roasting step is critical; it prevents soggy nachos by cooking off some of the peppers’ moisture and developing a deeper, sweeter flavor. Remove from the oven and set aside.
-
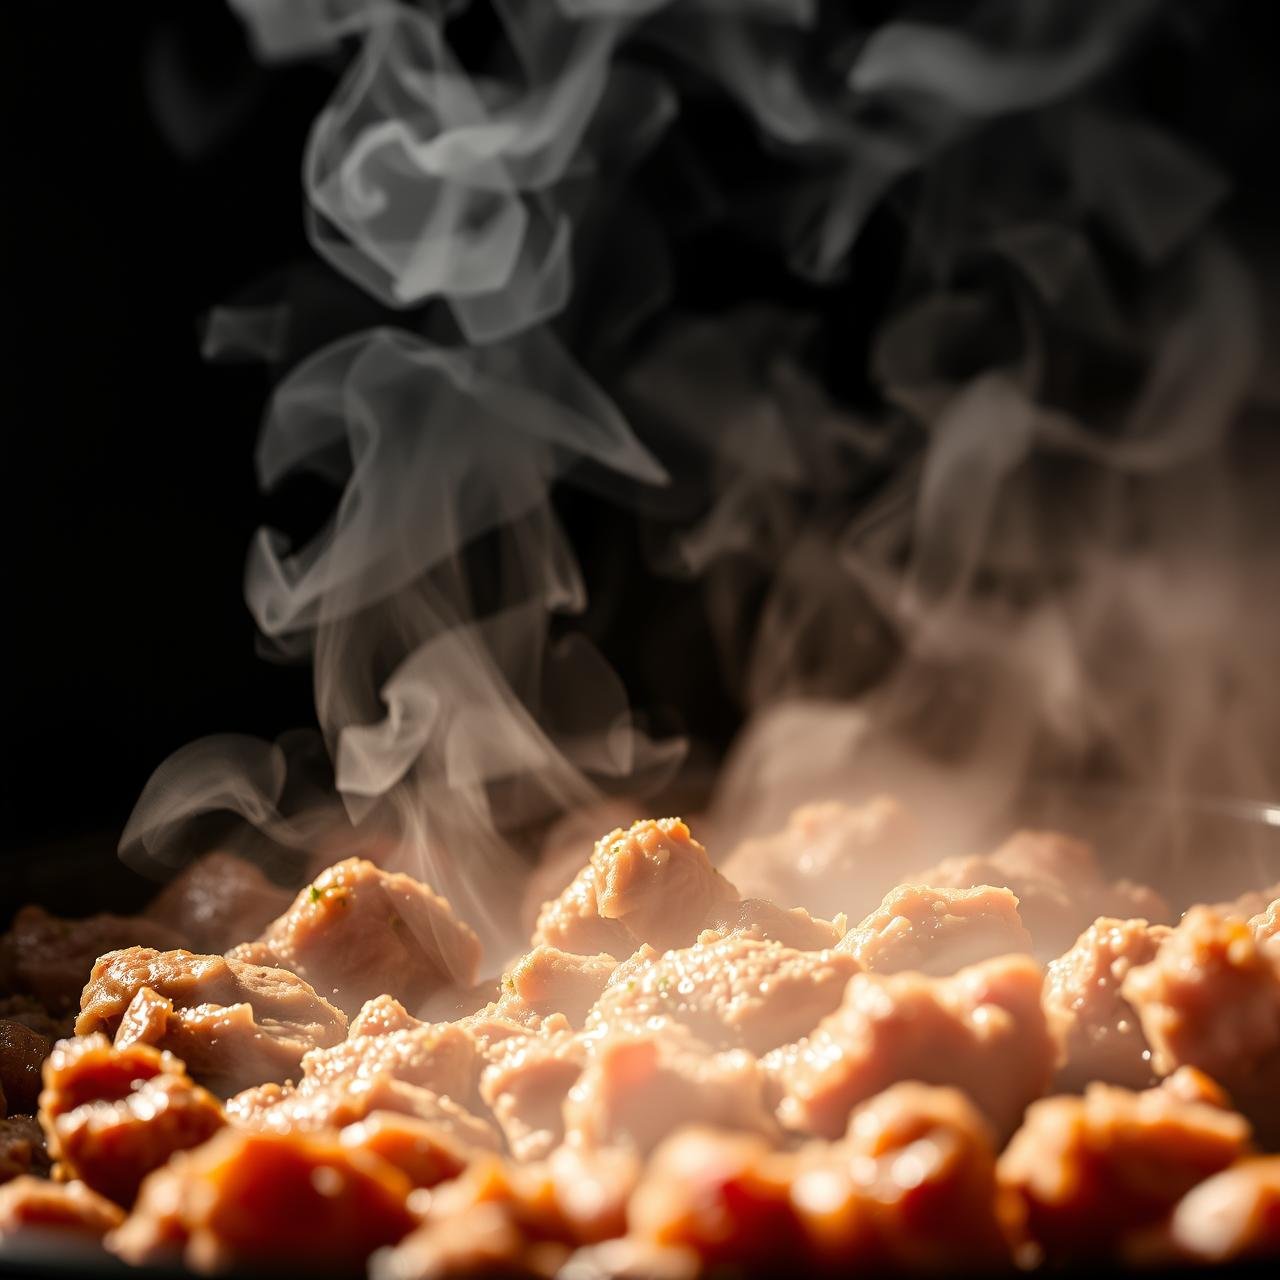
Cook the Savory Filling:
While the peppers are roasting, place the skillet (if using a separate one for the meat) over medium-high heat. Add the ground beef and cook, breaking it apart with a wooden spoon, until browned, about 5-7 minutes. Drain off any excess grease.
-
Build the Flavor Base:
Add the diced onion to the skillet with the beef and cook for another 3-4 minutes, until softened and translucent. Stir in the minced garlic and cook for another 60 seconds until fragrant. Be careful not to burn the garlic.
-
Season and Simmer:
Sprinkle the taco seasoning over the meat mixture and stir to combine. Pour in the water or beef broth. Bring the mixture to a simmer and let it cook for 2-3 minutes, allowing the sauce to thicken and the flavors to meld together beautifully.
-
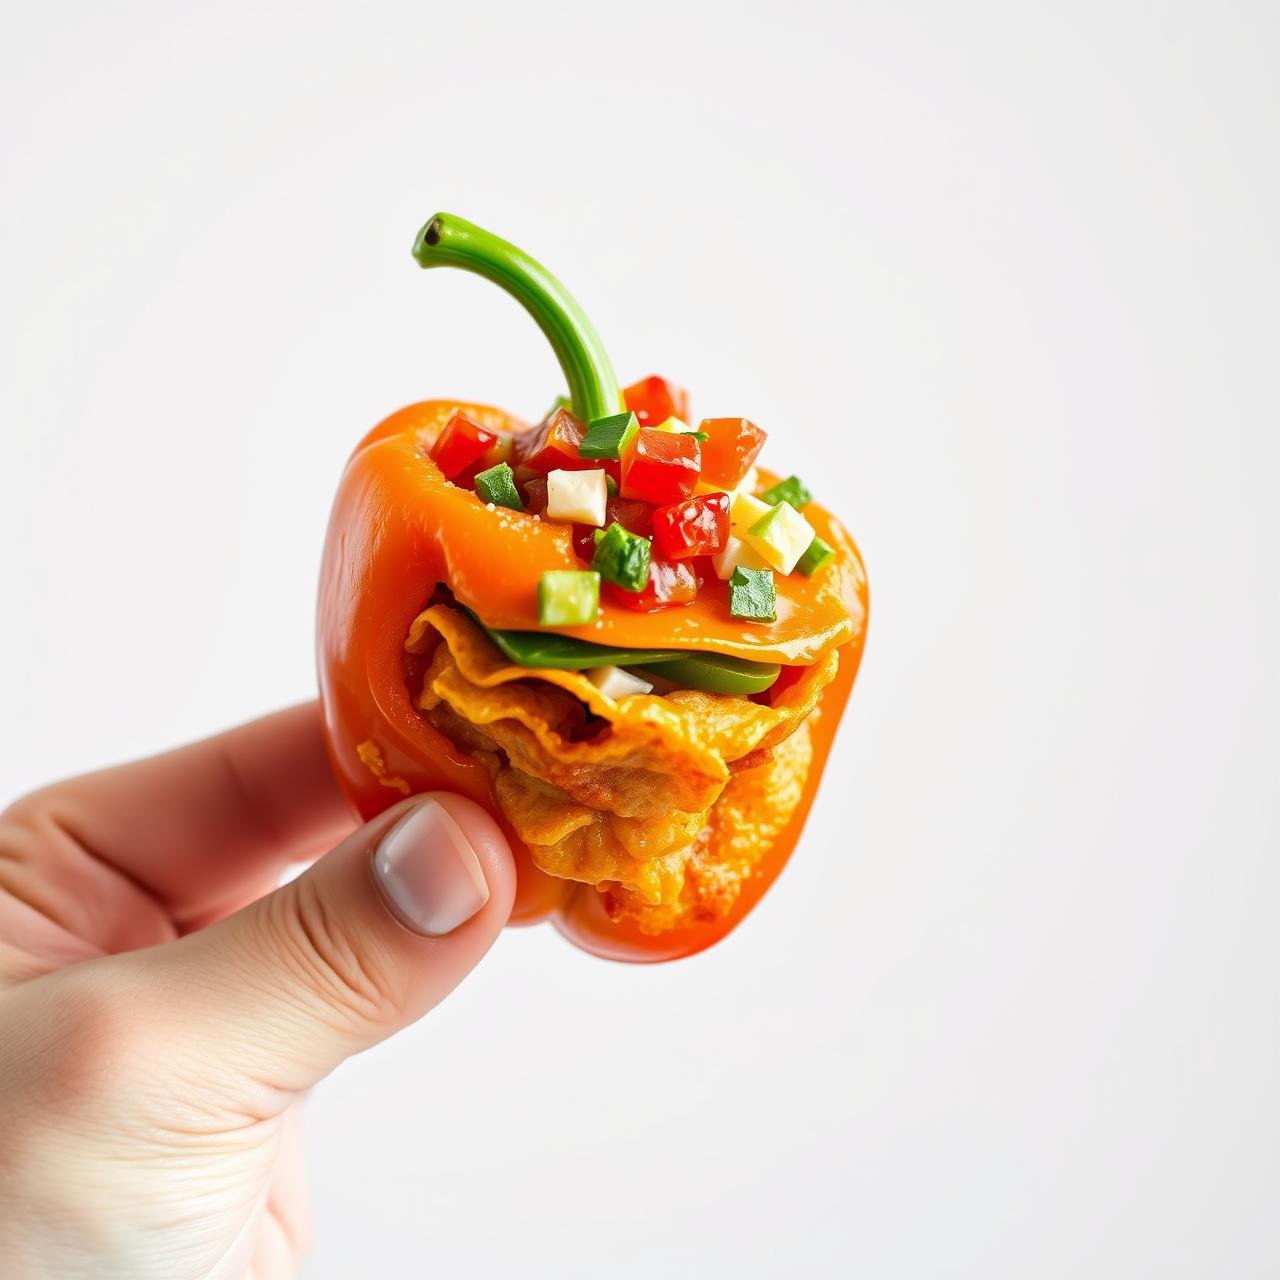
Assemble Your Masterpiece:
Spoon the savory beef mixture evenly over the pre-roasted bell pepper pieces in the skillet. Ensure every pepper scoop gets a generous amount of filling.
-
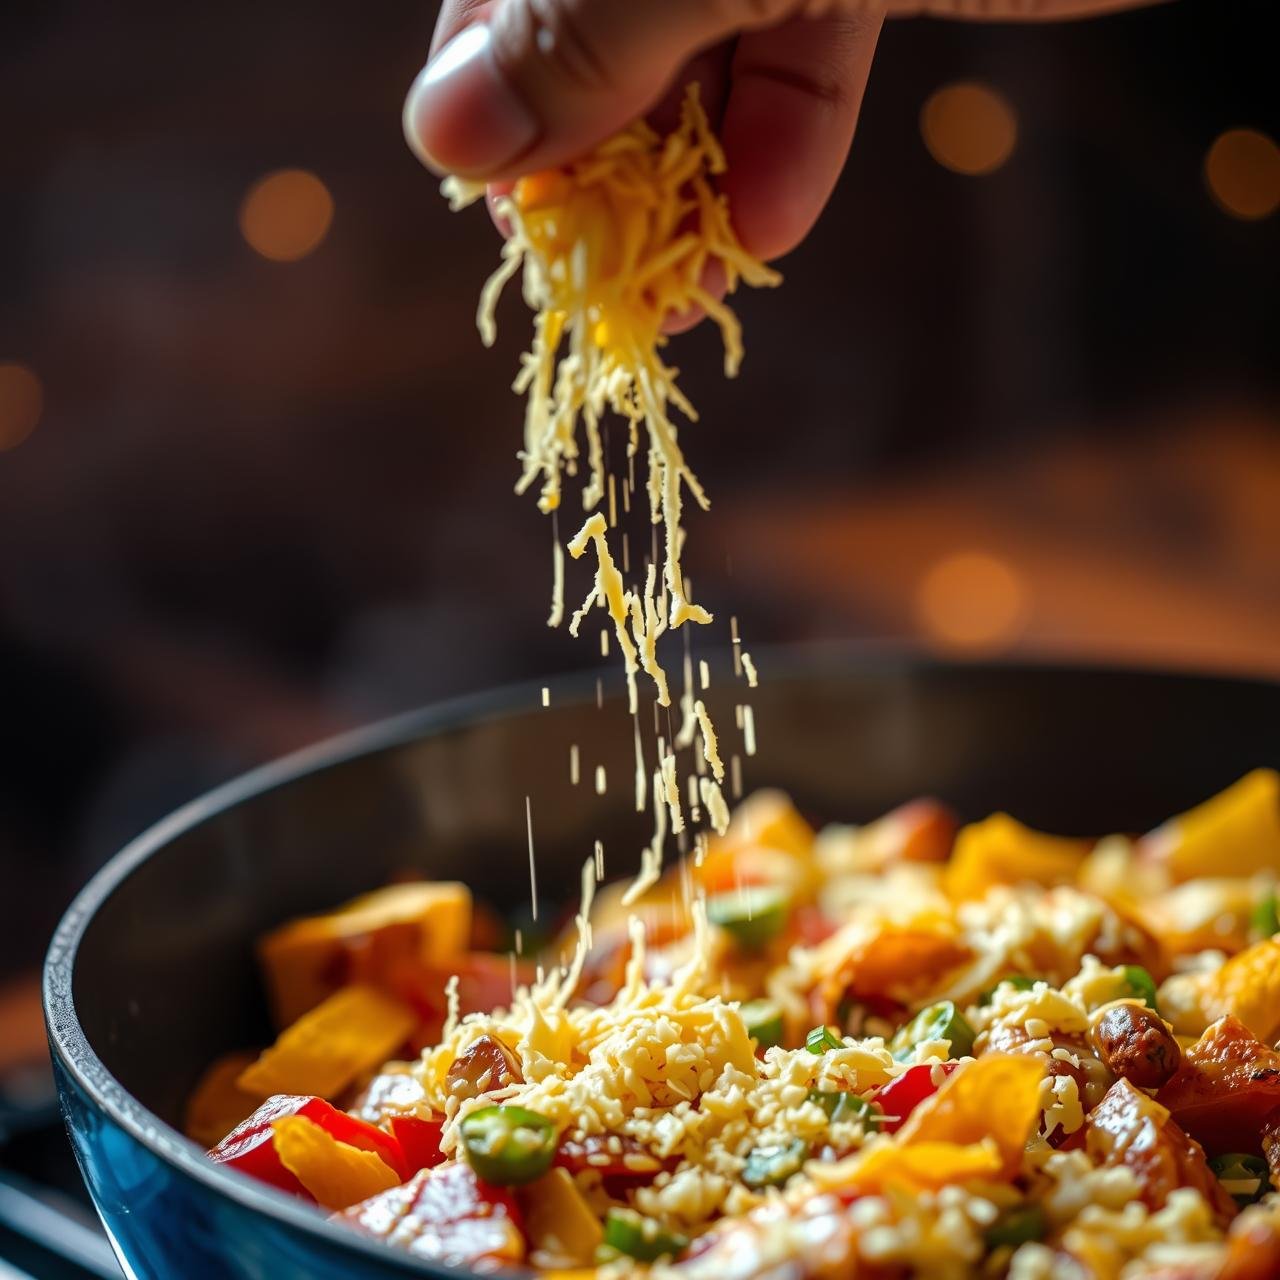
The Final Melt:
Sprinkle the freshly grated cheese evenly over the top of the meat. Be generous! This is the glorious blanket that brings it all together.
-
Broil to Bubbly Perfection:
Return the skillet to the oven under the high broiler. Broil for 2-4 minutes, watching it like a hawk. The broiler works fast! You want the cheese to be completely melted, bubbly, and just beginning to get golden brown spots.
-
Garnish and Serve:
Carefully remove the skillet from the oven (the handle will be extremely hot!). Let it rest for a minute before topping with your desired garnishes: a dollop of sour cream, a sprinkle of cilantro, a few jalapeños for heat, and a side of fresh guacamole. Serve immediately, directly from the skillet for that rustic, homestyle feel.
Chef’s Secrets for Nacho Nirvana
Ready to elevate your nacho game from great to unforgettable? Here are a few professional tips and creative variations to make this recipe your own.
Tips for the Best Texture:
- Don’t Skip the Pre-Roast: I can’t stress this enough. Roasting the peppers first is the secret to avoiding a watery, soggy mess. It concentrates their flavor and gives them the perfect tender-crisp texture to stand up to the toppings.
- Pat Your Peppers Dry: After washing, make sure your bell peppers are completely dry. Water on the surface will steam the peppers instead of allowing them to roast, which can affect the final texture.
- Grate Your Own Cheese: Pre-shredded cheese contains starches to prevent clumping, which inhibits a smooth, glorious melt. A block of sharp cheddar, grated just before use, will result in a superior cheese pull and flavor.
Flavor Variations & Substitutions:
- Protein Power: Swap the ground beef for spicy chorizo, shredded rotisserie chicken tossed in salsa verde, or black beans and corn for a hearty vegetarian version.
- Cheese Choices: Experiment with different cheeses. A blend of Monterey Jack and cheddar offers a great melt, while a sprinkle of cotija cheese after broiling adds a salty, authentic touch.
- Spice It Up: Add a finely diced chipotle pepper in adobo sauce to the meat mixture for a smoky, deep heat. Or, toss the bell pepper pieces with a pinch of smoked paprika before their initial roast.
- Veggie-Loaded: Sauté some mushrooms, zucchini, or corn with the onions to bulk up the filling with even more nutritious vegetables.
Nutritional Profile: A Guilt-Free Indulgence
Here is an estimated nutritional breakdown for this recipe. Please note that these values are approximate and can vary based on the specific ingredients used, such as the fat content of the beef and the types of toppings added.
This calculation is for 1 of 4 servings, without optional toppings.
| Nutrient | Amount per Serving |
|---|---|
| Calories | ~450 kcal |
| Protein | ~30g |
| Fat | ~32g |
| Carbohydrates | ~12g |
| Fiber | ~4g |
| Net Carbs | ~8g |
| Sugar | ~6g |
| Sodium | ~850mg |
Storage and Reheating Instructions
While Bell Pepper Nachos are undeniably best when enjoyed fresh from the oven, leftovers can still be delicious if handled correctly. Here’s how to store and revive them.
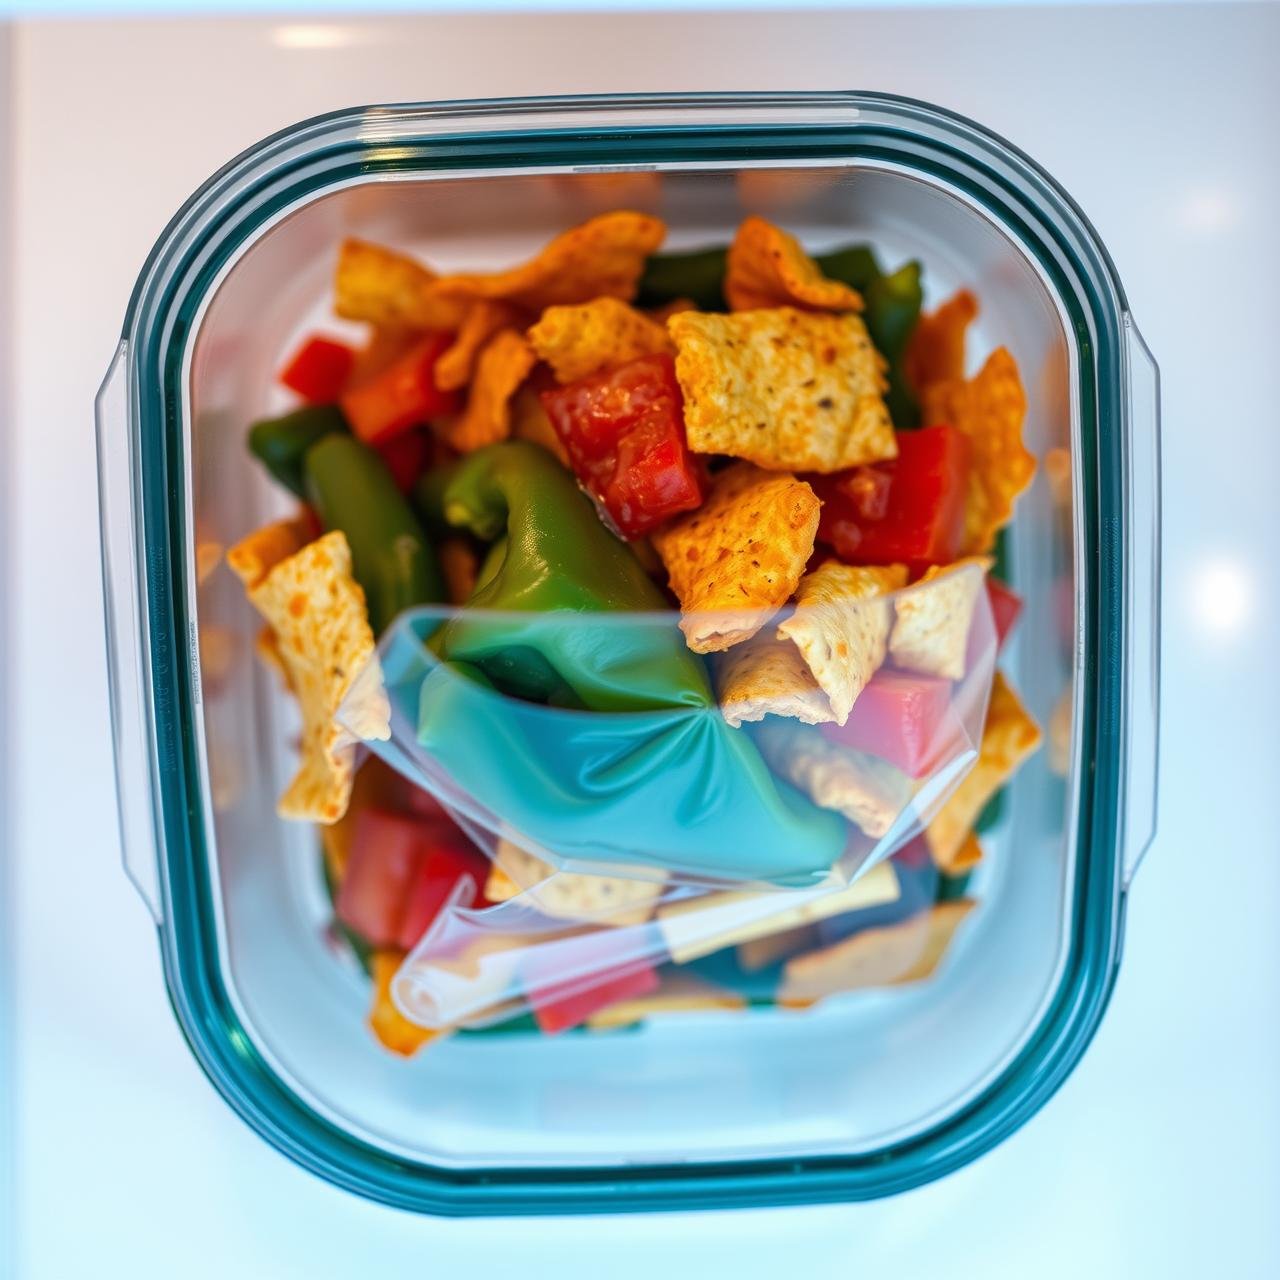
Storage:
Allow the nachos to cool to room temperature. Transfer them to an airtight container and store them in the refrigerator for up to 3 days. It’s best to store any ‘wet’ toppings like sour cream, salsa, or guacamole separately to prevent the nachos from becoming soggy.
Reheating:
- Oven or Toaster Oven (Recommended Method): This is the best way to restore some of the original crispness. Preheat your oven to 375°F (190°C). Spread the leftover nachos on a baking sheet in a single layer. Bake for 5-10 minutes, or until the filling is heated through and the cheese is re-melted and bubbly.
- Air Fryer: For smaller portions, the air fryer works wonders. Place the nachos in the air fryer basket at 350°F (175°C) and heat for 3-5 minutes until crisp and hot.
- Microwave (In a Pinch): While not ideal as it can make the peppers soft, you can use the microwave if you’re short on time. Heat on high in 30-second intervals until just warmed through. The texture won’t be as good, but the flavor will still be there!
Conclusion
There you have it—a vibrant, satisfying, and utterly delicious way to enjoy all the classic flavors of nachos without a hint of compromise. These Crispy Bell Pepper Nachos are a testament to the fact that healthy eating can be exciting, flavorful, and deeply comforting. They are perfect for a cozy movie night, a fun family dinner, or a crowd-pleasing party appetizer. So go ahead, embrace this wholesome twist on a beloved classic. We invite you to get creative in your kitchen, experiment with toppings, and make this recipe your own. Share your creations and let this be the start of a new, healthier snacking tradition!