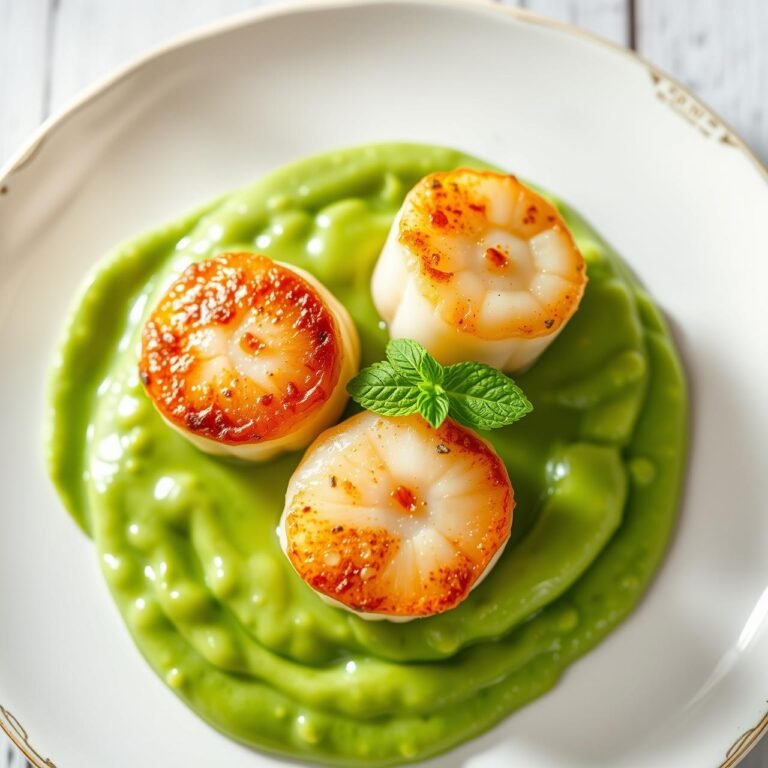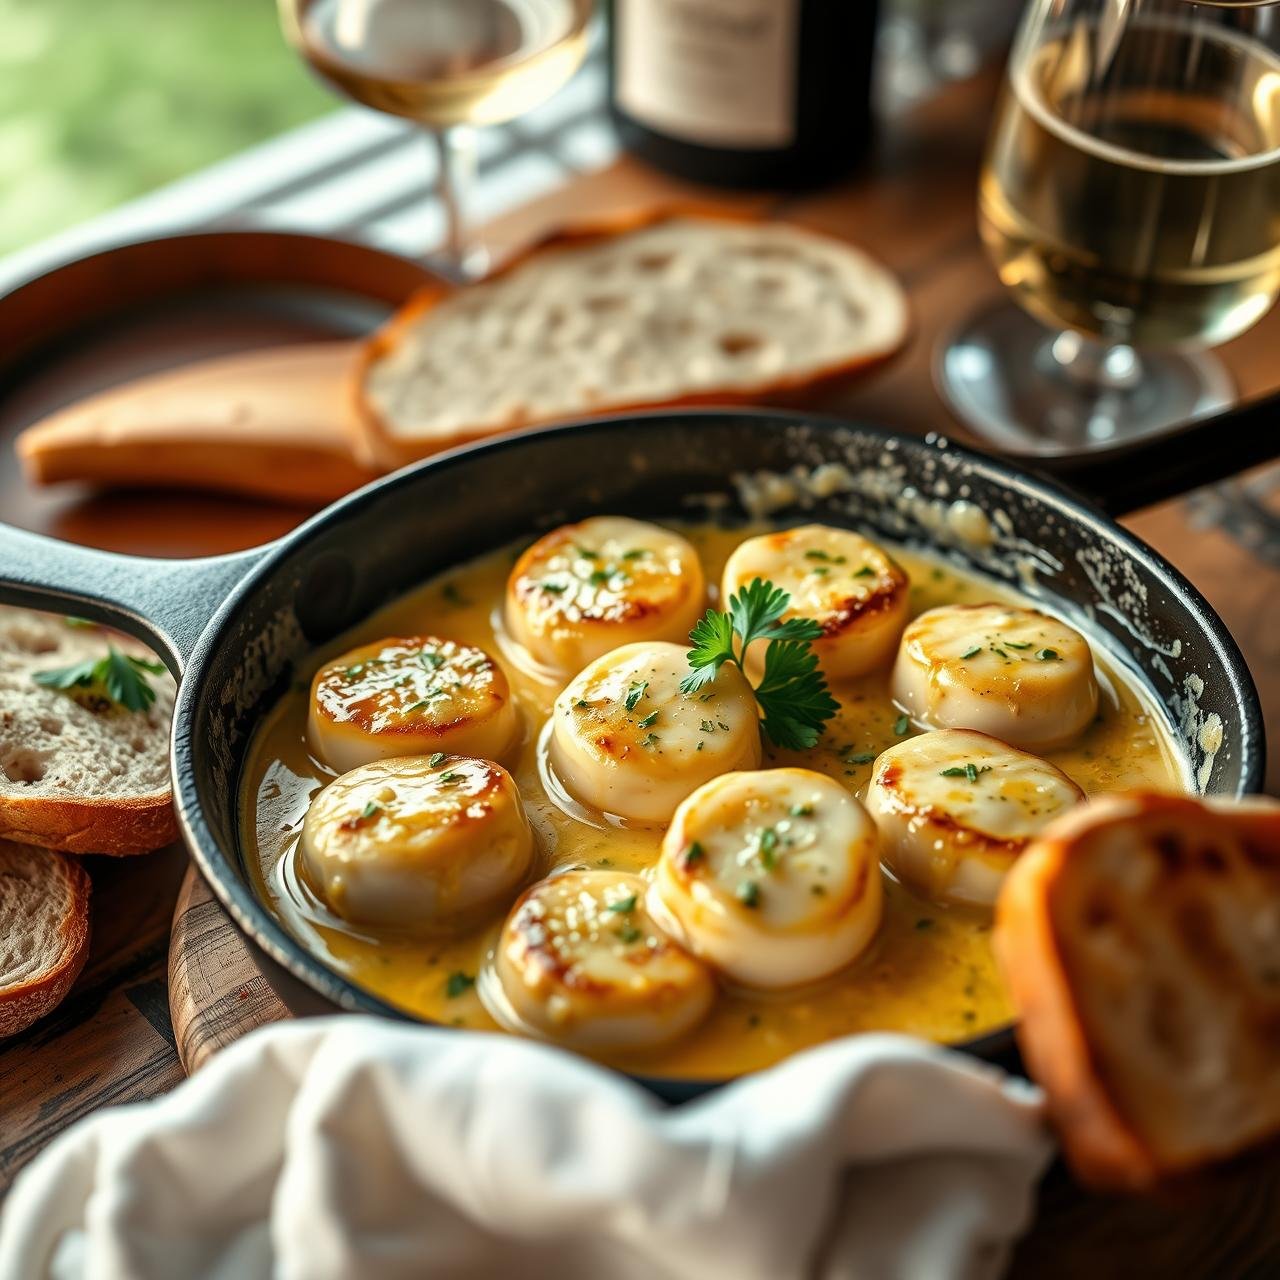
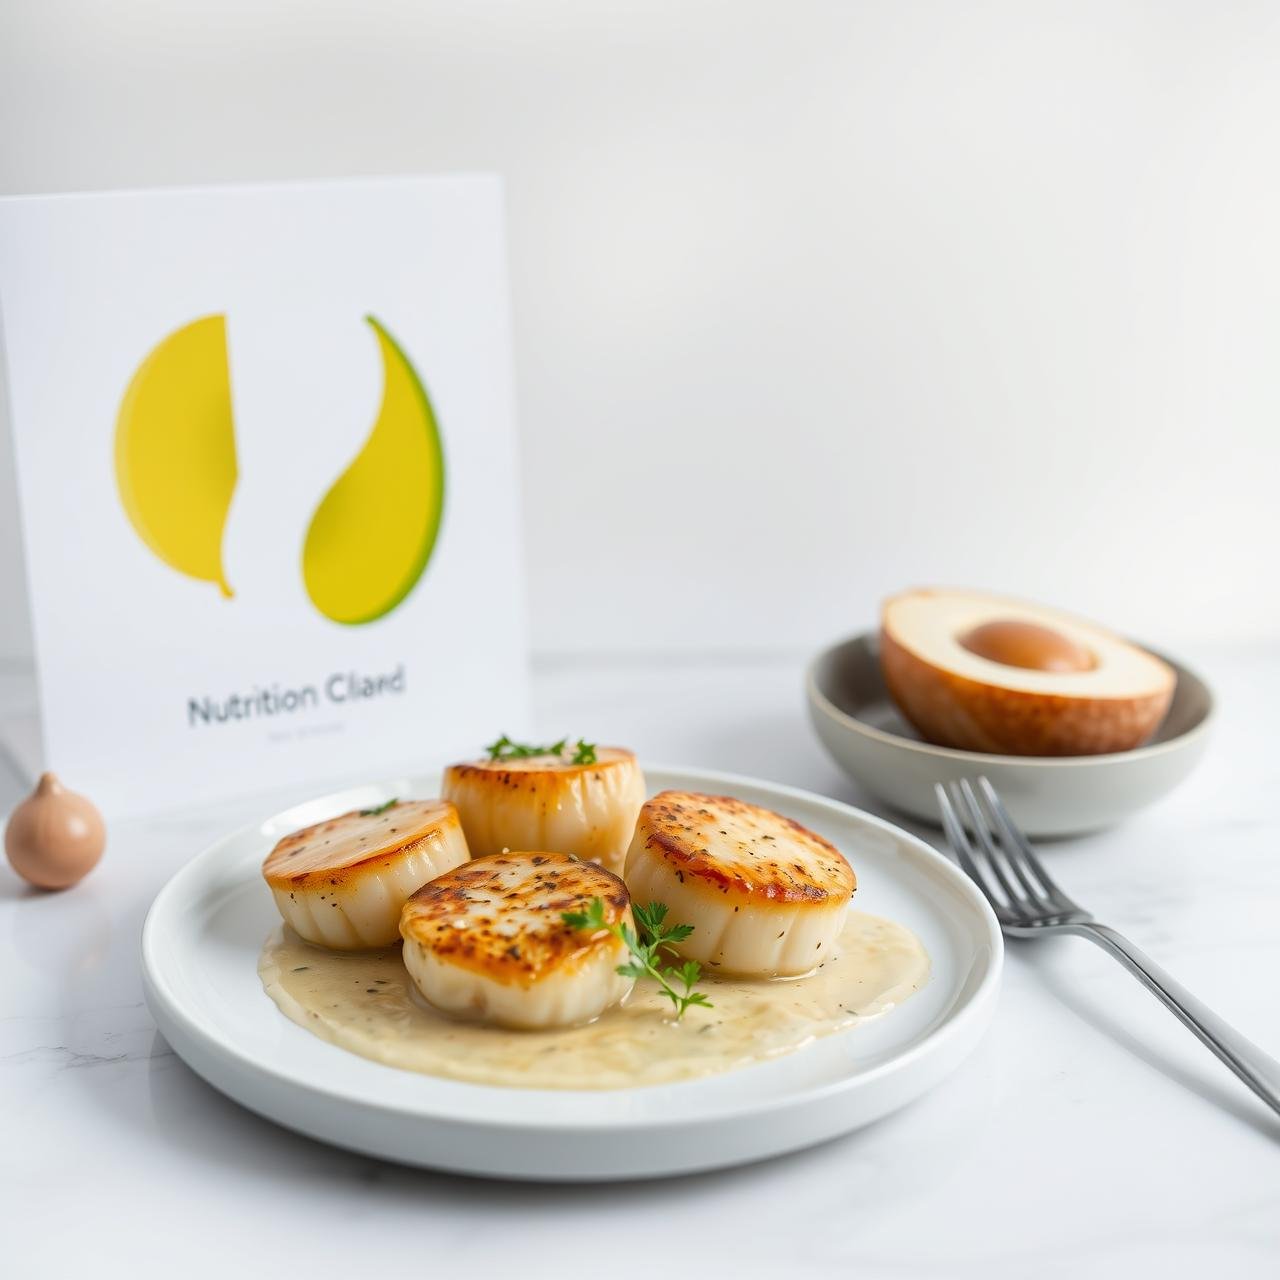
Melt-in-Your-Mouth Creamy Garlic Butter Scallops (Detailed Recipe)
There are few culinary experiences as sublime as a perfectly cooked scallop. That initial golden-brown, caramelized crust giving way to a tender, almost buttery interior is a moment of pure, unadulterated bliss. For many home cooks, however, achieving that perfect sear feels like a restaurant secret, an elusive technique reserved for professional chefs. I’m here to tell you that this luxury is well within your reach. This recipe for Melt-in-Your-Mouth Creamy Garlic Butter Scallops is more than just a set of instructions; it’s your guide to mastering this delicate seafood. We’ll walk through every detail, from selecting the right scallops to creating a sauce so divine you’ll want to savor every last drop with a piece of crusty bread. It’s a dish that feels incredibly decadent yet comes together in under 30 minutes, making it perfect for a special weeknight dinner, a romantic meal for two, or an impressive appetizer for guests. Prepare to transform your kitchen into a gourmet bistro.
The Heart of the Dish: Choosing the Right Scallops
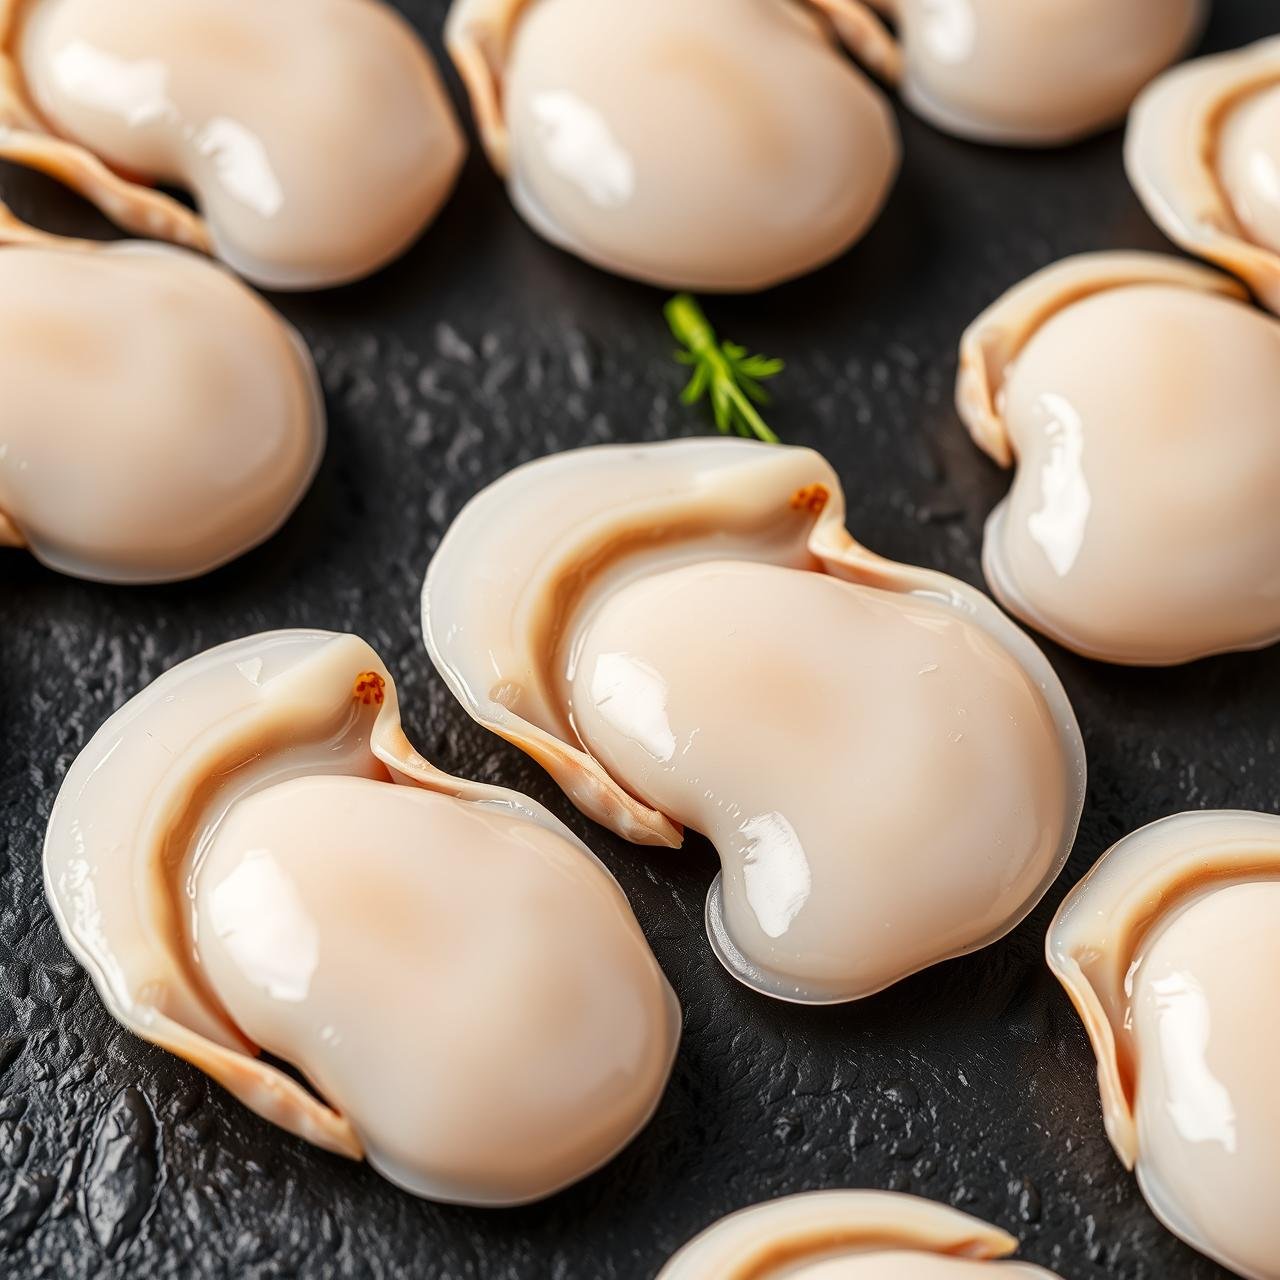
The foundation of this exquisite dish is, without a doubt, the scallops themselves. The quality you start with will directly impact the final result. When you’re at the fish counter, you might see a few options, but the most crucial distinction to understand is ‘dry’ versus ‘wet’ scallops.
- Dry Scallops: These are the gold standard and what you should always seek out. ‘Dry’ means they have not been treated with any solutions. They are shucked, cleaned, and packed as is. Their natural, off-white, or slightly pinkish hue is a good indicator. Because they don’t have excess moisture, they sear beautifully, developing a deep, golden-brown crust and a concentrated, sweet flavor.
- Wet Scallops: These scallops have been soaked in a phosphate solution (sodium tripolyphosphate). This solution whitens them and causes them to absorb water, increasing their weight (and thus, their price). While they may look plump and perfectly white, this excess water makes achieving a good sear nearly impossible. They tend to steam in the pan, resulting in a pale, rubbery texture.
When shopping, ask your fishmonger for ‘dry-packed’ sea scallops. For size, look for larger varieties like U-10 or U-15, which means there are ‘under 10’ or ‘under 15’ scallops per pound. Their substantial size makes them more forgiving to cook and incredibly satisfying to eat.
Your Culinary Toolkit: Essential Equipment
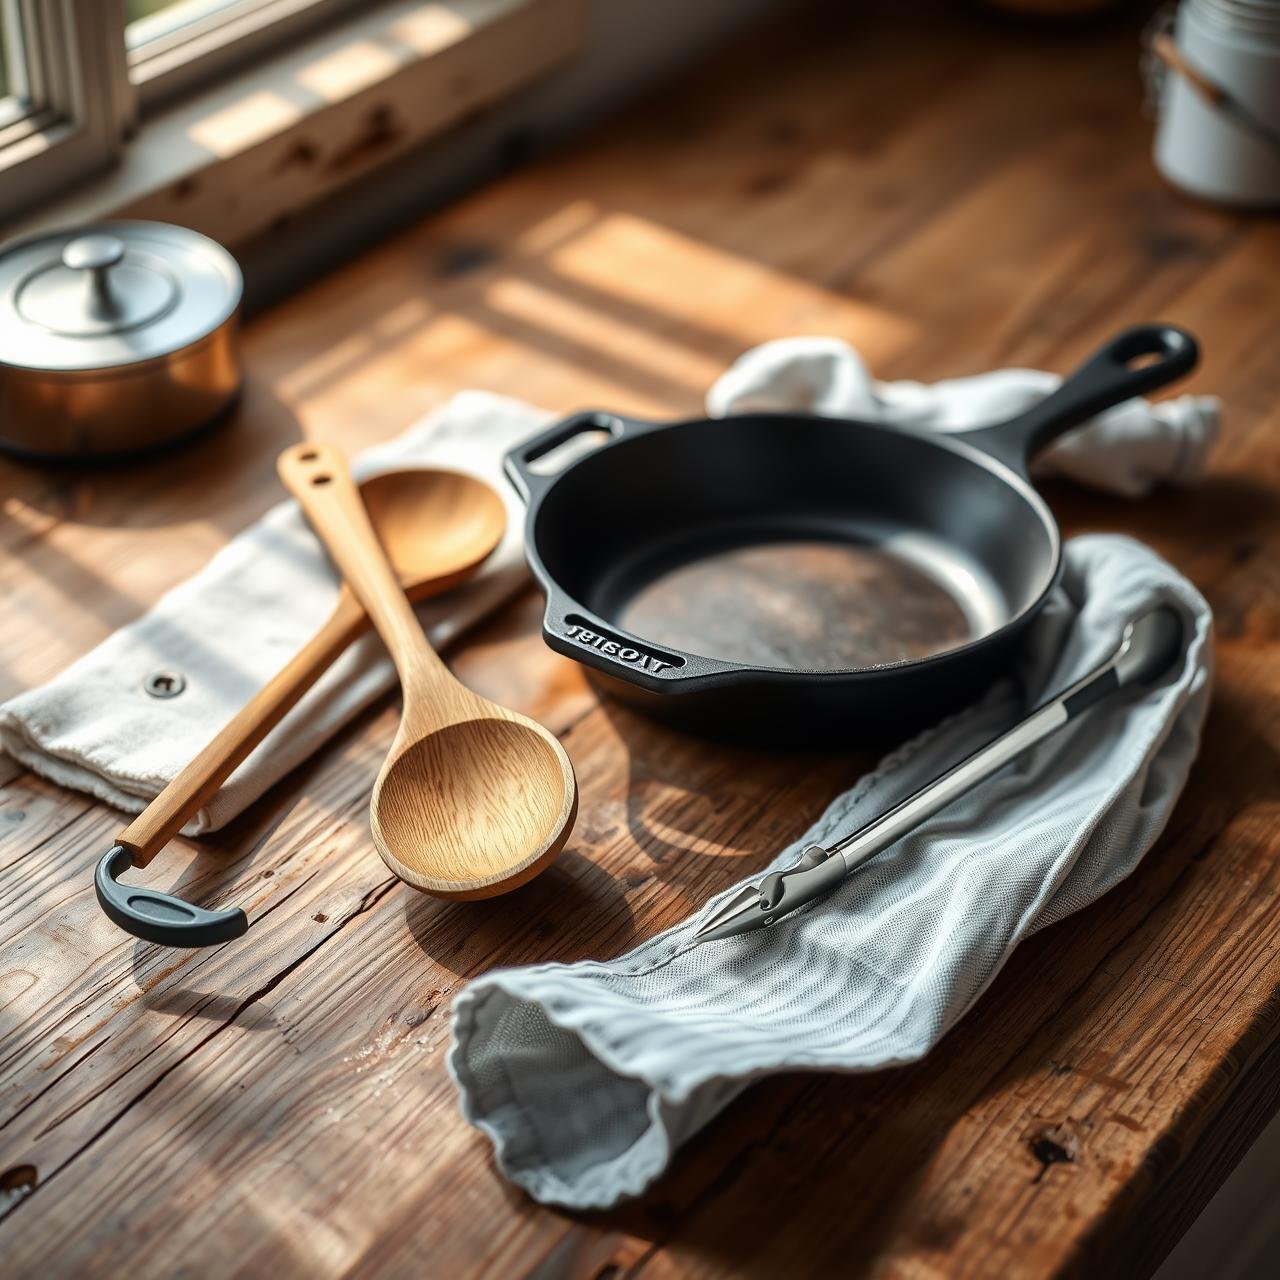
You don’t need a professional kitchen to make phenomenal scallops, but a few key pieces of equipment will set you up for success. Using the right tools ensures even cooking and that coveted perfect sear.
| Equipment | Why It’s Important |
|---|---|
| Large Skillet (12-inch) | A cast-iron or heavy-bottomed stainless steel skillet is ideal. These materials retain heat exceptionally well, which is crucial for getting a quick, hard sear without overcooking the scallop’s interior. |
| Paper Towels | An absolutely essential, non-negotiable tool. Scallops must be bone-dry on the surface to sear rather than steam. |
| Tongs | Provide precision for placing scallops in the pan without crowding and for flipping them gently without piercing the flesh. |
| Mise en Place Bowls | Having all your ingredients (minced garlic, measured cream, chopped parsley) ready to go is key. This recipe moves very quickly once the scallops hit the pan. |
A Symphony of Flavors: Your Ingredients
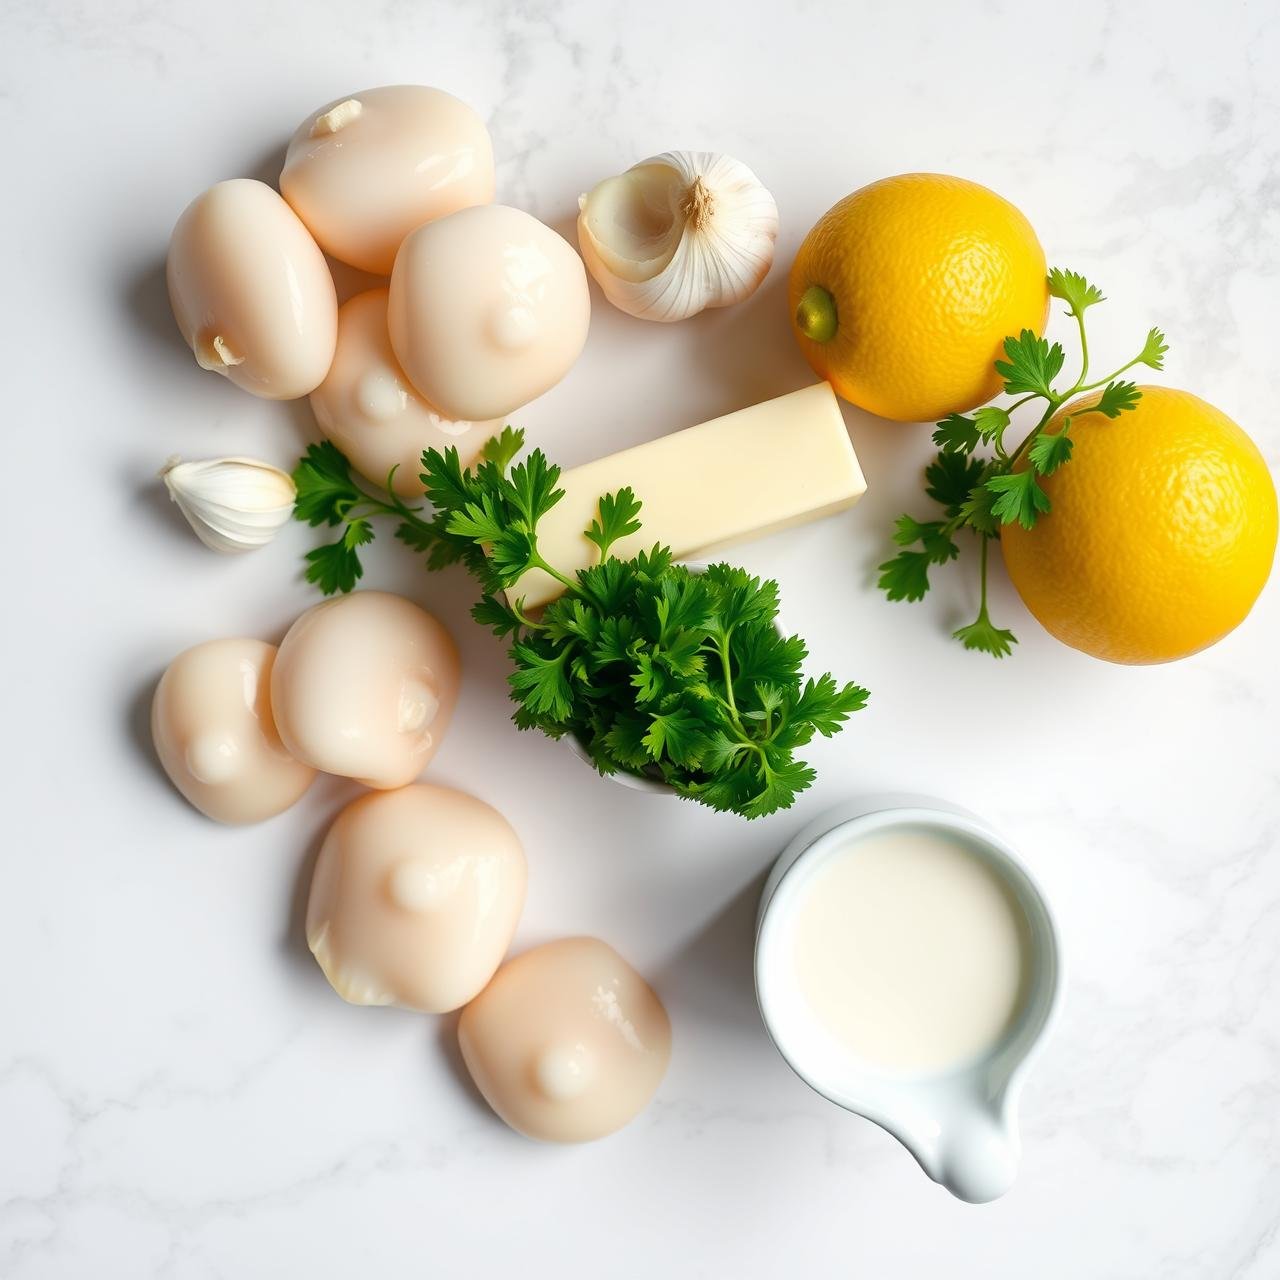
The beauty of this recipe lies in its simplicity and the quality of its components. Each ingredient plays a crucial role in building layers of flavor that complement, rather than overpower, the delicate sweetness of the scallops.
- 1.5 lbs large dry-packed sea scallops (about 16-20, U-10/15 size)
- 2 tbsp unsalted butter, divided
- 1 tbsp olive oil
- Salt and freshly cracked black pepper, to taste
- 6-8 cloves garlic, finely minced
- 1/4 cup dry white wine (like Sauvignon Blanc or Pinot Grigio) or chicken broth
- 3/4 cup heavy cream
- 1 tbsp fresh lemon juice
- 2 tbsp fresh parsley, chopped, for garnish
The scallops are the star—sweet and briny. The combination of butter and olive oil provides a high smoke point for searing and rich flavor. Garlic is the aromatic heart of the sauce, while the white wine or broth deglazes the pan, lifting all those delicious browned bits from the bottom. Heavy cream creates the luxurious, velvety texture, and a final squeeze of lemon juice cuts through the richness, brightening everything up. Finally, fresh parsley adds a touch of color and fresh, herbaceous flavor.
The Main Event: Crafting Your Creamy Garlic Butter Scallops
This is where the magic happens. Follow these steps closely, and you’ll be rewarded with a truly spectacular dish. Remember, the cooking process is swift, so have everything ready before you begin.
-
Step 1: Prepare the Scallops
If your scallops have the small, tough side muscle attached, gently peel it off and discard it. Rinse the scallops under cold water and then, most importantly, pat them thoroughly dry with paper towels. I mean bone-dry. This is the single most critical step for a good sear. Season both sides generously with salt and pepper.
-
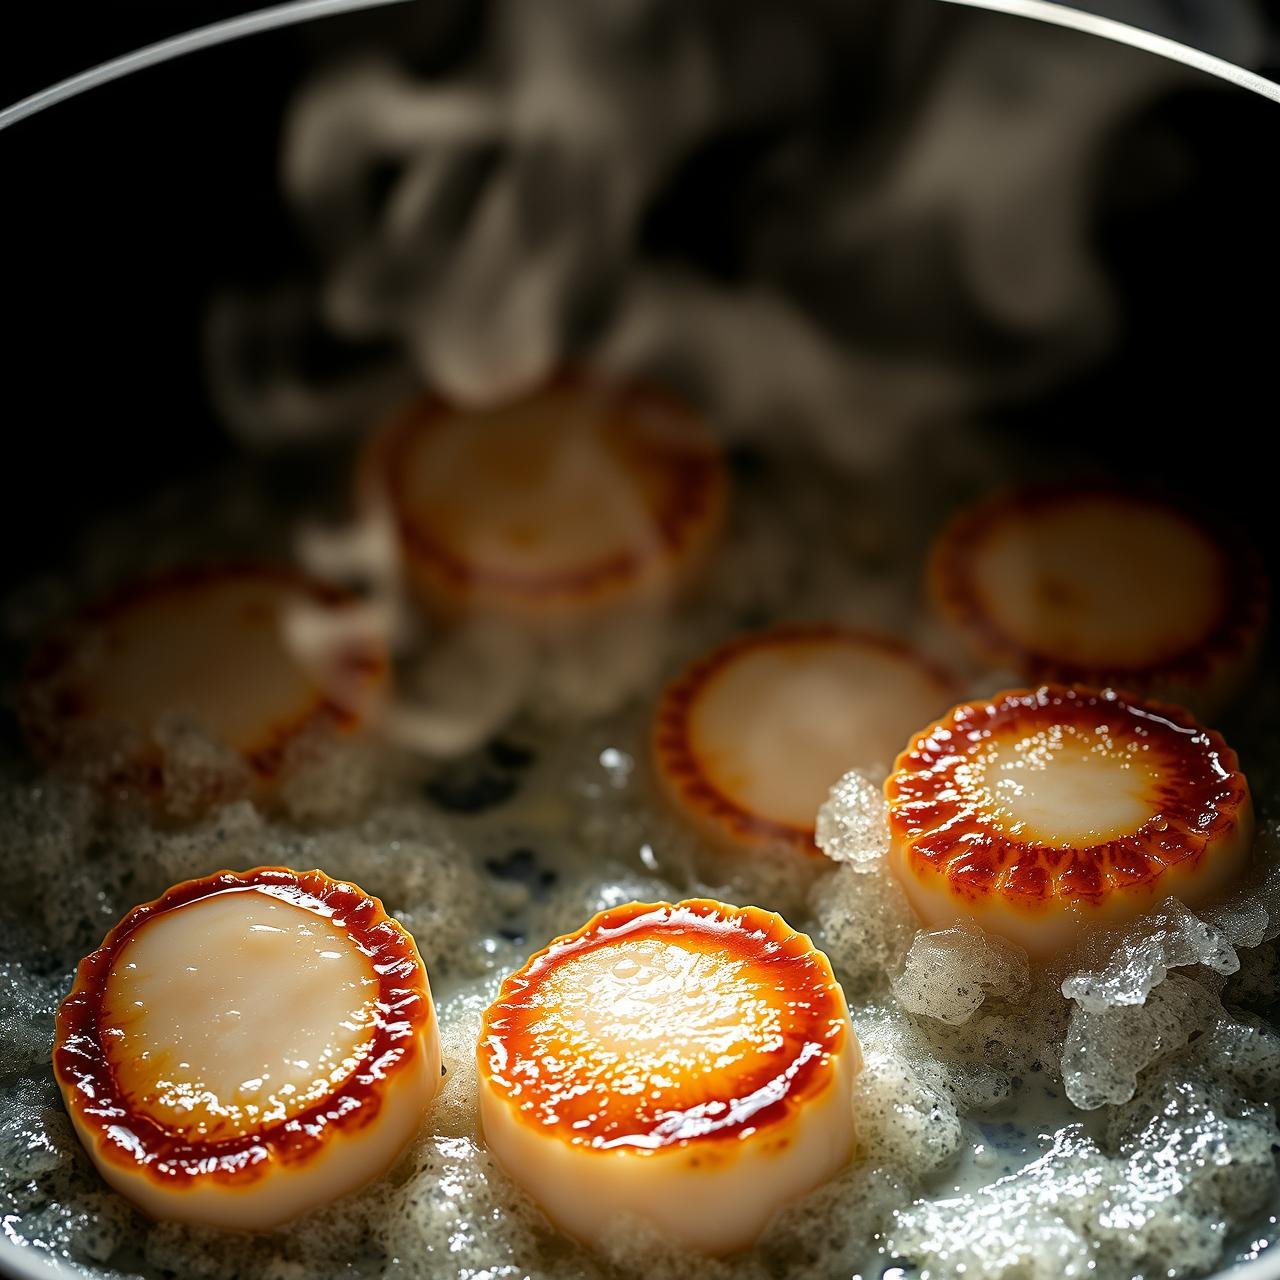
Step 2: Achieve the Perfect Sear
Place a 12-inch cast-iron or heavy-bottomed skillet over medium-high heat. Let it get very hot. Add 1 tbsp of butter and the olive oil. Once the butter is melted and foaming, carefully place the scallops in the skillet in a single layer, ensuring they are not touching. Do not overcrowd the pan; cook in two batches if necessary. Sear the scallops, undisturbed, for 90 seconds to 2 minutes per side. They should have a deep, golden-brown crust. Transfer the seared scallops to a clean plate and set aside.
-
Step 3: Build the Luscious Garlic Butter Sauce
Reduce the heat to medium-low. Add the remaining 1 tbsp of butter to the skillet. Once melted, add the minced garlic and sauté for about 30-60 seconds until fragrant. Be very careful not to burn the garlic. Pour in the white wine or chicken broth to deglaze the pan, scraping up any browned bits from the bottom with a wooden spoon. Let it simmer and reduce by about half, which should take about 2 minutes.
-
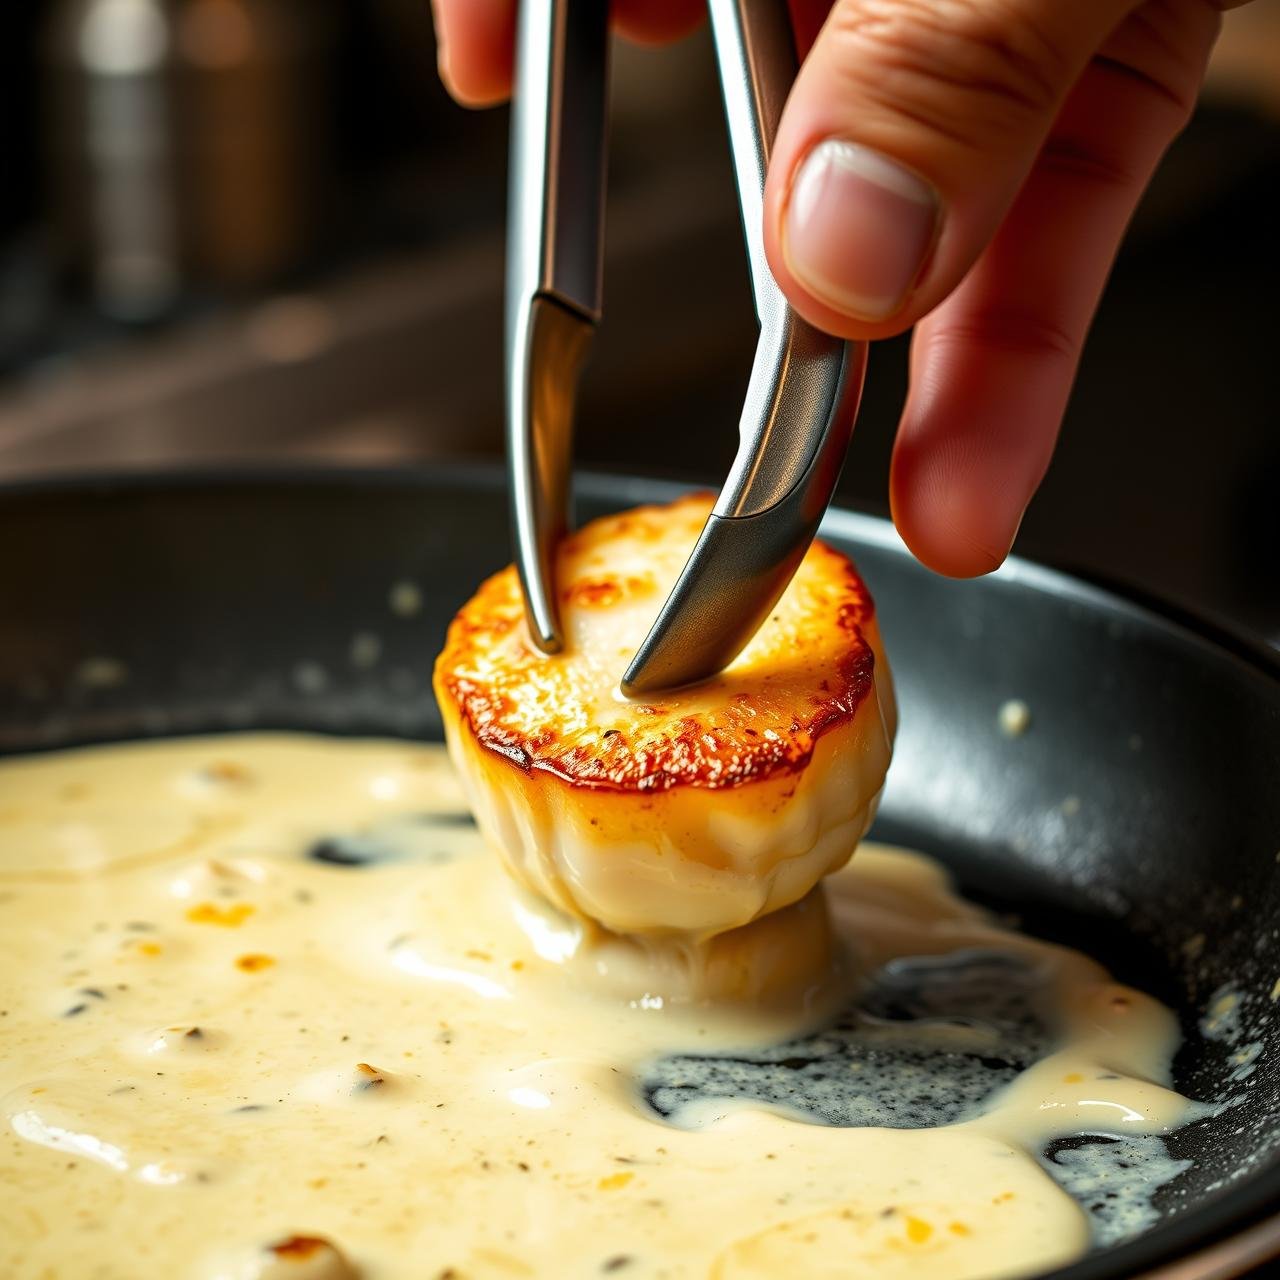
Step 4: Unite the Scallops and Sauce
Stir in the heavy cream and bring the sauce to a gentle simmer. Let it cook for 2-3 minutes, allowing it to thicken slightly. Remove the pan from the heat and stir in the fresh lemon juice. Taste the sauce and adjust seasoning with more salt and pepper if needed. Return the seared scallops (and any juices from the plate) to the skillet. Gently spoon the creamy sauce over them. Garnish generously with fresh parsley and serve immediately.
From a Chef’s Notebook: Tips for Unforgettable Scallops
These small details can elevate your dish from great to absolutely divine. Keep these professional tips in your back pocket.
- Don’t Crowd the Pan: This is worth repeating. Giving each scallop enough space is crucial for searing. Overcrowding lowers the pan’s temperature, causing the scallops to steam instead of sear. Cook in batches if your pan isn’t large enough.
- Hot Pan, Cold Oil: A classic chef’s technique. Get your pan screaming hot *before* adding the fat. This helps create a non-stick surface and ensures an instant, hard sear.
- Hands Off: Once the scallops are in the pan, resist the urge to move them. Let them sit undisturbed to develop that beautiful, deep golden crust.
- Know When They’re Done: A perfectly cooked scallop will be opaque and firm to the touch, but still have a little give. If you were to slice one in half, the very center might still be slightly translucent. Overcooking is the enemy, leading to a chewy, rubbery texture.
- Serving Suggestions: While incredible on their own, these scallops are heavenly served over angel hair pasta, creamy risotto, or simple steamed asparagus. Don’t forget a loaf of crusty bread for dipping into that irresistible sauce.
Understanding the Nutrition
This dish feels indulgent, but it’s built on wholesome ingredients. Scallops are a fantastic source of lean protein and omega-3 fatty acids. Here is an approximate nutritional breakdown for the recipe.
| Nutrient | Amount per Serving (approx.) |
|---|---|
| Calories | 450 kcal |
| Protein | 35g |
| Fat | 30g |
| Saturated Fat | 16g |
| Carbohydrates | 8g |
| Sodium | 650mg |
Disclaimer: This nutritional information is an estimate and can vary based on the specific ingredients and quantities used.
Storing, Reheating, and Repurposing
While these scallops are best enjoyed fresh from the pan, leftovers can still be delicious if handled correctly. The key is gentle reheating to preserve their delicate texture.
Storing Leftovers
Allow the scallops and sauce to cool completely. Store them in an airtight container in the refrigerator for up to 2 days. The sauce may thicken when chilled.
Reheating Instructions
The microwave is not your friend here; it will make the scallops rubbery. Instead, place the scallops and sauce in a small skillet over low heat. Gently warm, stirring occasionally, just until heated through. You may need to add a splash of cream or broth to loosen the sauce. Do not bring it to a boil.
Clever Repurposing
Don’t feel like having the same meal twice? Chop up the leftover scallops and toss them with the sauce through freshly cooked pasta for a brand new, luxurious pasta dish. You could also serve them cold over a fresh green salad for a gourmet lunch.
Conclusion
You’ve done it. You’ve created a dish that rivals any fine dining restaurant, right in your own kitchen. The journey from simple, fresh ingredients to a pan of glistening, creamy garlic butter scallops is a short but incredibly rewarding one. This recipe is a testament to the fact that elegant, mouth-watering food doesn’t need to be complicated or time-consuming. It’s about technique, quality ingredients, and a little bit of kitchen confidence. I hope this detailed guide has empowered you to embrace the art of cooking scallops. So go ahead, pour yourself a glass of wine, sop up that last bit of sauce with some bread, and take a moment to savor your delicious creation. You’ve earned it.