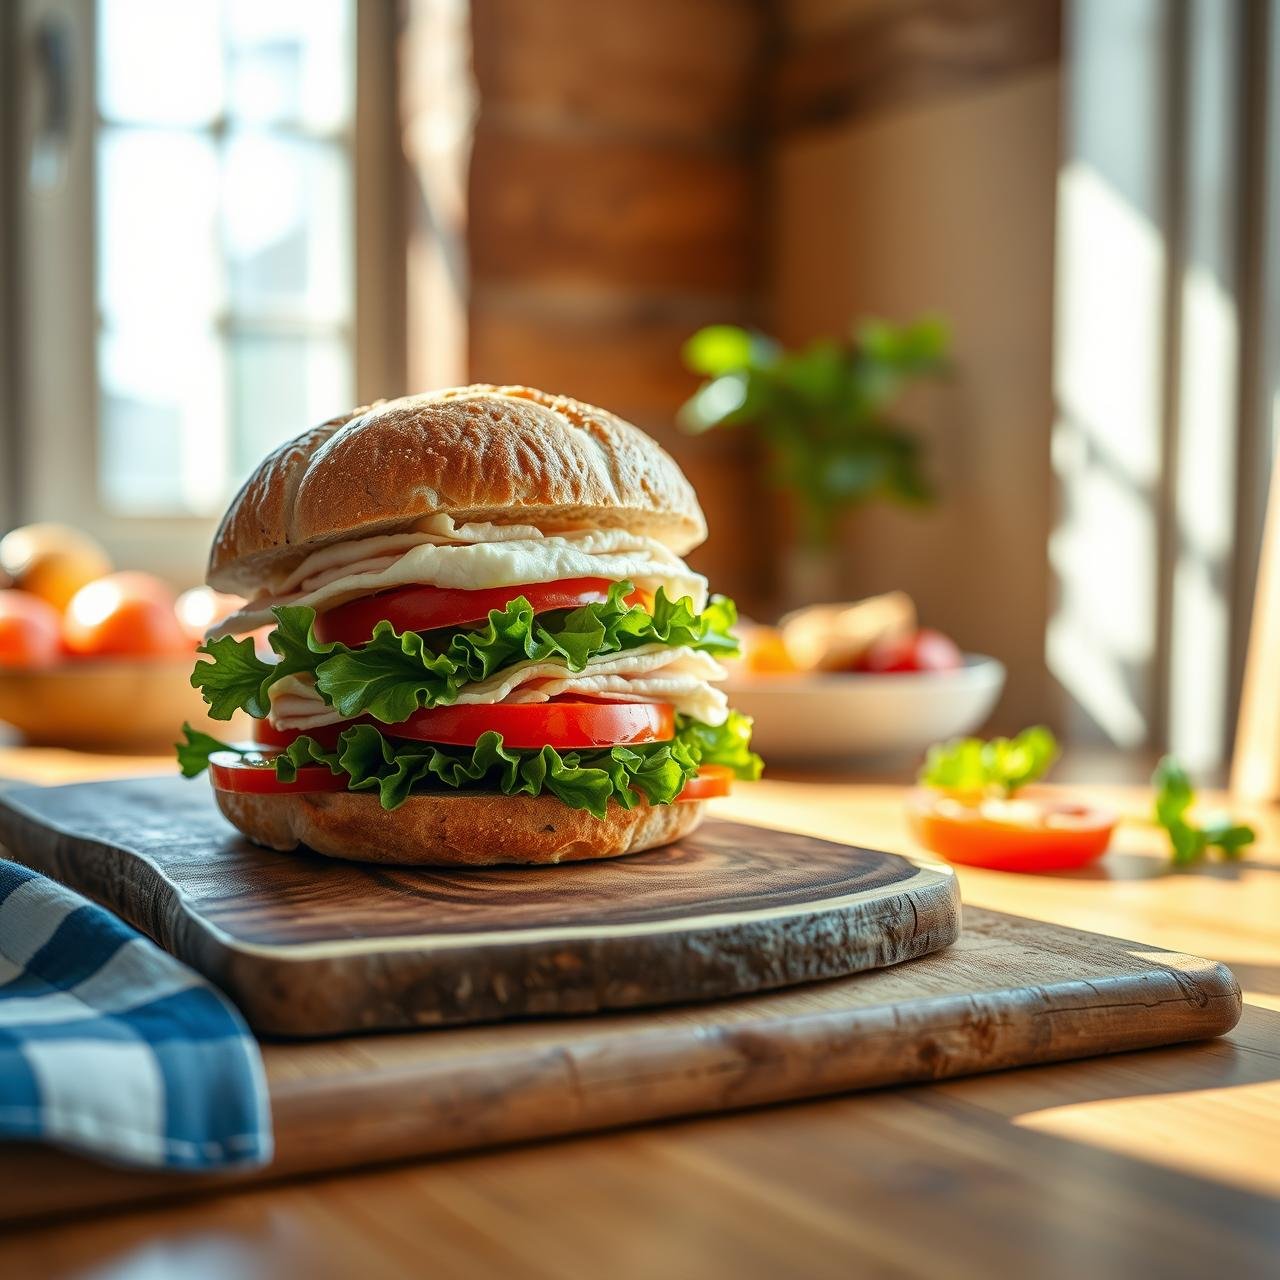
3-Ingredient Cloud Bread: Finally Enjoy Sandwiches on a Diet
Remember the pure, unadulterated joy of a perfectly constructed sandwich? The satisfying heft in your hands, the layers of flavor, the soft-yet-sturdy bread holding it all together. For many of us on a health journey, whether it’s low-carb, keto, or gluten-free, traditional bread becomes a nostalgic memory, a culinary ghost of meals past. The alternatives are often dense, dry, and disappointingly expensive. It can feel like a genuine sacrifice, a barrier between you and some of life’s simplest pleasures.
But what if I told you that you could welcome back the sandwich, the morning toast, and even a personal pizza, all with a recipe that is bafflingly simple, astonishingly light, and made with just three core ingredients you likely already have? Enter the culinary marvel known as Cloud Bread. It’s not bread in the traditional sense; there’s no flour, no yeast, no kneading. Instead, it’s an ethereal, soufflé-like creation that bakes into delicate, pillowy rounds, golden on the outside with a tender, melt-in-your-mouth interior. It’s the high-protein, zero-carb canvas you’ve been dreaming of. This recipe isn’t just about a substitute; it’s about a delicious, satisfying discovery that will fundamentally change your approach to healthy eating. Prepare to be amazed by how something so simple can be so transformative.
The Essential Toolkit & Pantry Staples
The Chef’s Mise en Place: Tools for Perfection
Before we conjure these pillowy clouds of goodness, let’s gather our tools. The success of this recipe lies in technique, and having the right equipment on hand makes all the difference. Think of it as setting your stage for a flawless performance. You don’t need a professional kitchen, just a few key items.
| Equipment | Chef’s Note |
|---|---|
| Electric Mixer (Hand or Stand) | This is non-negotiable. Achieving the stiff, glossy peaks required for the egg whites is nearly impossible by hand. A stand mixer is fantastic for freeing up your hands, but a reliable hand mixer works just as well. |
| Two Large Mixing Bowls | It is absolutely critical that one bowl, designated for your egg whites, is impeccably clean and dry. Any trace of fat or grease (including egg yolk) will prevent your whites from whipping to their full, glorious volume. Glass or metal bowls are preferable to plastic, as plastic can retain residual oils. |
| Silicone Spatula | For gently folding, not stirring. A flexible silicone spatula is your best friend for incorporating the mixtures without deflating all the air you just worked so hard to create. |
| Baking Sheets | You’ll need one or two standard baking sheets. |
| Parchment Paper or Silicone Mat | This prevents the cloud bread from sticking and ensures an easy, clean release. Do not skip this! Greasing the pan is not an adequate substitute and can cause the delicate bread to deflate. |
| Ice Cream Scoop or Large Spoon | For portioning out uniform rounds of batter onto your prepared baking sheets. An ice cream scoop with a trigger release is excellent for creating perfectly round and evenly sized clouds. |
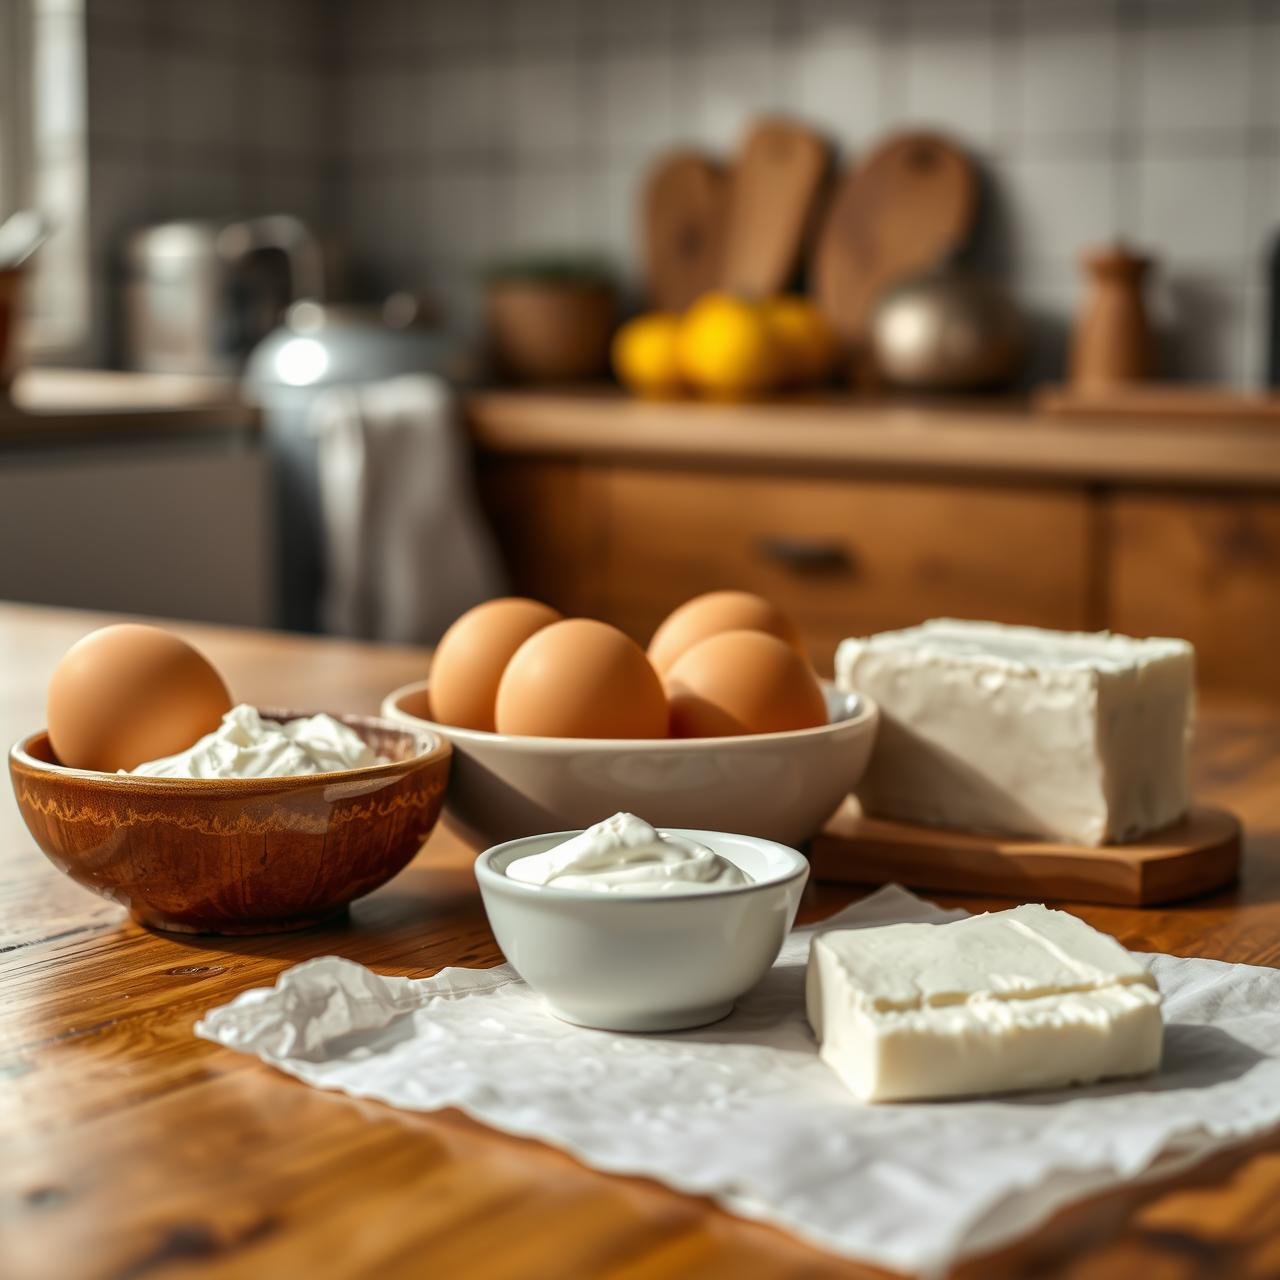
The Holy Trinity: Unpacking the 3 Ingredients
The beauty of this recipe is its profound simplicity. Each of the three ingredients plays a pivotal, scientific role in creating the unique texture of cloud bread. Let’s understand our key players.
- 3 Large Eggs: The star of the show. We’ll be separating them, as the yolks and whites perform entirely different functions. The yolks, rich in fat and lecithin, provide flavor, color, and a tenderizing effect. The whites, composed primarily of protein and water, are whipped to create an airy foam that provides the structure and ‘lift’—the very ‘cloud’ in cloud bread. Use fresh, room-temperature eggs if possible; they whip up with more volume.
- 3 Tablespoons Cream Cheese: Be sure to use the full-fat, block-style cream cheese, not the whipped kind in a tub. It should be softened to room temperature to ensure it blends seamlessly with the egg yolks, creating a smooth, lump-free base. The cream cheese adds crucial fat, moisture, and a subtle tangy flavor that balances the richness of the eggs. This fat content is what gives cloud bread its satisfying, melt-in-your-mouth quality.
- ¼ Teaspoon Cream of Tartar: This is our secret weapon, the magical pixie dust of the recipe. Cream of tartar is an acid (tartaric acid, to be precise) that works as a stabilizer. When you whip egg whites, you’re essentially stretching their protein strands. Cream of tartar helps to strengthen these protein networks, allowing them to trap more air and preventing the delicate foam from collapsing. It ensures your egg whites reach their maximum volume and stay there, giving you a sturdier, more stable cloud bread.
The Step-by-Step Cloud Bread Method
This is where the magic happens. Follow these steps with care and precision, and you’ll be rewarded with perfect, golden clouds. The process is straightforward, but the technique, especially the folding, is key. Let’s begin.
Crafting the Clouds: A Detailed Guide
- Preparation and Preheat: Begin by preheating your oven to 300°F (150°C). This lower, slower temperature is gentle, allowing the cloud bread to bake through and dry out slightly without browning too quickly. Line two baking sheets with parchment paper.
- Separate the Eggs: This is the most critical step. Carefully separate your 3 large eggs. Place the yolks in one large mixing bowl and the whites into another (preferably a glass or metal bowl that is spotlessly clean and dry). Be meticulous—even a tiny speck of yolk in the whites can ruin their ability to whip up properly.
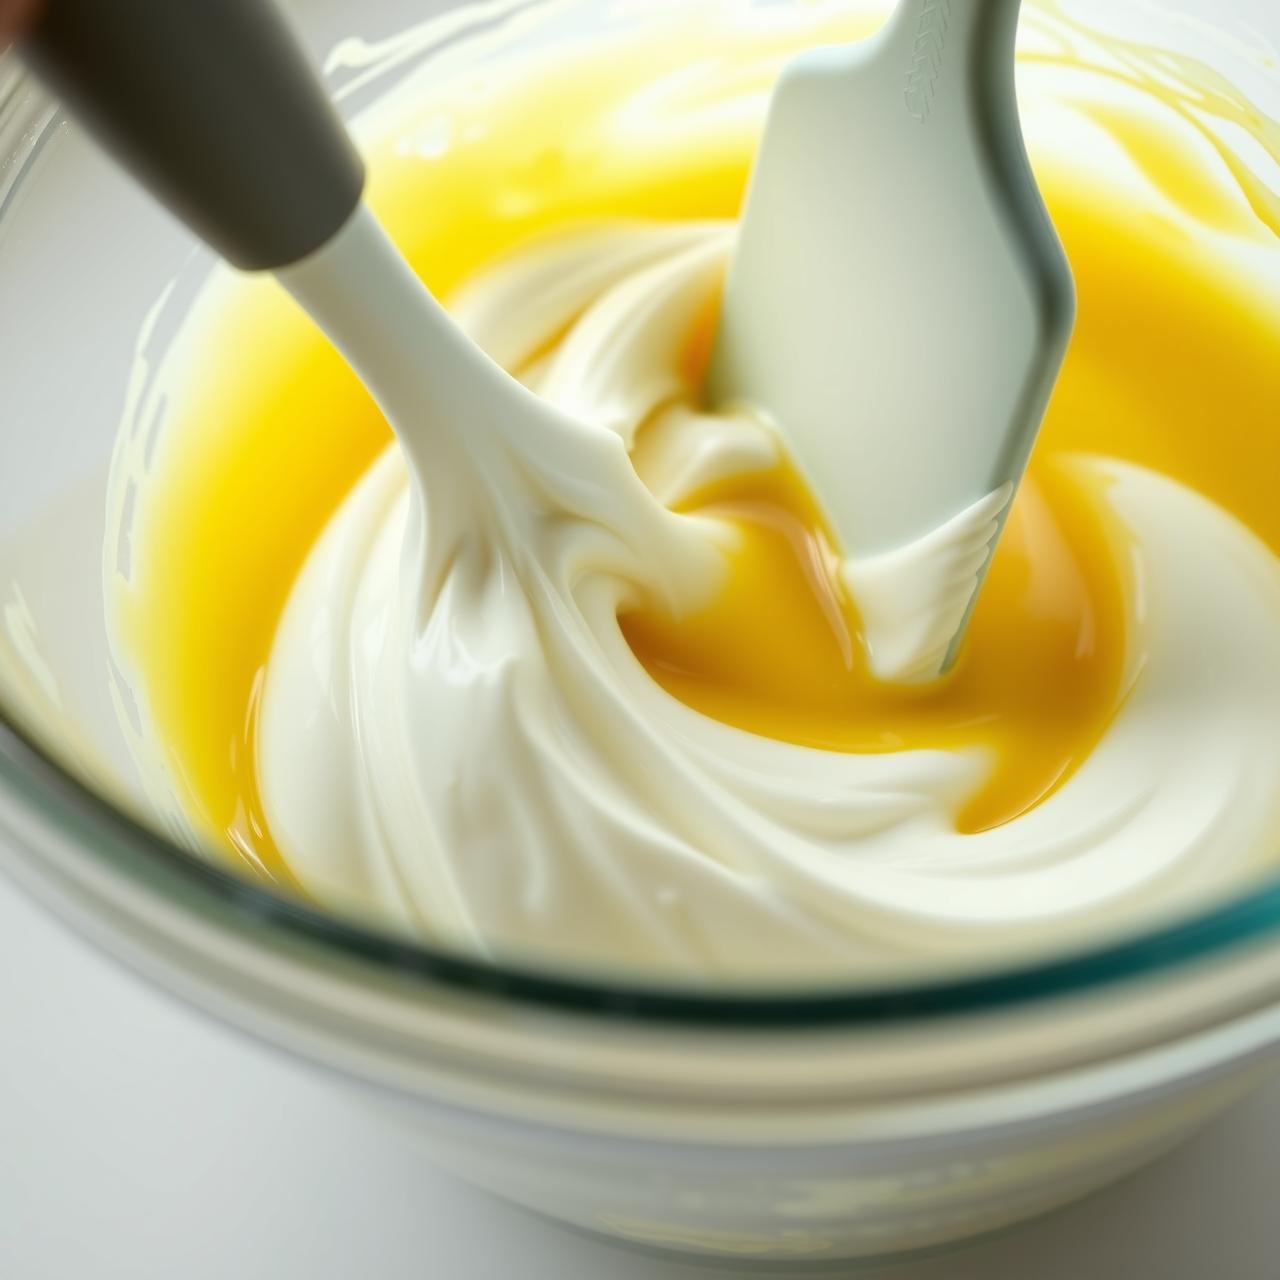
- Create the Yolk Base: To the bowl with the egg yolks, add the 3 tablespoons of softened cream cheese. Using your electric mixer on a medium speed, beat the yolks and cream cheese together until the mixture is completely smooth, creamy, and a uniform pale yellow color. There should be no lumps of cream cheese remaining. Scrape down the sides of the bowl as needed to ensure everything is incorporated. Set this bowl aside.
- Whip the Egg Whites: Clean your beaters thoroughly. In the second bowl, add the ¼ teaspoon of cream of tartar to the egg whites. Start mixing on a low speed until the whites become foamy. Then, increase the speed to high and continue to beat until you achieve stiff, glossy peaks. What does this look like? When you lift the beaters out of the whites, the peak that forms should hold its shape and point straight up without curling over. The mixture should be thick, voluminous, and look like a dense meringue. This process can take anywhere from 4 to 6 minutes. Do not under-whip!
- The Gentle Fold: Now, we combine. Take about one-third of your whipped egg whites and add them to the egg yolk mixture. Using your silicone spatula, gently fold this first addition in. This lightens the dense yolk base, making it easier to incorporate the rest of the whites. Don’t worry about being too gentle here. Once combined, add the remaining egg whites to the bowl. Now, fold with intention. Use a gentle ‘down, across, up, and over’ motion, turning the bowl as you go. The goal is to combine the two mixtures until just a few white streaks remain. It’s crucial to avoid stirring or overmixing, as this will deflate the egg whites and result in flat, dense discs instead of fluffy clouds.
- Portion and Shape: Using a large spoon or an ice cream scoop, drop mounds of the batter onto your prepared baking sheets. You should get about 6 to 8 cloud bread rounds, each about 4 inches in diameter and about an inch thick. Leave some space between them as they will spread slightly. Use the back of your spoon to gently smooth the tops.
- Bake to Golden Perfection: Place the baking sheets in the preheated oven. Bake for 25 to 30 minutes. They are done when they are a beautiful golden brown color and feel firm to the touch. They will have puffed up like little soufflés in the oven.
- Cool Completely: Remove the cloud bread from the oven and let them cool on the baking sheet for a few minutes before carefully transferring them to a wire rack to cool completely. They will deflate slightly as they cool—this is normal! The texture will improve significantly as they rest.
Pro Tips, Flavor Variations & Perfect Pairings
Chef’s Secrets for Flawless Cloud Bread
Mastering the basic recipe is just the beginning. With a few professional tips and creative twists, you can elevate your cloud bread from a simple bread substitute to a gourmet staple in your kitchen.
Troubleshooting Common Issues
- My bread is flat! This is the most common issue and is almost always due to under-whipped egg whites or over-mixing during the folding stage. Ensure you beat your whites to very stiff peaks and fold with a light hand until just combined.
- My bread tastes too ‘eggy’. The egg flavor is inherent, but it mellows significantly after cooling and especially after a day of storage. Adding flavor variations (see below) can also mask it. Some also find that a tiny splash of vanilla extract or a pinch of sweetener can balance the flavor.
- Why is my bread sticky? This can happen if they are slightly under-baked or if there’s high humidity. Let them cool completely on a wire rack. If they remain tacky, you can pop them back in a low oven (250°F) for 5-10 minutes to dry them out a bit more. Proper storage is also key.
Unleash Your Creativity: Flavor Variations
Think of your cloud bread batter as a blank canvas. By adding a small amount of dry seasonings or extracts to the yolk mixture, you can create endless flavor profiles.
- Savory Herb: Add 1 teaspoon of finely chopped fresh herbs like rosemary or thyme, or ½ teaspoon of dried Italian seasoning and a pinch of garlic powder to the yolk mixture. Perfect for sandwiches or as a base for mini pizzas.
- Everything Bagel: After portioning the batter onto the baking sheets, generously sprinkle each round with everything bagel seasoning before baking. A game-changer for breakfast sandwiches.
- Sweet Cinnamon: For a breakfast treat, mix ¼ teaspoon of ground cinnamon and a few drops of liquid stevia or your preferred sweetener into the yolk base. Delicious toasted with a pat of butter.
- Cheesy Delight: Fold in 2 tablespoons of finely grated Parmesan or Pecorino Romano cheese into the batter during the final folding stage. This adds a salty, umami kick.
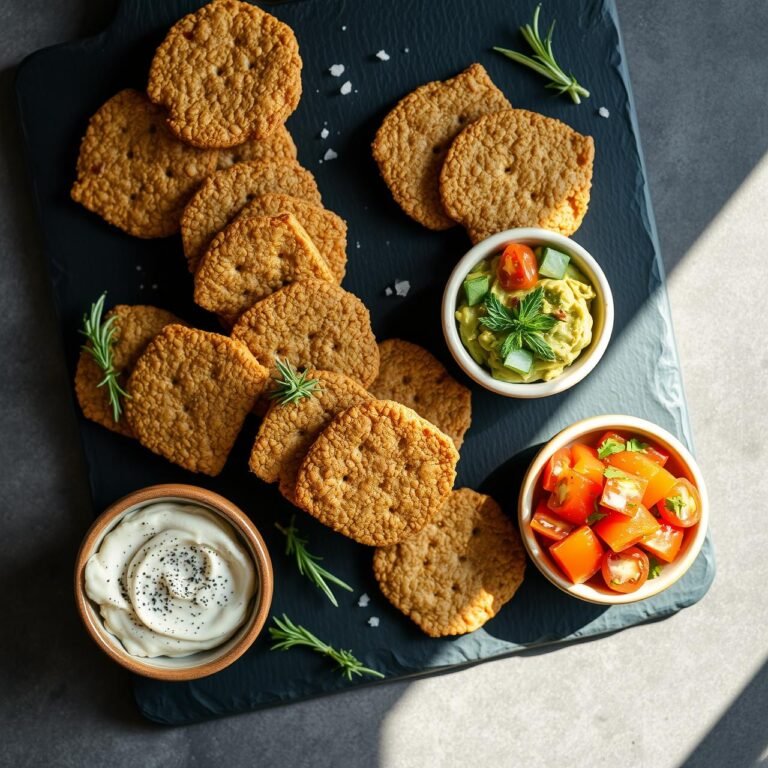
Serving Suggestions: Beyond the Sandwich
While cloud bread makes a phenomenal sandwich, its versatility is its true strength. Here are some mouth-watering ways to enjoy your creation:
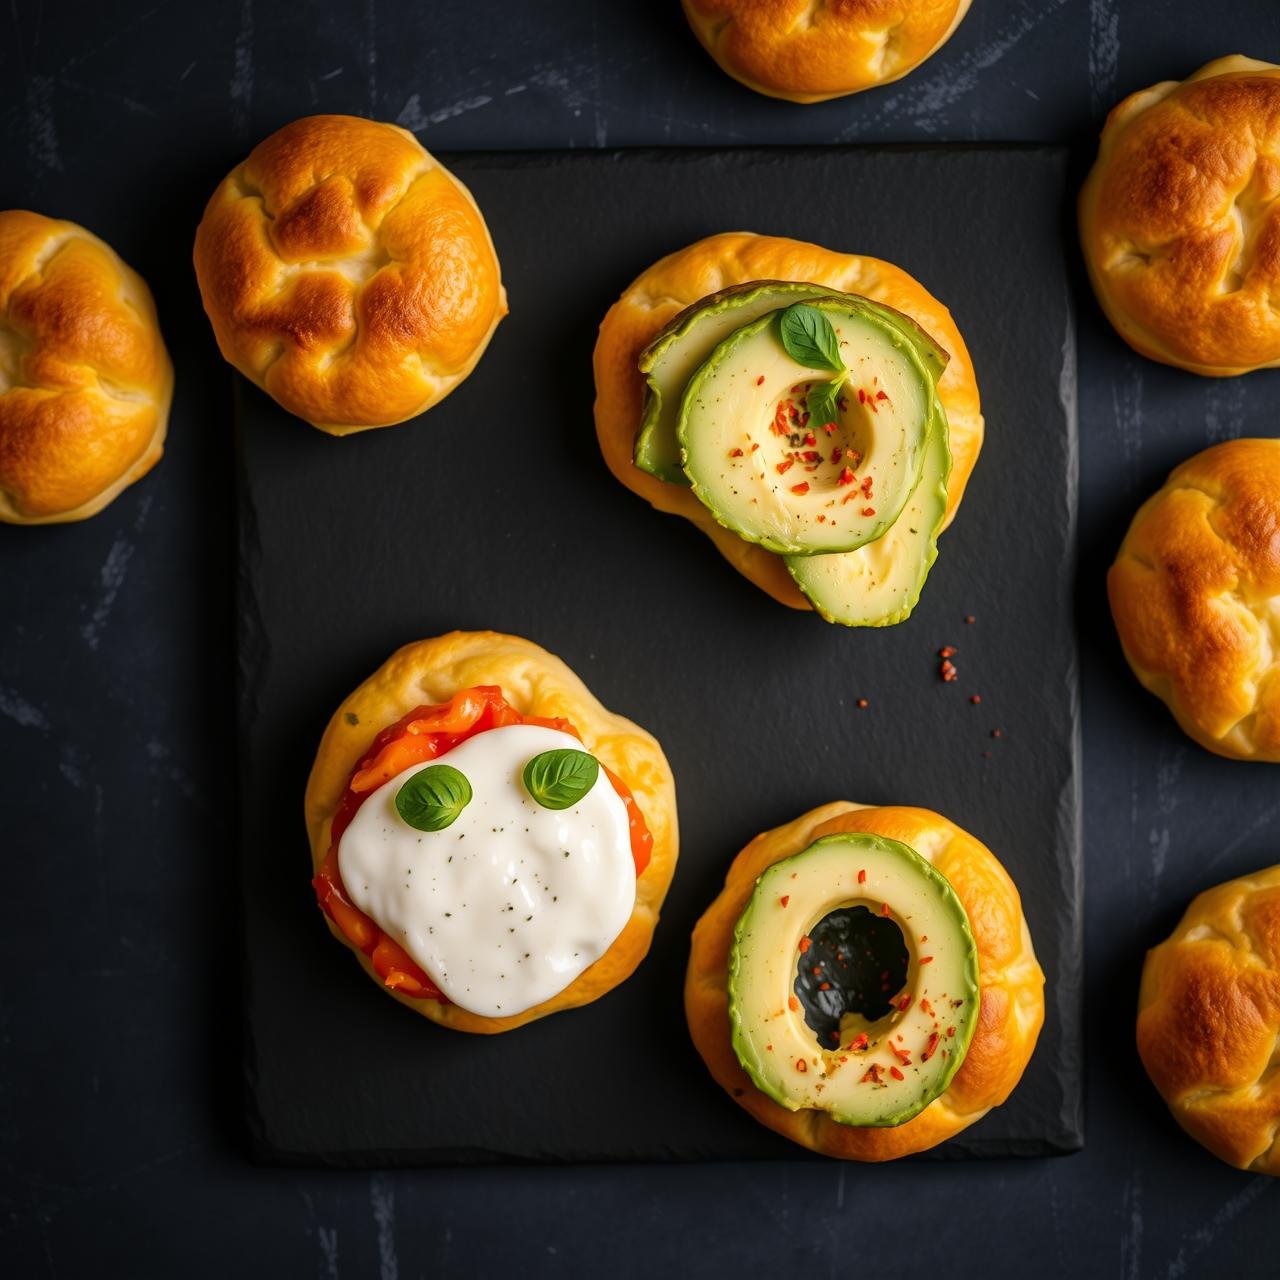
- Personal Pizza Base: Top a cloud bread round with tomato sauce, mozzarella cheese, and your favorite toppings. Bake at 400°F (200°C) for 5-7 minutes until the cheese is bubbly.
- Avocado Toast: Toast a cloud bread round lightly (in a toaster oven or a dry pan) and top with mashed avocado, a sprinkle of red pepper flakes, and a squeeze of lime.
- Mini Tacos or Gyros: Use a larger, thinner cloud bread as a foldable shell for taco meat or gyro fillings.
- Burger Buns: They are the perfect light and airy bun for your favorite burger patty, letting the flavor of the meat shine through.
- Dessert Base: Serve a sweet version with berries and a dollop of whipped cream or sugar-free chocolate spread for a light dessert.
| Nutrient | Amount |
|---|---|
| Calories | ~50 kcal |
| Protein | ~4g |
| Fat | ~3.5g |
| Carbohydrates | <0.5g |
| Net Carbs | <0.5g |
Storage Instructions
Store cooled cloud bread in an airtight container or a zip-top bag in the refrigerator. They are best after resting for a day, as this allows the texture to set and the flavor to mellow. They will last for up to a week in the fridge. For longer storage, you can freeze them by placing parchment paper between each round and storing them in a freezer-safe bag for up to 3 months.
Conclusion
There you have it—the simple, elegant, and utterly revolutionary 3-ingredient cloud bread. It’s more than just a recipe; it’s a passport back to a world of culinary possibilities that may have seemed closed off. It’s proof that eating healthy doesn’t require deprivation or complicated, expensive ingredients. With just eggs, cream cheese, and a pinch of magic in the form of cream of tartar, you’ve created something light, versatile, and genuinely delicious.
The first time you pick up a sandwich made with your own homemade cloud bread, you’ll understand the hype. It’s the freedom to enjoy a simple lunch, a quick breakfast, or a satisfying snack without a second thought. So embrace the technique, get creative with flavors, and welcome bread back to your table. We invite you to try this recipe and share your creations—what will you make with your perfect, pillowy clouds?