1 Minute Low Calorie Chocolate Mug Cake (No Fluff)
There are moments in life that call for immediate chocolate. It’s not a want, but a deep, soulful need. It’s that post-dinner craving, that mid-afternoon slump, that desire for a comforting, warm hug in a mug. But so often, that desire is met with the reality of time, effort, and a hefty calorie count. We’ve all been tempted by mug cake recipes that promise the world but deliver a sad, rubbery, overly sweet sponge. This, my friends, is not that recipe. This is the antidote.
Welcome to the ‘No Fluff’ 1-Minute Low-Calorie Chocolate Mug Cake. The name is a promise: no fluffy, airy disappointment here. We are diving headfirst into a dense, moist, intensely chocolatey experience that tastes like a lava cake and a rich brownie had a beautiful baby. It’s a recipe born from a desire for pure, unadulterated comfort without the subsequent guilt. Using just a handful of wholesome, everyday ingredients, we will craft a single-serving masterpiece that respects your health goals and your schedule. In less time than it takes to boil a kettle, you can be sinking your spoon into a warm, molten-centered cake that feels like the ultimate indulgence. Let’s get that mug out and transform your pantry staples into pure, one-minute magic.
Crafting the Perfect 1-Minute Fudgy Chocolate Mug Cake
This recipe is more of a formula for happiness than a strict set of rules. It’s about understanding the simple science behind creating a perfectly moist and fudgy cake in a microwave. We’ll walk through the minimalist equipment, the key players in our ingredient list, and the step-by-step process that guarantees success every single time.
Essential Equipment
The beauty of this recipe lies in its simplicity. No stand mixers, no baking pans, no fuss. Here is all you’ll need:
- A Standard-Sized Microwave-Safe Mug: Choose one that holds at least 10-12 ounces. This gives the cake enough room to rise slightly without overflowing and creating a mess in your microwave. A wider, shallower mug can sometimes cook more evenly than a tall, narrow one.
- Measuring Spoons: Precision is key, even in a simple recipe. Accurate measurements of your leavening agent and cocoa powder will ensure the perfect texture and flavor.
- A Small Fork or Whisk: For mixing the batter directly in the mug. A fork works perfectly well to break up any clumps and ensure a smooth, homogenous batter.
The Pantry-Friendly Ingredients
Each ingredient is chosen not just for flavor, but for its specific role in creating that coveted dense, ‘no fluff’ texture. We’re building a flavor profile that is rich and complex, not just sweet.
- All-Purpose Flour: 2 tablespoons. This provides the primary structure for our cake. For a gluten-free or slightly denser version, you can substitute with a 1:1 gluten-free baking blend or even oat flour.
- Unsweetened Cocoa Powder: 1 tablespoon. This is where the magic happens. Use a high-quality cocoa powder (like Dutch-processed) for a deeper, less bitter chocolate flavor. This is the soul of your cake, so don’t skimp!
- Granulated Sweetener of Choice: 1 to 2 tablespoons. We’re keeping it low-calorie. Erythritol, a monk fruit blend, or stevia work beautifully here. If you’re not concerned about calories, regular granulated sugar or coconut sugar are perfect substitutes. Adjust the amount based on the bitterness of your cocoa and your personal preference.
- Baking Powder: 1/4 teaspoon. This gives just enough lift to prevent the cake from being a solid brick, but not so much that it becomes light and fluffy. It’s the key to the fudgy texture. Make sure your baking powder is fresh!
- A Pinch of Salt: Less than 1/8 teaspoon. Never underestimate the power of salt in a sweet recipe. It doesn’t make the cake salty; it enhances and deepens the chocolate flavor, balancing the sweetness.
- Milk of Choice: 3 tablespoons. This provides the necessary moisture. Unsweetened almond milk is a fantastic low-calorie option, but dairy milk, soy milk, or oat milk all work perfectly.
- Melted Coconut Oil or a Neutral Oil: 1 teaspoon. A small amount of fat is crucial for a moist, tender crumb and a rich mouthfeel. It prevents the cake from becoming dry and rubbery. You can also use melted butter or even applesauce for an oil-free option, though the texture will be slightly different.
- Vanilla Extract: 1/4 teaspoon. Like salt, vanilla is a background flavor enhancer. It rounds out the chocolate notes and adds a layer of aromatic warmth.
Step-by-Step to Chocolate Bliss
Follow these steps precisely. The goal is to combine the ingredients efficiently without overworking the batter, which can develop gluten and lead to a tough cake.
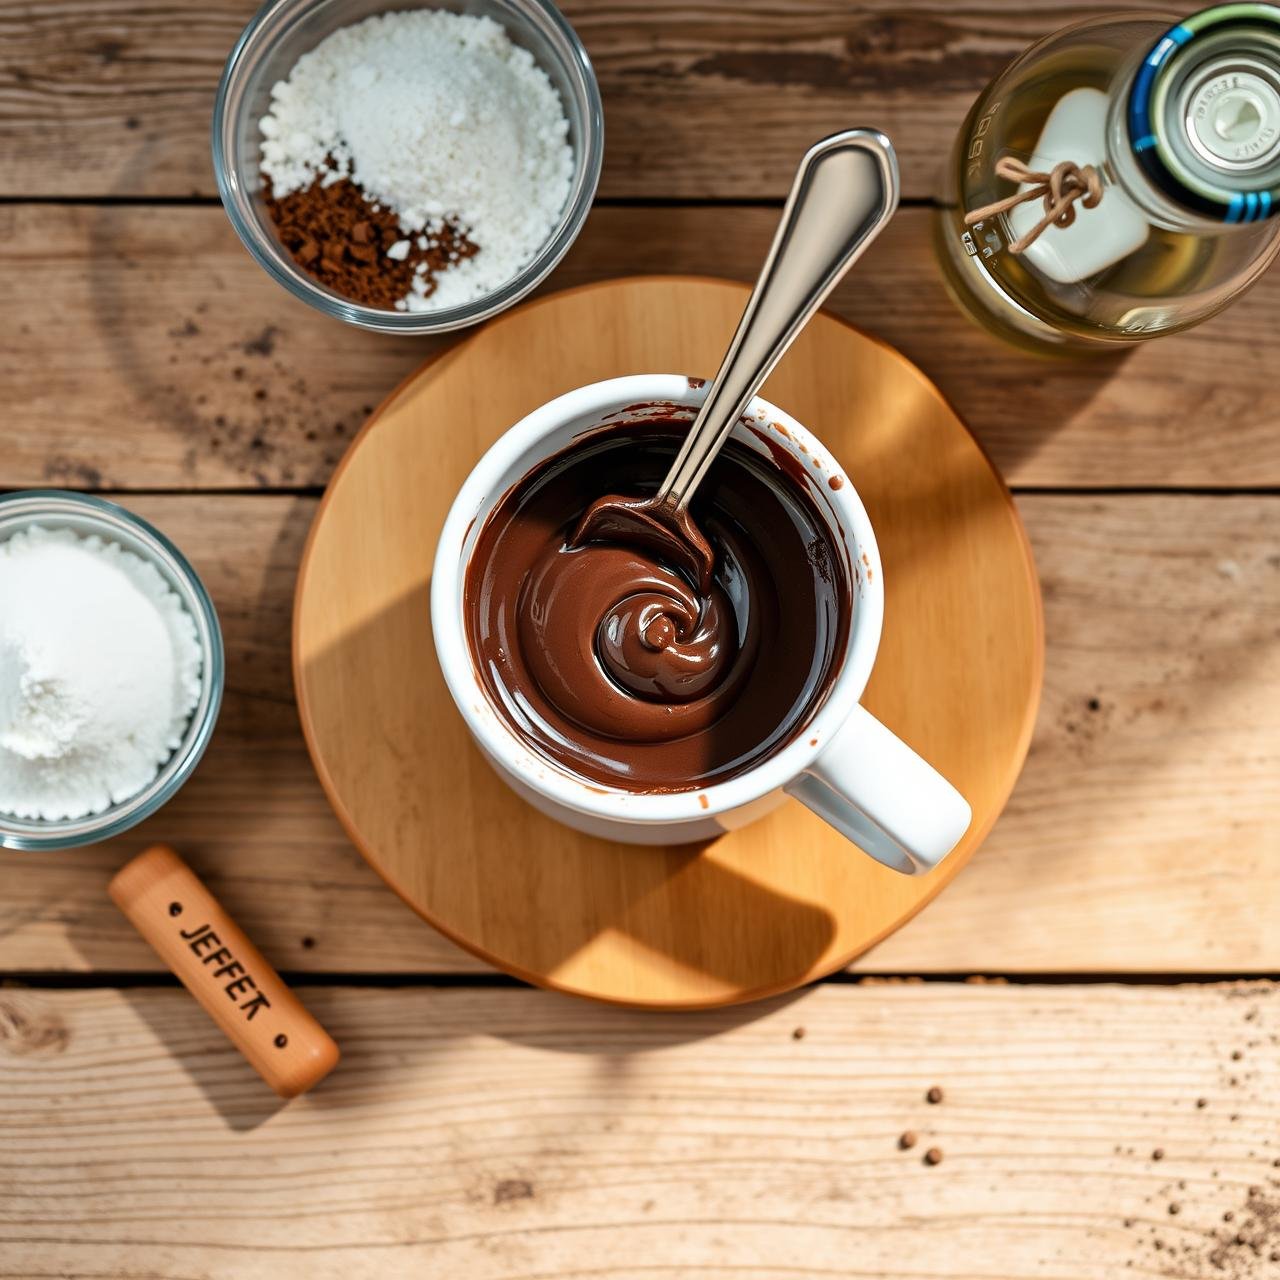
- Combine the Dry Ingredients: In your chosen mug, add the flour, cocoa powder, sweetener, baking powder, and salt. Use your fork or mini whisk to stir them together thoroughly. This step is critical to ensure the baking powder is evenly distributed for a consistent rise and to avoid any bitter clumps of cocoa powder.
- Incorporate the Wet Ingredients: Pour the milk, melted oil, and vanilla extract directly into the mug on top of the dry ingredients.
- Mix Until Just Combined: Gently stir the wet and dry ingredients together with your fork. Scrape the bottom and sides of the mug to make sure everything is incorporated, but stop mixing as soon as you no longer see streaks of flour. A few small lumps are perfectly fine. Do not overmix! This is the most important rule for a tender, fudgy mug cake.
- Microwave to Perfection: Place the mug in the center of your microwave. Cook on high power for 60 to 75 seconds. Microwave wattages vary greatly. Start with 60 seconds. The cake is done when the top looks set and dry, but a toothpick inserted into the center comes out with moist crumbs or a little bit of molten batter attached. It’s better to slightly undercook it for a gooey center than to overcook it, which will make it tough.
- Rest and Enjoy: Carefully remove the mug from the microwave—it will be hot! Let the cake rest for a minute. It will continue to cook slightly from the residual heat. You can eat it straight from the mug or carefully run a knife around the edge and invert it onto a small plate.
Nutrition
Amount (Estimated)
Calories
~120 kcal
Protein
~3g
Carbohydrates
~15g
Fat
~6g
Sugar
~1g (with sugar substitute)
| Nutrition | Amount (Estimated) |
|---|---|
| Calories | ~120 kcal |
| Protein | ~3g |
| Carbohydrates | ~15g |
| Fat | ~6g |
| Sugar | ~1g (with sugar substitute) |
Chef’s Notes & Pro Tips for Perfection
- Know Your Microwave: If you have a lower-wattage microwave (under 1000W), you may need an extra 10-15 seconds. If you have a very powerful one, check it at the 50-second mark.
- The Gooey Center Secret: For a guaranteed molten lava center, slightly underbake the cake. The top should look cooked, but the very center might still look a bit wet. It will set up as it cools.
- Fun Mix-ins: After mixing the batter, feel free to gently fold in a teaspoon of low-calorie chocolate chips, a chopped nut like a pecan or walnut, or a small dollop of peanut butter in the center before cooking.
- Topping Ideas: Elevate your mug cake with a dusting of powdered sweetener, a small scoop of low-calorie vanilla ice cream or Greek yogurt, a few fresh berries, or a drizzle of sugar-free chocolate syrup.
Conclusion
And there you have it—a truly decadent, deeply chocolatey dessert that materializes in a minute. This ‘No Fluff’ mug cake is proof that you don’t need a lot of time, ingredients, or calories to satisfy a serious dessert craving. It’s a recipe to keep in your back pocket for those moments when only chocolate will do. It’s a warm, comforting, and wholesome treat that bridges the gap between indulgence and healthy living. So next time that craving strikes, remember this simple formula. Embrace the magic of the microwave, and treat yourself to the rich, fudgy, guilt-free dessert you absolutely deserve.